
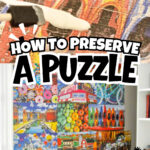
This tutorial on how to glue a puzzle uses a simple and inexpensive formula (Mod Podge) to bond the pieces together permanently. If you've ever wondered how to preserve a puzzle for framing or wall decor, this step-by-step guide is for you!
Paid links used in this post. Read more about my link usage policies.
Alright, today's post is a little different than my normal content - but it's a really useful DIY that can actually be used as a pretty (and meaningful) decoration in some of the family spaces of your home!
When the pandemic started, our family passed the time by doing a lot of jigsaw puzzles. It's a fun and inexpensive distraction that, at our kids' ages, the whole family could do. I hated to put all of that work into a puzzle just to tear it apart - so we figured out a way to save them forever!
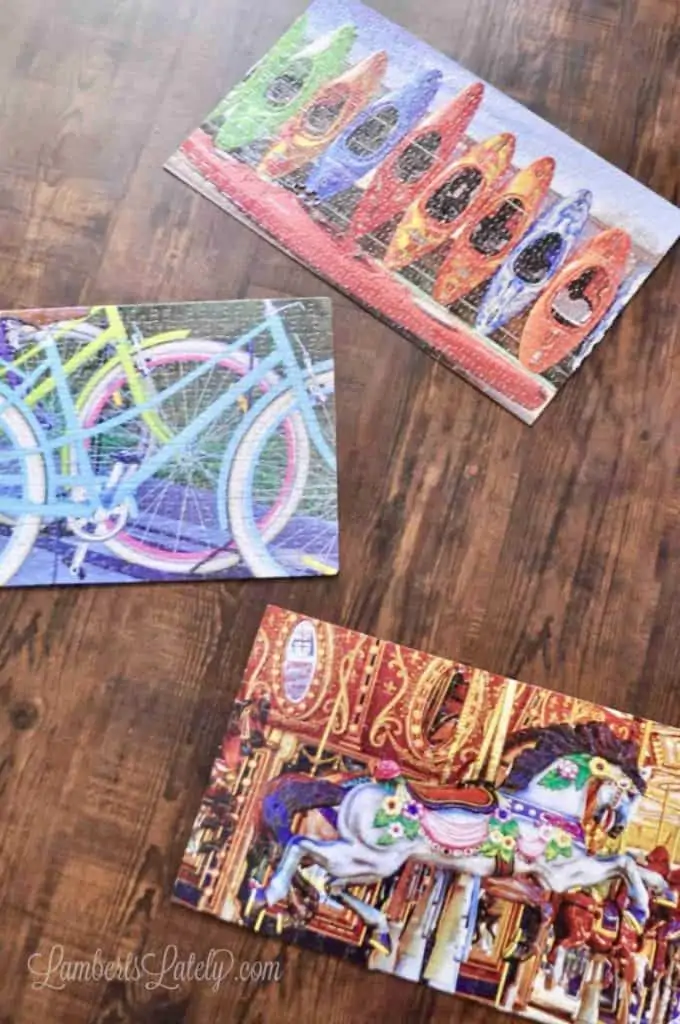
Since then, we've done a couple dozen puzzles and turned that hard work into a really pretty and unique display in the craft room.
Gluing the puzzles together is actually a really easy process. You only need a few craft supplies (that you might just already have around your home).
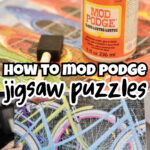
Supplies You Need to Glue a Jigsaw Puzzle
You don't need a specialized "puzzle saver" kit. These basic craft supplies are all it takes:
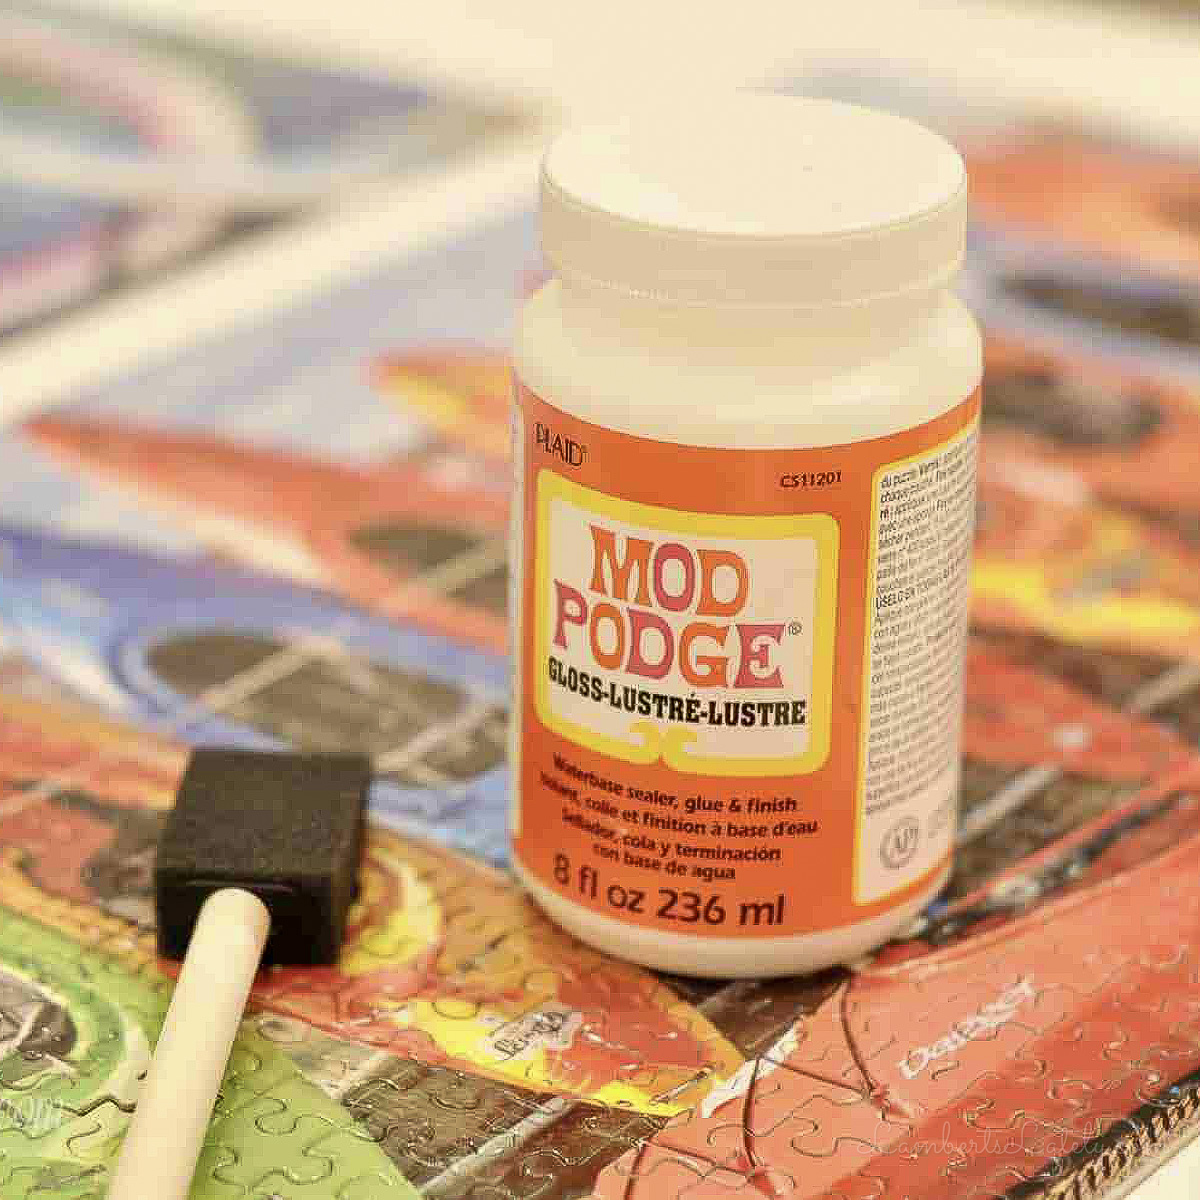
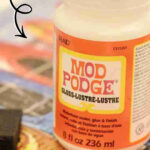
- Mod Podge (Gloss or Matte): The original formula is perfect; the specific "puzzle glue" variety isn't necessary.
- Sponge Brush: Use an inexpensive one you can toss afterward.
- A Protective Surface: Cardboard, parchment paper, or wax paper to protect your table.
How to Glue a Puzzle Together: A Step-by-Step Tutorial
Step 1: Prep Your Workspace and Puzzle

If you didn't build the puzzle on a portable surface, gently guide your completed puzzle onto a piece of poster board or cardboard by sliding it across the table. Ensure the pieces are flat and free of dust or pet hair.
Like this tutorial? Check out my plate gallery wall and foam cornice board posts, too!
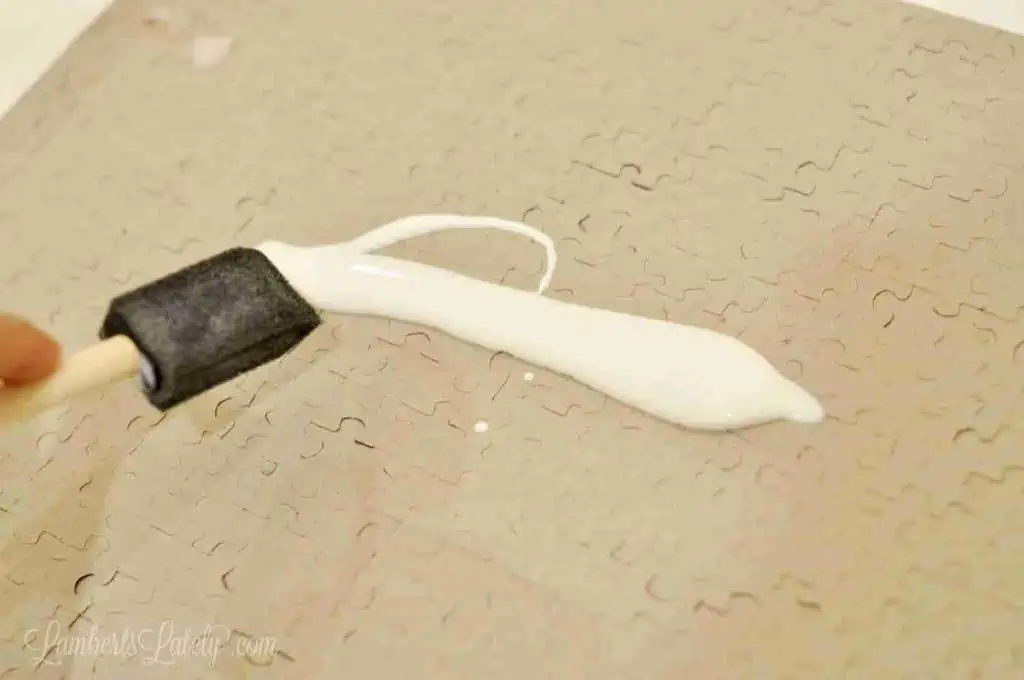
Step 2: Apply the First Coat of Glue to the Front
Pour a small amount of Mod Podge directly onto the center of the puzzle. Use your sponge brush to spread it toward the edges.

Pro Tip: Think of this like grouting tile. You want the glue to fill the gaps between the pieces with only a thin, even coat on the surface. For a standard 500-1000 piece puzzle, about ¼ cup of glue is plenty.

Step 3: Let it Dry and Apply a Second Coat
Allow the first coat to dry for at least 30-60 minutes. It will look cloudy at first but will dry clear. Apply a second thin layer to ensure maximum durability.
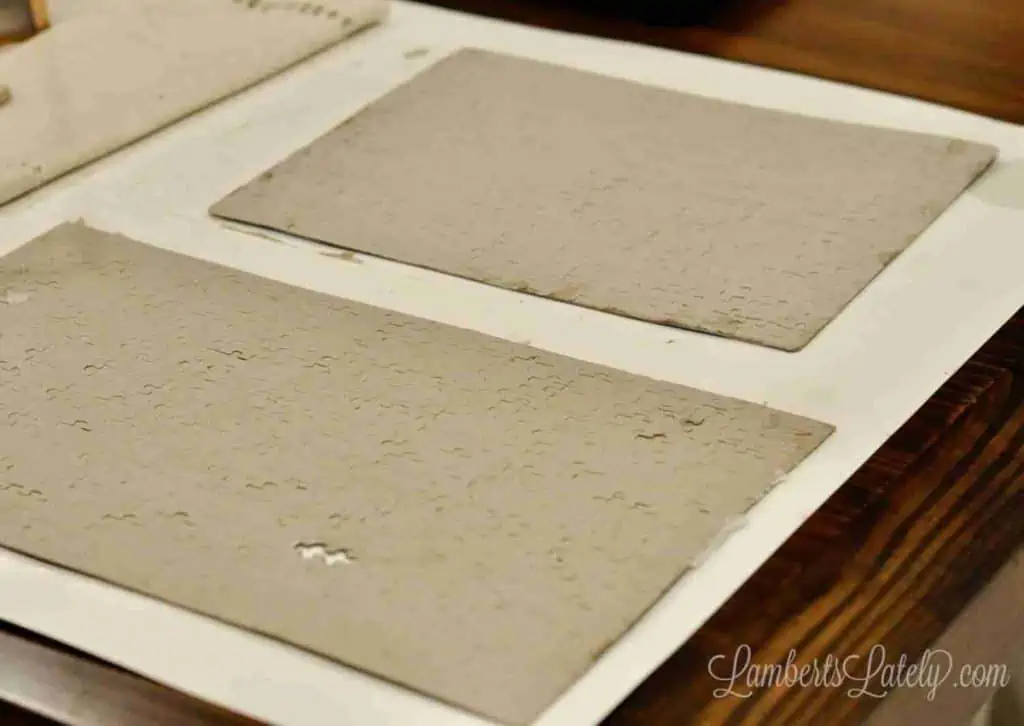
Step 4: Flip the Puzzle to Glue the Back

Once the front is completely dry, gently peel the puzzle off your work surface and flip it over. Repeat the "grout gluing" process on the back. This "double-sided" method ensures the puzzle is stiff and won't fall apart when hanging.
(Yes I know there's a piece missing. Yes it bothers me. But if you have the same issue, glue it anyway - it adds character!)
Use your Mod Podge to brush as much as possible in between the pieces on the back, keeping the coats even and thin.

Step 5: Final Dry and Inspection
Let the glued puzzle dry overnight. Once it's no longer tacky to the touch, it's ready to be displayed!
And that's it! Super simple, right?
The Best Glue for Puzzles: Mod Podge vs. Others
Is specialized "Puzzle Saver" glue worth it?
In my experience, no. Standard Mod Podge is about ⅓ of the price and provides the same clear, permanent bond.
Should I use spray adhesive or glue sheets?
- Spray Glue: Harder to get into the "nooks and crannies." You'll end up using way too much.
- Glue Sheets: These work well but are expensive ($3-4 per puzzle). Mod Podge is the most budget-friendly way to glue a puzzle if you have a whole gallery wall planned.
How to Hang a Puzzle Without a Frame
Now, let's display those pretty puzzles!

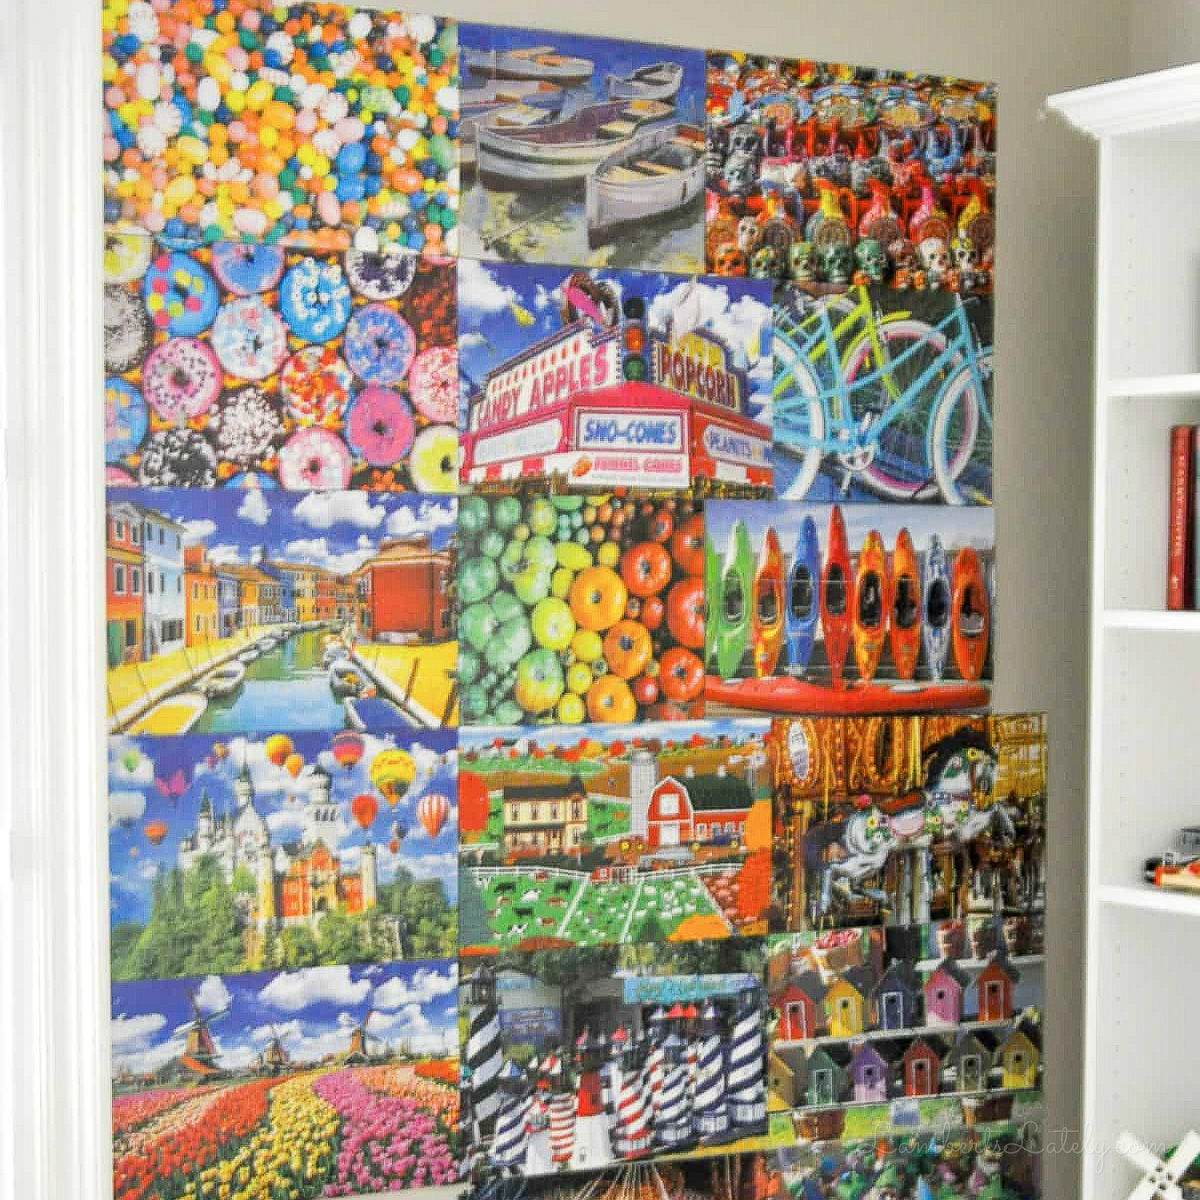
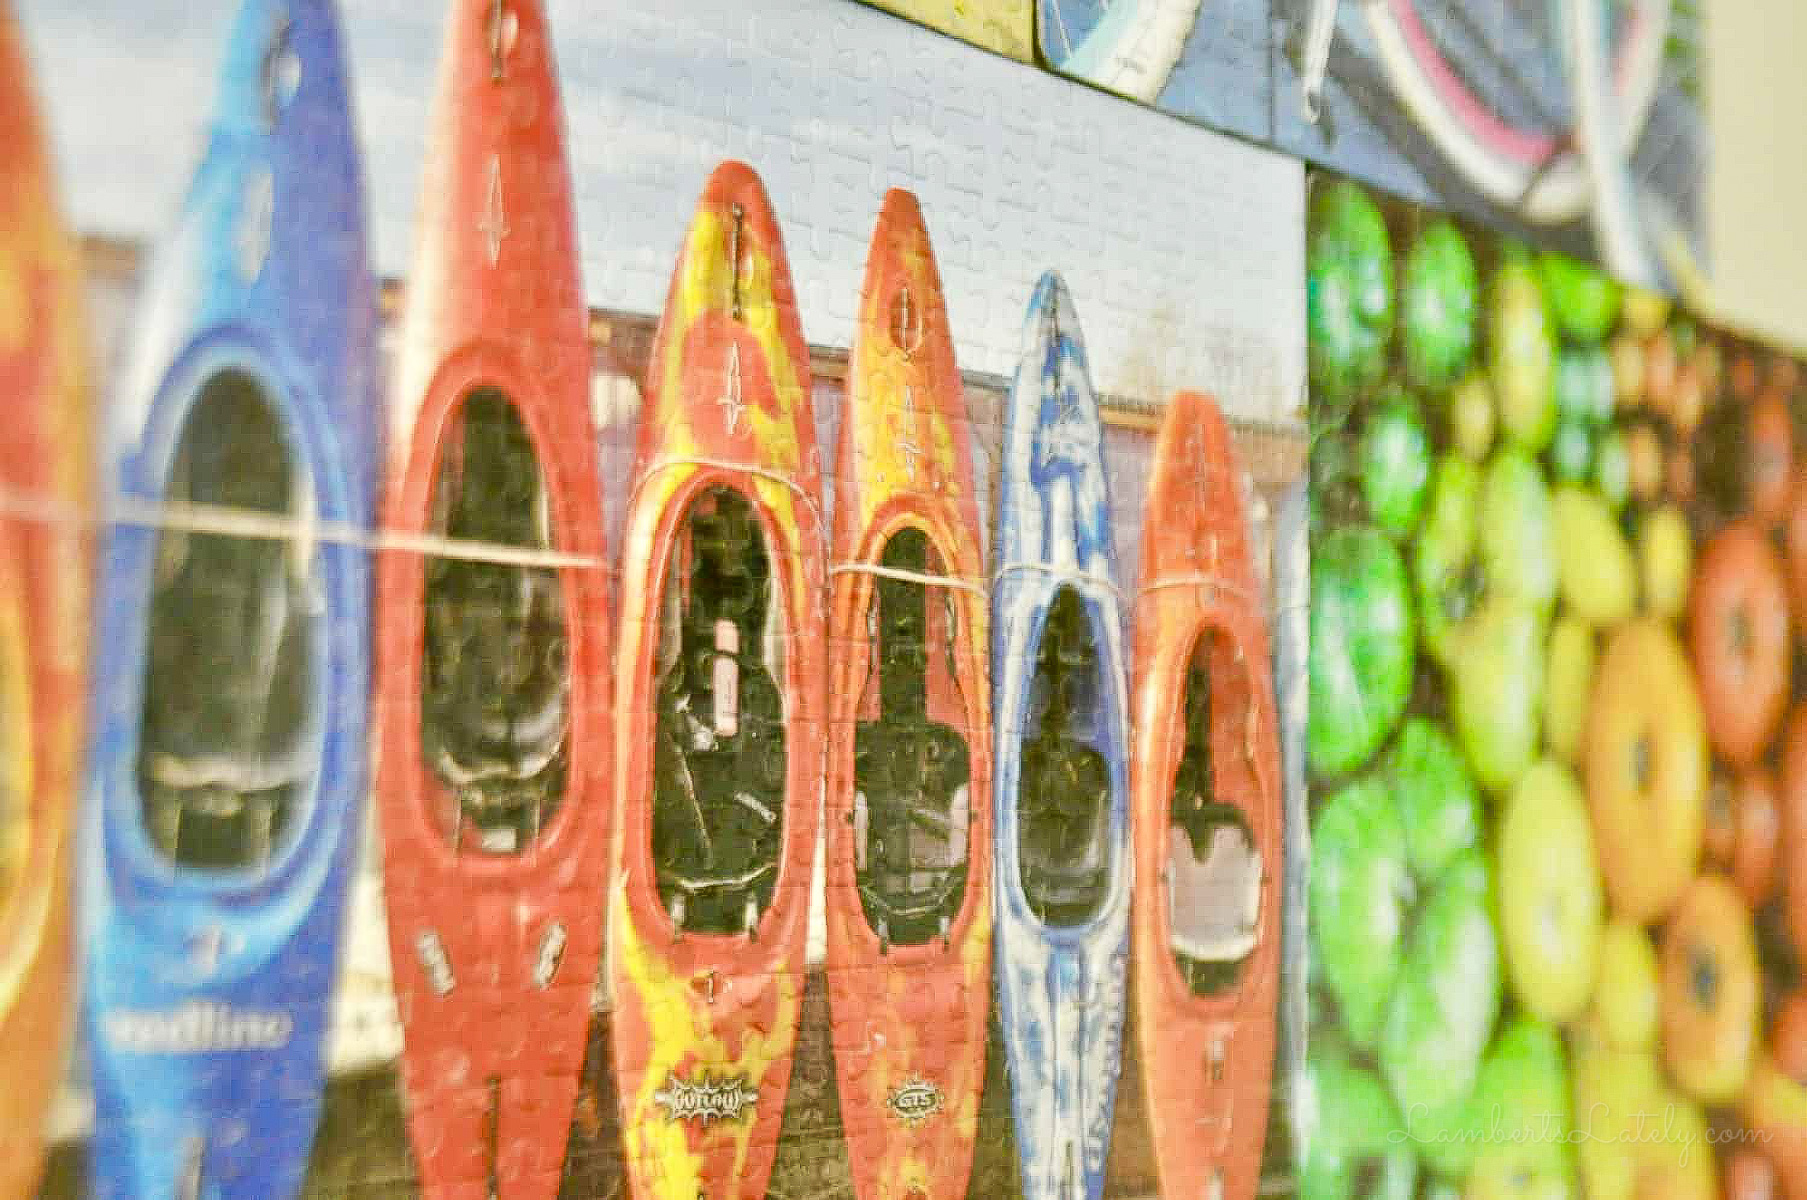
These are perfect in a playroom, craft room, or office. We have a whole wall (next to our custom built-in Murphy bed) that's dedicated to displaying our finished puzzles. You don't need any kind of frame to display finished puzzles - just stick them on the wall!

(This picture was waaayy harder to take than I thought it would be - sorry about the quality!)
I use a combination of picture hanging strips and tack putty to hang my finished puzzles. We learned the hard way that the tack putty alone doesn't cut it in our humid climate - we had to pull out the big guns.

Place a couple of double-sided adhesive strips on the back of your puzzle with the removal tabs pointing up. This way, if you're ever ready to remove the puzzles from the wall, you can gently pull the top of the puzzle back to expose the tabs and remove them without damaging your wall.
After the strips, place tack putty in the middle and on the bottom to secure everything to the wall.
Common Mistakes When Gluing a Puzzle
- Applying the glue too thick. This is the fastest way to ruin a puzzle finish. Thick layers don't dry evenly and can leave a cloudy, streaky surface or even warp the cardboard. Always stick to thin, even coats and build up coverage slowly if needed.
- Not letting the first coat of Mod Podge fully dry. Rushing the process is a mistake that shows later. If you apply a second layer too soon, you can trap moisture underneath, which weakens the bond and can cause bubbling or soft spots.
- Skipping the back of the puzzle. Front-only sealing might look fine at first, but the puzzle will stay fragile. Without sealing the back, pieces can shift or separate over time, especially if it's hung on a wall.
- Moving the puzzle before it's fully cured. Even if it feels dry to the touch, the glue underneath may still be setting. Moving it too early can cause cracking or misalignment of pieces. Overnight drying is the safe minimum.
- Using spray adhesive instead of Mod Podge or liquid glue. Sprays don't penetrate the gaps between pieces well, which leads to weak adhesion and uneven hold. Liquid glue gives much better coverage and durability.
- Using too much pressure while brushing. Pressing too hard can push pieces out of alignment or force glue underneath the puzzle, making cleanup harder and increasing the risk of warping.
- Not protecting your work surface. Glue will seep through edges or gaps. Without wax paper, cardboard, or parchment paper underneath, you risk permanently sticking your puzzle to the table.
- Hanging the puzzle too soon. Even if it looks finished, a puzzle that hasn't fully cured can sag or separate once it's vertical. Wait at least overnight, and longer for larger puzzles, before mounting.
Frequently Asked Questions About Gluing Puzzles


Using this method to glue a puzzle together? I'd love to see it! Tag me on social media (@lambertslately) with your results. 🧩

Leslie Lambert is a lifestyle writer and content creator specializing in home organization, family recipes, and intentional living. With 17 years of experience in blogging and digital storytelling, she helps busy women create calm, purposeful homes they love.
Where did you buy your puzzles? I haven't seen designs like this.
All over the place, but several of these are Dollar Tree puzzles!
We have also done several puzzles and would love to display them. What do you use to hang your puzzles on the wall?
Just simple sticky tac! I have the kind I use linked in the post.
Hello,
I have been doing puzzles too. I have one that is of flowers and light in colors. My problem is that the puzzle piece lines after the puzzle was completed are very quite noticeable. Is there something I can do to tone these down so I can frame it? Thanks for any help.
You can definitely see the piece lines when I preserve mine; I kind of think it adds to the charm! There is probably some kind of lacquer or varnish you can use to fill in those gaps, I'm just not familiar with it.
I build puzzles and frame them. Started while doing my MBA to relieve the stress. I had a piece missing, I sent a photo to the company of the completed puzzle missing that piece and they mailed it to me free of charge.
Good to know, thanks for the tip!
thank but can you hang your finished puzzle on the wall with stick pins on each corner?
Thanks Jackie
I'm not sure push pins would be long enough to go through a puzzle and securely into the wall.
Can this method, Mod Podge, be used on wooden puzzles?
Yes! Wood is usually heavier than a cardboard puzzle, so the wooden ones might require more coats of mod podge.
How would you hang a double sided puzzle?
I like to hang puzzle on a wall and be able to turn puzzle over occasionally...
I have a 70cm diameter round puzzle, which has a different picture on each side...
Would "mod podge" work with say glueing the puzzle onto a sheet of perspex?
Cheers!
For this, I would use sticky tac that can be easily removed. This is what I used to use for my puzzles - it's not quite as long-term, but can be easily removed when needed.