
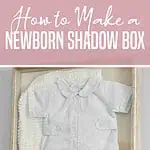
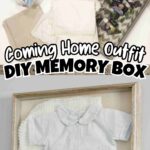
Display that special newborn going home outfit in a shadow box! This easy tutorial shows a step-by-step DIY process of how to frame baby clothes and make a special keepsake.
Affiliate links used in this post. Read more about my link usage here.
If I can do something myself (and actually do it well), I'm not going to pay somebody else to do it. That comes as no surprise to anybody who has read this blog for any measure of time. It's just one of my things.
I love taking on DIY projects. Yes, I have fails just like anybody else. But, there's something so rewarding about learning how to do something & creating projects with that knowledge that you can treasure for years to come. Today's DIY is no exception!
I've always wanted to somehow display my kids' going home outfits from when they were teeny tiny newborns coming home from the hospital.

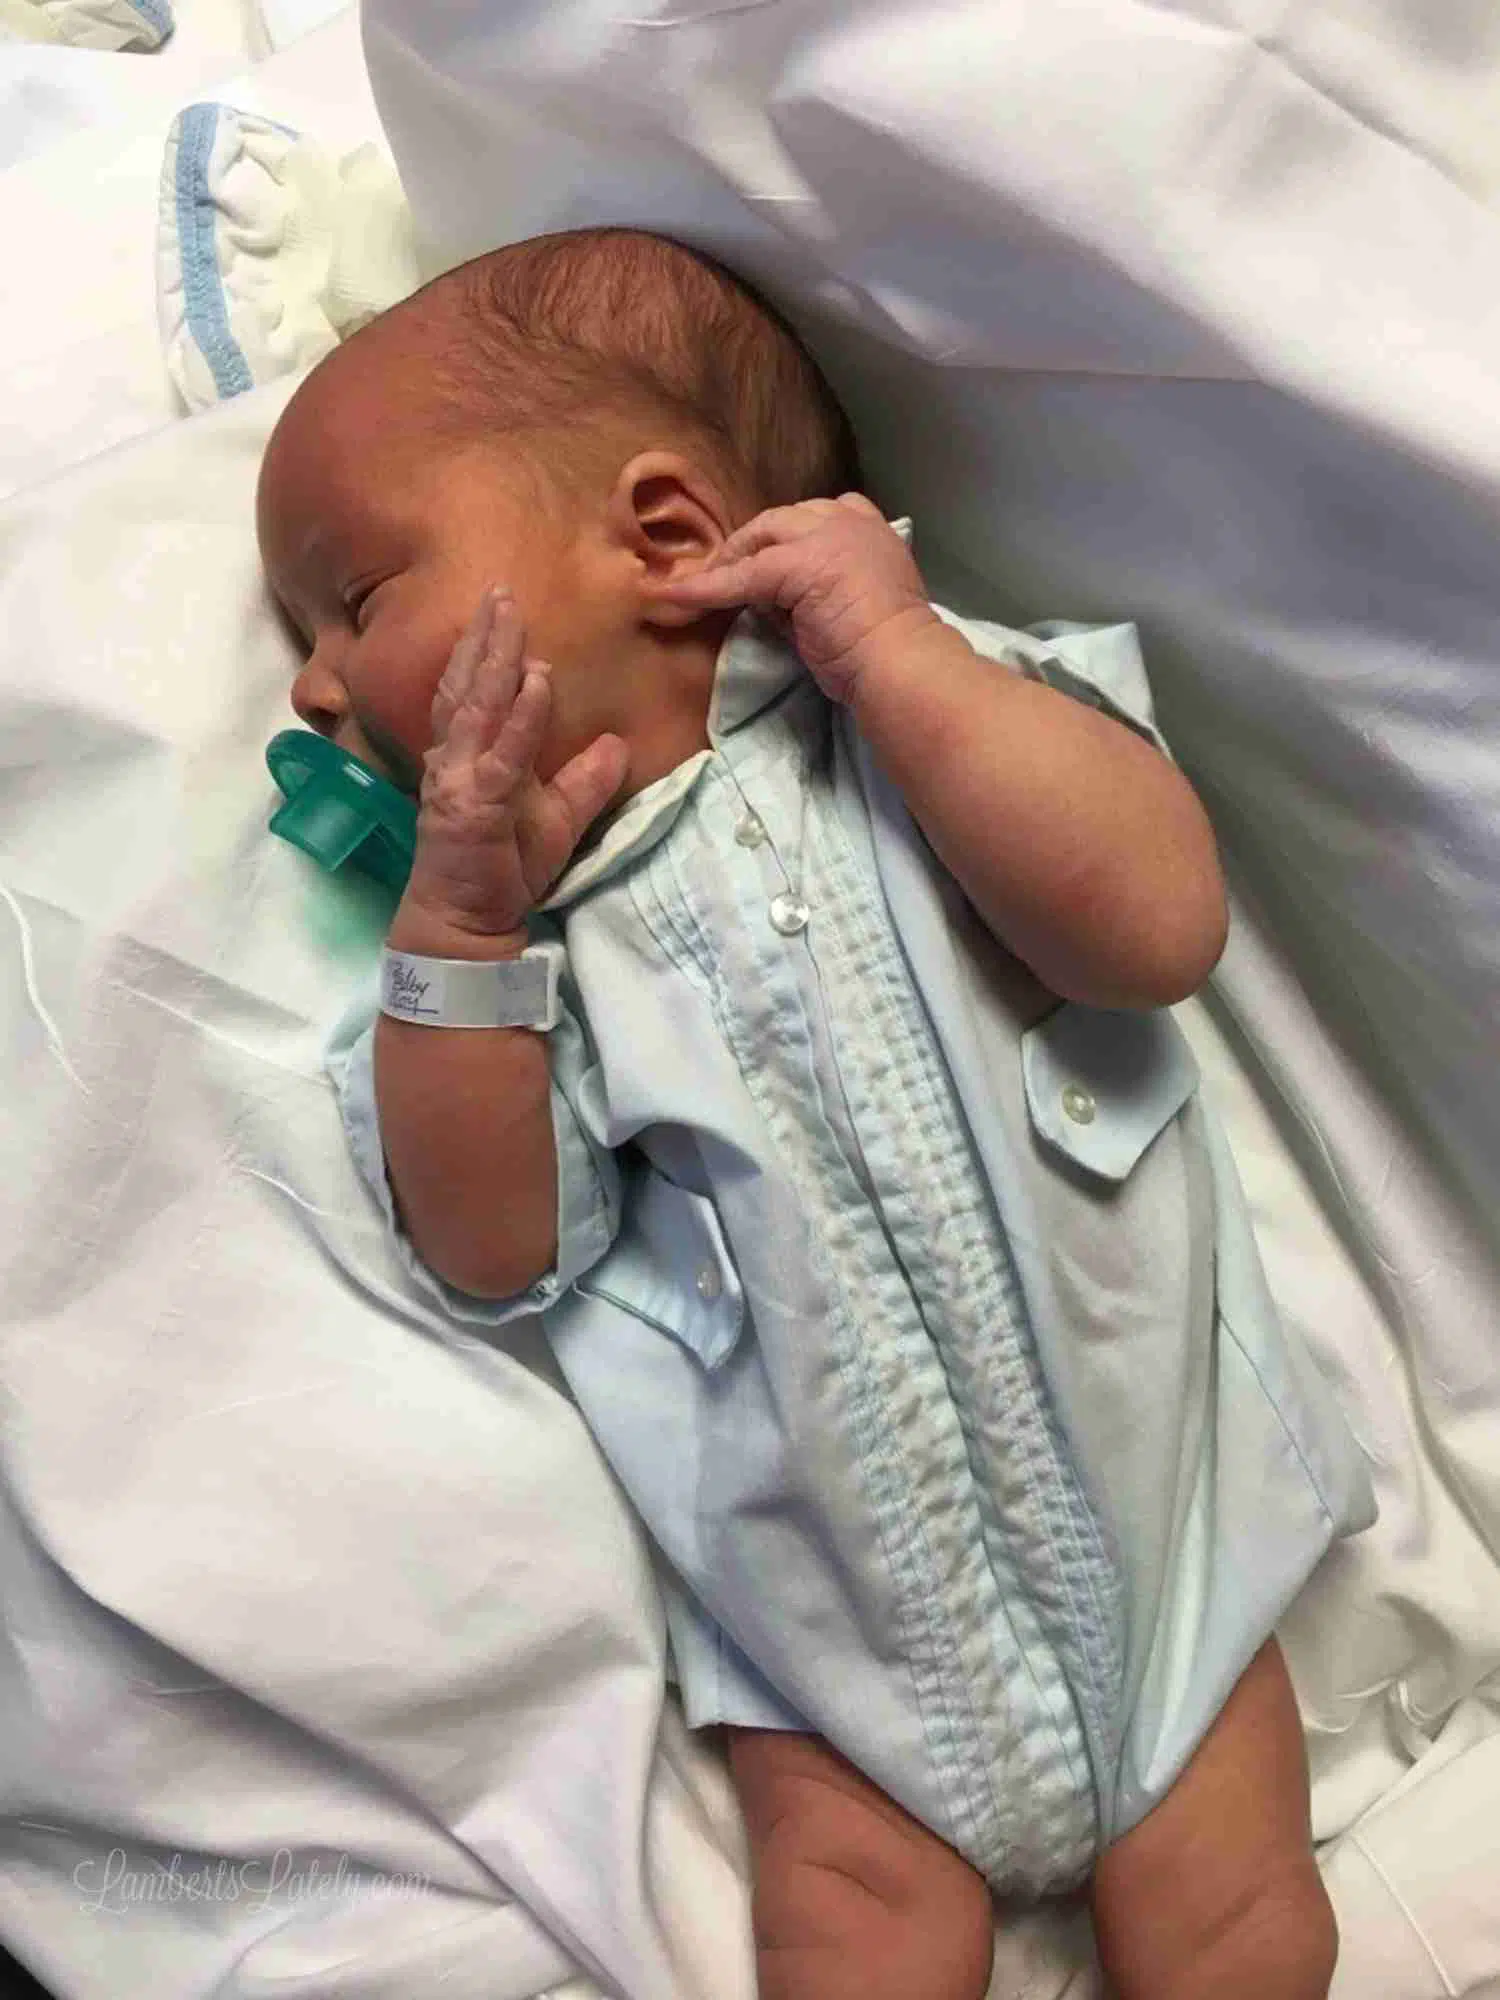
These pieces are incredibly special to our family. My daughter's going home dress was my going home outfit (and she used my husband's going home blanket). My son's outfit was my husband's going home outfit (and he used my going home blanket).
I have had this idea of a baby shadow box to display the outfits in the back of my head for years. For some reason, I just couldn't get together exactly how to do it. One day, I stumbled on a random blog post that had the inspiration for this project. I modified from there to fit exactly what I needed!
I loved the simple look that really lets the outfit stand out (instead of the framing). Plus, it didn't hurt that I was able to make each of these frames for under $20 each.
I had a few requests to document this project when I showed it in my Instagram stories. So sorry, for the most part the picture quality of the step-by-step tutorial isn't awesome - I really just shot it on my iPhone for Instagram.
Ready to display those baby clothes in a beautiful way? Let's get to it!
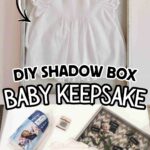
How to Make a DIY Newborn Shadow Box
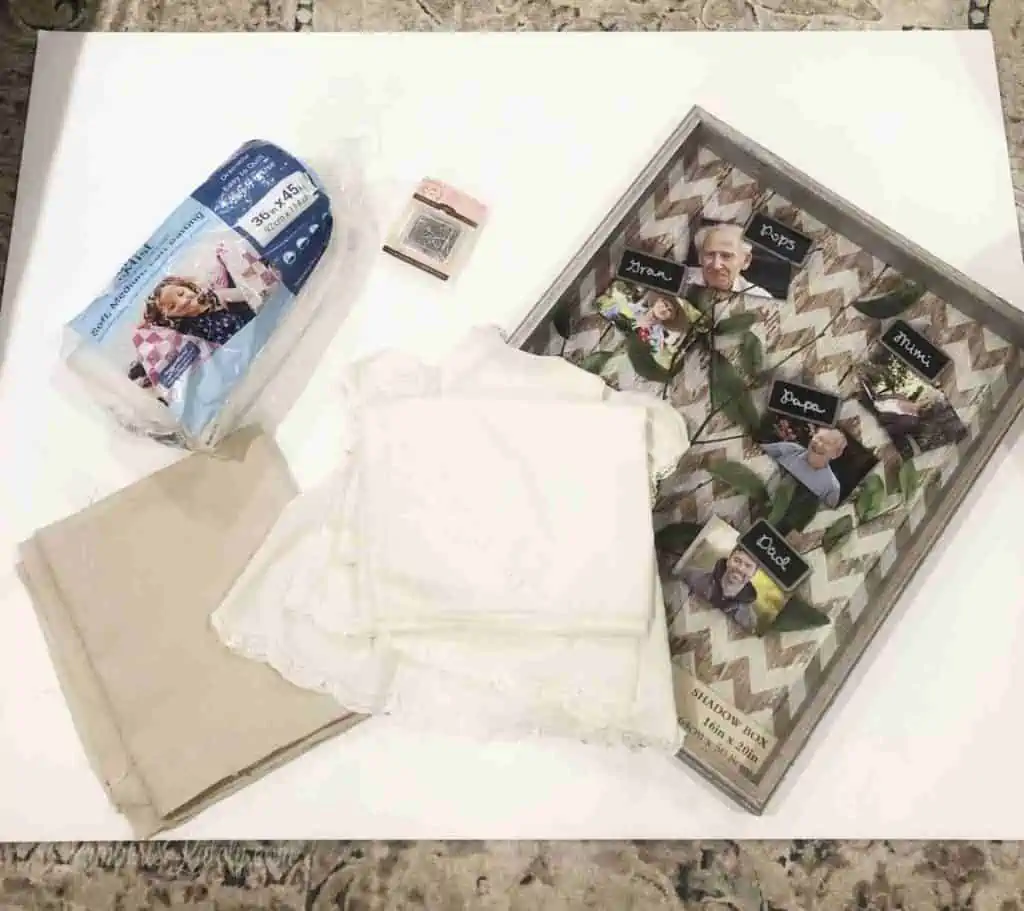
Project Supplies
- Keepsake items
- A sheet of 32x40" acid-free foam board - I used 3/16" thickness (available at Hobby Lobby - watch for half off sales)
- One yard of background fabric of choice
- One 16x20" shadow box frame (again, Hobby Lobby - a half off sale is a must for this! At minimum, use a 40% off coupon to save lots...no need to pay full price.) Note: 16x20" was perfect for our newborn outfits, but I recommend laying out your outfit before purchasing a frame to make sure it will fit.
- Small pack of medium-loft quilt batting (Hobby Lobby - I found a pack that was only $1.99 on sale)
- Dressmaker Straight Pins
- Quilting Ruler (optional, but helps a lot)
- Duct Tape
- Box Cutter/Scissors
Step 1: Cut Foam Board
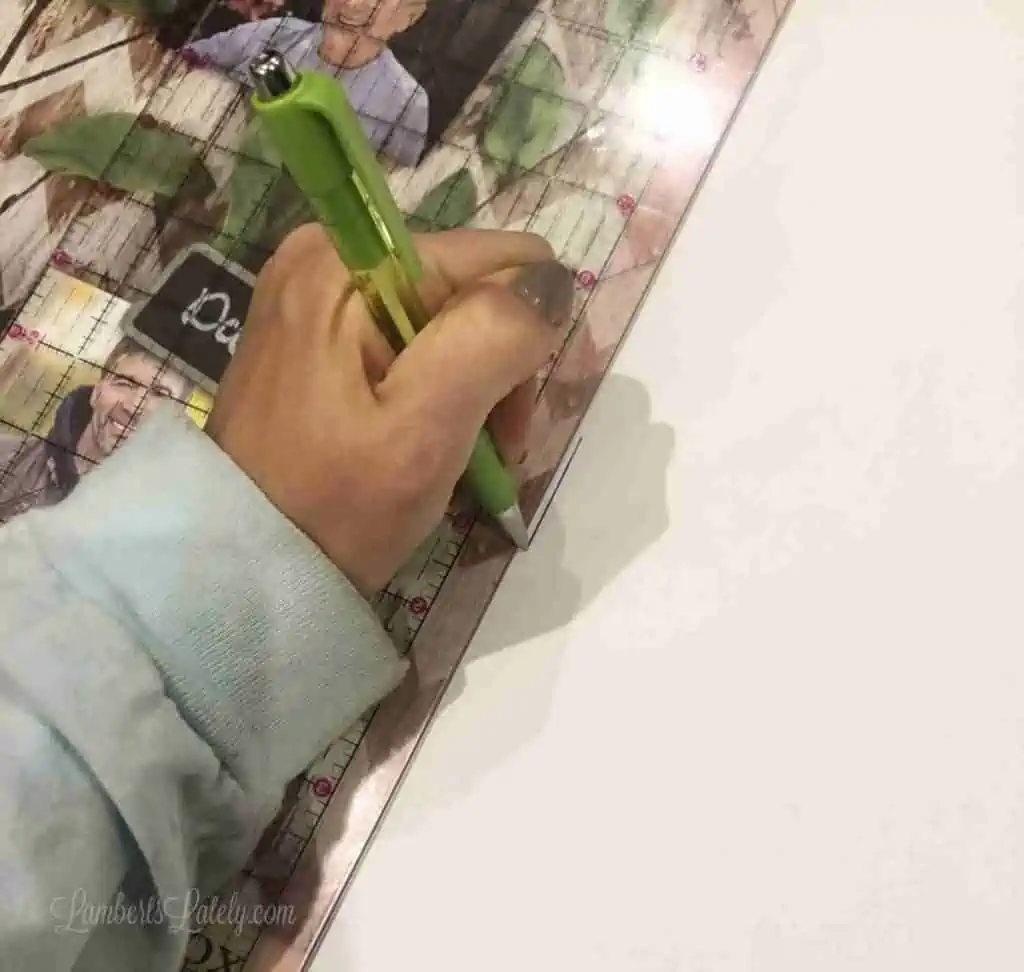
First, take the paper insert out of the new shadow box to use as a cutting guide for the foam board. Use your quilting ruler to ensure straight lines and 90 degree angles.
Trace around the paper insert. Cut out that piece of foam board with the box cutter just inside those lines (less than ¼" inch).
The edges don't have to be perfect - they'll be covered up! But you need to make sure the cuts are as close to the inside of the insert as possible. This will give you extra room in the frame for the batting and fabric.
Step 2: Cut and Secure Quilt Batting
Add 4" (2" around all sides) to the length and width of your newly cut piece of board and cut a piece of quilt batting to these specifications.
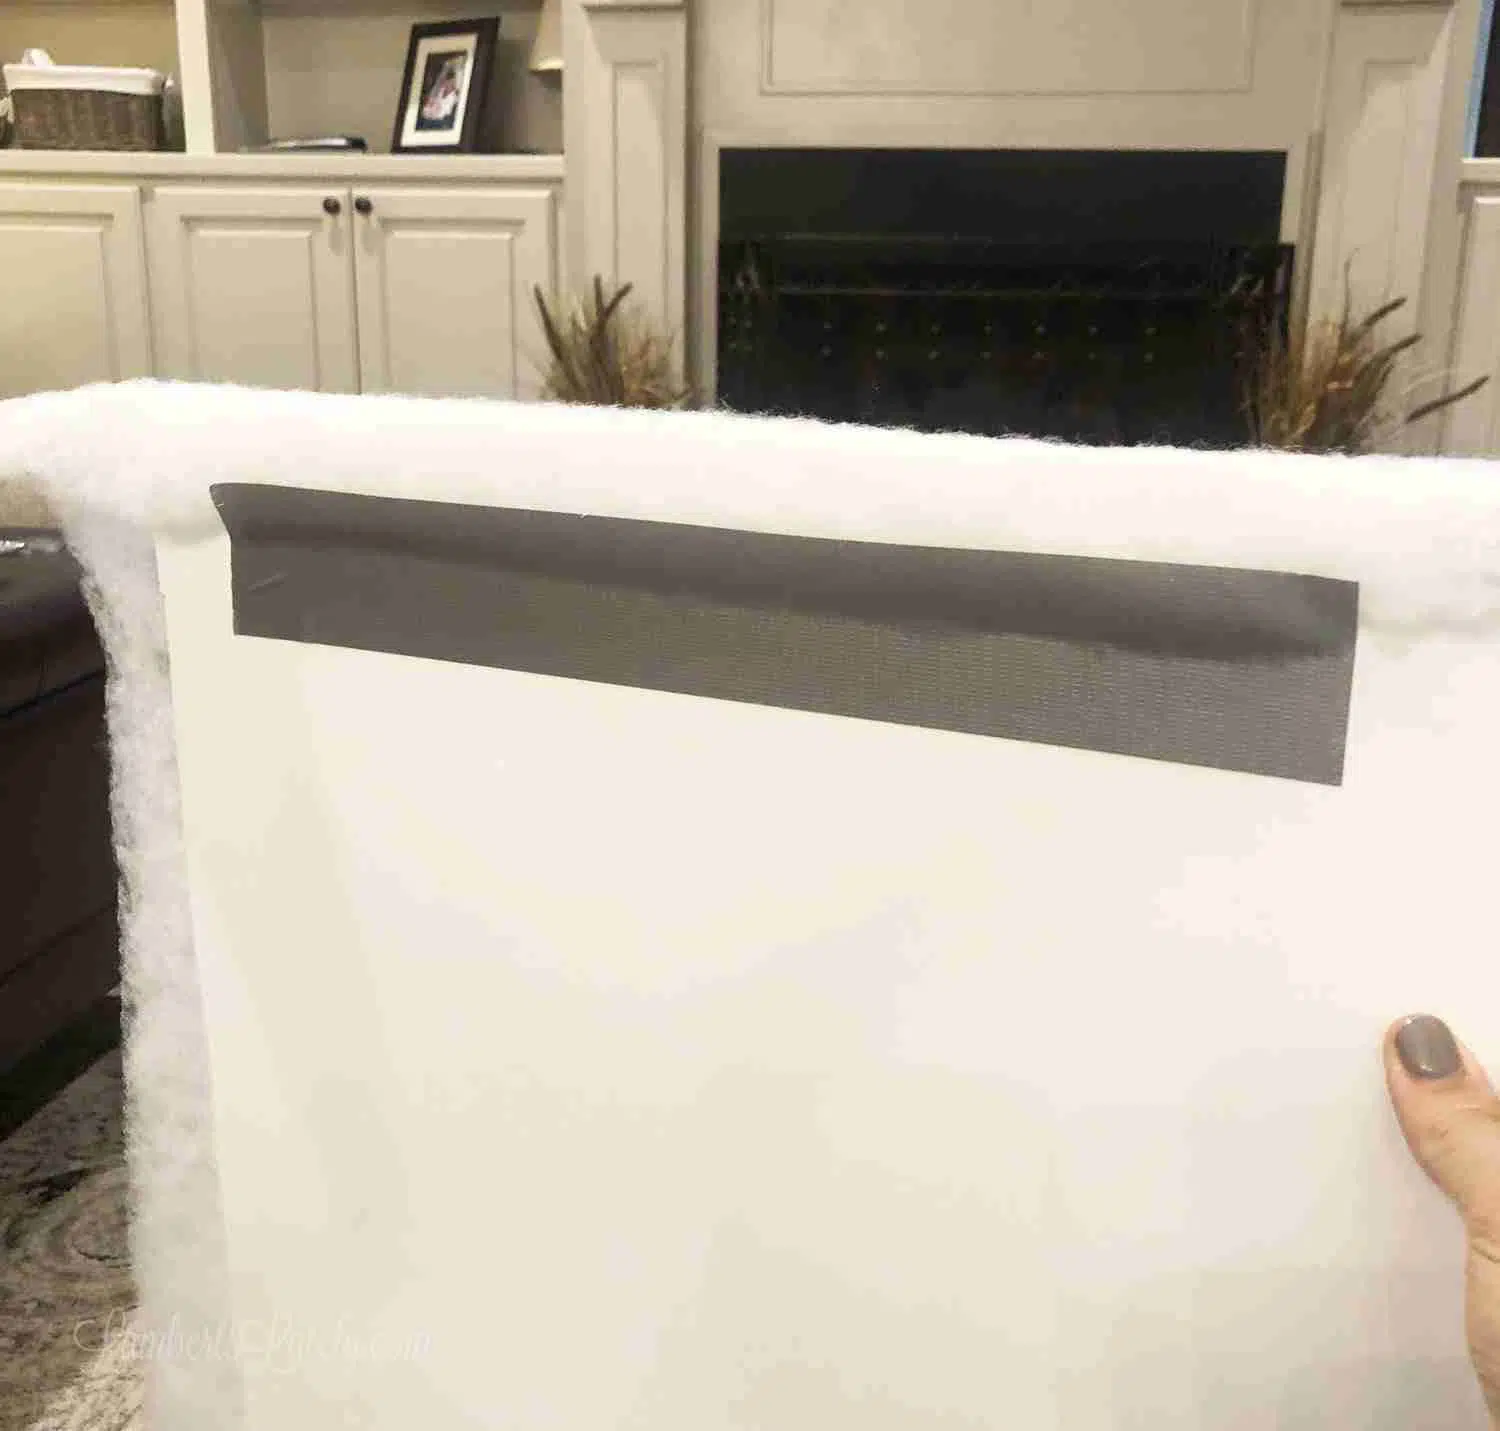
Wrap the batting around the back of the foam board and duct tape it pretty tightly. Do this on all 4 sides. (Remember, nobody will see the back.)
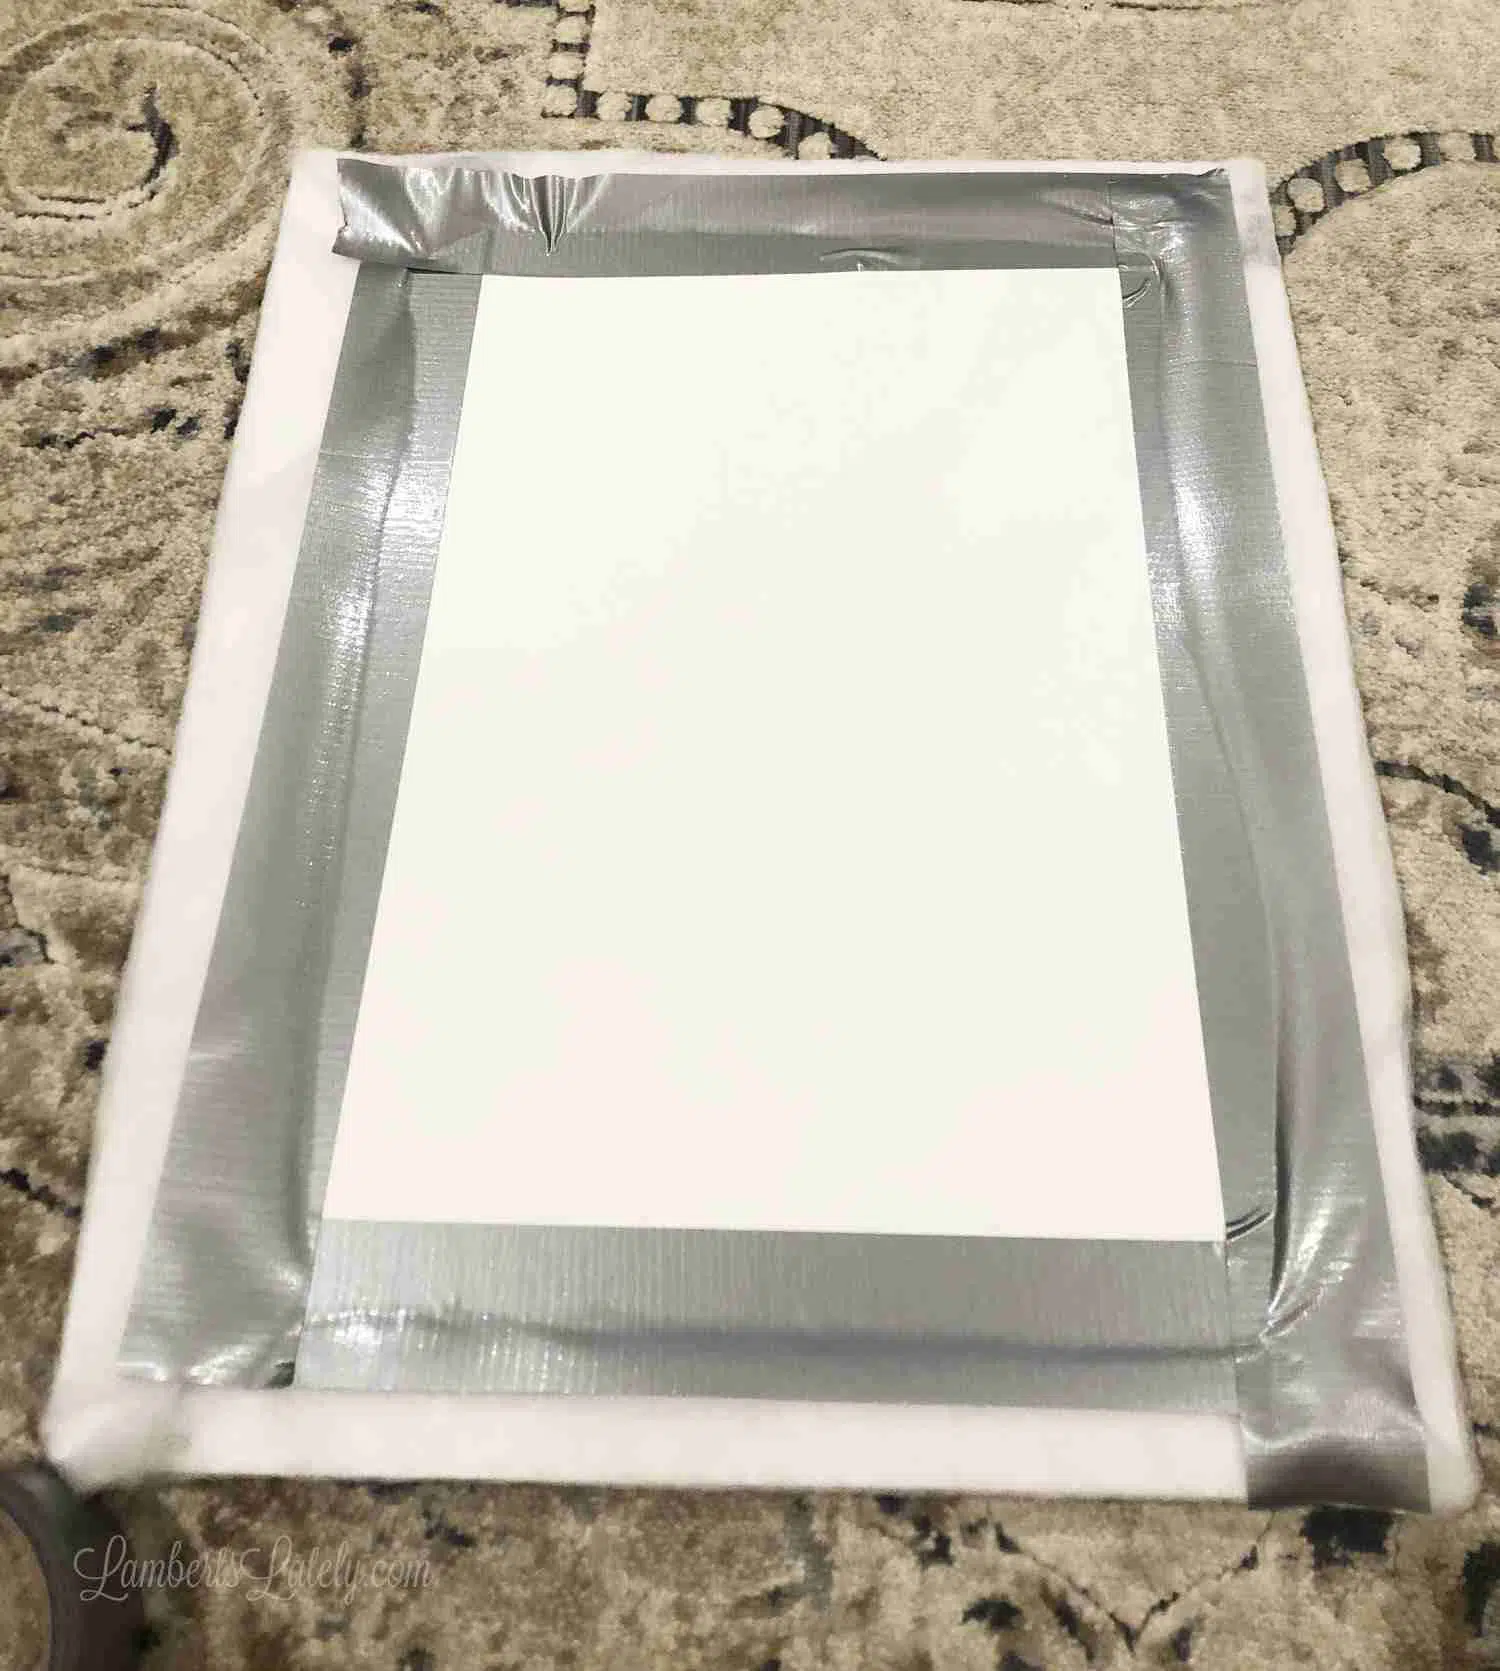
Step 3: Cut and Secure Fabric
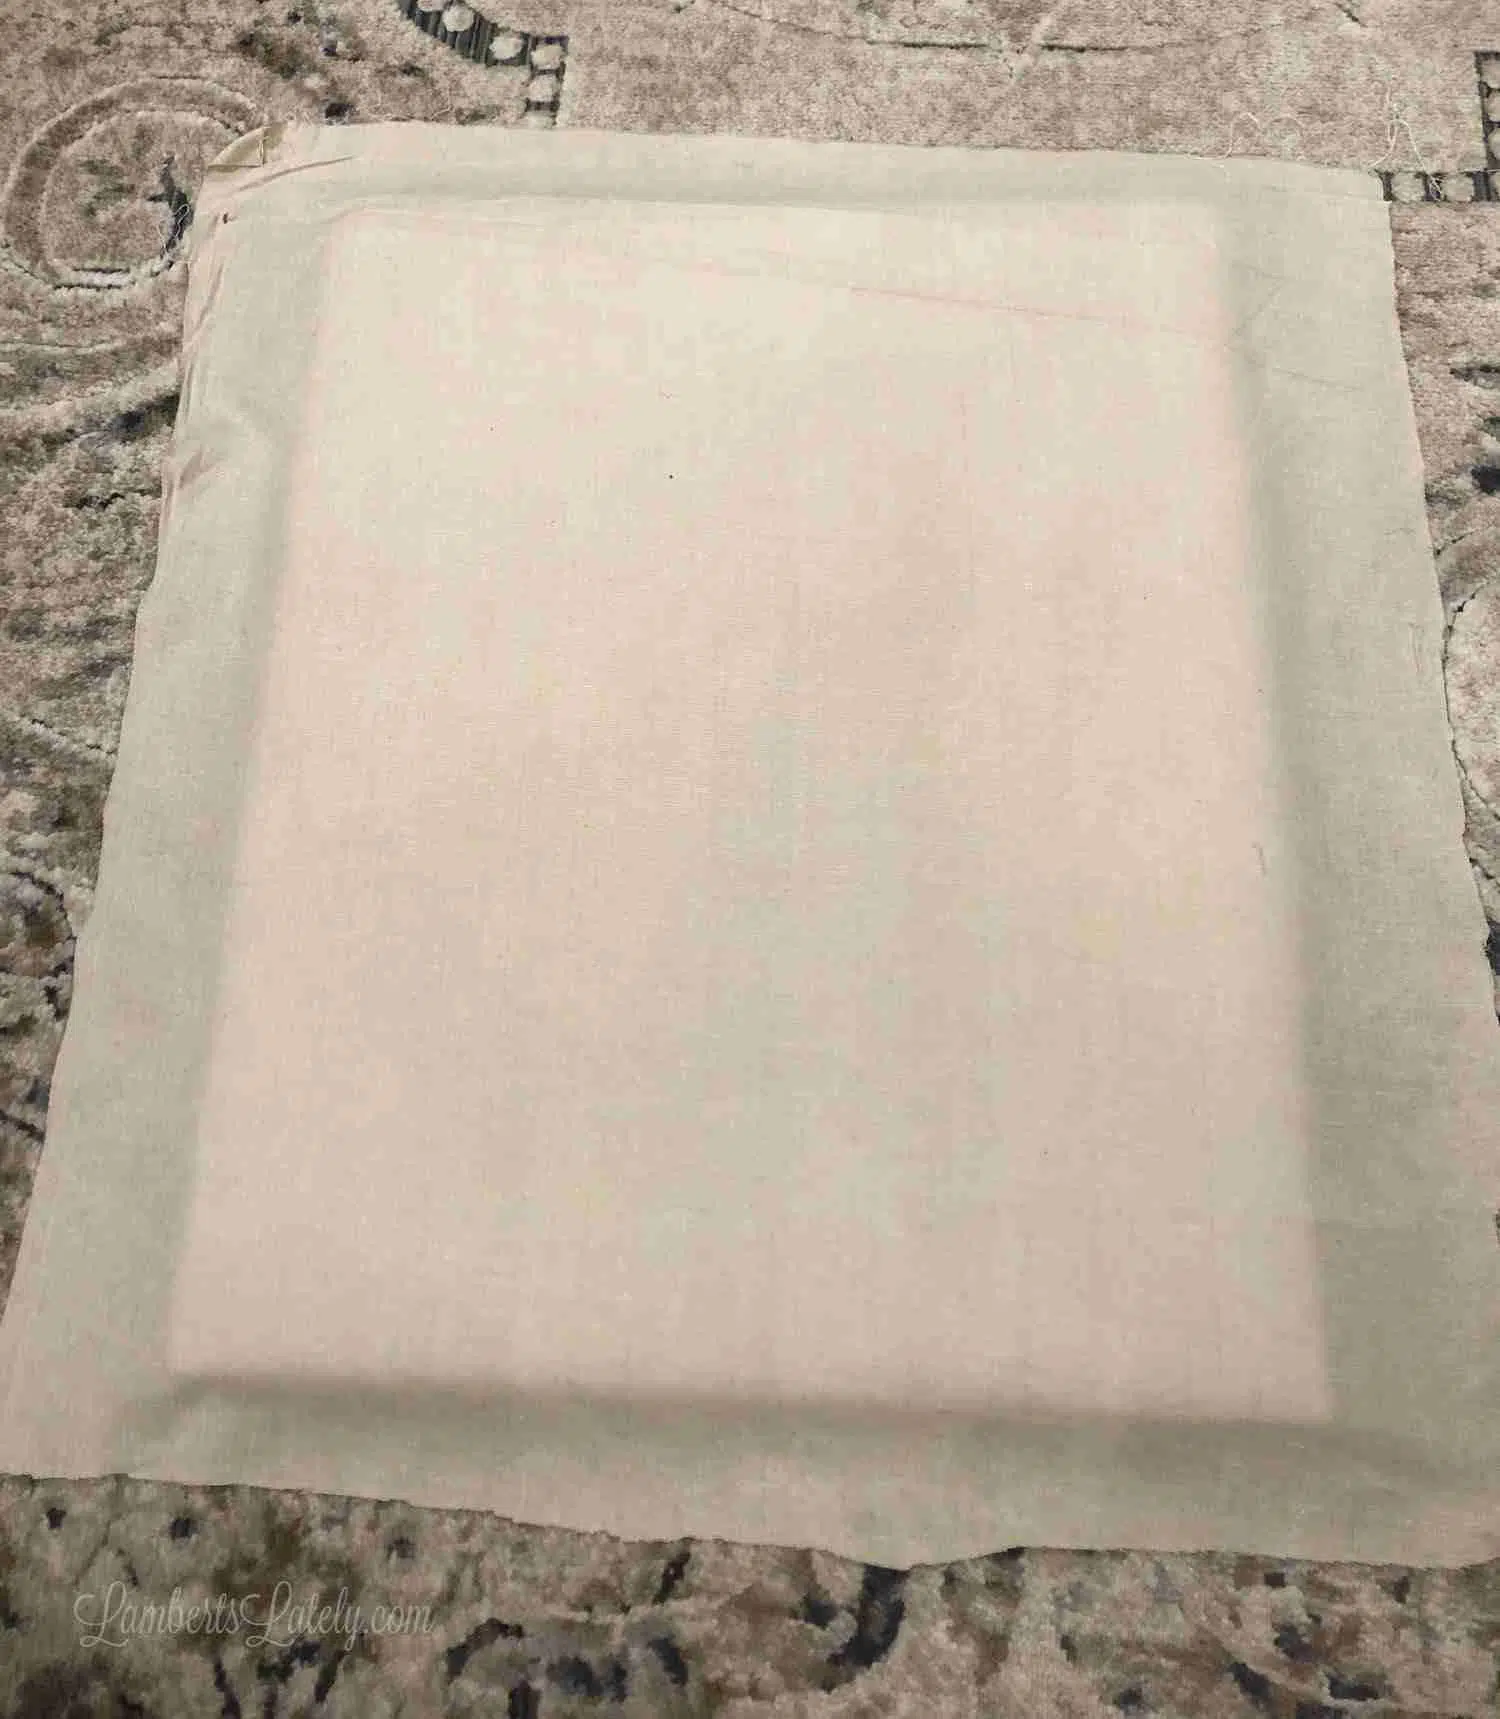
Cut fabric to the same specifications as the quilt batting (2" around all sides of the foam board).
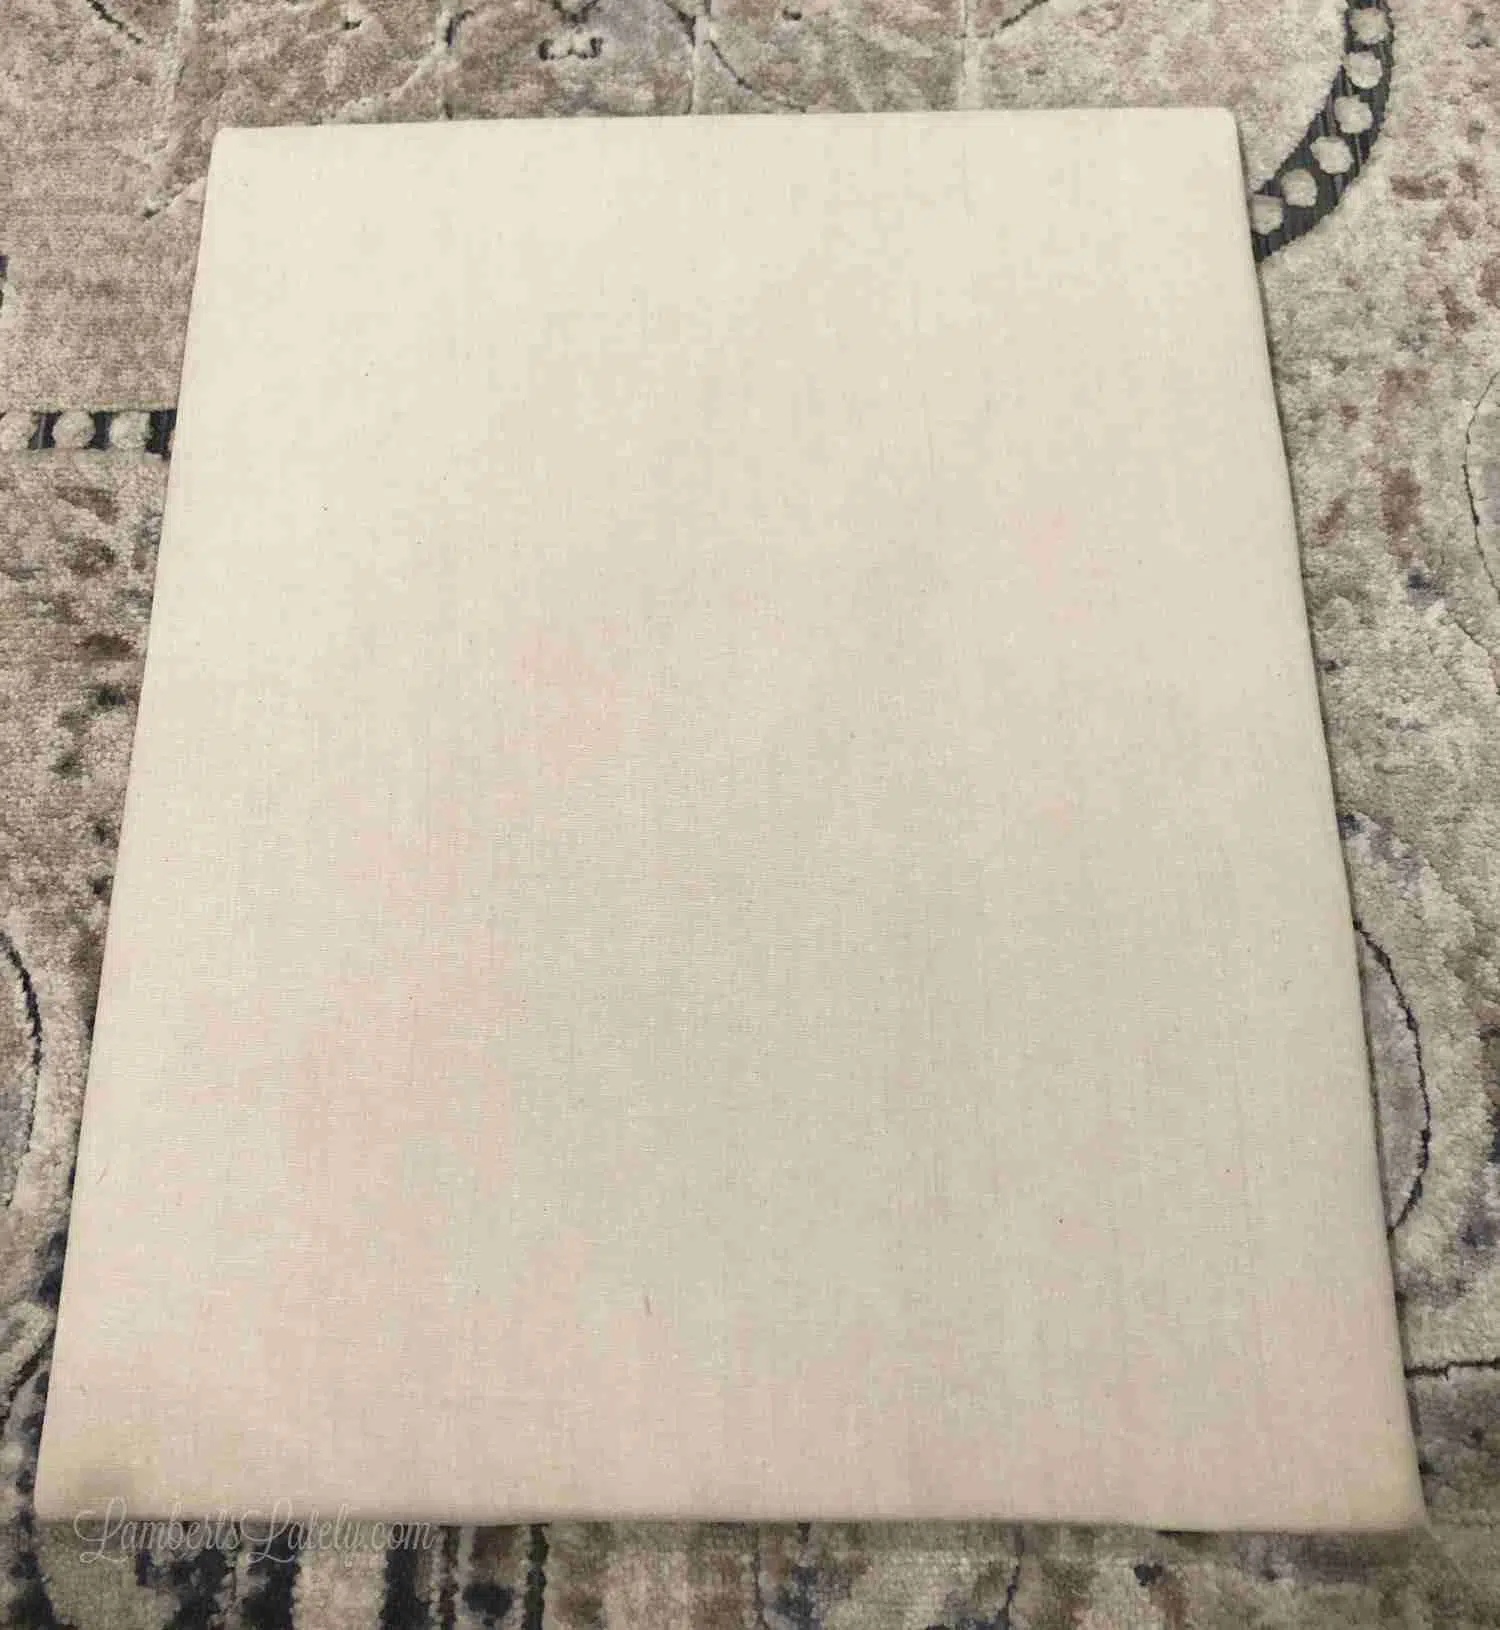
Repeat the process of duct taping tightly around all sides. At this point, put your board in the frame to make sure it fits before pinning your outfit in place.
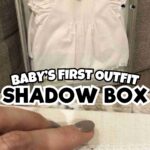
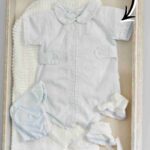
Step 4: Position and Pin Newborn Outfit
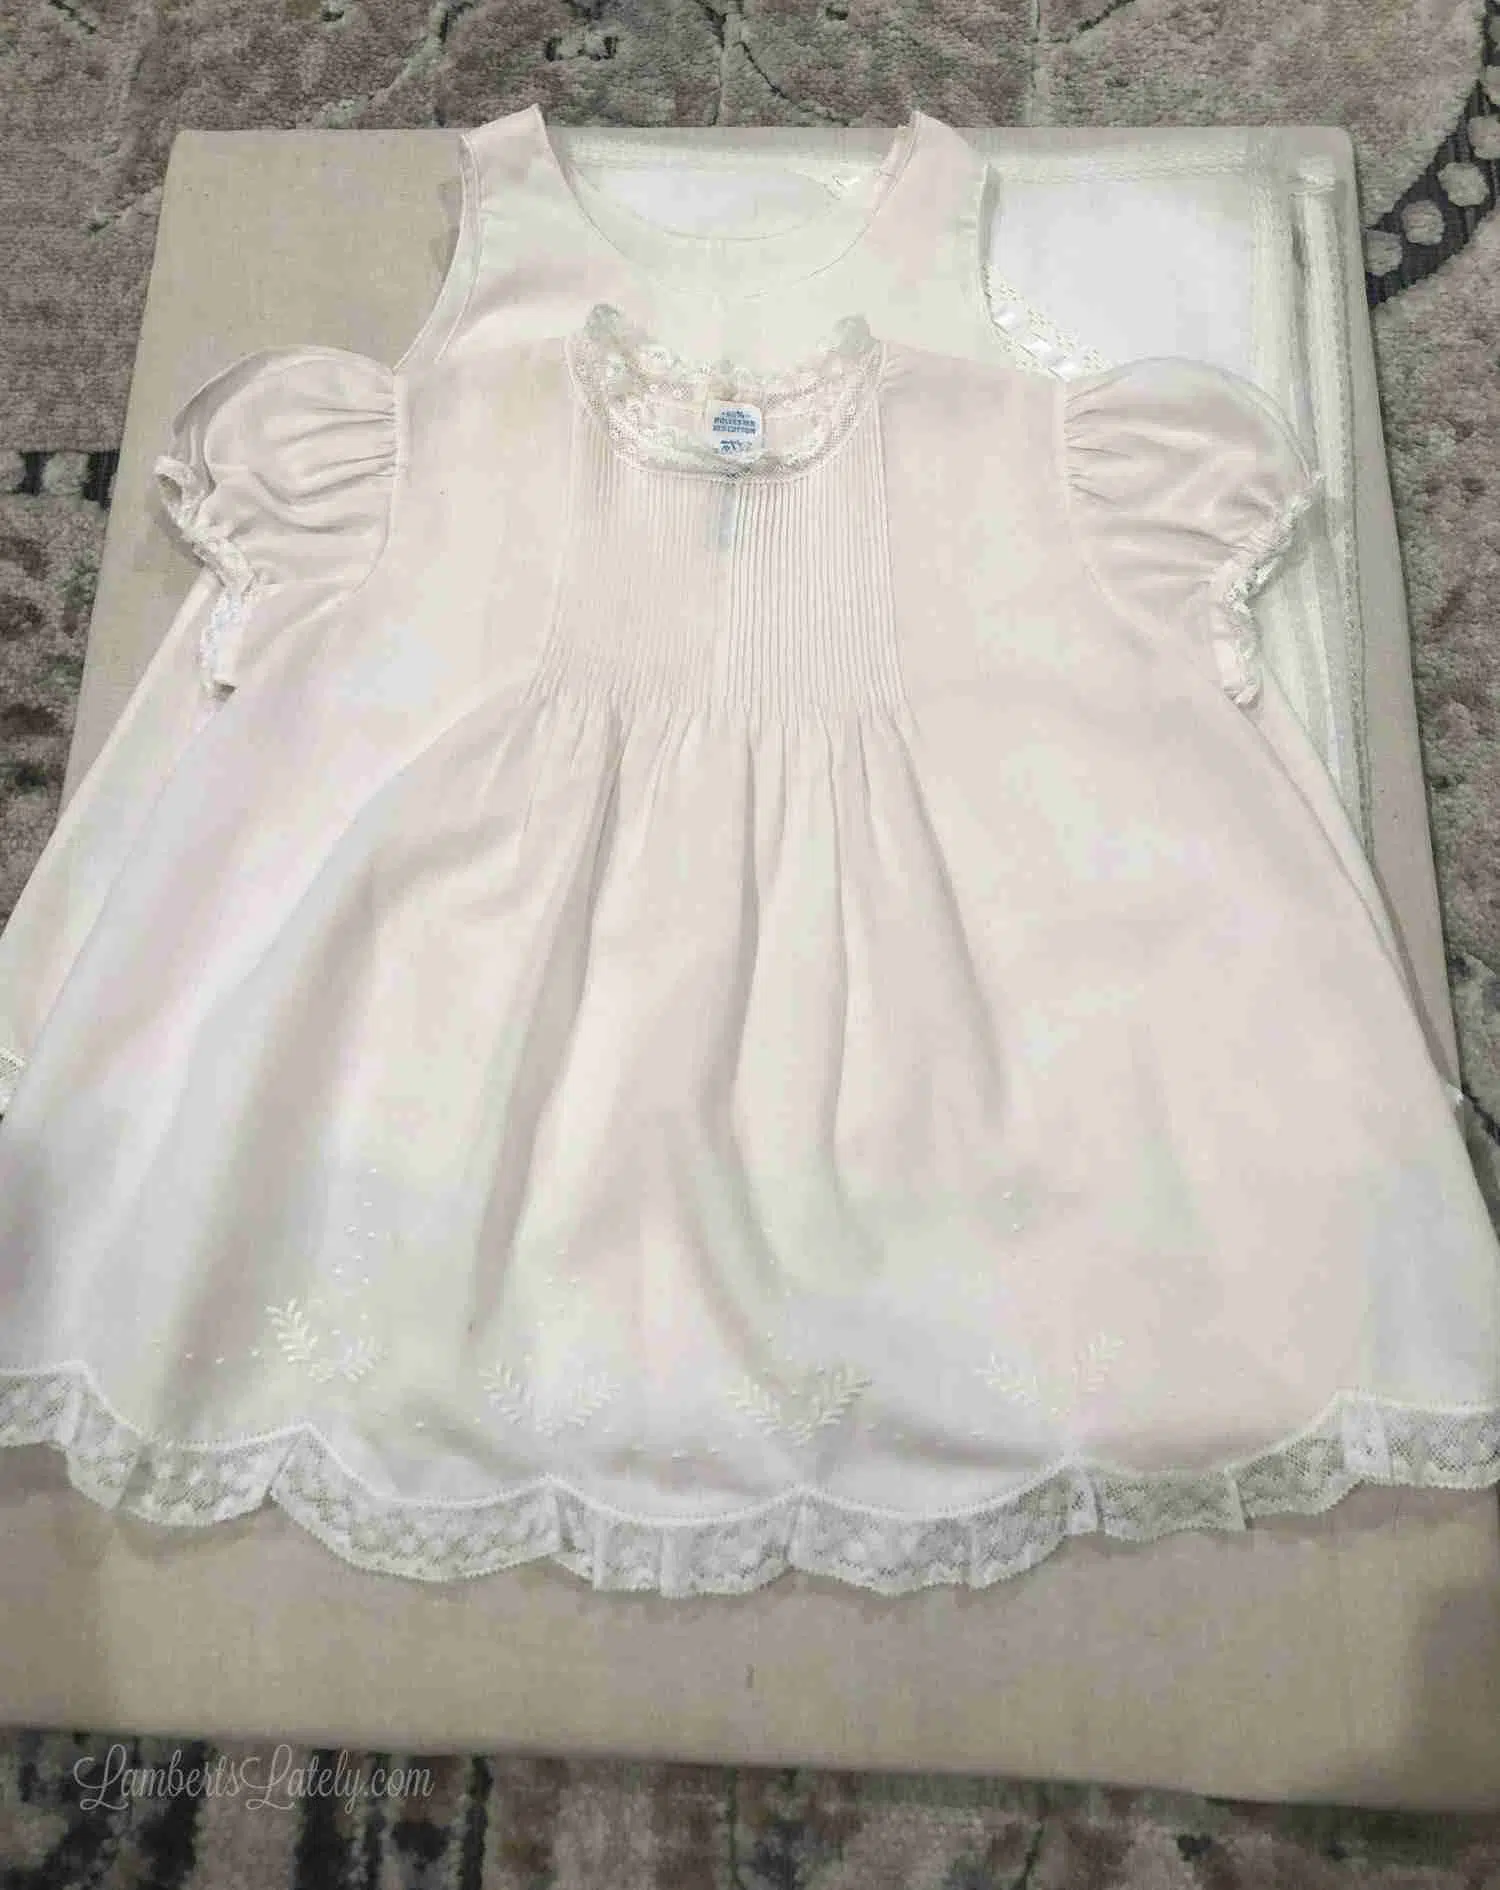
Now, lay out your outfit. Take time doing this - it's important you get the position correct!
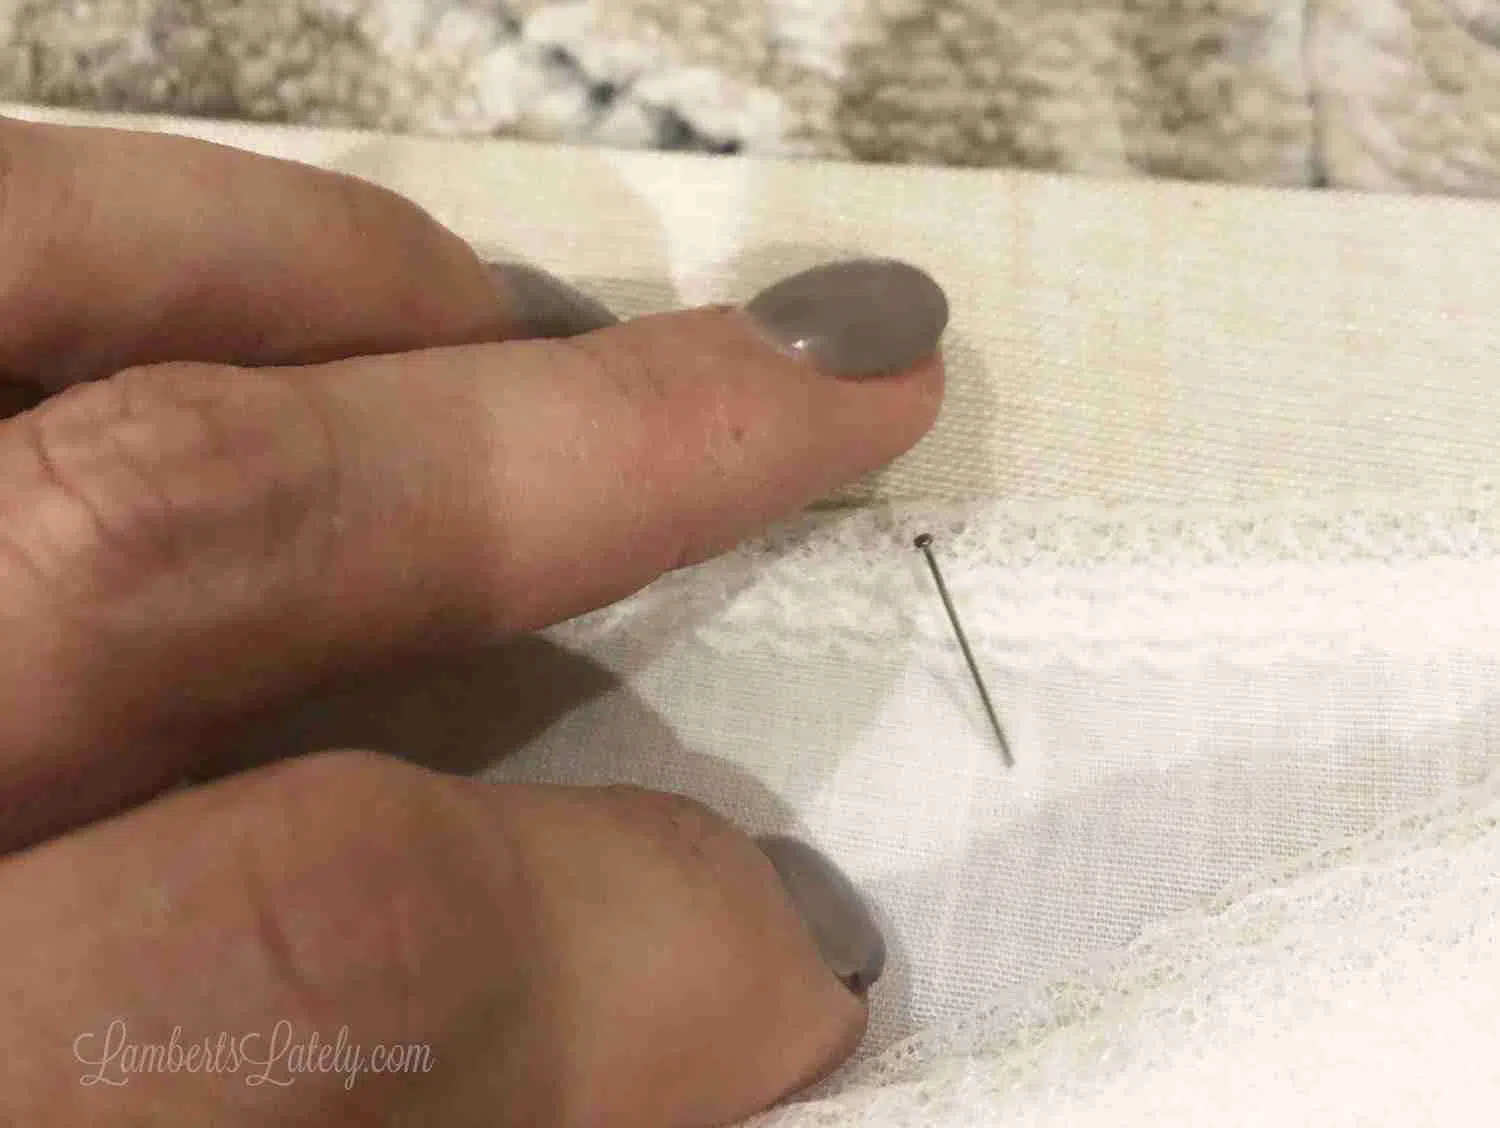
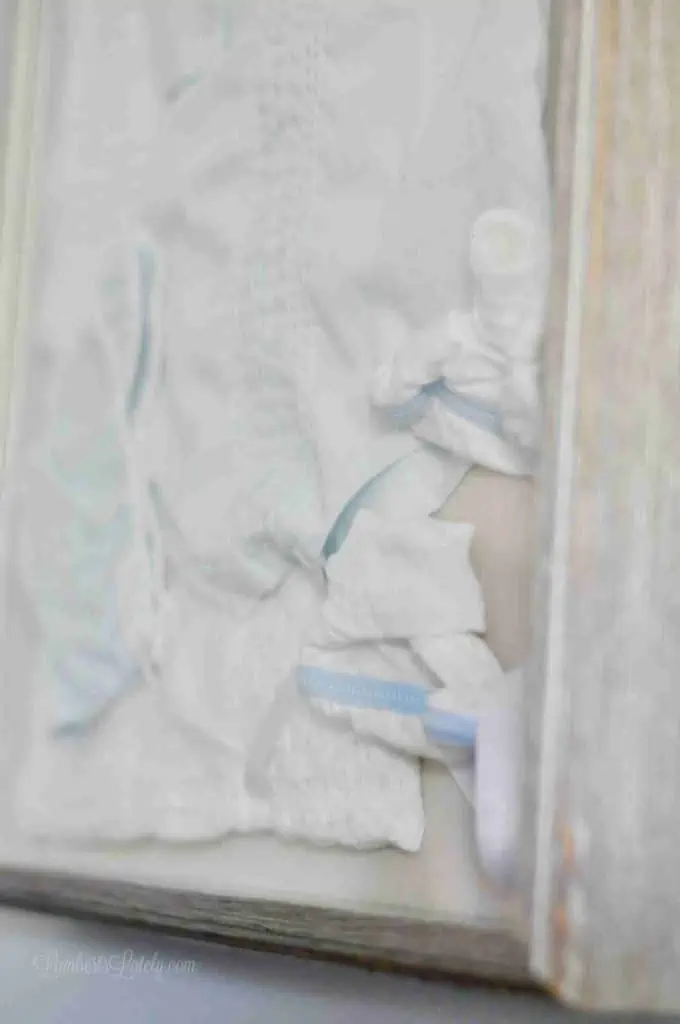
If needed, carefully lift up all pieces of the outfit except for the bottom layer. Make sure you don't throw off the positioning you just set. Use straight pins to tack the bottom layer in place (in my case, the blanket). I put pins every 2-3", hiding them behind smaller pieces of fabric if possible.
Carefully replace each layer and pin in place. With clothing, it's easy to hide the pins by pinning inside sleeves or necklines. A few times, I held the foam board up while pinning to ensure that the pins were holding everything in place when the outfit was vertical.
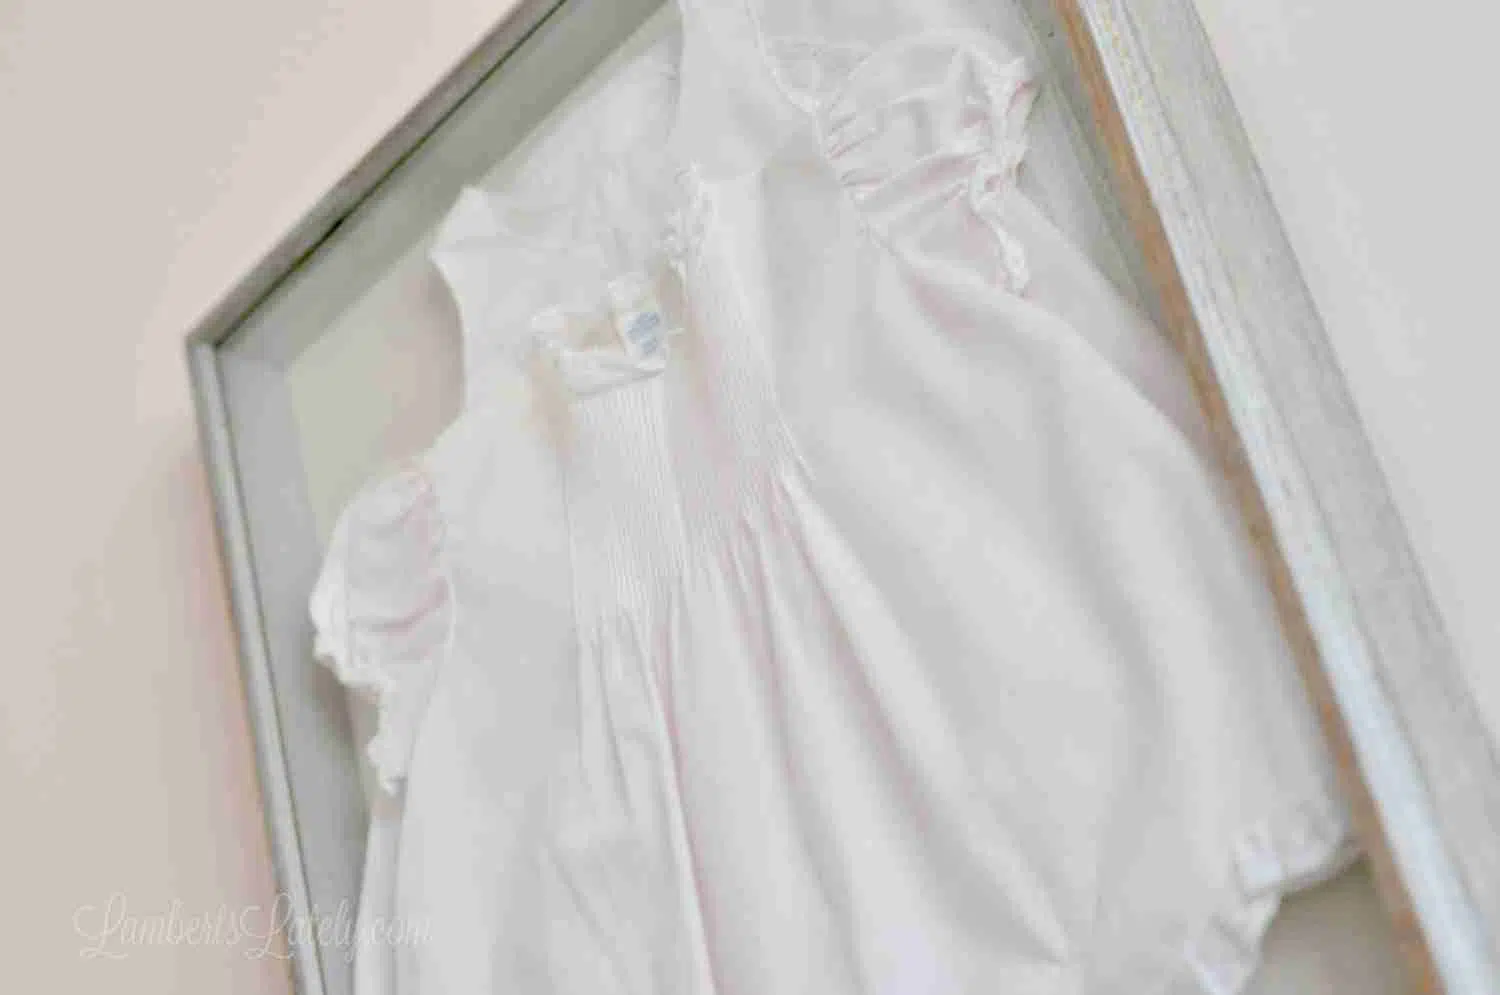
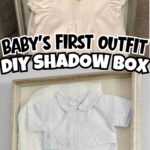
Step 5: Put Pinned Outfit Board in Shadow Box
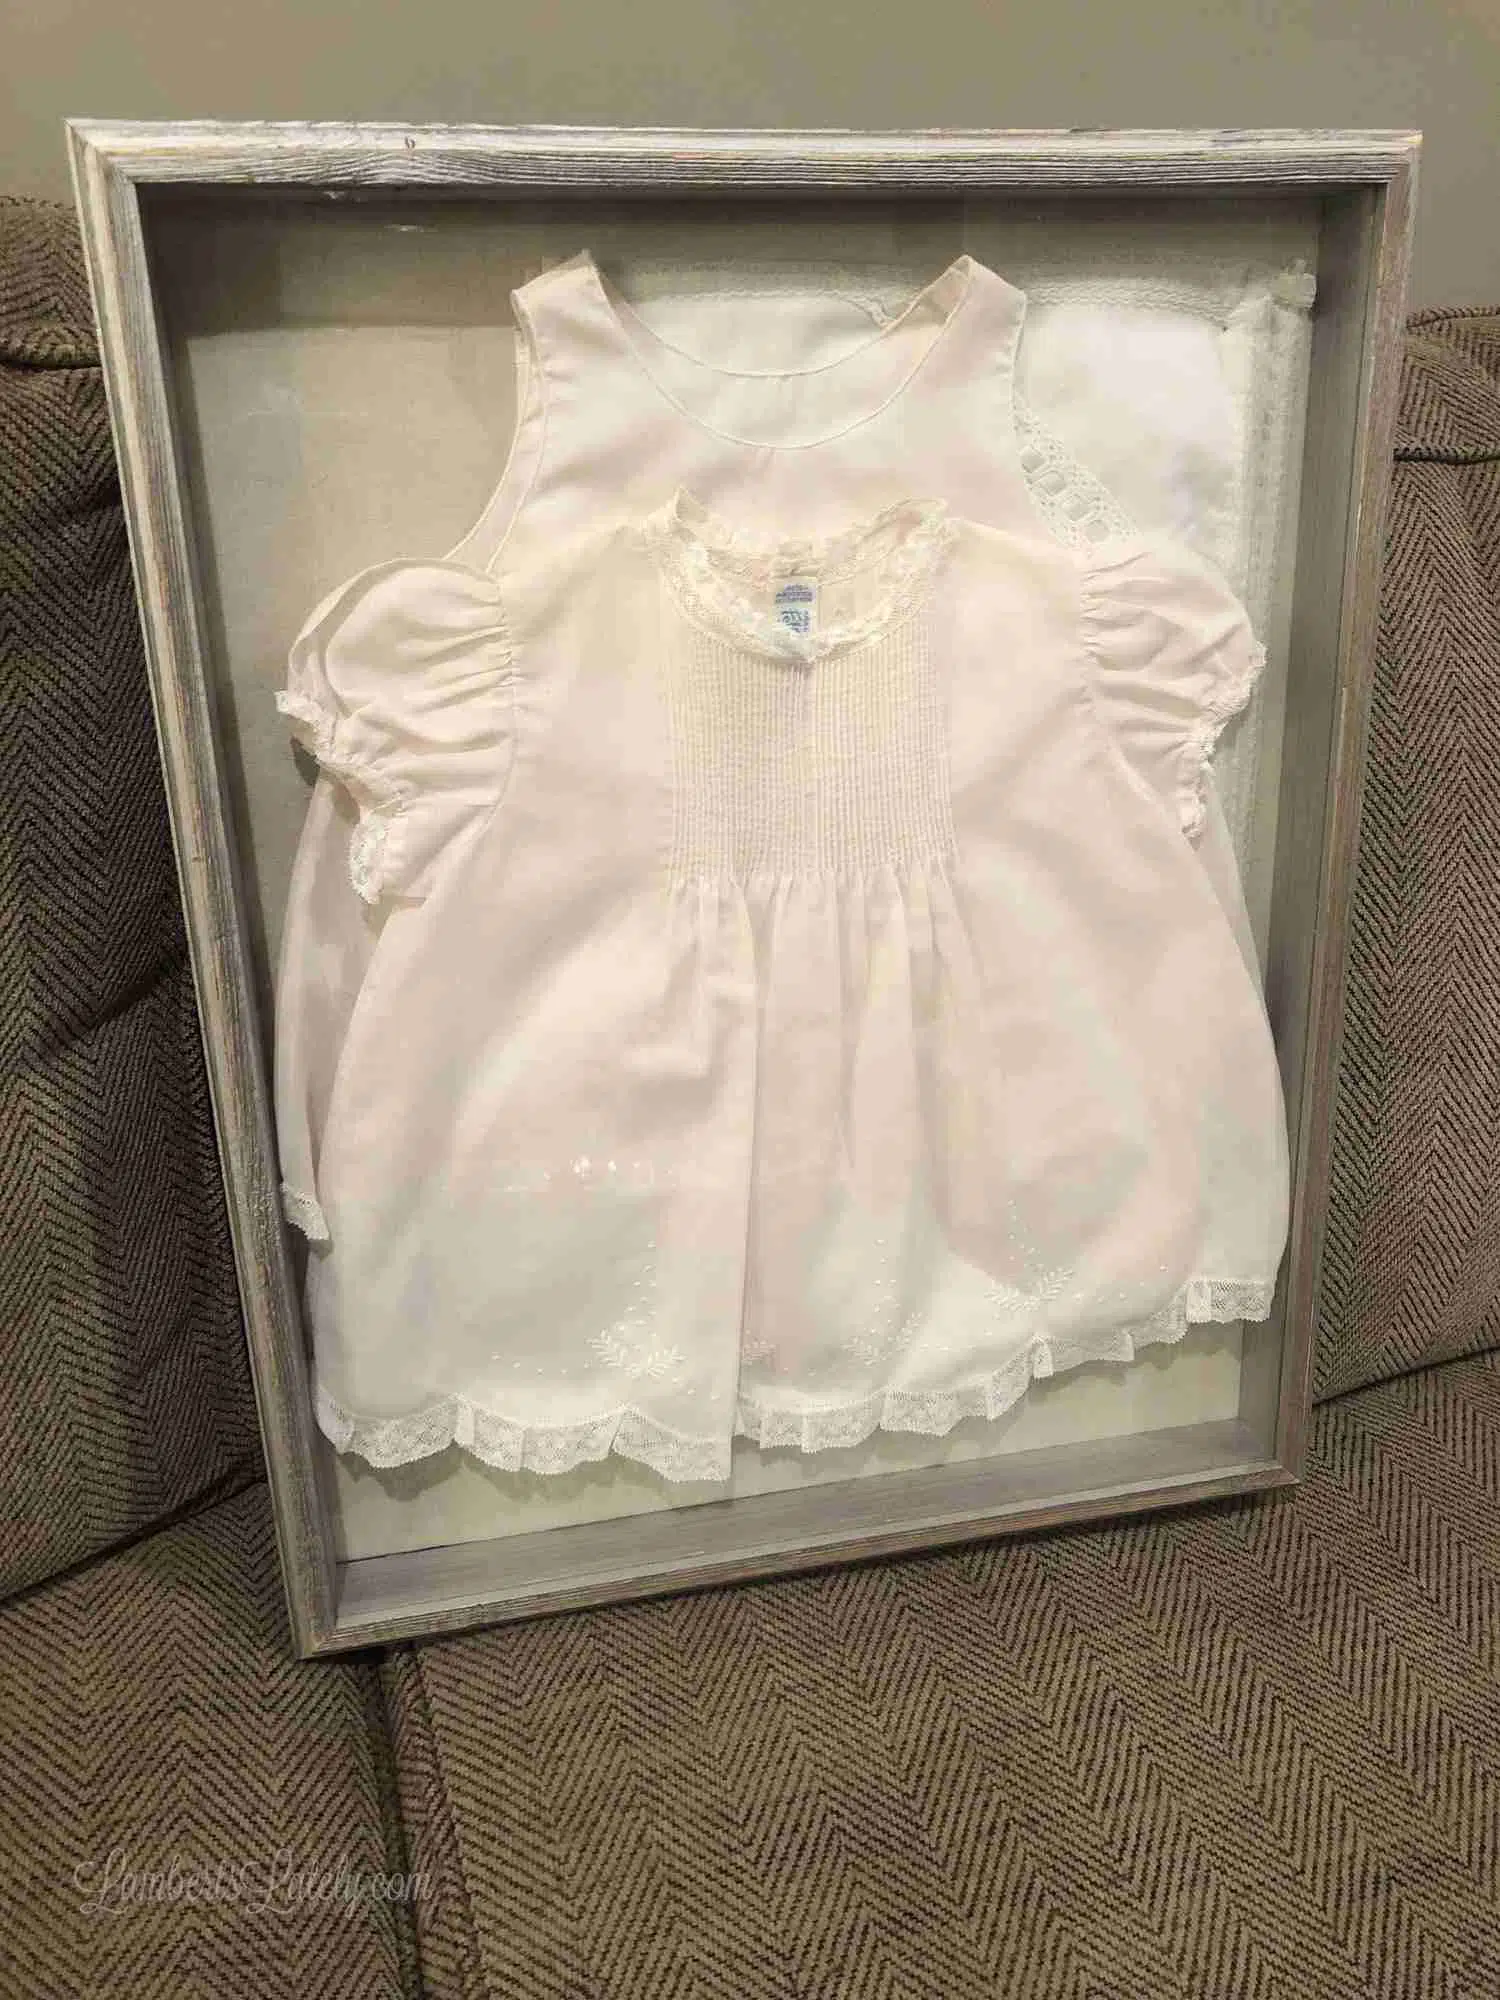
Then, simply put the foam board into the back of the frame! You won't need the original backer for the frame with the foam board. You should have a pretty snug fit without it.
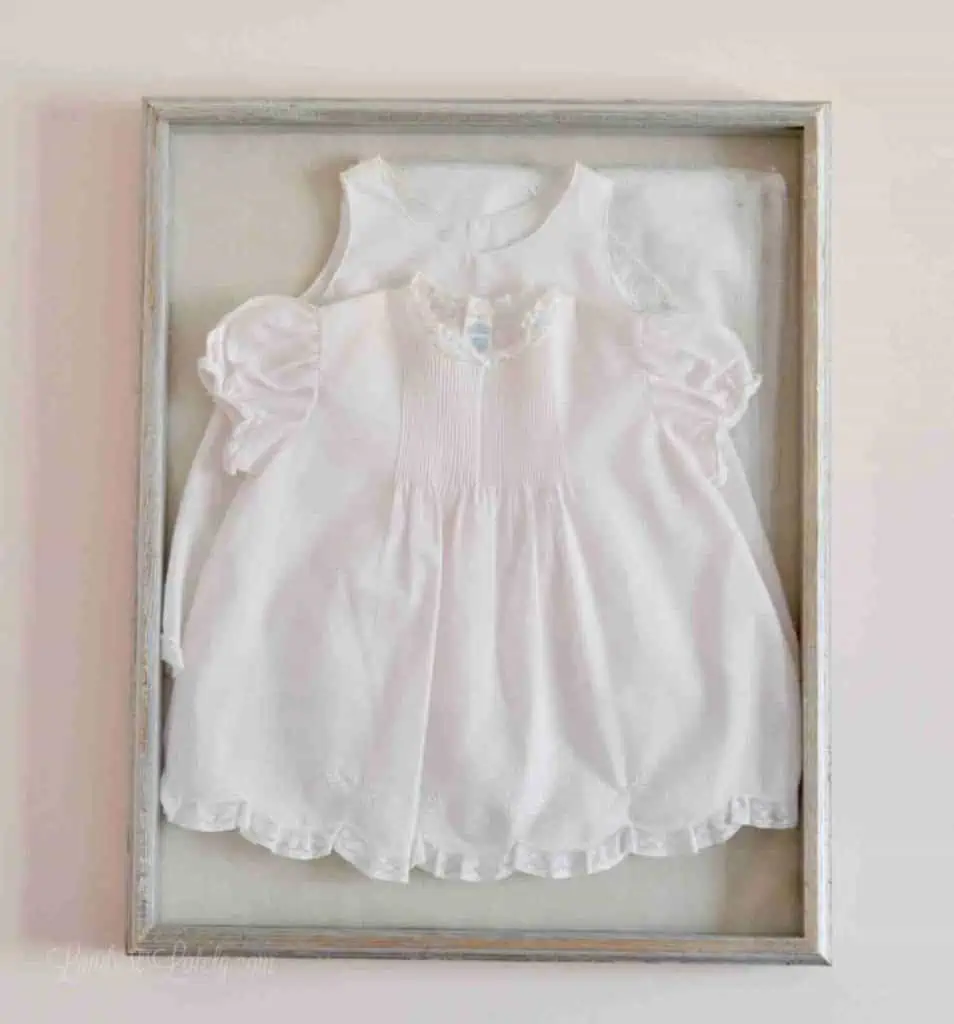
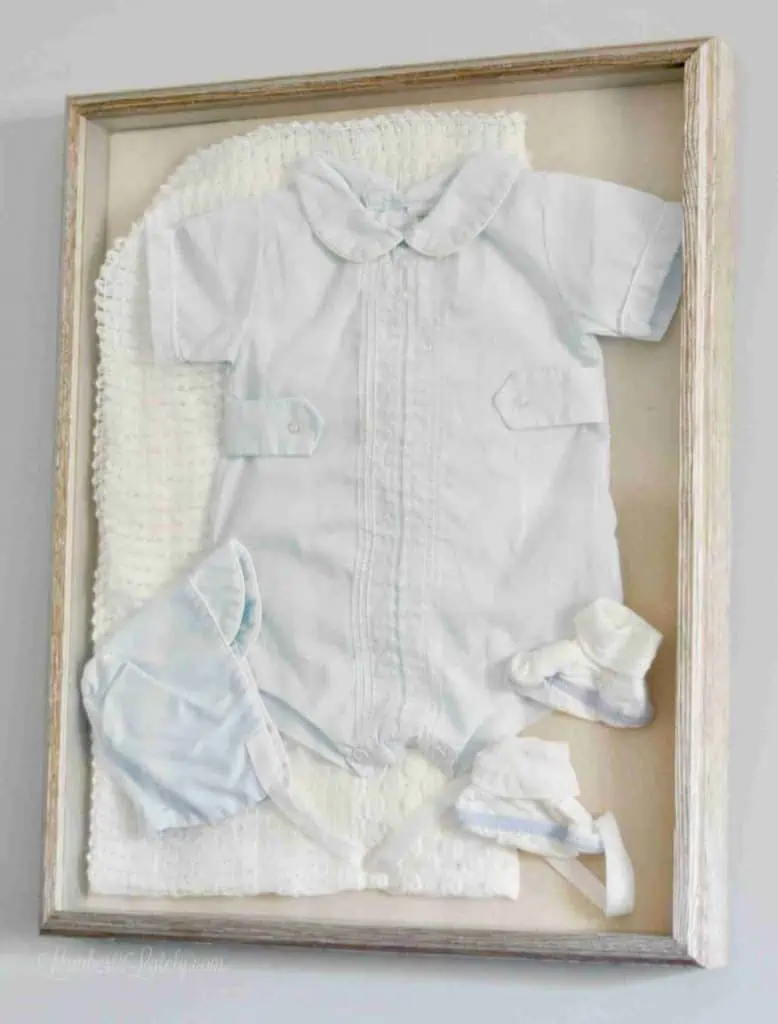
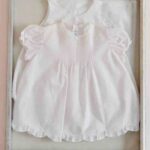
Final Result
I did this same thing for both kids' going home outfits. They now hang in their bedrooms (and if I have it my way, will forever - check back in 10 years to see if I'm still winning 😉).
These make me smile every time I walk in the kids' rooms. They are so special and are an absolute perfect way to display any kind of baby clothes, not only going home outfits.
Additional Items to Add to Newborn Shadow Box
Make this DIY shadow box your own! A few ideas for additional items to add...
- Handprints/Footprints
- Hospital ID Bracelet
- Ultrasound Picture
- Socks or Mittens
- Birth Announcement
- Cradle Hospital ID Card
- Special Picture
- Cute Onesie
If you're adding something that can't be pinned, try using scrapbook glue dots or mounting squares to secure items in place in your shadow box. Just make sure they won't damage anything you're gluing.
FAQs
I hope you love this DIY as much as I did!

Leslie Lambert is a lifestyle writer and content creator specializing in home organization, family recipes, and intentional living. With 17 years of experience in blogging and digital storytelling, she helps busy women create calm, purposeful homes they love.
outfit sooo pretty.. .very informative post..I’m so very thankful for finding your blog.. its really helpful..