
See how to make a mesh wreath with easy, step-by-step instructions! Make your own easy, whimsical, curly wreath with deco mesh ribbon using a simple technique.

Paid links used in this post. Read more about my link usage policies.
The deco mesh wreath you see above has graced our front door for several springs/summers now. I love these wreaths - they are so cute and really easy to make (and for not a lot of money).
You'll often see these for sale for upwards of $60-80 at craft fairs and on Etsy. You can make them for a fraction of that price though! And you don't have to be all that artistically talented or crafty to do it.
This is such a great DIY for beginners or even for kids to do!
Supplies Needed
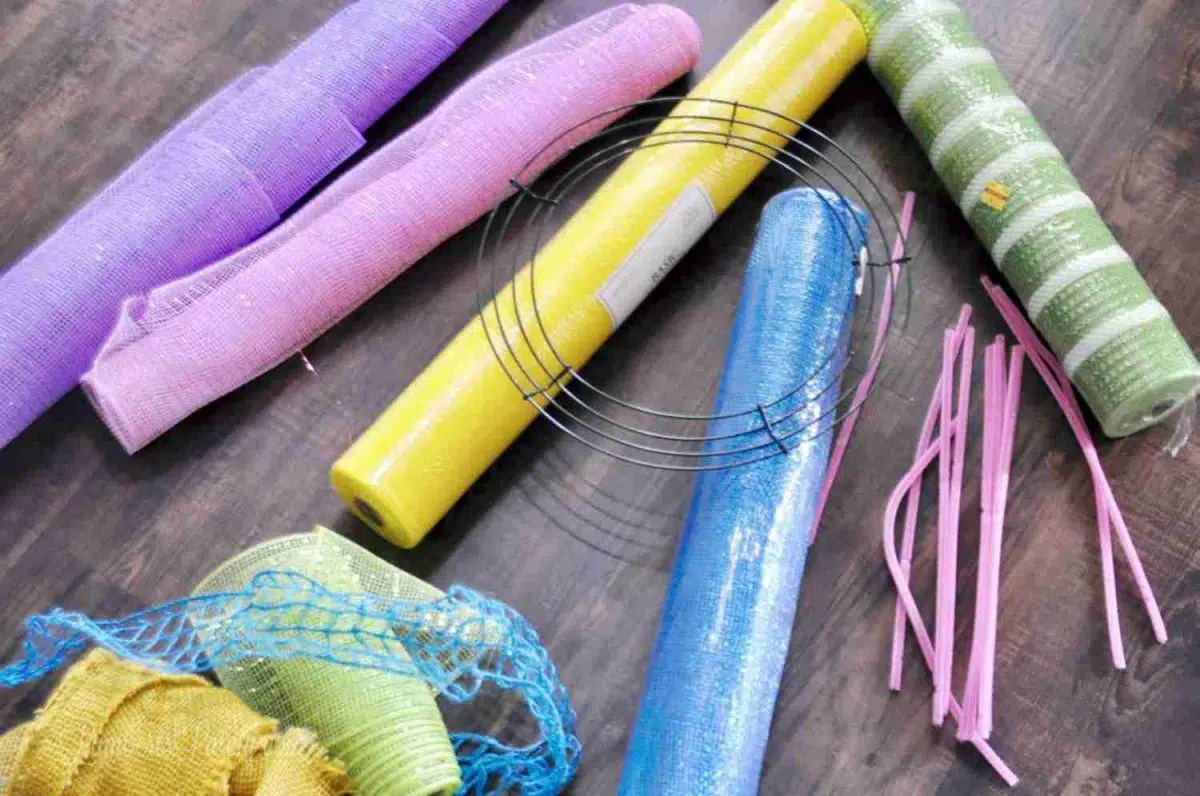
3-4 rolls of 21" x 10-yard deco mesh ribbon (I usually get mine at Hobby Lobby when they have it on sale. If you don't have a Hobby Lobby, Amazon has it too.)
1 12-14" wire wreath form (Again, I get it at Hobby Lobby, but it's about the same price on Amazon.)
Pipe cleaner (needs to be a similar color to what you're using in your wreath, but don't worry if it doesn't match perfectly.)
Other wired ribbon (if you want the mixed look)
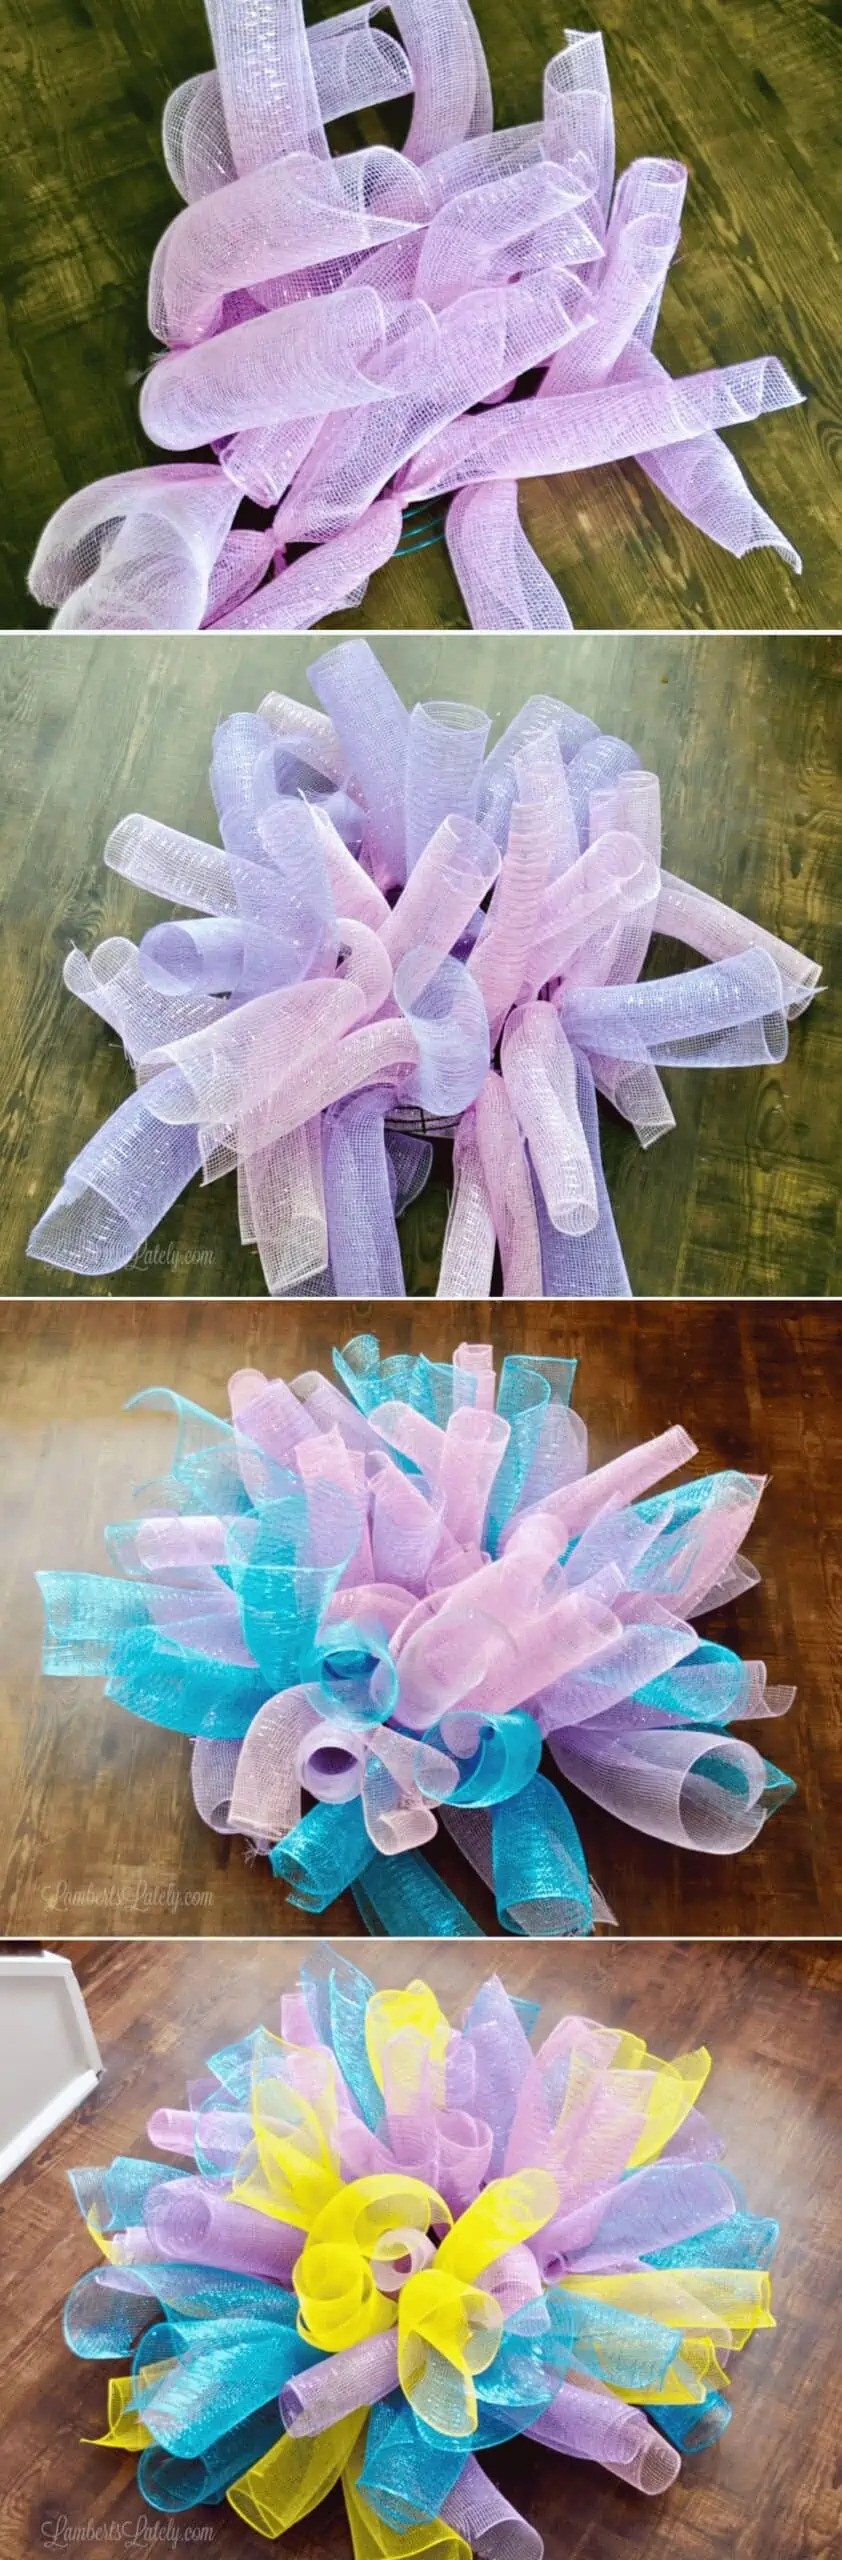
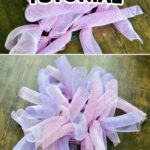
Step 1: Cut the deco mesh strips.
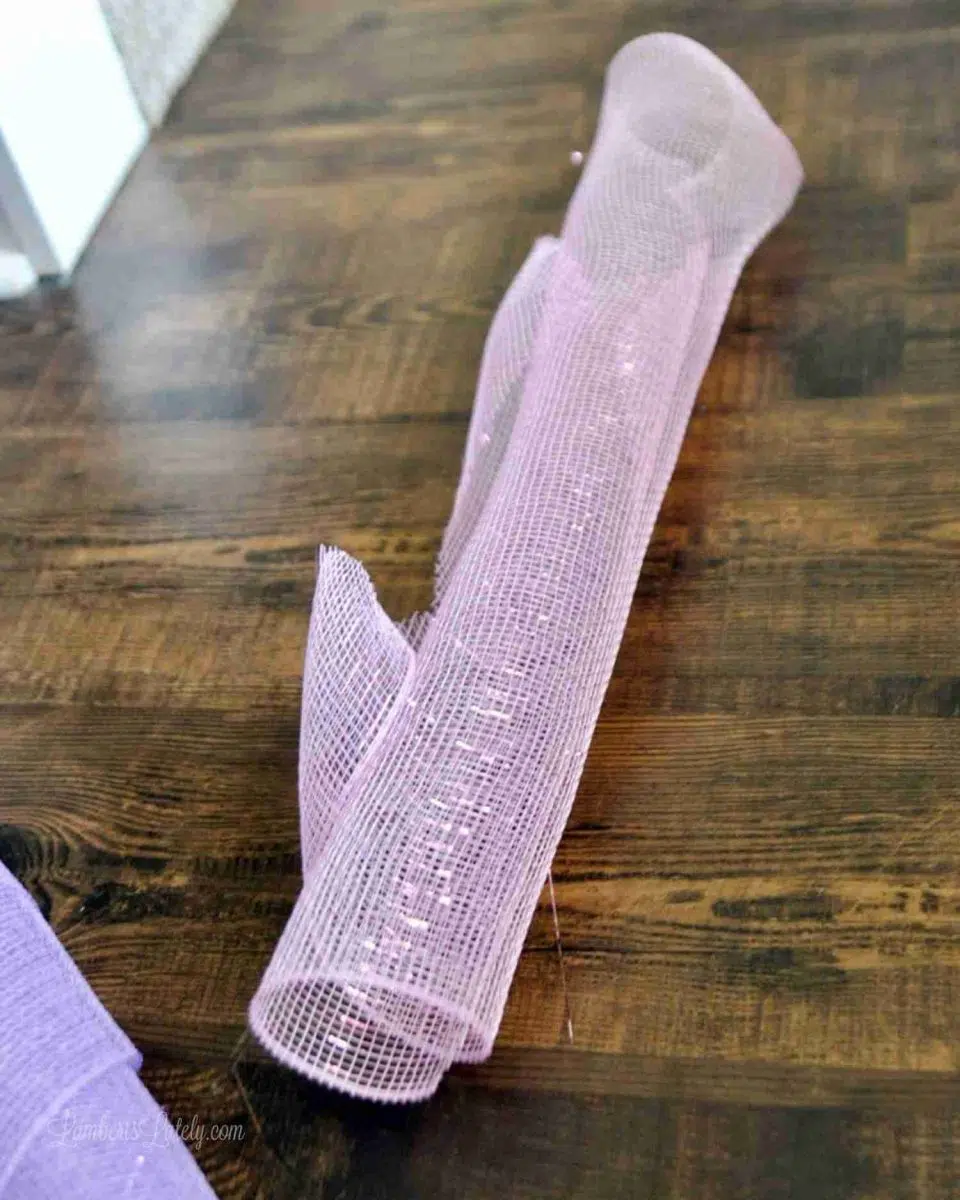
Start cutting mesh strips that are about a foot to 18 inches long. They will naturally curl up (which you'll want) - if it's cut from the beginning of the roll, you might have to roll it a little tighter.
I make 15-20 of these per color...that number tends to fill up a 12-14" wreath frame if you're using at least 3 or 4 colors.
Step 2: Twist & tie pipe cleaners.
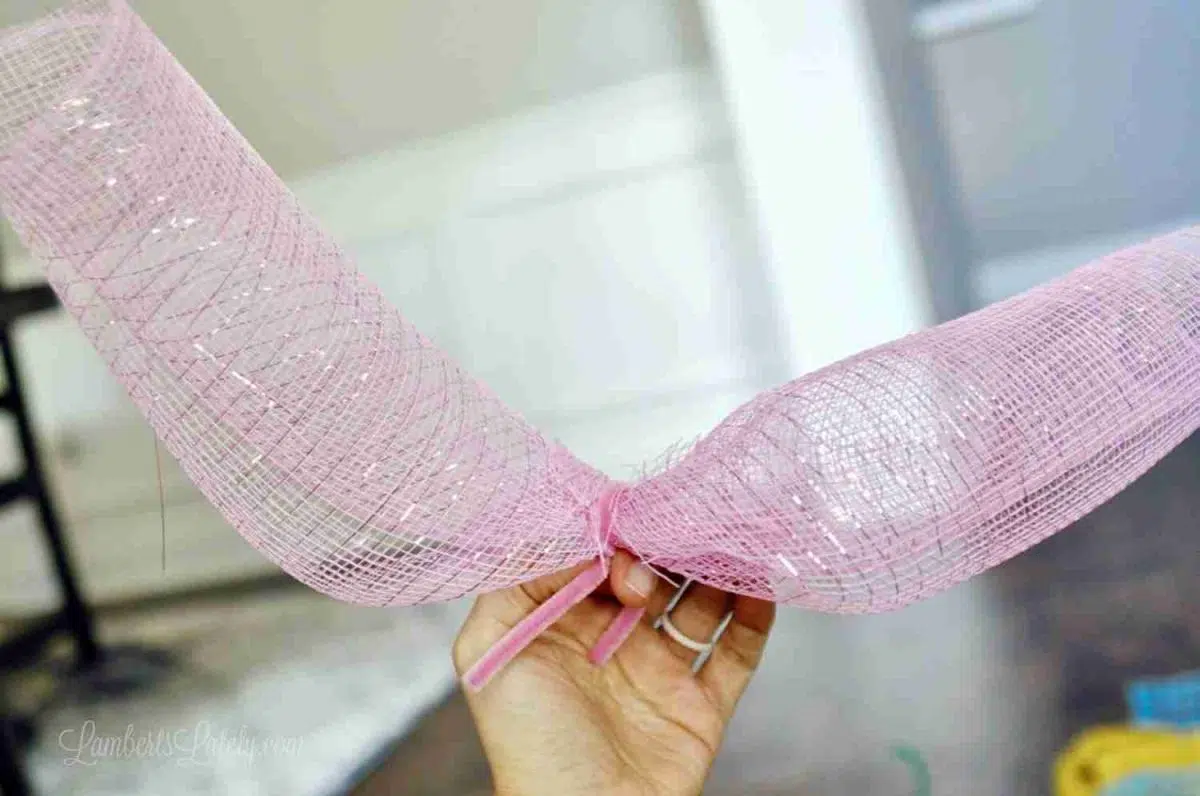
Take half of a piece of pipe cleaner, pinch the middle of one of the deco mesh curls, and tightly twist the pipe cleaner around the middle of the mesh. You'll want to have the two ends of the pipe cleaner sticking out to attach to the wreath.
Love a good DIY Project? Check out my tutorials on using iron-on hem tape for curtains or my post on Plantation Blinds Installation!
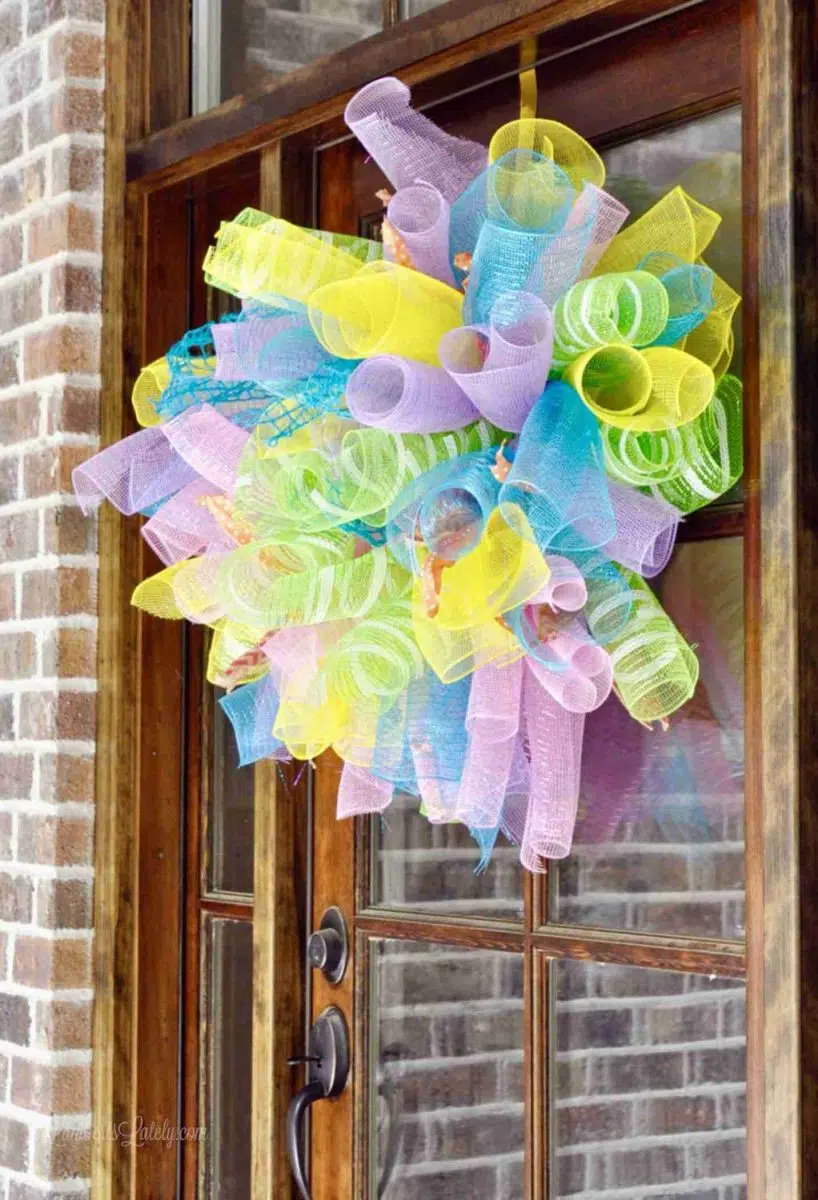
Step 3: Attach tied ribbon curls to the wreath frame.
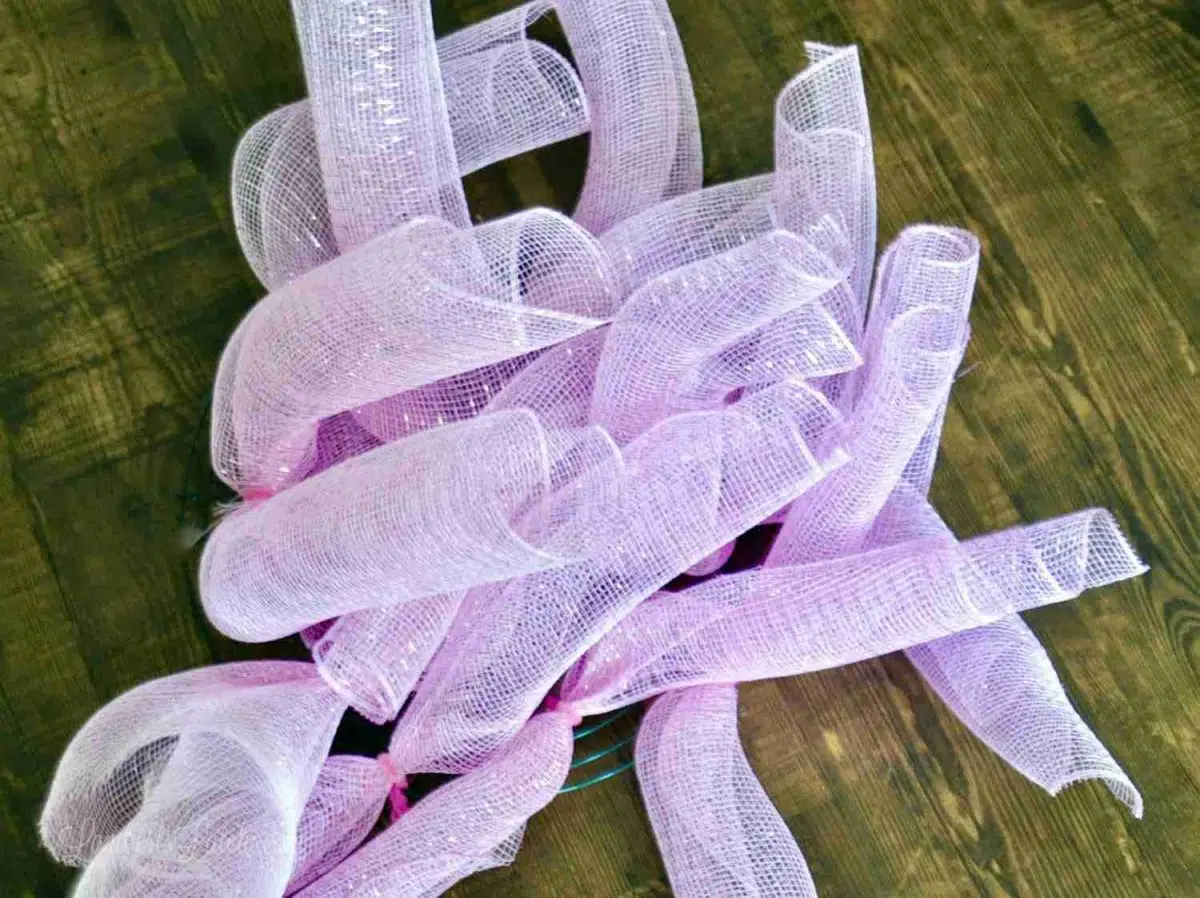
Next, use the two pieces of pipe cleaner sticking out to attach the mesh curls to the wreath.
It's going to look a little weird at first - not like a wreath at all. As you attach more pieces, it will fill in and look much more full and fluffy. Just keep going until you fill the entire wreath frame.
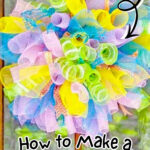
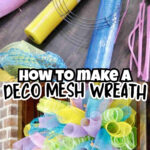
I used 5 colors of mesh for this project, but I promise that isn't necessary. I just had a couple of rolls of mesh left over from another project.
If you're using 10-yard rolls, 2-3 rolls are plenty for a 12-14" wreath. If you want more than that, go for it to achieve a much fuller wreath!
Step 4: Tuck embellishments into the wreath.
I also used a few random pieces of wired ribbon I had lying around to add some fun and texture. Again, following the same concept - wind a piece of pipe cleaner tightly around the middle of the ribbon piece and attach it to the wreath using the pipe cleaner.
This gives it kind of a funky, fun look that I really like. You can even add a little bit of polish to these ribbons by cutting a dovetail (v-shape) into the ends.
The final deco mesh wreath has a cute, whimsical feel. You can definitely use different colors to match the occasion. A fall-themed, Valentine's, or Christmas wreath would be so cute with this method. You can even tuck fun holiday-themed embellishments into the wreath, like ornaments or fall foliage.
More Helpful Tips & Tricks
- Make sure the pipe cleaner is tightly tied to the wreath form. The mesh can look droopy if it's not secure.
- Use a pair of sharp scissors for this project. They're going to make your ribbon edges very clean. If you can use a rotary cutter and mat, even better!
- You can finish the deco mesh edges by gently dragging a lighter over the raggedy end pieces. Barely touch the edges of the mesh to the flame - you don't want to light it on fire!
FAQs


If you follow this tutorial for how to make a mesh wreath, I'd love to see the results! Make sure to tag me on 📸 social media (@lambertslately) with your images or let me know how it went in the 💭 comments below.

Leslie Lambert is a lifestyle writer and content creator specializing in home organization, family recipes, and intentional living. With 17 years of experience in blogging and digital storytelling, she helps busy women create calm, purposeful homes they love.


This is the first wreath I ever made and still one of my favorites. I’m currently finishing one for 4th of July.