
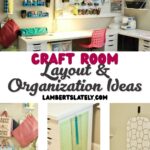
Wondering how to organize a craft room without spending a fortune? Come see our craft room setup - full of practical storage solutions, budget-friendly furniture, and clever organization tips to help you make the most of your creative space.

Paid links used in this post. Read more about my link usage policies.
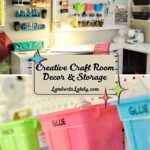
Today, I wanted to take a big-picture look at our craft room and the budget-friendly method I used to organize it!
Let's start with a good before and after...
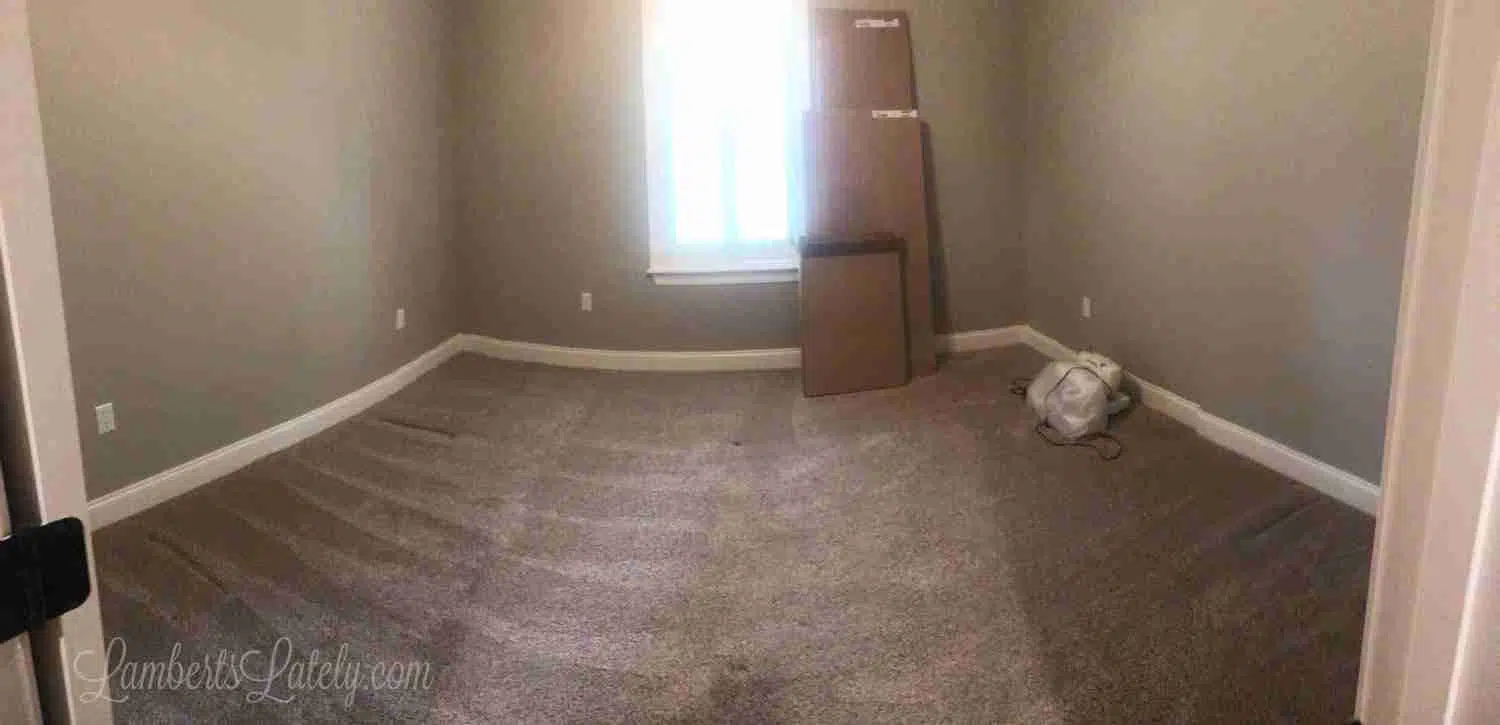
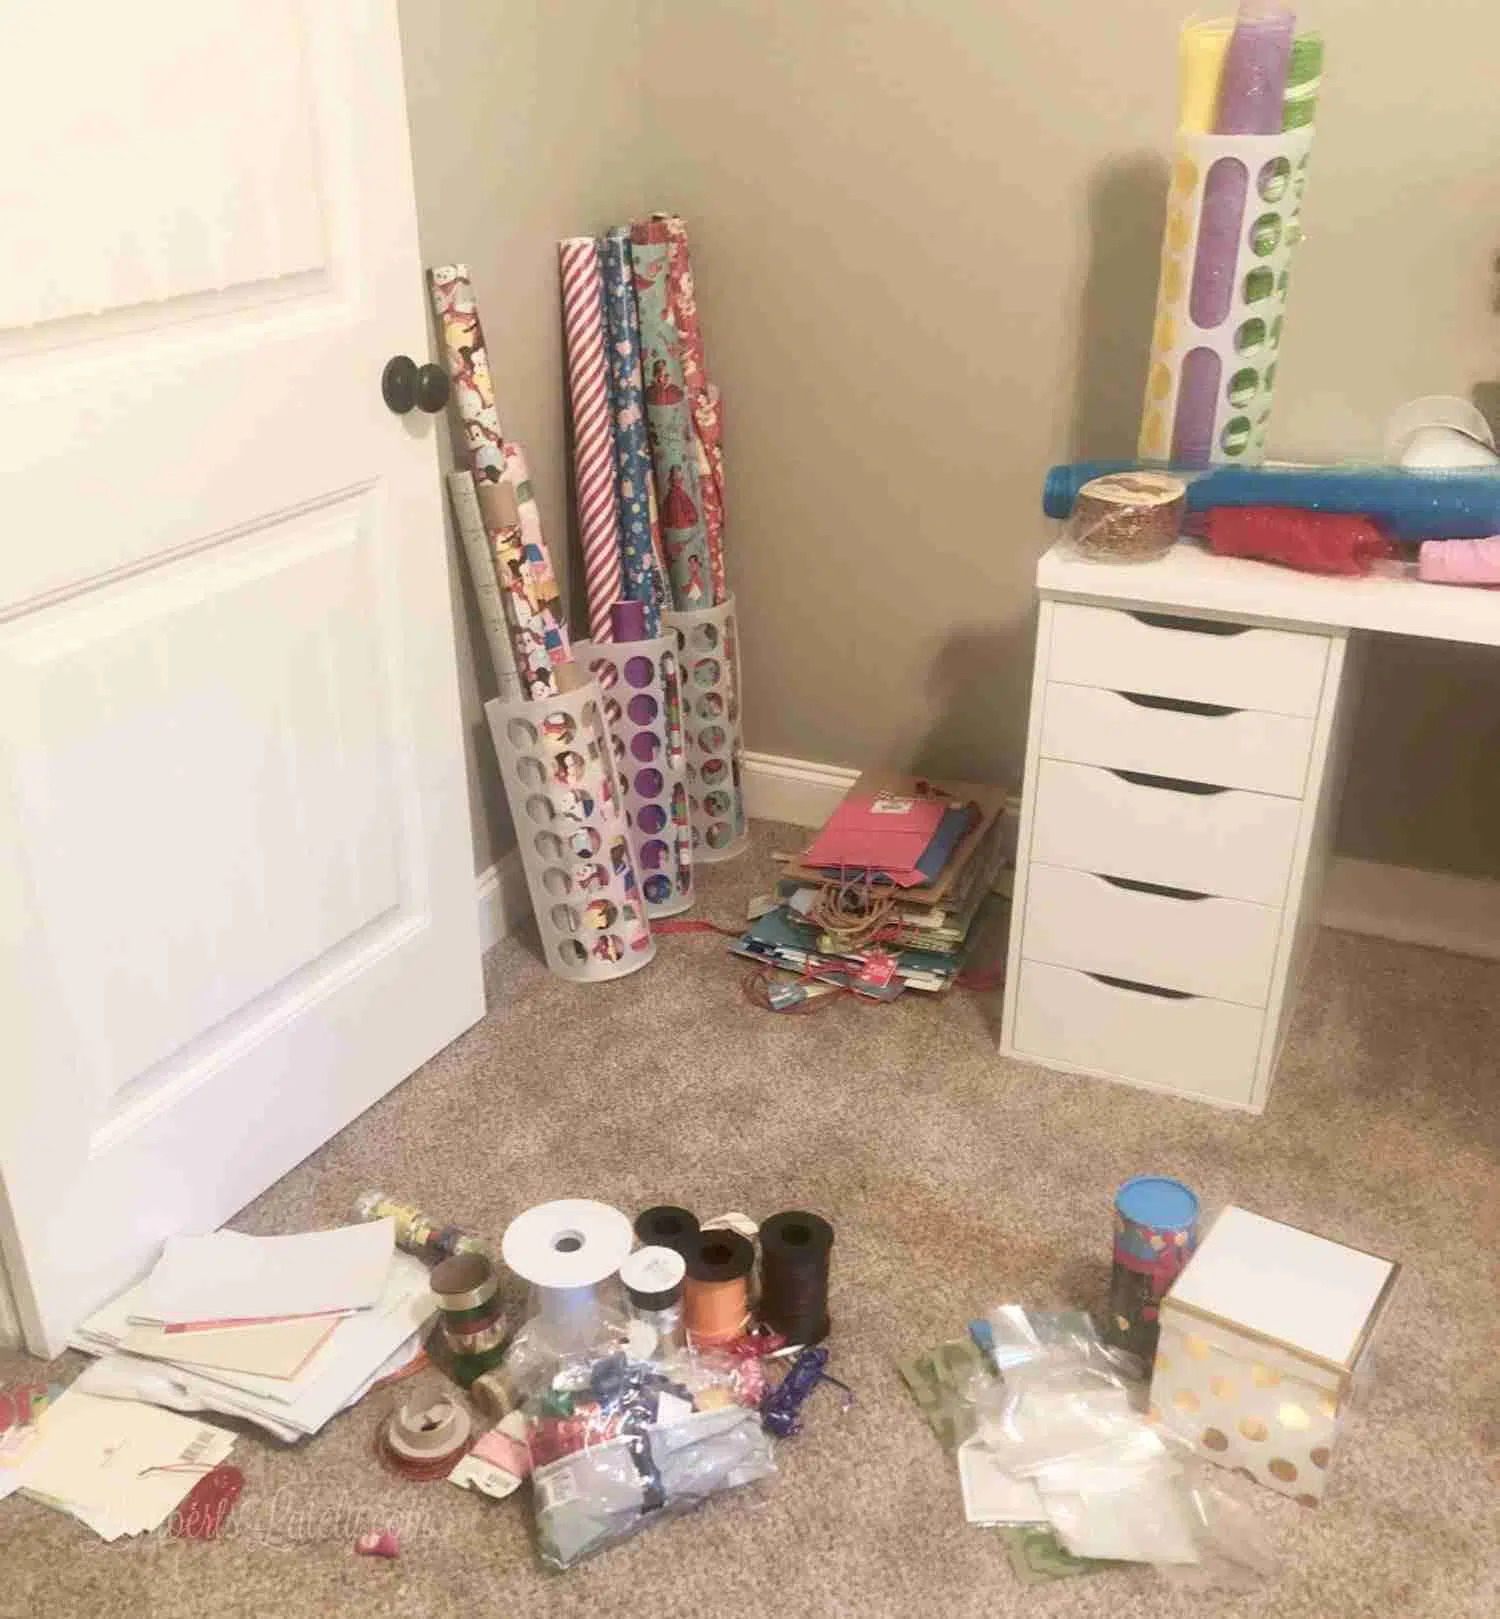
Before (May 2019)
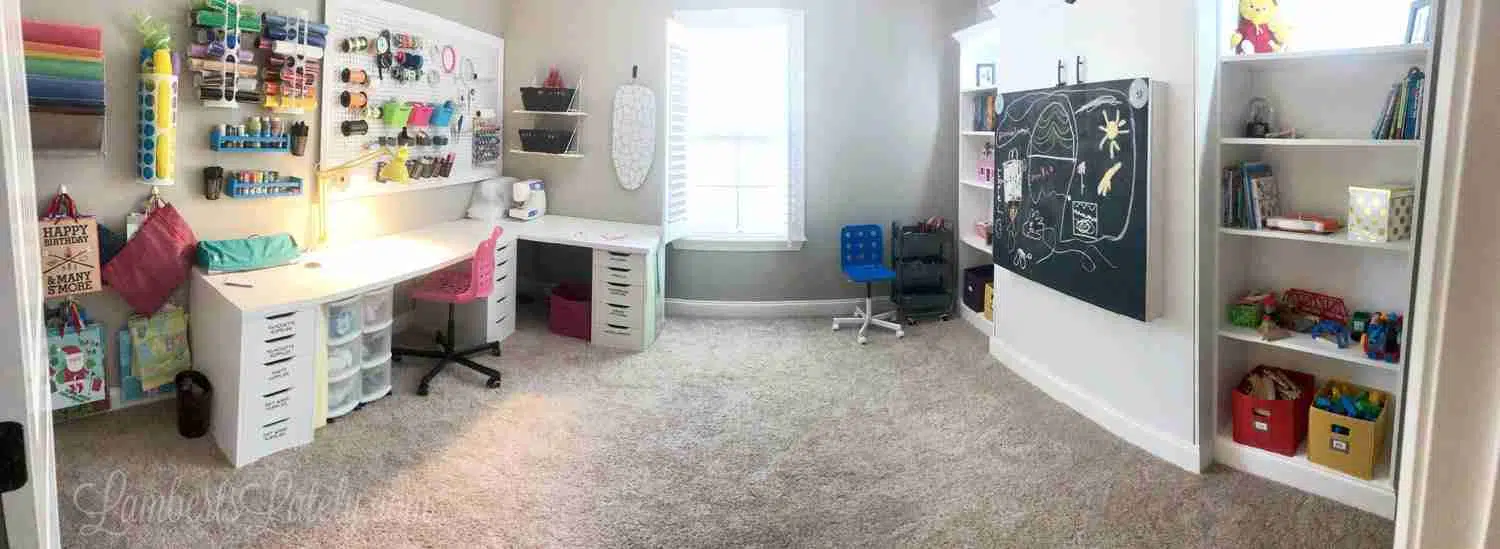
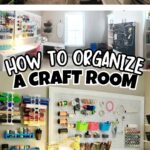
After (September 2019)
And yes, this project took us every bit of 4 months. We worked on this lots of nights and weekends.
It was totally worth it - we've already gotten so much use out of this space, from crafting, to building train tracks, and even a couple of yoga sessions - it has become such a functional space!
Here's my simple organization process - if you've followed along for awhile, you've probably seen me use this system before.
Start with a blank slate.
After clearing out all of the furniture, we started with a totally blank slate. But it wasn't blank for long...
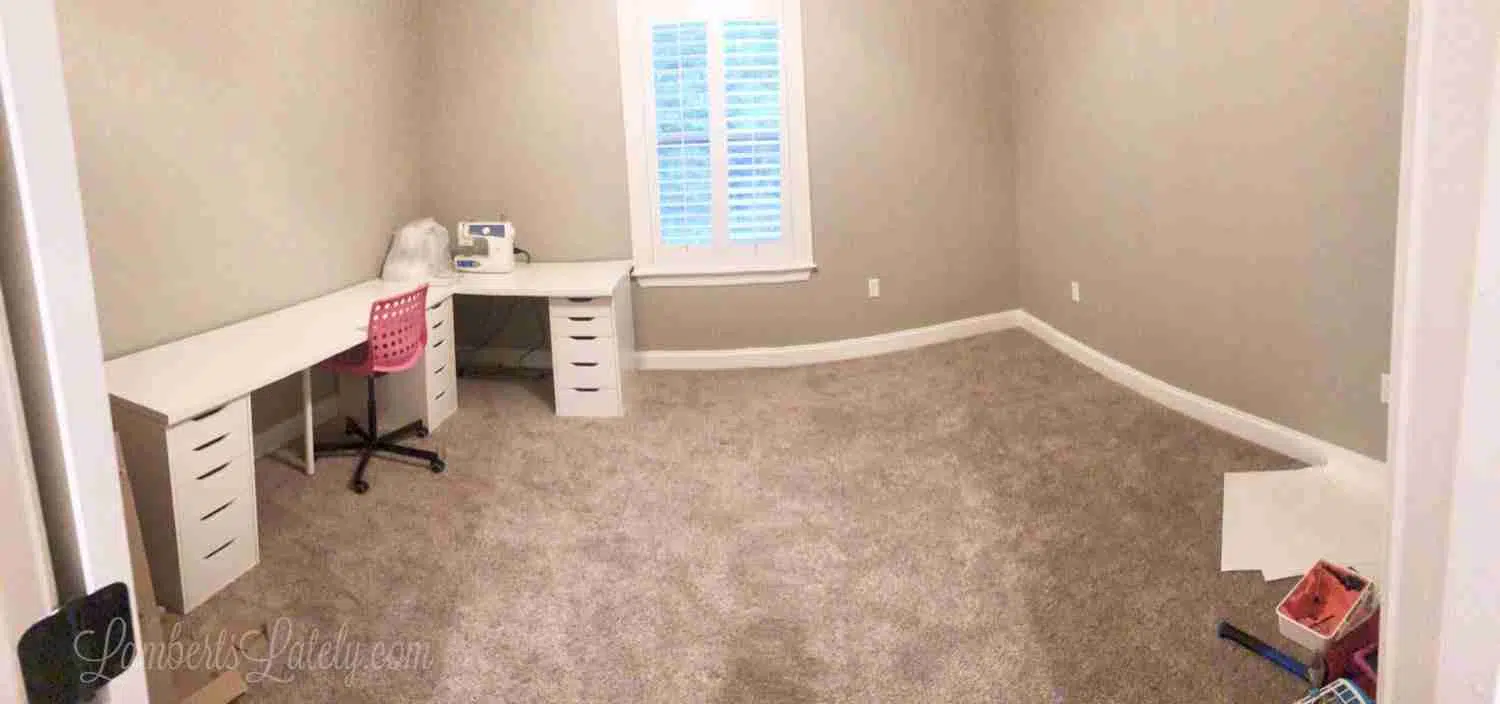
I mentioned a few months ago that we were planning on using an Ikea desk system for the room to kind of anchor the room. We had a murphy bed planned for the opposite wall to balance everything out and to make this space into a guest bedroom when needed.

...and then the room was quickly junked up. 🙂
Get all of your craft supplies in one place.
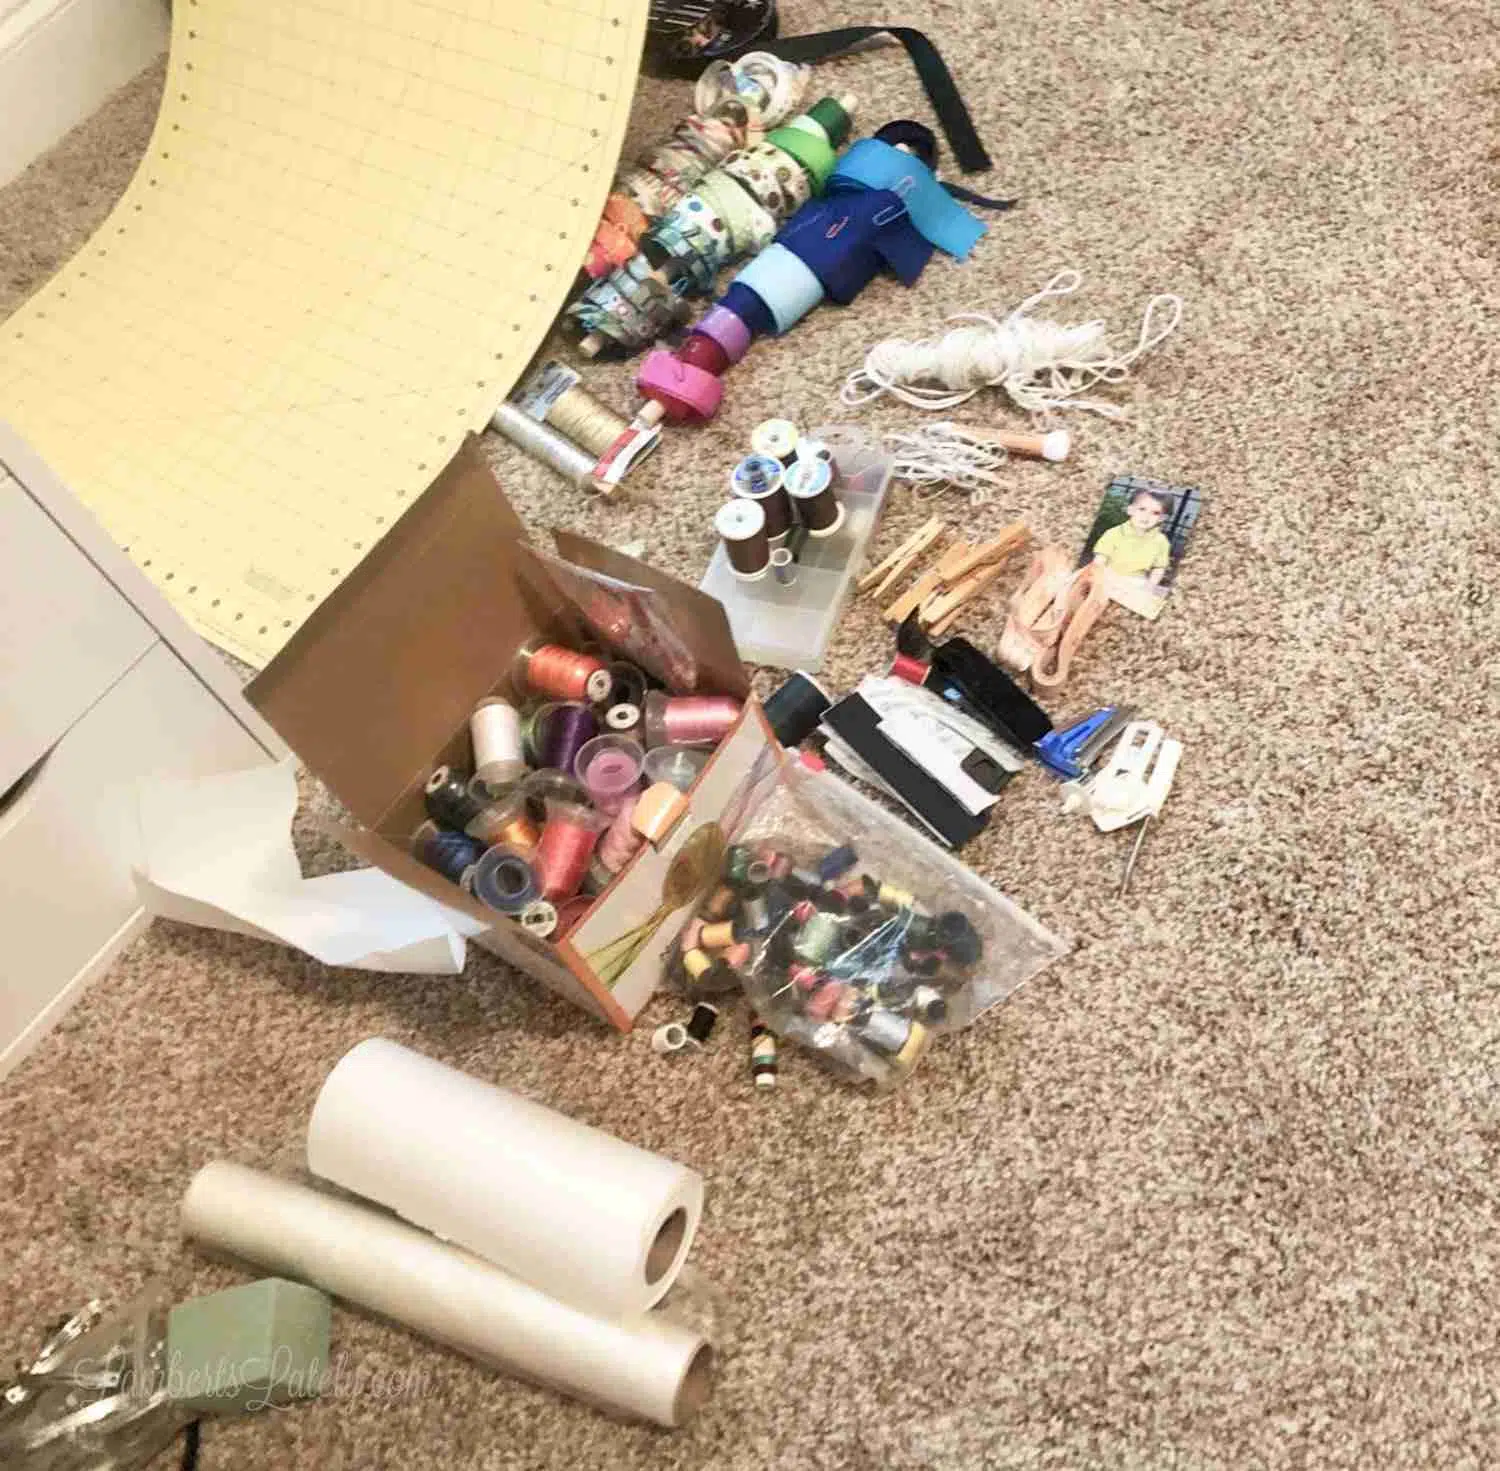
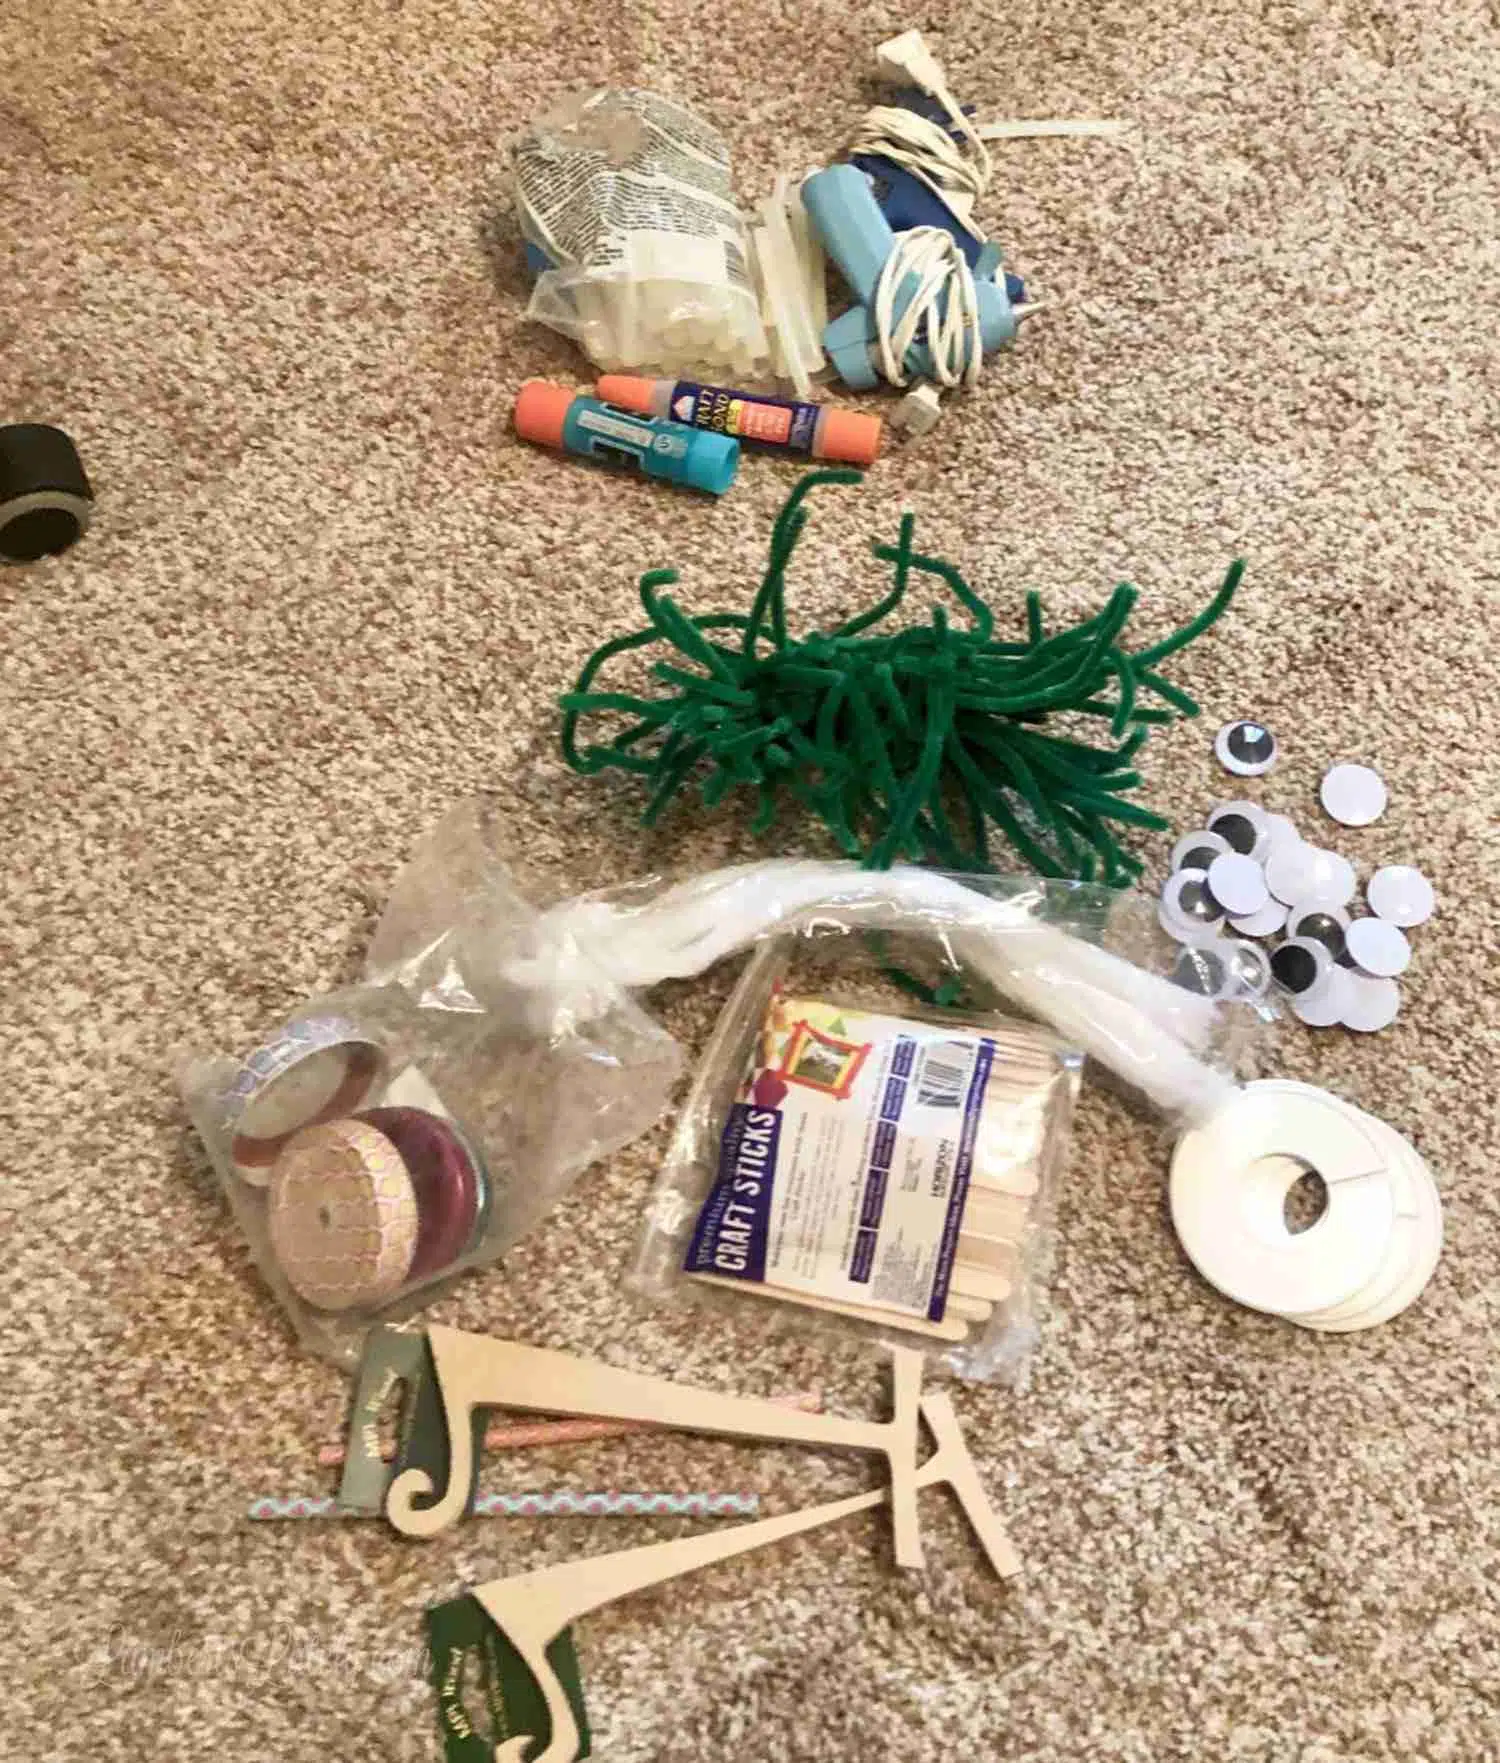
I took all of the craft supplies that had been cluttering the rest of the house and sequestered them to one place to organize.
This is the part that can get kind of scary (but is so very necessary). In order to inventory what you have for organization, you absolutely have to know what's actually there first!
That means taking everything out of drawers, boxes, and bags - you need to see it to inventory it.
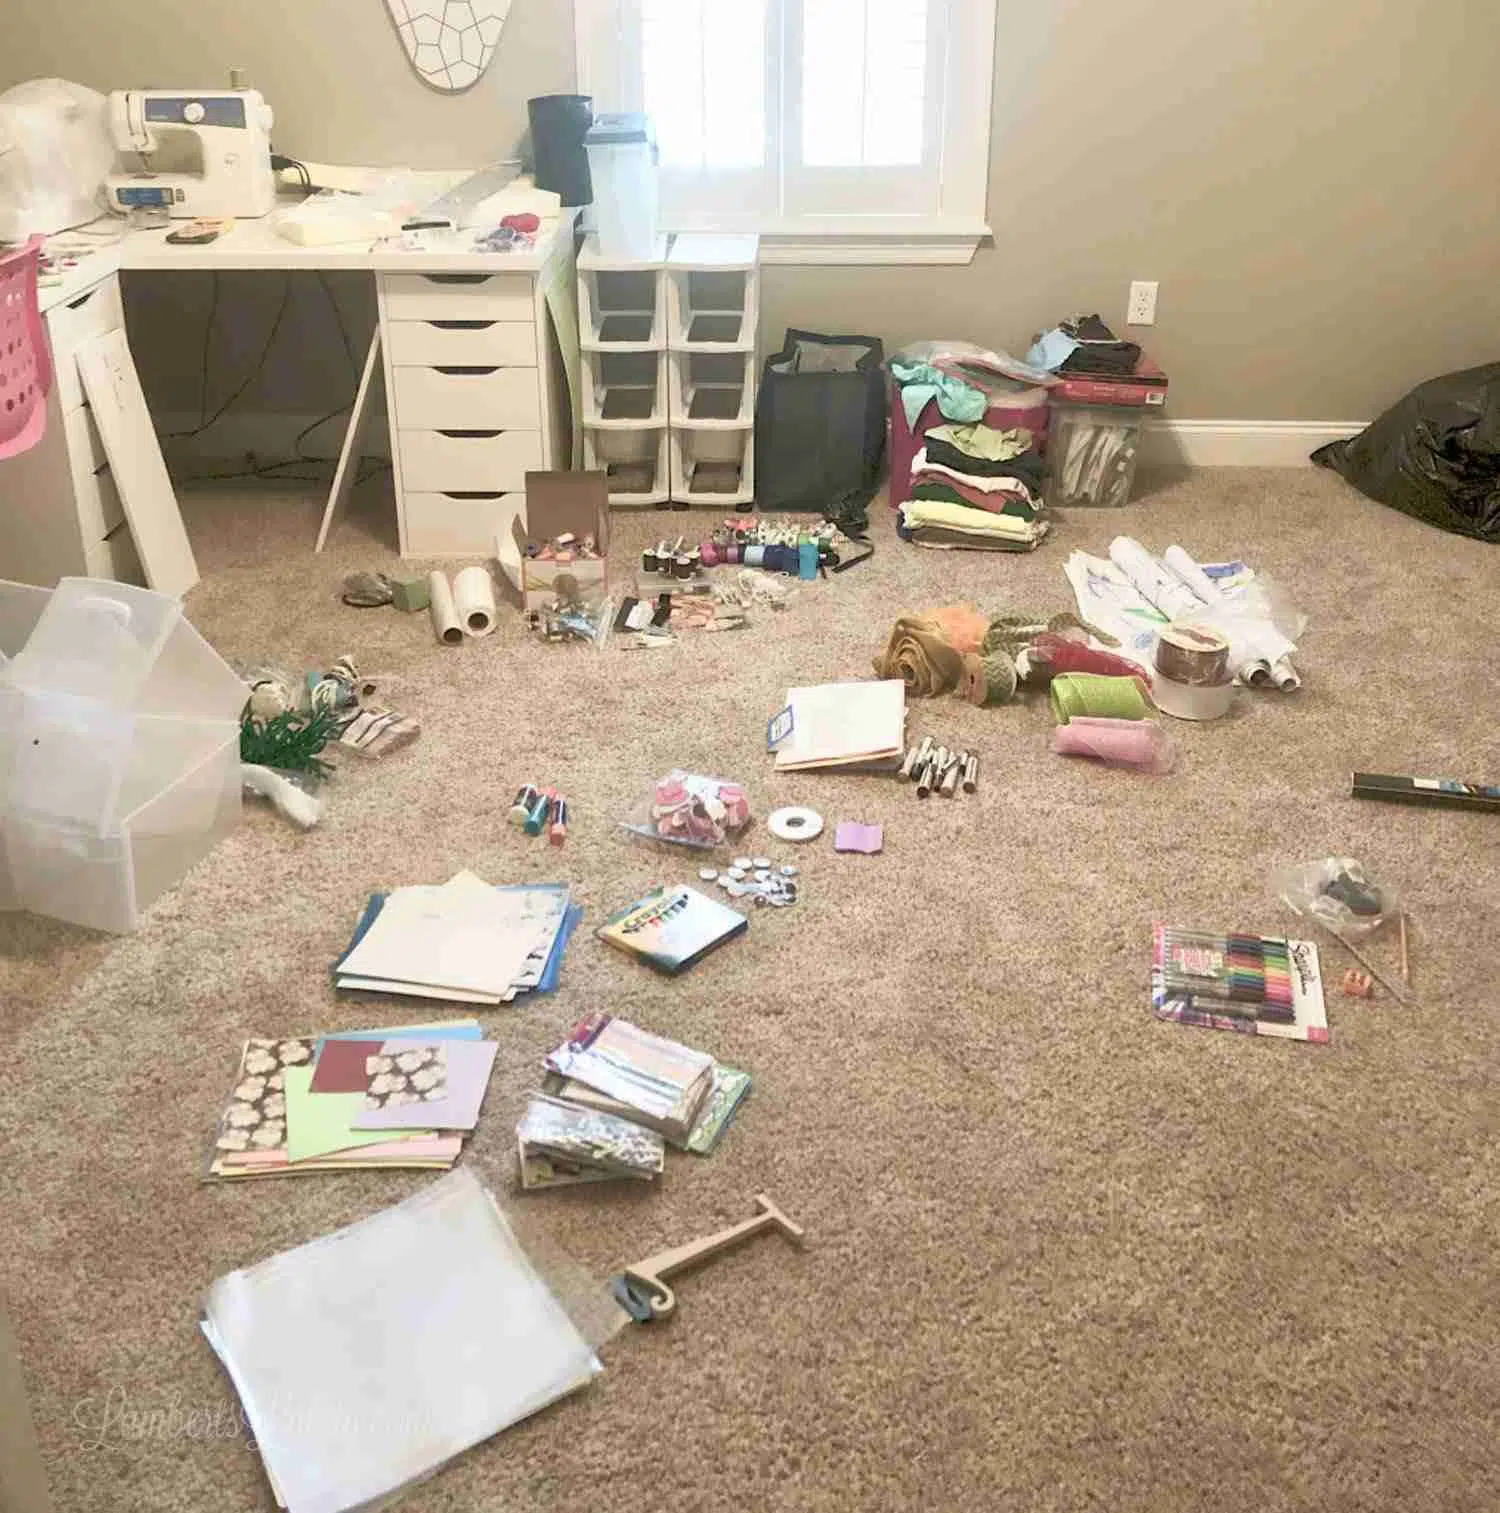
An empty floor is the perfect place to do this. I am a super visual thinker, so having everything laid out in one view is a great way to take a mental assessment and figure out what I'm working with.
Purge old supplies that you don't need.
Next, be honest with yourself: what are you actually going to use? Chances are, that glue you bought 10 years ago for a project is either dried out or never going to be used again. Toss it!
In doing this, I was able to throw away almost a whole outdoor-sized trash bag of craft junk: tiny extra bits of fabric, wrapping paper rolls with 3" of paper left, dried out markers, you name it.
I had no idea how much junk there was! I even found a few things that were still in my craft storage from college - I haven't been in college in over 10 years. That's how bad my craft items needed a good purge.
Divide remaining craft supplies into categories.
Next up is another important part of doing your inventory: group together like items that will be stored together. This is going to be different for each and every person, but here's how it ended up dividing out for me...
Sewing supplies
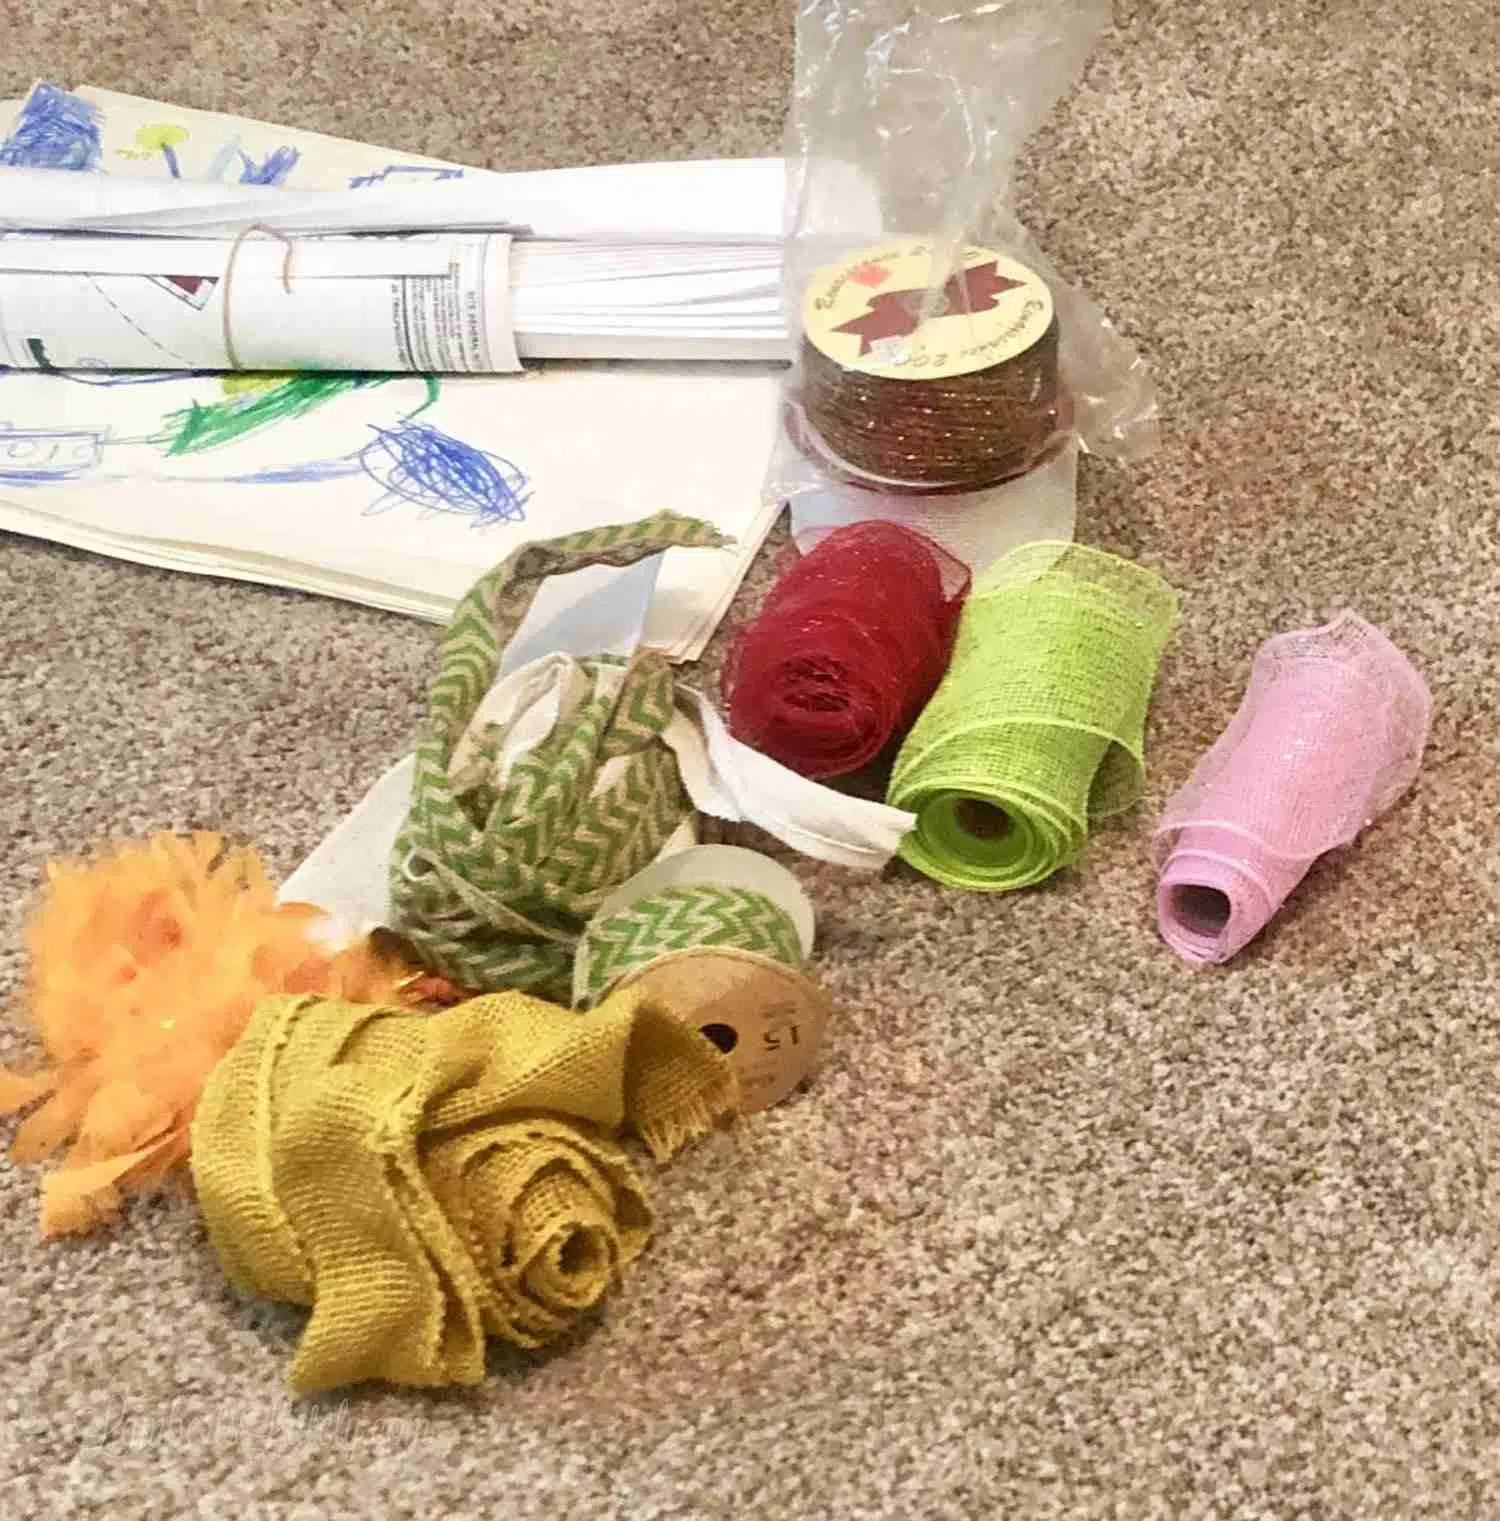
Craft Ribbons
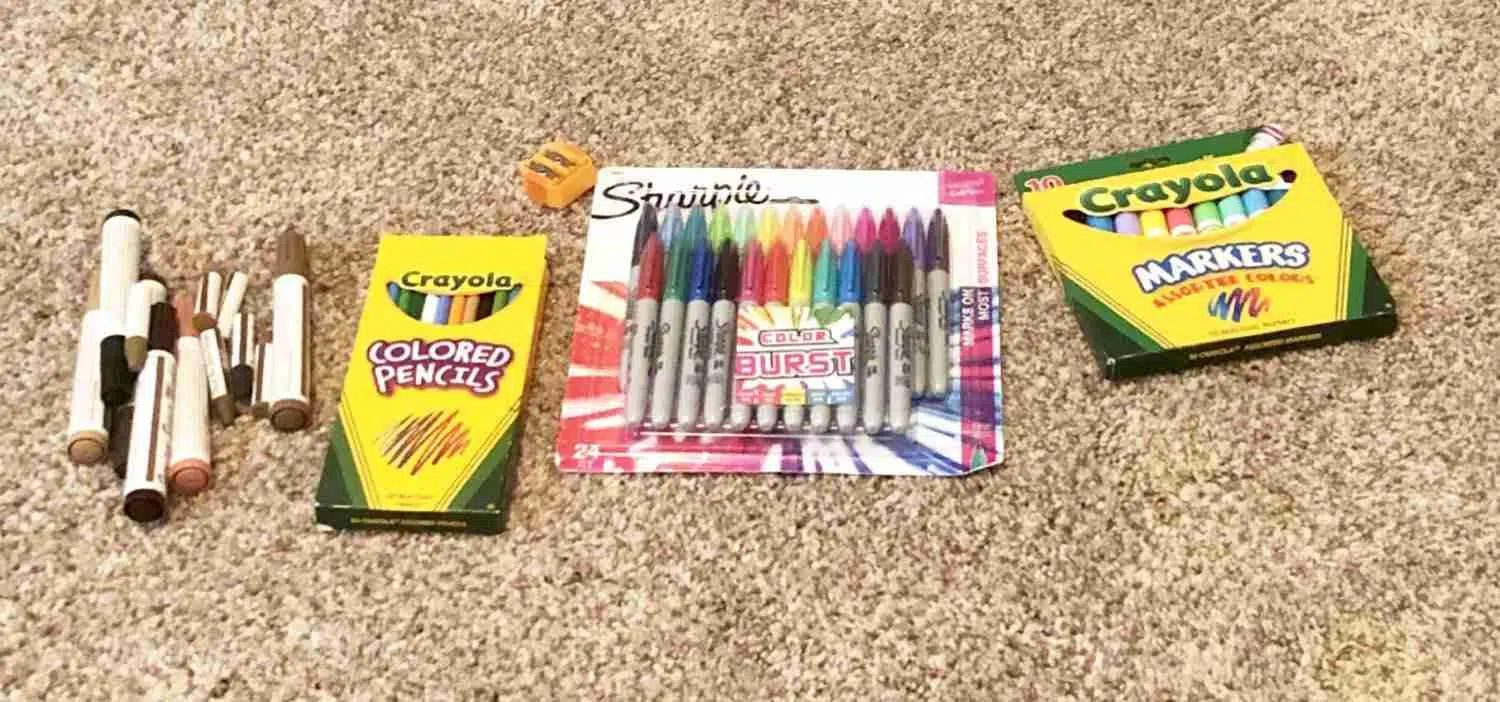
Markers and Pencils
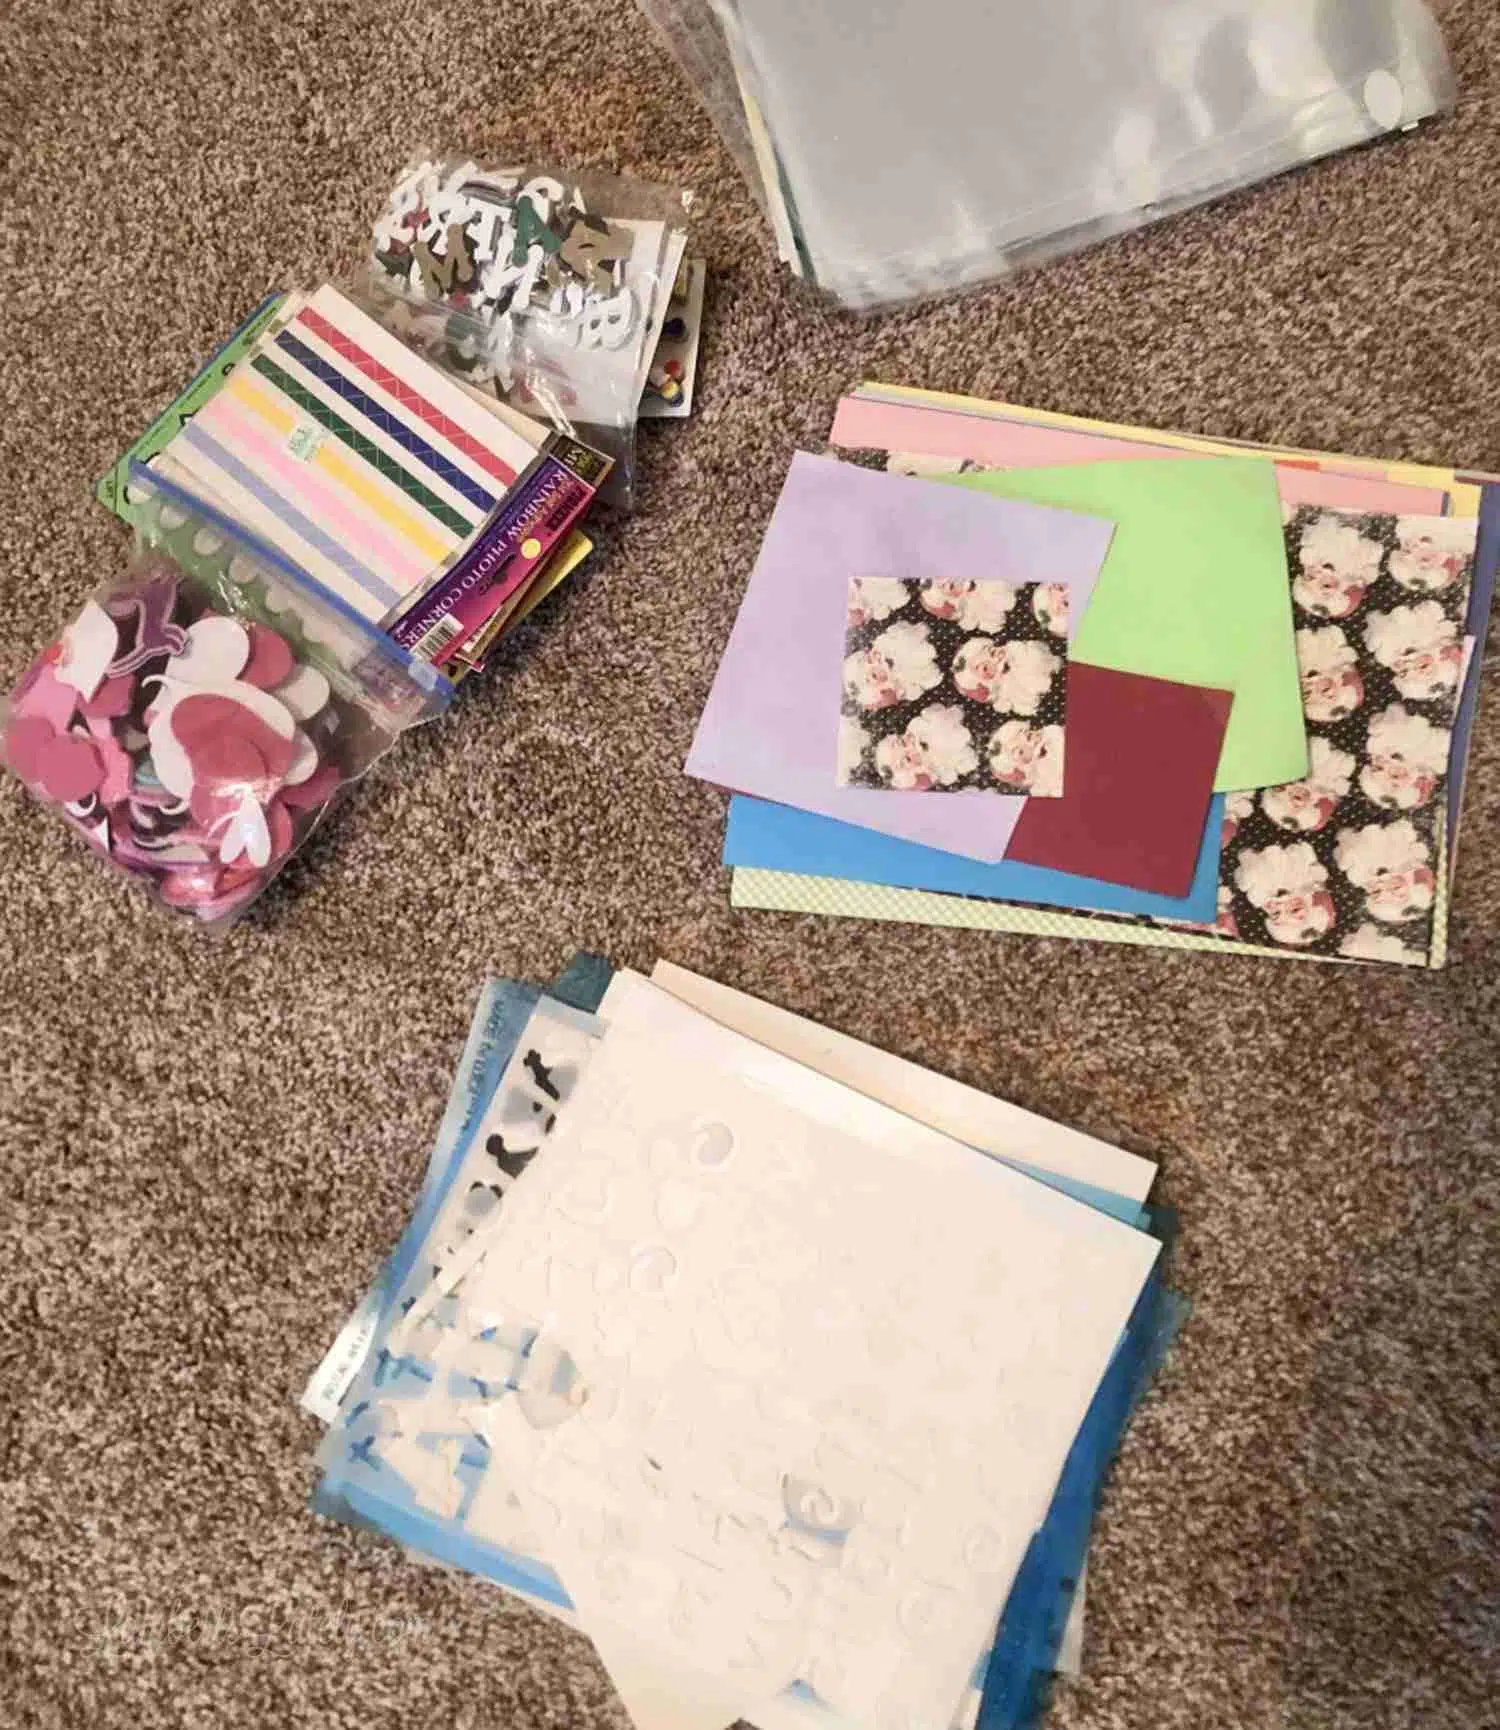
Scrapbook Supplies
Gift Wrap Supplies
Glues & Miscellaneous (anything that didn't fit in another category)
I also had supplies for my vinyl cutting machine (and the actual machine), my embroidery and sewing machines, and a few party supplies that got their own section.
Decide what to display and what to tuck away.
This is part of the organization process that is kind of unique to a craft room. Craft supplies are generally kind of pretty...use that to your advantage!
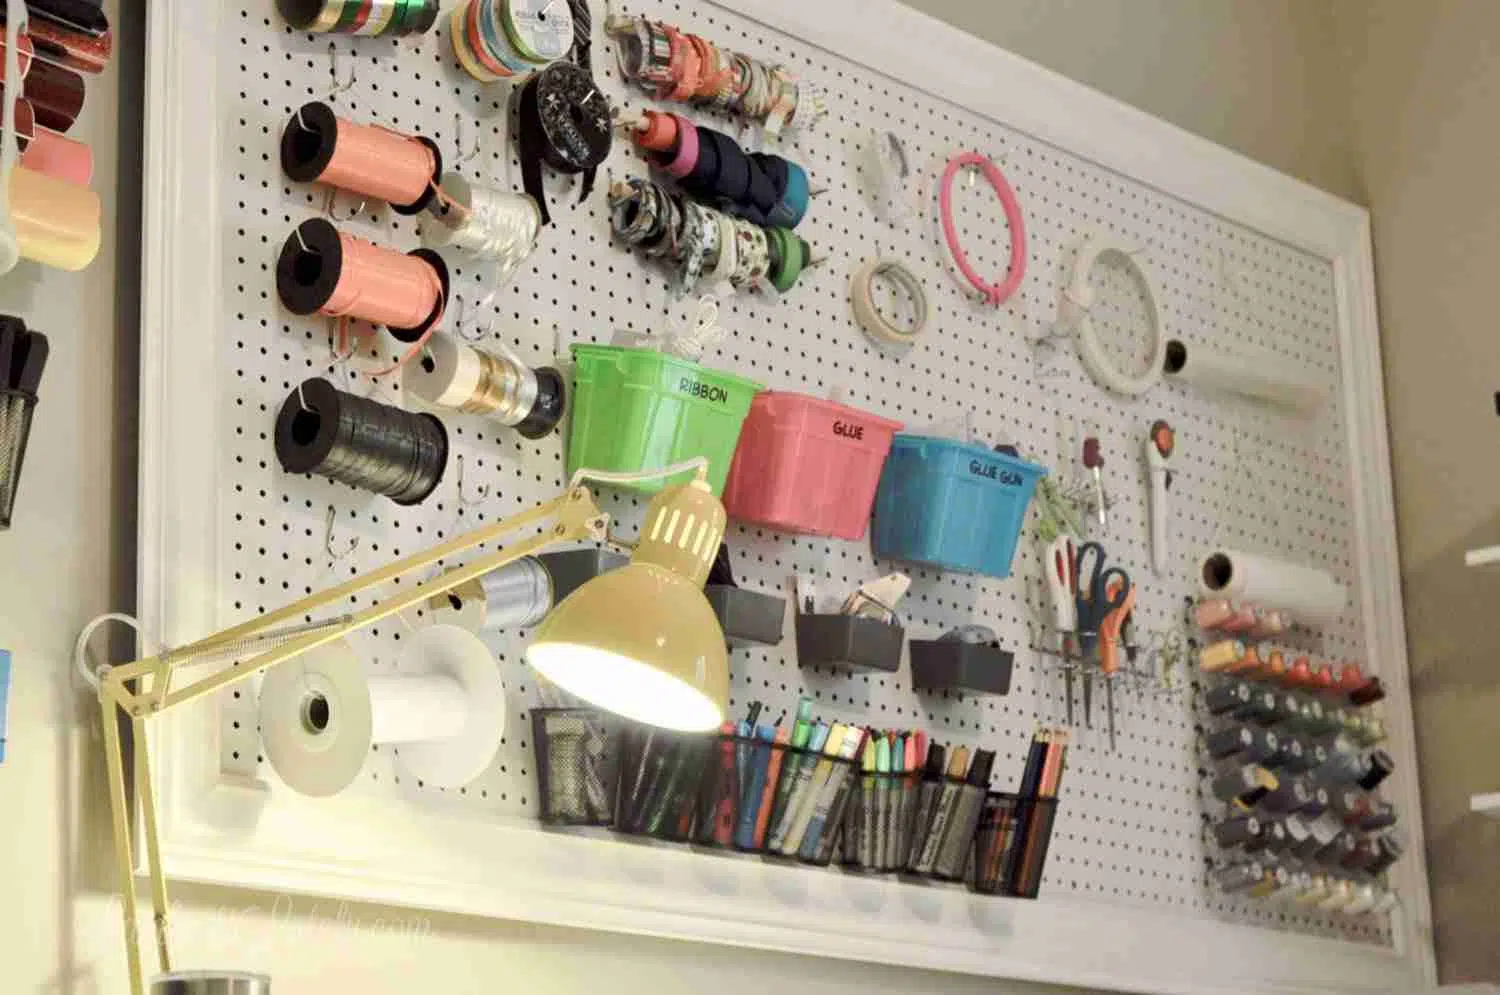
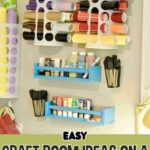
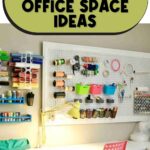
With the set-up I envisioned for this space, I planned a lot of very visible and open storage ideas. Not only was I integrating a DIY peg board into the design to hold lots of supplies, but I had several kinds of open shelving and containers that would highlight the bright, pretty craft supplies in my arsenal.
So, at this point, it really came down to deciding what supplies would be visually bright and colorful (but not chaotic) to store out in the open. The obvious choices were items that had lots of different colors included (like thread, markers, ribbon, etc.) and things that I would need to access a lot.
Luckily for me, most of the really pretty craft items were the things I used the most - so I decided to keep them out!
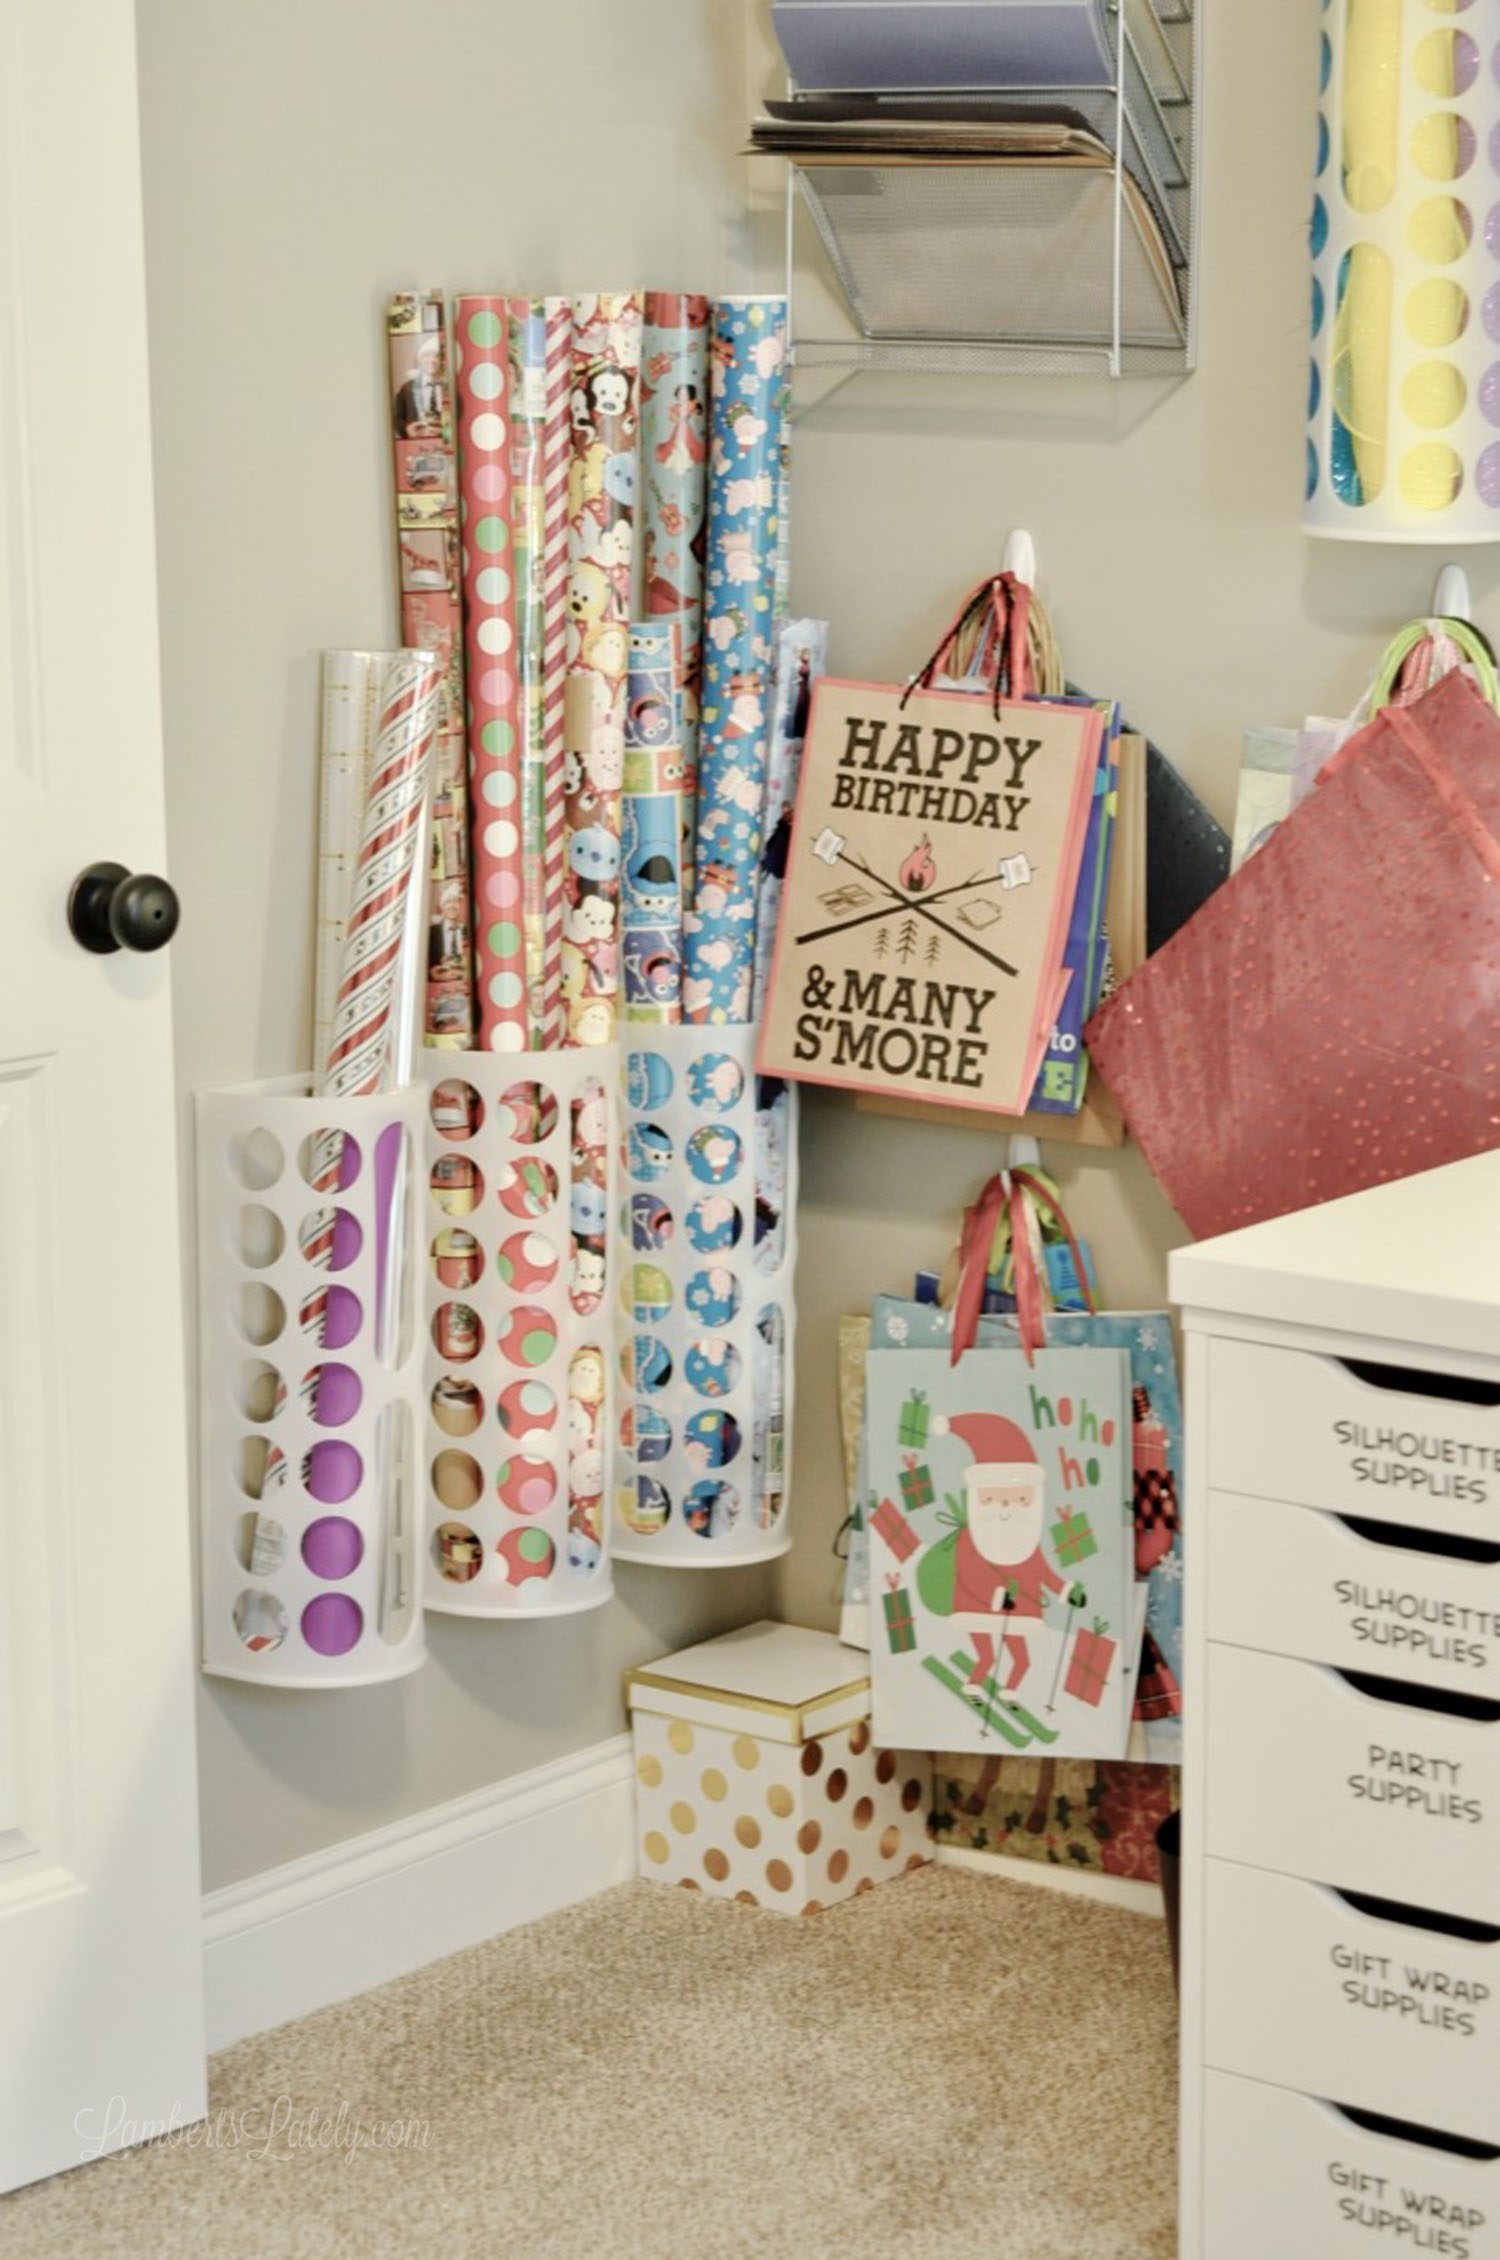
I also decided to keep my gift wrap pretty visible, since it's a little too large to tuck away and keeping it out would make it easy to grab in a pinch. I used these containers (meant to be grocery bag holders) from Ikea to hold the wrapping paper rolls.
Give everything a home; buy only necessary storage.
Probably my biggest organization secret is to assign a place for everything...and, much more importantly, actually put things back in that place when you use them. You can complete the best organization project imaginable in your home, but if you don't follow-up by maintaining that organization, it's destined to fail.
We did invest in new organization and office storage for this room, but I tried to reuse and repurpose what I could. Here's a quick run-down of what's new...
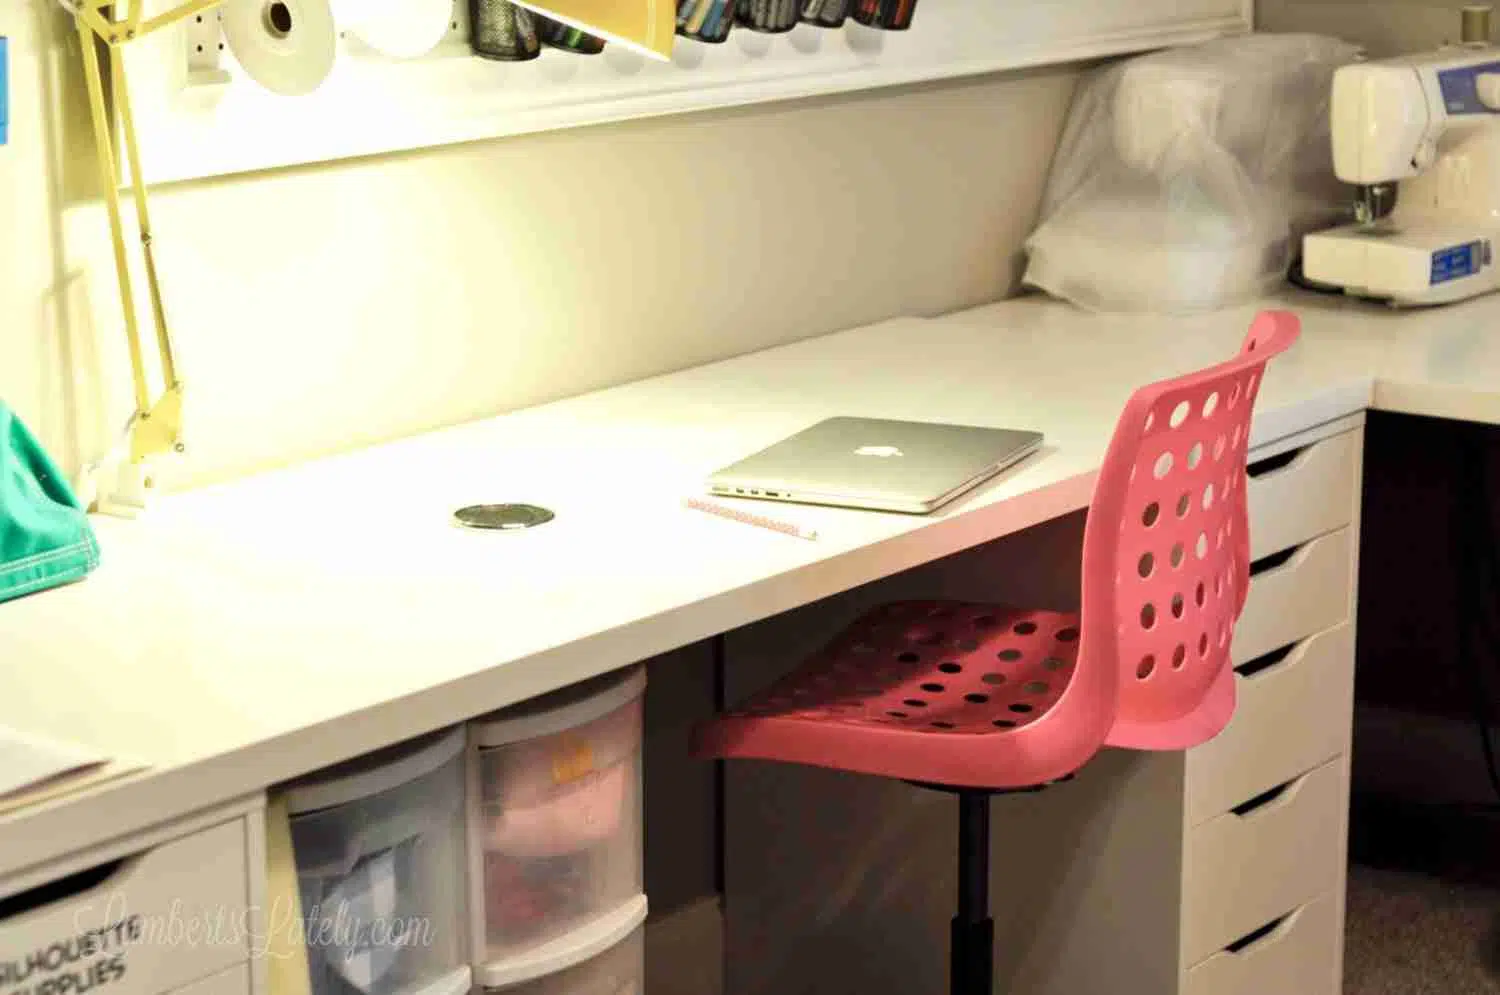
Linnmon/Alex Desk System from Ikea (here and here) - Chair is here
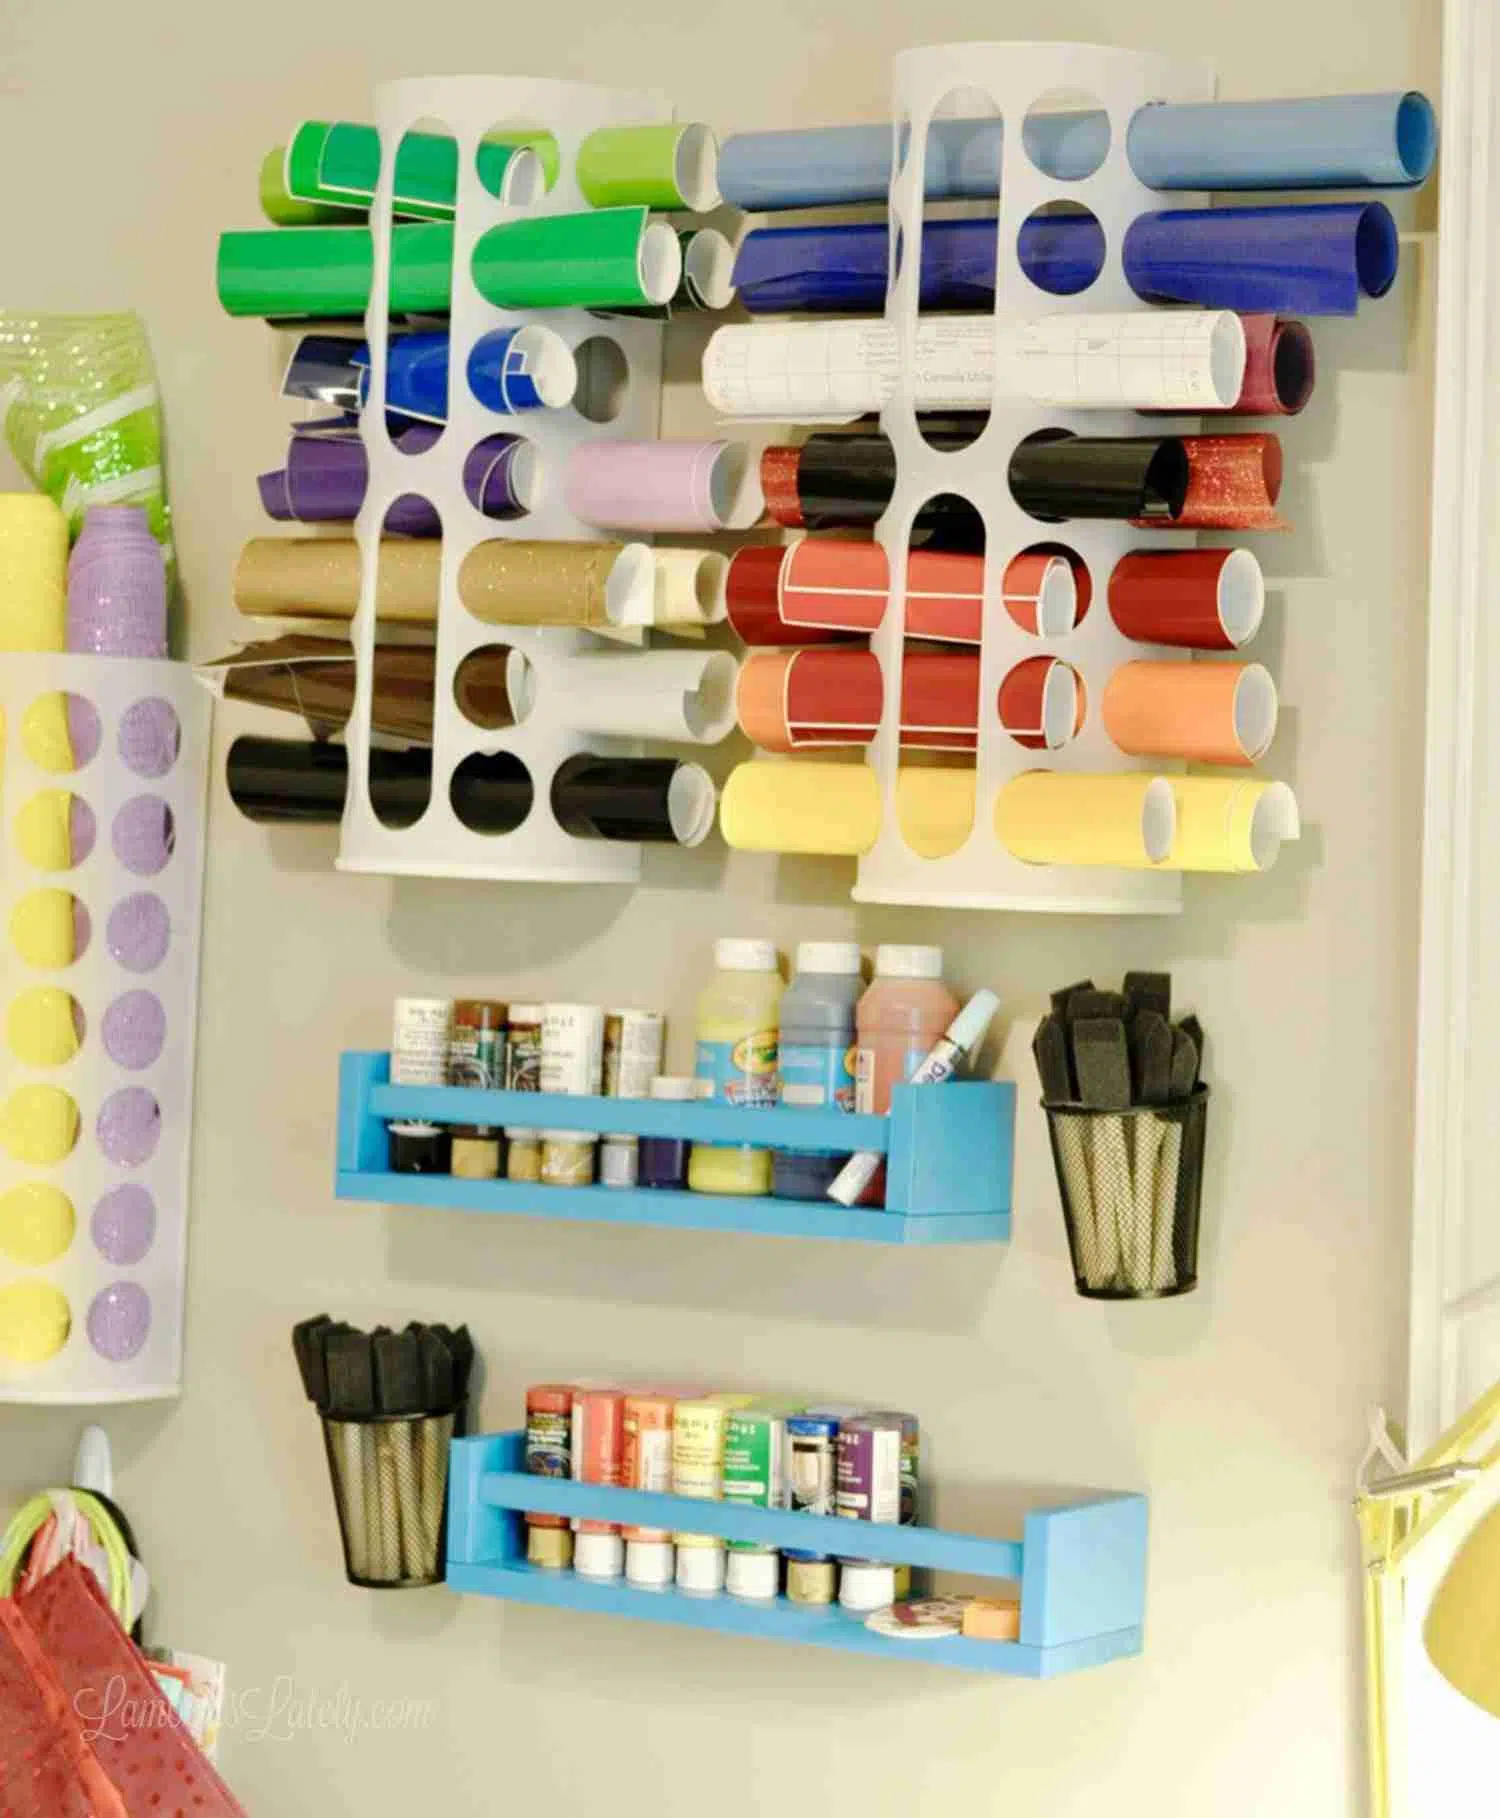
Lots of the Variera bag holders - we used them both for the wrapping paper storage and vinyl storage. We also used Bekvam Spice Racks (painted this blue) for paint storage.
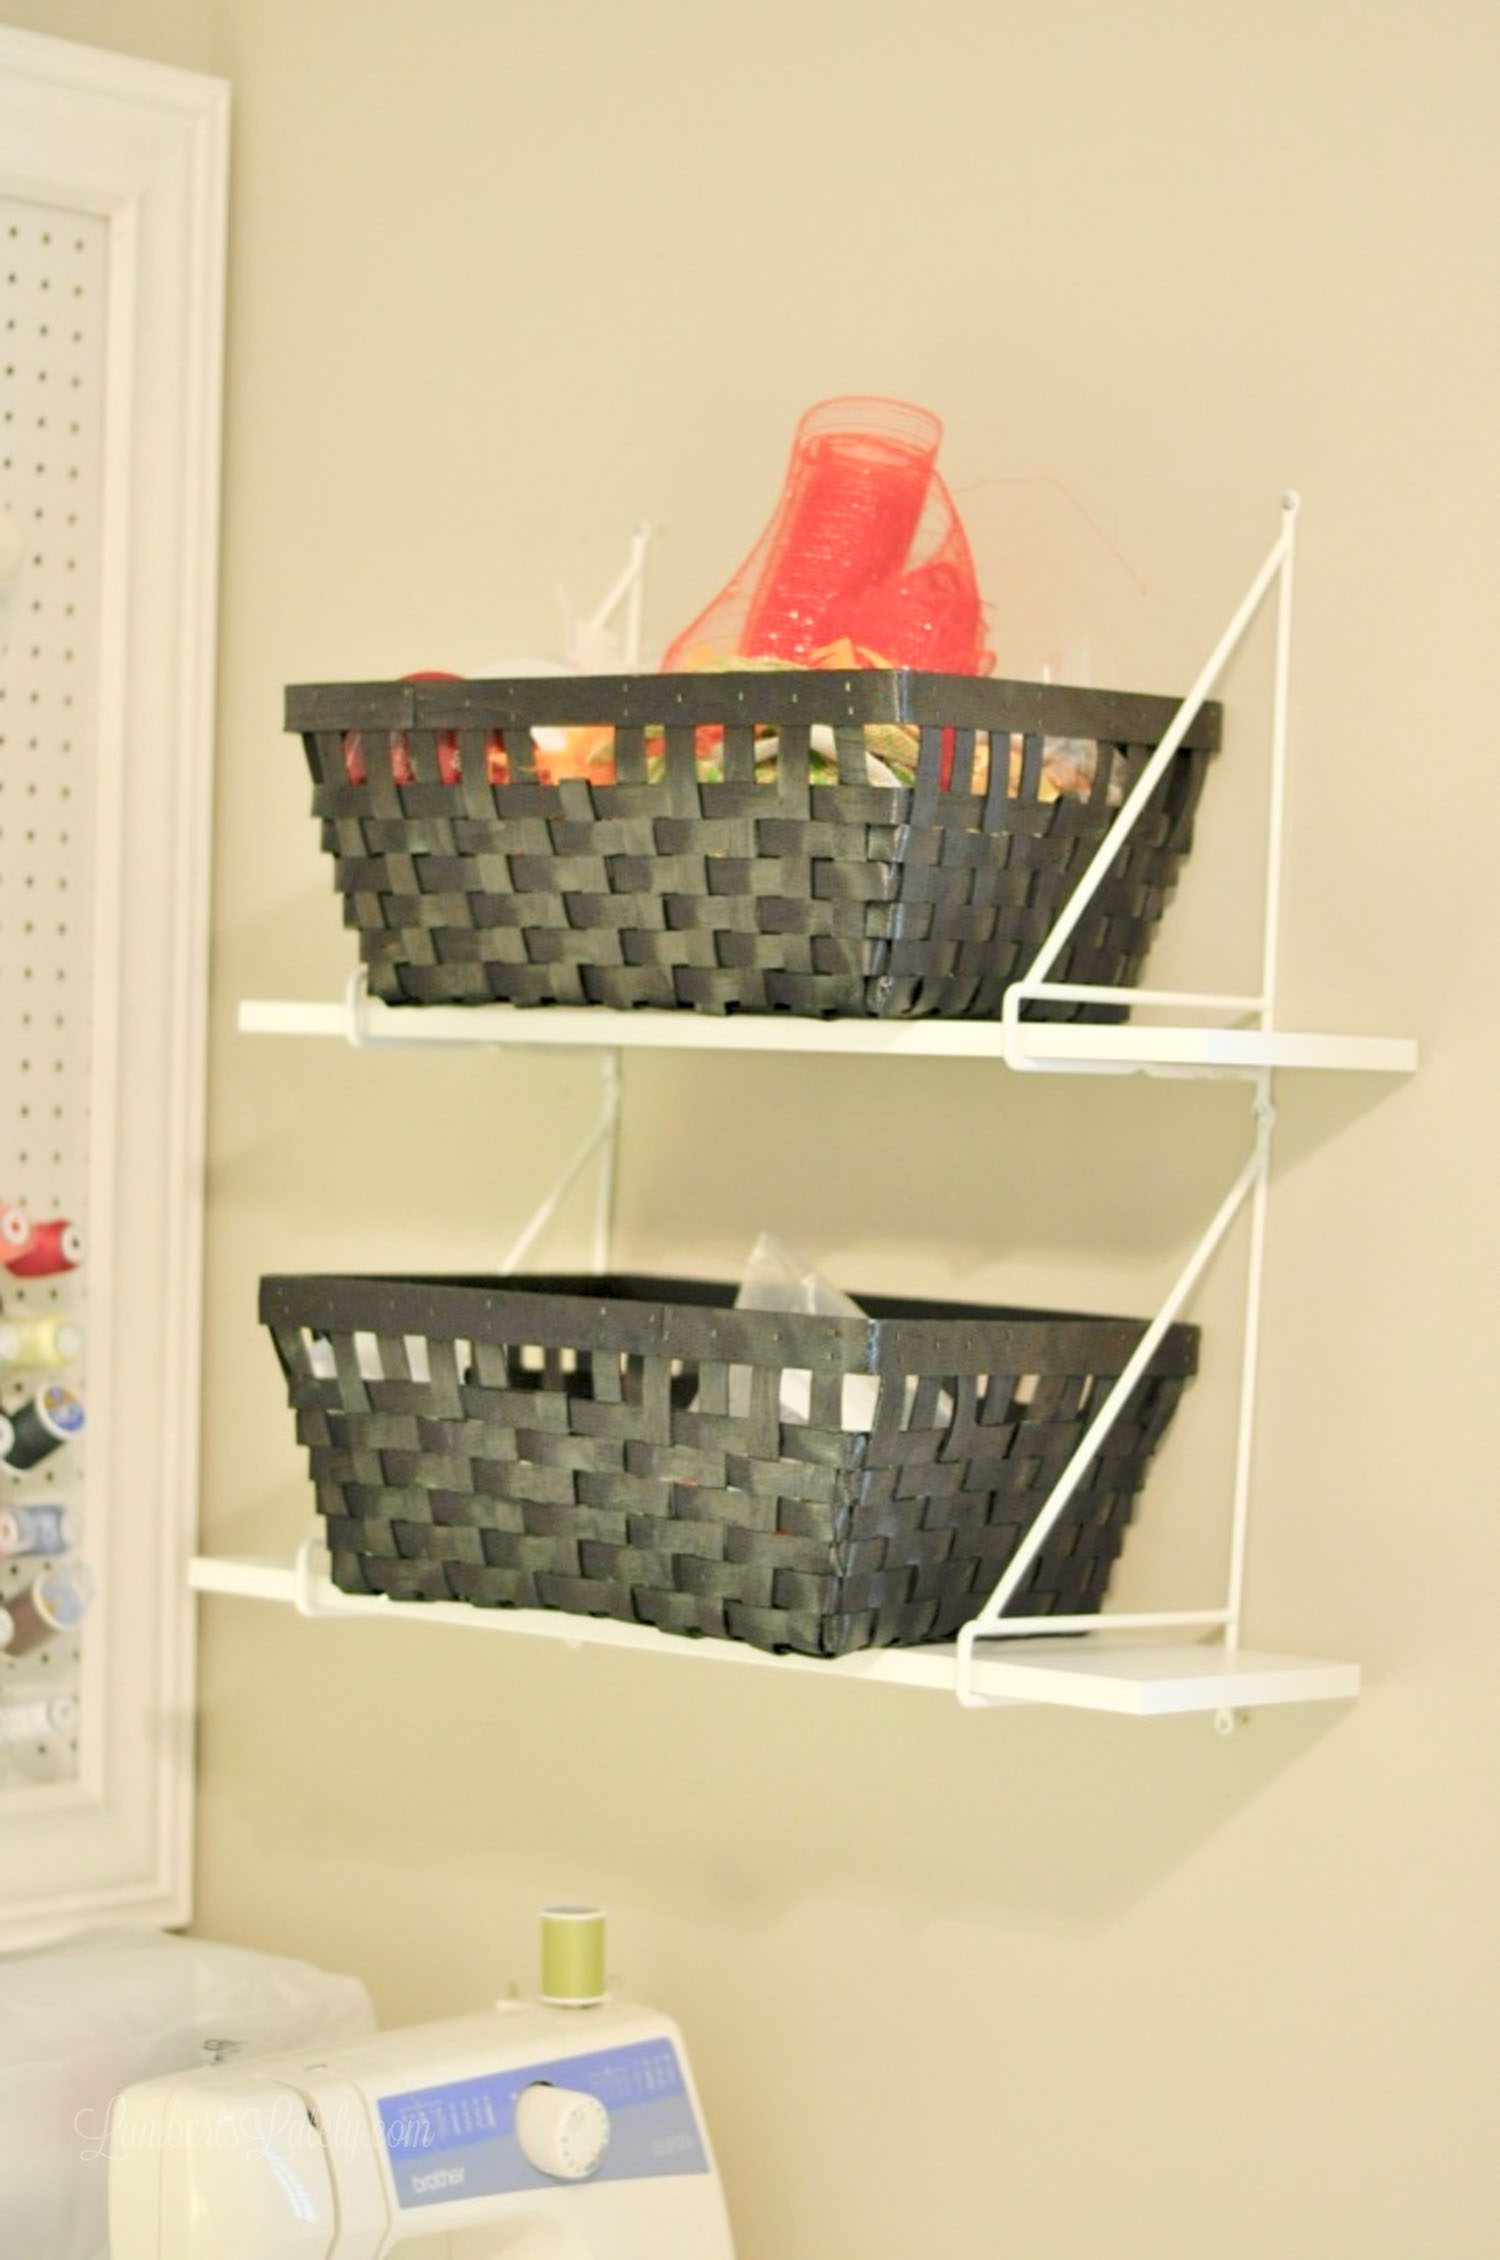
I wanted some open shelving to make grabbing bigger items in baskets easy. We used these shelves and these baskets for smaller sewing supplies (like pin cushions) and small rolls of deco ribbon.
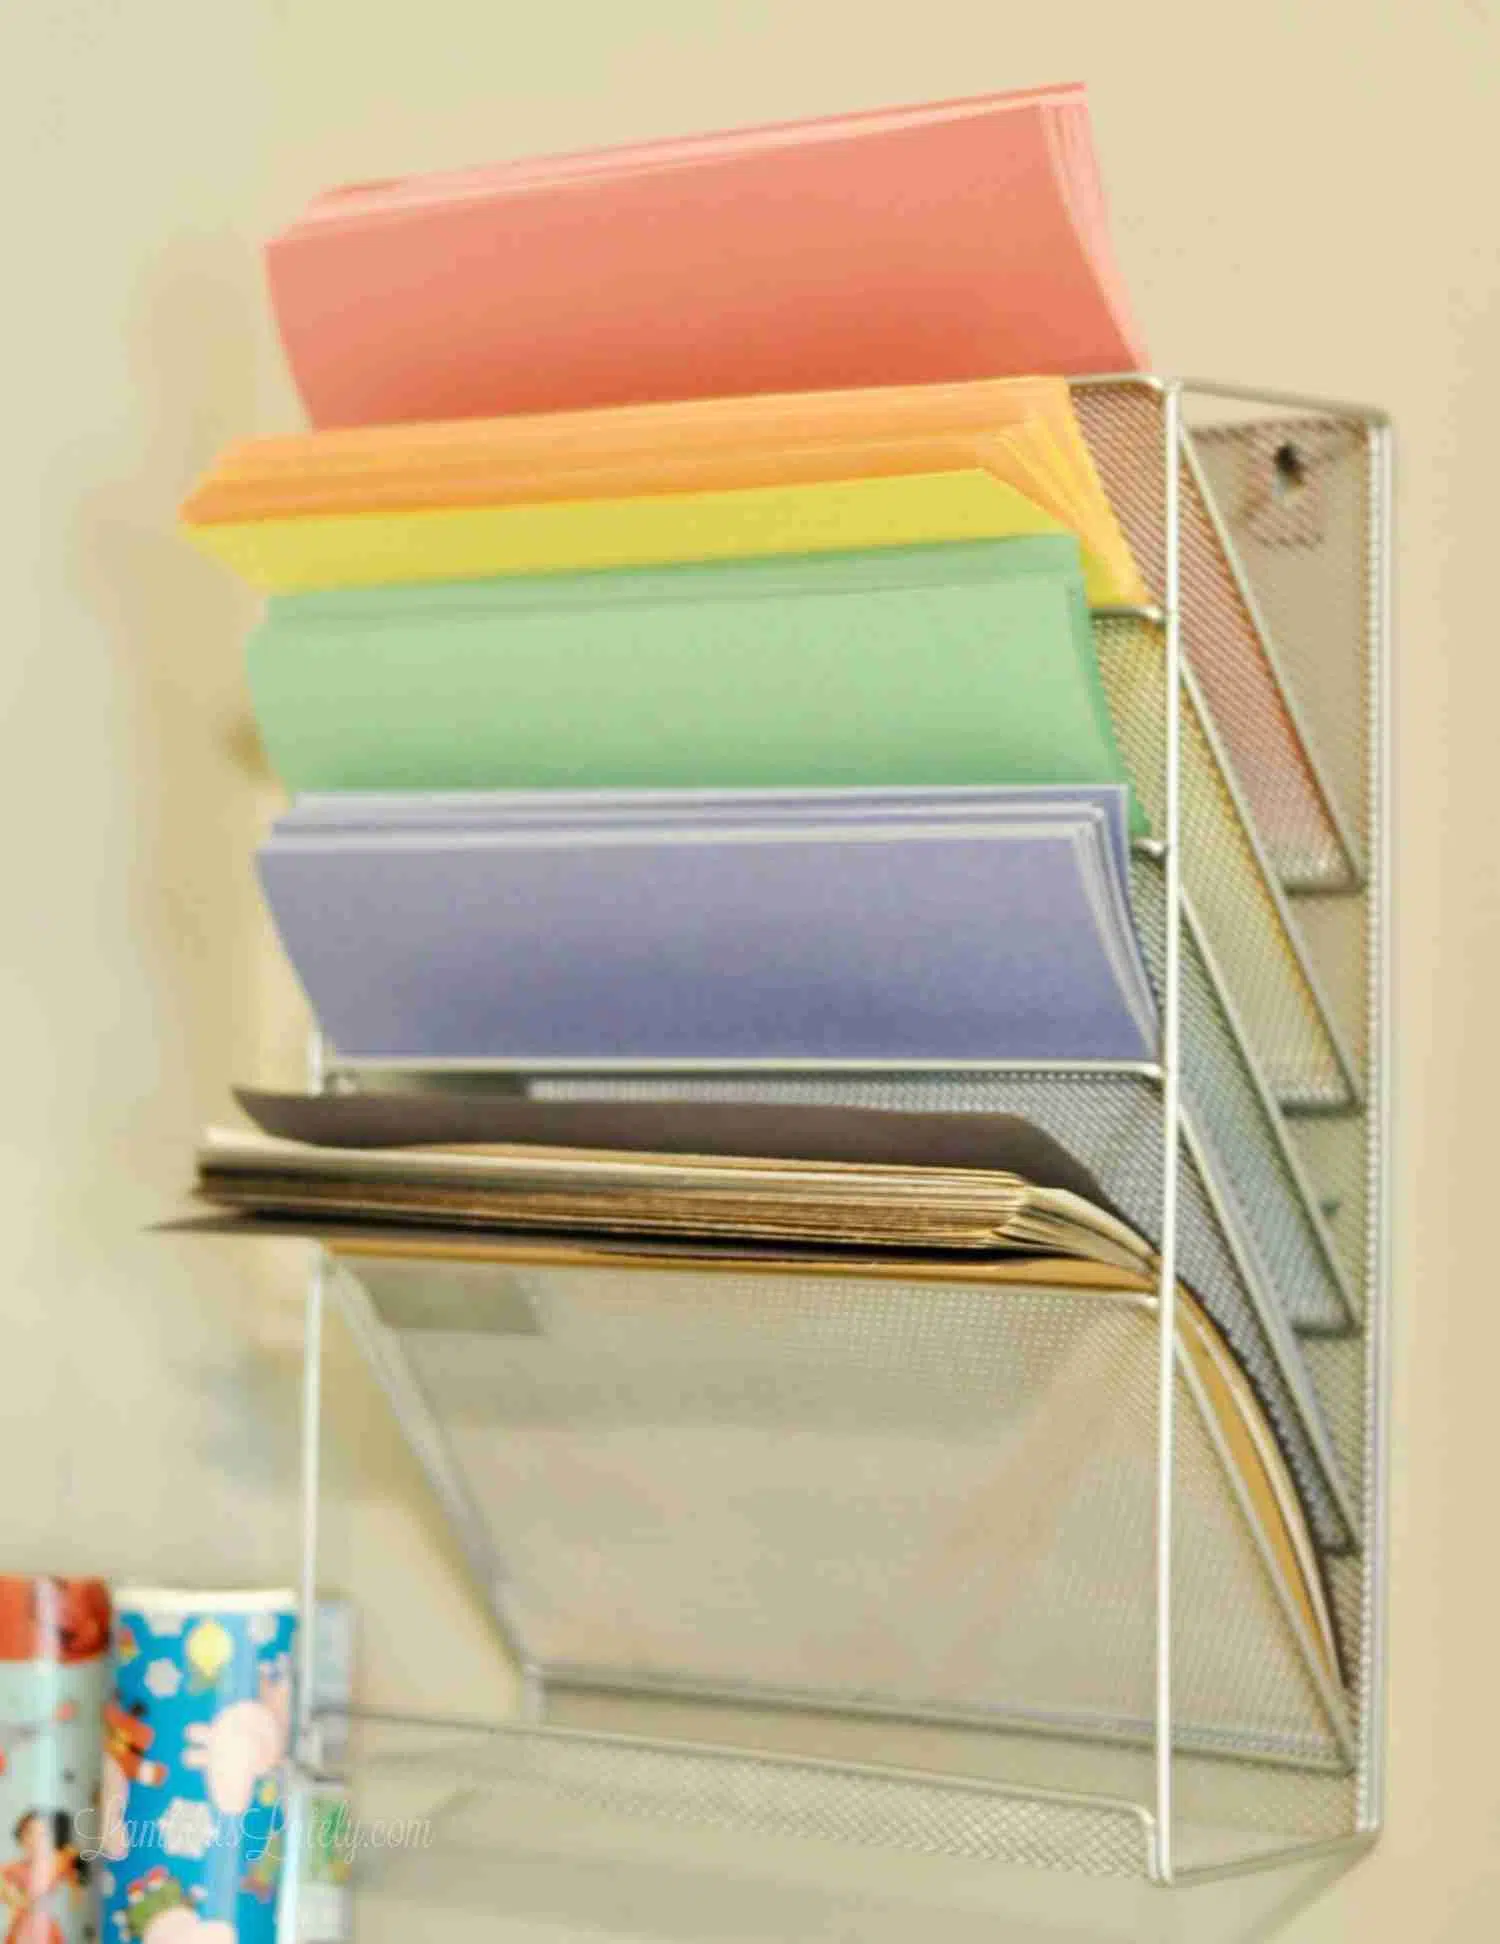
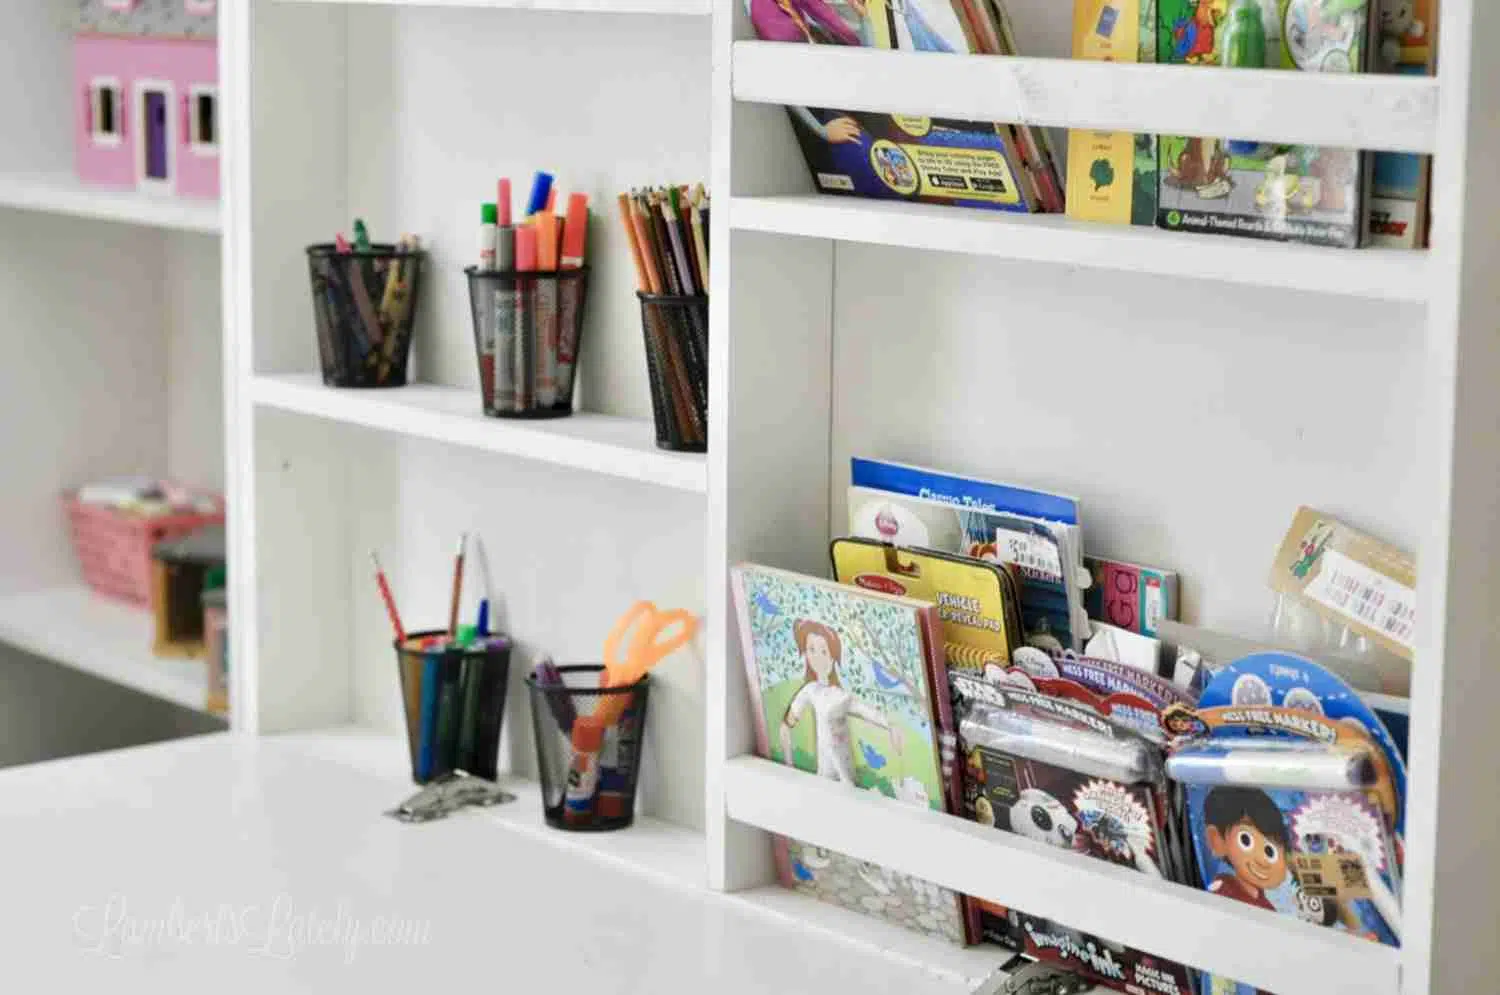
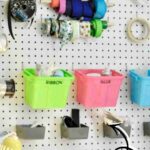
This wall organizer (similar here) is an Amazon find - it's another example of using beautiful, colorful supplies to your benefit. Plus, it makes it so easy for the kids to grab whatever color construction paper they want.
We also had a few bigger DIY projects in this room. I'll be talking a little bit more about the peg board and murphy bed in the next couple of weeks!
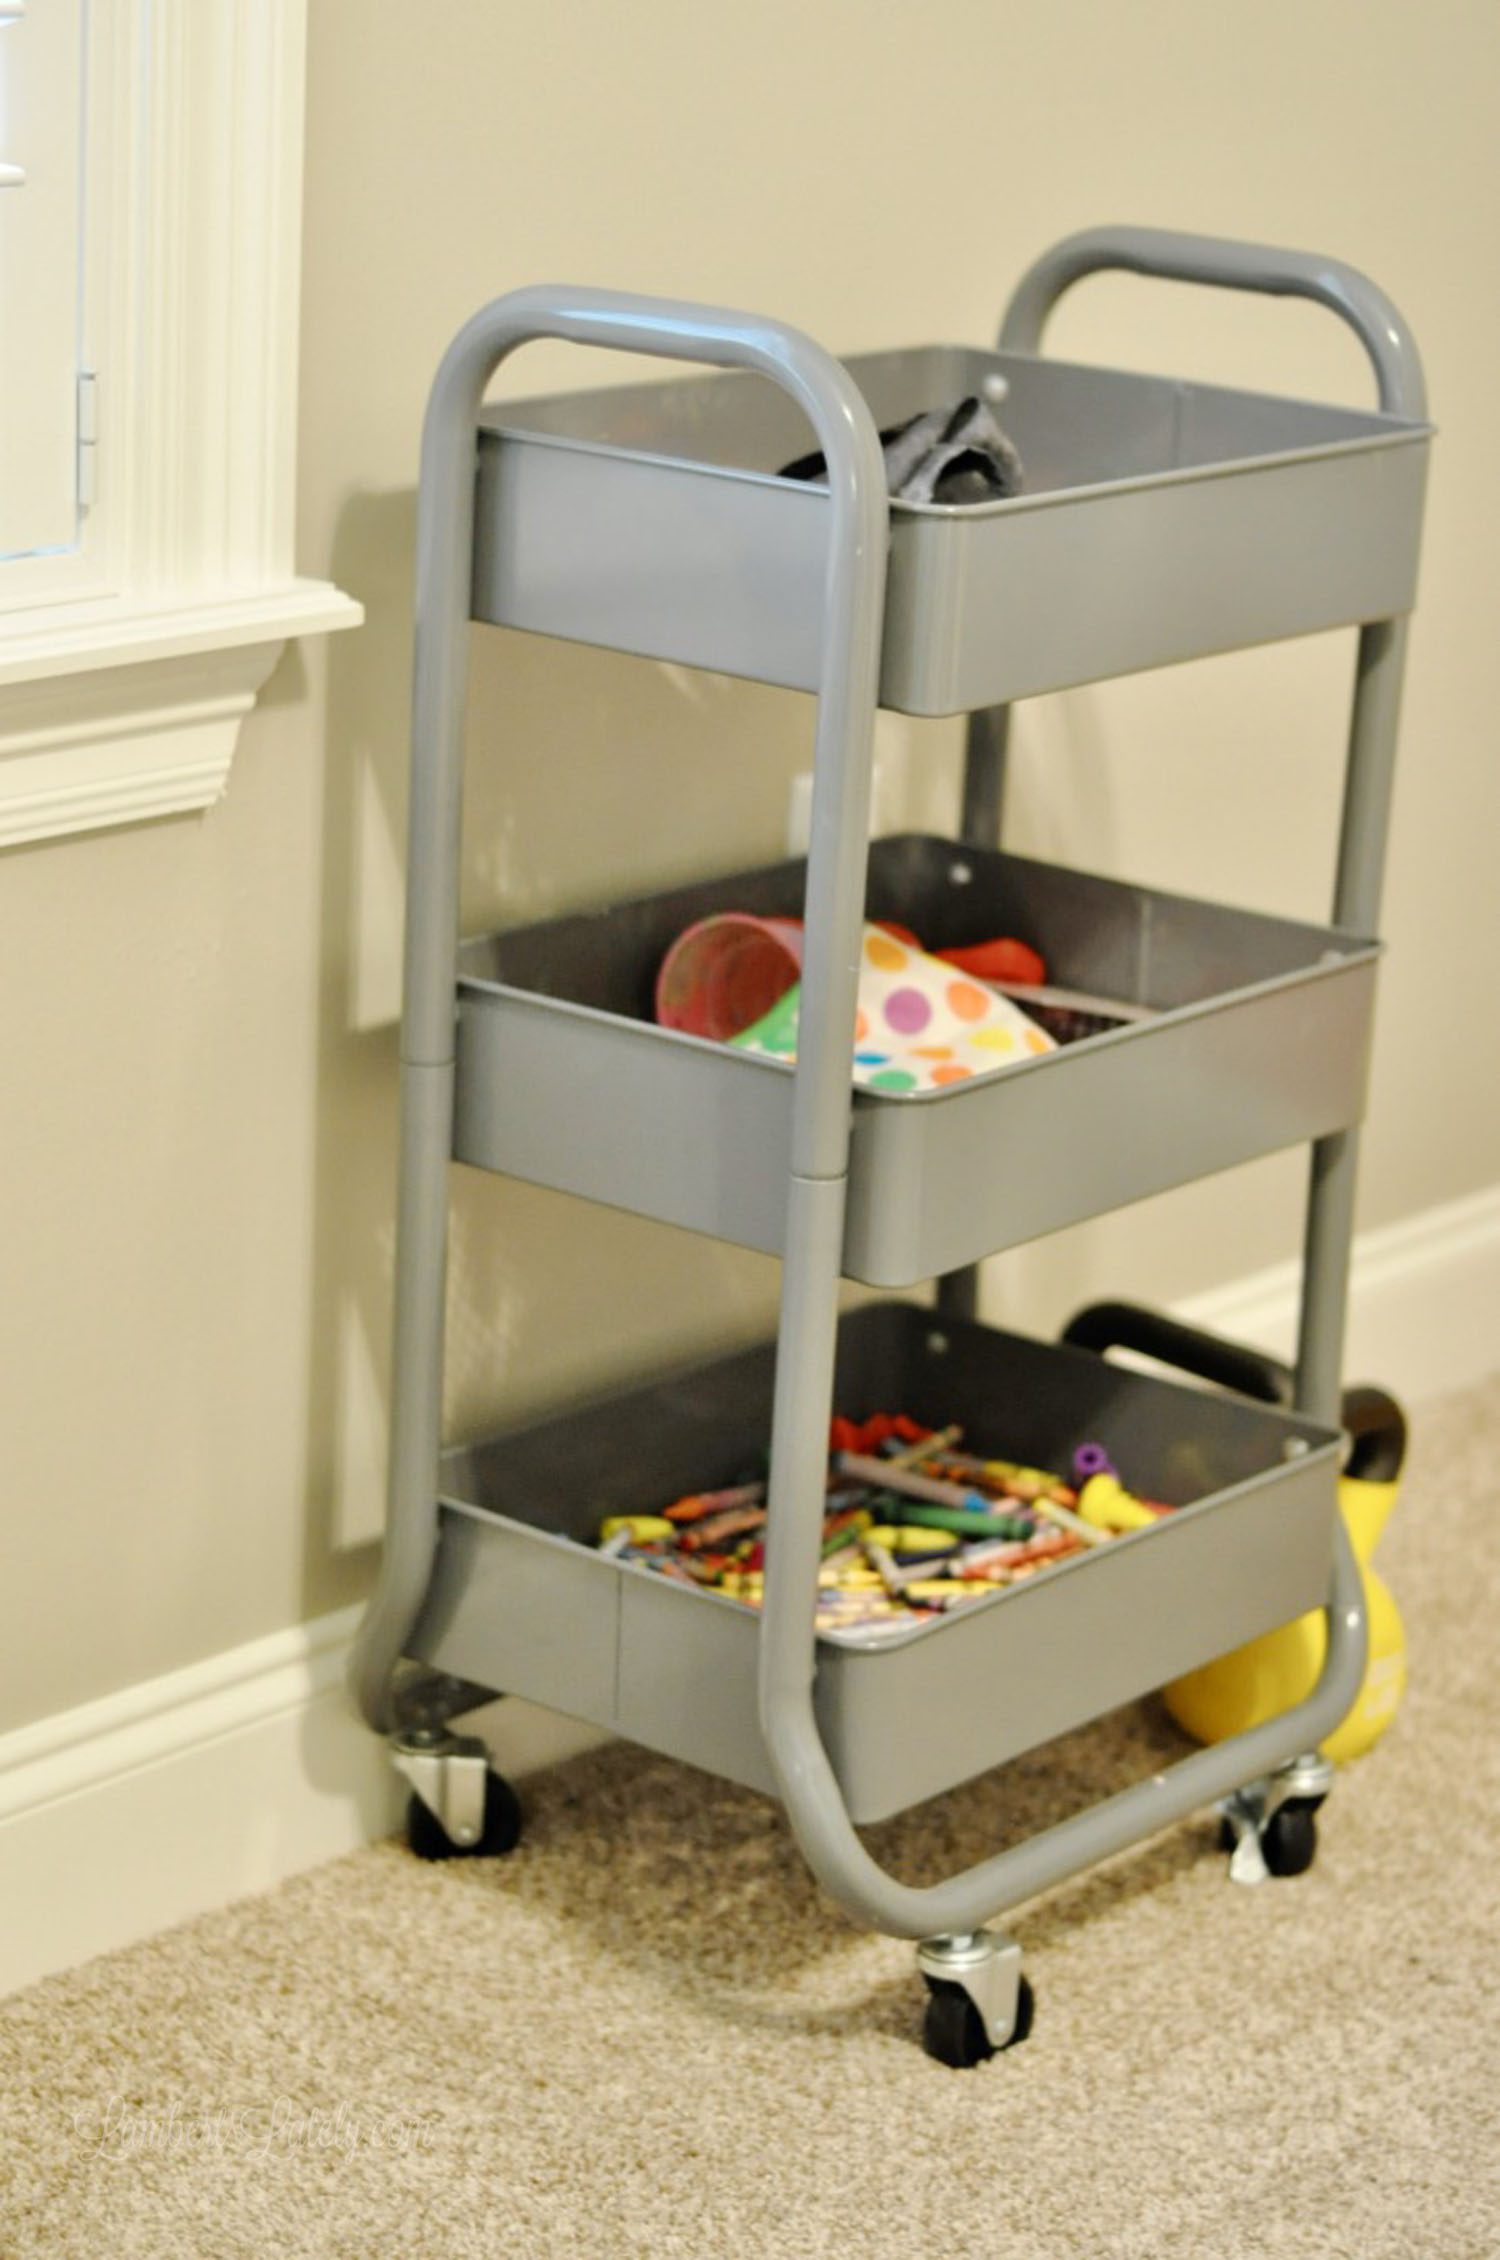
I am a big fan of repurposing storage supplies when you can. We use to have this utility cart in our playroom to hold craft supplies; I repurposed it for this space because, honestly, it's much more needed in this space now. It holds the chalk for our new chalkboard and crayons/markers/pencils for homework time.
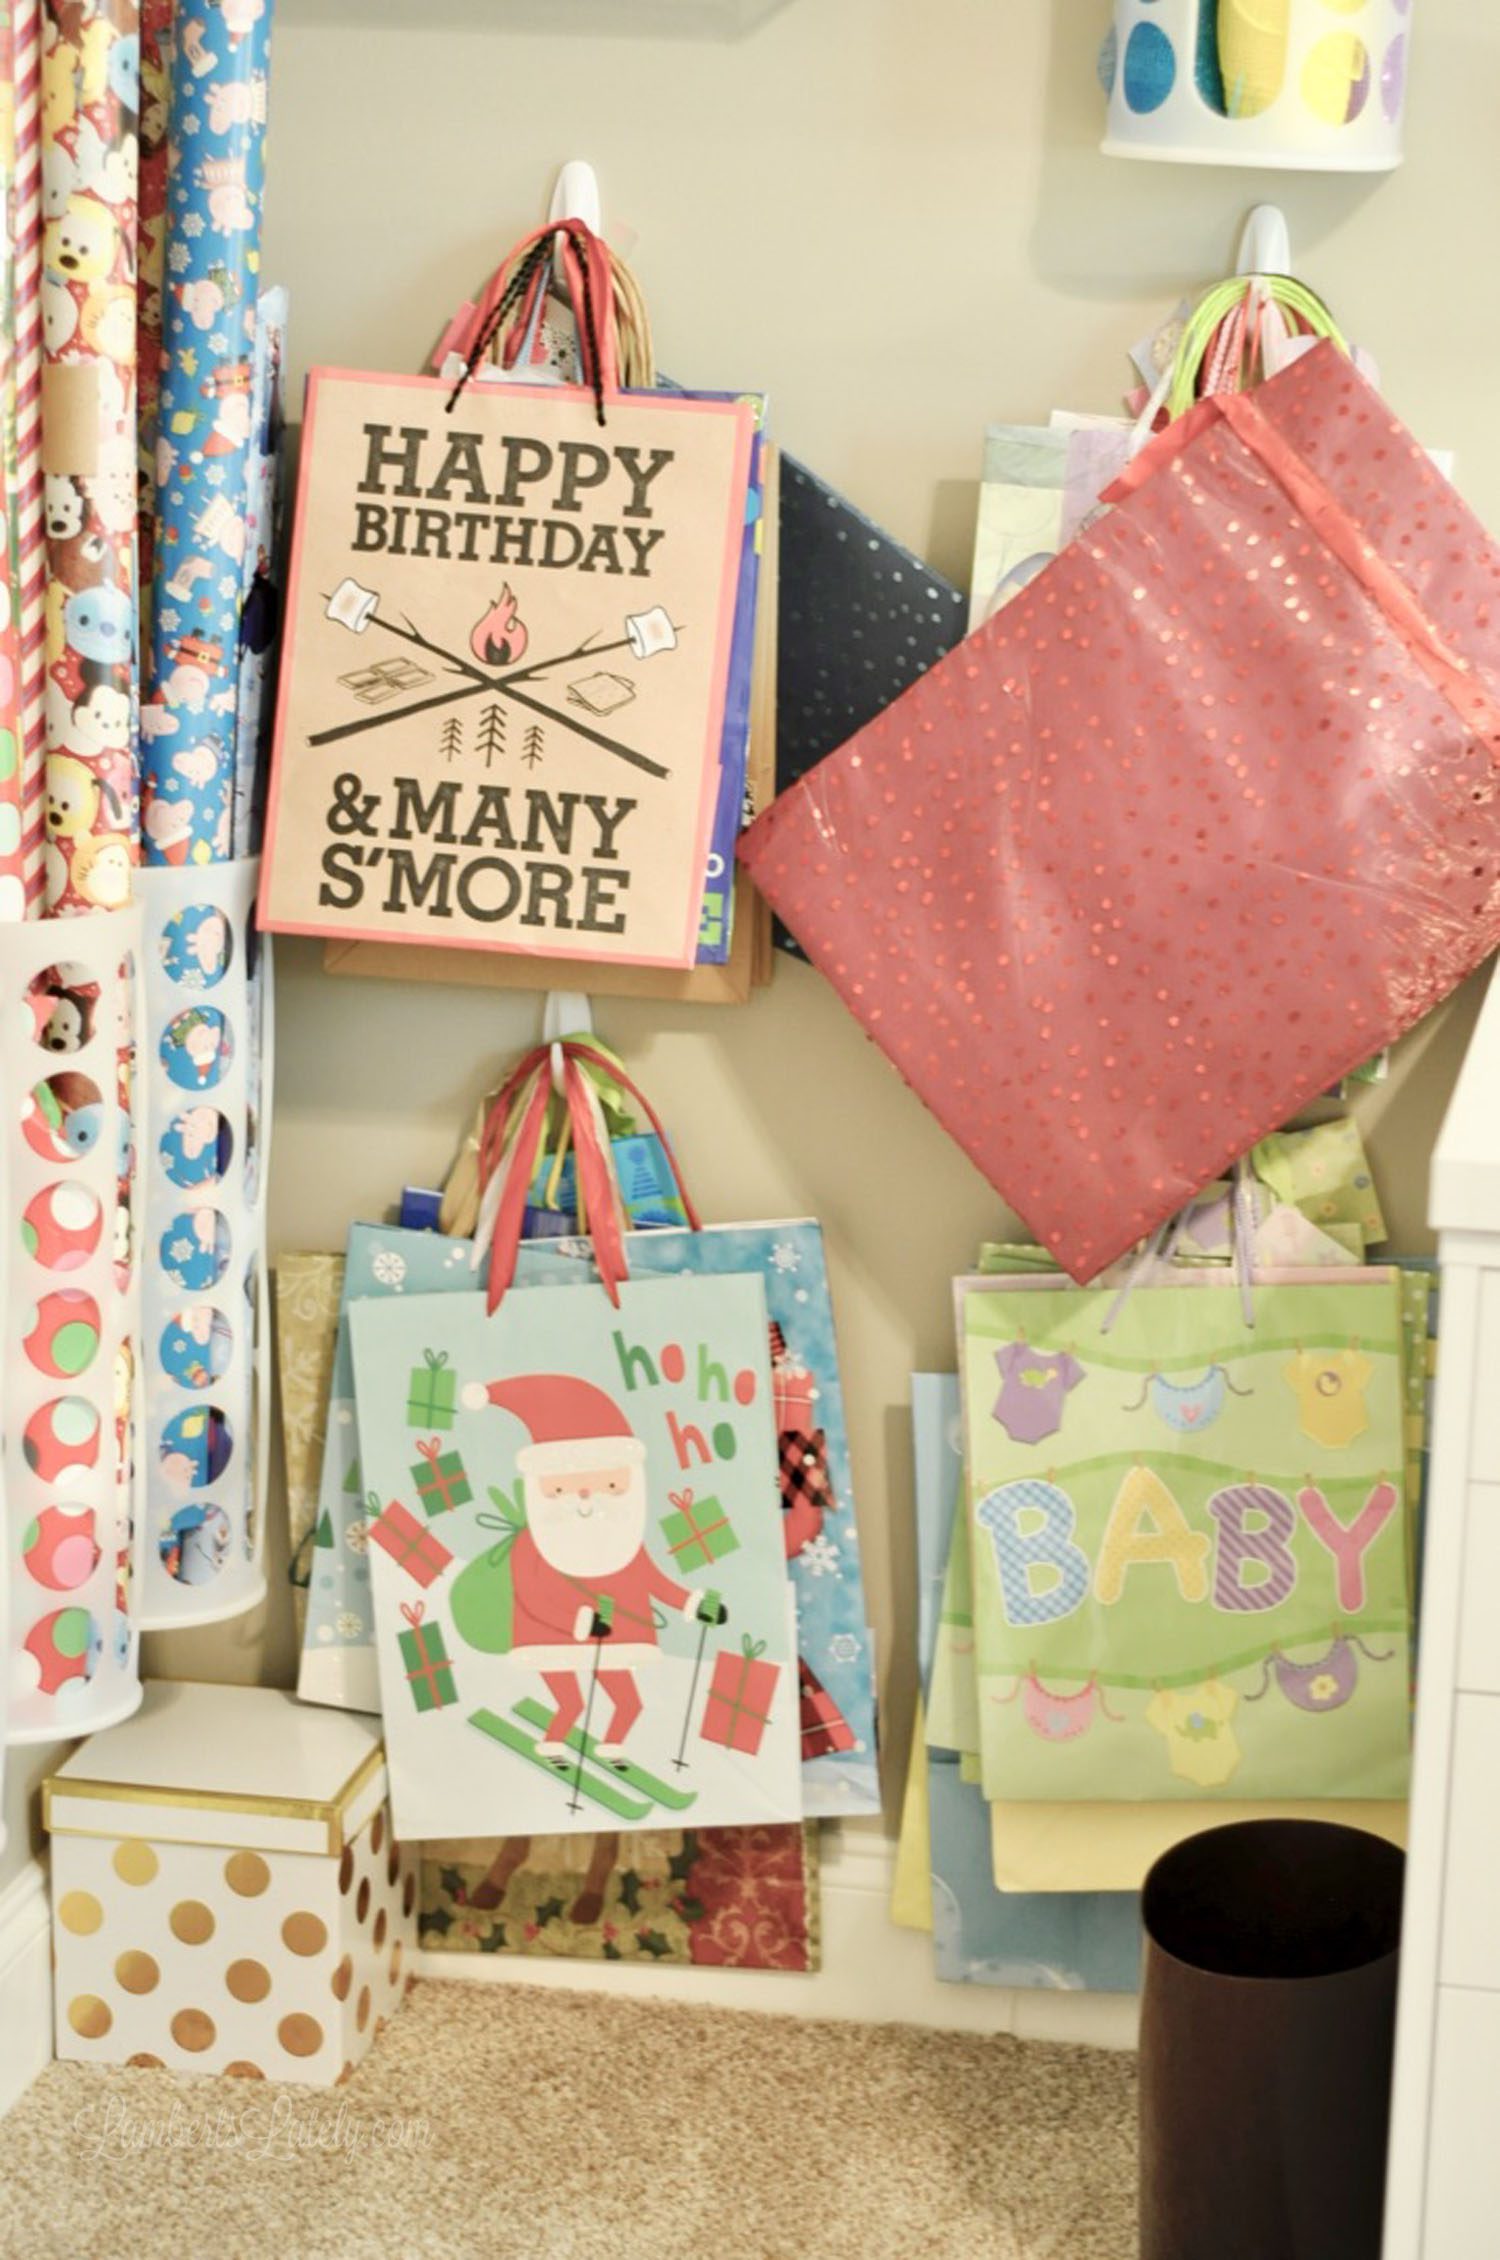
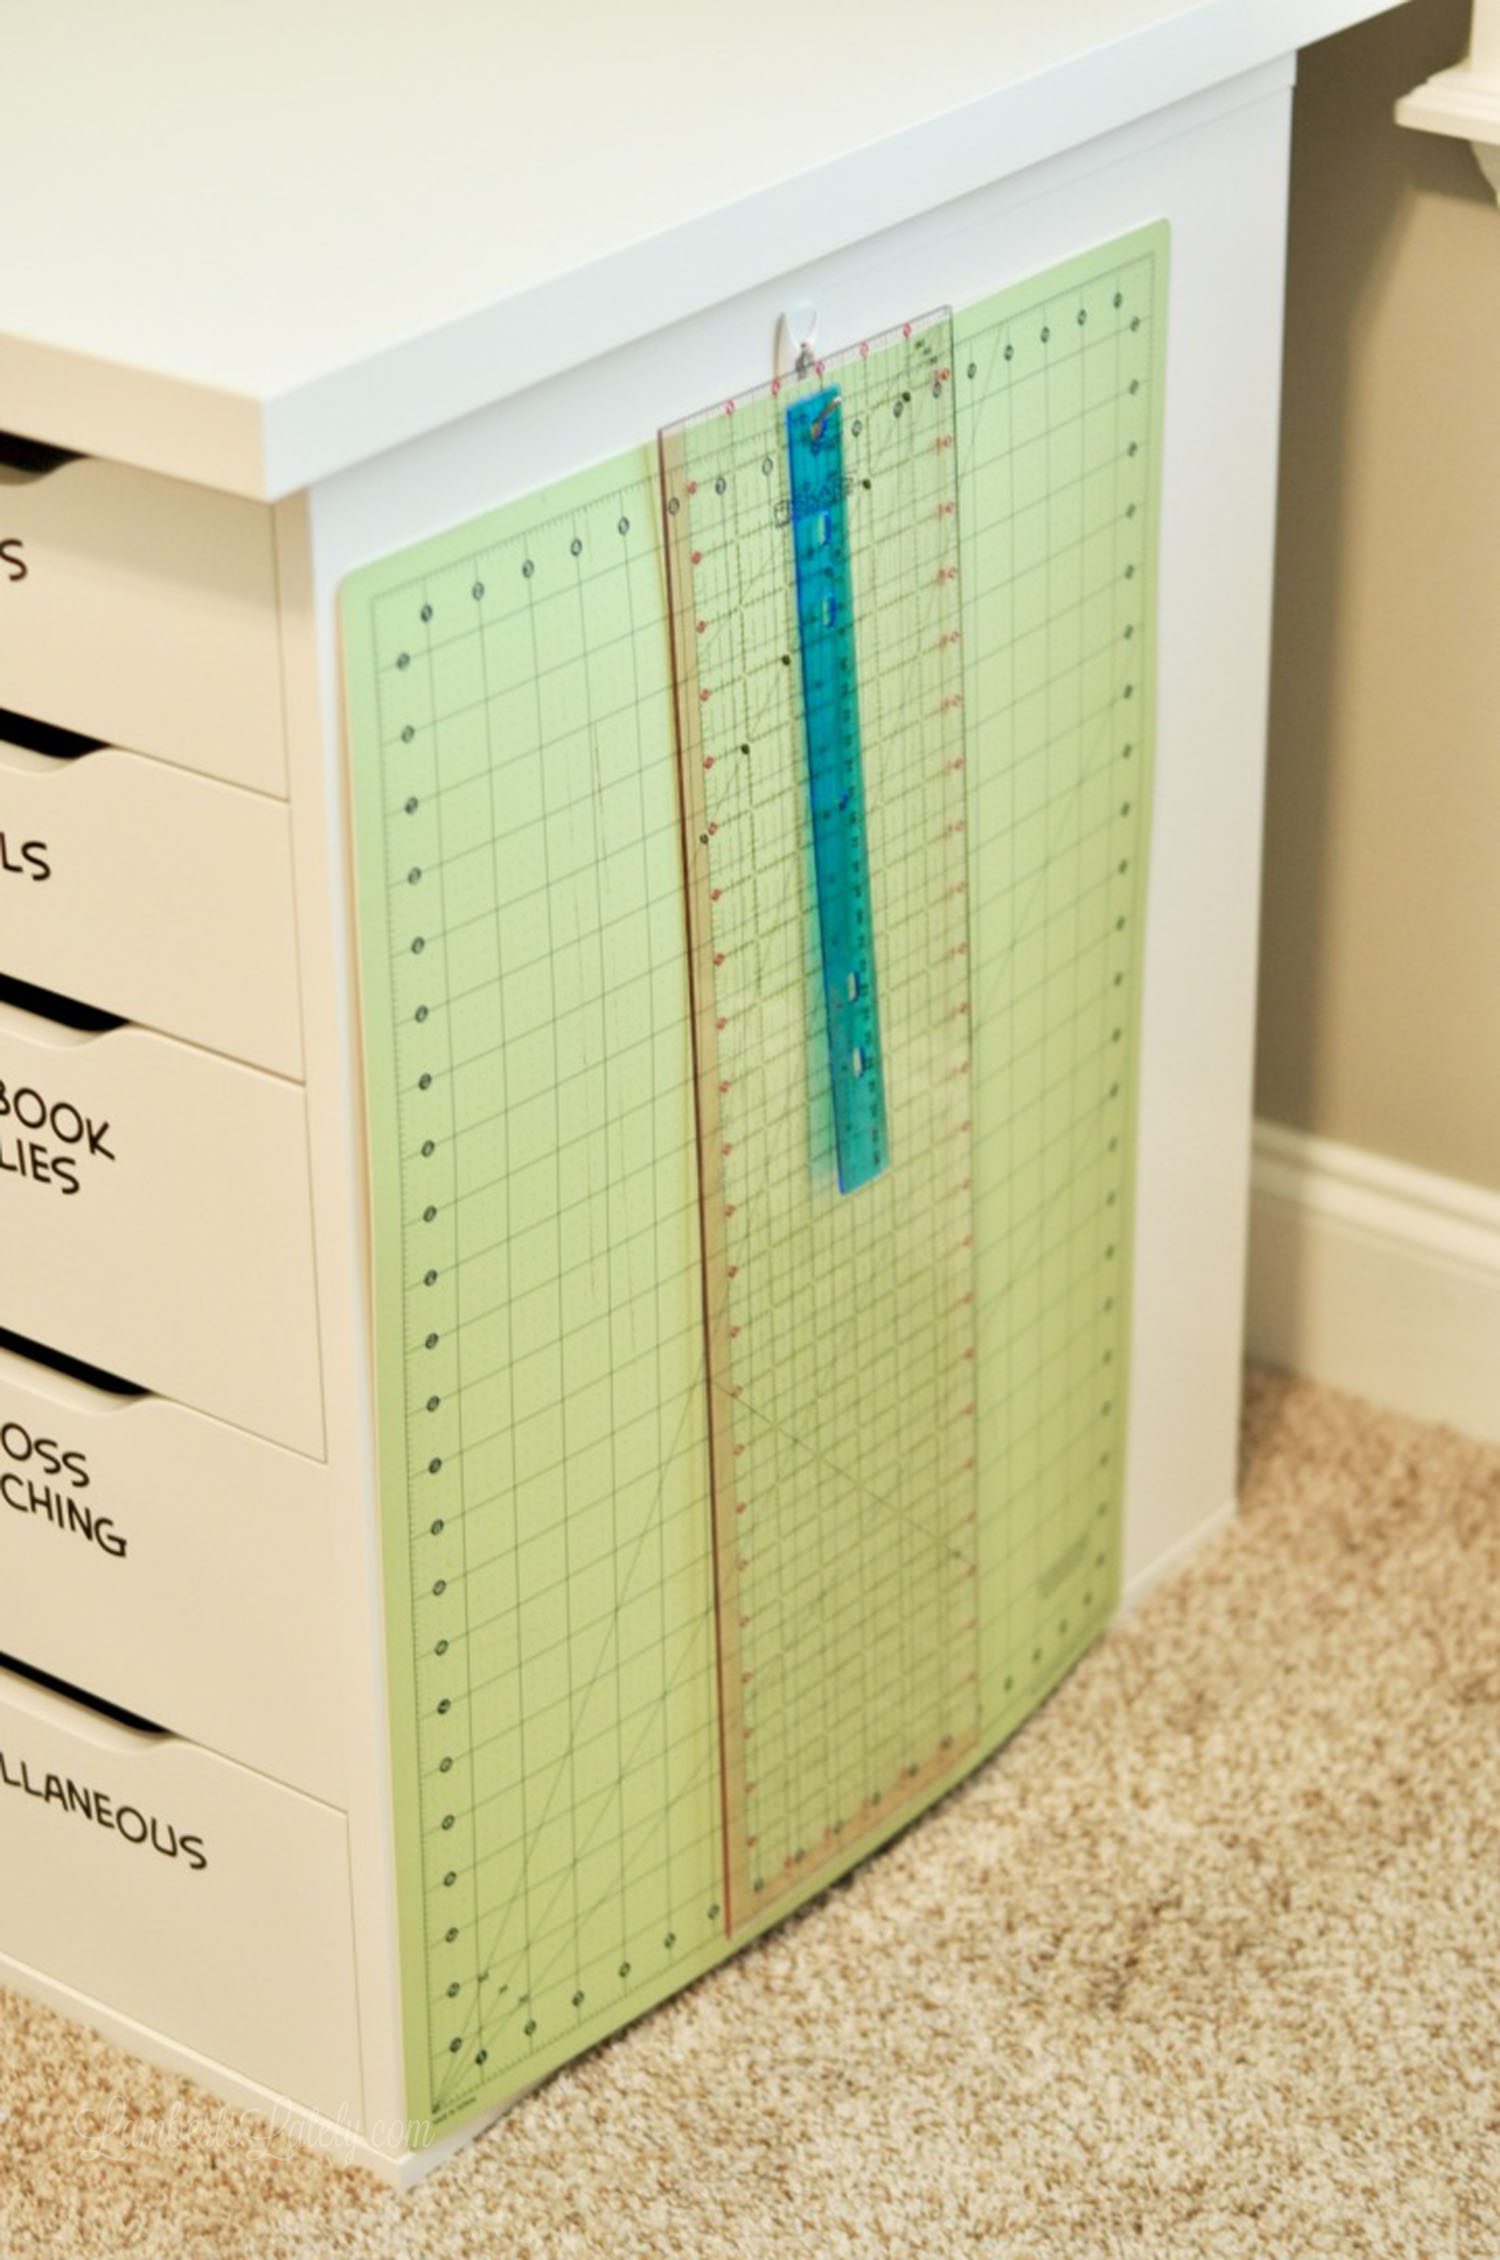
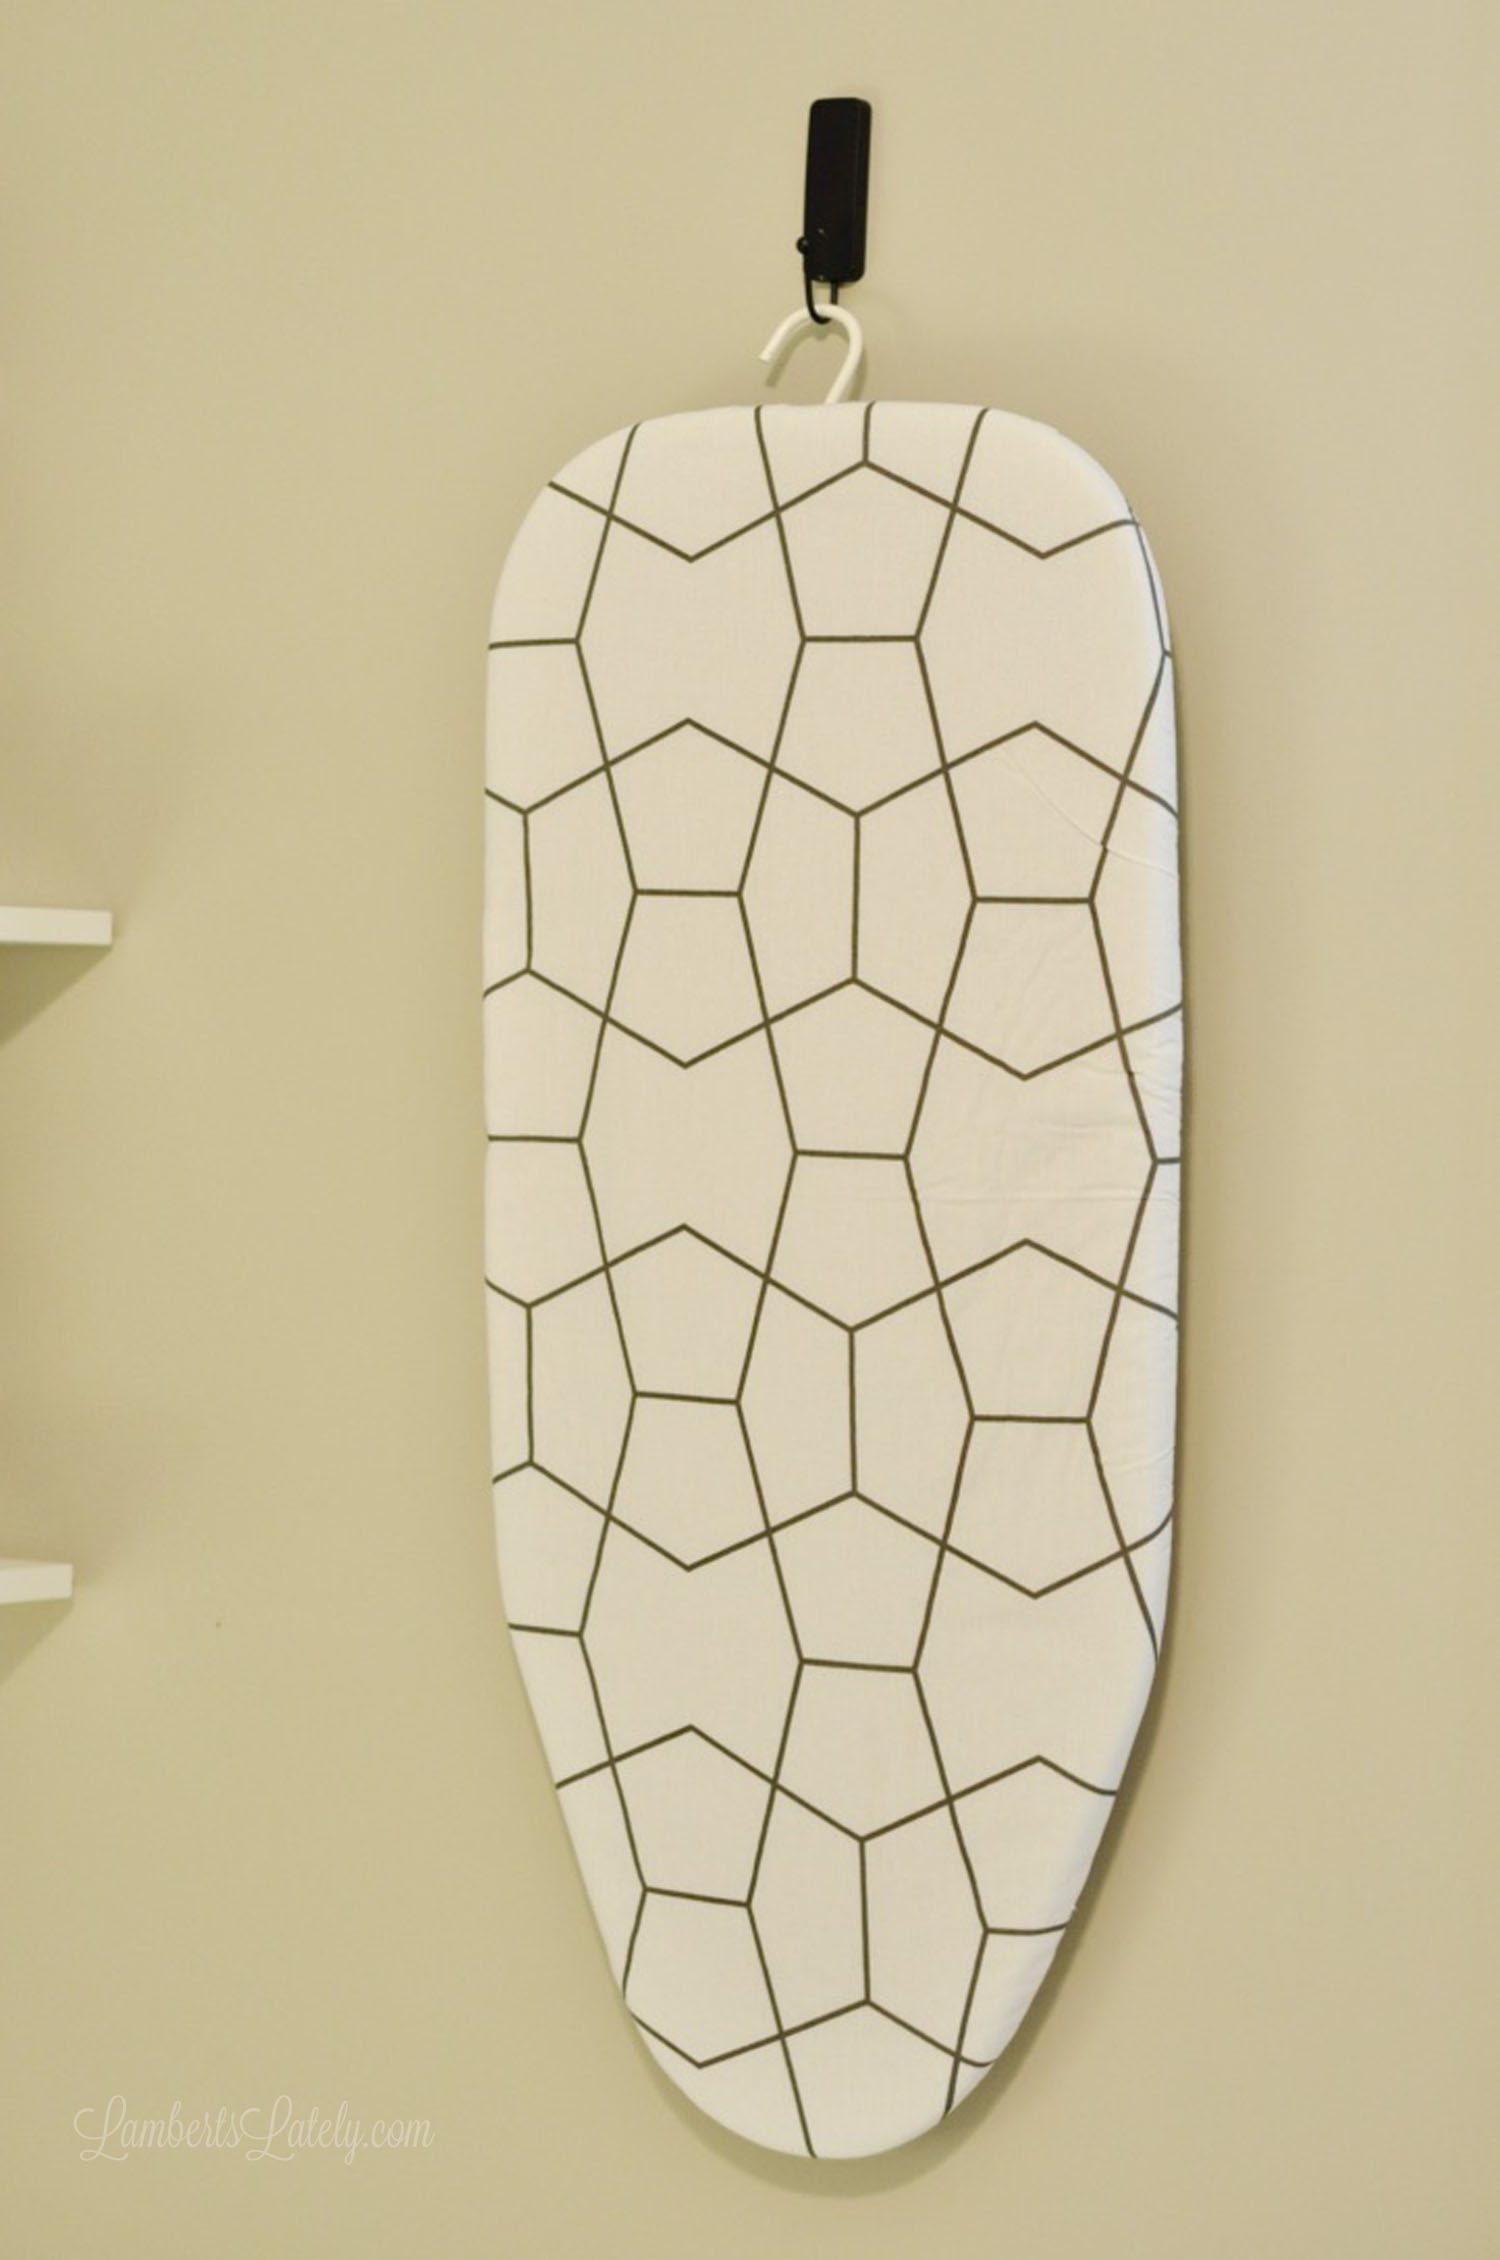
I absolutely love using command hooks for maximizing vertical storage! You'll find these throughout our craft room. They hold gift bags, rulers and cutting mats, and even a small ironing board for sewing projects.
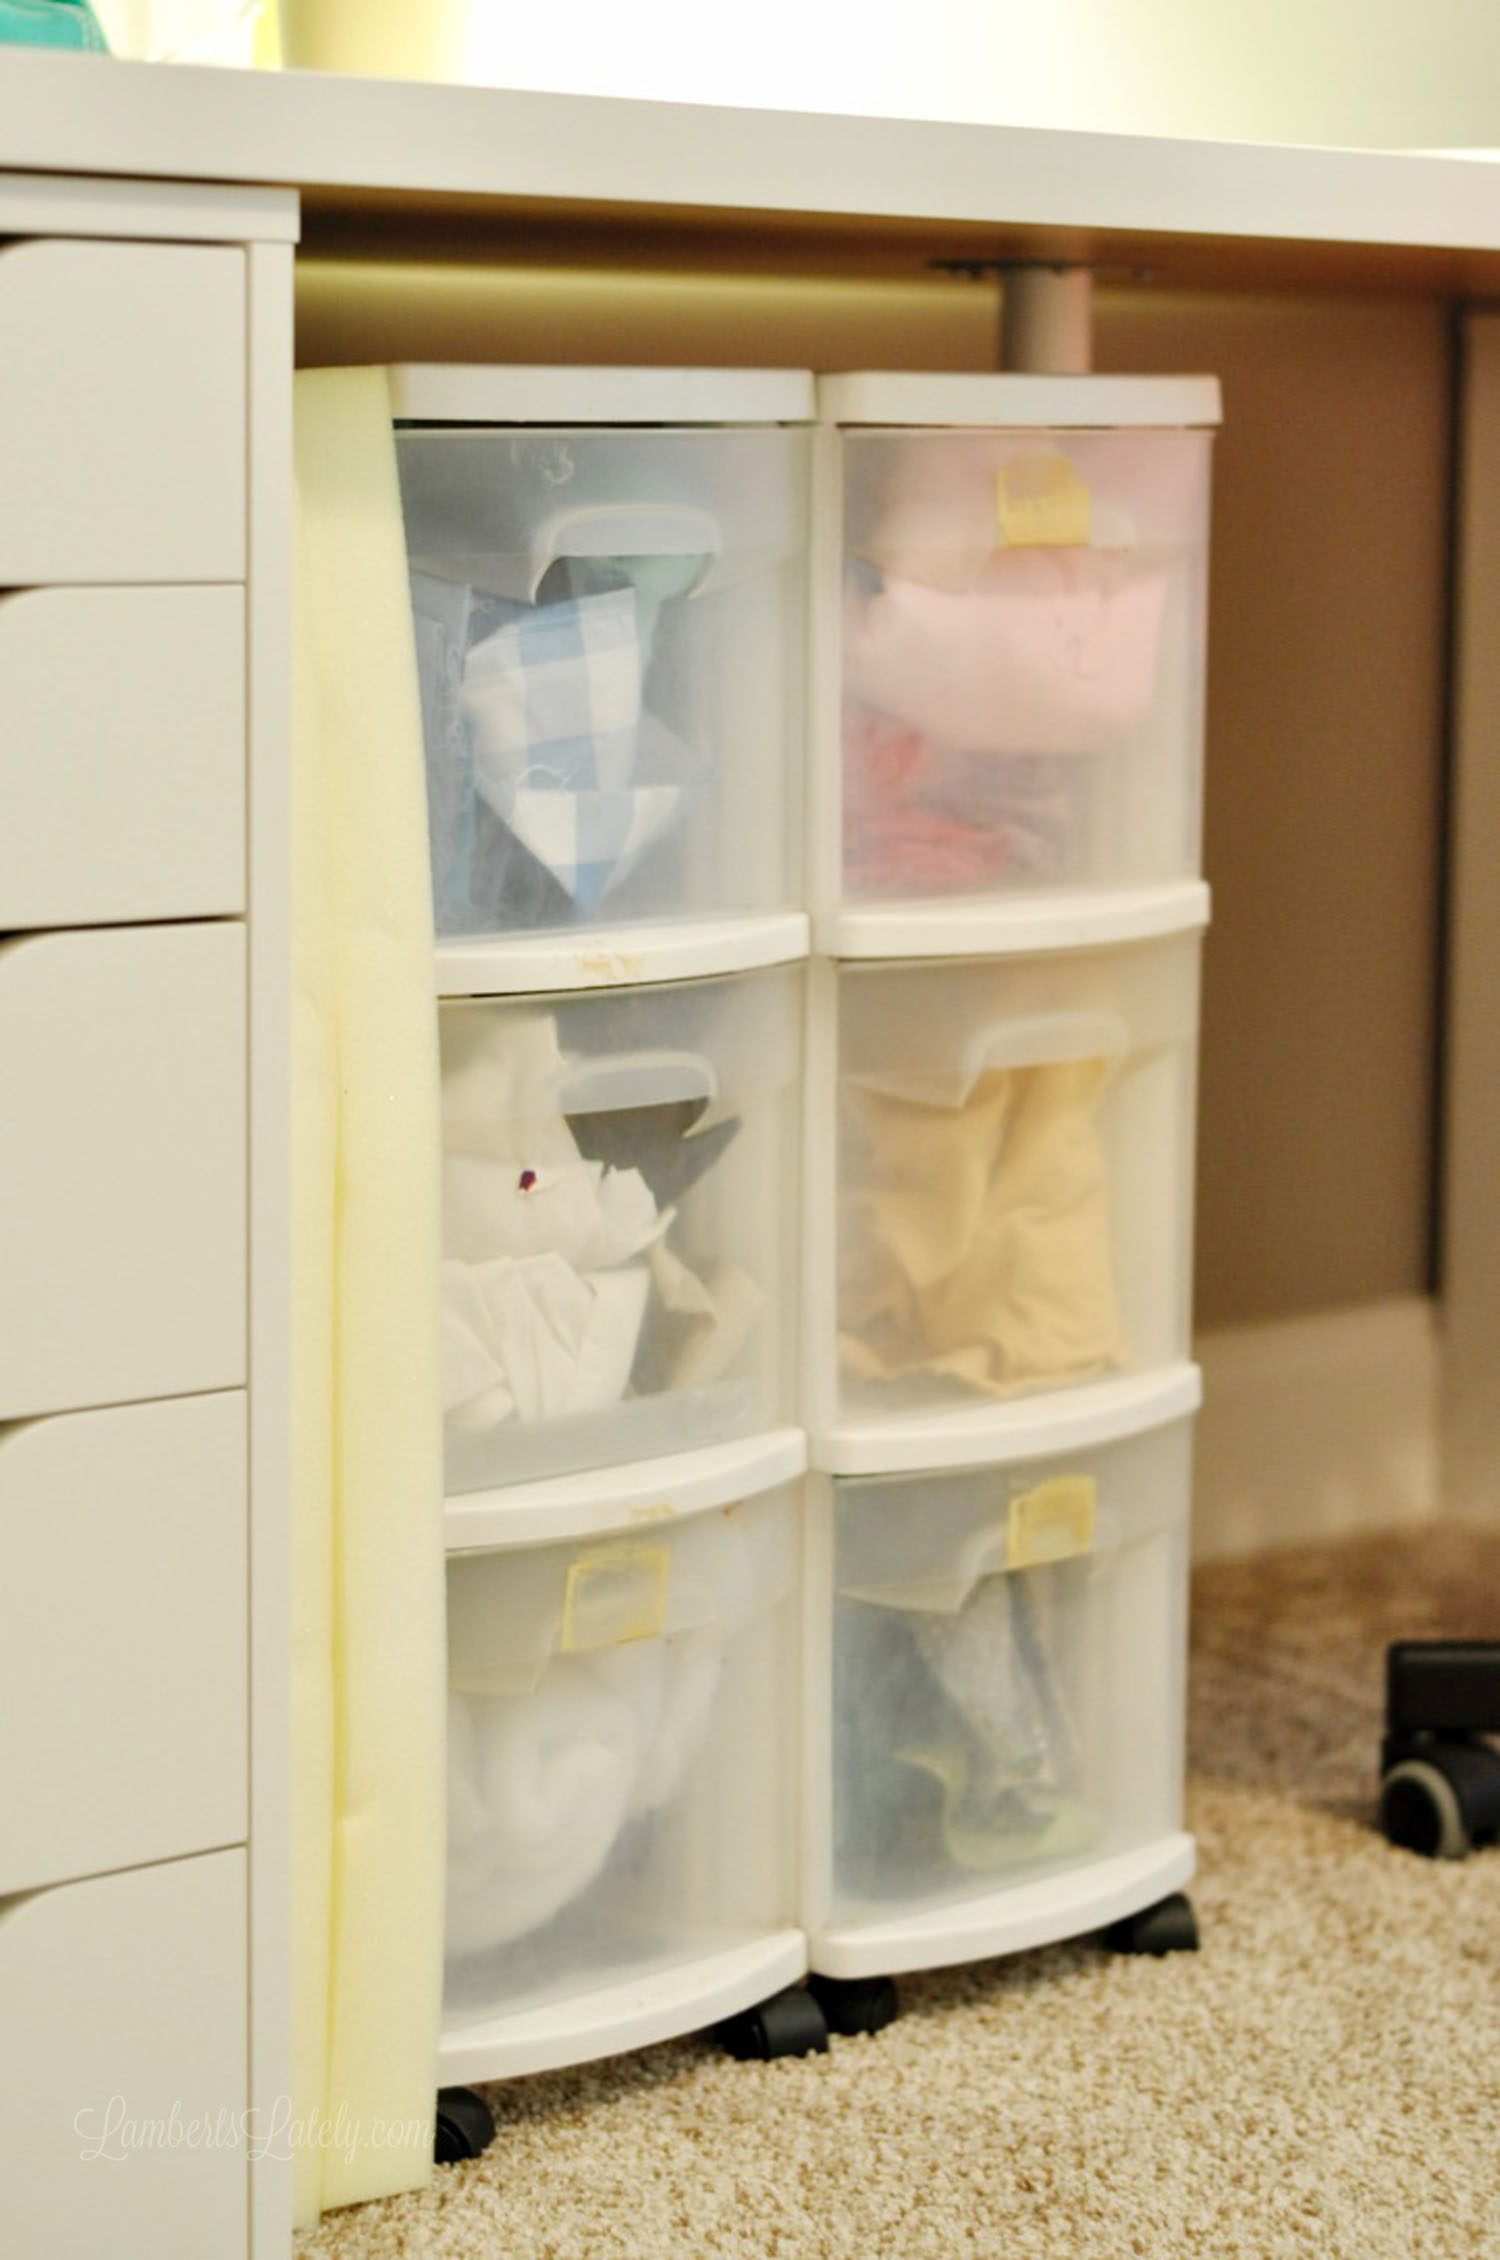
These drawers have been organizing items for me since college; I've lost count of the number of places I've used them! They've transformed from craft supply organization to extra fabric organization.
I didn't really see the point in labeling them; it's pretty obvious what's in them since the front is clear ( I just made sure to organize the fabric by color for easy reference). But that lead me to my next point...
Clearly label what can't be seen.
I think it's kind of pointless to have labels on the things you decide to store visibly in your craft room; but, I'm a huge fan of putting simple labels on storage containers and drawers when the contents aren't immediately obvious.
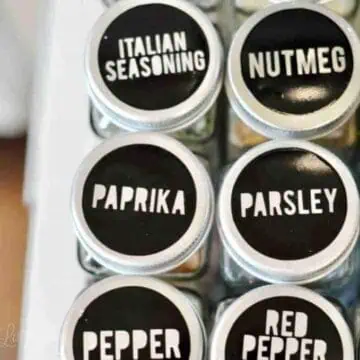
I've done this with my canister labels, office, and playroom objects using different methods. This time around, I decided to use the good old vinyl cutting machine!
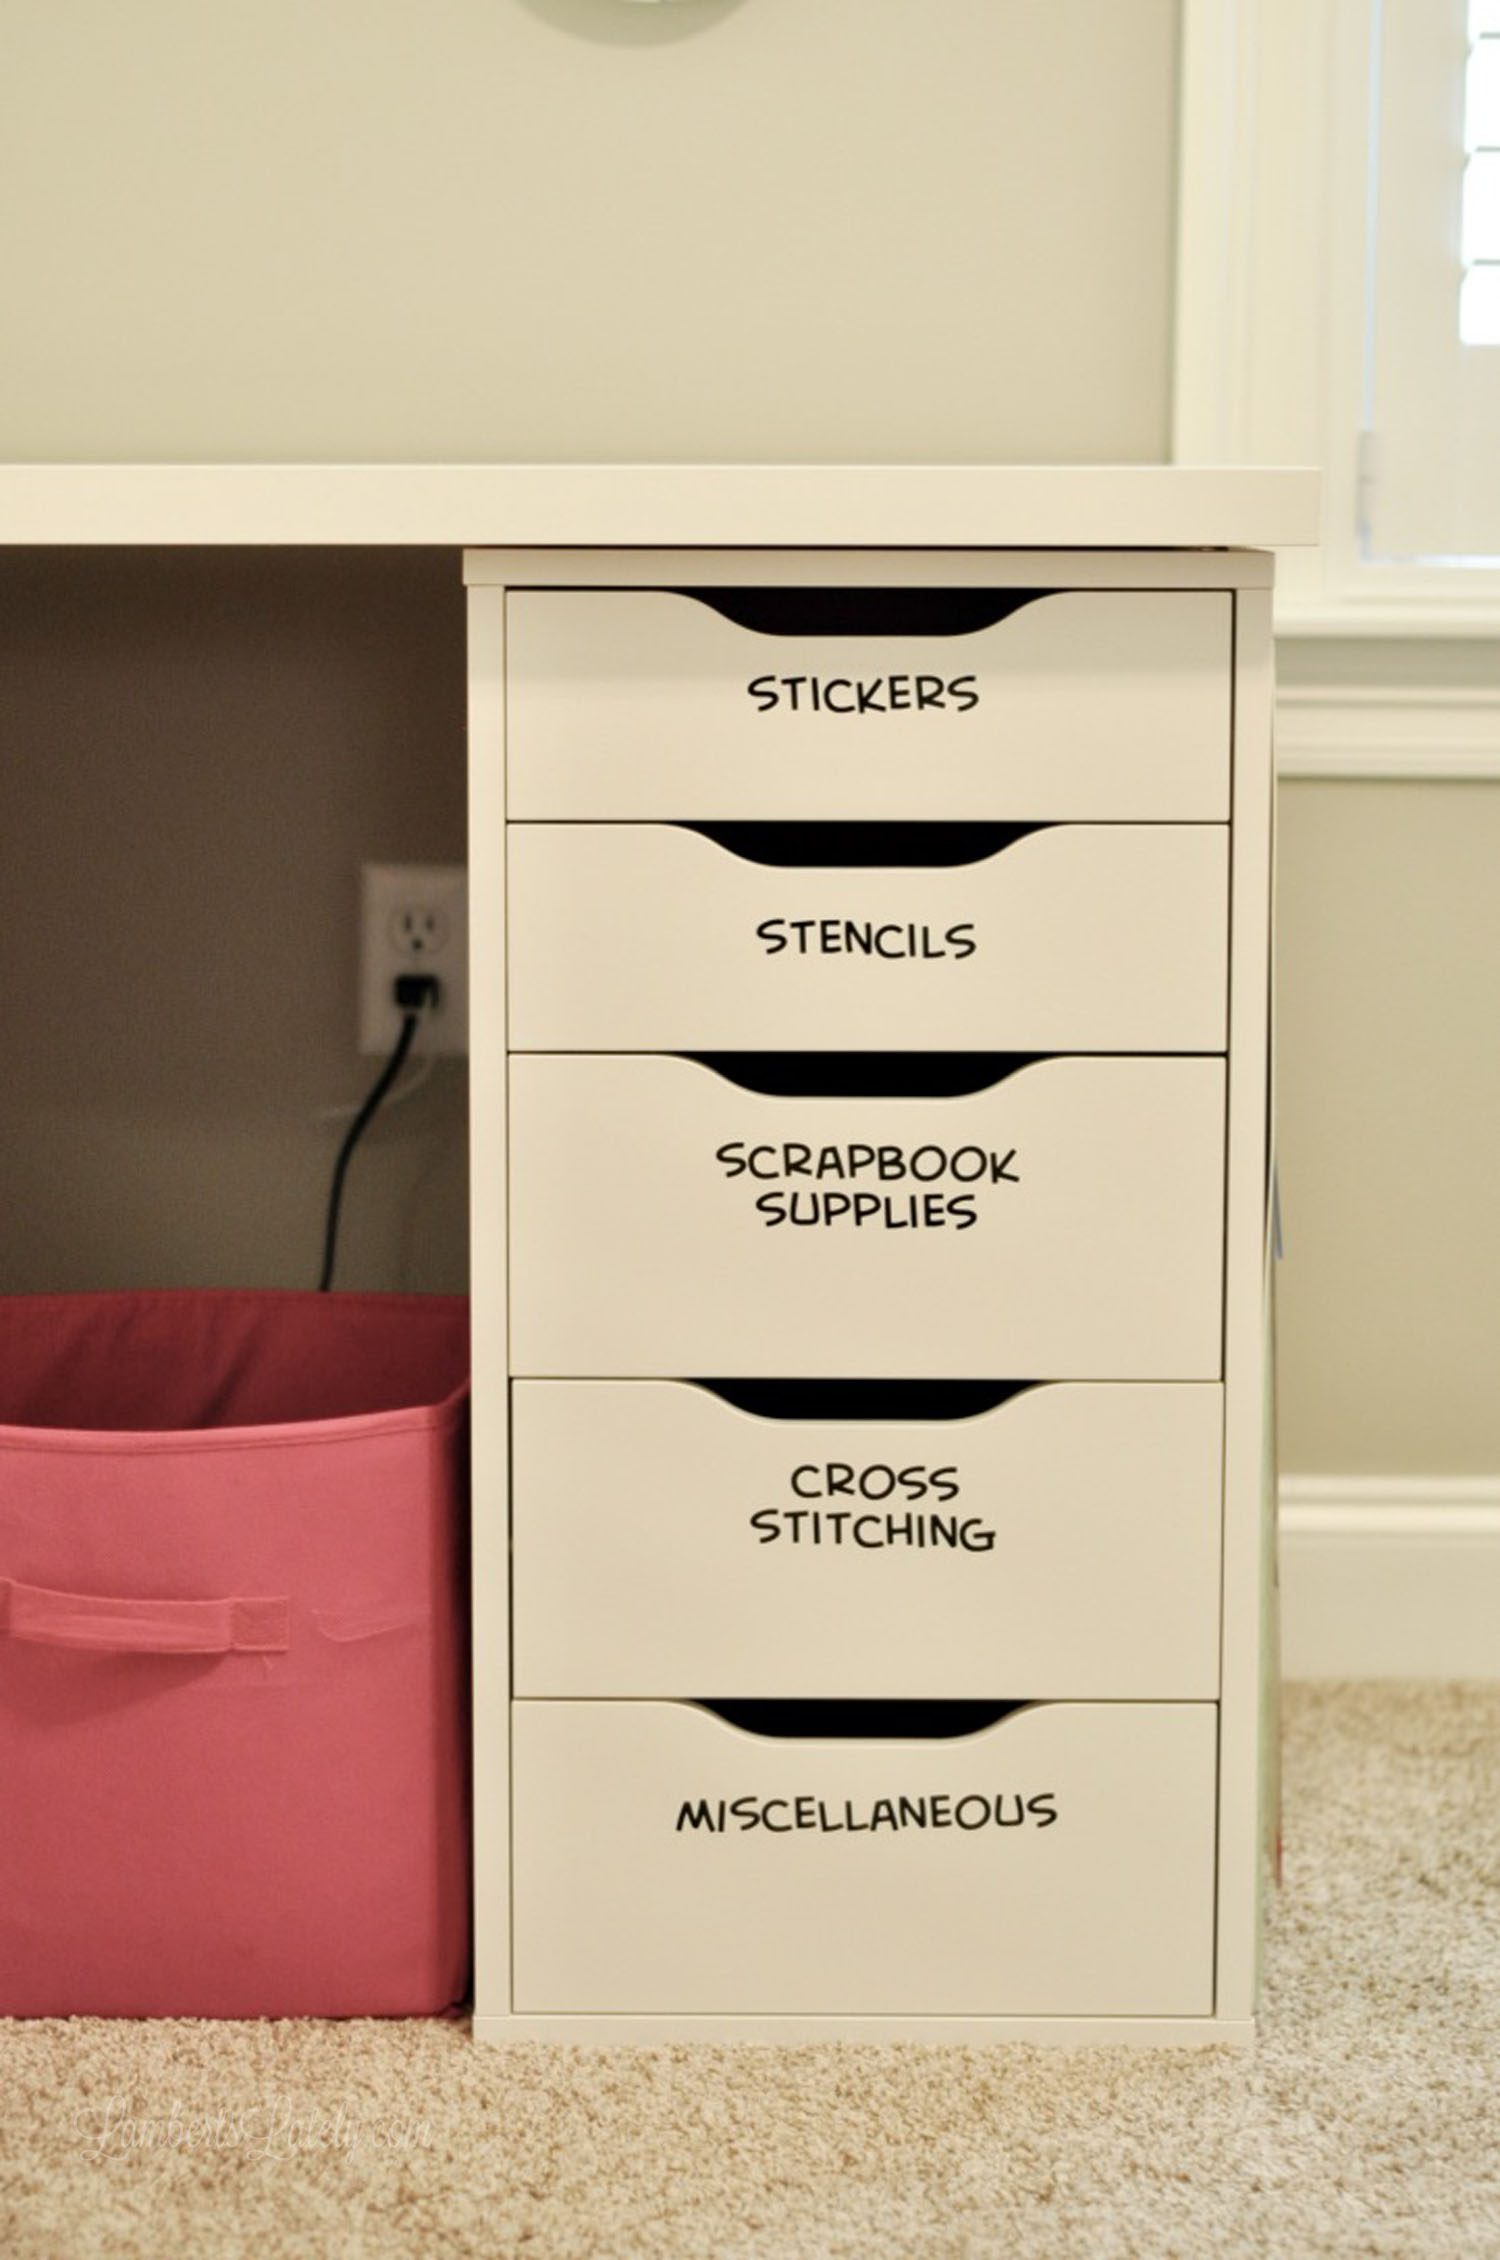
The vinyl cutter makes gorgeous, vivid vinyl labels in basically any font you could imagine. I use Oracal 651 vinyl to make these labels. It literally took about an hour and added so much to this desk space.
(The font is Creative Block for those interested; it's one of my favorites!)
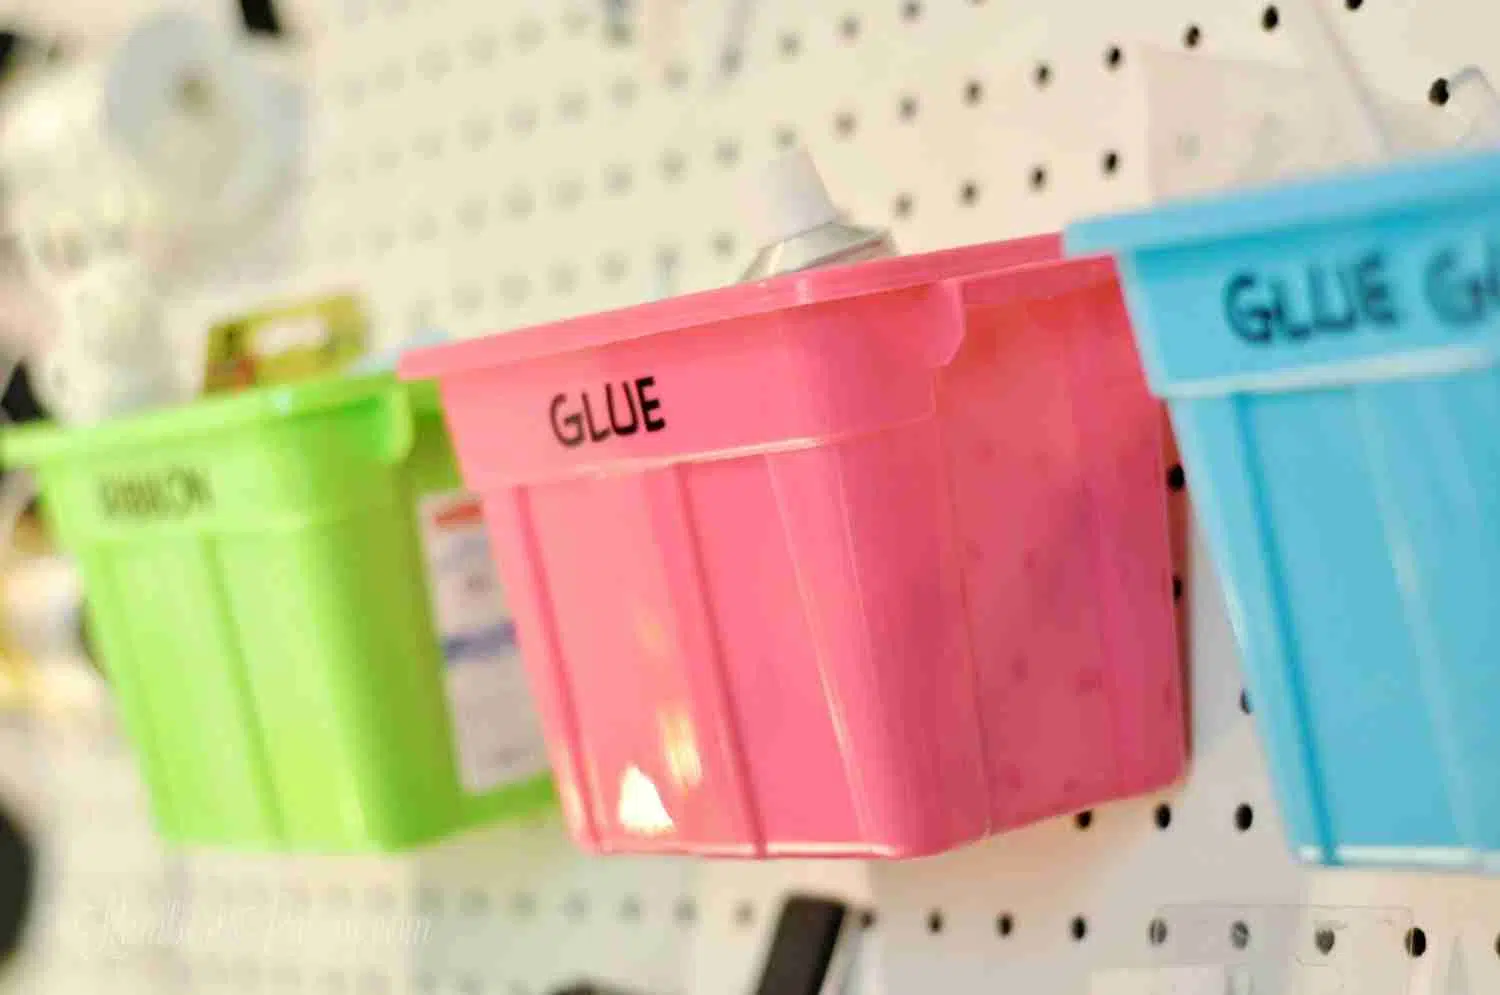
I also gave these cute little (Dollar Tree!) bins a label, since it's kind of difficult to immediately know what's in them.
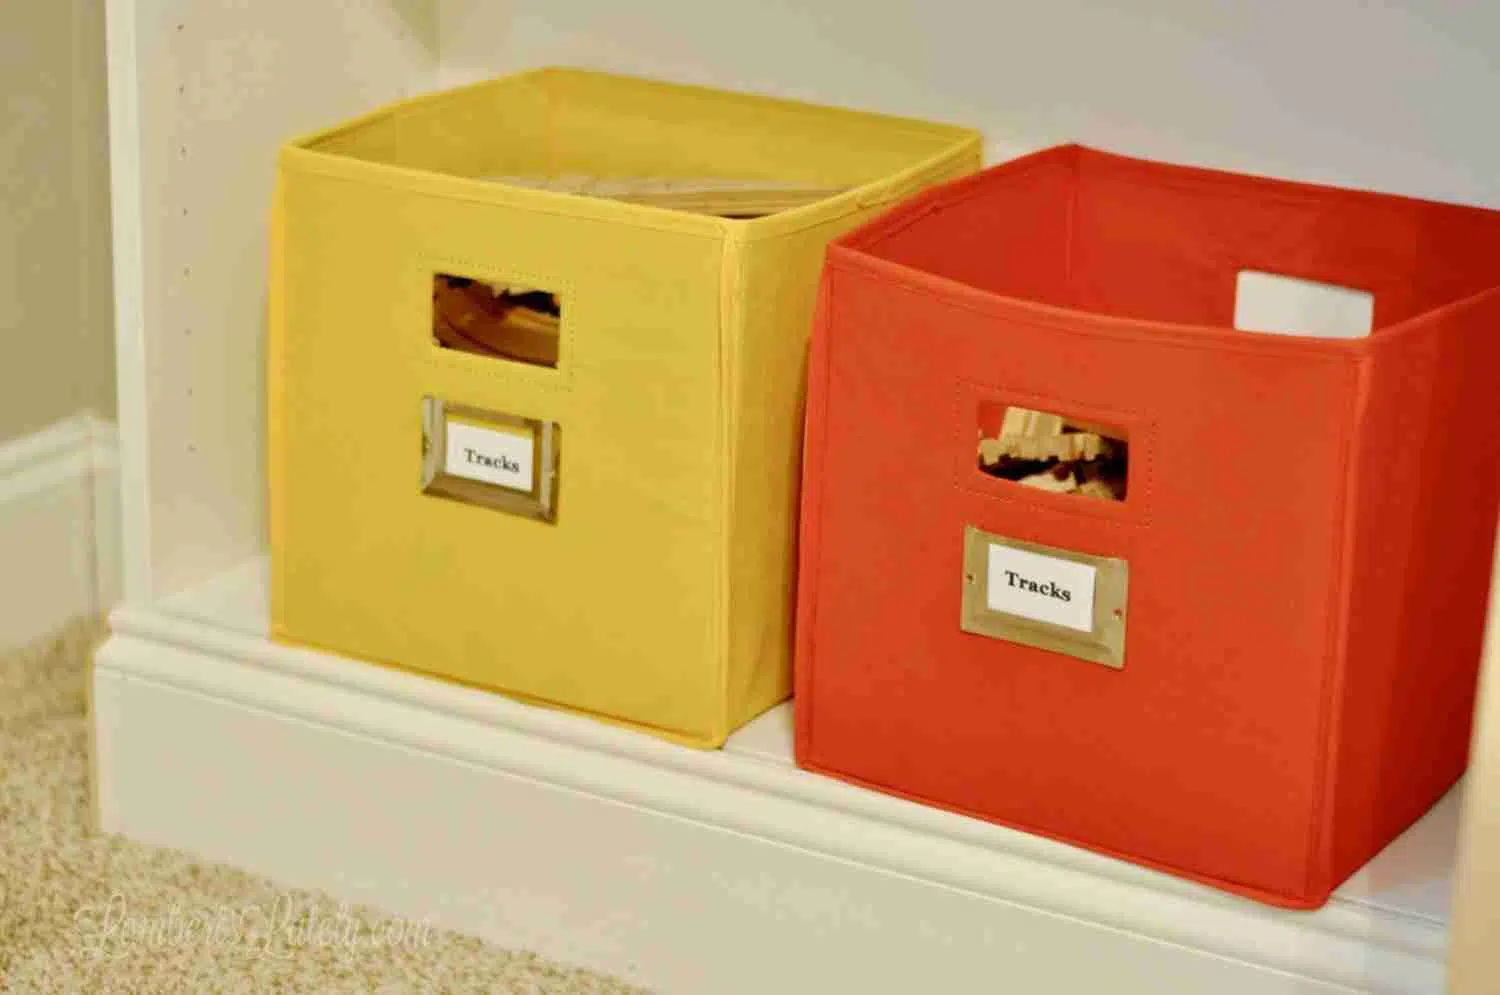
And, I haven't shown a lot of this side of the room yet, but we do have the same fabric bins in here that I used in our playroom. I glue simple little name plates to them and label with card stock. It worked beautifully in our playroom, so I thought I'd reuse the method in here too.
Make the room multi-purpose.
We divided this room into two distinct spaces; the craft side and the play/sleep/kids' side.
The Craft Side
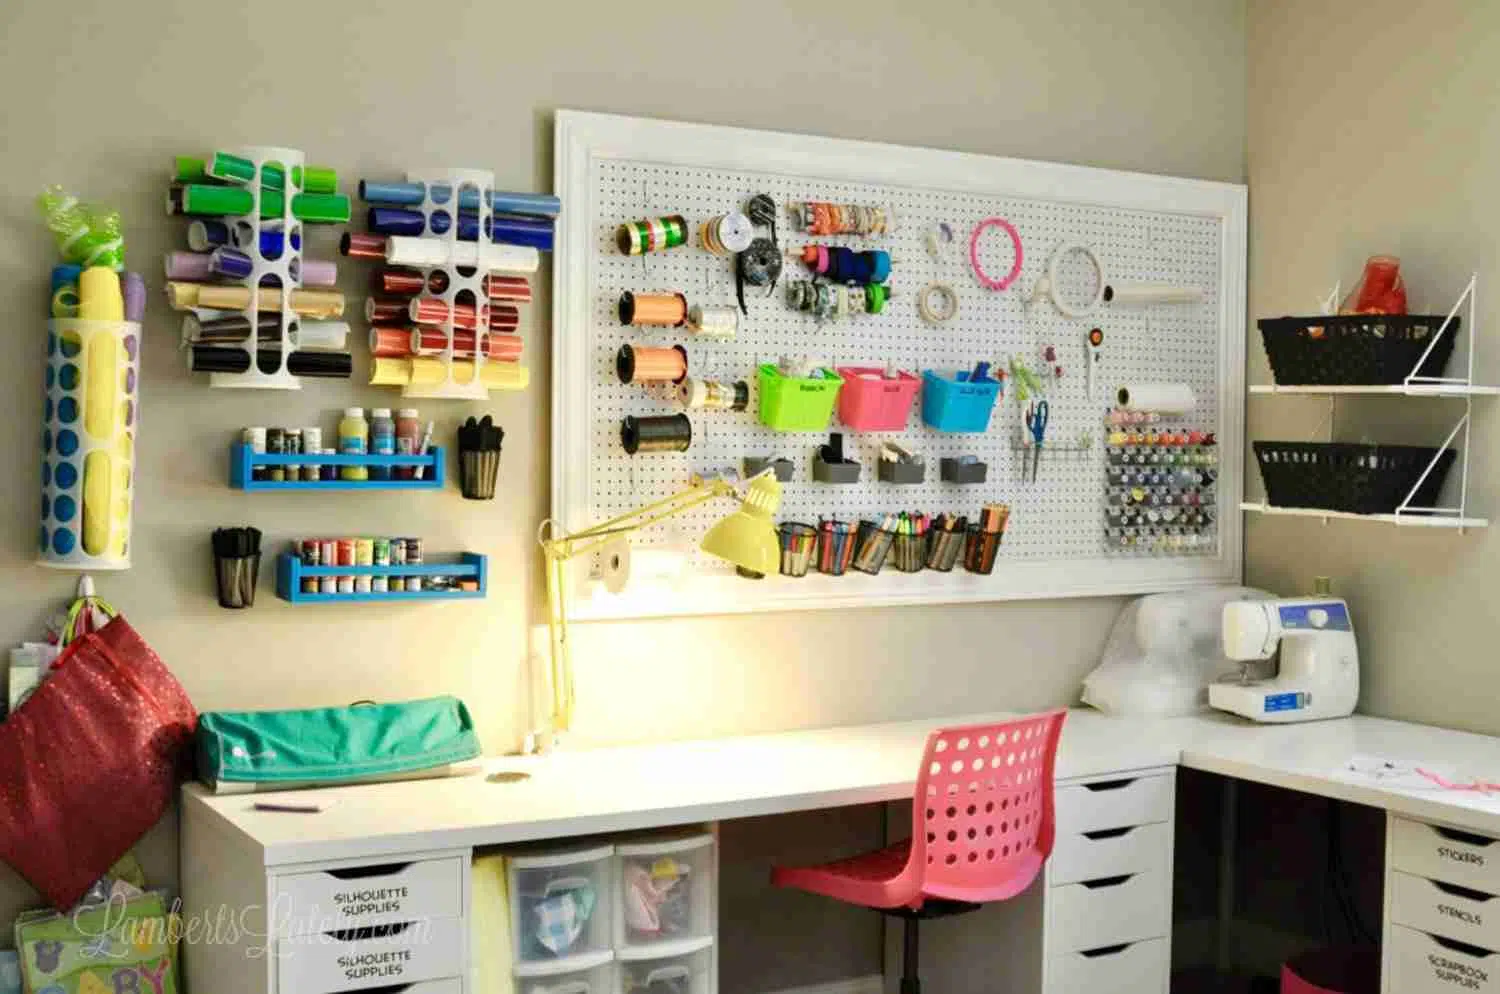
This is exactly what I envisioned when we started planning this space earlier this year. I wanted it to be super functional, with lots of open storage to show off the pretty crafting supplies.
I'm honestly not typically a big fan of open organization, but since craft supplies are usually bright and colorful, I thought this would be one area where it could work - and it definitely did!
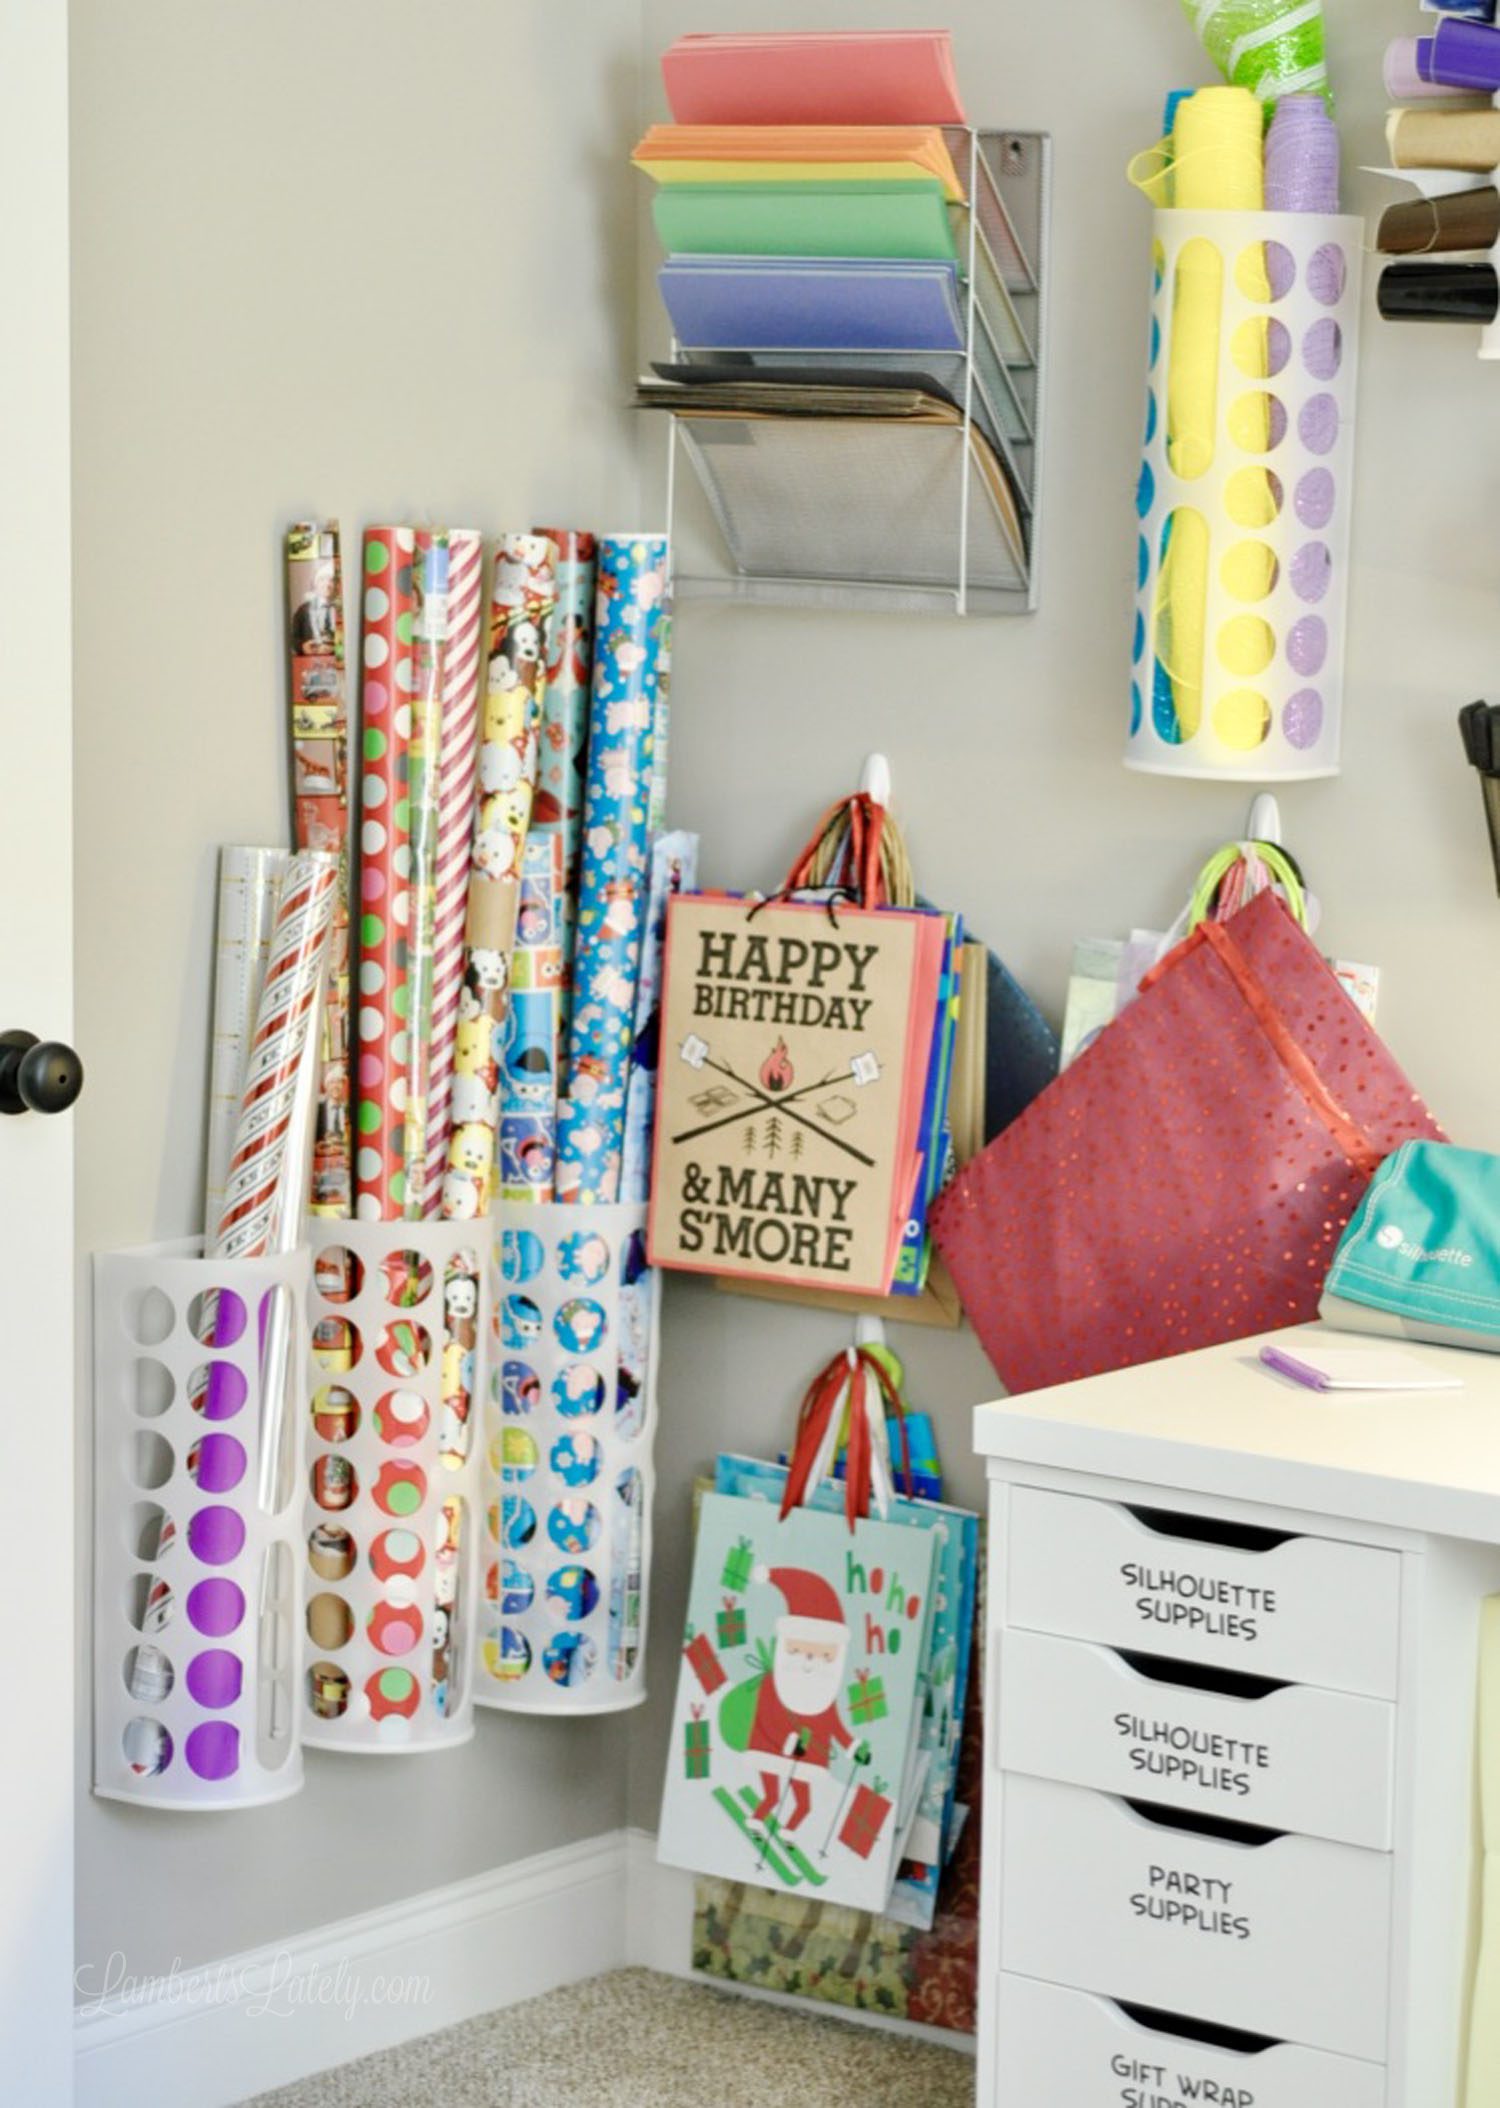
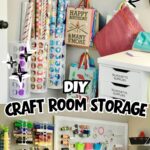
Starting in the back corner, you see our gift wrap station. This has been a need in our home for awhile. I caught myself shoving wrapping paper in a random closet and wrapping too many gifts on a kitchen table - it was time for a better solution. 🙂
I've sung the praises of the Variera plastic bag holders before - they are seriously a staple organization tool for our craft room. You'll see them used throughout this space. They work wonderfully for holding any kind of tall, thin containers, including gift wrap.
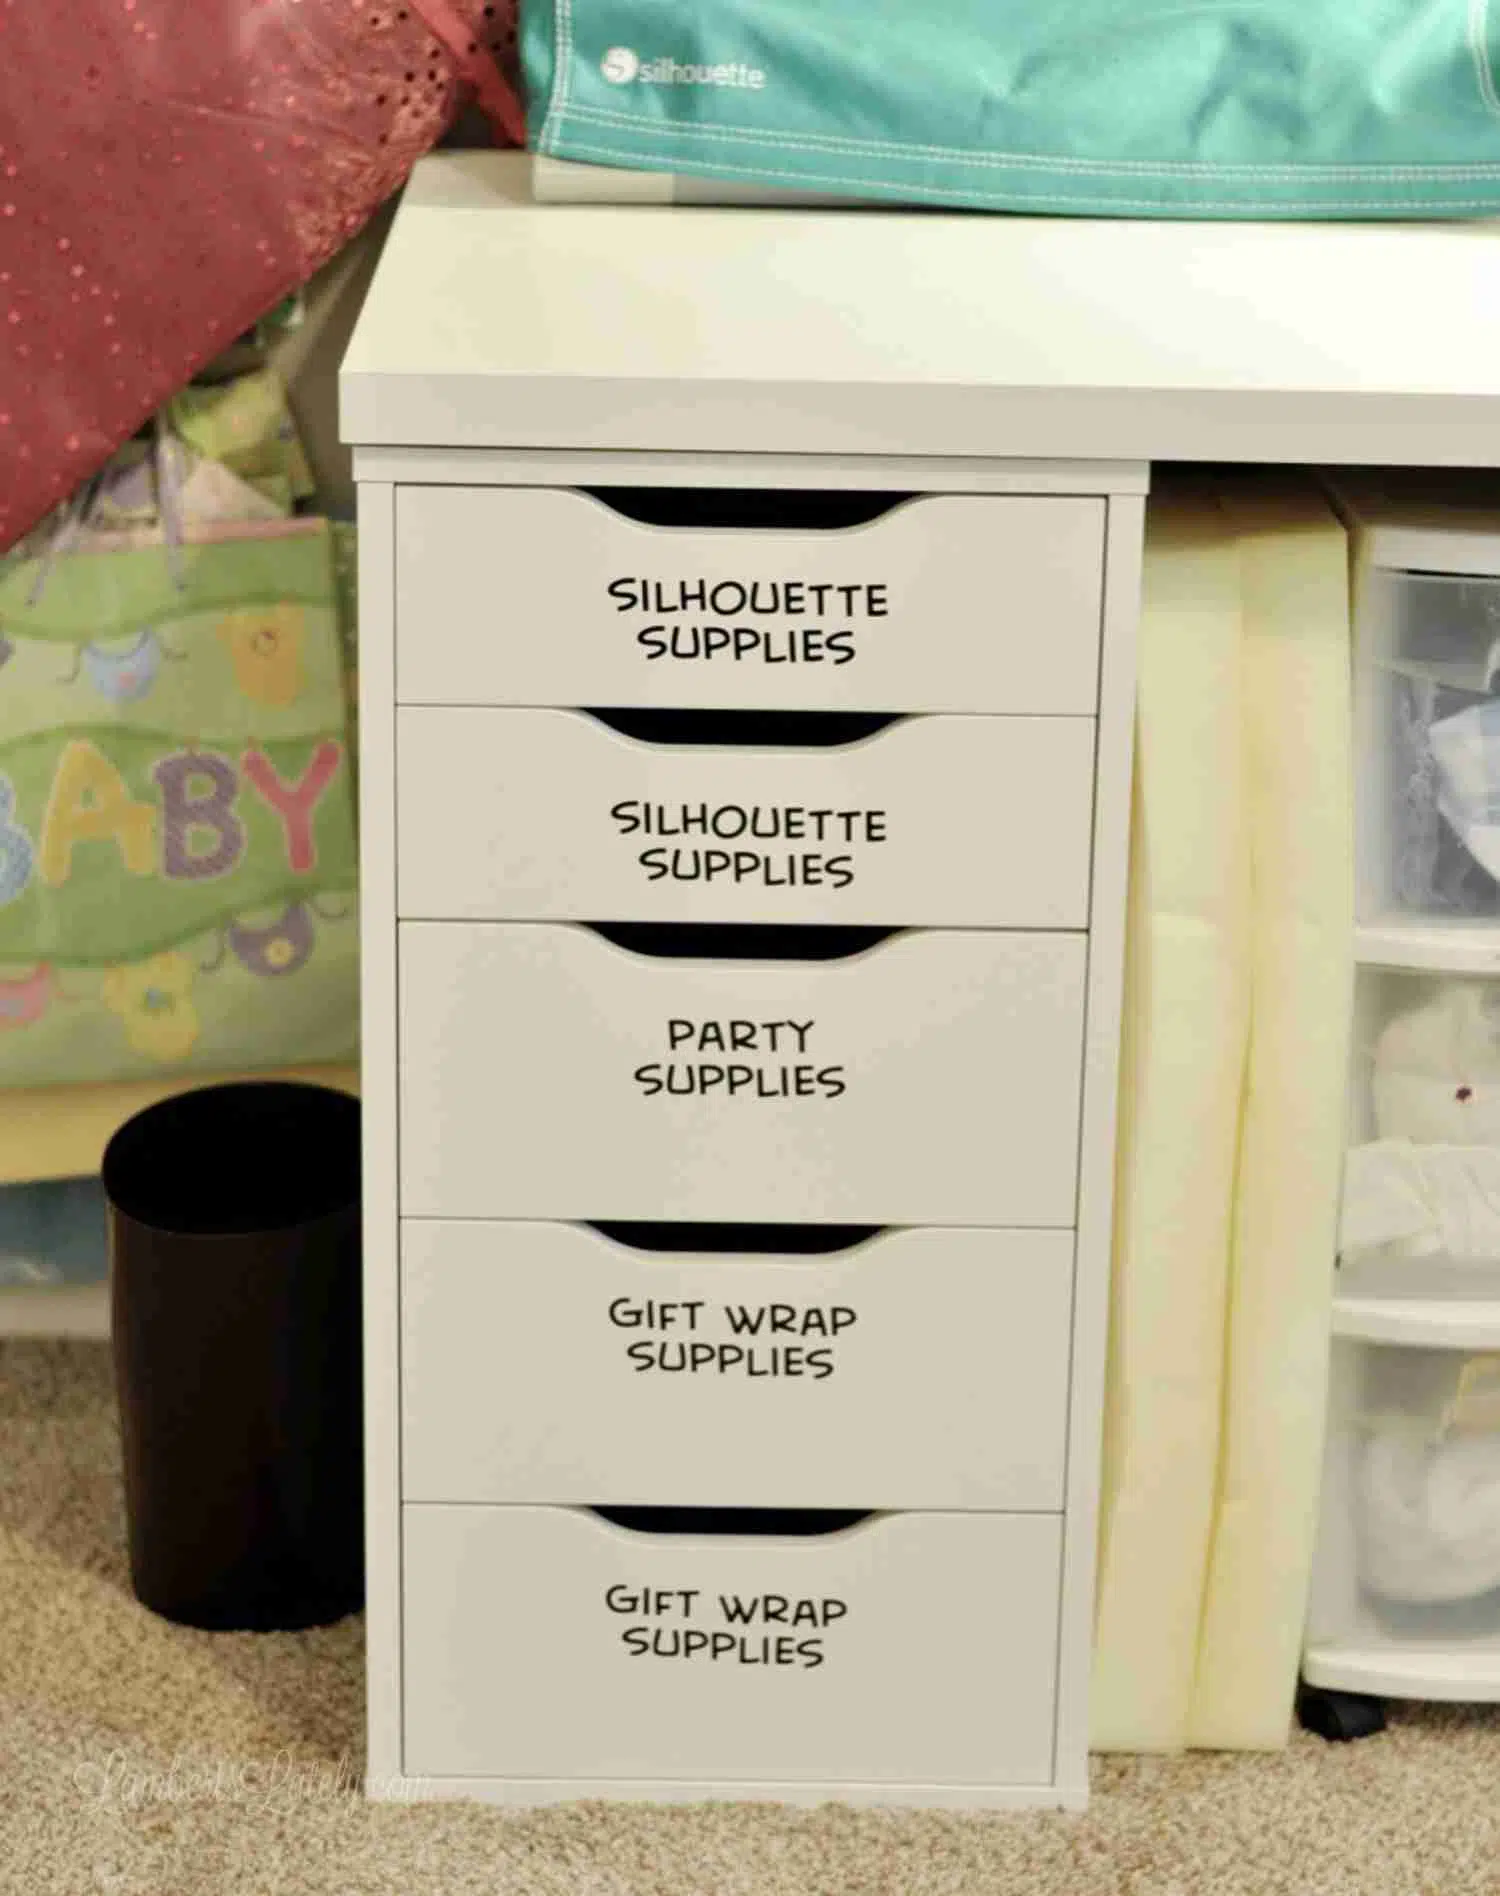
Two out of the three sets of drawers in our Linnmon Alex desk combo are currently occupied (I left the third set open for future storage) and are labeled with cut vinyl. I organized tags and bows in the drawers right next to the gift wrap corner. I thought this was also the perfect place for party supplies, like tablecloths, streamers, and balloons. The vinyl cutting supplies are in those top two drawers, right below...
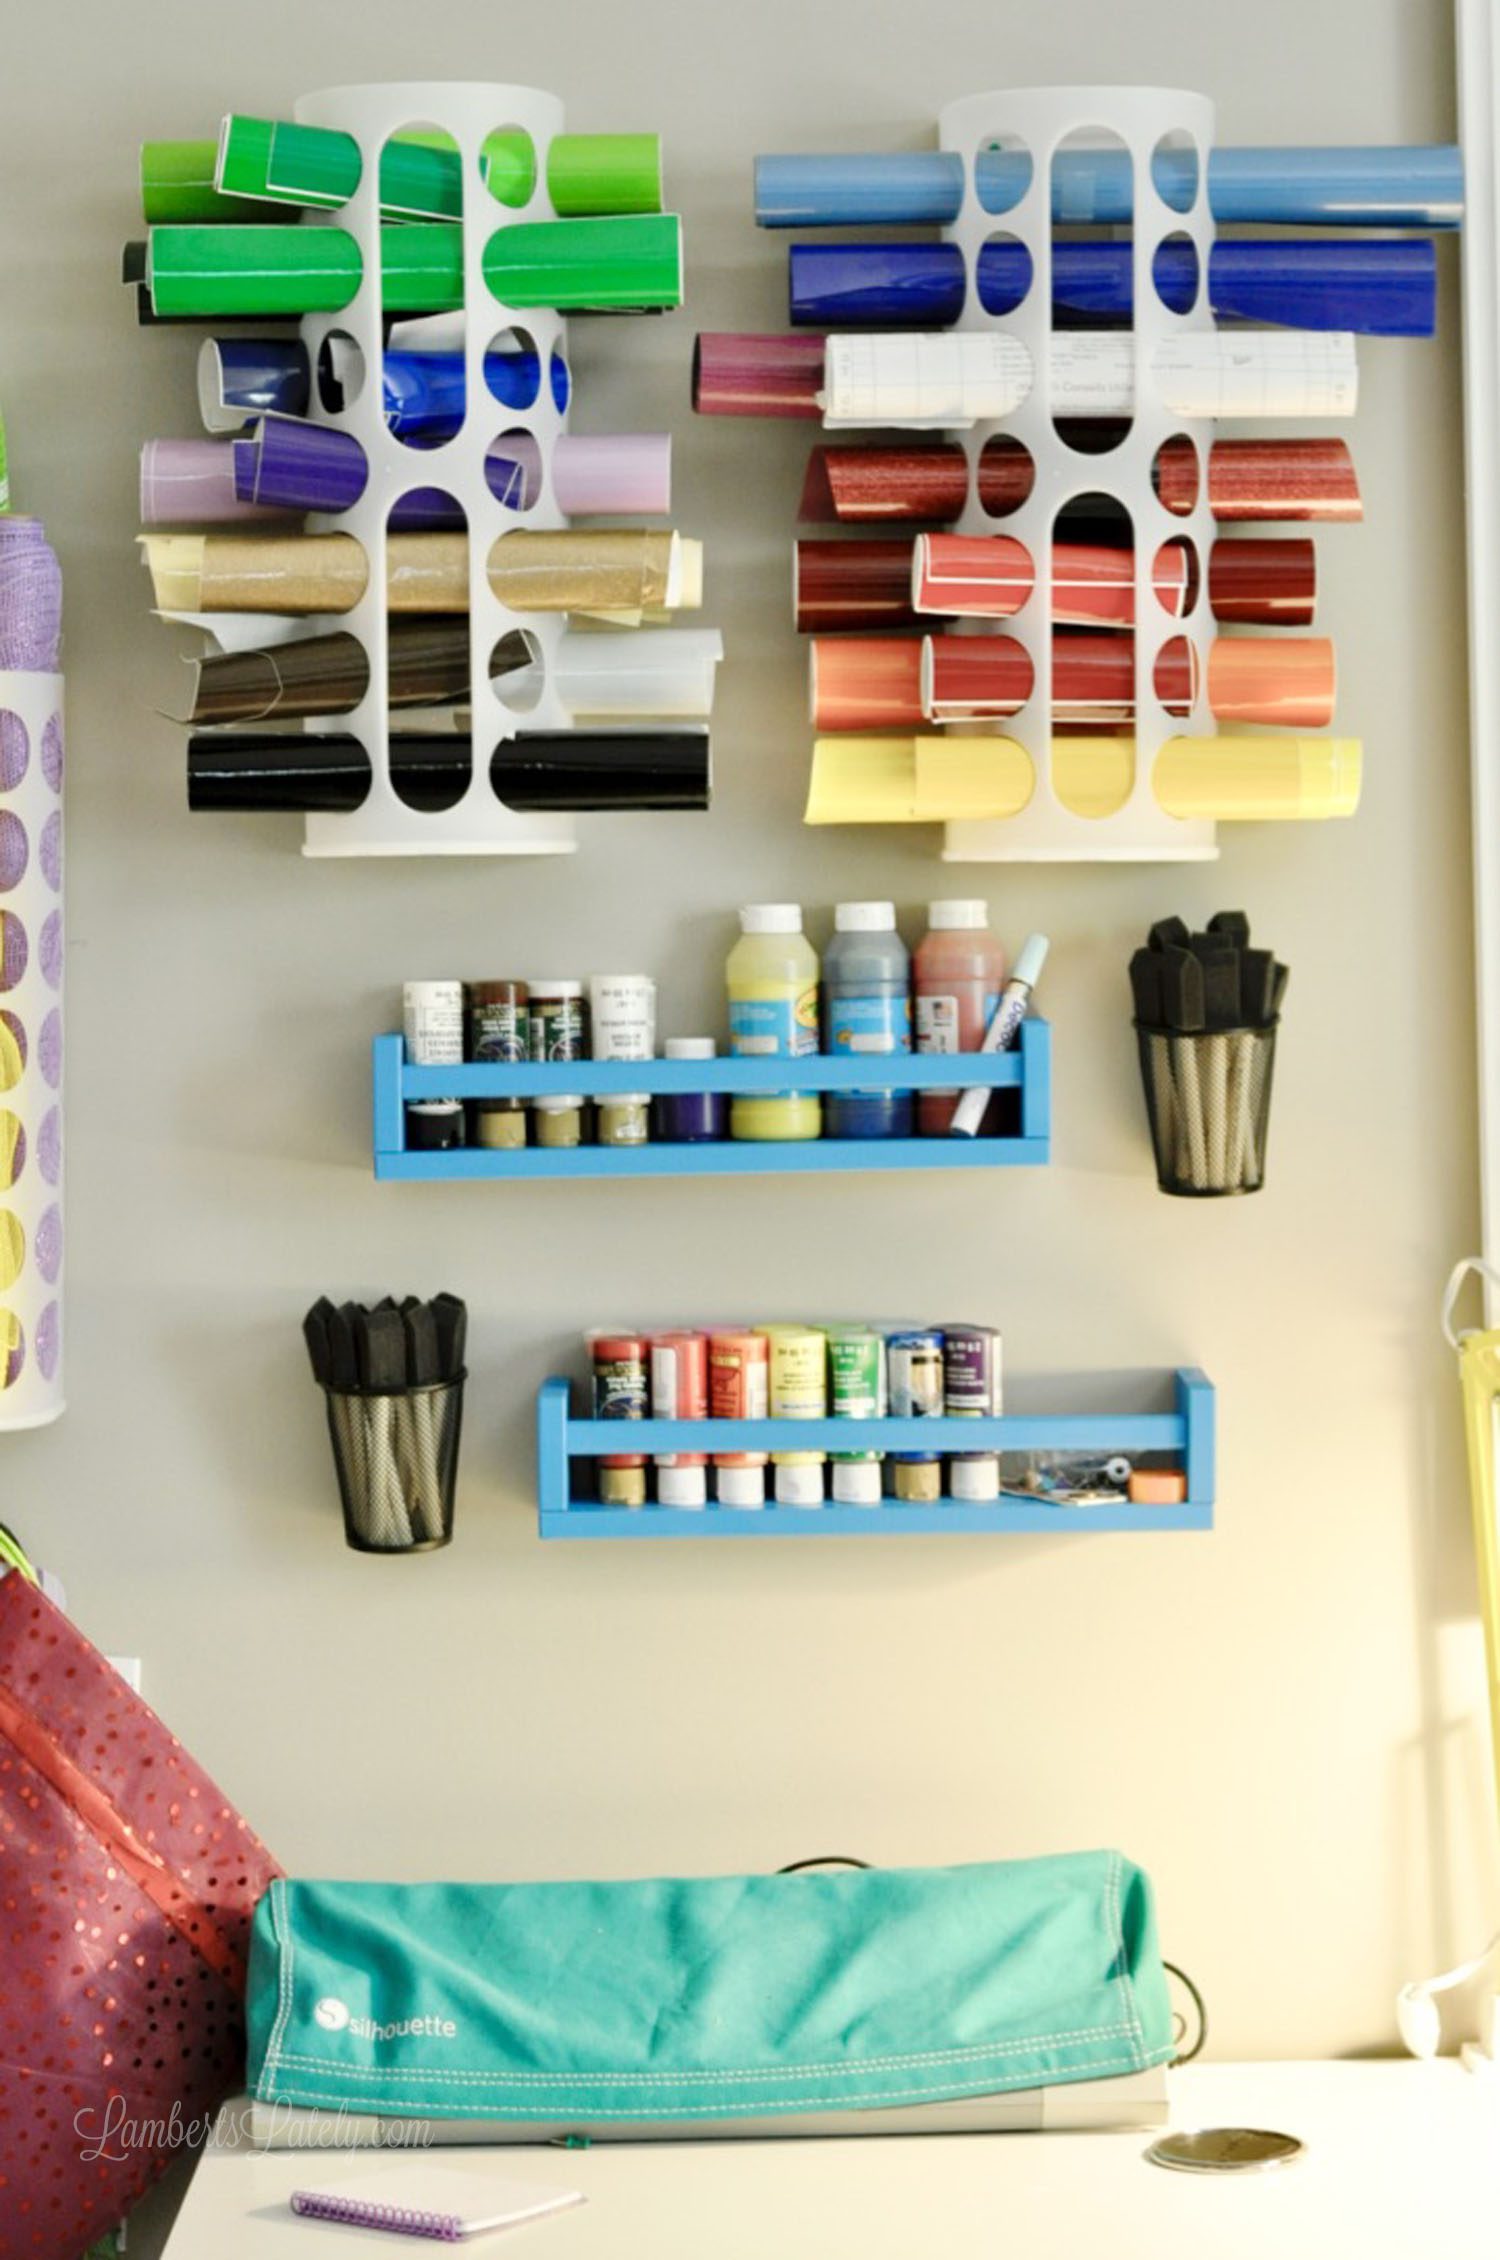
...the vinyl cutter station! I have it on the desk below a couple of Variera plastic bag holders that contain my rolls of vinyl.
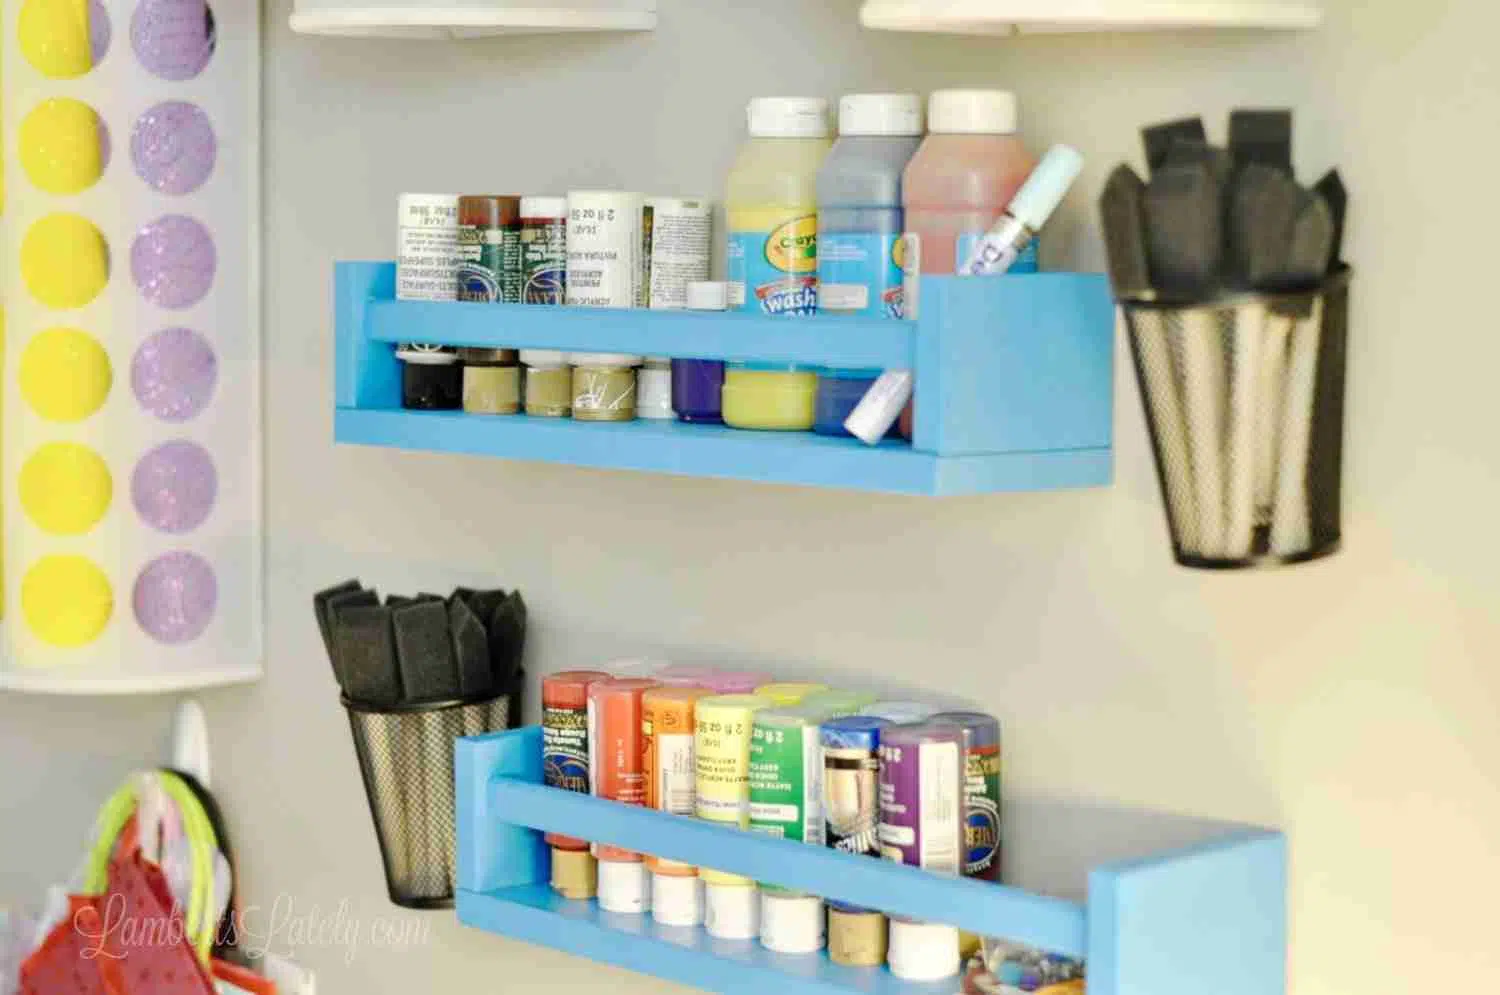
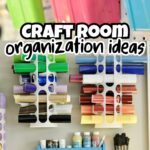
I also have our paints organized in this area. These are just Bekvam spice racks (can you tell I like Ikea? 🙂 ) that i painted a fun blue color. I used dollar tree pencil holders for the brushes; they just have a small hole poked out of the back so they could be secured to the wall.
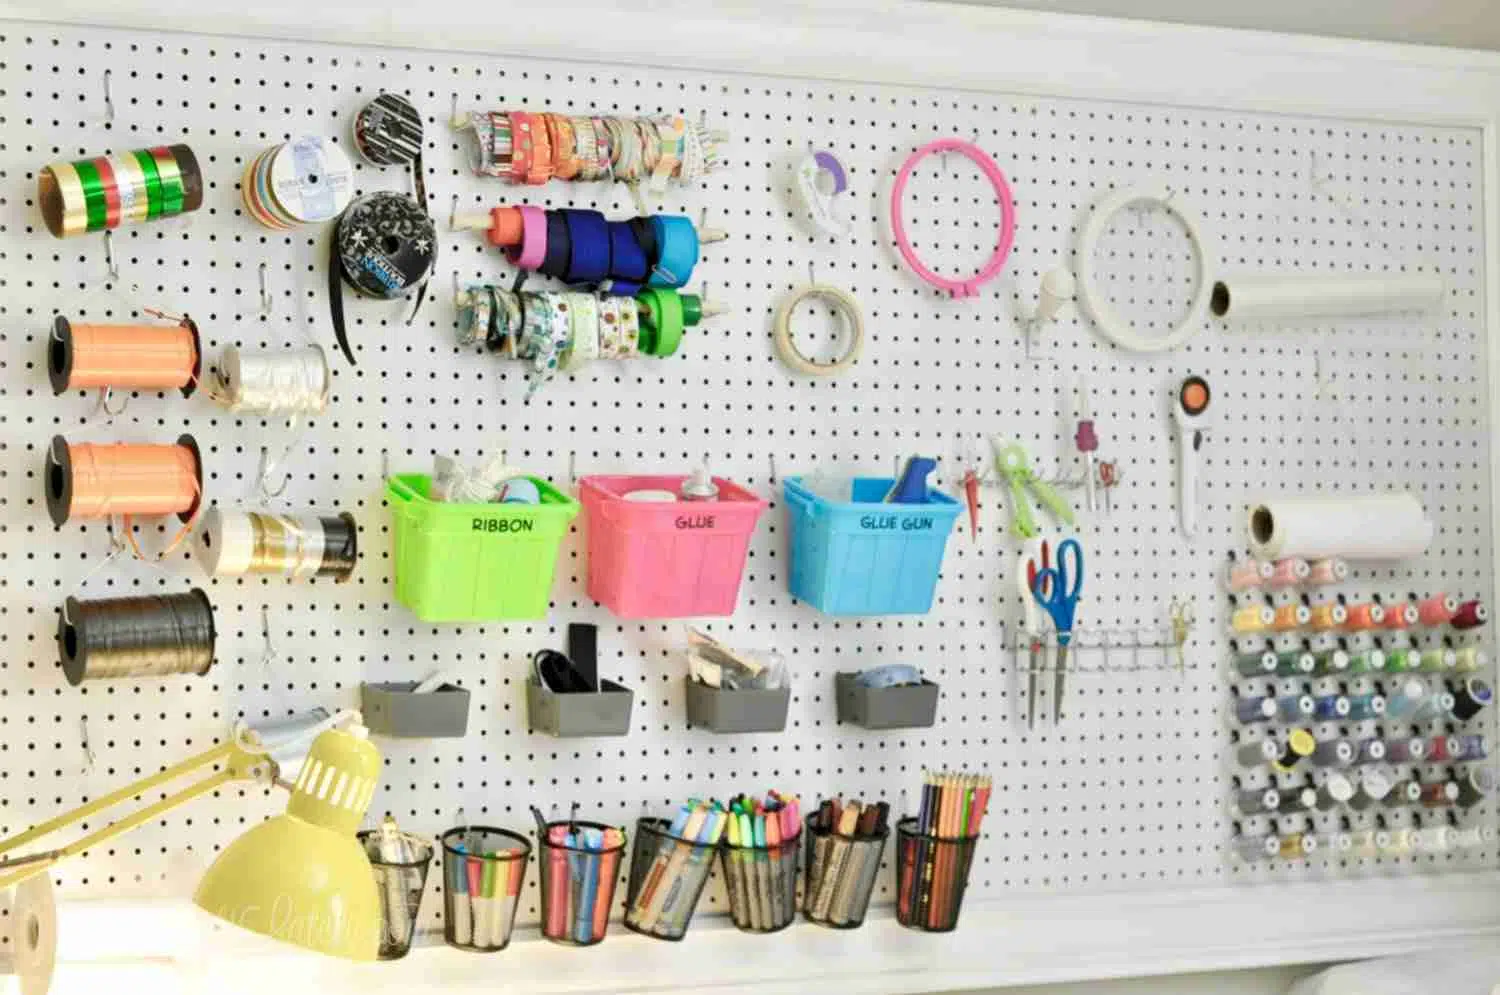
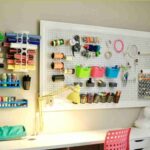
That leads to one of my pet projects for this room - the pegboard! I talked a whole lot more about this in my post how we created a DIY framed pegboard.
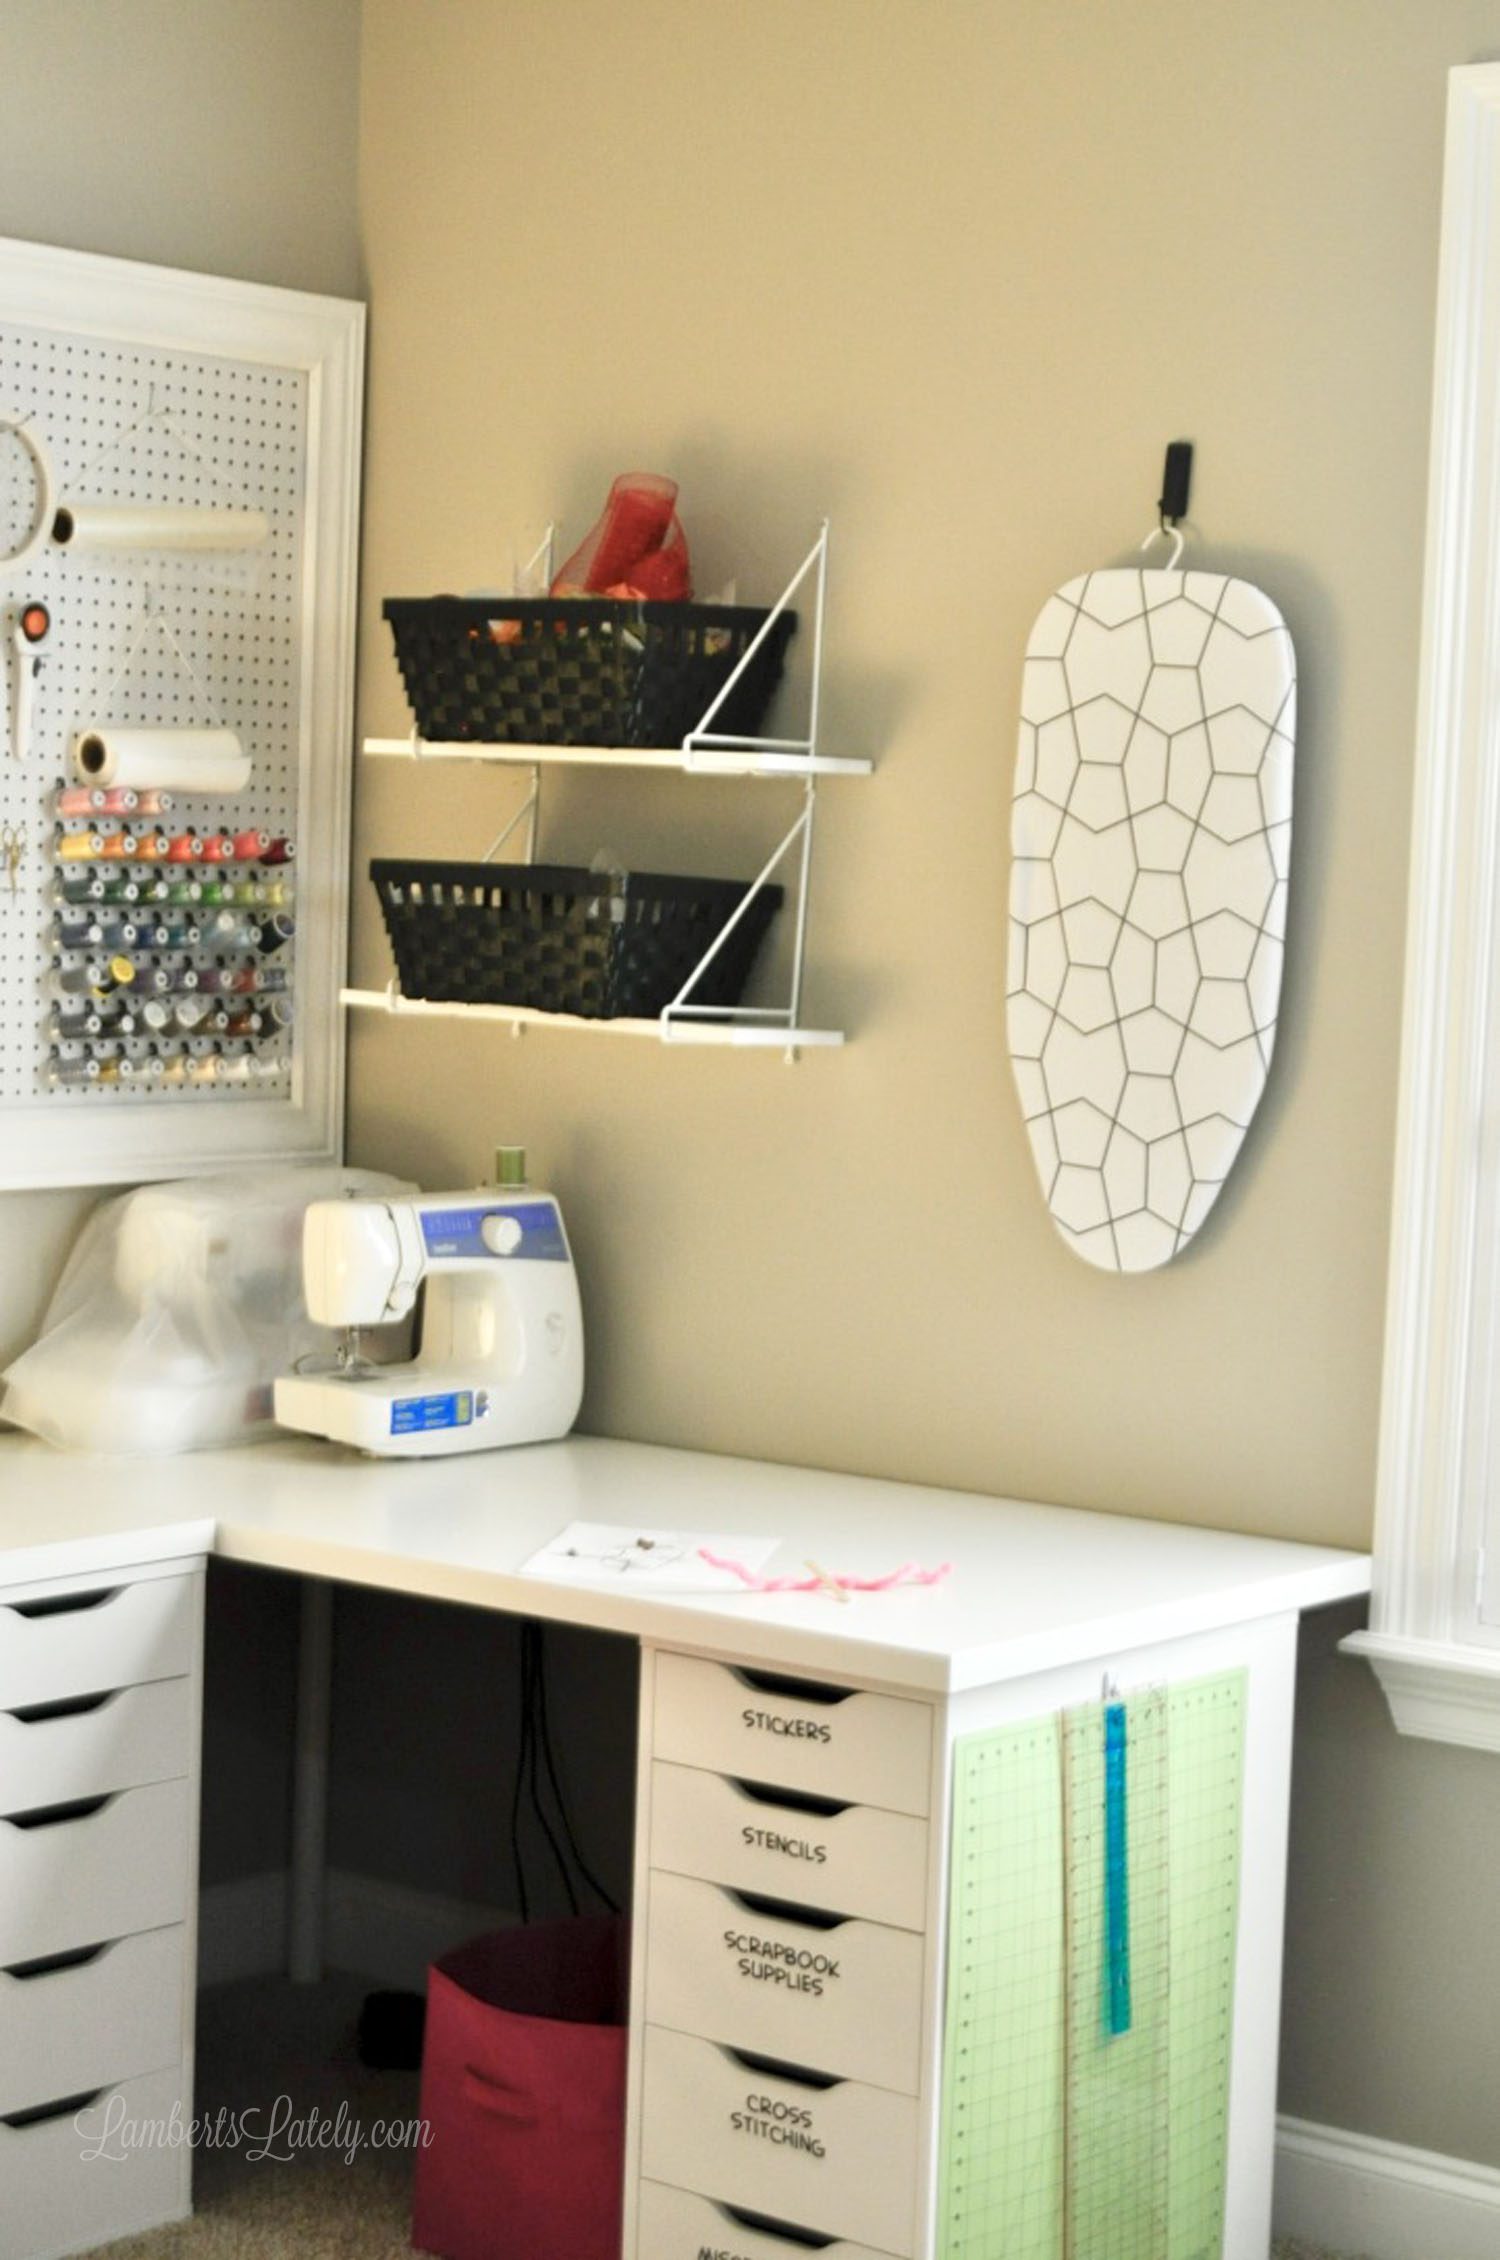
Past that, I have a little bit of open shelving (with baskets that hold our extra ribbon and a few sewing supplies), as well as a small ironing board I can use for sewing and vinyl projects.
I didn't know how much use it would get, but I'm already so glad we added it...it's been really convenient!
The Play/Sleep/Kids' Side
In the end, the kids' and guest parts kind of blended together to make one big built-in with lots of purposes, with a large empty space in the middle of the room that is kind of a multi-purpose area.

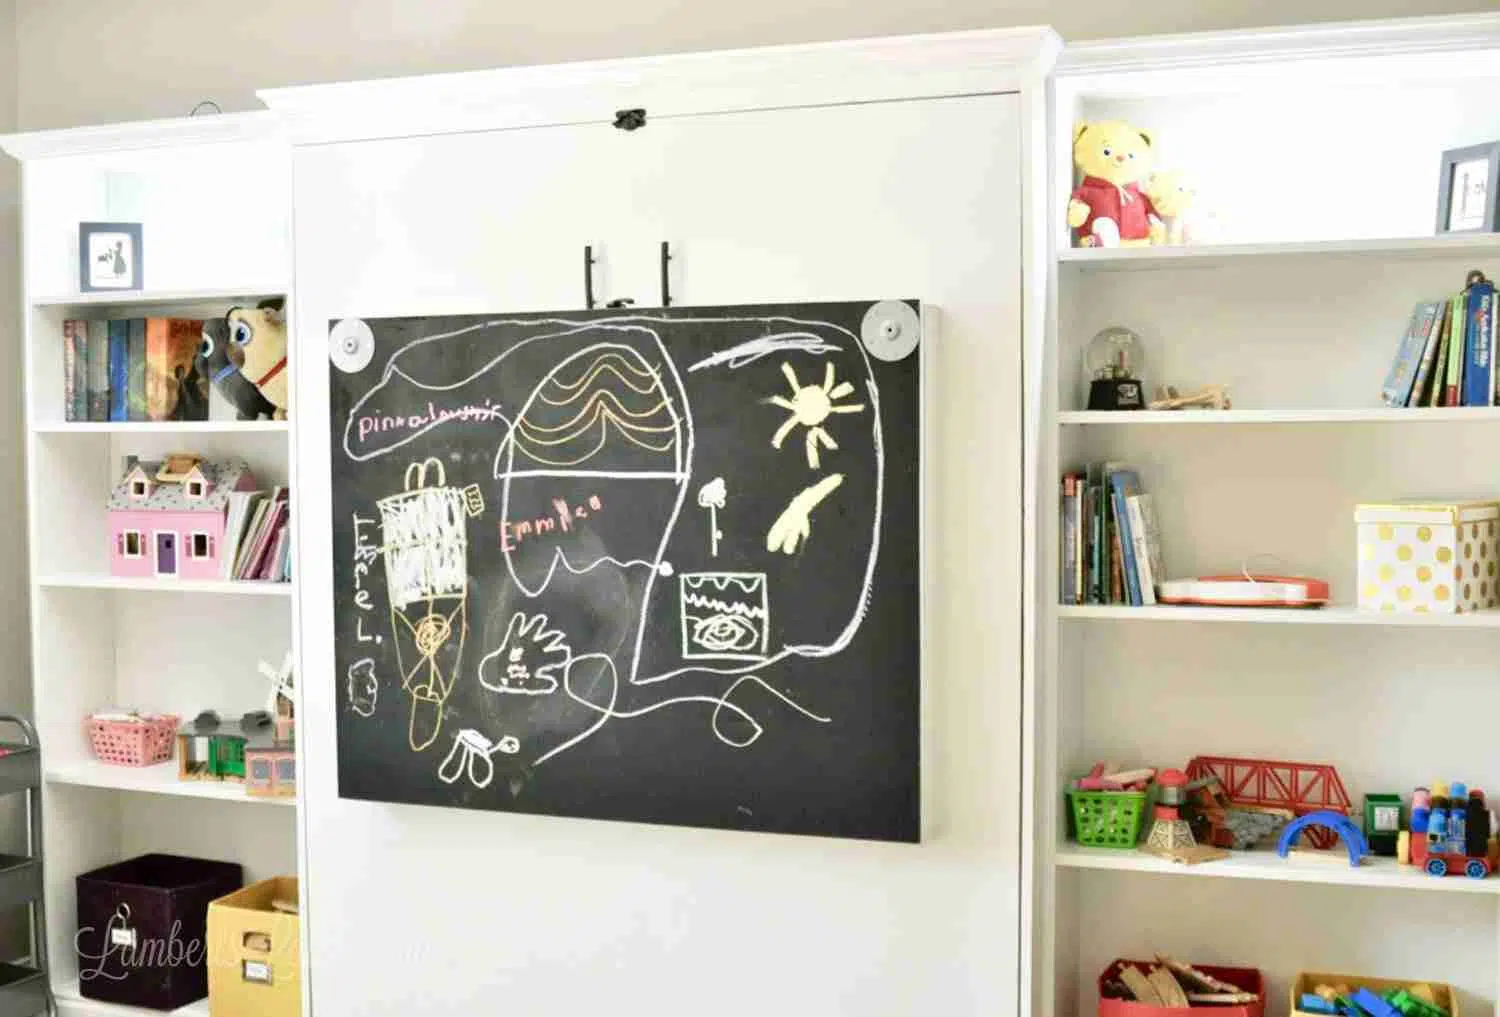
I showed the desk part of the murphy bed in last week's post, but I didn't show much of the chalkboard that is revealed when the desk is folded up. The kids love this part!
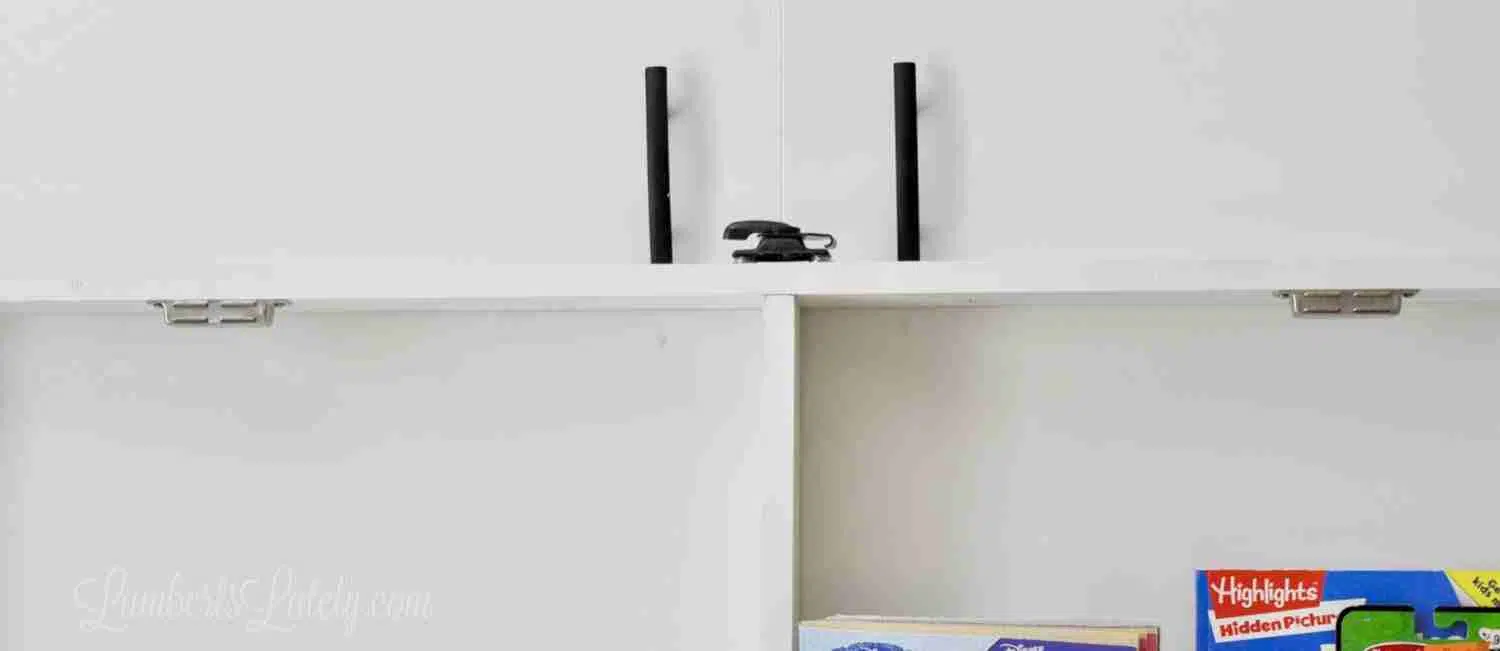
It simply stays put with heavy-duty magnet closures and a lock.
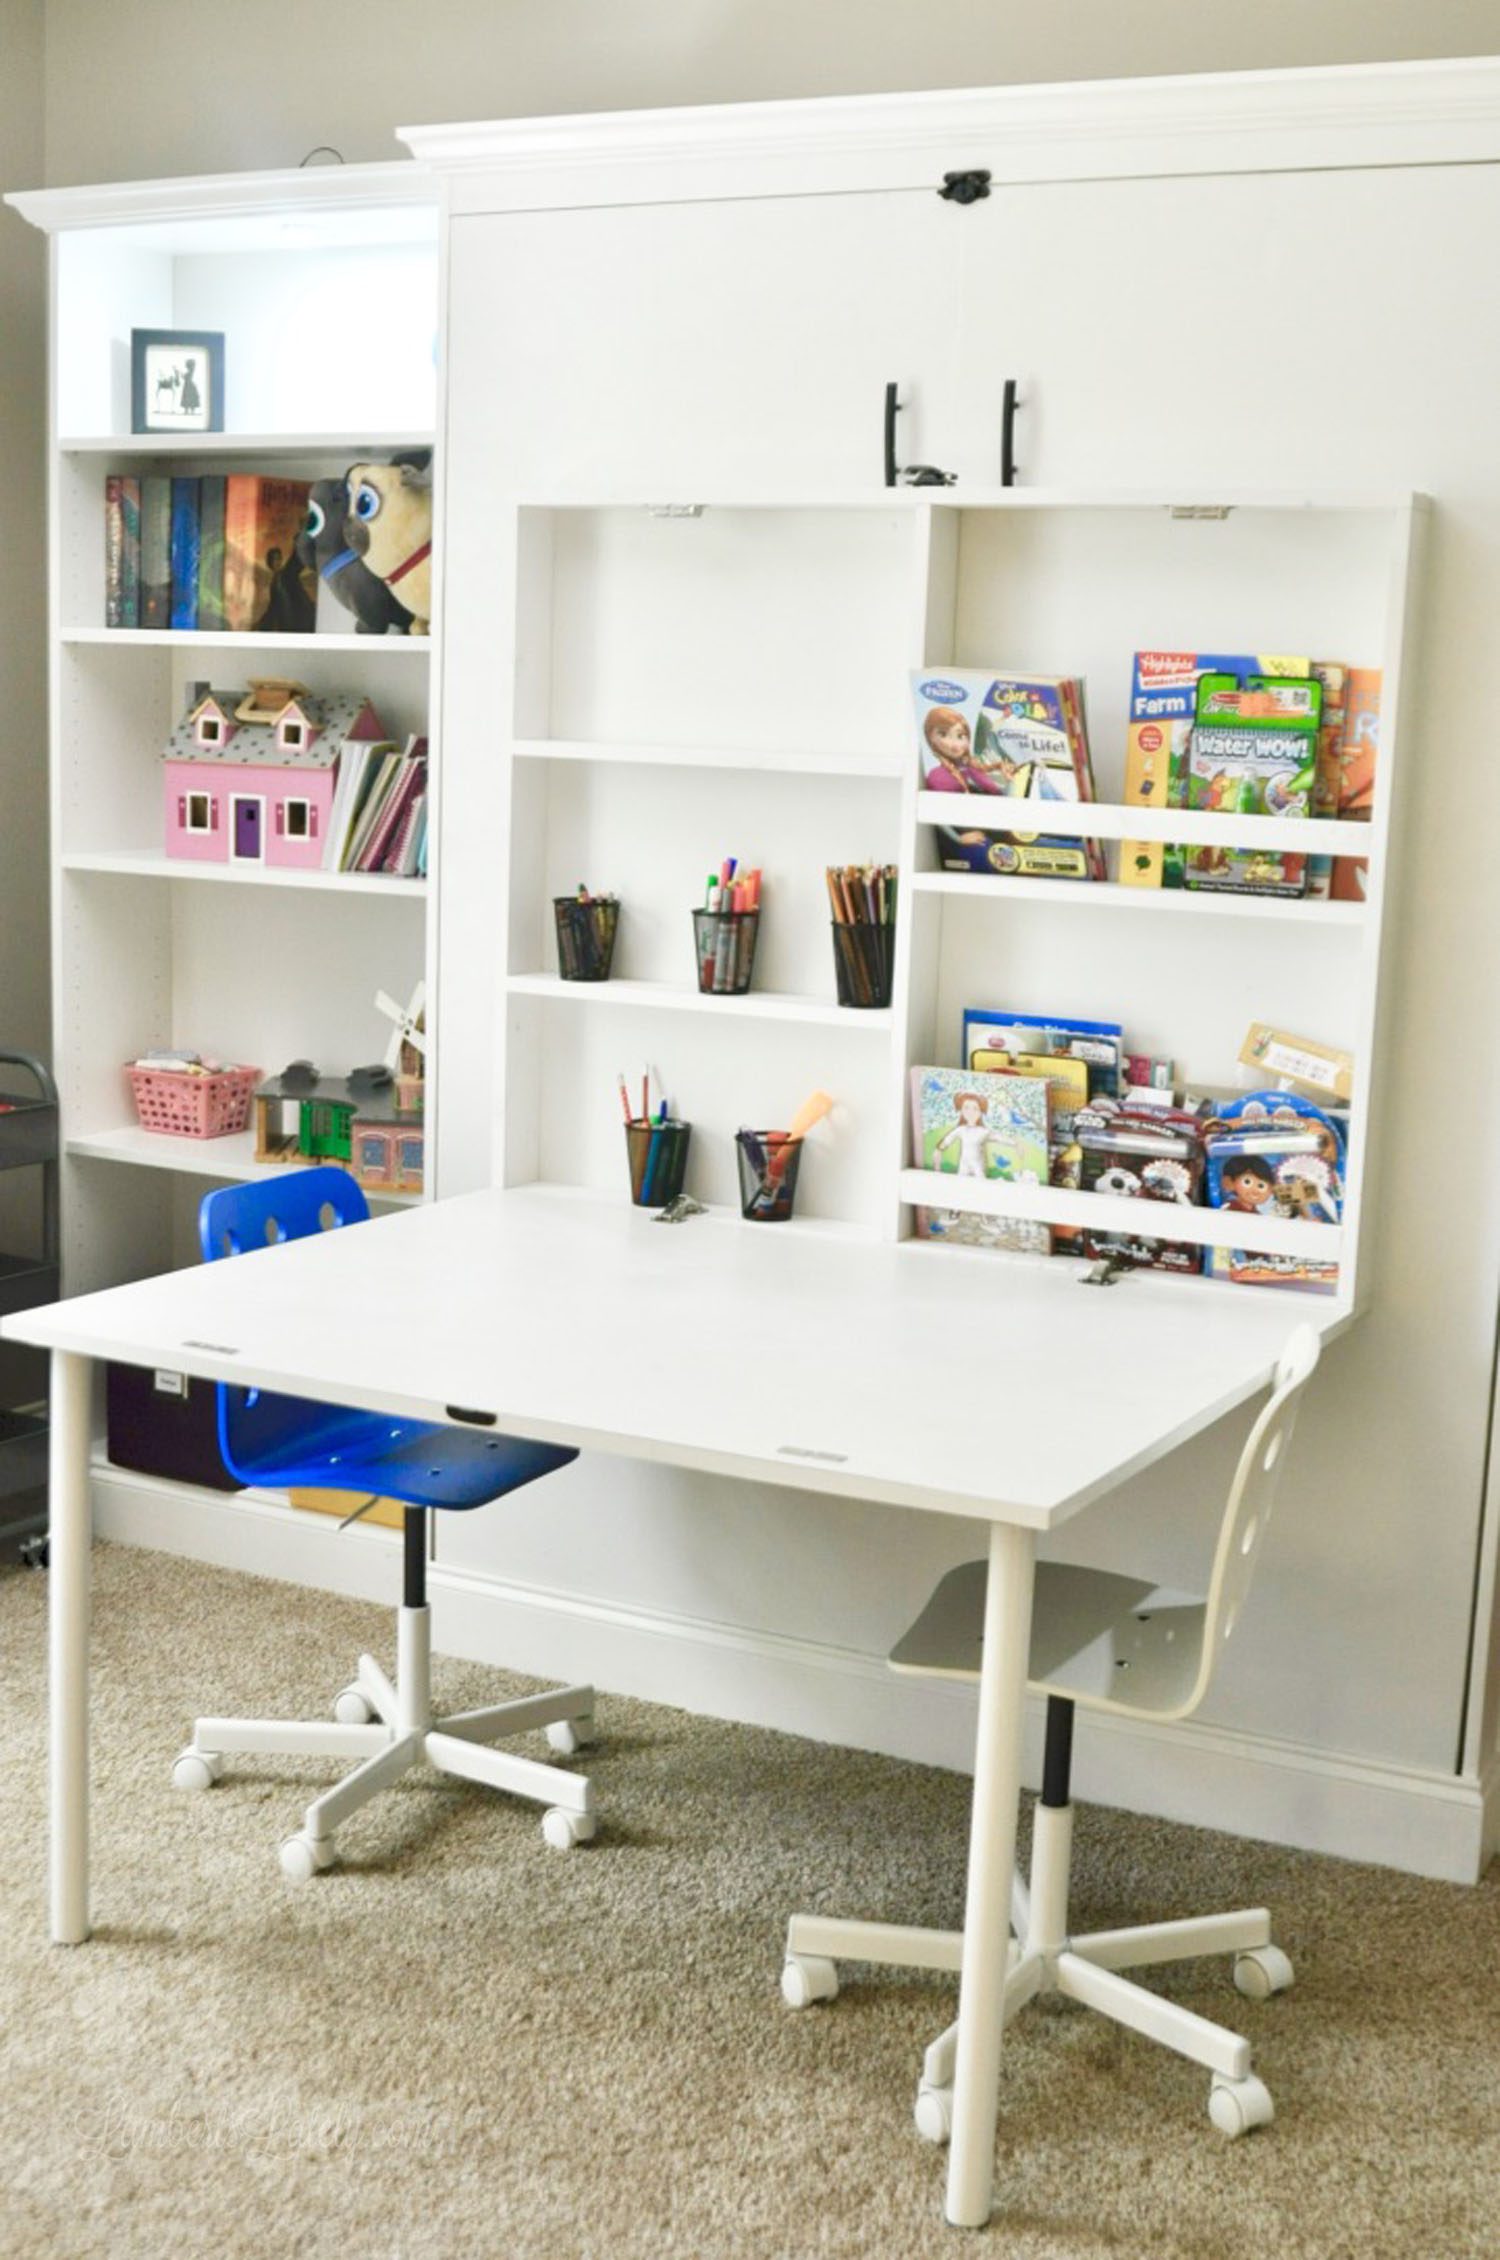
When open, the kids have a huge desk area for crafts, homework, or coloring.
You can find a lot more about constructing this DIY murphy bed and desk in last week's post.
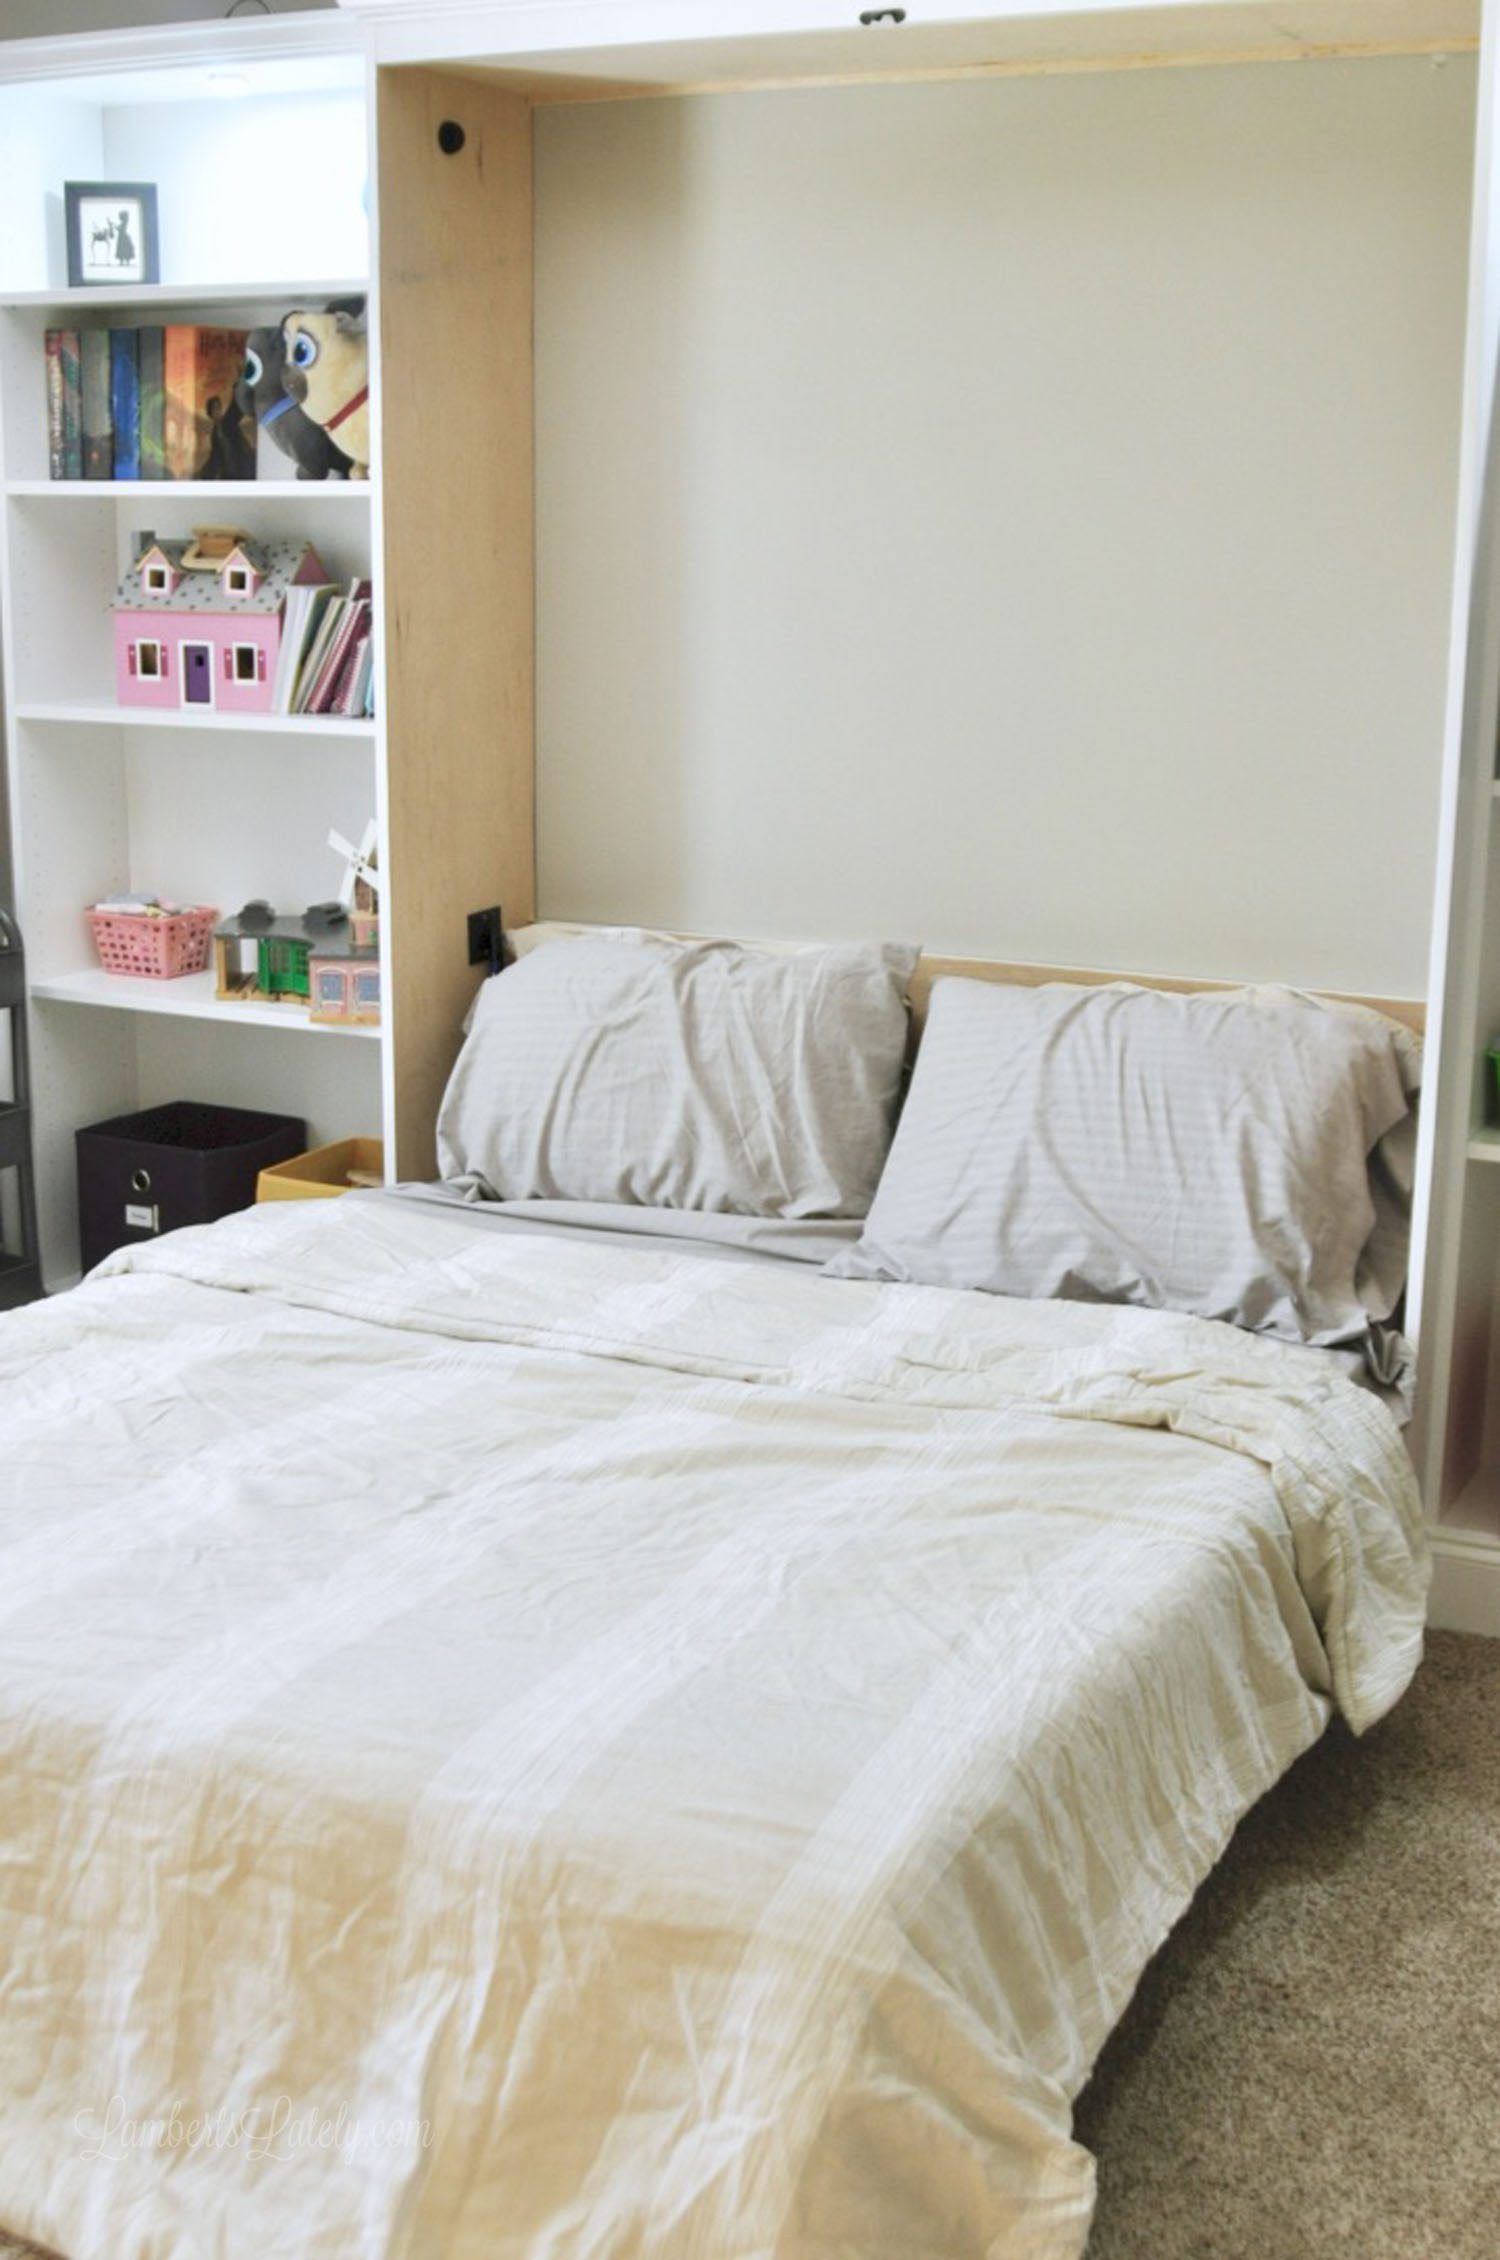
Then, when the desk is folded in and locked, the bed folds down! It's incredibly easy (I can do it by myself) - I attribute it all to this kit. (More info about building the murphy bed.)
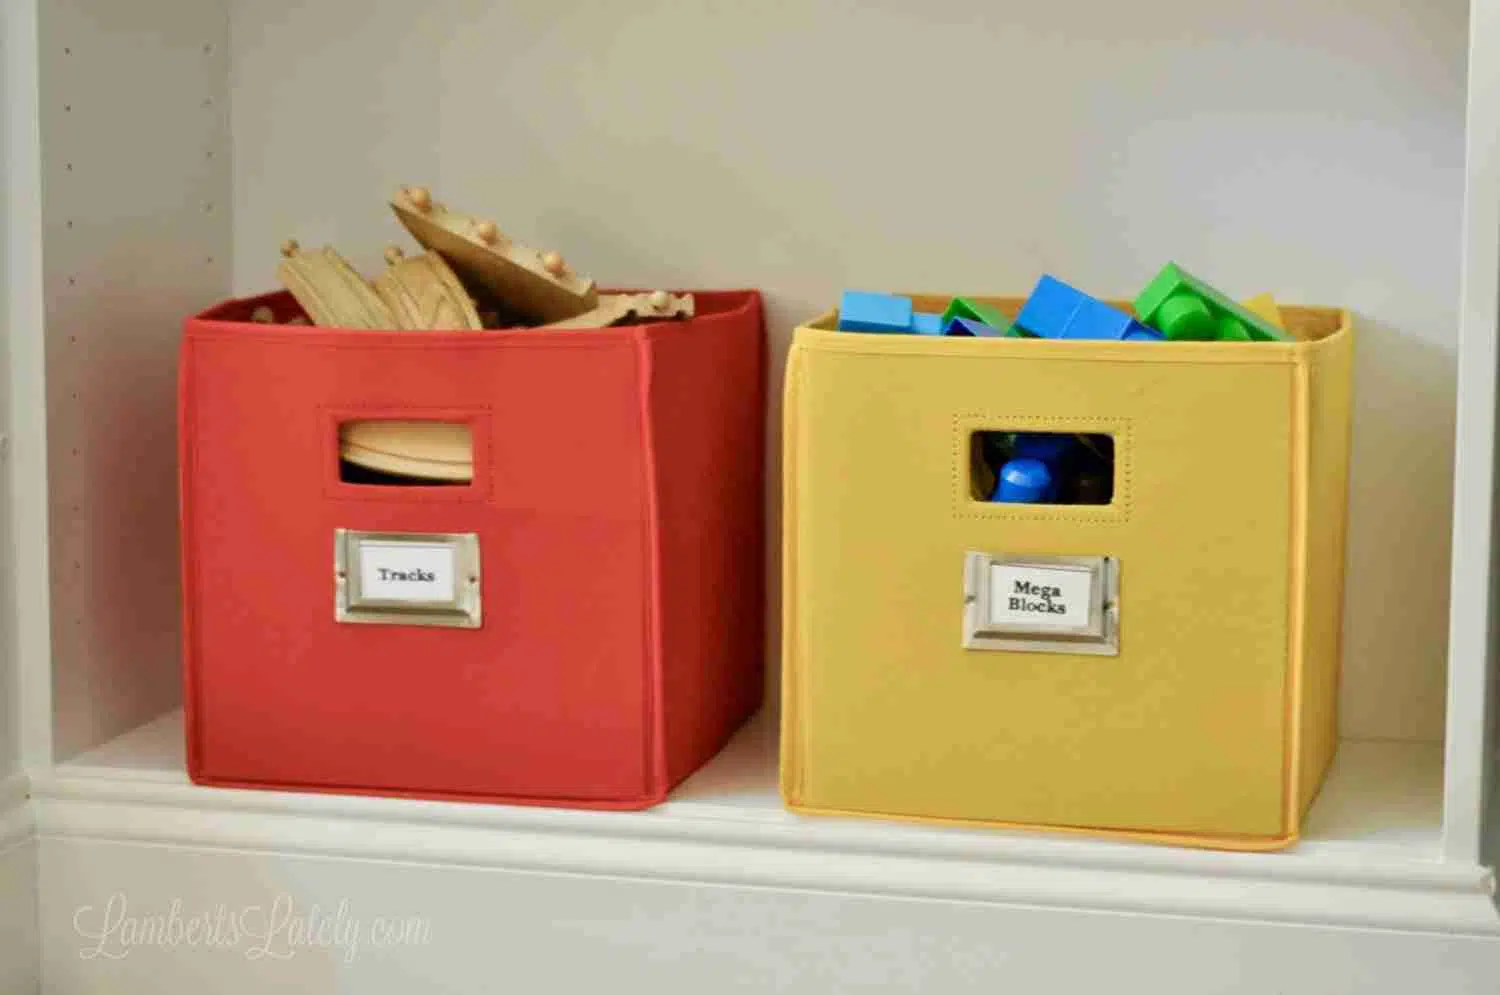
On the sides of the murphy bed, we added two built-in bookcases - these are primarily used for kids' storage. I used the same fabric bins and the same labeling method as I did in our playroom organization bins - I love that it is consistent throughout the upstairs and so easy to keep organized.
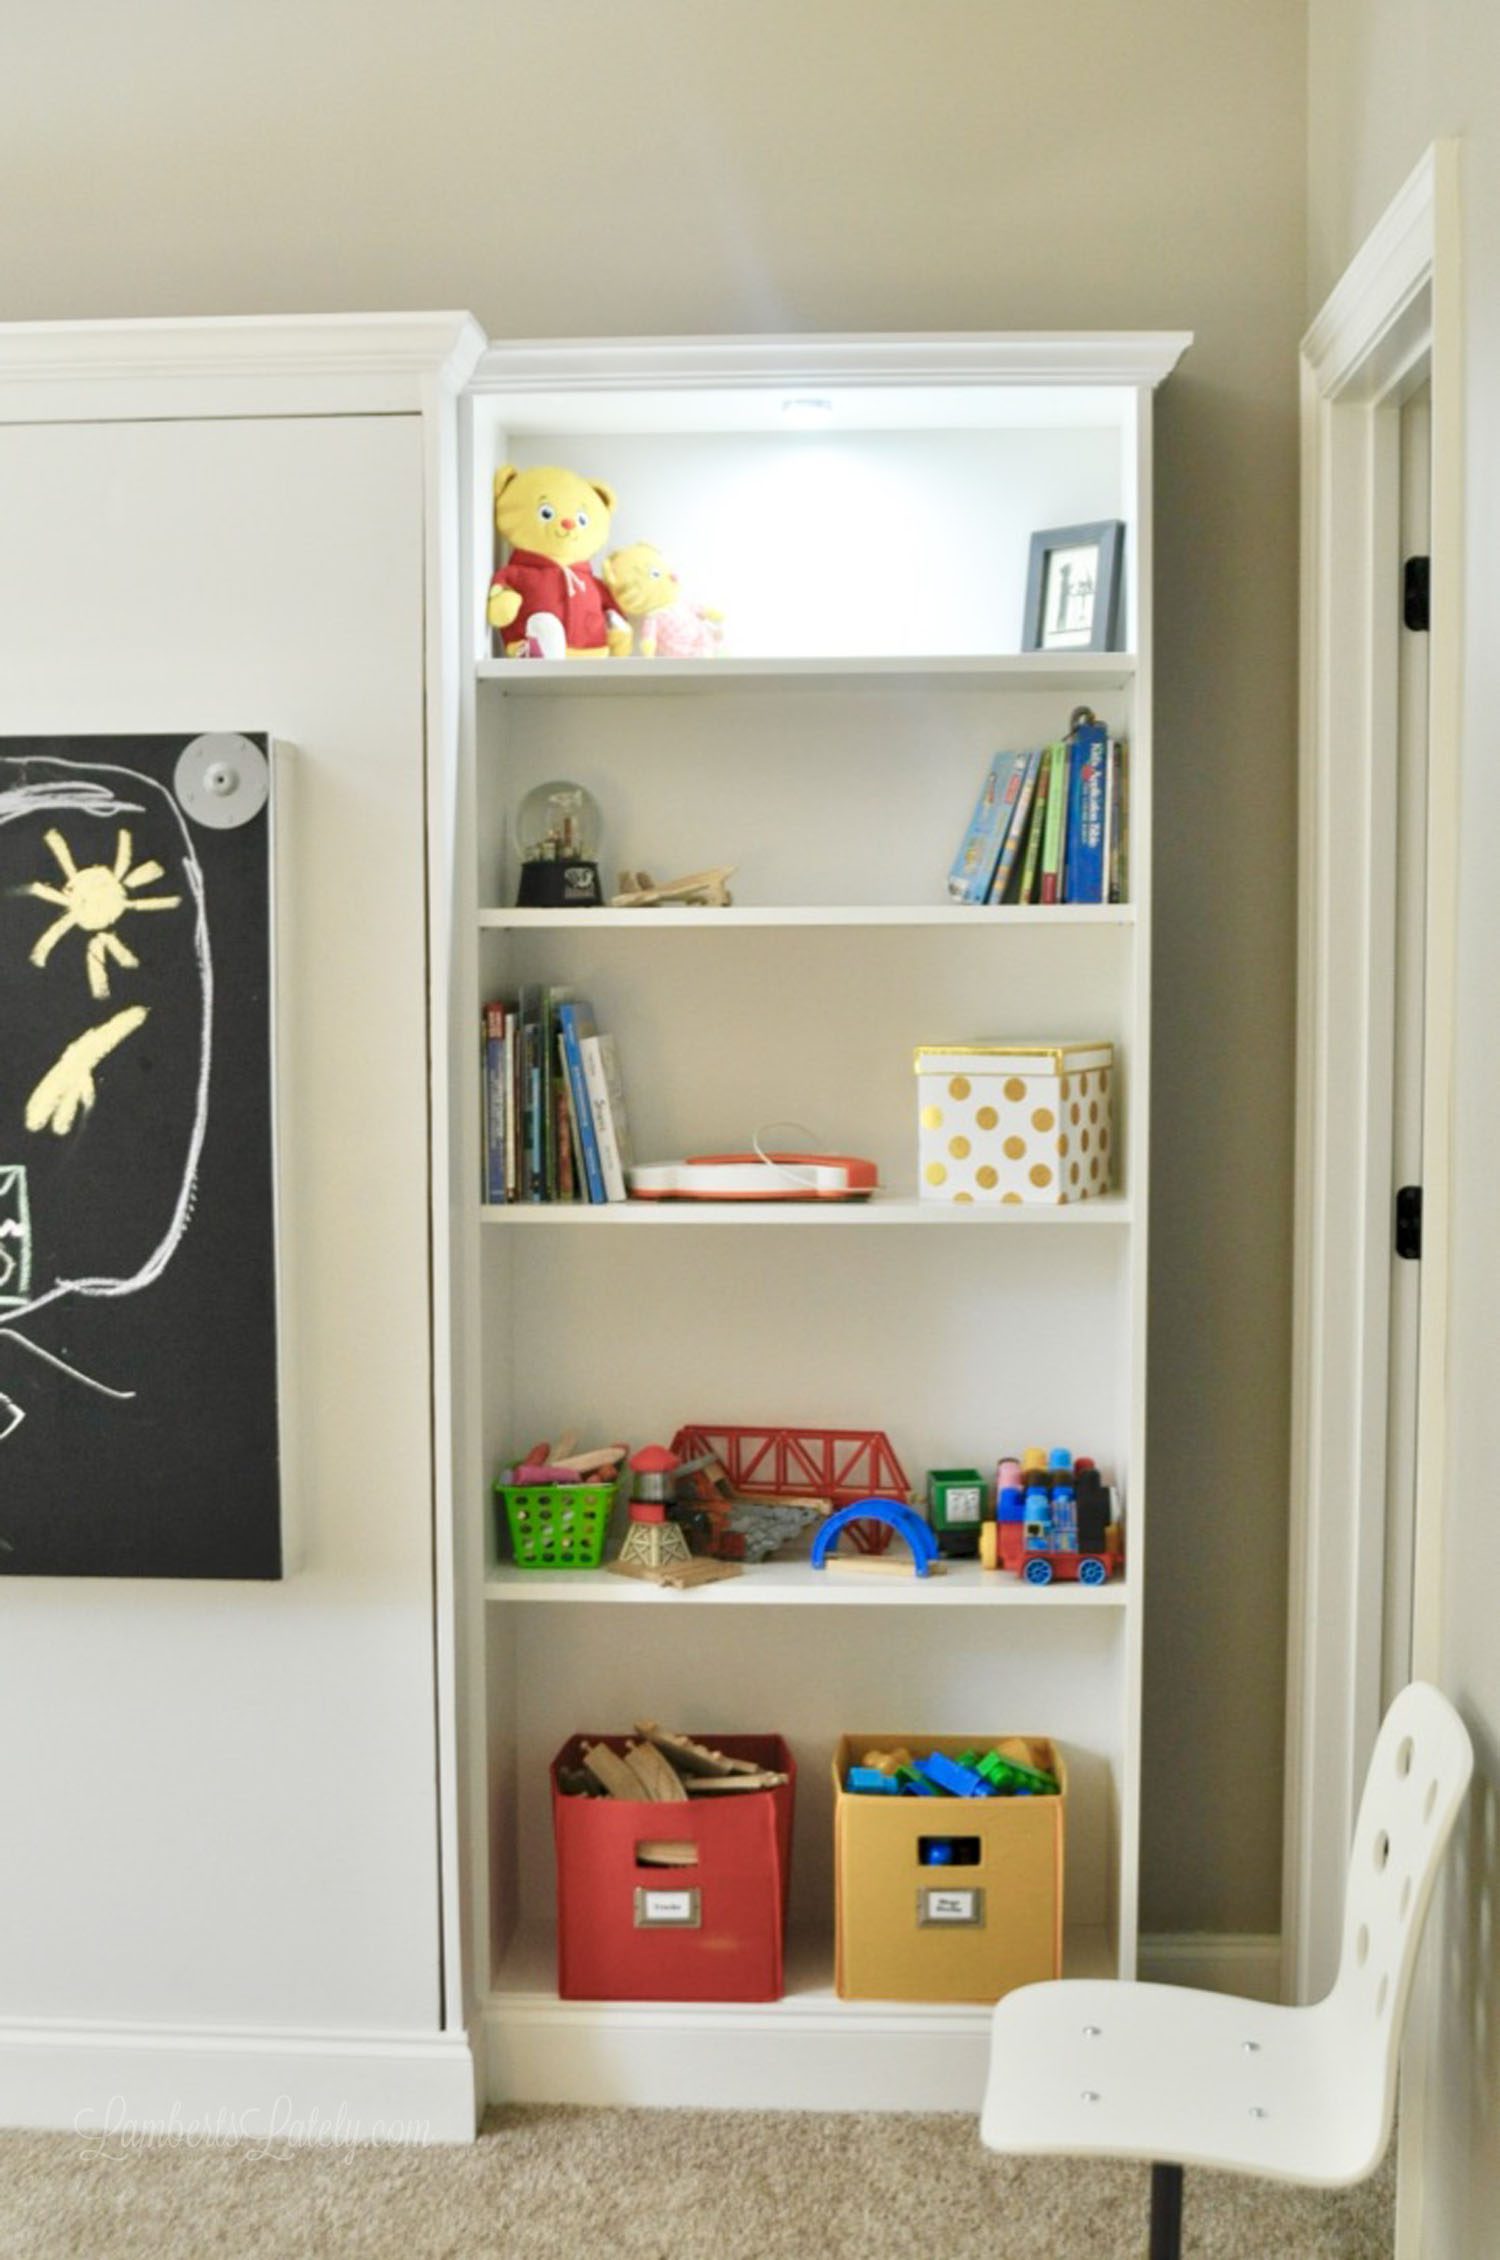
We also have the kids' books, art supplies, and bigger toys on these shelves. I tried to put the toys that needed a lot of floor space (i.e. my son's train track collection) in this room - he loves having the floor space to create all he wants.
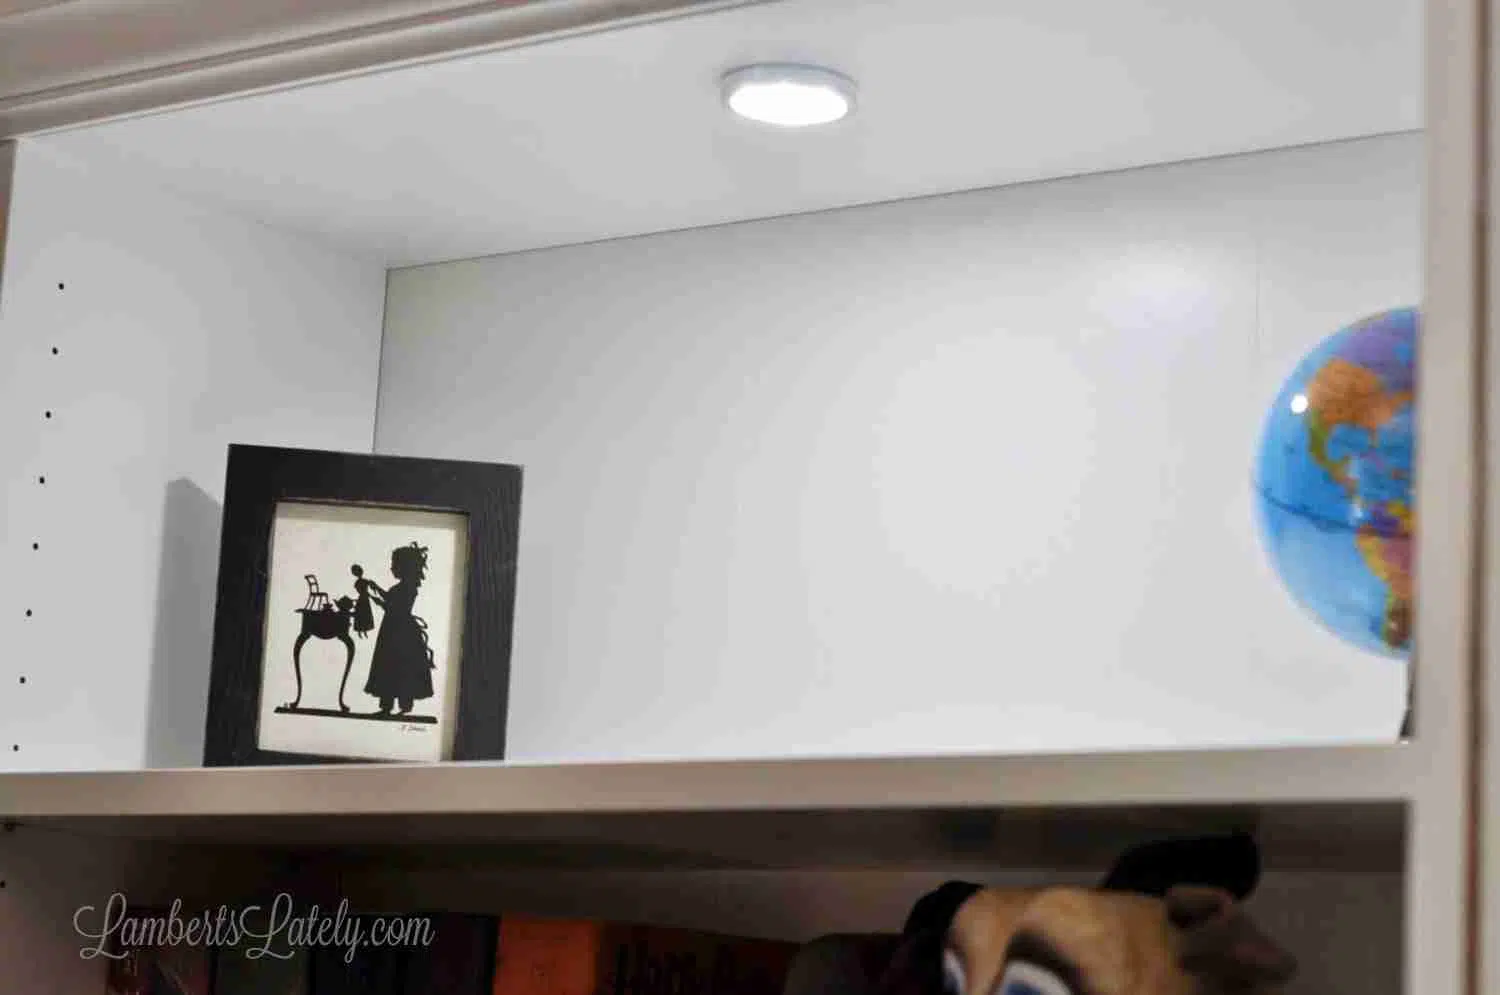
These lights were the perfect addition to the top of the shelves - they add really pretty lighting in the room when the other lights are off. They definitely help make the murphy bed unit a feature of the room.
What a difference a few months makes!
That room above was one we never used (except for storing random junk, obviously) - it was wasted square footage in our house. Not anymore!
We have probably used this room more in the past month than we have in the previous two years we've lived in this house. It has so many different purposes now - and, hopefully, it will continue to be a room we love for years to come.
I couldn't be happier with the result!


Leslie Lambert is a lifestyle writer and content creator specializing in home organization, family recipes, and intentional living. With 17 years of experience in blogging and digital storytelling, she helps busy women create calm, purposeful homes they love.


I love what you've done with this space. I just started thinking about our new arts and crafts space -and I actually just got home from Ikea! I love some of your ideas and am so excited about designing my room.
Thanks Liz!
This room turned out so well! I love your murphy bed with craft table, it really makes the room function for the kids! And your personal crafting side is so beautiful and organized; such an inspiration!!!!
Thanks so much, Loni!
Hi! What are the dimensions of your space? This is exactly the type of thing I’m looking to do in our new home.
Hi Audrey! I believe it's around 12.5'x14'.