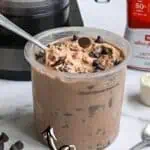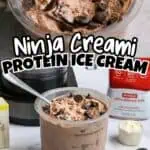

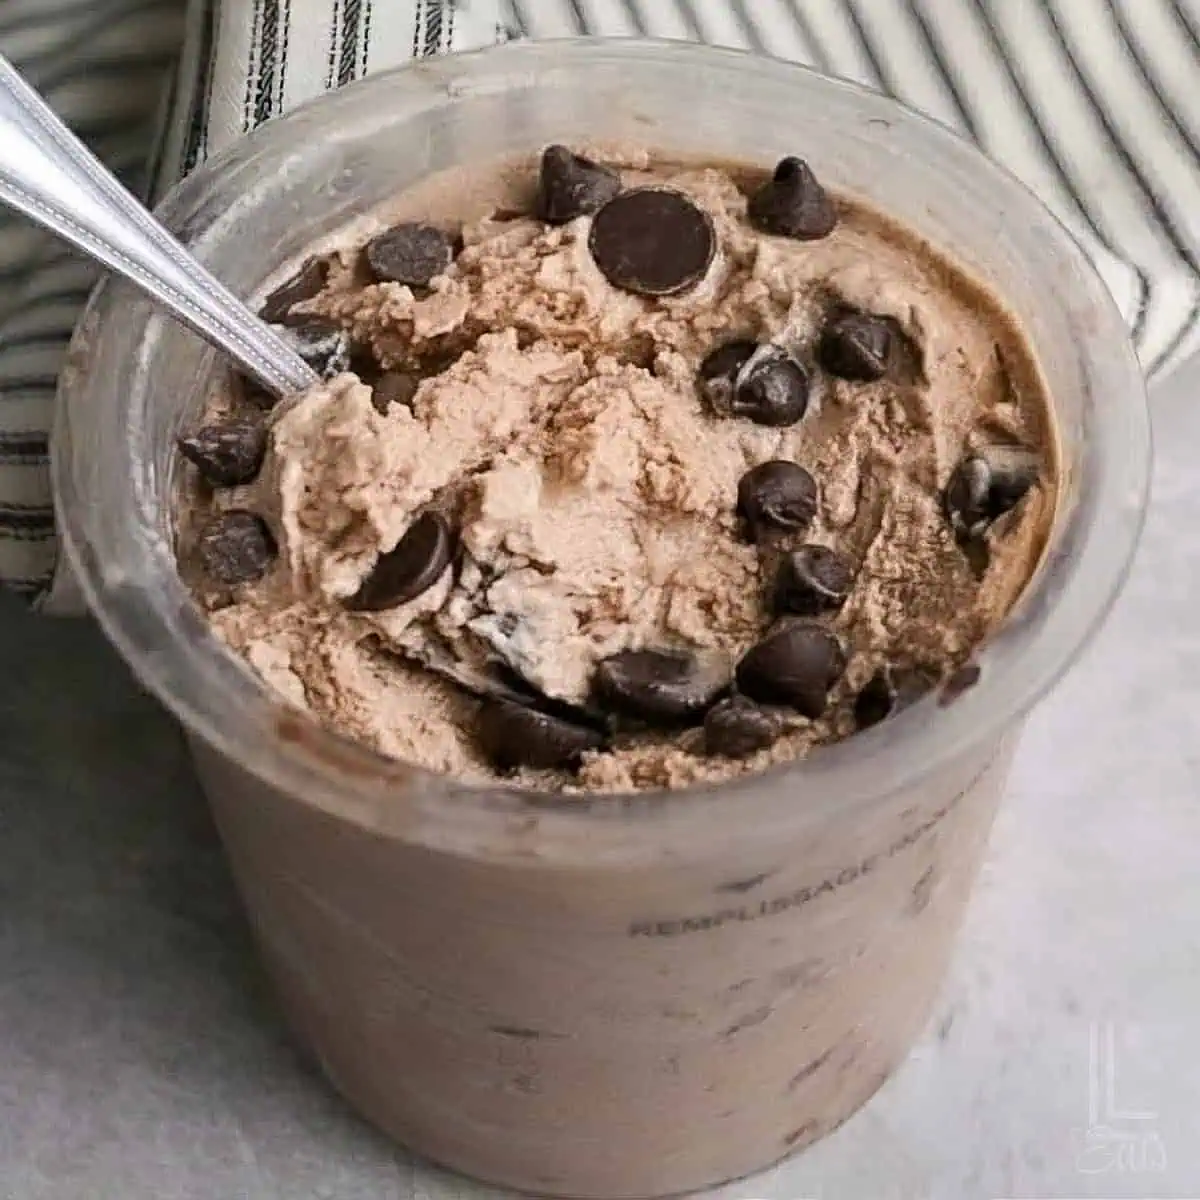
Stop settling for chalky, crumbly Ninja Creami protein ice cream! Get the secret to that perfect, thick soft-serve consistency every single time with 5 recipes (including ones with cottage cheese, Greek yogurt, and Fairlife milk).
Paid links used in this post. Read more about my link usage policies.
Why You'll Love This Recipe

Every once in awhile, my husband gets to contribute to the blog. Today's one of his times to shine!
While I'm more into Ninja Creami recipes like this Ninja Craemi vanilla ice cream or strawberry soft-serve, he's a huge fan of making protein ice cream in the Ninja Creami. It's an easy way to hit your protein goals and enjoy a sweet treat at the same time. He's got a few tricks up his sleeve - so, today, I thought I'd share how he makes his "Brotein" (as we lovingly call it in our home)!
Now - If you've scrolled "Creami-Tok" only to end up with a crumbly, chalky mess, you aren't alone. After plenty of trial and error, we've finally found a way to make thick, creamy ice cream that hits your protein goals without that weird texture.
If you've been trying to find more macro-friendly foods, I think you're going to like this one!

Choose Your Protein Base
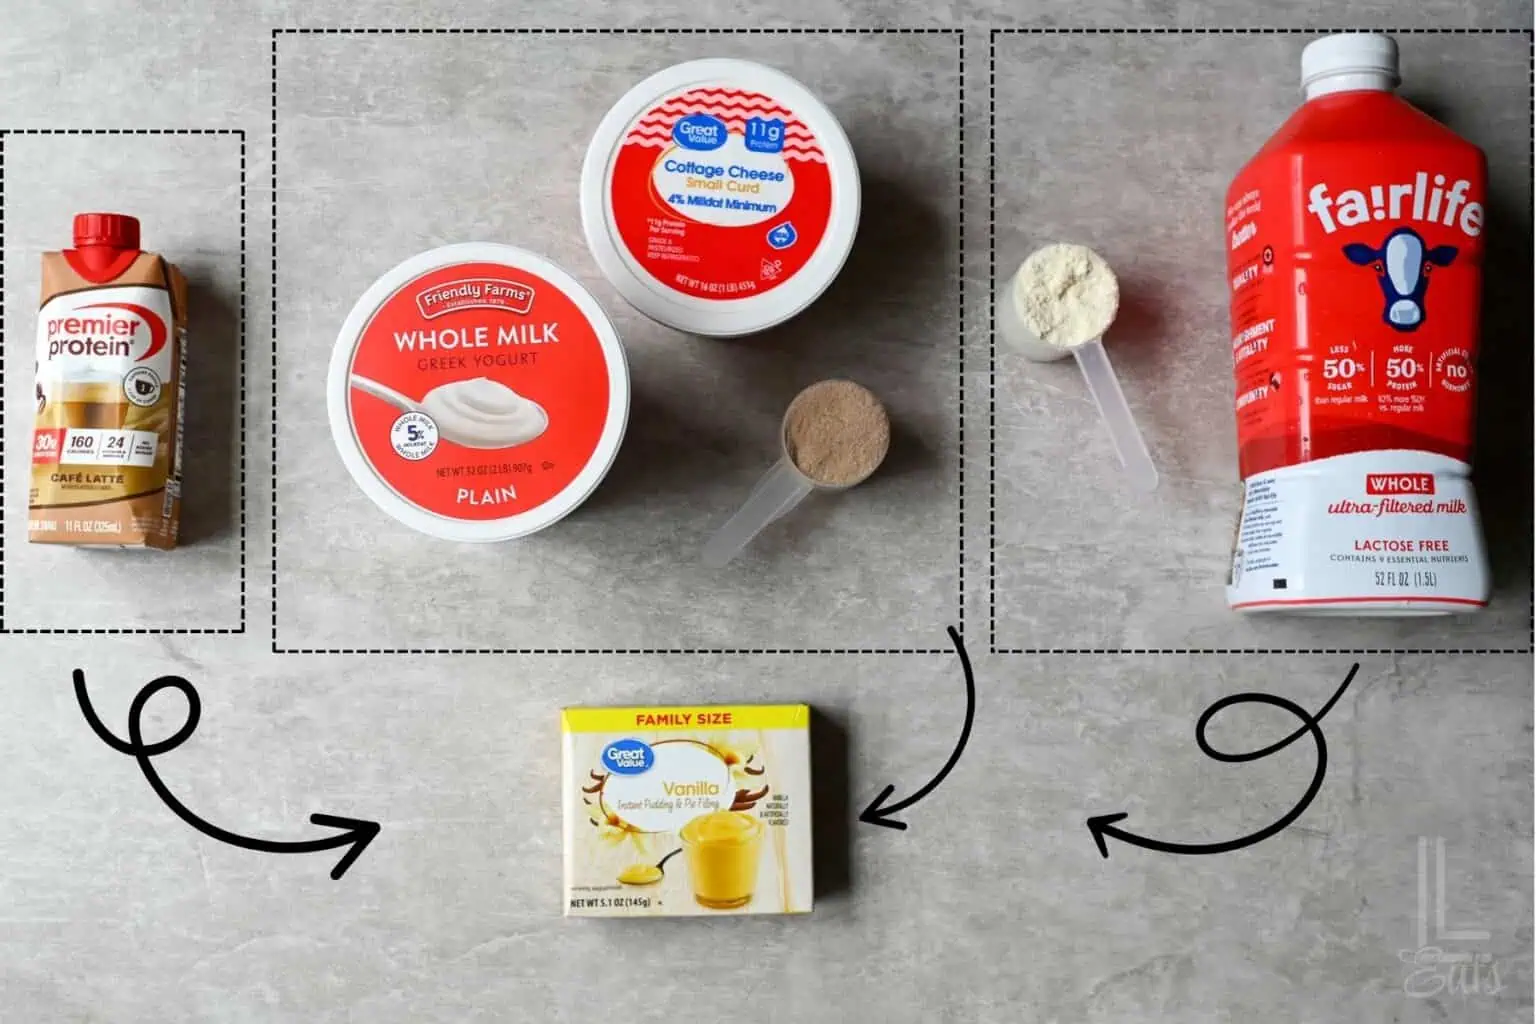
One of my favorite parts of making protein ice cream in the Ninja Creami: you have a ton of options for what to put in it. There isn't a wrong way to do it, but depending on how much effort you want to give - and what's currently sitting in your pantry - one of these three methods will become your go-to.
Method 1: Ready-to-Drink Shakes (The "Lazy Ninja" Method)
Ingredients:
- 1 pre-bottled 11-12oz protein shake
- 2 tablespoon Instant Pudding Mix (you can also use ½ teaspoon Xantham gum if you happen to have it) - This will give the ice cream a little bit more sweetness and will help it thicken up, making the ice cream actually creamy instead of gritty.
Estimated total per pint: Calories: 250-280, Protein: 28-32g, Sugar: 12-15g
Method 2: Whole Food Bases (Cottage Cheese & Greek Yogurt)
Ingredients:
- 1.5 cups of either cottage cheese or greek yogurt - Trust me on this one! It won't have that weird lumpy texture after you blend it. This method gives you a tangier, slightly thicker ice cream than just using milk.
- 2 scoops of your favorite protein powder (We're big fans of Optimum Nutrition protein powder around here, but your favorite brand will work!)
- 2 tablespoons Instant Pudding Mix
Cottage Cheese Estimated total per pint: Calories: 630-670, Protein: 85-90g, Sugar: 20-25g
Greek Yogurt Estimated total per pint: Calories: 540-620, Protein: 70-80g, Sugar: 25-30g
Method 3: Protein Powder + Milk (The Most Customizable)
Ingredients:
- 1.5 cups of either regular whole milk or Fairlife ultra-filtered whole milk (Fairlife is more expensive, but has more protein and less sugar than regular milk...and it's lactose-free!)
- 2 scoops of your favorite protein powder
- 2 tablespoon Instant Pudding Mix
Whole Milk Estimated total per pint: Calories: 530-560, Protein: 55-60g, Sugar: 30-34g
Fairlife Estimated total per pint: Calories: 520-540, Protein: 65-72g, Sugar: 18-22g
How to Make Ninja Creami Protein Ice Cream
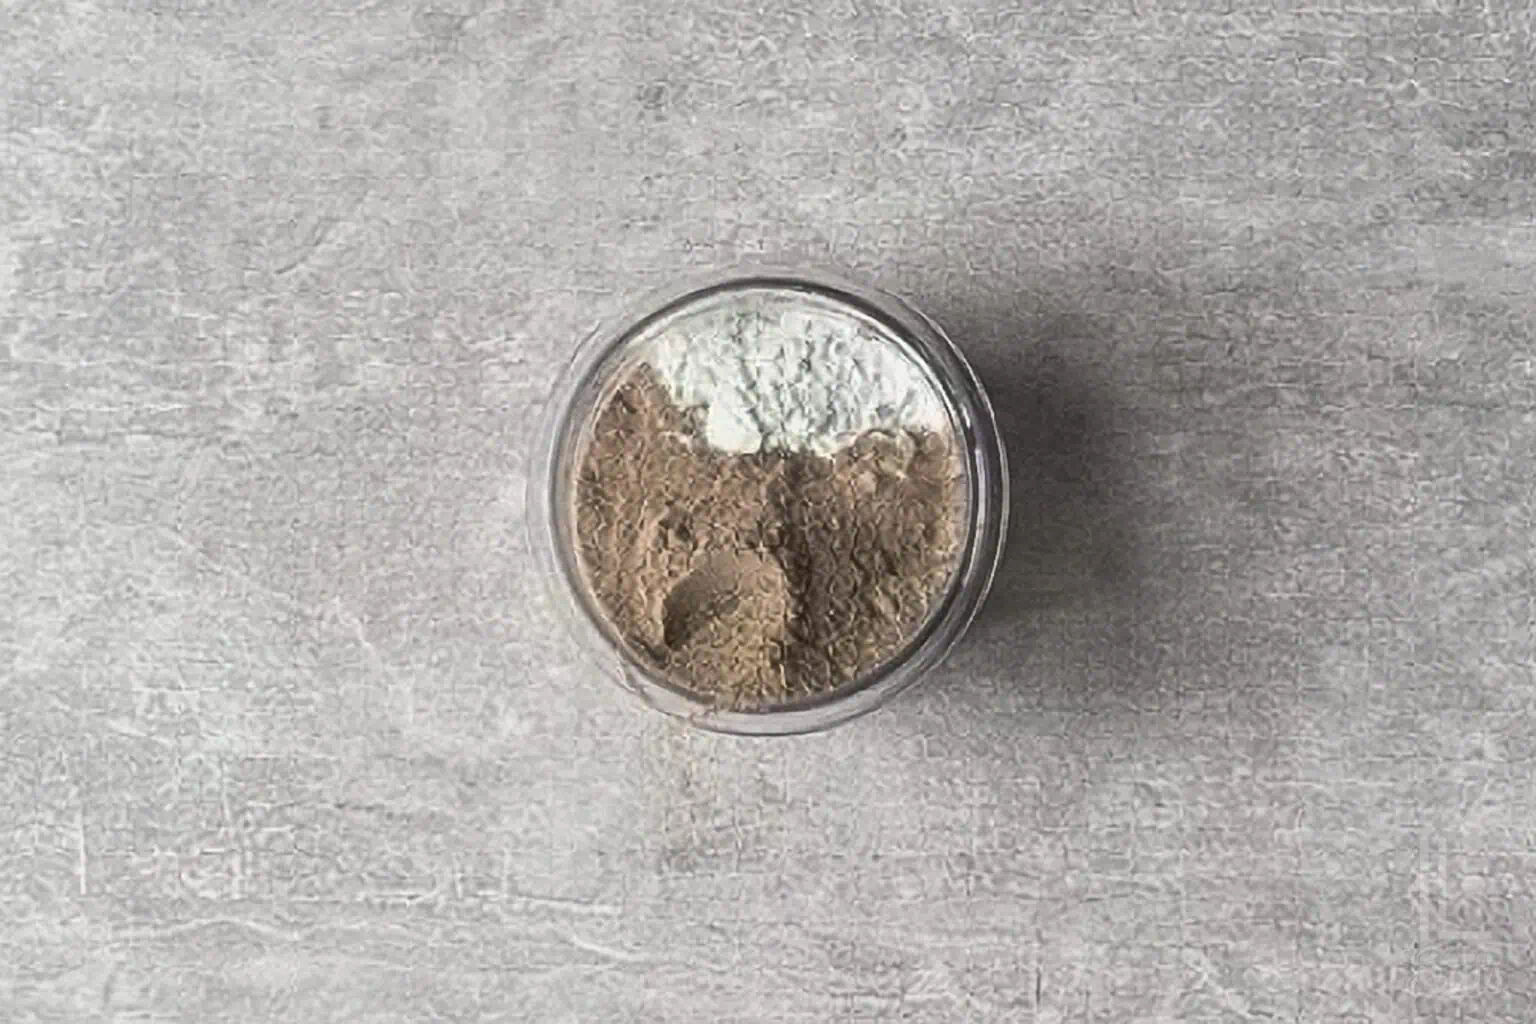
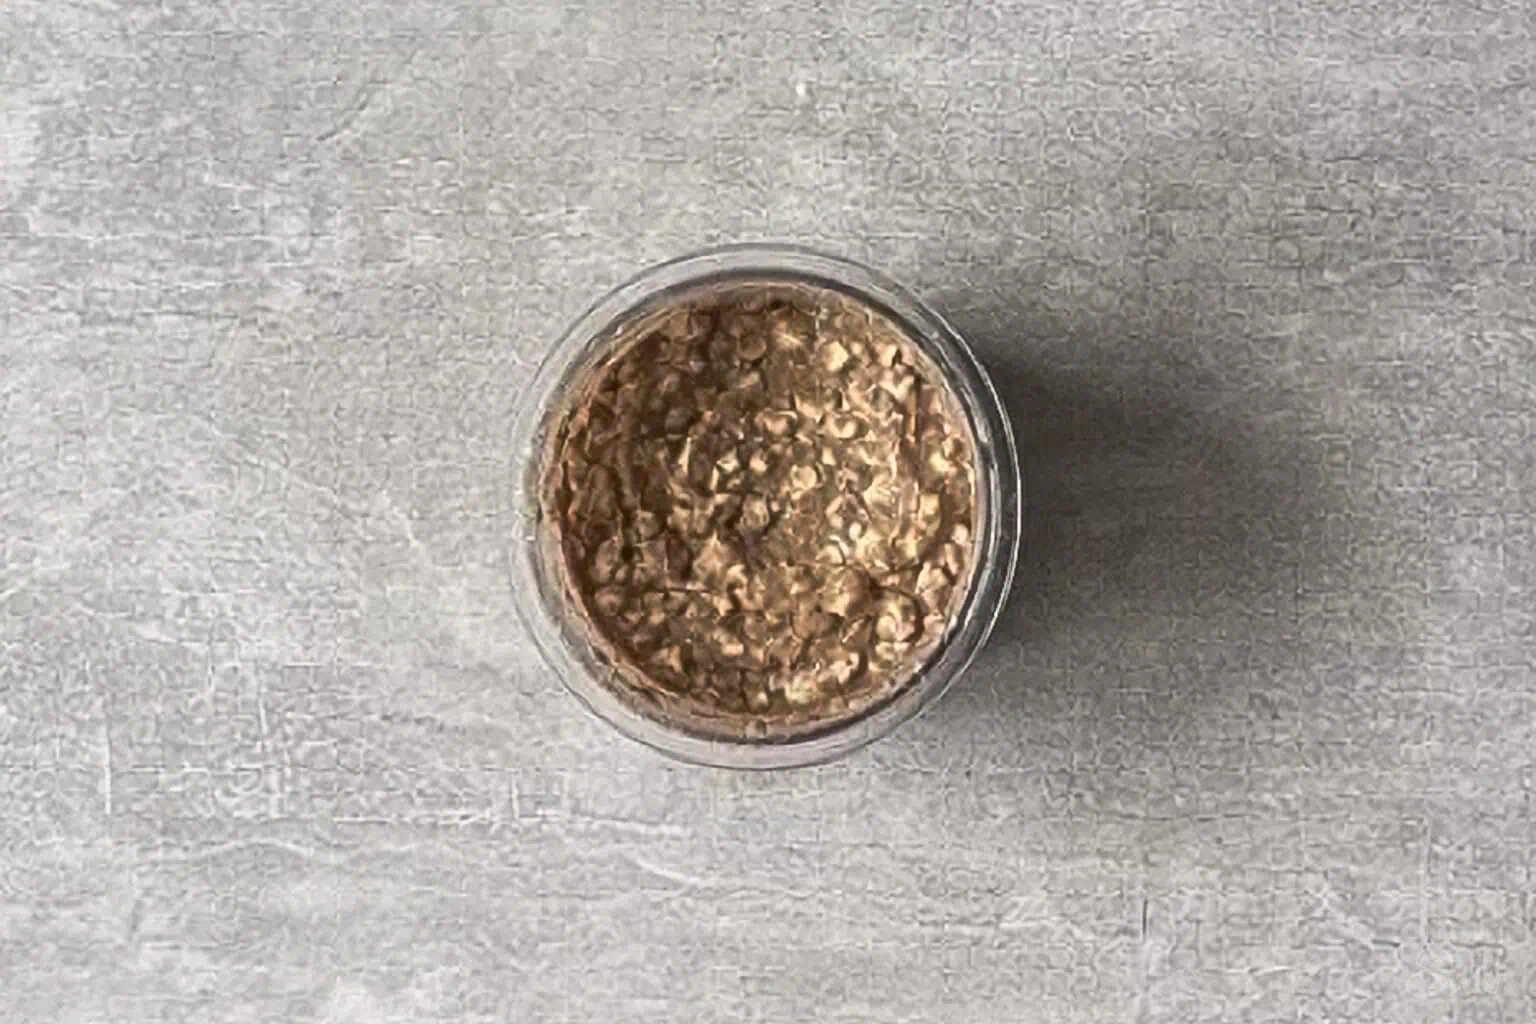
- Mix Your Base. Choose one of the ingredient combos above and mix together in a Ninja Creami pint container. I just use a cheap frother (for the liquid bases) or a spoon (for the yogurt or cottage cheese) to make sure everything is blended. Be careful not to pass the max fill line in your Ninja Creami pint.
- The 24-Hour Freeze. Place the pint on a level surface in your freezer for a full 24 hours. Do not skip this. Protein bases have a different freezing point than traditional dairy; if it isn't frozen solid at 0°F or below, the blade won't shave the ice correctly.
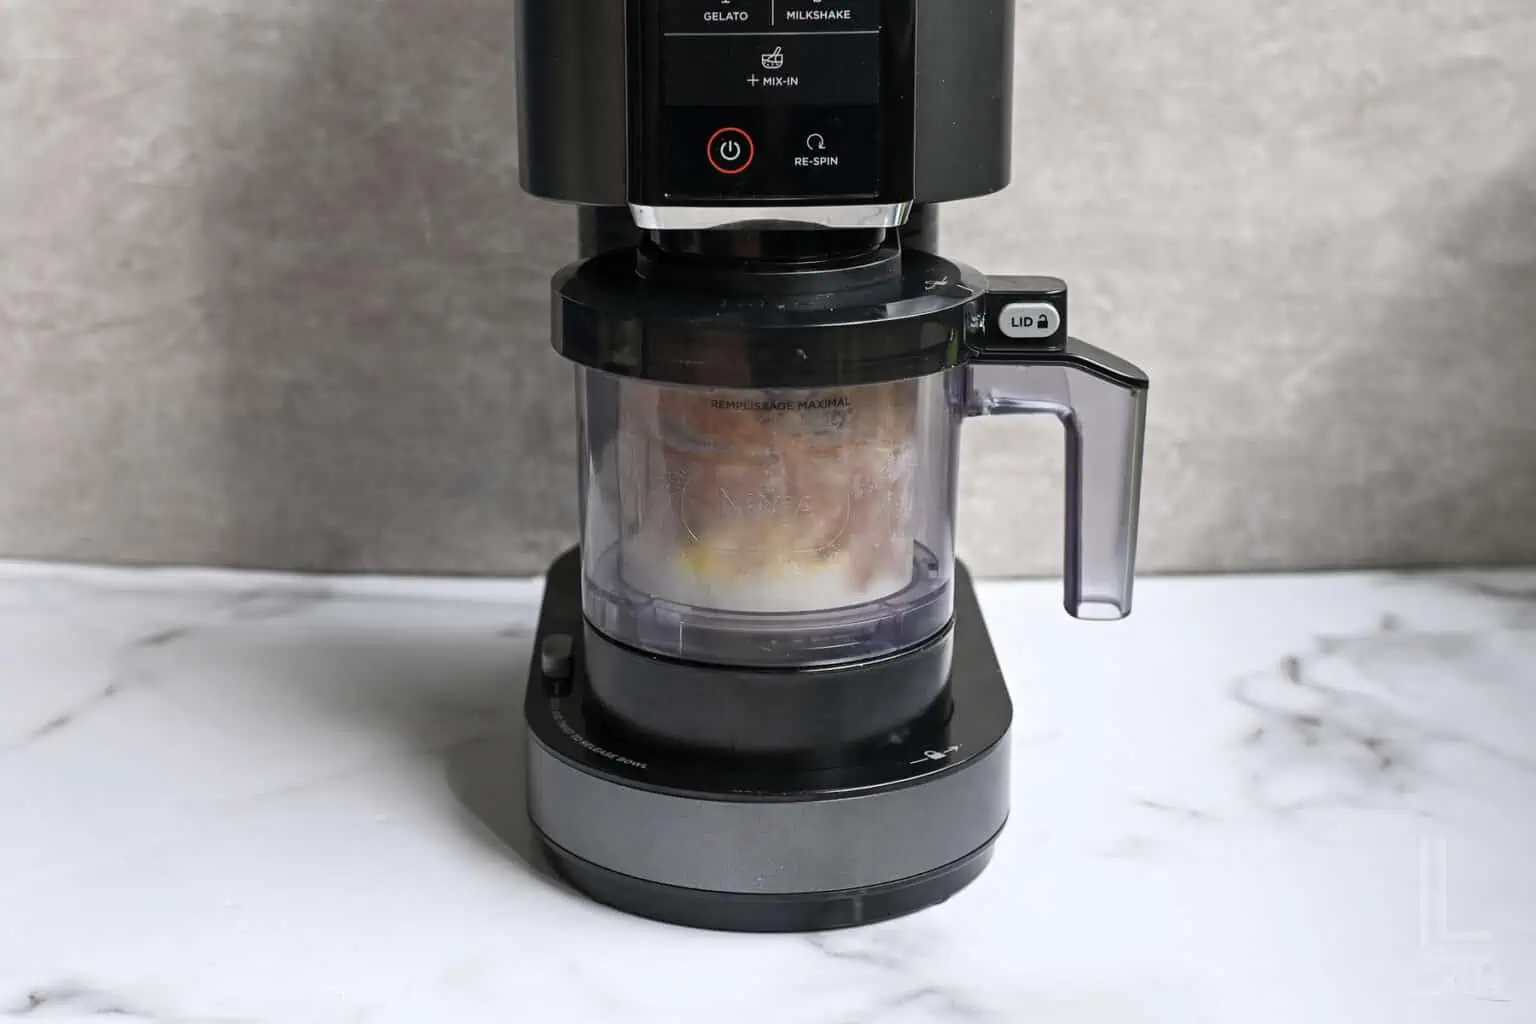
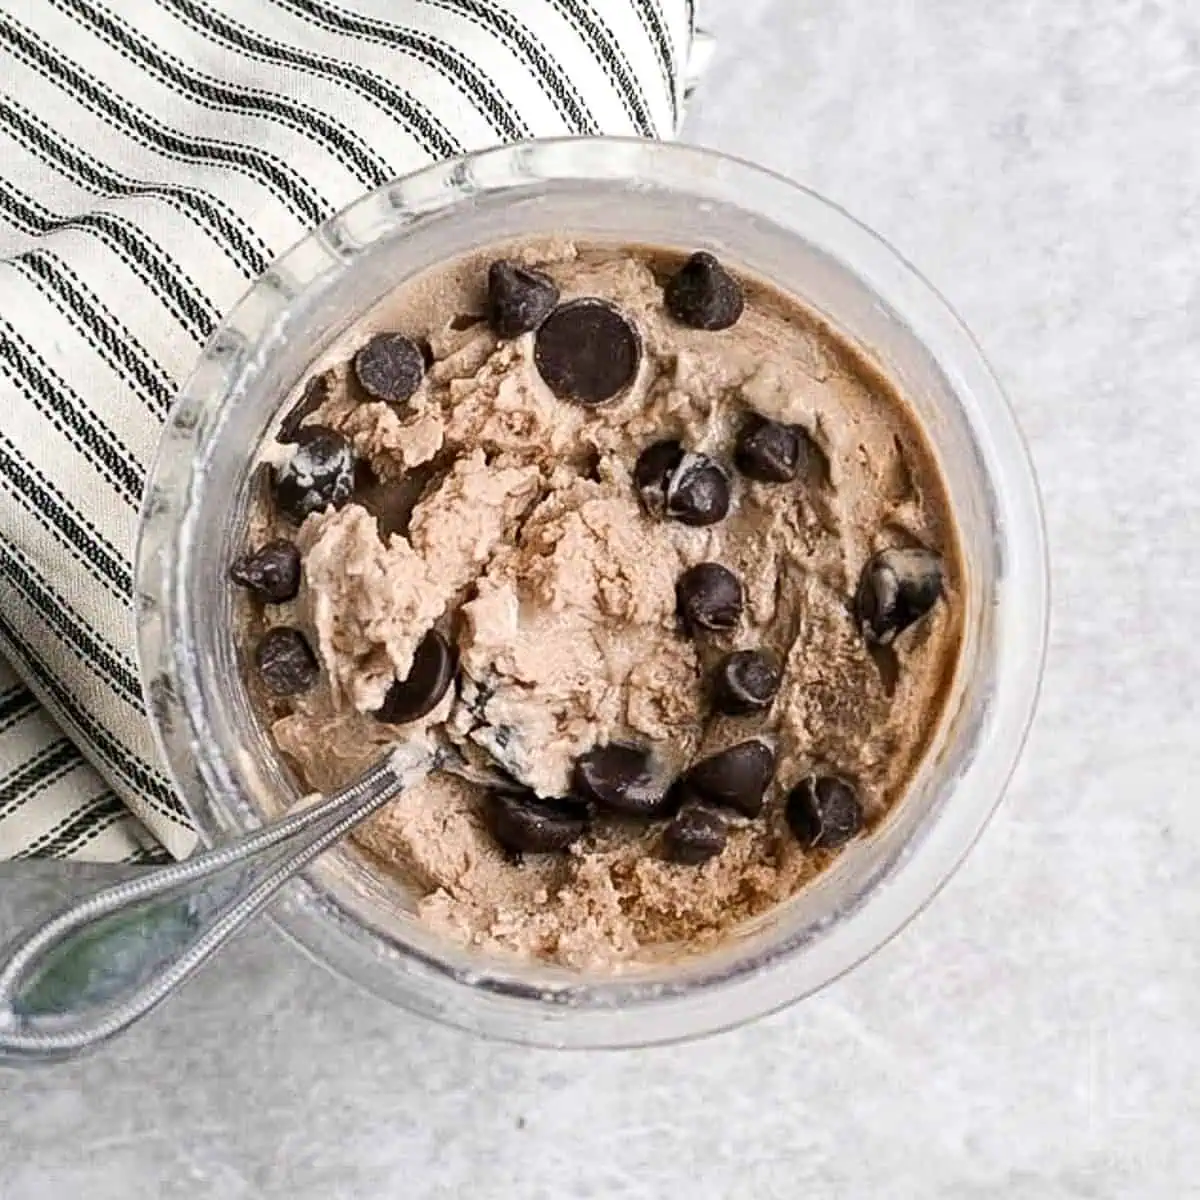
- The First Spin. Remove the lid and lock the pint into the outer bowl. For almost all protein recipes, select the "Lite Ice Cream" setting. This cycle spins faster and longer than the regular setting - you need it to blend the high-protein, low-fat base correctly.
- Check and Re-Spin. If your ice cream looks like dry sand or Dippin' Dots after the first spin, don't panic! This is normal for protein pints. Add one tablespoon of liquid (milk or protein shake), put it back in, and hit the "Re-Spin" button. This is the secret to achieving that great soft-serve texture.
Optional (Buy yummy) add-ins
The real magic happens after that first spin. If you want to add anything to your ice cream, after that first spin, use the "Mix-In" button to fold these in without pulverizing them:
- Fruit: Frozen strawberries or blueberries add some freshness. And adding strawberry syrup with these gives you little ribbons in the ice cream - delicious!
- Low-Calorie Crunch: Use crushed Oreo Thins, graham crackers, or high-protein cereal for some texture.
- Nut Butters & Chocolate: Swirl in natural peanut butter or dark chocolate chips. Peanut butter powder is great to add, too!
- Cereal & Granola: A tablespoon or two of granola or protein puffs will give you a great crunch.
Pro Tip: If you're adding a mix-in, use a spoon after the first spin to make a little hole in the middle of your protein ice cream. This will make sure all of those add-ins get distributed evenly.
Leslie's Helpful Tips & Tricks
After testing dozens of batches, we've found that the difference between ice cream that's just okay and a really good dessert comes down to these tricks:
- Tame the "Freeze Hump": Liquid expands as it freezes. To protect your machine's blade, the top of the frozen ice cream must be flat. If a hump forms, scrape it level with a warm spoon before spinning.
- Pro Tip: Freezing without a lid helps the top stay flat!
- The Warm Water Shortcut: If ice crystals stick to the edges, run the pint sides under hot water for 45 seconds. This ensures a perfectly smooth outer rim.
- Avoid the "Air Bubble" Trap: Over-frothing creates uneven freezing. Use a whisk or frother on low speed until just combined for a creamier texture.
- Over-Sweeten Your Base: Freezing can dull the flavor. If your base tastes "just right" at room temperature, it may be kind of bland when frozen. Add a little bit more sweetener than usual.
- Storing Leftovers: You can re-freeze and enjoy later! Just remember to smooth the surface flat with a spoon before putting it back in the freezer to get a safe re-spin.
FAQs & Troubleshooting

I hope you love these easy, high-protein ice creams! 🍦 If you give them a try, let us know what you think by leaving a rating in the comments below. And don't forget to follow along!
Ninja Creami Protein Ice Cream
Equipment
Ingredients
Method 1: The "Lazy" Ninja
- 1 pre-bottled protein shake (11-12oz)
- 2 tablespoon Instant Pudding Mix (or ½ teaspoon xanthan gum)
Method 2: Whole Food Bases
- 1.5 cups cottage cheese or Greek yogurt
- 2 scoops protein powder
- 2 tablespoon Instant Pudding Mix
Method 3: Protein Powder + Milk
- 1.5 cups Fairlife or regular whole milk
- 2 scoops protein powder (approx. 60g)
- 2 tablespoon Instant Pudding Mix
Optional Add-ins
- crushed Oreo thins
- fresh fruit
- strawberry/chocolate syrup
- granola
- graham crackers
- nut butters
Instructions
- Mix Your Base: Stir or froth your chosen ingredients directly in the Ninja Creami pint until smooth. Do not exceed the max fill line.
- The 24-Hour Freeze: Place the lid on and freeze on a level surface for a full 24 hours. Ensure your freezer is set to 0°F or colder.
- The First Spin: Remove the lid and scrape any "freeze hump" flat with a warm spoon. Lock the pint into the machine and select the Lite Ice Cream setting.
- Check and Re-Spin: If the texture is crumbly or powdery, add 1 tablespoon of milk or syrup and hit the Re-Spin button. Repeat once more if needed.
- (Optional) Add Mix-Ins: Dig a 1-inch hole in the center. Add your fruit or other toppings, then press the Mix-In button.
Notes
- Texture Fix: Don't panic if it looks like sand after the first spin; the Re-Spin is the secret to that "Brotein" silkiness.
- Sweetness Boost: Cold dulls flavor, so if your liquid base isn't "too sweet," add a little bit of stevia or sugar before freezing.
- Icy Edges: Run the sides of the pint under hot water for 30 seconds before spinning to prevent an icy ring from forming around the edge.
- Leftovers: If you can't finish it all, smooth the top flat before re-freezing so the blade can safely process it next time.

Leslie Lambert is a lifestyle writer and content creator specializing in home organization, family recipes, and intentional living. With 17 years of experience in blogging and digital storytelling, she helps busy women create calm, purposeful homes they love.