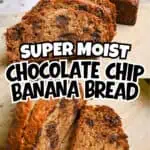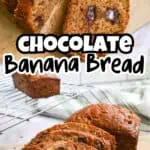

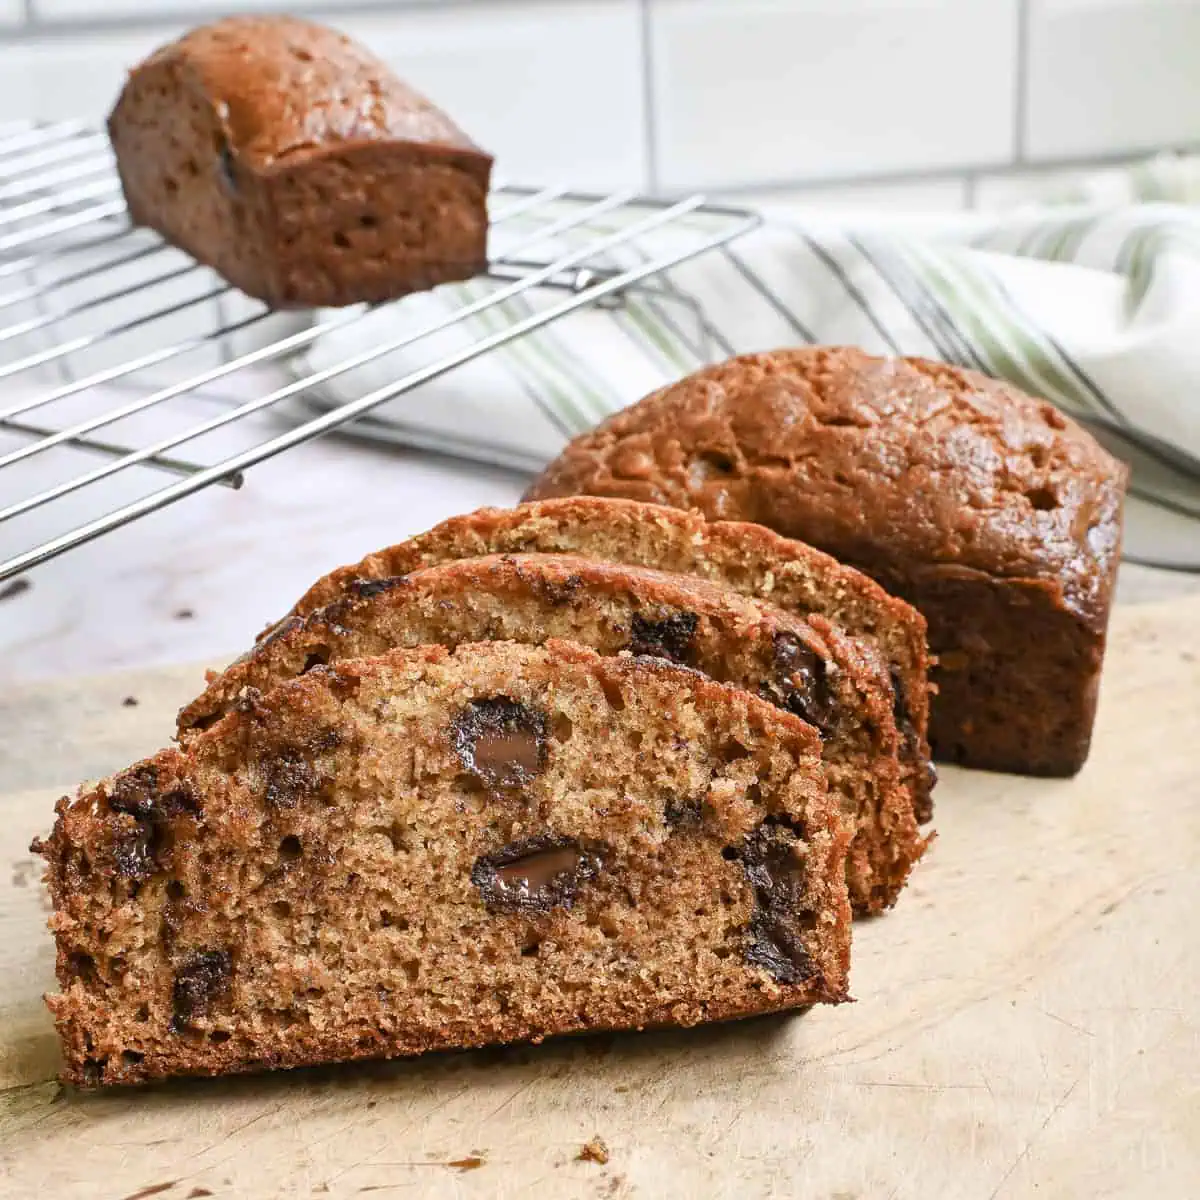
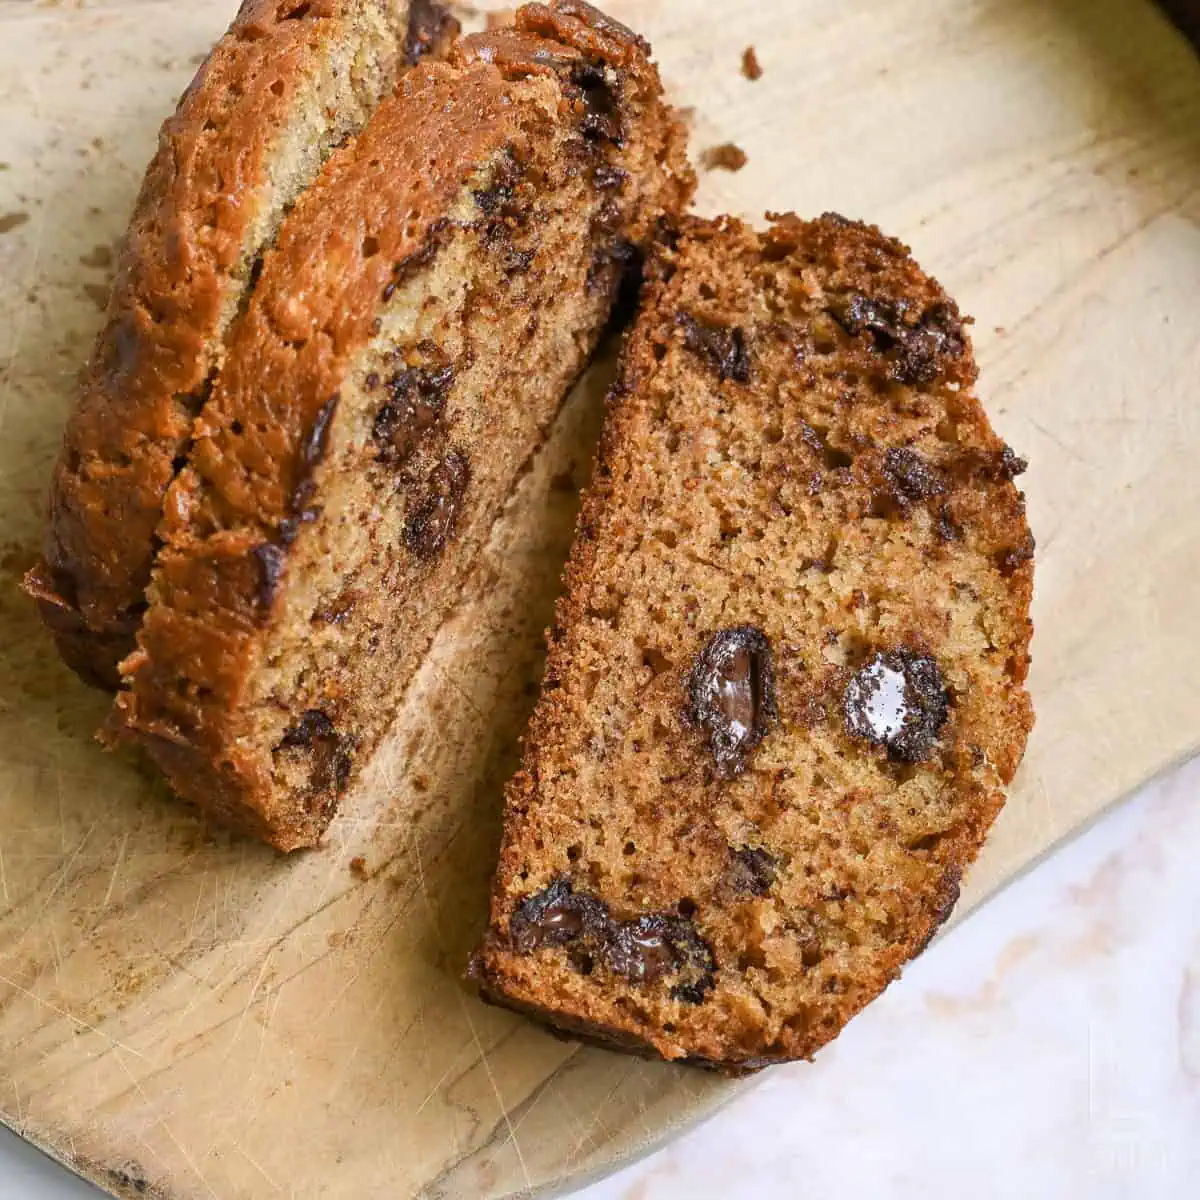
This chocolate chip banana bread is moist, buttery, and loaded with rich chocolate. Baked low and slow, it develops a deep, caramelized crust while staying soft and velvety inside. Every slice has that perfect pudding-like center and golden, crunchy exterior that makes this loaf a family favorite.
Paid links used in this post. Read more about my link usage policies.
Why You'll Love This Easy Banana Bread with Chocolate Chips

I'm finally sharing one of those long-time family recipes I've made for years but never published. It's a simple chocolate chip banana bread that I've probably baked fifty times now!
My banana chocolate cookies are based on this recipe, but this is the original recipe we use most often. The cookies are great for using up a stray banana, but they don't quite compare to a warm slice of this banana bread.
It's finally time this one had a permanent spot here on the blog. I hope you guys love it just as much as we do!

Ingredient Notes
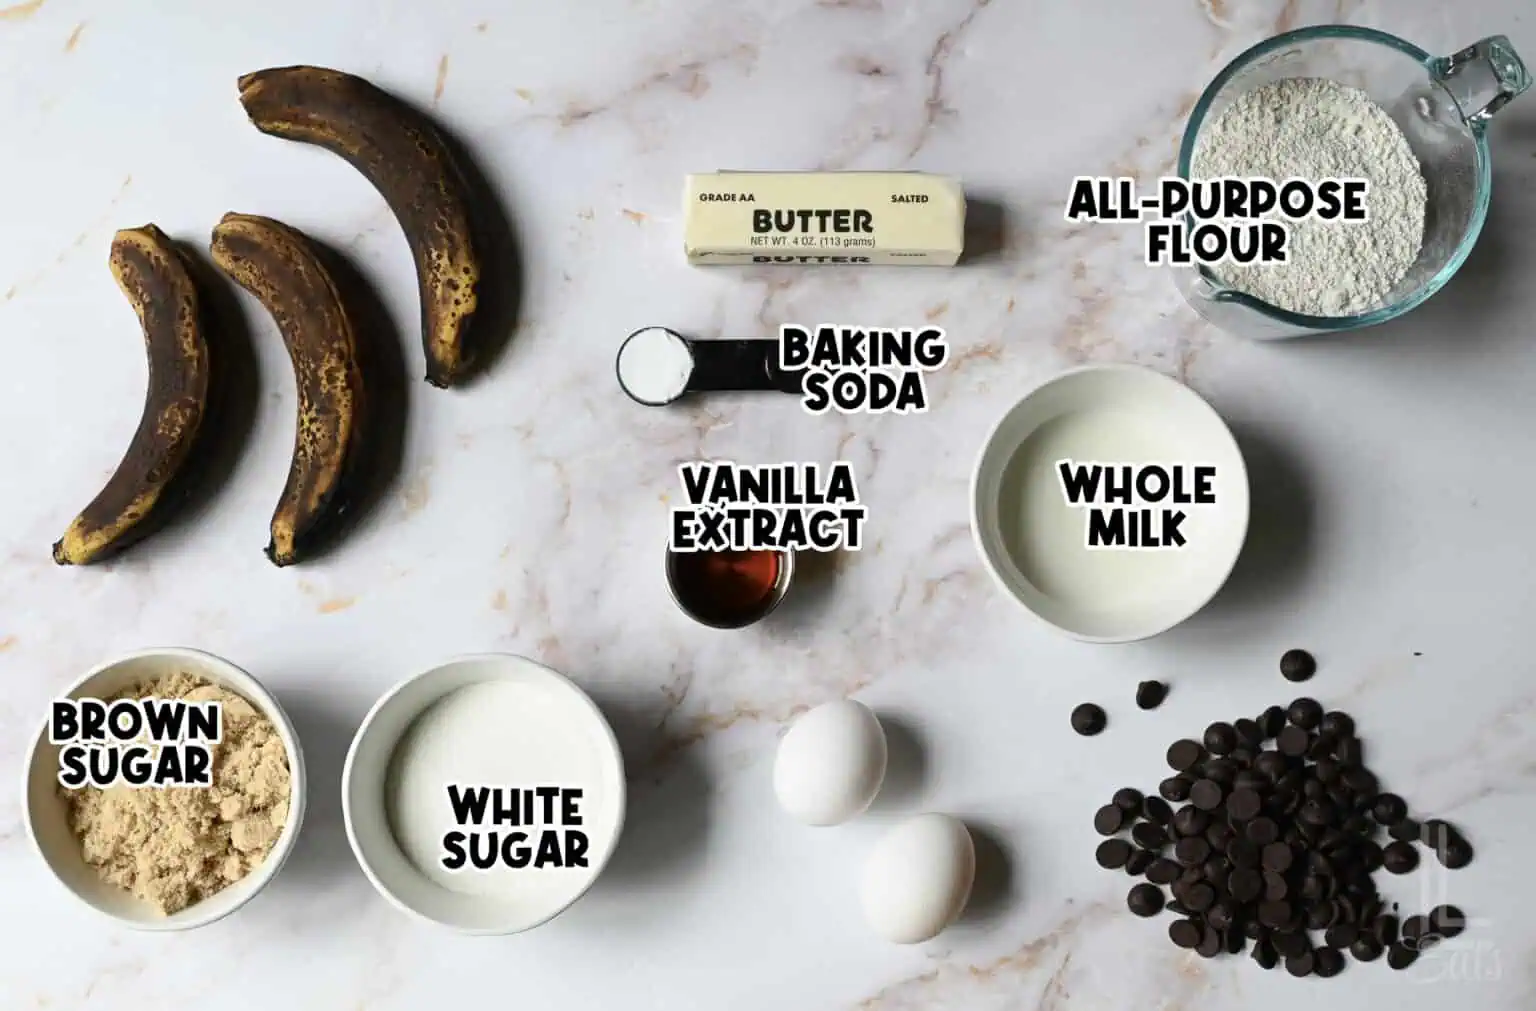
(See recipe card at the bottom of this post for a full list of ingredients and exact ingredient measurements.)
- Granulated & Brown Sugar: Using a mix of both is the secret to that great texture contrast you get in this banana bread. The granulated sugar helps create that caramelized exterior we're after. Meanwhile, the molasses in the brown sugar keeps the inside super soft. Using both ensures the loaf isn't just sweet, but has a great, buttery flavor profile.
- Semi-Sweet Chocolate Chips: I really recommend sticking with semi-sweet here. Because overripe bananas are naturally very sweet, milk chocolate can make the loaf feel too sugary. The semi-sweet chips make for a deeper cocoa flavor that balances out the bread, giving you those gooey, melted pockets without being too overwhelmingly sweet.
- Whole Milk: I always use whole milk for this recipe. That extra bit of fat is what helps keep the inside of the bread soft.
- Room Temperature Salted Butter: This is a big one! For the creaming method in the recipe to actually work, your butter needs to be soft enough that a finger leaves an indent, but is not totally melted. Room temperature butter allows the sugar to mix in, creating a fluffy base for your batter. If the butter is too cold, it won't blend correctly, and you'll end up with a greasy loaf.
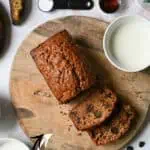
- Over-ripe Bananas: You want these to be as ugly as possible (see the ingredient shot above for an example of color). If it's past the time you'd eat it, it's probably good to go! The more over-ripe they are, the more they break down to makes the bread incredibly soft.
- All-Purpose Flour: Make sure you use plain all-purpose flour here, not self-rising.
- Baking Soda: This reacts with the sugars as it bakes to help create those crisp, golden-brown edges and that caramelized, crunchy exterior.
Additions & Substitutions
- Go nuts! I love adding nuts to this recipe (my kids, not so much - that's why they aren't in this version). Add ½ cup of pecans or walnuts to this recipe for a great crunch and a little bit of saltiness.
- Change up the chips. You can really use any kind of chips you want in this recipe - butterscotch chips, white chocolate chips, or peanut butter chips work. Just know that most other varieties are going to add more sweetness than semi-sweet chocolate.
- Dairy Alternatives: If you're out of whole milk, you can use sour cream or full-fat Greek yogurt. This will actually make the loaf even more dense and fudgy, though it may take a few extra minutes to bake through.
- The Sugar Balance: If you only have light brown sugar, that works just fine. If you use dark brown sugar, the inside will have a much stronger molasses flavor and a slightly darker color.
- Spice it Up! For a warmer flavor, add 1 teaspoon of ground cinnamon to your dry ingredients. It complements the overripe bananas and makes the house smell amazing!
Make even more chocolate chip favorites with these irresistible treats - this quick chocolate chip cookie in a mug and these rich peanut butter chocolate cookies are the ultimate way to satisfy serious chocolate chip cravings in minutes!
How to Make Chocolate Chip Banana Bread
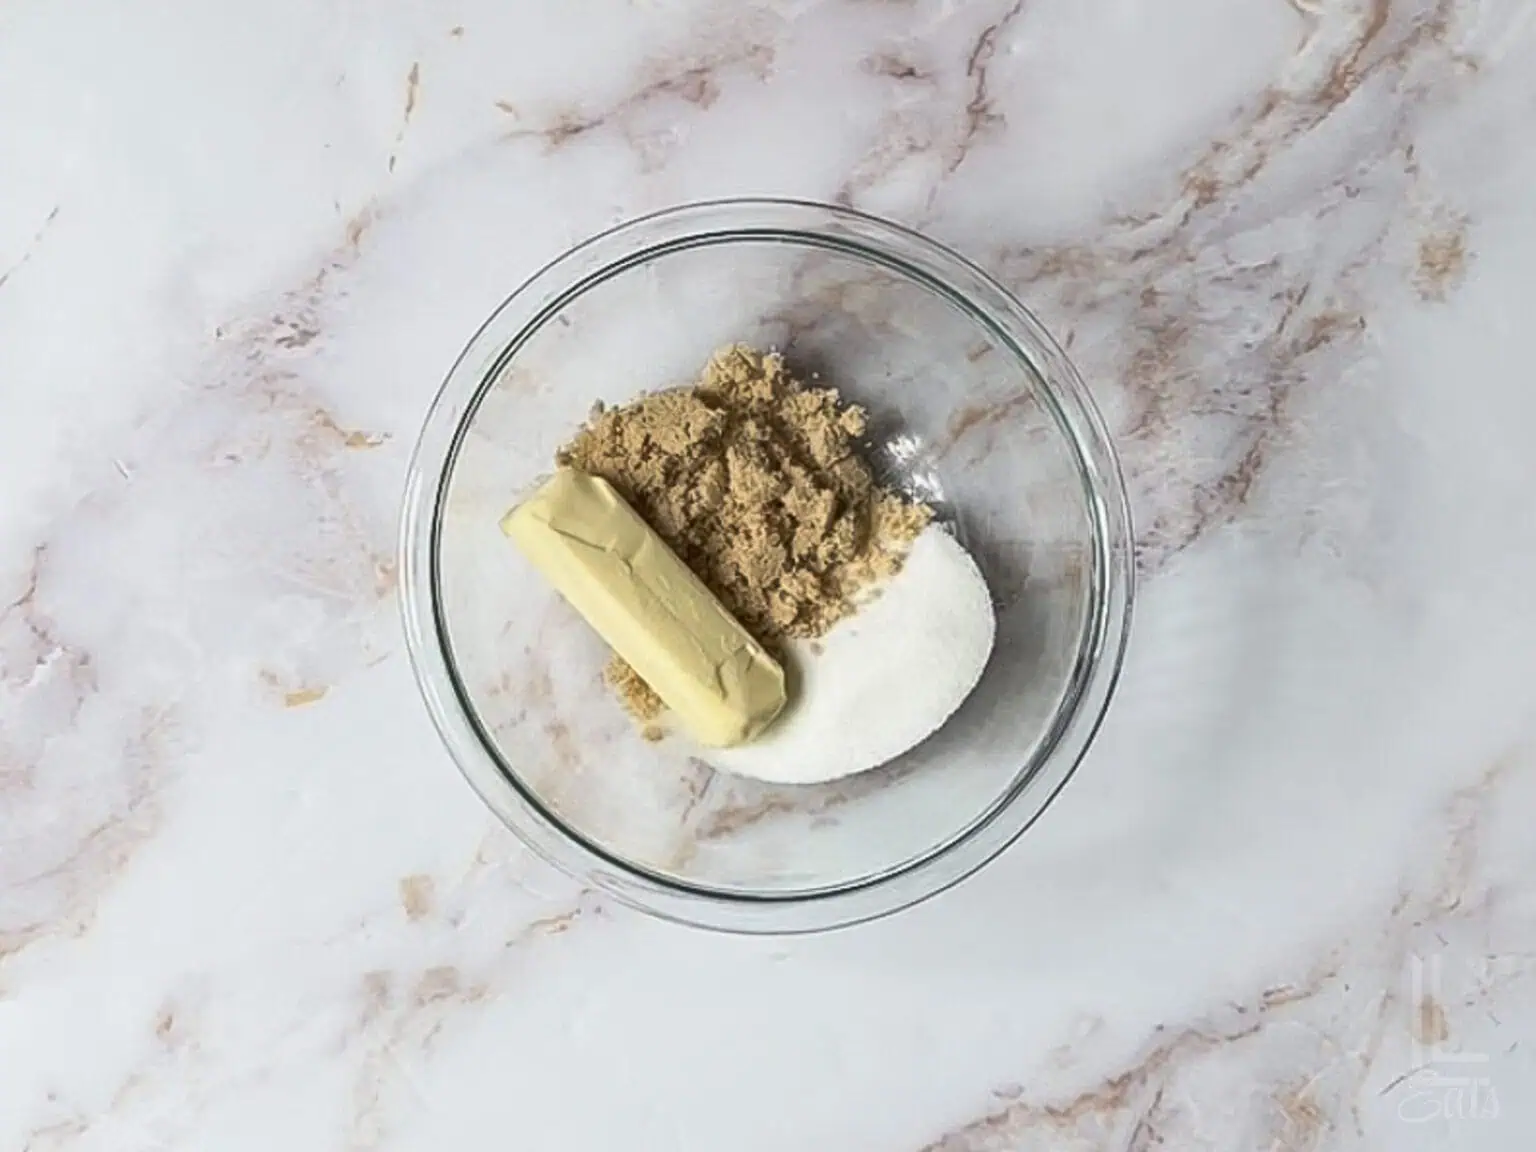
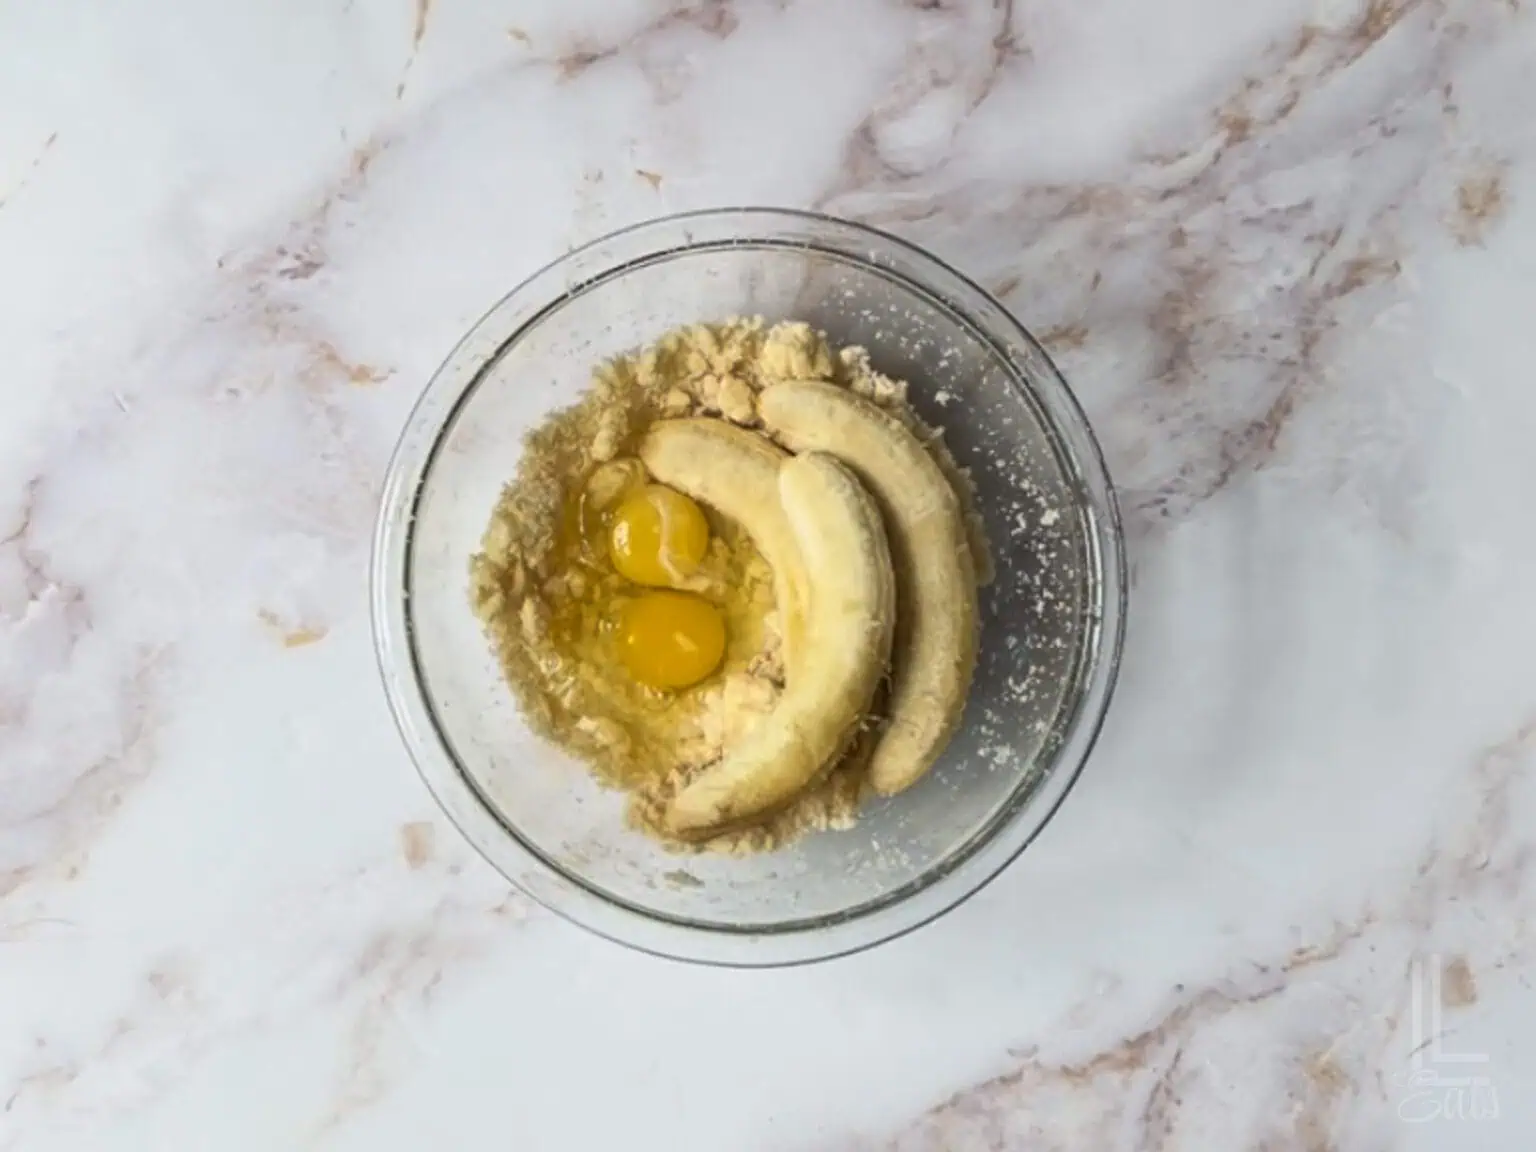
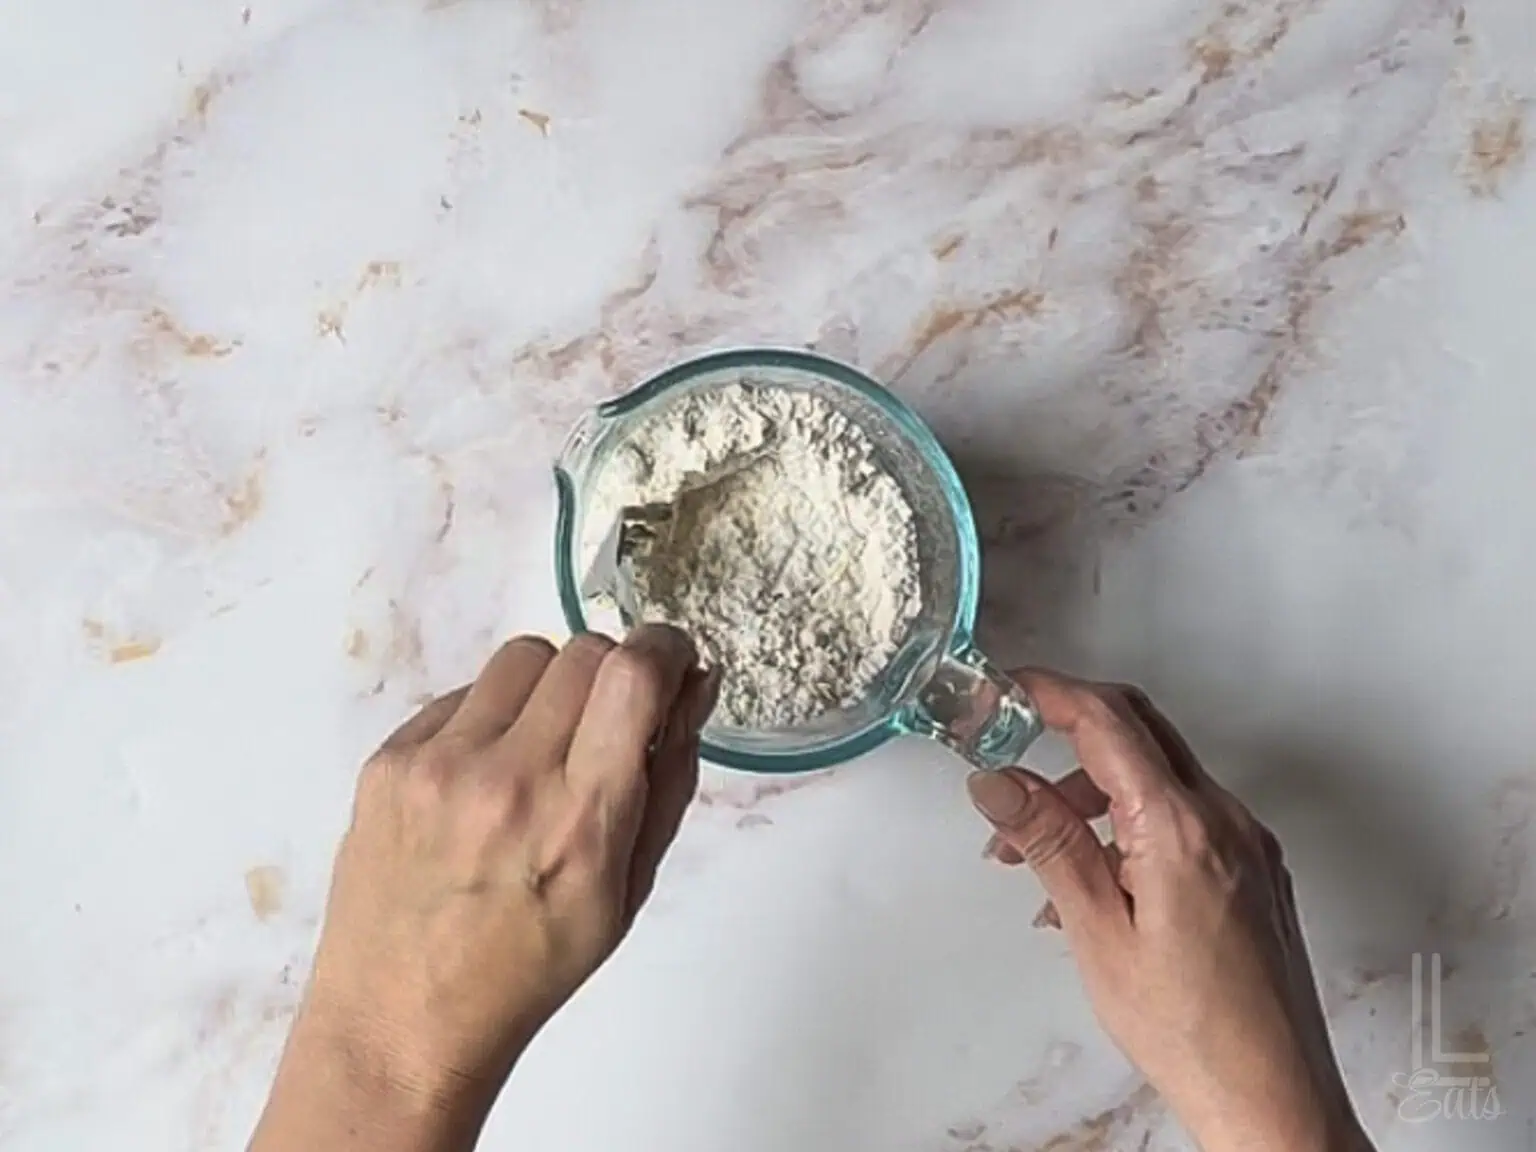
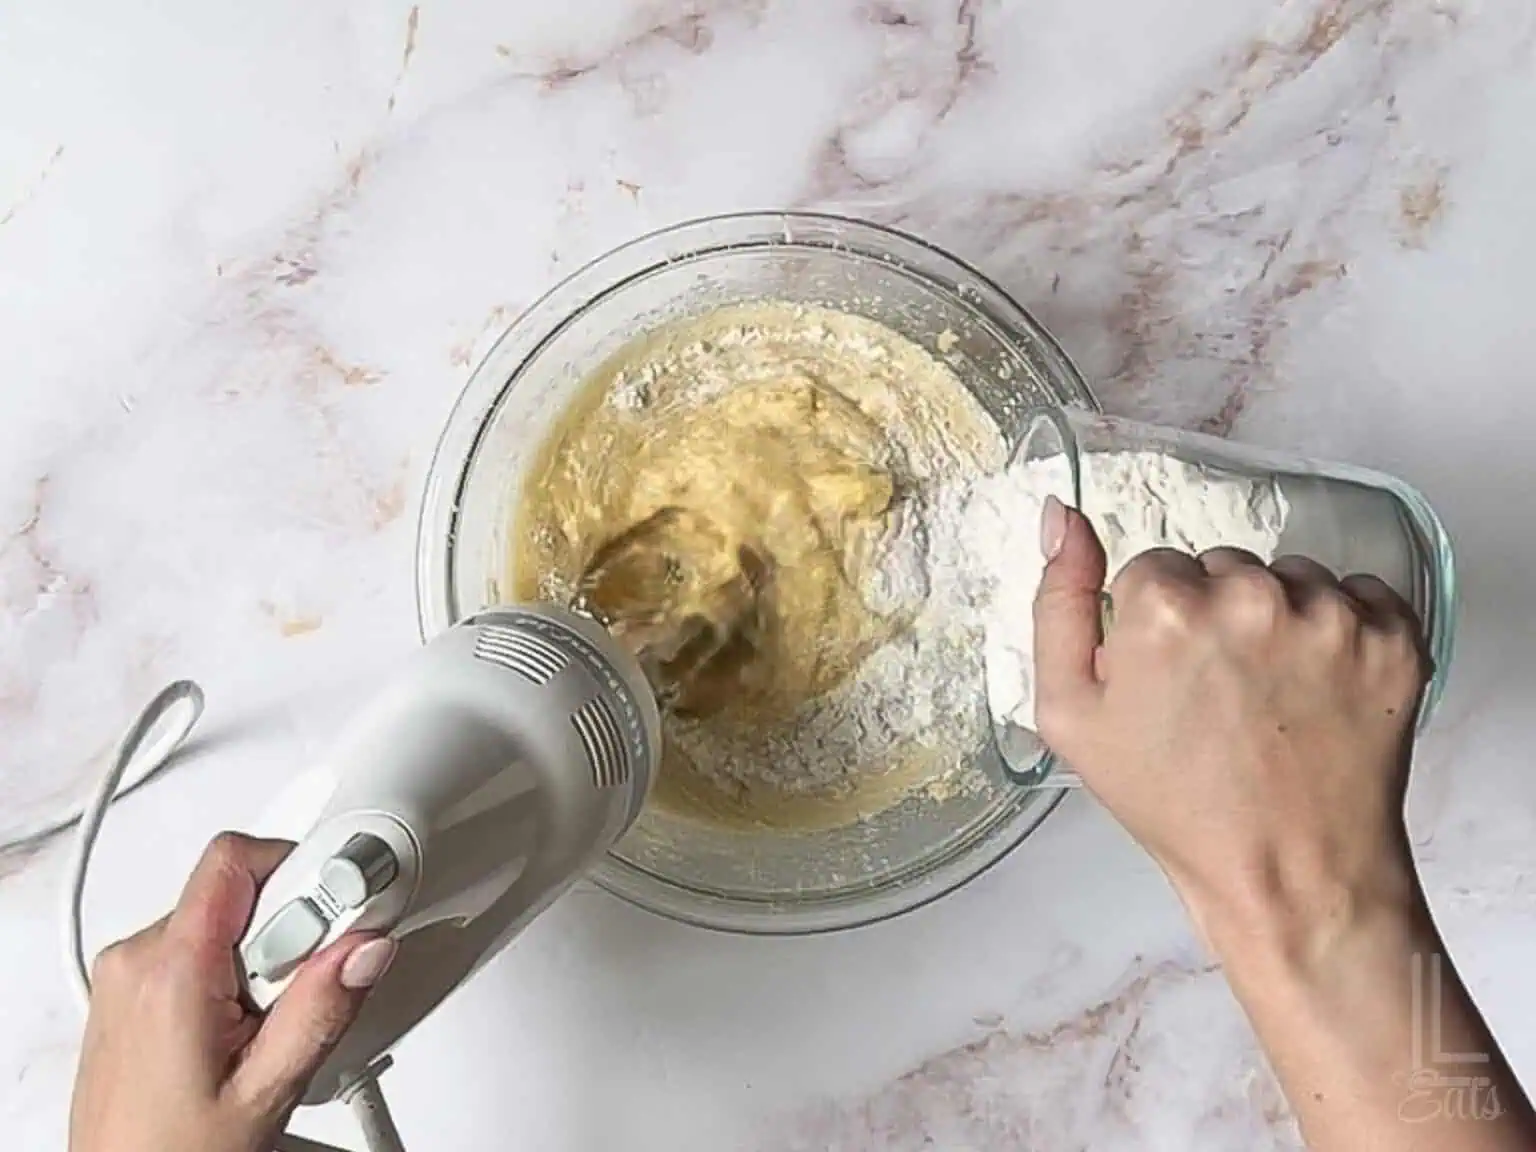
- Cream the butter and sugars. Start by blending your room-temperature butter with the white and brown sugars using a hand mixer. Give it a good 1-2 minutes until the mixture looks fluffy and creamy. This is the base for the whole loaf, so don't skip the extra minute of mixing...blending it for at least a minute adds air to the mixture, making the whole batter nice and fluffy.
- Mix in the other wet ingredients. Add your eggs, whole milk, vanilla, and those very overripe bananas. Blend everything together until it's smooth.
- Prep the dry ingredients separately. In a different bowl, whisk together your flour and baking soda. It might seem like an extra dish to wash, but mixing them first ensures the baking soda is evenly distributed so the bread rises perfectly.
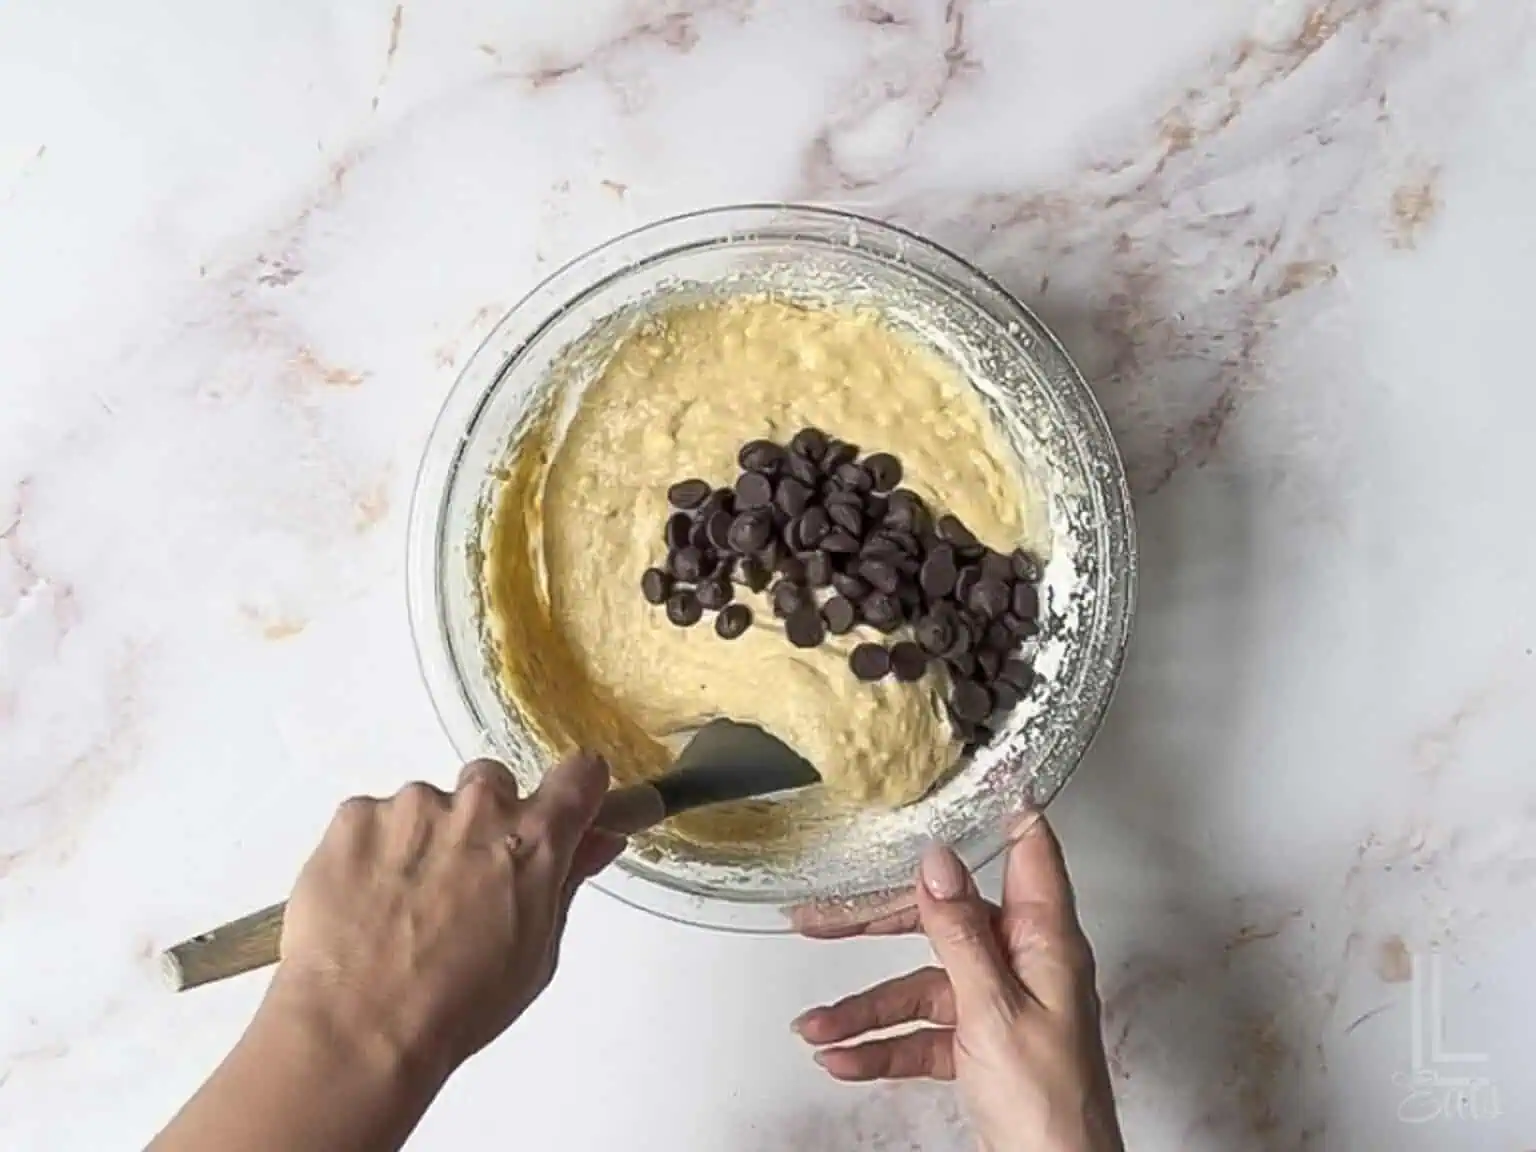
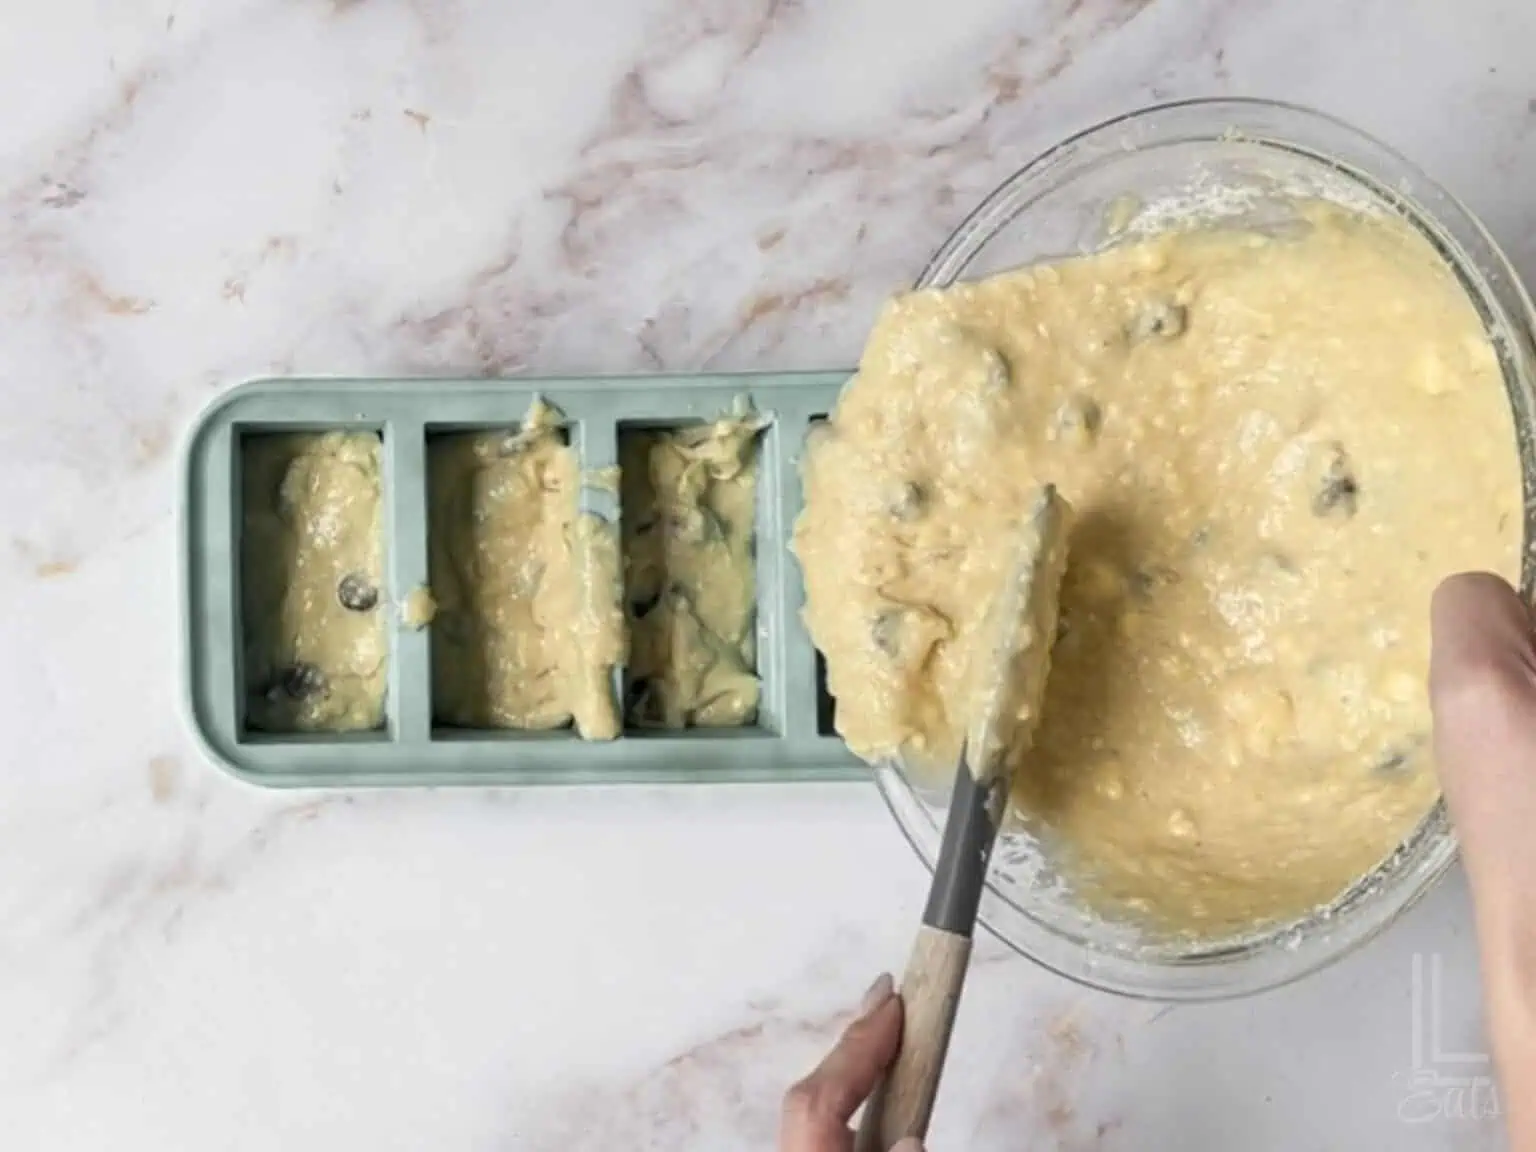
- The gentle fold. Slowly add your flour mixture into the wet ingredients. Mix it just until the flour streaks disappear, then stop. Use a spatula to fold in the chocolate chips by hand. You want to be gentle here so the bread stays tender.
- Bake low and slow. Pour the batter into your loaf pan and bake at 325°F for a full hour. The lower temperature is the secret to getting those dark, caramelized edges and a top that is a deep golden brown without drying out the middle.
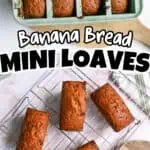
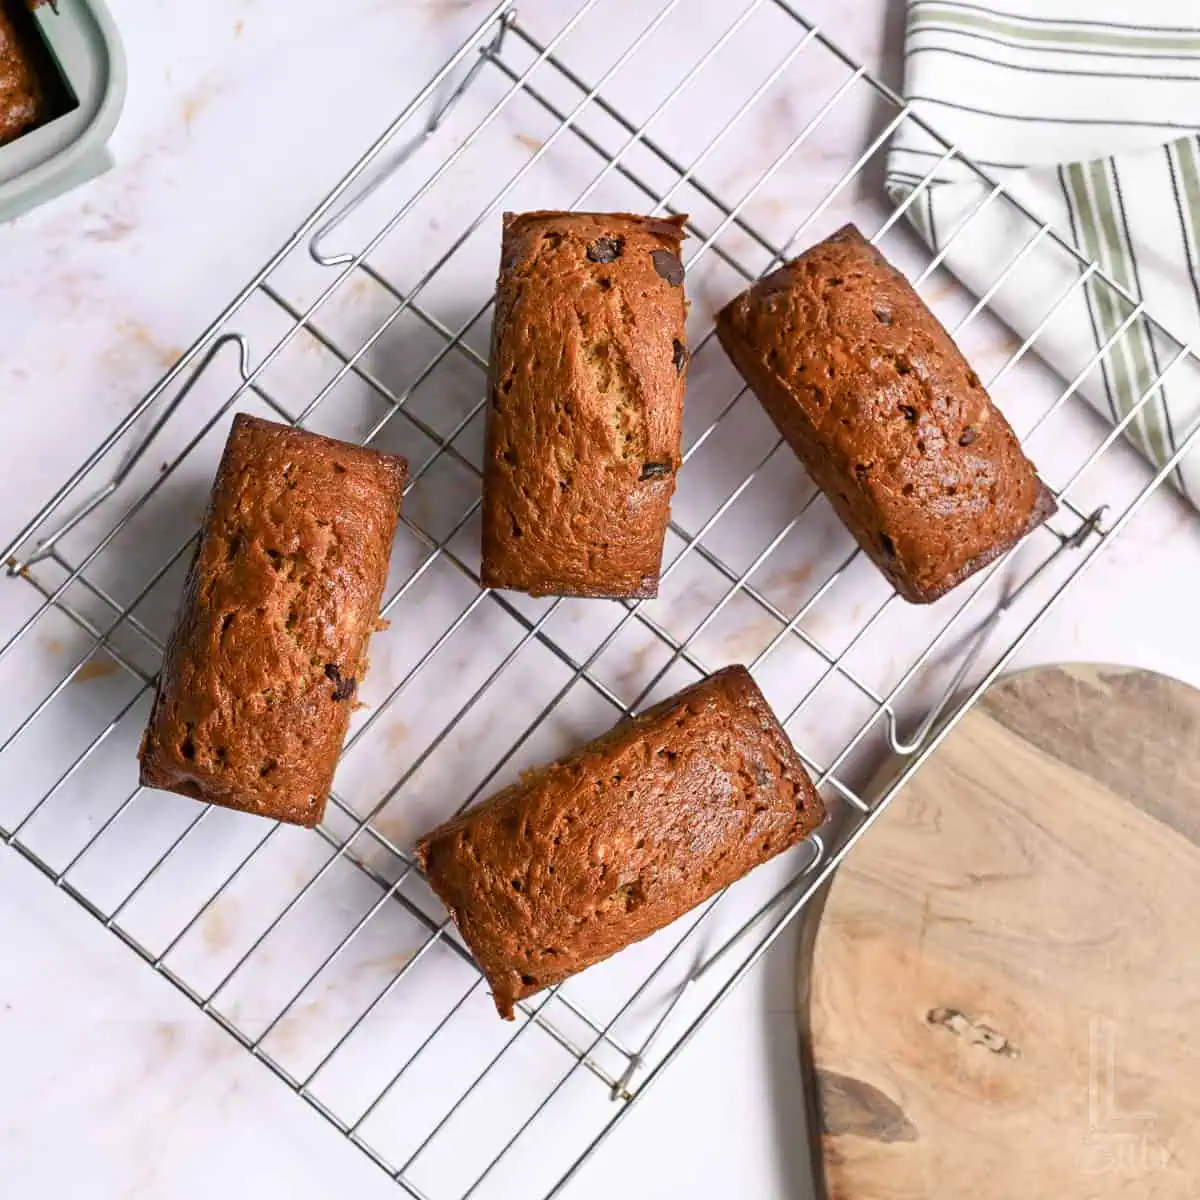
- Tip: Make mini loaves. This is my preferred way to bake this banana bread - it makes for much more crust so each piece has lots of that yummy, caramelized outside! I use Souper Cubes to bake banana bread (that's why my loaves look a little smaller in the pictures). This recipe bakes roughly 6 of these mini loaves. (Of course, it's fine to make it in a regular loaf pan too - no need to adjust cook time!)
- Let it rest. This is the hardest part, but let the loaf sit in the pan for 15-20 minutes before you slice it. It needs that time to set so you get clean slices that don't fall apart.
Leftovers & Storage
Leftovers: I prefer to store leftovers on the counter (not in the fridge, which can dry it out) - I'd recommend enjoying this within 2-3 days of making it for best results.
Reheating: In my opinion, this is much better warm! Pop your slice of banana bread with chocolate chips in a toaster oven or air fryer for 3-5 minutes before enjoying it.
Freezing: This is actually my son's favorite way to eat this bread! Just slice your banana bread loaf and place the slices on a lined cookie sheet in the freezer. Once they're frozen, transfer to a gallon-sized plastic bag. You can either enjoy them frozen or pop the frozen slices in an air fryer for a few minutes to make it toasty & gooey again.
Leslie's Helpful Tips & Tricks
- Wait for the spots. Skip the pretty yellow bananas - you want them kind of ugly and covered in black spots. They're sweeter and juicier, which gives you that rich texture.
- Spoon and level. Scooping directly into the flour bag packs too much in, making the bread dry. Instead, spoon flour into the cup and level it with a knife to keep it perfectly dense, not tough.
- Don't over-mix. Once dry ingredients hit the wet, ditch the hand mixer. Fold with a spatula just until the flour streaks disappear so you don't lose that soft, tender crumb.
- Tent with foil. Since it bakes for an hour, the top can over-brown. If the crust looks deep brown around 45 minutes, loosely drape foil over the top for the remaining time.
- The toothpick test. Ovens can vary, so check it at 55 minutes. A toothpick in the center should have a couple of moist crumbs. Totally clean means it's overbaked; wet batter means it needs five more minutes.
- Let it sit. Believe it or not, this bread tastes better the next day. Letting it sit overnight on the counter lets the flavors meld into an even better texture!
FAQs & Troubleshooting


I hope you love one of our family favorites! 🍌 If you give this recipe a try, I'd love to hear your thoughts - just rate and review it in the comments below!
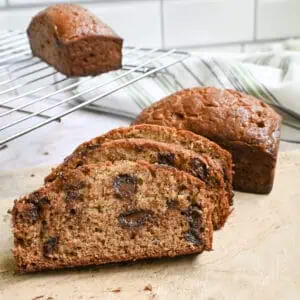
Chocolate Chip Banana Bread
Ingredients
- ⅔ cup granulated sugar
- ⅔ cup brown sugar
- 1 stick butter (room temperature)
- ¼ cup milk
- 2 large eggs
- 2 teaspoon vanilla extract
- 3 over-ripe bananas
- 2 cups all-purpose flour
- 1 teaspoon baking soda
- ⅔ cup semi-sweet chocolate chips
Instructions
- In a large mixing bowl, add the white sugar, brown sugar, and butter. Use a hand mixer to blend for 1-2 minutes, until fluffy and creamy.
- Add eggs, milk, vanilla extract, and bananas. Blend until incorporated.
- In a separate bowl, combine flour and baking soda. Add this mixture into the wet ingredients and blend until just mixed in.
- Add chocolate chips and fold in by hand.
- Bake at 325℉ for one hour, until tops of banana bread are golden brown. Allow to cool in the pan for 15-20 minutes before slicing and serving.
Notes
- Banana Ripeness: Use "ugly," black-spotted bananas or frozen bananas that have been thawed.
- The 325°F Secret: This lower temp is key. It creates the caramelized, crunchy exterior without overbaking the middle during the 60-minute bake.
- Measuring Flour: Use the "spoon and level" method. (Spoon into a measure cup, then level with a butter knife.) Packing flour into the cup is the #1 reason for a dry, tough loaf.
- Butter Temp: Butter should be soft enough to leave an indent but not melted.
- Avoid Over-mixing: Once the flour is in, mix only until the streaks disappear.
- Tenting: If the top is browning too fast at 45 minutes, loosely tent with foil to protect the crust while the center finishes.
- The Wait: After baking, let it rest in the pan for 20 minutes to prevent crumbly slices.
Nutrition Facts

Leslie Lambert is a lifestyle writer and content creator specializing in home organization, family recipes, and intentional living. With 17 years of experience in blogging and digital storytelling, she helps busy women create calm, purposeful homes they love.