
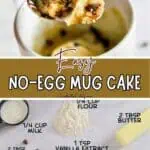
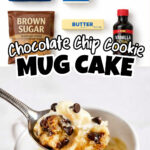
This easy chocolate chip mug cake is the perfect single-serve dessert! Ready in 1 minute, no eggs required, and uses pantry staples.
Paid links used in this post. Read more about my link usage policies.
Why You'll Love This Recipe

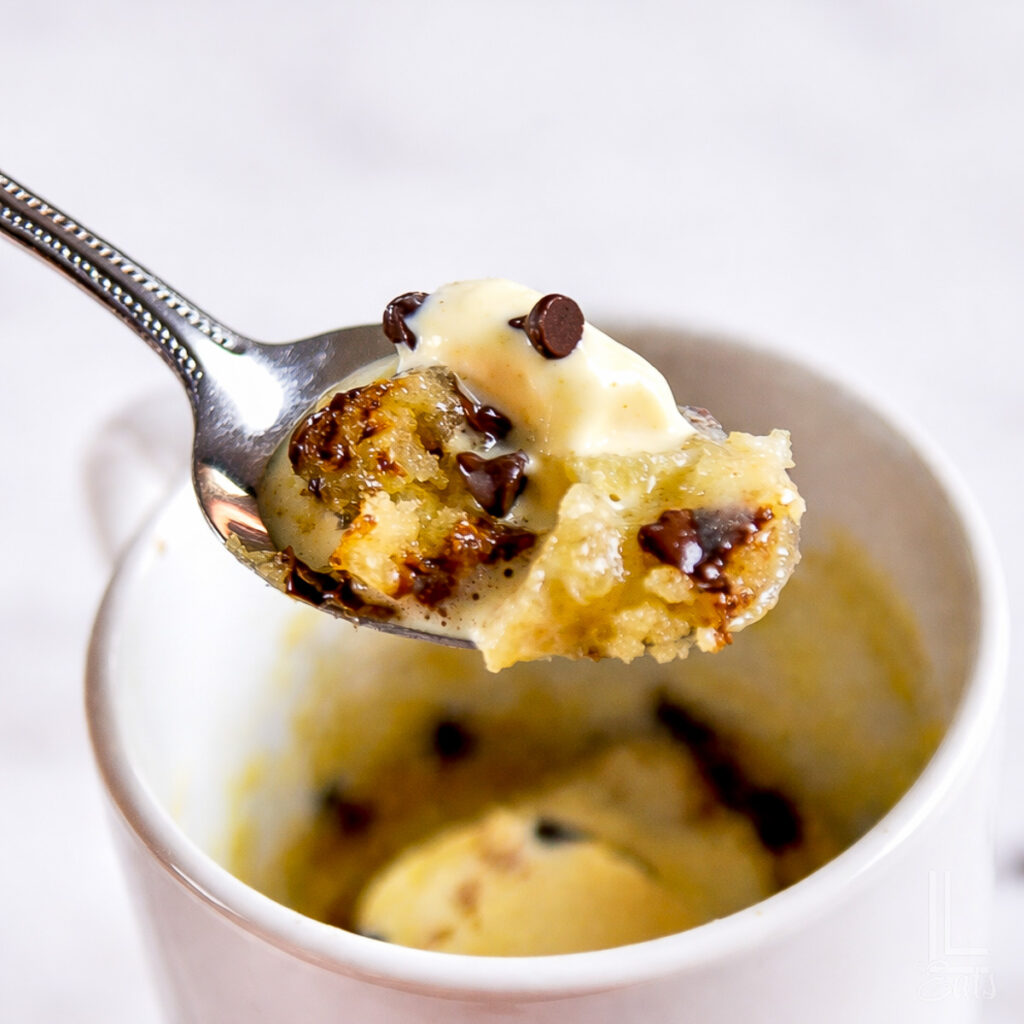
One of my favorite desserts on earth is a warm chocolate chip cookie topped with melting vanilla ice cream. You get that perfect contrast of warm and cold, gooey and creamy. But let's be real here - I'm way too lazy to bake a full batch of my peanut butter chocolate chip cookies every time a late-night craving hits! 😂
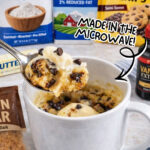
That's why this chocolate chip mug cake is my go-to "emergency" dessert. It's essentially a single-serve cookie in cake form, made right in the microwave (much like my favorite Oreo mug cake!). This recipe is specifically designed to be a no-egg mug cake, which means you don't have to worry about a weird, rubbery texture or wasting a whole egg for just one serving.
Keep this recipe in your back pocket for those late-night cravings - it comes in so handy. I hope you love it!

Ingredient Notes

(See recipe card at the bottom of the post for exact ingredient measurements.)
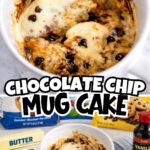
- Melted Salted Butter: I'm a big believer that salted butter is the secret to a professional-tasting dessert. Weirdly, it brings out the sweetness in the brown sugar and makes the chocolate pop. Just melt it right in your mug first!
- Vanilla Extract: Don't skip the vanilla! It's what gives this that "bakery-fresh" smell, even if we are just using a microwave.
- Whole Milk: I highly recommend going with whole milk here to make your cake nice and rich. If you're dairy-free, oat milk is my favorite substitute to keep things from getting dry.
- All-Purpose Flour: This is where most mug cakes go wrong! Make sure you use the "spoon and level" method to measure. Instead of scooping the flour directly with your measuring cup (which packs it down and makes the cake dry and bready), use a large spoon to gently fluff the flour and then scoop it into your measuring cup until it's overflowing. Use the back of a butter knife to level off the top. This keeps the flour light and airy! (And definitely stick to all-purpose - self-rising flour won't bake correctly here.)
- Packed Brown Sugar: Whether you have light or dark on hand, brown sugar is the MVP. It brings out that buttery, comforting taste that plain white sugar just can't match.
- Chocolate Chips: It's completely up to you what kind you use! Go with milk chocolate for a sweeter treat or semi-sweet for a richer bite. I love to save a few extra to sprinkle on top after cooking for that perfect melty look. 📸
Easy Ingredient Variations & Mix-Ins
Just like any chocolate chip cookie, there are a million ways to customize this mug cake to hit whatever craving you're having. Don't be afraid to play around with what's in your pantry!
- Make it Peanut Butter: Swap the regular butter for 2 tablespoons of creamy peanut butter. It makes the cake extra rich and pair perfectly with the chocolate chips.
- Double the Chocolate: If you're a true chocoholic, stir in ½ tablespoon of unsweetened cocoa powder. It turns this into a decadent double-chocolate mug cake in seconds.
- Switch Up the Chips: Not a fan of semi-sweet? Use butterscotch or white chocolate chips instead. It creates a much more mellow mug cake. (Say that five times fast 😉)
- Add a Crunch: A spoonful of chopped walnuts or pecans adds a great texture if you like a little "crunch" with your gooey cake.
Love chocolate chip cookies? 🍪 You'll also want to try these banana chocolate chip cookies, or my chocolate chip brownie cookies!
How to Make a Chocolate Chip Mug Cake

- Whisk Your Liquids First: In a microwave-safe mug (10-12 oz is best!), combine your melted butter, vanilla, and milk. Whisk these together until smooth. Starting with the wet ingredients prevents dry flour "clumps" from getting stuck in the bottom corners of the mug.
- Add Your Dry Ingredients: Stir in your all-purpose flour and brown sugar. Mix until a smooth batter forms with no dry pockets. Remember to use that "spoon and level" trick for the flour so your cake stays light and fluffy!
- Fold in the Chocolate Chips: Gently fold in your chocolate chips, making sure they're evenly distributed. I like to push a few toward the center so they create little "lava pockets" of melted chocolate as the cake bakes.
- The 60-Second Microwave Rule: Place your mug in the microwave and cook on high for 60 seconds. (This is for an 1100-watt microwave - if yours has a lower power, you may need an extra 10-15 seconds.) You're looking for the top to look "set" and a little puffy.
- The Secret "Rest" Period: This is the hardest part, but let the cake sit for 1-2 minutes after it comes out! The "carry-over" heat finishes the cooking process and allows the texture to set from a liquid batter into a soft, gooey cake.
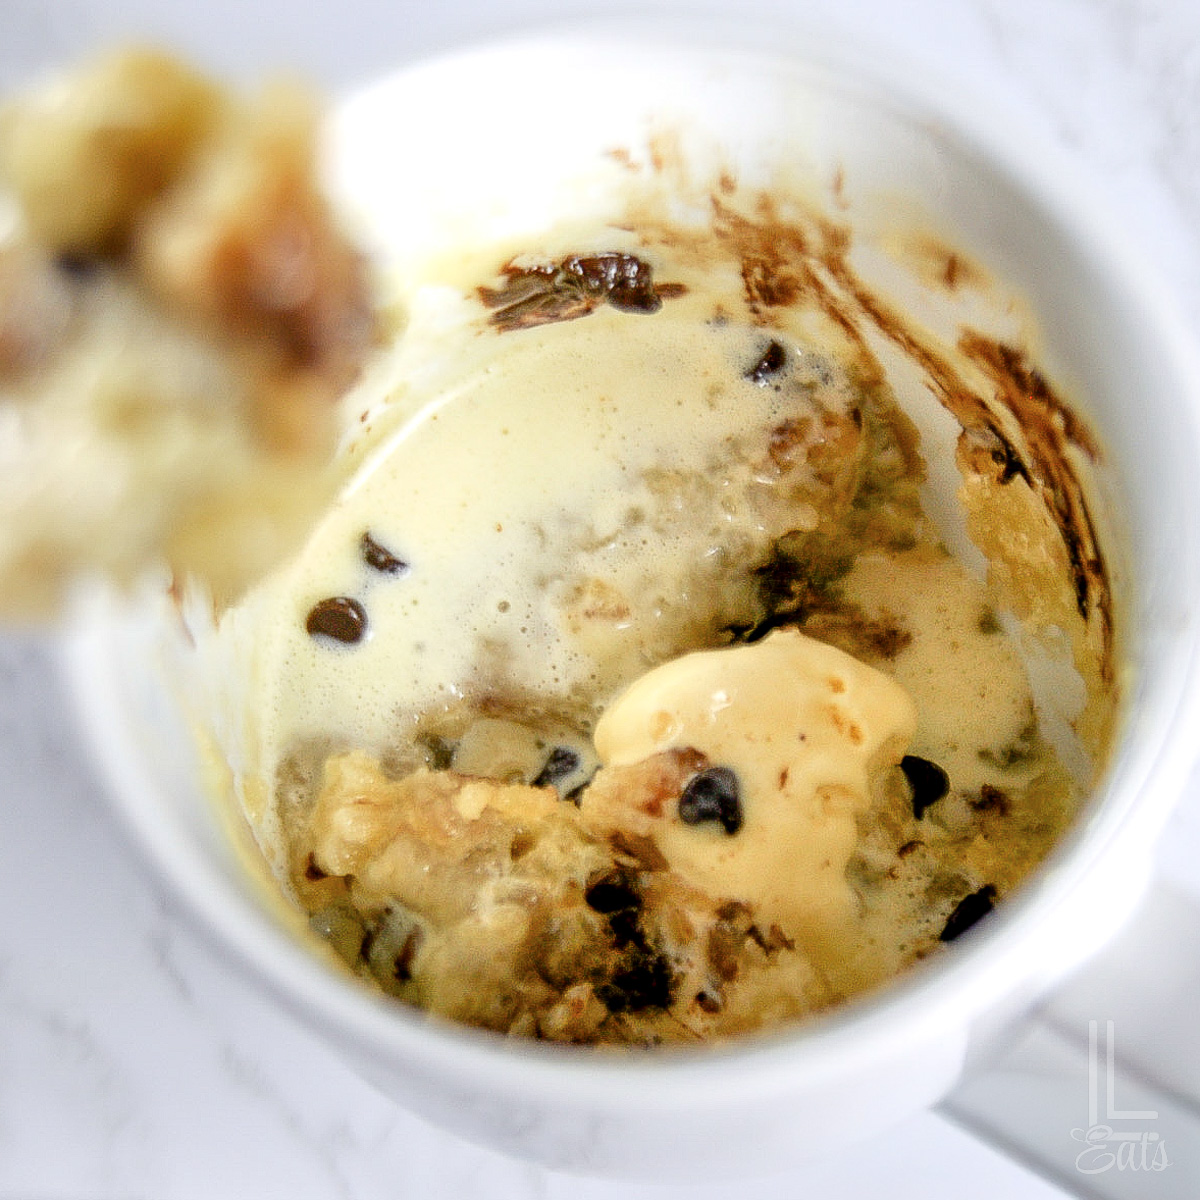
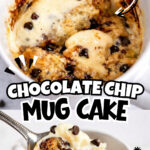
- Top and Serve: While it's still warm, top it with a scoop of vanilla ice cream or a few extra chocolate chips. The way the ice cream melts into the warm cake is seriously heaven on a spoon!
Step-by-Step Recipe Video
Leslie's Helpful Tips and Tricks
- Know Your Microwave Wattage: My cook time is based on an 1100-watt microwave. If yours is a lower wattage (like a dorm or apartment microwave), you might need an extra 10-15 seconds. If it's higher, start checking it at the 50-second mark!
- Don't Overcook It: This is the #1 mistake! The cake will look a little "wet" in the very center when you pull it out - that's totally ok. It will finish setting during the 2-minute rest. If you cook it until it looks bone-dry, it will turn rubbery as it cools.
- Fluffy vs. Fudgy: For a more traditional, fluffy cake texture, stir in ½ teaspoon of baking powder with your flour. If you prefer more of a dense, brownie-like texture, skip the baking powder and take 10 seconds off the total cook time.
- Measure Your Flour Correctly: I can't say it enough - use the "spoon and level" method! If you scoop your measuring cup directly out of the flour bag, you'll pack the flour down and end up with a dry, crumbly cake. Instead, use a spoon to lightly fluff the flour and scoop it with that spoon into your measuring cup until it's overflowing. Then, use the flat back of a butter knife to level off the top. This keeps the flour light and airy so your mug cake stays soft and moist!
- The Salt Factor: If you don't have salted butter on hand, just add a small pinch of table salt to your batter before cooking. It balances the sugar and makes the chocolate taste way better.
- Prep Ahead: You can actually mix the batter up to 24 hours in advance! Just store it in the fridge (covered) and pop it in the microwave when that late-night craving hits.
- Enjoy It Fresh: Mug cakes are meant to be eaten within 20-30 minutes. Because they are cooked so fast, they don't have the preservatives or fats of a standard cake to keep them soft for days. Leftovers will get tough, so treat yourself and eat it while it's warm!
FAQs & Troubleshooting


Hope you love this one, guys! Let me know what you think with a rating ⭐️ or comment 💭 below. You can also follow along to get my latest recipes via email!

Chocolate Chip Mug Cake
Ingredients
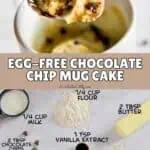
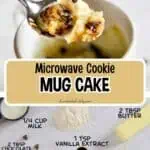
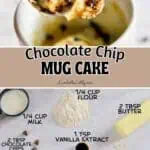
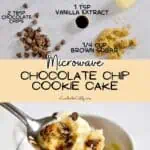
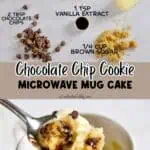
- 2 tablespoon salted butter melted
- ¼ cup all-purpose flour
- ¼ cup brown sugar
- 1 teaspoon vanilla extract
- ¼ cup milk
- 2 tablespoon chocolate chips
Instructions
- Whisk together the melted butter, vanilla, and milk in a 10-12 oz microwave-safe mug until smooth. Mixing the wet ingredients first is the best way to prevent dry flour clumps from getting stuck in the bottom corners of the mug!
- Stir in the all-purpose flour and brown sugar. Mix until a smooth batter forms with no dry pockets. Use the "spoon and level" method to measure your flour (gently spoon the flour into your measuring cup until overflowing, then level it off with the back of a knife) to ensure your cake stays light and fluffy instead of dense and bready.
- Gently fold in the chocolate chips until they are evenly distributed. I like to push a few toward the center of the batter so they create gooey "lava pockets" of melted chocolate while it bakes.
- Microwave on high for 60 seconds (this is for an 1100-watt microwave). If yours has lower power, you may need an extra 10-15 seconds. You are looking for the top to look "set" and slightly puffy.
- Let the mug sit for 1-2 minutes after it comes out! This is the hardest part, but that "carry-over" cooking is the secret to a soft, gooey texture rather than a liquid batter.
- While it's still warm, top your mug cake with a scoop of vanilla ice cream or a few extra chocolate chips and enjoy!
Notes
- Don't Overcook: Pull the mug out when the center still looks slightly "damp." It will finish setting during the rest period; overcooking leads to a rubbery texture.
- Watch the Wattage: This was tested in an 1100-watt microwave. Adjust by +/- 10-15 seconds if your microwave is lower or higher power.
- Use a Large Mug: Stick to a 10-12 oz mug to prevent the batter from overflowing during the bake.
- The 2-Minute Rest: Let the cake sit for 2 minutes after microwaving. This "carry-over" cooking is what creates the perfect soft, gooey crumb.
- Eat It Fresh: Mug cakes are best enjoyed within 20-30 minutes. They don't store well and will get tough if left out too long!
Nutrition Facts

Leslie Lambert is a lifestyle writer and content creator specializing in home organization, family recipes, and intentional living. With 17 years of experience in blogging and digital storytelling, she helps busy women create calm, purposeful homes they love.


Pretty great for an ultra quick fix (altogether less than 6 minutes for this very amateur baker), but I prefer some of the recipes that included egg as well as ones that included both granulated and brown sugar.
i did the base cookie with no baking powder to see how it would turn out, it was terrible. more like a mug pudding.
This did not work for me. Turned out all runny and goopy. More like chocolate chip soup. All the flour clumped into little balls. Mess. Had to throw away.
I would not recommend this recipe, the consistency was like a under-done half baked cookie. I tried the recipe without the baking powder, but I think that probably would have helped.
Tasted pretty good. Took me awhile to mix in clumps of flour. When I took it out of the microwave there were no chocolate chips! They had all melted I think. I put some in after and mixed it up while it was still burning hot and they got meaty and that was delicious.
Ts is treacherous.
Bad consistency, waste of ingredients