
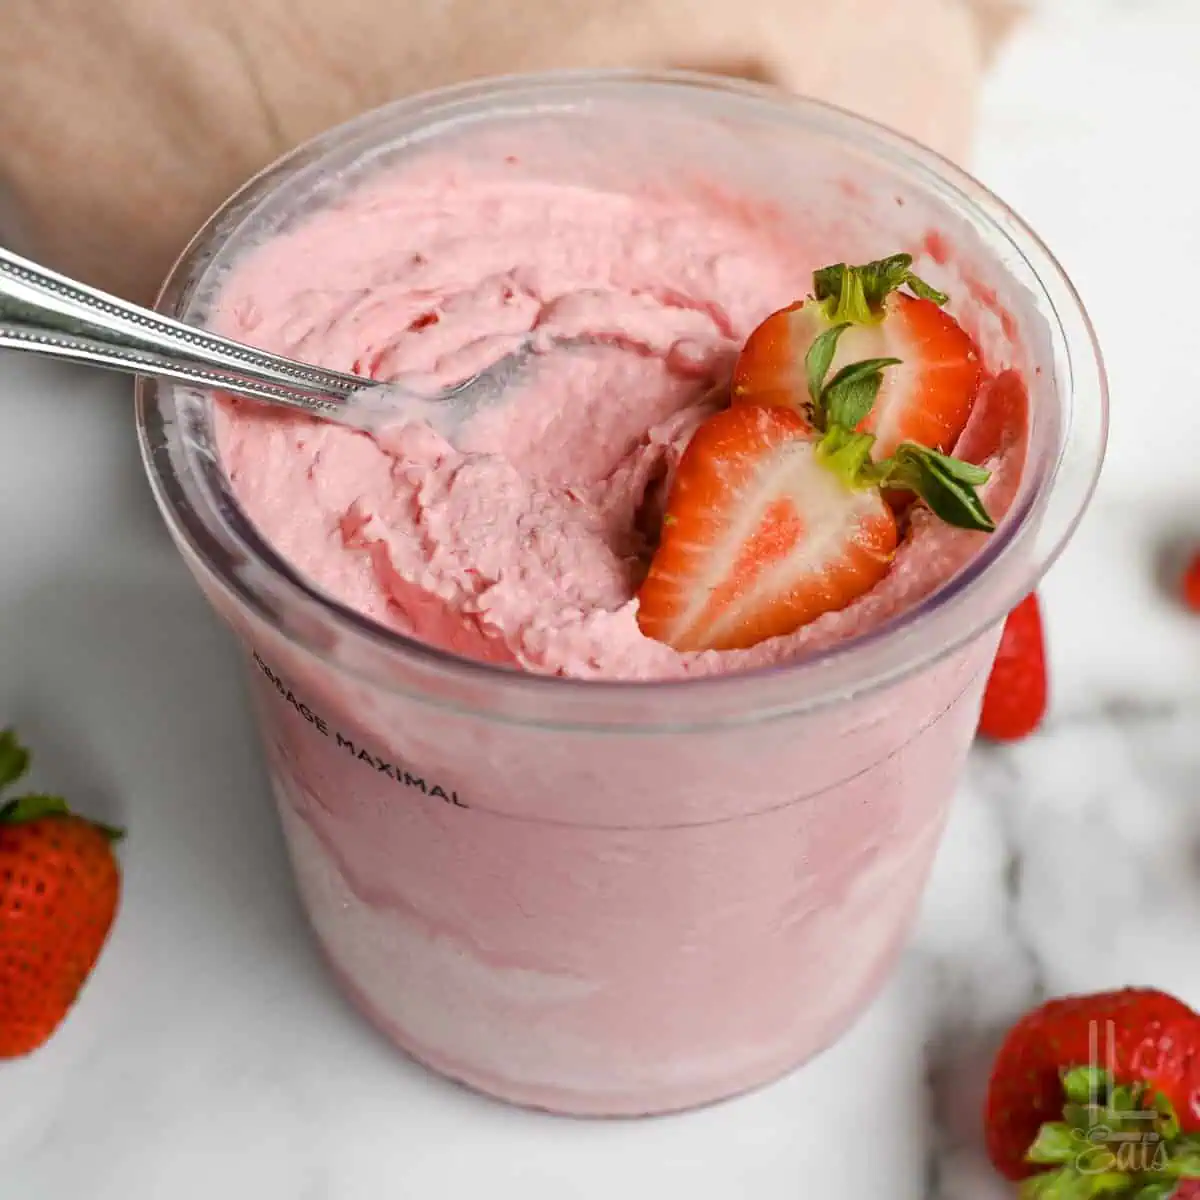
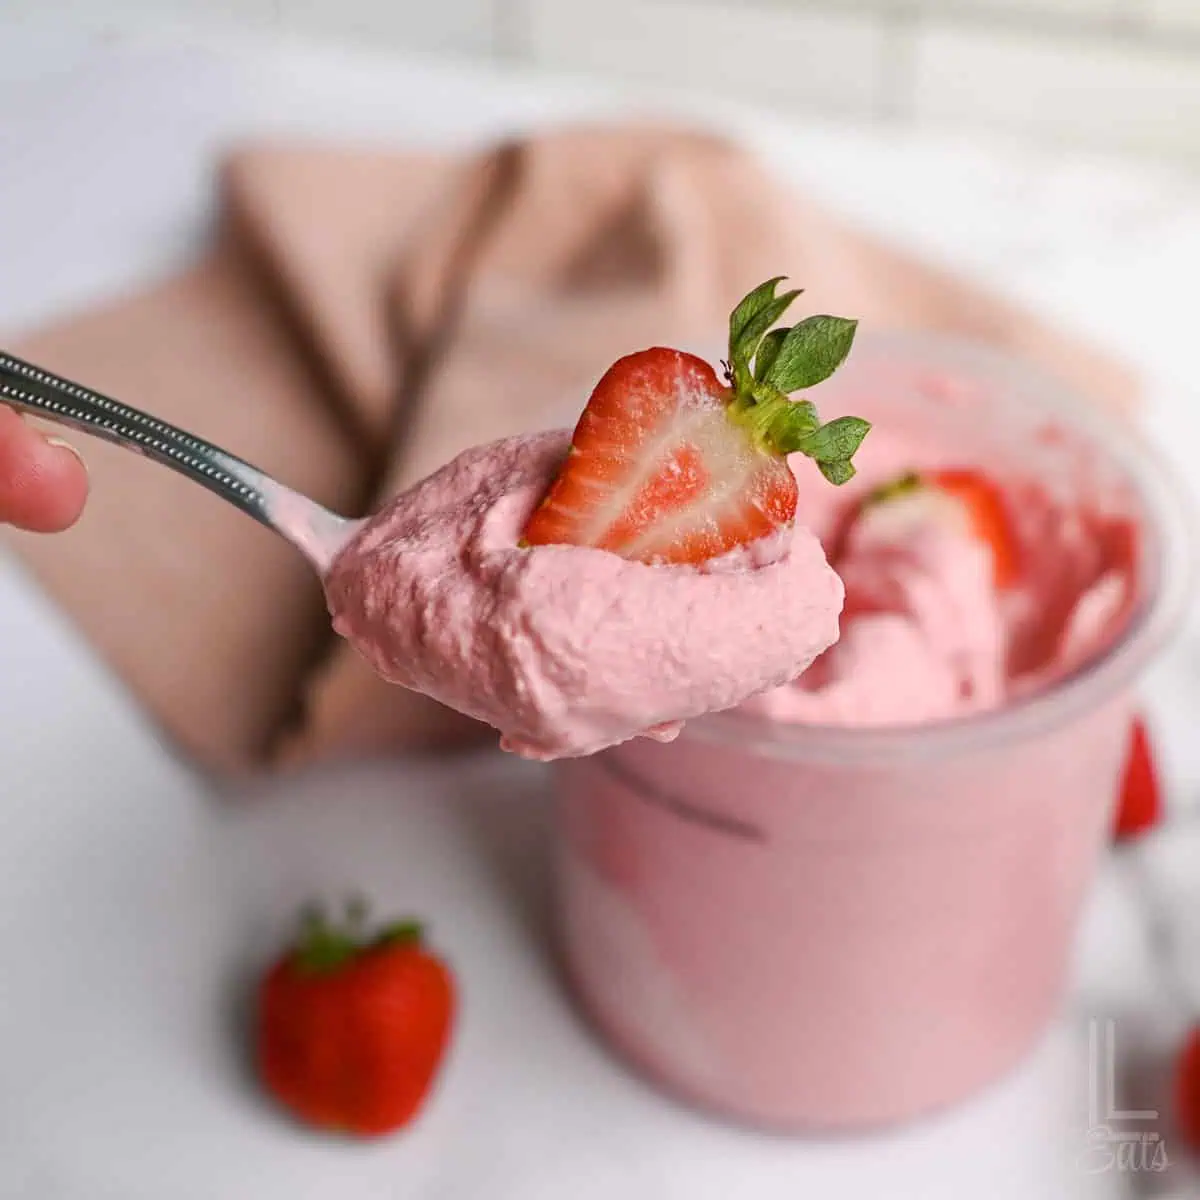
This Ninja Creami strawberry ice cream is the ultimate easy win. With just 5 ingredients (hello, frozen strawberries!) and a quick re-spin, you get a velvety, scoopable treat that's way better than anything in the freezer aisle.
Paid links used in this post. Read more about my link usage policies.
Why You'll Love This Strawberry Ice Cream

I'm back with another Ninja Creami recipe today! Just like my Mango Sorbet and Copycat Dole Whip recipes, this one's super fruity and so easy to throw in the freezer for an quick dessert (that doesn't taste quick).
If you liked making strawberry milk as a kid, this frozen treat is going to be right up your alley. It gives the same vibes, but with little bites of strawberries mixed right into the creamy base.
I hope you strawberry lovers give this frozen treat a try - I think you'll love it!

Ingredient Notes
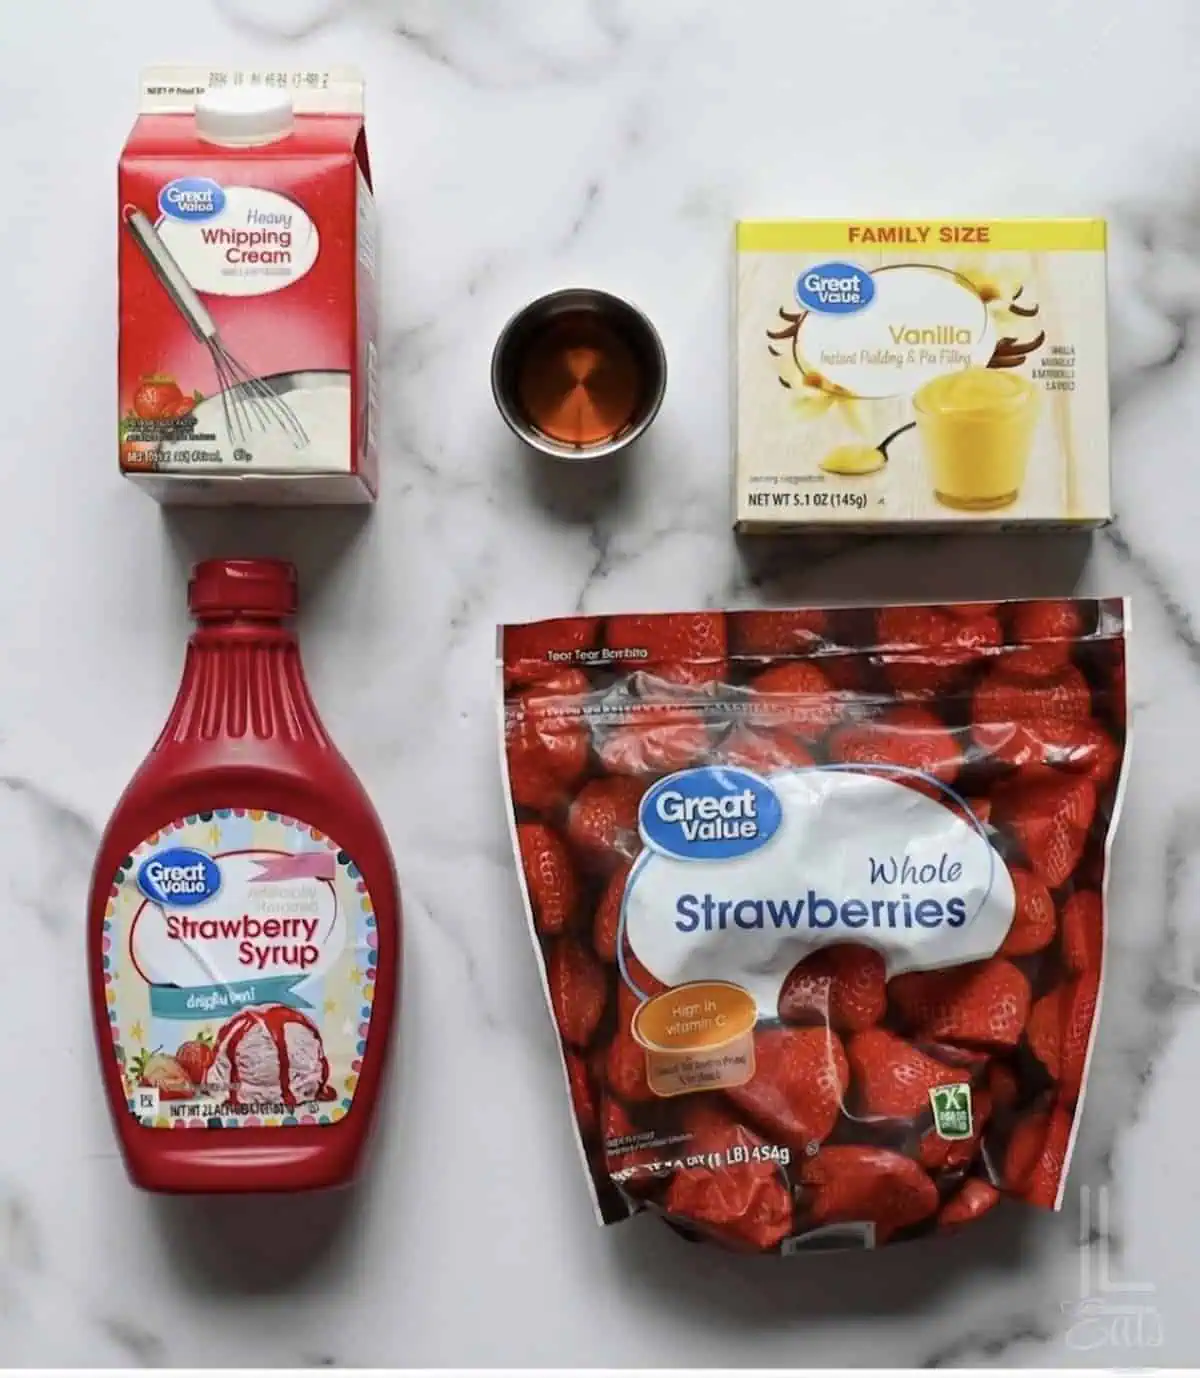
(See recipe card at the bottom of this post for the scoop - pun intended - on what you'll need.)
- Heavy Cream: If you want to cut the fat a little bit, you can use half and half - just know it won't be quite as rich and can result in more ice crystals.
- Strawberry Syrup: Adds great color and flavor without any extra prep.
- Vanilla Extract: Just a teaspoon makes a world of difference. It acts kind of like a highlighter for the strawberry flavor, making it taste more "gourmet."
- Instant Vanilla Pudding Mix: This is going to add a little bit of sweetness and make your final ice cream a little bit thicker. If you prefer a soft-serve consistency, you can leave this out.
- Frozen Strawberries: No thawing or mashing needed...just stir them straight into the base. Since they go in whole, they also add a little bit of texture to the finished ice cream.
Additions & Substitutions
- Make it "Cheesecake" Style: Reduce the heavy cream to ⅔ cup and use ¼ cup of softened cream cheese in its place. The cream cheese will give you a tangy, thicker cheesecake feel.
- Swap the Syrup: If you don't have strawberry syrup, you can use a good strawberry jam or even a little bit of honey mixed with a drop of red food coloring to keep that great pink color.
- Boost the Protein: If you're into the protein Creami trend (hint hint at what you'll see on the blog next week), you can swap the heavy cream for a vanilla protein shake. Just keep in mind it'll be a little bit more icy than creamy.
- Fun Mix-ins: After the first spin, use the "Mix-in" button to add:
- Mini chocolate chips (for a chocolate-covered strawberry vibe).
- Crushed graham crackers or vanilla wafers (great with that cheesecake version).
- A swirl of extra strawberry syrup for a "ribbon" effect.
Fresh vs. Frozen Strawberries - Which is Better?
You might think fresh is the way to go, but for this dessert, frozen strawberries are the way to go. Here's why...
- Consistent Texture: Fresh berries can vary in water content; frozen ones are more predictable.
- Vibrant Color: Frozen strawberries are deep red all the way through, which pairs great with strawberry syrup for that bright pink color. It makes your ice cream look as good as it tastes!
- Easier Blending: Since they go straight into the base, frozen berries are so much easier to work with. They blend cleanly without leaving big icy chunks.
- No Prep or Waste: No washing, hulling, or slicing - just dump and go! Plus, you don't have to worry about berries spoiling in the fridge.
Fresh strawberries do make for a pretty garnish, but frozen ones do the real work when it comes to flavor and texture!
Love Ninja Creami recipes? You'll also want to check out my Ninja Creami Protein Ice Cream, or this easy Ninja Creami Homemade Vanilla!
How to Make Ninja Creami Strawberry Ice Cream
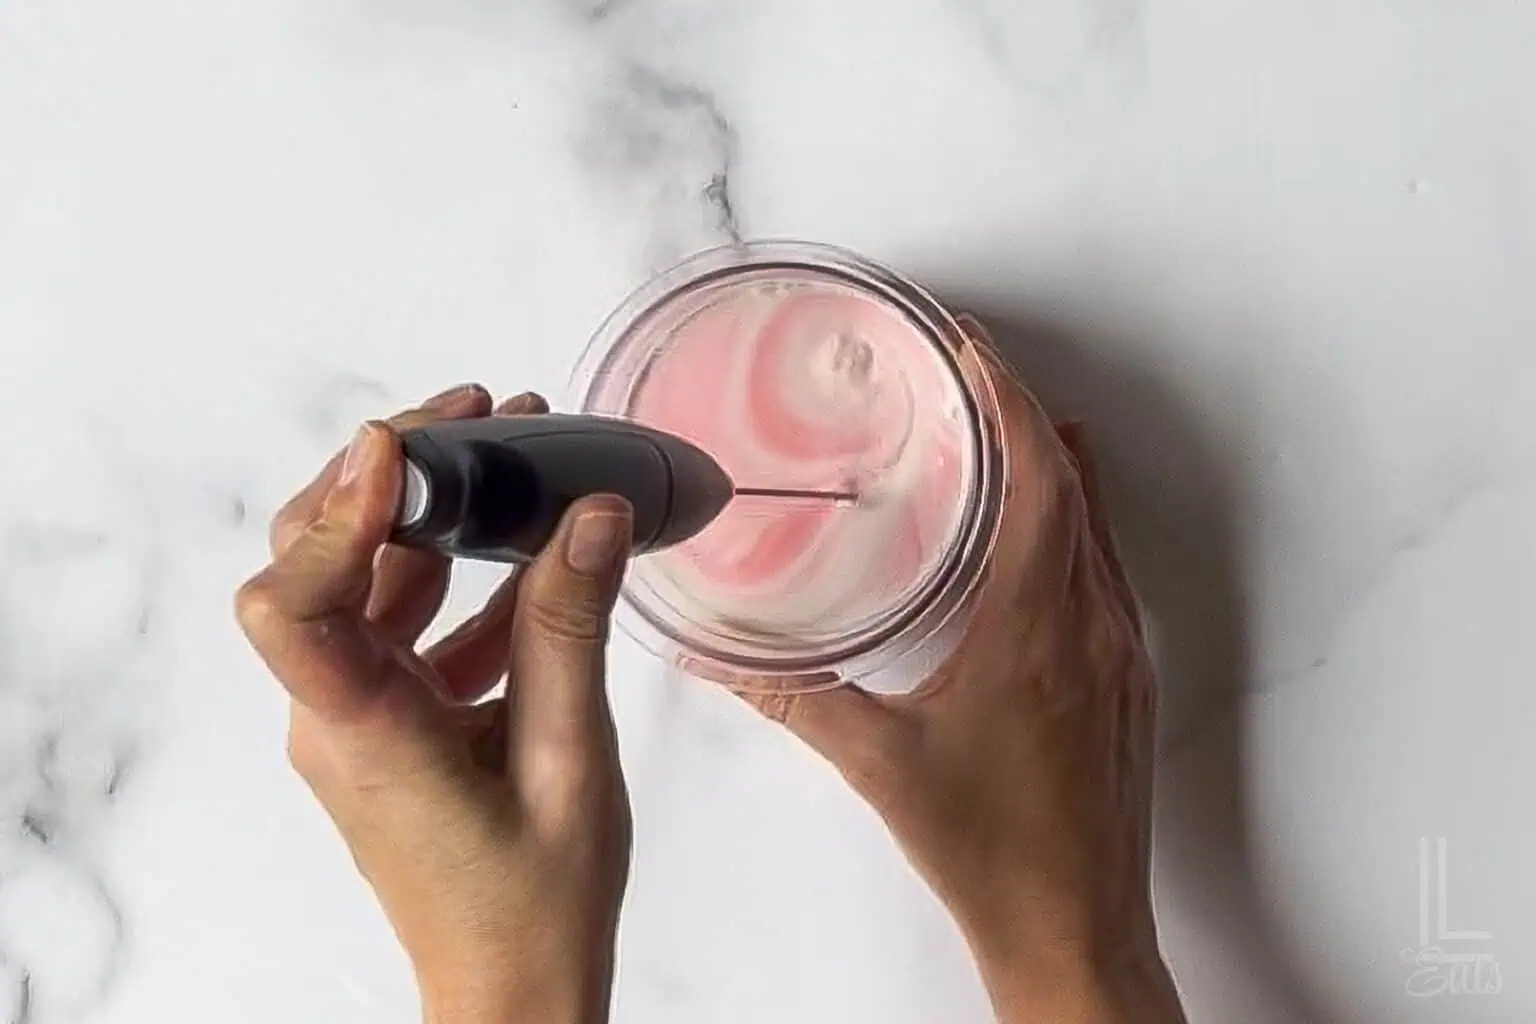
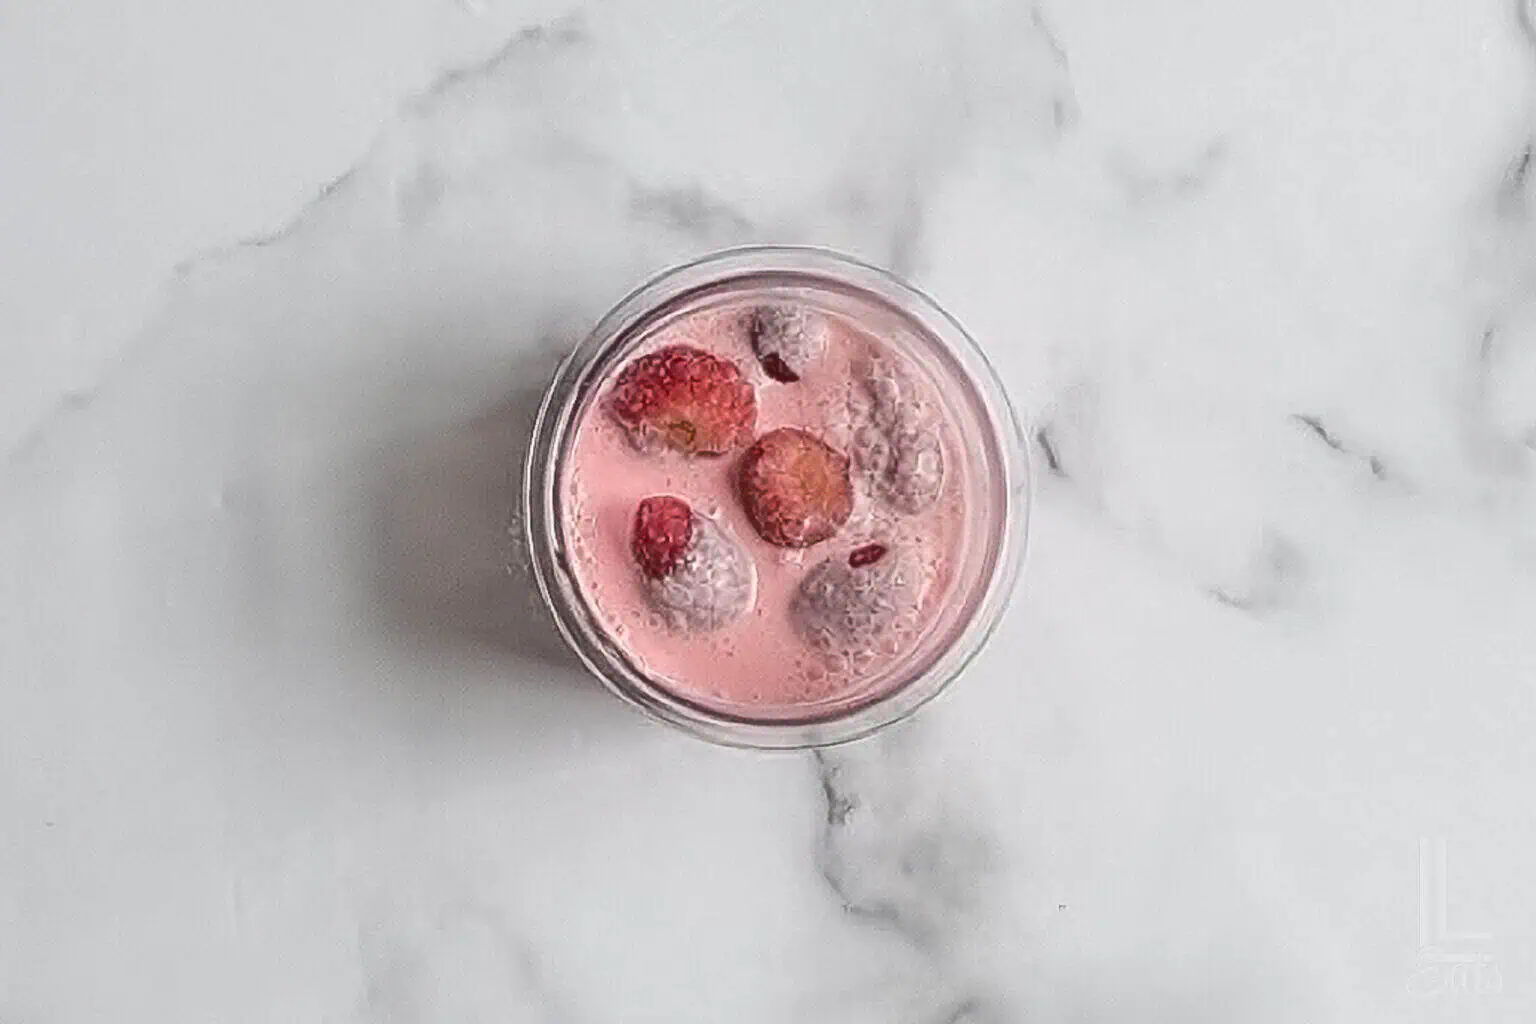
- Prep the Strawberry Base: Whisk the heavy cream, strawberry syrup, pudding mix, and vanilla right in your Creami pint. Stir this mixture well so the syrup doesn't settle at the bottom. (I like to use an inexpensive frother to blend the base really well.)
- Add Berries: Dump in frozen strawberries and stir.
- Tip: Make sure no berries poke above the "Max Fill" line; things sticking out past this part can ruin the machine blade. Just make sure to tuck them under the liquid. You might have to check the base after 1-2 hours of freezing to make sure the berries haven't risen to the top.)
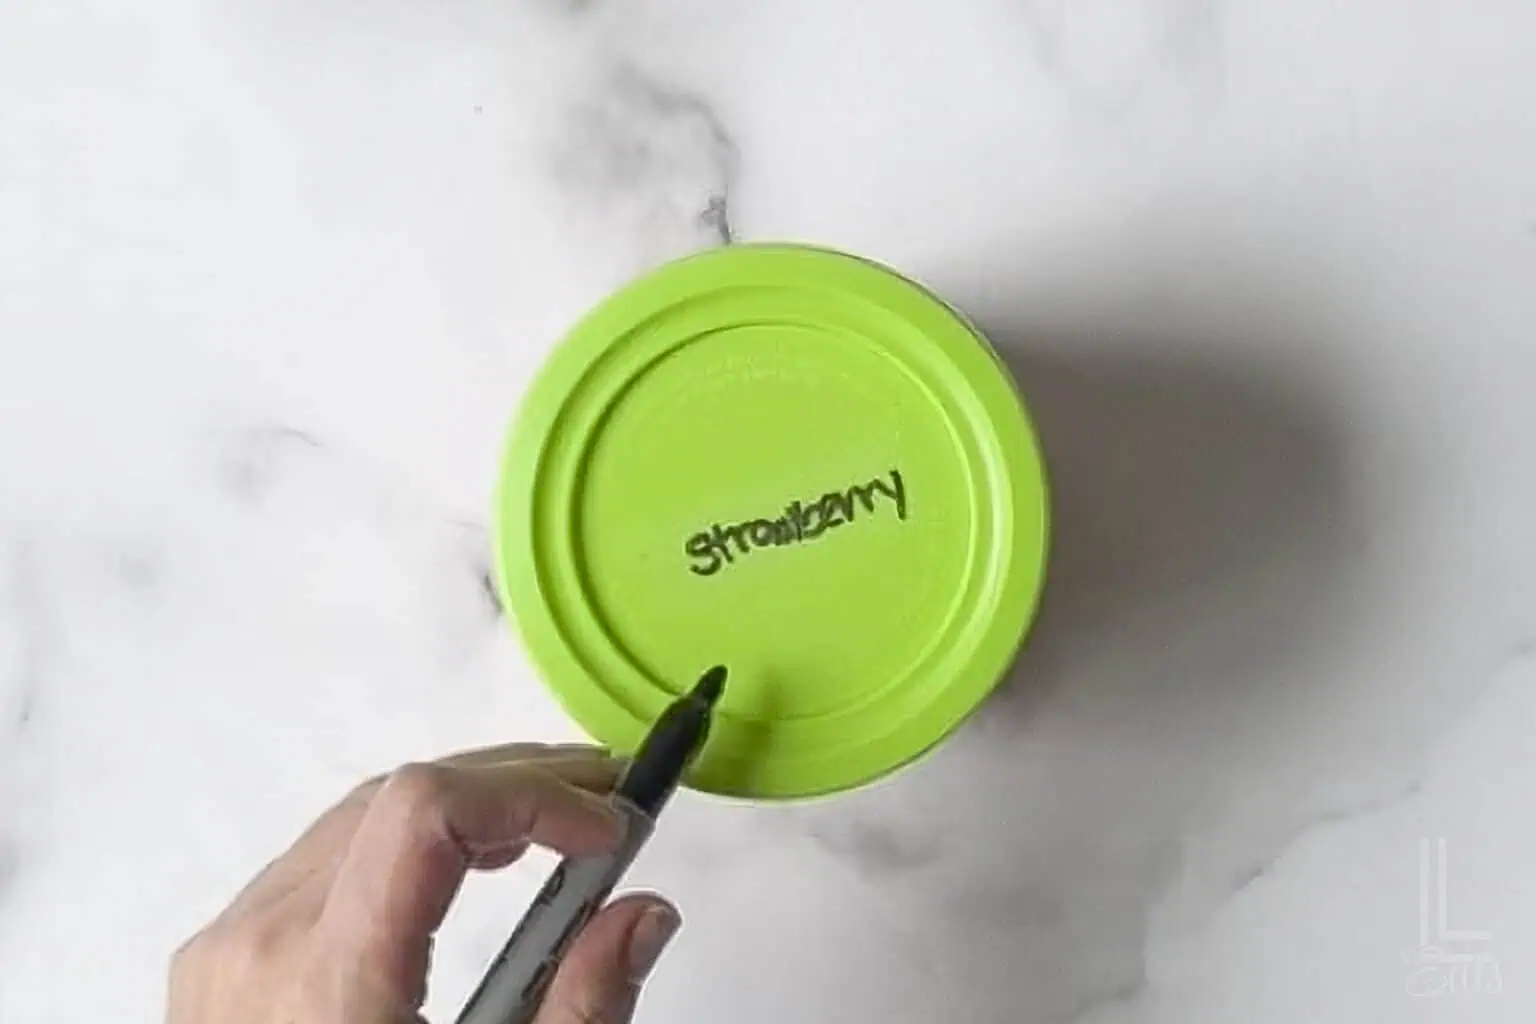
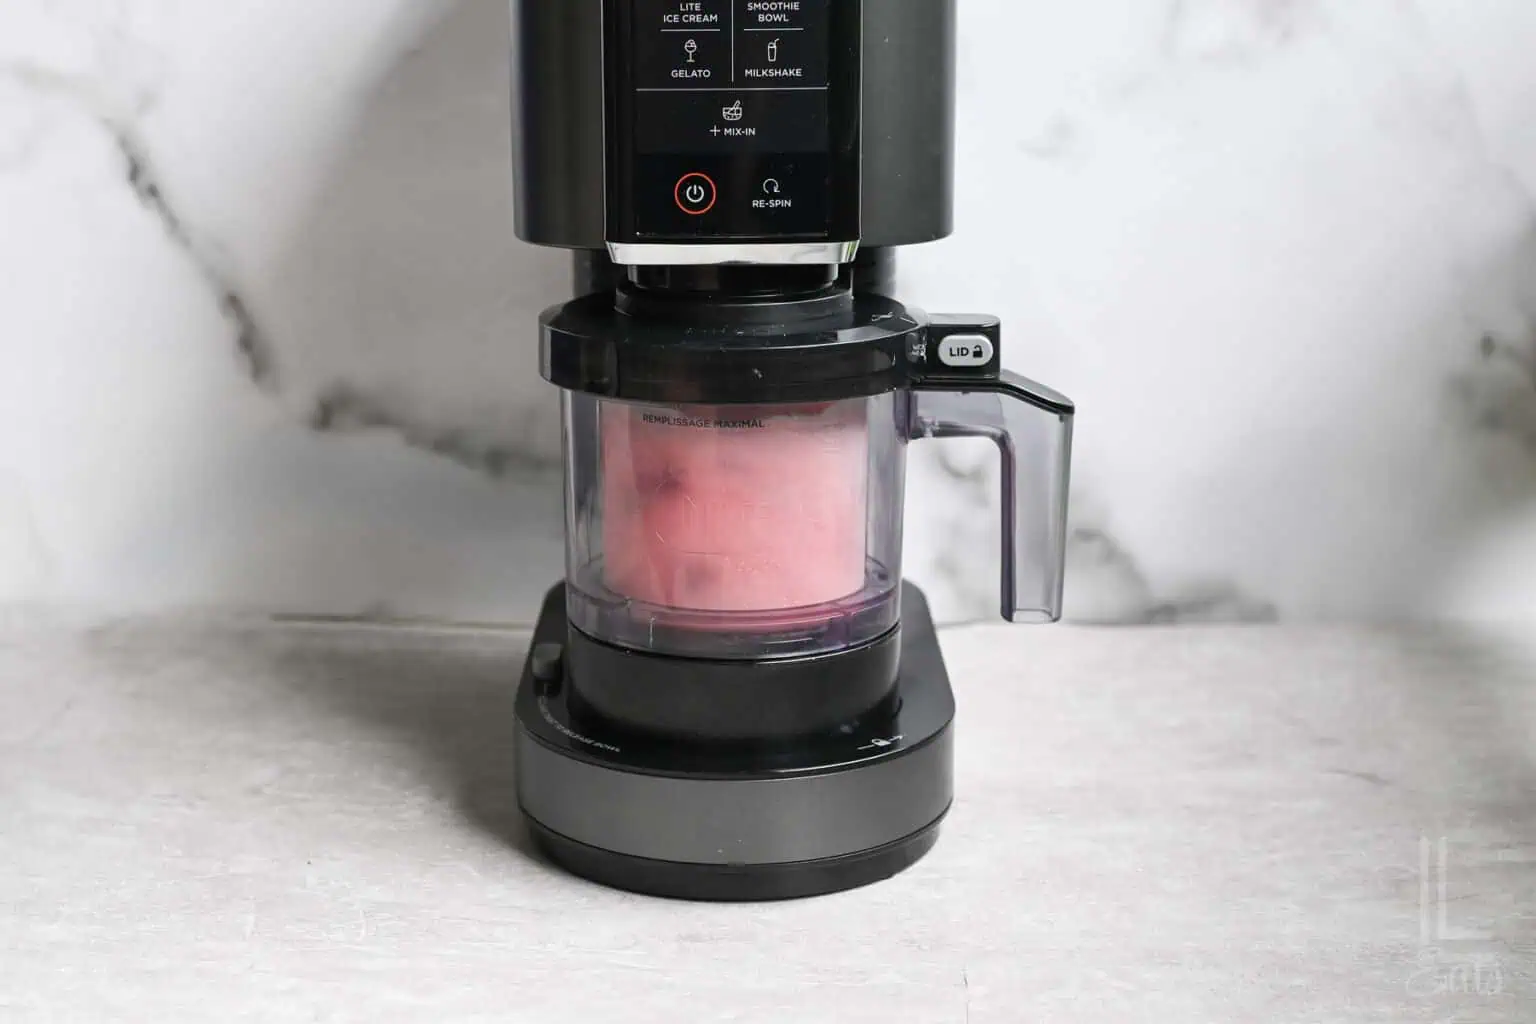
- The Deep Freeze: Freeze the pint container on a level surface for a full 24 hours. Short-cutting this step can make for "soft serve" consistency ice cream, rather than a firm one.
- Tip: Make sure to label your ice cream if you're freezing multiple varieties! A piece of scotch tape and a sharpie does the trick.
- The First Spin: Lock the pint into the base and select the "Ice Cream" setting. This process shaves the frozen block into super-fine particles.
- Check & Re-Spin: If it looks crumbly or dry, don't panic...that's normal! Add a tablespoon or two of milk to the center and hit "Re-Spin." This second pass is the secret to a smooth finish.
Why Ninja Creami Ice Creams Get Icy
One of the most frustrating things about Ninja Creami recipes is an icy or crumbly frozen dessert. That usually happens when the base doesn't have enough fat or sugar to keep ice crystals tiny.
In this recipe, heavy cream does the heavy lifting to keep everything smooth, while strawberry syrup adds sweet strawberry flavor without watering anything down.
If your Ninja Creami strawberry ice cream looks dry or crumbly after the first spin, don't stress - that's totally normal! Add a splash of milk right in the center and hit "Re-Spin." Most of the time, that's all it takes to get that smooth texture.
Another thing that trips people up is uneven freezing. Always make sure your pint is frozen on a level surface. It makes a noticeable difference in getting a smooth spin and the best final texture.
Leftovers & Storage
It's totally fine not to finish the whole pint in one sitting. You can save the leftovers to enjoy another time!
If you can't finish it all, flatten the top with a spoon before refreezing to keep the surface even for your next spin. Then, when you're ready to enjoy it again, simply spin on the "Ice Cream" setting and respin, just like you did the first go-round.
Leslie's Helpful Tips & Tricks
- Ditch the Lid: This is a game-changer! Freeze your pint without the lid for the first 24 hours. This prevents a "hump" from forming in the center, which keeps the spin level and protects your machine's blade.
- Sometimes, the strawberries can stick out of the top even after stirring them in. It's best to check your mixture after a couple of hours in the freezer and push the strawberries down if needed.
- The Warm Water Hack: If you see icy edges after spinning, run the closed pint under warm water for 60 seconds. This melts the outer frost for a much smoother, professional look.
- Let your pint sit on the counter for 10 minutes before spinning. Softening the base just a little bit makes the process quieter and easier on the motor.
- Brighten the Flavor: You can add a tiny pinch of salt or a squeeze of lemon juice before freezing your ice cream base. It sounds a little weird, but it makes that strawberry flavor "pop" and keeps the sweetness from feeling flat.
- Deep Mix-ins: If you're adding goodies like graham crackers, dig a hole to the bottom of the pint first. This makes sure your mix-ins are throughout the whole scoop, not just stuck on top.
- Check Your Level: Always freeze your pint on a flat shelf. If it freezes at an angle, the blade won't shave evenly, which usually causes that loud screeching sound.
FAQs & Troubleshooting

I hope this cools down your hot summer afternoons! 🍓 If you give this recipe a try, I'd love to hear what you think - just ⭐️⭐️⭐️⭐️⭐️ rate and review it in the comments below.
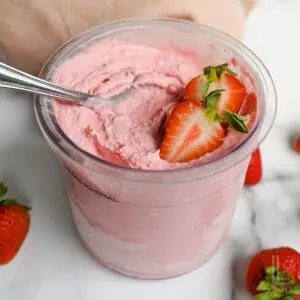
Ninja Creami Strawberry Ice Cream
Ingredients
- 1 cup heavy cream
- ⅓ cup strawberry syrup
- 1 teaspoon vanilla extract
- 2 tablespoon instant vanilla pudding mix
- 1 cup frozen strawberries
Instructions
- Add heavy cream, strawberry syrup, pudding mix, and vanilla extract to a Ninja Creami pint container. Stir well.
- Add strawberries and stir; make sure no strawberries are sticking out of the top of the milk mixture.
- Freeze the milk mixture for at least 24 hours.
- When you're ready to serve, run the frozen mixture through the Ninja Creami using the "ice cream" setting. One spin is usually enough for a creamy texture. If it still looks crumbly after the first spin, add ¼ cup of milk and use the re-spin function.
- Serve immediately.
Notes
- Submerge the Berries: Make sure your frozen strawberries are fully tucked under the liquid. If they poke up, the blade can hit them unevenly. It helps to check after freezing for 1-2 hours, submerging berries if needed.
- The 24-Hour Rule: I know it's hard to wait, but the base must be frozen for a full 24 hours on a level surface to get that perfect "ice cream shop" texture.
- Consistency Check: If the first spin looks crumbly, don't panic! Just add a splash of milk and hit "Re-Spin." This is the secret to getting it velvety smooth.
- Optional Shortcut: If you want a softer, more "soft-serve" vibe, you can leave out the vanilla pudding mix.
- Prep Hack: I love using an inexpensive frother to mix the base - it makes sure the syrup and pudding mix are totally incorporated with no clumps!
Nutrition Facts

Leslie Lambert is a lifestyle writer and content creator specializing in home organization, family recipes, and intentional living. With 17 years of experience in blogging and digital storytelling, she helps busy women create calm, purposeful homes they love.