
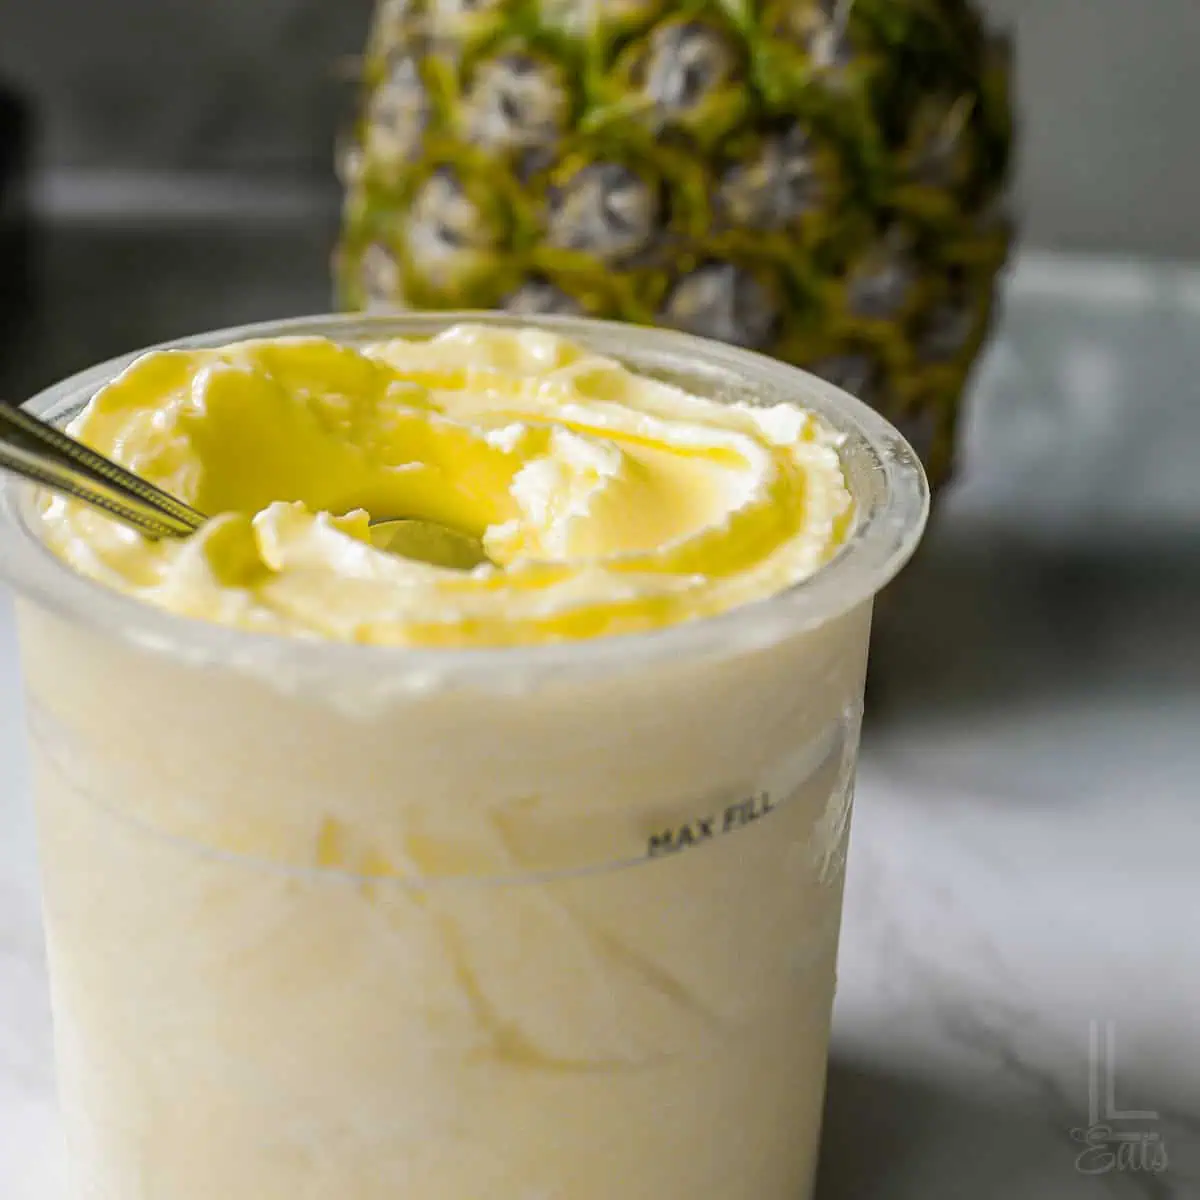
You're going to love this easy Ninja Creami Vanilla Ice Cream! Made with just 3 ingredients and no heavy cream or cream cheese, it takes only a few minutes to prep before freezing and spinning into a rich, creamy dessert.

Paid links used in this post. Read more about my link usage policies.
Ninja Creami Vanilla Ice Cream: What You Need to Know

The Ninja Creami is one of my favorite kitchen gadgets for making homemade ice cream. It makes the whole process so easy - just mix your ingredients, freeze the pint, press a button, and you've got thick, creamy ice cream with almost no effort!
This vanilla version is a great one to keep on hand because it goes with basically everything. Serve a scoop over warm apple cobbler or pineapple dump cake for one of the simplest (but yummiest) dessert combos ever.
Prep Time: 5 minutes
Makes: 1 Creami pint
Difficulty: Easy
This one's going to change the game for your late night cravings. I hope you love it!

Ingredient Notes
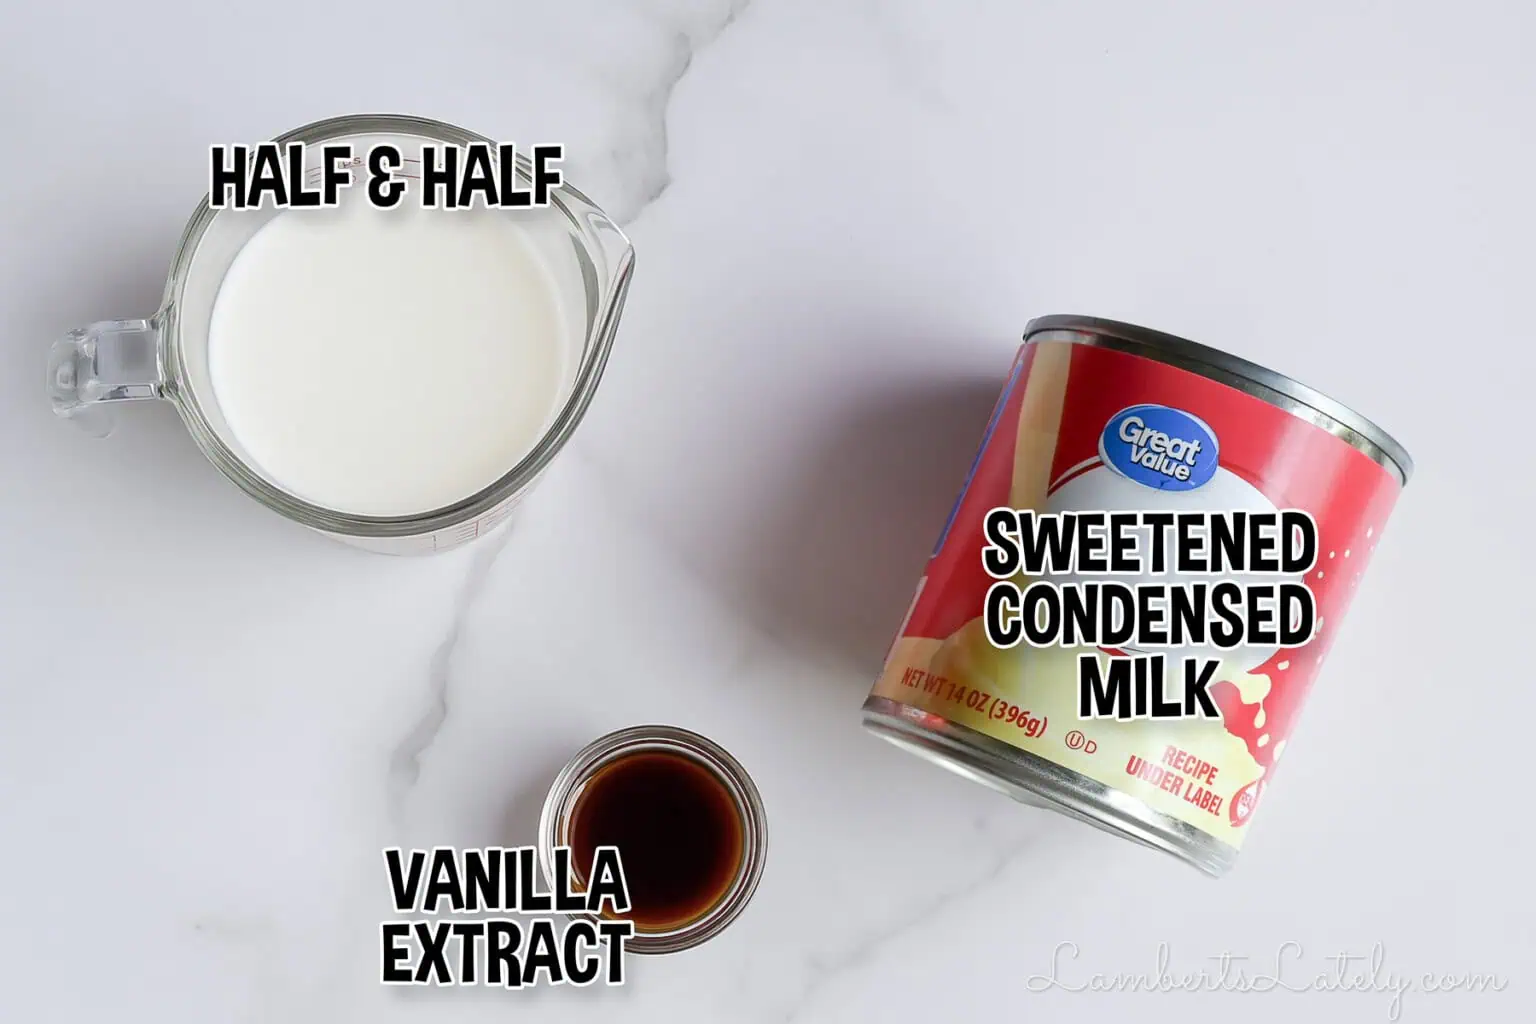
(See recipe card at the bottom of this post for exact ingredient measurements.)
- half-and-half - Gives the ice cream a rich, creamy texture without using heavy whipping cream.
- sweetened condensed milk - Adds sweetness and richness, so there's no need for separate granulated sugar.
- vanilla extract - Homemade or store-bought both work well. Use a good-quality vanilla for the best flavor.
Variations & Mix-Ins
This vanilla base is so easy to customize...
- Vanilla bean paste - You might notice tiny specks in my vanilla ice cream. That's from about 2 beans' worth of vanilla bean paste mixed into the base. It's totally optional, but it adds a pretty touch and a little extra vanilla flavor.
- Chocolate chips - Mini chocolate chips work great - they distribute throughout the ice cream easily.
- Crushed cookies - Oreos, chocolate chip cookies, or graham crackers are all yummy options.
- Candy pieces - Try chopped peanut butter cups, candy bars, or other small candy pieces.
- Sprinkles - An easy way to turn the vanilla base into birthday cake-style ice cream.
- Brownie pieces - Add small chunks after the first spin for a more brownie sundae-style Creami.
To add your mix-ins, prep and spin the vanilla ice cream as directed. After the first spin, make a small hole in the center of the ice cream, add your mix-ins, and process again using the Mix-In function.
This ice cream recipe pairs perfectly with a microwave mug cake! Try a few of my favorites: Lava Mug Cake, Oreo and Milk Mug Cake, or Vanilla Mug Cake.
How to Make Ninja Creami Vanilla Ice Cream
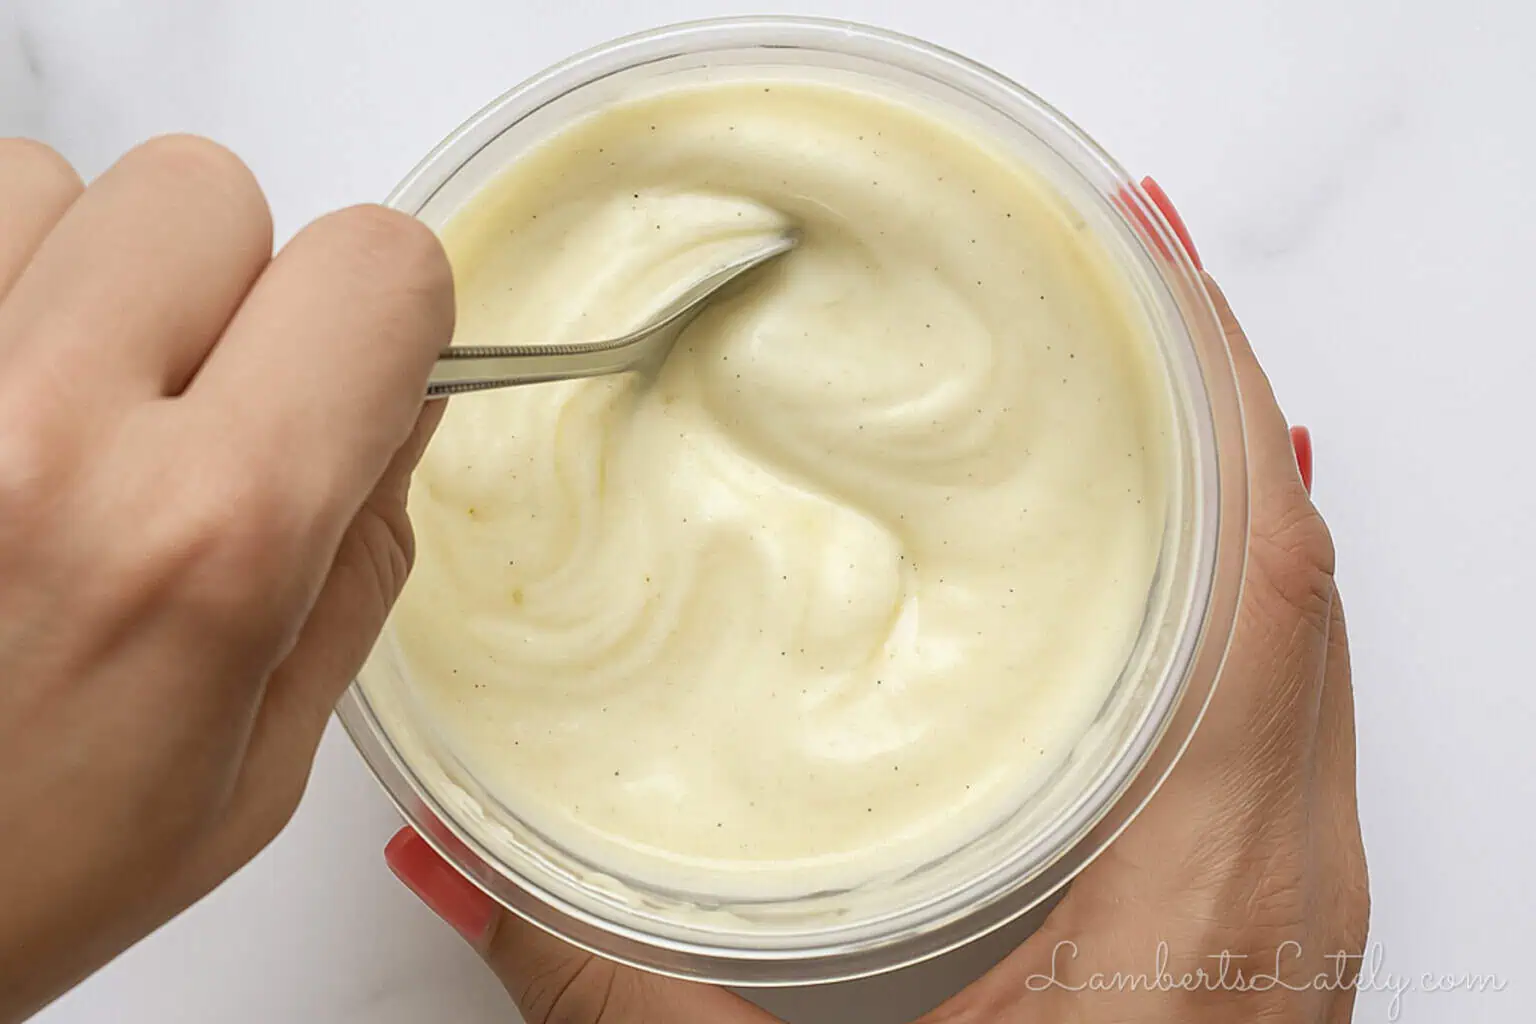
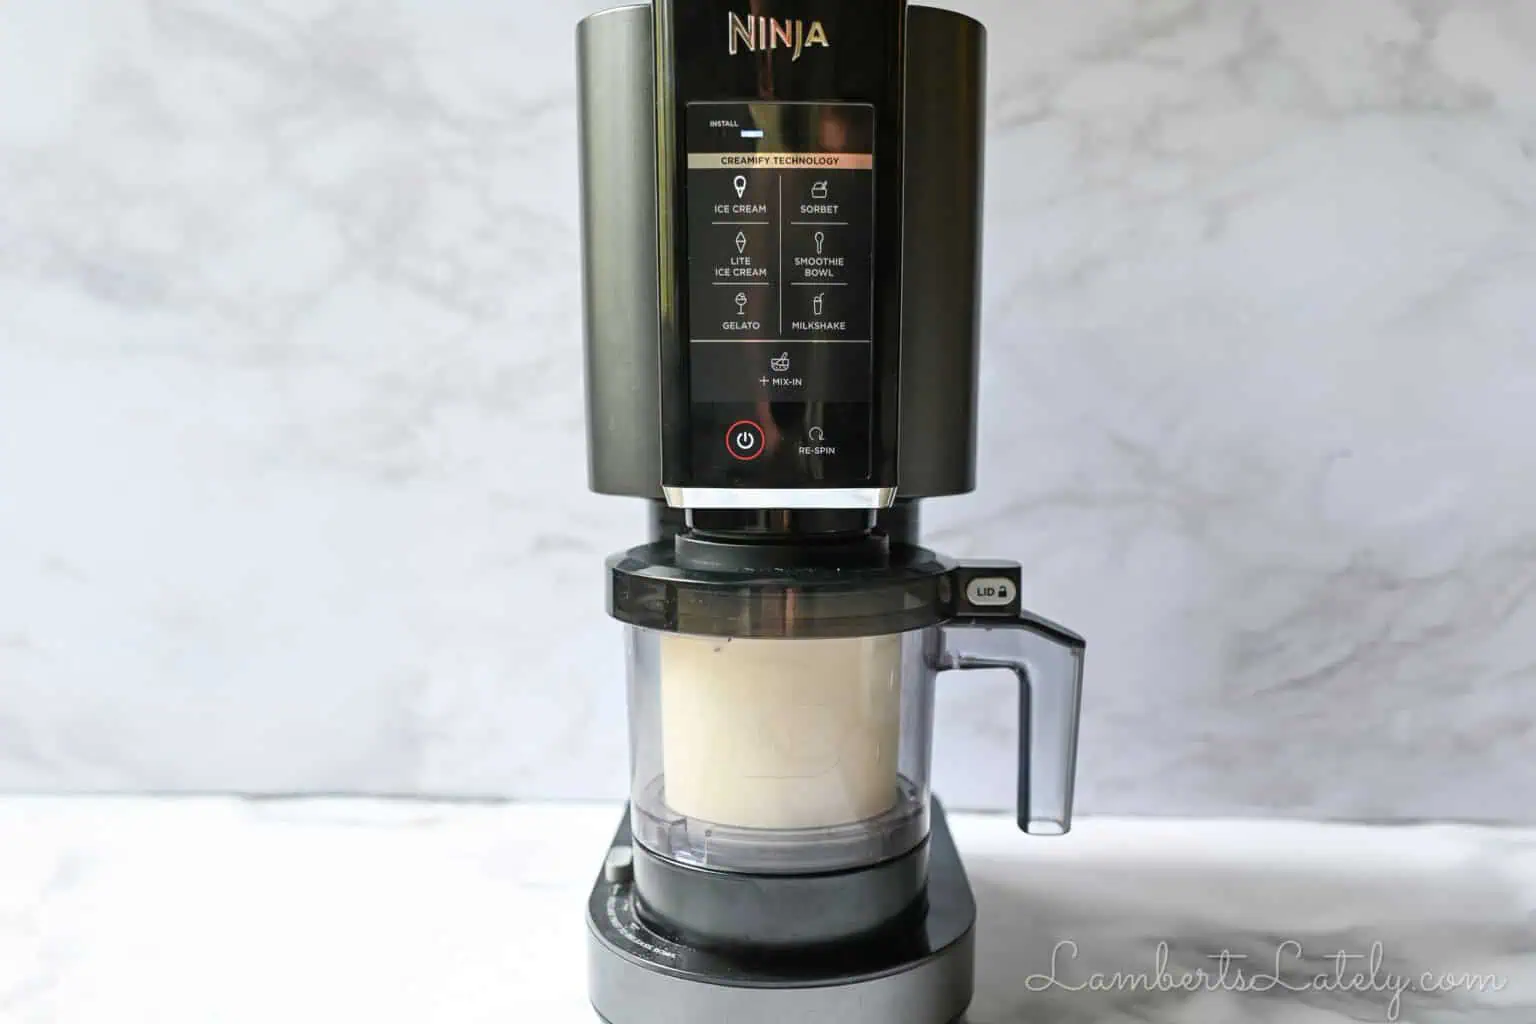
- Mix the ice cream base. Combine the half-and-half, sweetened condensed milk, and vanilla extract in a Ninja Creami pint container. Stir until everything is completely combined.
- Check the fill line. Make sure the mixture stays below the MAX FILL line on the side of the container.
- Freeze for 24 hours. Cover the pint with the lid and place it on a flat, level surface in the freezer for at least 24 hours.
- Process the ice cream. Once the pint is completely frozen, remove the lid and place the container into the Ninja Creami outer bowl. Lock it into the machine and process using the Ice Cream setting.
- Check the texture. If the ice cream is smooth and creamy after the first spin, it's ready to serve.
- Re-Spin if needed. If the ice cream looks firm, dry, powdery, or crumbly, add a small splash of milk and process again using the Re-Spin setting. Start with a small amount of milk (around 2 tablespoons) and add more only if needed.
- Serve immediately. Scoop into a bowl or enjoy it right from the pint.
Step-by-Step Recipe Video
Leftovers & Storage
If you have leftovers, smooth the top into an even layer, cover the pint container with the lid, and return it to the freezer. When you're ready to enjoy it again, process it using the Ice Cream setting. If needed, add a splash of milk after processing and Re-Spin until creamy.
I don't recommend refreezing more than once - it tends to get thinner the more you refreeze.

Leslie's Helpful Tips & Tricks
- Freeze the pint flat. Set the container on a level surface in the freezer so the base freezes evenly.
- Don't go over the MAX FILL line. With the ingredient amounts in this recipe, you should be fine, but always check before freezing.
- Don't panic if the first spin is crumbly. A splash of milk and a Re-Spin can make a big difference.
- Batch prep your Creami pints. We like prepping 4-6 pints at a time, which obviously isn't possible with only the two containers that come with the machine! We bought a few extra Ninja Creami pint containers so there are always a few flavors waiting in the freezer.
- Label your flavors. It's kind of hard to tell them apart once they're frozen. I like putting a piece of tape on the lid and labeling it with a Sharpie.
FAQs & Troubleshooting
More Ninja Creamis

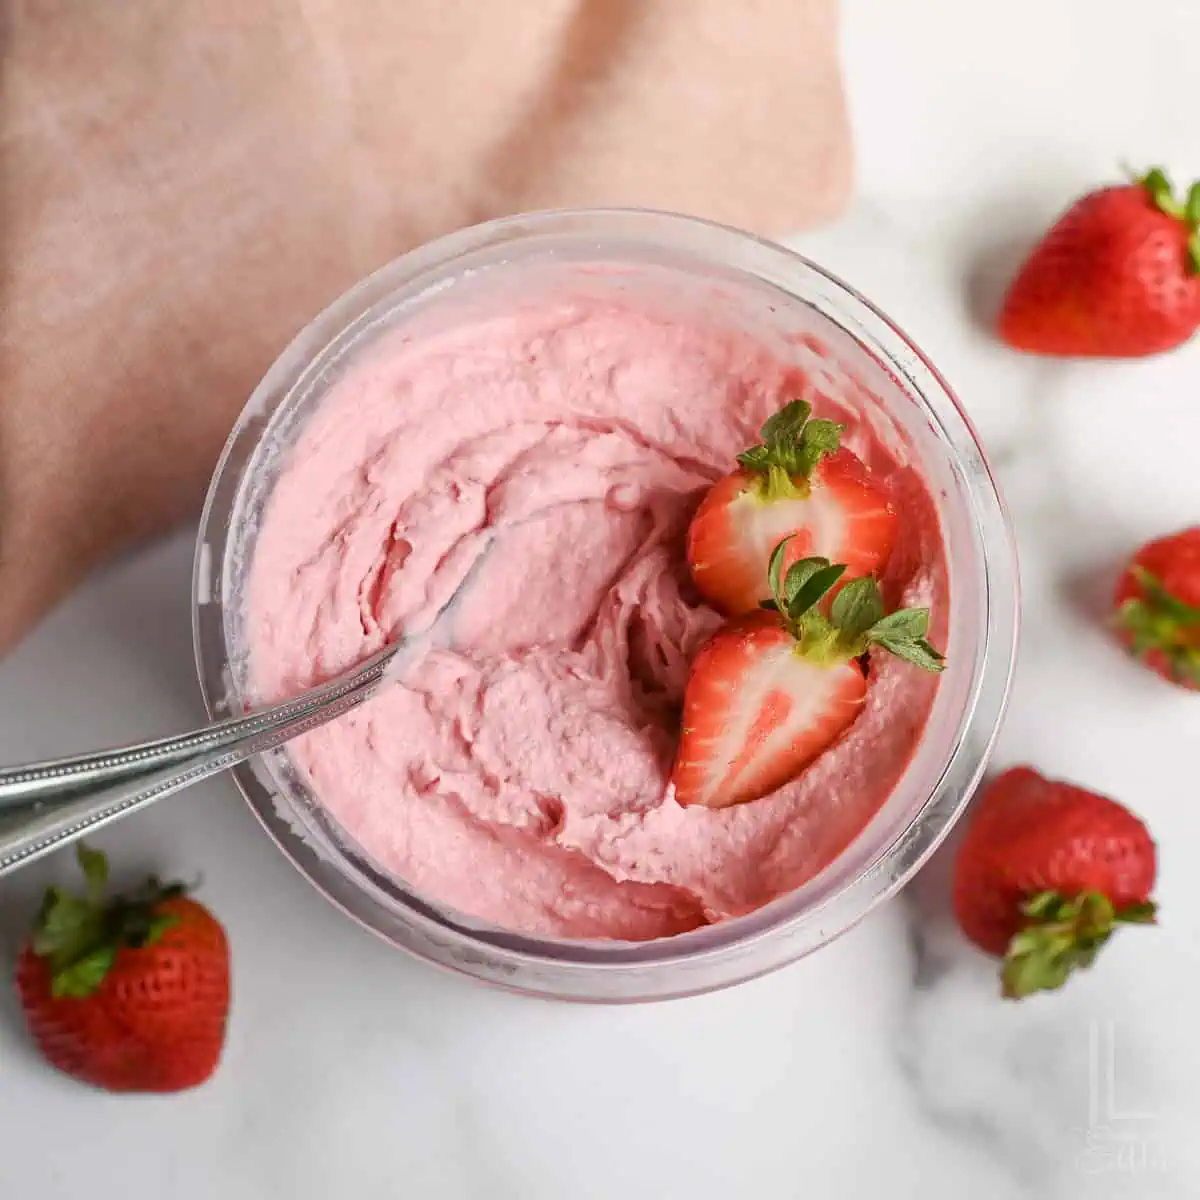
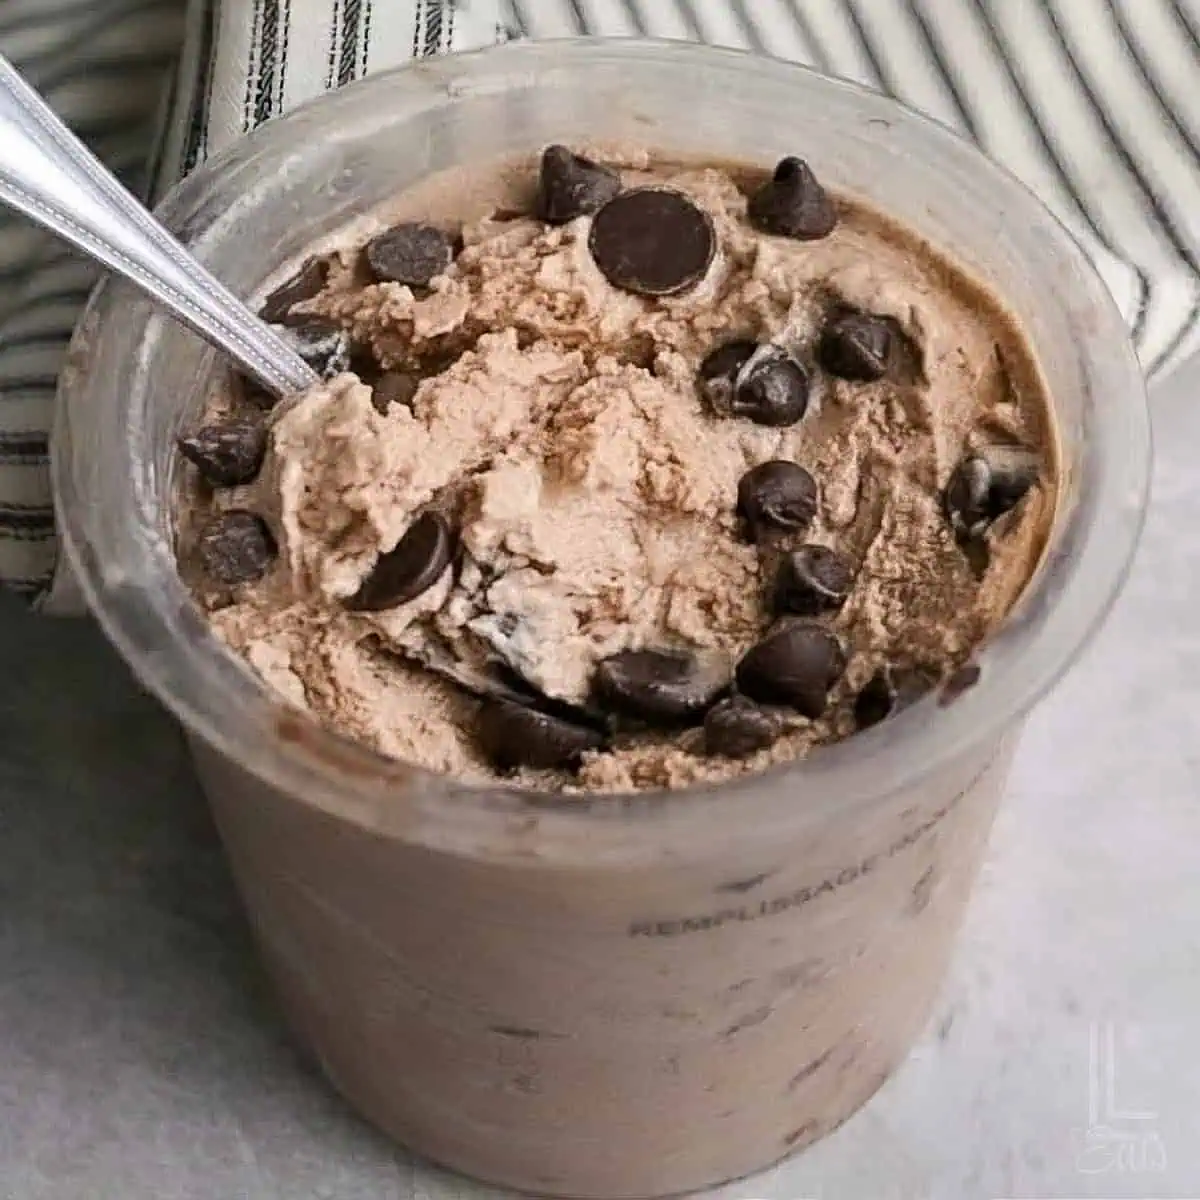
I hope you love this easy sweet treat! 🍨 If you give it a try, I'd love for you to leave a comment or rating below. And make sure to follow along for the latest and greatest from the blog!

Ninja Creami Vanilla Ice Cream
Equipment
Ingredients
- 1.5 cups half & half
- ½ cup sweetened condensed milk
- 1 teaspoon vanilla extract
Instructions
- Mix the base. Add the half-and-half, sweetened condensed milk, and vanilla extract to a Ninja Creami pint container. Stir until completely combined.
- Freeze. Make sure the mixture is below the MAX FILL line. Cover the pint and freeze on a flat, level surface for at least 24 hours.
- Process. Remove the lid and place the frozen pint into the Ninja Creami outer bowl. Lock it into the machine and process using the Ice Cream setting.
- Check the texture. If the ice cream is smooth and creamy, it's ready to serve.
- Re-Spin if needed. If the ice cream looks dry, powdery, crumbly, or too firm, add a small splash of milk and process again using the Re-Spin setting.
- Serve. Enjoy immediately for the best texture.
Notes
- Freeze the pint flat. Keep the container on a level surface so the base freezes evenly.
- Stay below the MAX FILL line. This recipe fits comfortably in a standard Ninja Creami pint.
- Don't process an uneven frozen pint. If the surface freezes unevenly, level the base and refreeze it flat before processing.
- Re-Spin only if needed. If the first spin is crumbly or powdery, add a small splash of milk and use Re-Spin. If it's already creamy, serve it as-is.
- For mix-ins, add cookies, candy, or chocolate chips after the first spin and use the Mix-In setting.
- For leftovers, smooth the top flat before refreezing, then use the Ice Cream setting again once fully frozen.
- For the Ninja Creami Deluxe, increase the recipe by 1.5x if you want to fill the larger container.
Nutrition Facts

Leslie Lambert is a lifestyle writer and content creator specializing in home organization, family recipes, and intentional living. With 17 years of experience in blogging and digital storytelling, she helps busy women create calm, purposeful homes they love.