
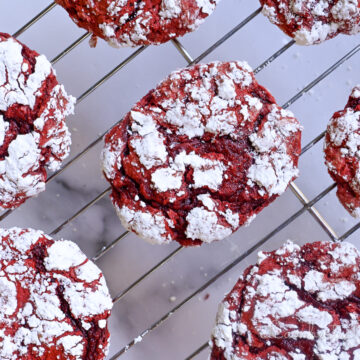
Need a quick cookie that looks fancy but takes almost no effort? These Red Velvet Cool Whip Cookies are the shortcut you'll be making on repeat.
Paid links used in this post. Read more about my link usage policies.
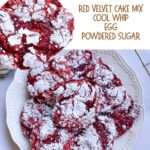
If you loved my original Cool Whip Cookies, you'll want to try these red velvet cool whip cookies next. They use the same easy 4-ingredient base - cake mix, Cool Whip, egg, and powdered sugar - but with that rich red velvet flavor everyone loves.
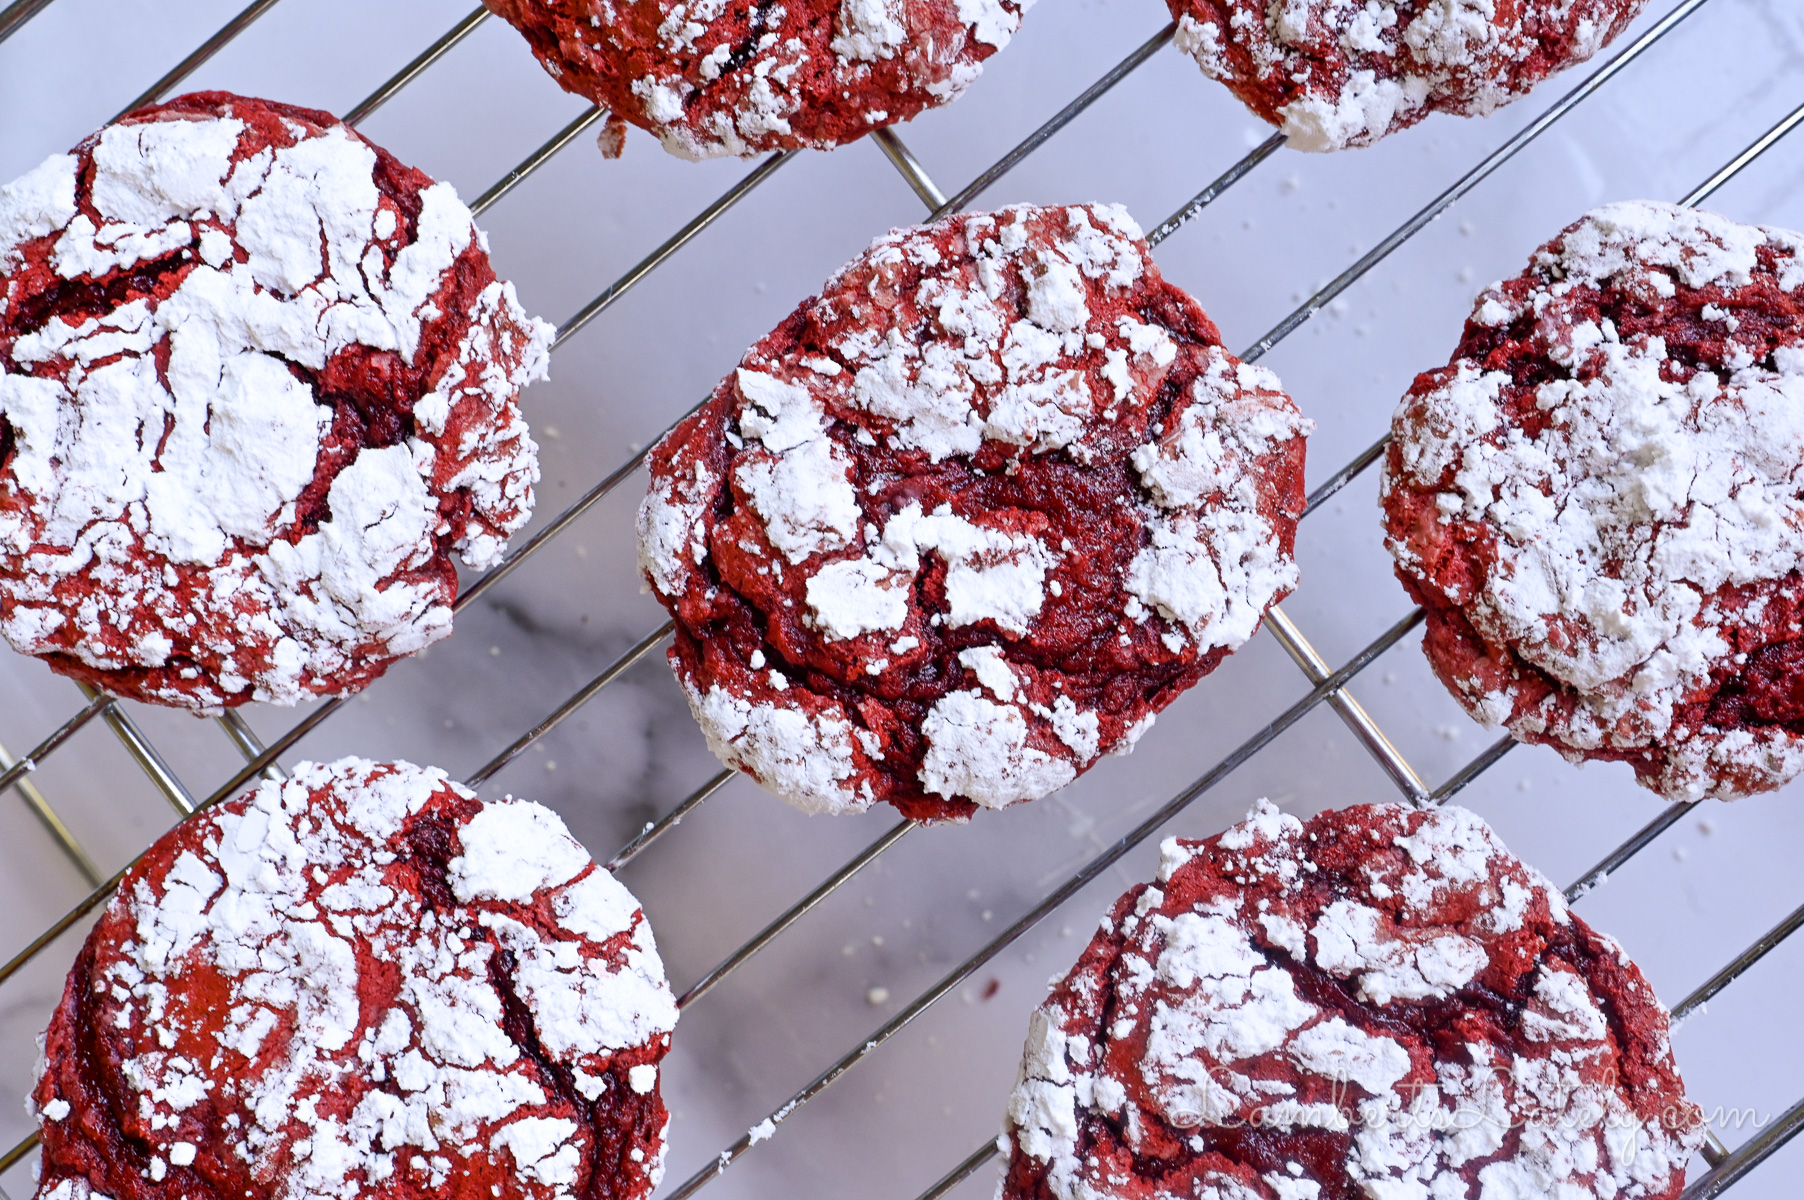
These bake up soft, crinkly, and are so perfectly festive for Valentine's Day or Christmas. If you need a quick dessert that looks like you spent way more time on it, this is the way to go!
The best part? Once you've made these red velvet Cool Whip cookies, you can use this same method for nearly any cake mix. Swap the flavor, keep the ratios, and you'll get perfect crinkle cookies every time!
Why You'll Love This Recipe
- Only 4 ingredients - You probably already have everything you need! Just cake mix, Cool Whip, an egg, and powdered sugar make this easy cookie.
- No mixer required - Just a bowl and spoon. The dough comes together in minutes!
- Soft, pillowy texture - The Cool Whip makes these cookies light and fluffy - butter-based versions could never.
- Perfect for any occasion - Great for Valentine's Day, Christmas cookie trays, or anytime you want a quick red velvet fix.
- Easy to customize - Change the cake mix flavor, roll in colored sugar, or press in a chocolate heart on top to make them your own.
- Freezer-friendly - You can freeze the dough or baked cookies without losing that pretty crinkle look!
Ingredient Notes

- 15.25 oz box of red velvet cake mix - I love using cake mix in everything from red velvet waffles to red velvet cheesecake brownies. This ingredient is so versatile! We're not using the rest of the ingredients on the box; just the dry mix.
- 8 oz Cool Whip whipped topping - Use regular (not fat-free or sugar-free) for the best texture. Be sure it's fully thawed before mixing.
- 1 large egg - Helps the cookies hold their shape and gives structure.
- ½ cup powdered sugar - Roll each dough ball well to coat for those classic crinkle tops.
Why Cool Whip Works
The Cool Whip isn't just here for convenience - it's the reason these cookies turn out so light and soft. Most cake mix cookie recipes call for butter or oil, but Cool Whip brings something totally different to the table. The whipped topping adds air and moisture to the dough, thanks to the stabilizers that help it hold its shape.
That little bit of science means your cookies bake up pillowy, crinkly, and perfectly tender without any greasiness. It keeps them soft for days and gives them that melt-in-your-mouth texture that makes these so hard to stop eating.
Pro Tip: Skip the homemade whipped cream or spray can - they don't have the structure these cookies need. Stick with the tub!
Variations
- These cookies can be made in any flavor you'd like. You can use lemon, strawberry, chocolate, or vanilla cake mixes in place of red velvet.
- Coating twist - Mix a spoonful of cocoa powder into the powdered sugar for a light chocolate dusting.
- Stuffed version - Wrap dough around a mini marshmallow or Rolo before rolling in sugar for a gooey center.
Love a rich, chewy cookie? You'll also love my Strawberry Cream Cheese Cookies and Chewy Peanut Butter Chip Cookies!
How to Make Red Velvet Cool Whip Cookies

- Preheat your oven to 350°F and line a baking sheet with parchment paper or a silicone mat.
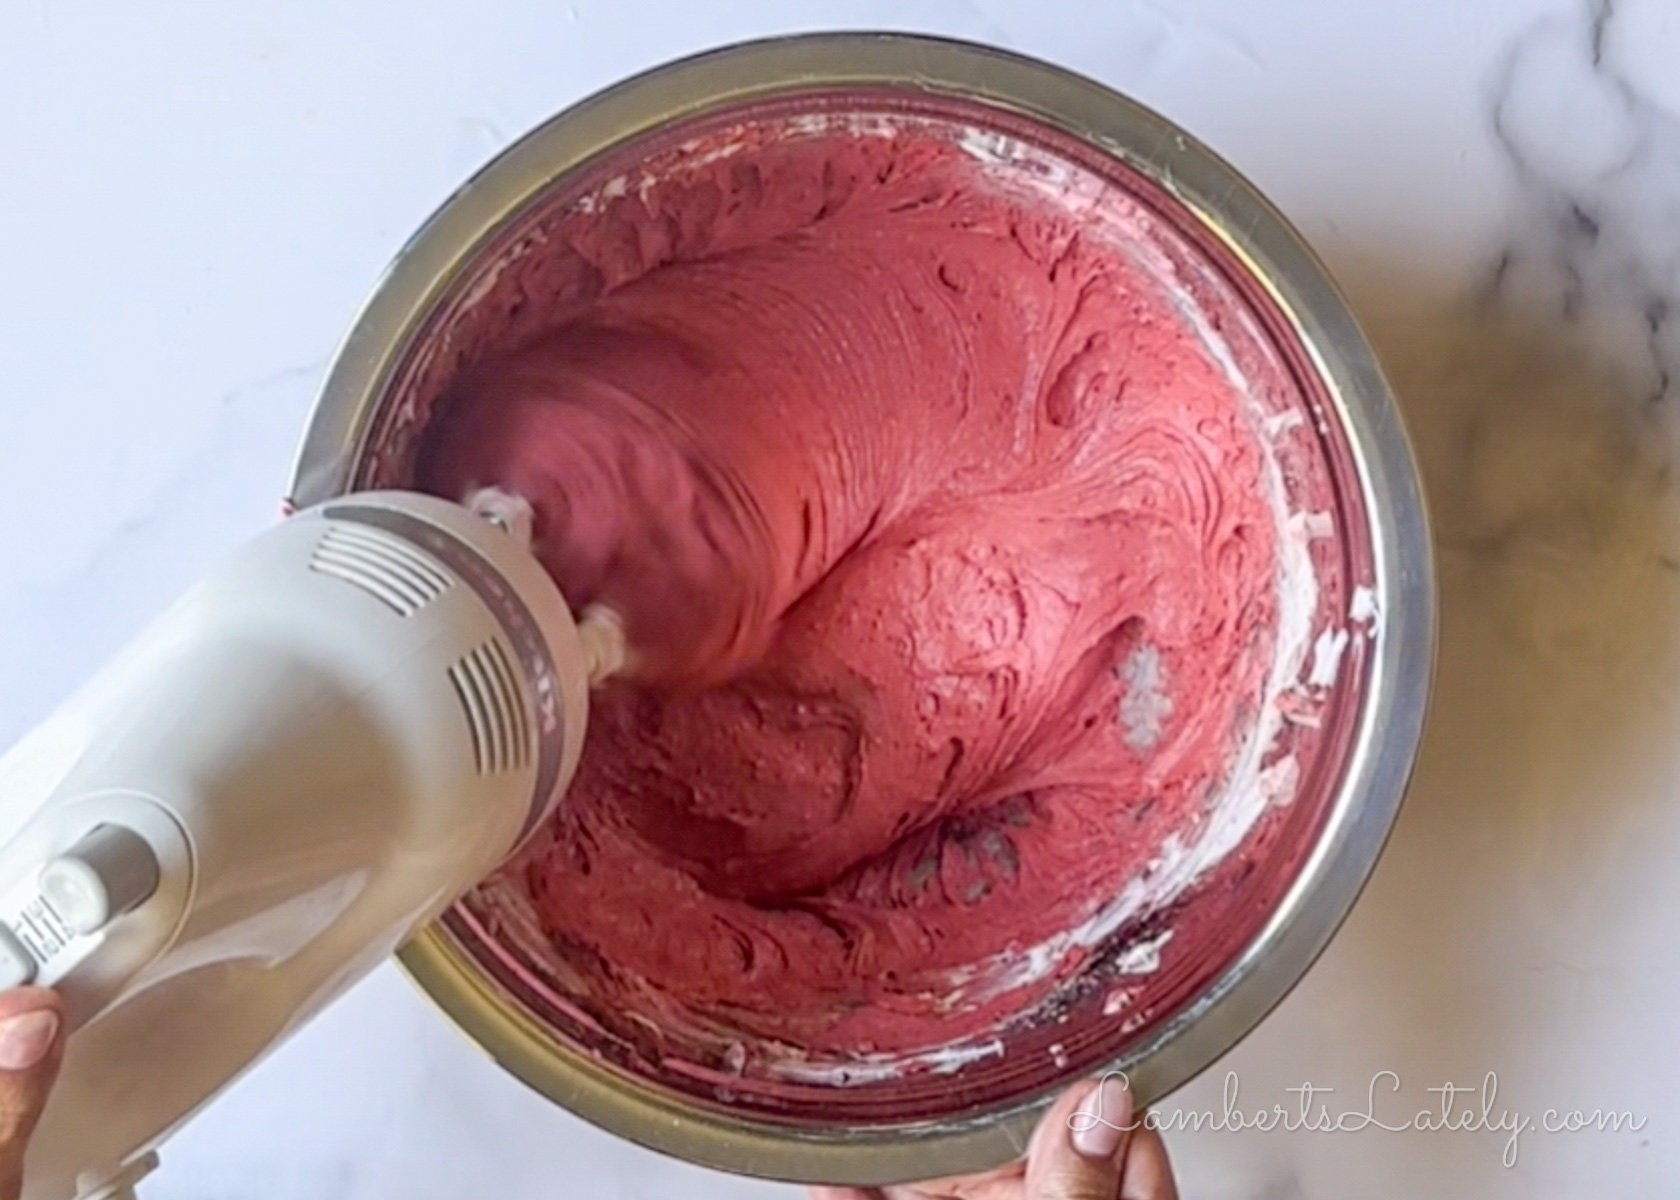
- In a large mixing bowl, combine 8 oz Cool Whip (225 g), 1 egg, 1 box cake mix (15.25 oz or 432 g). Stir just until everything is blended-don't over-mix or the cookies can get dense.
- Chill cookie dough for at least an hour to help it firm up.
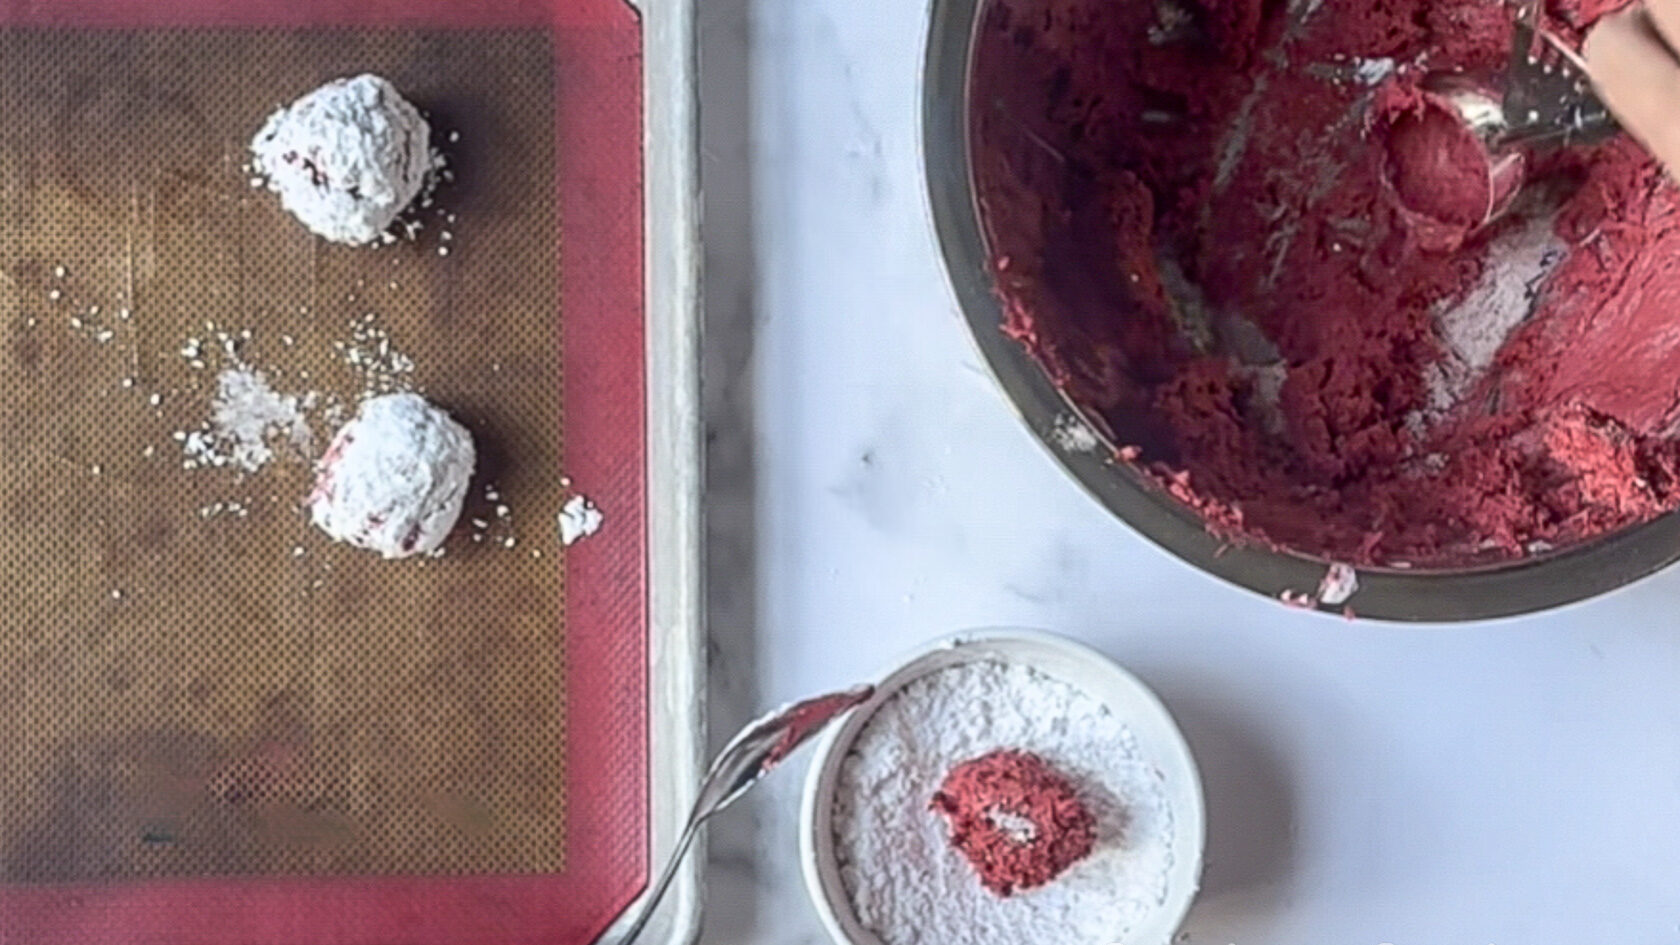
- Place the powdered sugar in a separate small bowl. Scoop about 2 tablespoons of dough per cookie and roll each portion in powdered sugar until fully coated. The dough will be sticky while scooping - that's normal!
- Arrange the coated dough balls on the prepared baking sheet, leaving a little space between each one.
- Bake for 9-11 minutes, depending on your preference - shorter for soft, fudgy cookies and longer for a more cakey texture.
- Let the cookies cool on the baking sheet for 10-15 minutes to set before transferring them to a wire rack to finish cooling.
Note: Don't skip that refrigeration time! I did a little test to show you how important it is...

On the left, you see a cookie I baked without chilling the dough. On the right, the dough was chilled for an hour or so. See how flat the cookie on the left is compared to the firmer, thicker one on the right?
Chilling the dough helps it hold its shape as it bakes, keeping the centers soft and the edges slightly puffy. It also makes the dough easier to handle and gives you that perfect, crinkly powdered sugar coating instead of one that melts into the surface.
Texture Tip
Bake time makes a big difference with these cookies.
For soft, fudgy centers that taste almost brownie-like, pull them from the oven right at 9 minutes. The edges should look set, but the centers will still look slightly glossy.
If you prefer a fluffier, cake-style cookie, let them bake closer to 11 minutes until the tops lose their shine and spring back lightly when touched.
Keep in mind that every oven bakes a little differently, so start with a test batch to find your sweet spot. Either way, don't over-bake - these cookies will continue to set as they cool, and that's what keeps the texture light.
Step-by-Step Recipe Video
Storage & Freezing
STORAGE: Store cooled cookies in an airtight container at room temperature for up to four days. Layer parchment or wax paper between cookies to keep the crinkle tops from sticking.
FREEZING: To freeze, place baked cookies in a single layer on a baking sheet until firm, then transfer to a freezer-safe bag or container. They'll stay fresh for up to three months - just thaw at room temperature before serving. If storing in stacks, I'd recommend adding parchment paper between layers so they don't stick together when freezing.
You can also freeze the unbaked dough. Roll dough balls in powdered sugar, freeze on a baking sheet, then move to a freezer bag once solid. Bake straight from frozen, adding 1-2 minutes to the bake time.
Leslie's Tips, Tricks, & Troubleshooting
- Let the cookies cool completely before storing - if they're even a little warm, the powdered sugar can absorb moisture and make them stick together.
- Using a cookie scoop (about 2 tbsp) helps a lot with making sure your cookies have a consistent size and aren't too flat when added to the pan.
- If the dough feels sticky when rolling, chill it for an additional 10-15 minutes in the freezer to firm it up. You can also lightly dust your hands with powdered sugar instead of flour to prevent sticking.
- After coating the dough balls in powdered sugar, lightly tap off excess sugar to prevent the coating from burning or turning too dark during baking.
- For extra festive flair: after baking, gently press a mini chocolate heart or Hershey's Kiss into the warm center of each cookie.
- Yield: This recipe makes around 20-22 cookies.
FAQs
More Sweet Treats with Cool Whip


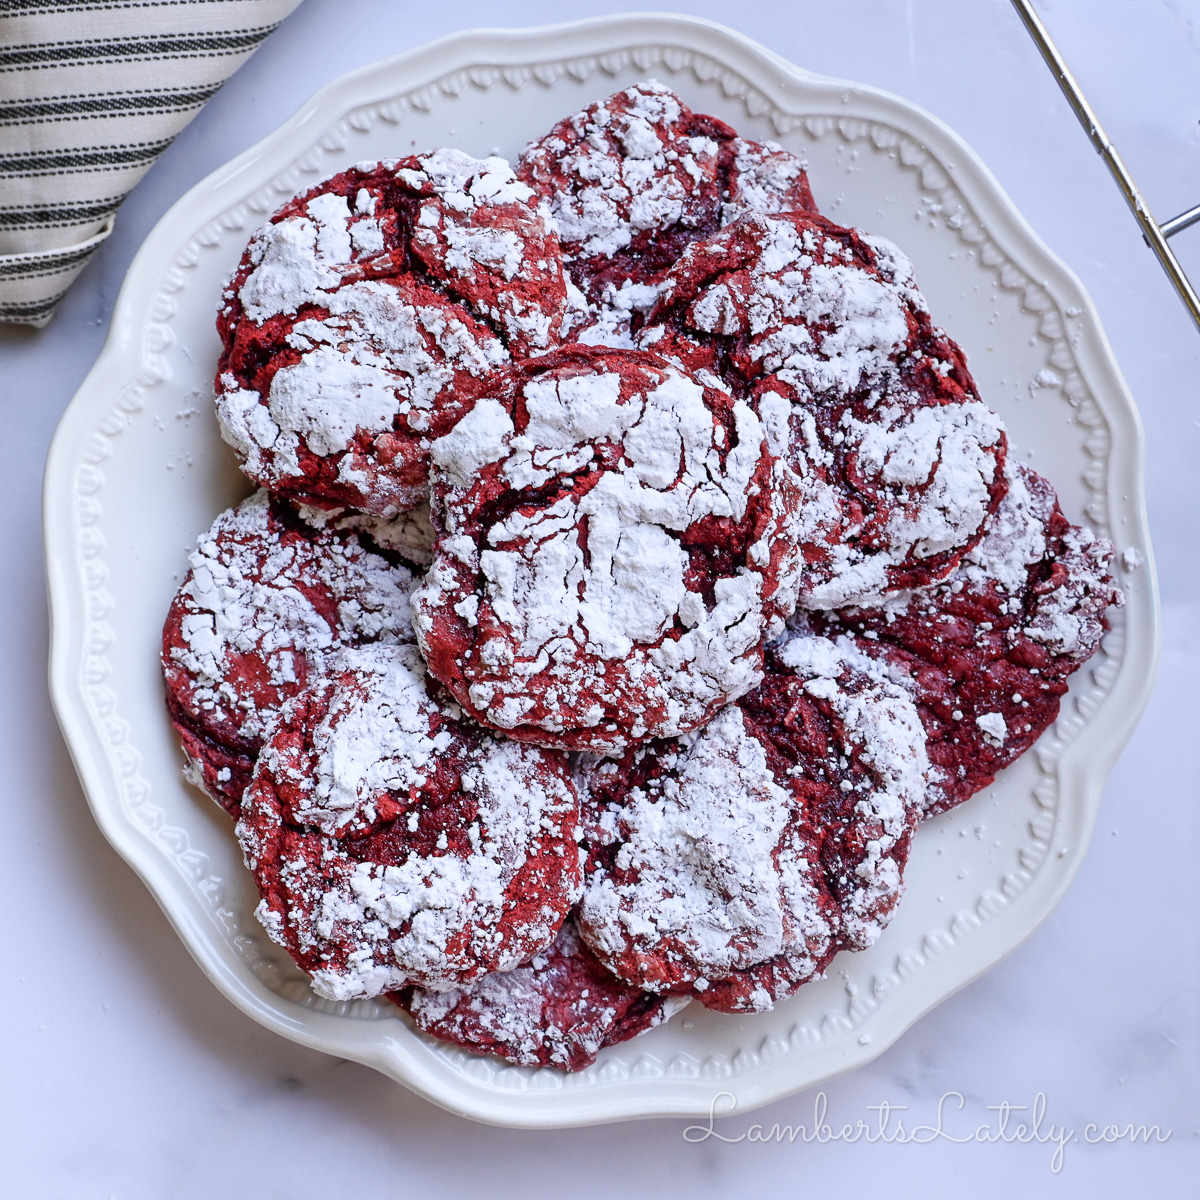
Hope you enjoy this one, guys! 🍪 Let me know what you think - you can ⭐️ rate & review the recipe below.
Red Velvet Cool Whip Cookies
Ingredients
- 15.25 oz red velvet cake mix (1 box)
- 8 oz Cool whip whipped topping (thawed)
- 1 large egg
- ½ cup powdered sugar
Instructions
- Preheat oven to 350°F. Line a baking sheet with parchment paper or a silicone mat.
- In a large bowl, mix Cool Whip, egg, and cake mix until just combined.
- Chill the dough for at least an hour so it firms up and holds its shape better.
- Place powdered sugar in a small bowl. Scoop 2 tablespoon dough and roll to coat.
- Arrange on the baking sheet and bake 9-11 minutes (shorter for fudgy, longer for cakey).
- Cool on the sheet 10-15 minutes, then move to a rack to finish cooling.
Notes
- Use Regular Cool Whip only (not fat-free or sugar-free) for best texture.
- If dough feels too sticky to roll, chill 10-15 minutes or dust your hands with powdered sugar.
- Bake 9 minutes for soft, fudgey cookies or 11 minutes for a fluffier, cake-style texture.
- Cookies will set as they cool, so don't over-bake.
- Cool completely before storing to keep the powdered sugar coating from melting.
- Store in an airtight container up to 4 days, or freeze baked cookies up to 3 months.
- You can freeze unbaked dough balls too - bake from frozen and add 1-2 minutes to the time.
- For a festive twist, press a chocolate heart or Kiss into each cookie while warm.
Nutrition Facts

Leslie Lambert is a lifestyle writer and content creator specializing in home organization, family recipes, and intentional living. With 17 years of experience in blogging and digital storytelling, she helps busy women create calm, purposeful homes they love.


Nice tips
They taste pretty good. But even though I put the dough in the fridge it was still very sticky and hard to roll into balls.