
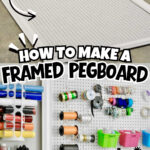
See a tutorial for how to hang a DIY large framed craft room pegboard. Get ideas for how to organize & display your craft supplies with accessories from Ikea & Dollar Tree.
Paid links used in this post. Read more about my link usage policies.
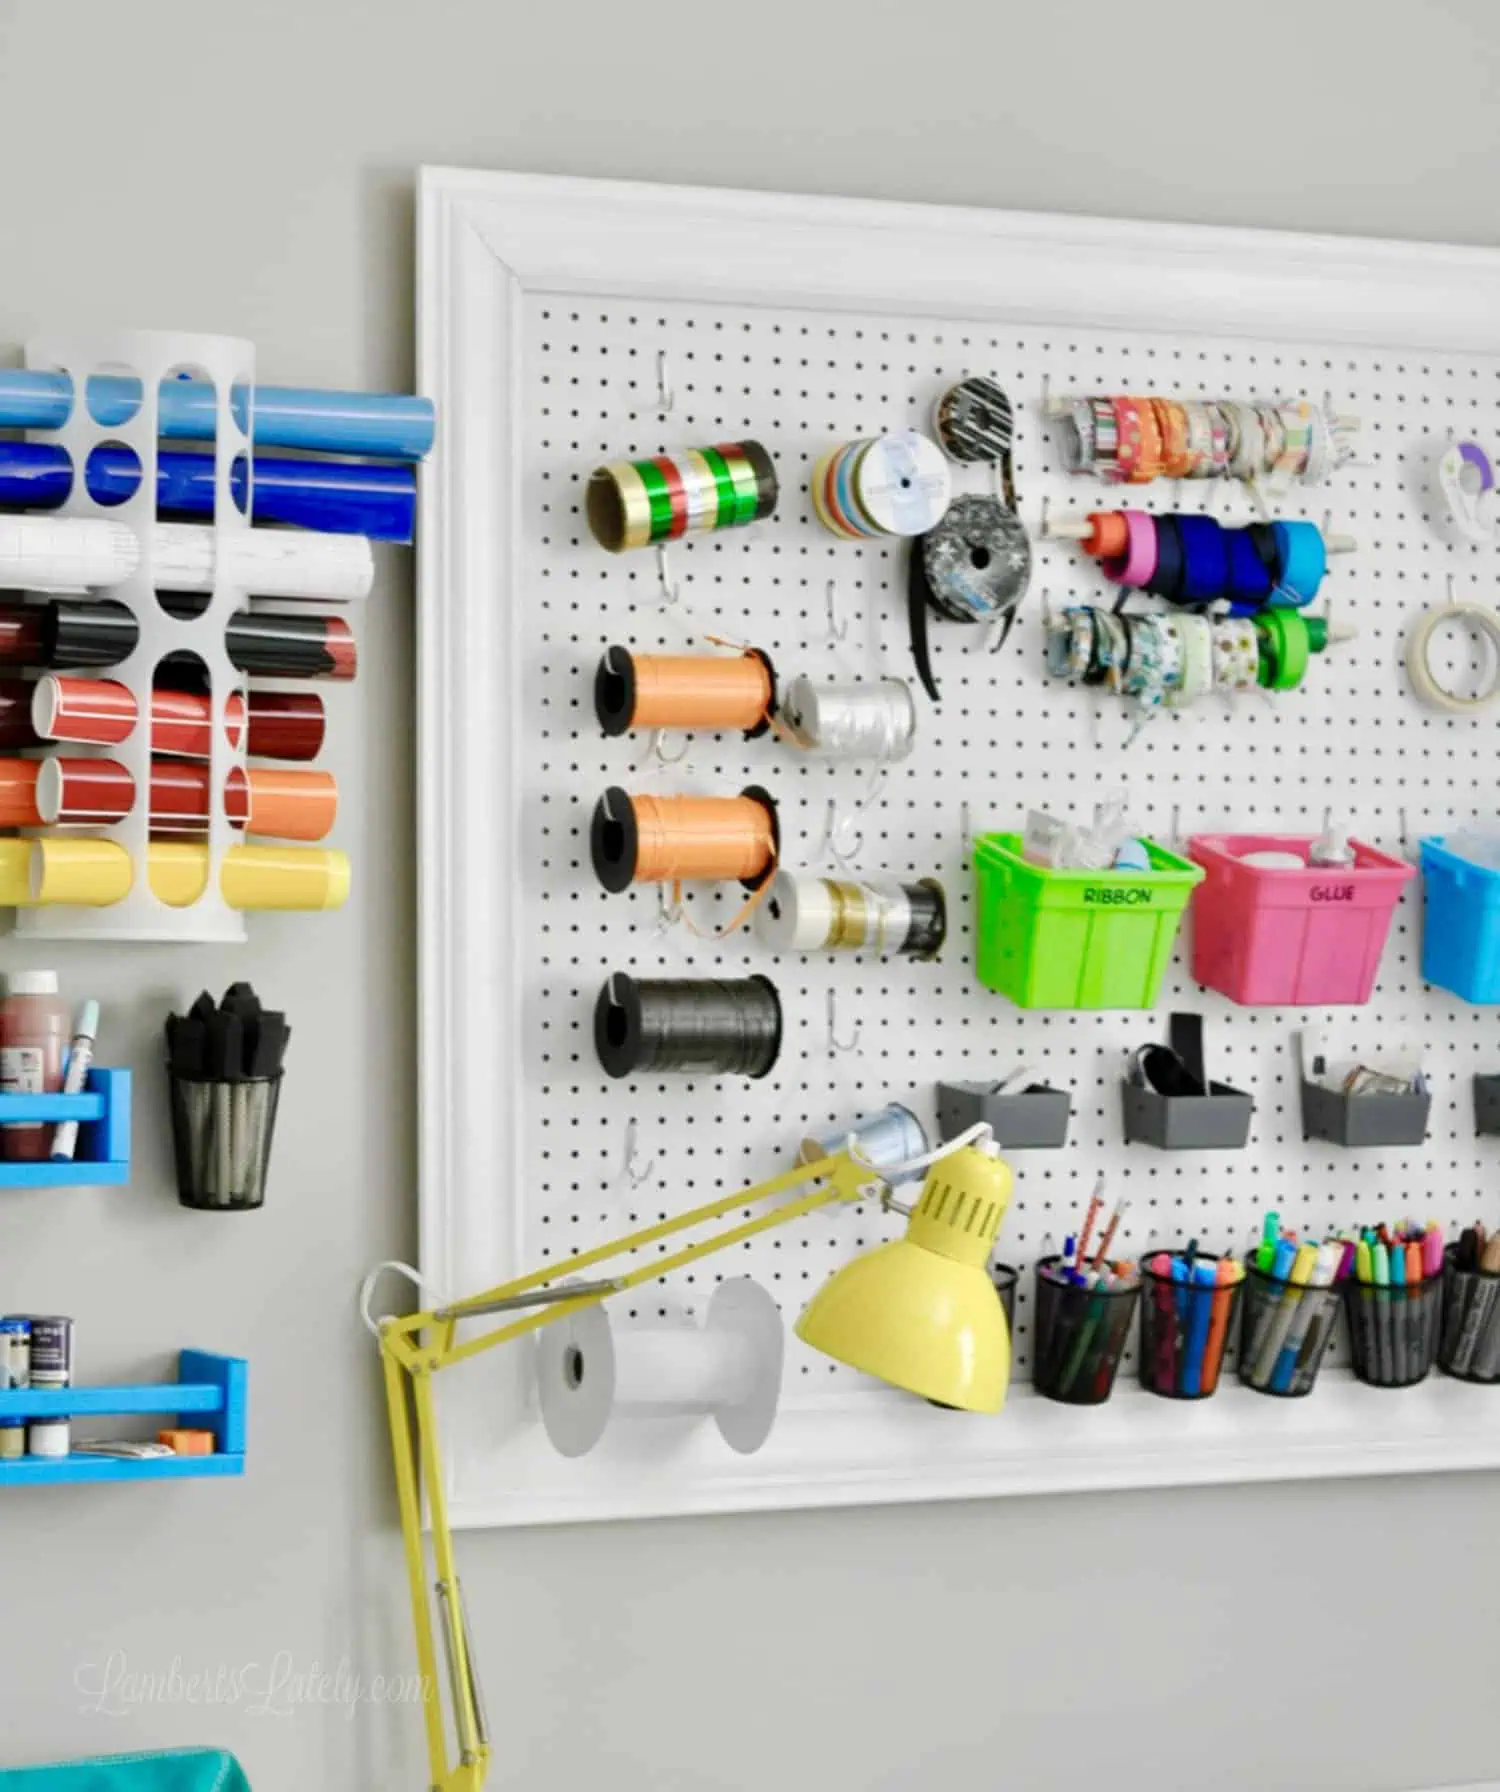
From the time we started planning our craft/multipurpose room, I knew that the one organization feature I wanted in the craft space was a giant pegboard that would neatly display our craft supplies.
I wanted this to be a bright and happy space. What better way to showcase colorful craft supplies than to display them in a functional way?
I loved the idea of a white pegboard backdrop against a rainbow of ribbon, markers, and thread. Plus, the pegboard is such a great organizational tool. It allows me to know what supplies we have in a single glance and it keeps clutter off of the surfaces in our craft room.
This was an absolutely crucial part of organizing the craft room.

This is one of those projects that really doesn't require a lot of woodworking expertise. If you know how to make simple angle cuts, you can do this! And the cost of this craft room pegboard is pretty minimal too. We were able to complete this whole project for around $50 (5 years ago - slightly more now, but still under $100).
Let's take a look at how we did it!
Craft Room Pegboard Supplies
- 1 piece 4x8' pegboard
- 3 8' pieces finger joint crown molding
- 3 8' pieces of 1x2" lumber
- miter saw
- wood glue
- staple gun
- 3" screws
- pneumatic nail gun (not required, but helps a lot) - if not using an air gun, you'll need small 1" nails and a hammer
- caulk
- white gloss or semi-gloss paint
Step 1: Make the crown molding & pegboard cuts.

Once you've gathered your supplies, make the initial cuts in the molding and pegboard. We cut our pegboard down to 3x6' for this project. This allowed us to only use 3 pieces of crown molding - if using the full 4x8', you'll need one more piece.
(Tip: Don't throw that excess pegboard away. We used this same method to mount the extra piece in our garage!)
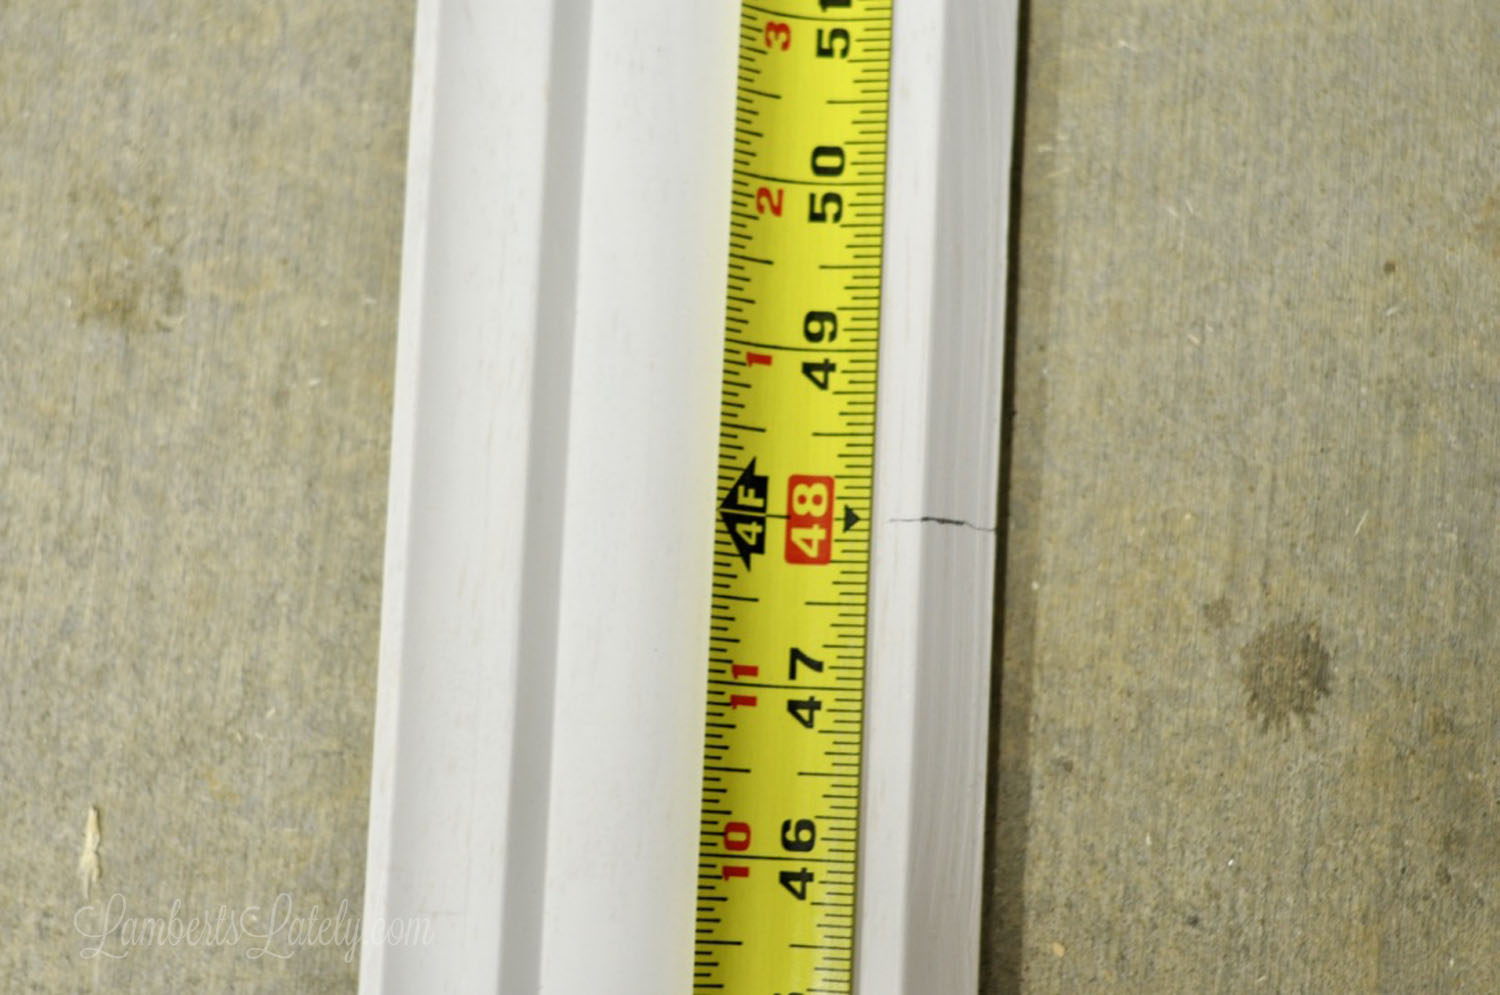
If you're using our measurements, you can also go on and cut one piece of crown molding in half (4 feet). You'll use these two pieces for the shorter sides.
See another project from this room: How to Hang a Puzzle on the Wall


Measure ½" in from each side at the corners of the pegboard, marking with a pencil. This is where the inside corners of the crown molding will meet.

Cut an initial 45-degree angle (outside longer than inside) on one end of the crown molding. Line the inside corner up with the ½" mark you just made.

Now, with that piece of crown molding in place, go to the opposite corner on the same side of the pegboard. Make a mark where this piece of molding hits the ½" mark on that corner. This will be where you cut the angle on the opposite side of this piece of crown molding.
Remember: the outside of the piece of crown molding should always be longer than the inside!

Once the first piece of molding is cut, the two inside corners should hit those ½" marks on opposite corners of the pegboard. Confirm this, then cut a matching piece of molding for the opposite side of the board. Follow the same process for cutting the top and bottom molding pieces.

Lay out the molding and pegboard to double-check the cuts. The inside corners of your "square" of molding surrounding the pegboard should hit at those ½" marks all around. This will allow a comfortable overhang to allow you to attach the molding to the pegboard.
Step 2: Cut furring strip spacer.

Next, roughly cut your 1x2's to make a square around the back of your pegboard. This doesn't have to be perfect by any means; nobody will ever see it, but it will allow your pegboard to sit off of the wall, allowing you to use pegboard hooks easily.
I recommend getting this pretty close to the outside of the pegboard, making sure a whole row of pegboard holes lines up with the 1x2.

Use wood glue to attach the 1x2 spacers to the back of the pegboard (you'll screw through this in the next step, so no need to have it super secure just yet).
Step 3: Mount the pegboard to the wall.

Mark the studs on the wall you'll be attaching your pegboard to. Once the wood glue is dry on the back of the pegboard, use 3" screws to go through the front of the pegboard, into the 1x2 spacers, then into the studs in the back.

Remember how I told you to line the 1x2s up with a row of pegboard holes? That makes it easier to screw straight through a hole and into the 1x2.
We put a screw on both the top and bottom of the pegboard at each stud (roughly 16" apart). Make sure you use a level to keep everything nice and straight.
See more of our craft room! I also have posts about our how I organized my craft room on a budget, and our DIY Murphy Bed/Ikea Bookshelf Combo.
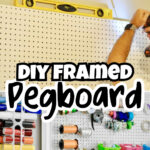
Step 4: Make & attach crown molding frame.

Next, attach your crown molding frame. We used staples to help us keep the frame together while attaching it to the pegboard (optional, but it did help us). Just a couple in each corner gave it a little bit of stability.

Again, use a level (and your previously marked ½" corners) to make sure everything is lined up. A pneumatic nail gun helped us get the nails in quickly. This is definitely a 2-person job - you'll need one person to hold and level & another to nail.
Step 5: Caulk and paint the pegboard.

Once the molding is nailed in, you can caulk and paint! You'll definitely need the caulk to fill in any gaps in the molding corners. You can see more about how I caulk molding corners in my building a picture frame post.
In a short summary, use your finger to smear the caulk into the creases. Then, use a wet paper towel to lightly go over the surface to clean off any excess.

I also put a coat of glossy white paint on the molding to give it a nice finish. If you're painting the molding, make sure to tape it off against the pegboard first.
My pegboard didn't really need paint; it already had a glossy white finish that I wanted. However, if needed, this is the point to paint your pegboard. Just make sure to use thin coats so you don't clog up the holes in the board.
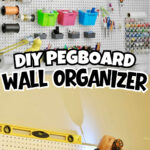
Step 6: Fill the craft room pegboard with inexpensive storage accessories.
I filled the pegboard with lots of pretty and functional storage. None of it was really all that expensive - in fact, a lot came from Dollar Tree!
- Peg board hook kit - this set is kind of essential. It has all of the hooks, loops, and holders to hang things on the board.
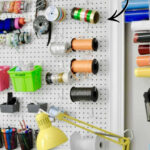
- L-hooks - these are how I organized the thread spools.
- Colorful bins from Dollar Tree - Those green, pink, and blue bins you see below were a dollar store special! I just hung them on the board with J hooks.
- Cups from Dollar Tree - these are the cups you see holding pens, pencils, and markers at the bottom of the board. All Dollar Tree! Just poke a hole in the back and stick a J hook through to hang. These little buckets are also great for storing paintbrushes, glue sticks, and scissors.
- Leftover wooden dowels to hold loose ribbon - I just wrapped all of my loose ribbon around the dowels and hung that dowel on either side with J hooks.
- Ikea storage baskets - these are the smaller gray baskets you see below the colorful bins. I think these have been discontinued, but they were part of the Skadis pegboard line. It has a ton of cool, inexpensive accessories!
For items that were already on spools, I just looped a piece of string through the spool, tied it in a circle, and used that circle to hang the spool on J-hooks.

This pegboard is absolutely the focal point of the craft room that I hoped it would be. It's pretty, it's functional, and it's open, checking every box of what I wanted this space to be. It's a low-cost organization solution that I think is really a must for any craft space!

Craft Room Pegboard FAQs


What's your favorite accessory on the pegboard? Love the baskets, ribbons, or pencil buckets? ✏️ Let me know in the comments what you think!

Leslie Lambert is a lifestyle writer and content creator specializing in home organization, family recipes, and intentional living. With 17 years of experience in blogging and digital storytelling, she helps busy women create calm, purposeful homes they love.


Great blog! Thanks for sharing your DIY Pegboard and I like how you mentioned that this doesn’t require a lot of woodworking expertise. So it means as long as you have basic knowledge you can definitely do it.
Thanks for the inspiration, my pegboard was put up with no pretty frame, just wood on the back. That being said I just didn’t like the u finished look. I bought all my supplies earlier this week and can’t wait to get started. Your instructions are so detailed that I feel I can do this myself. Can’t wait!
Good luck, I hope you love the results!