
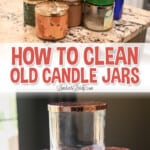
Get the full instructions on how to get wax out of a candle jar to upcycle it into a frugal, versatile container. Bonus: you'll also learn how to make wax melts out of the leftover wax!
Paid links used in this post. Read more about my link usage policies.
Today, I'm going to show you one of my favorite frugal upcycled!
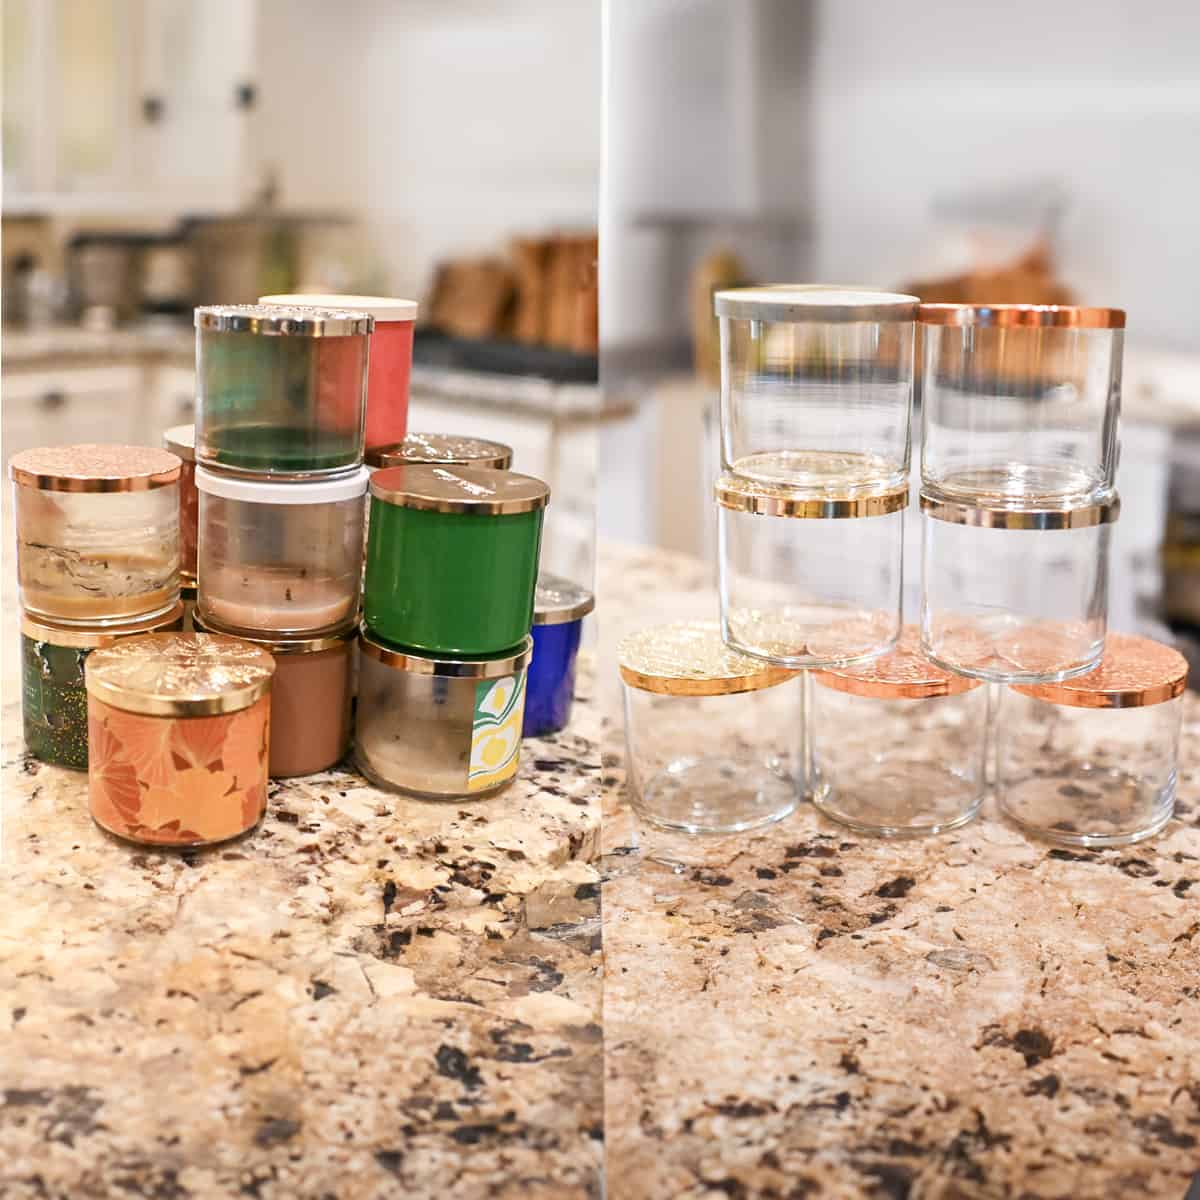
If you burn candles in your home, you know that there's usually a little bit of wax left in the bottom of the jar. From what I've found, this wax still has a lot of scent - your wick just can't normally reach it before burning out. However, you can save this wax to make homemade wax melts and get that last bit of scent from your candle.
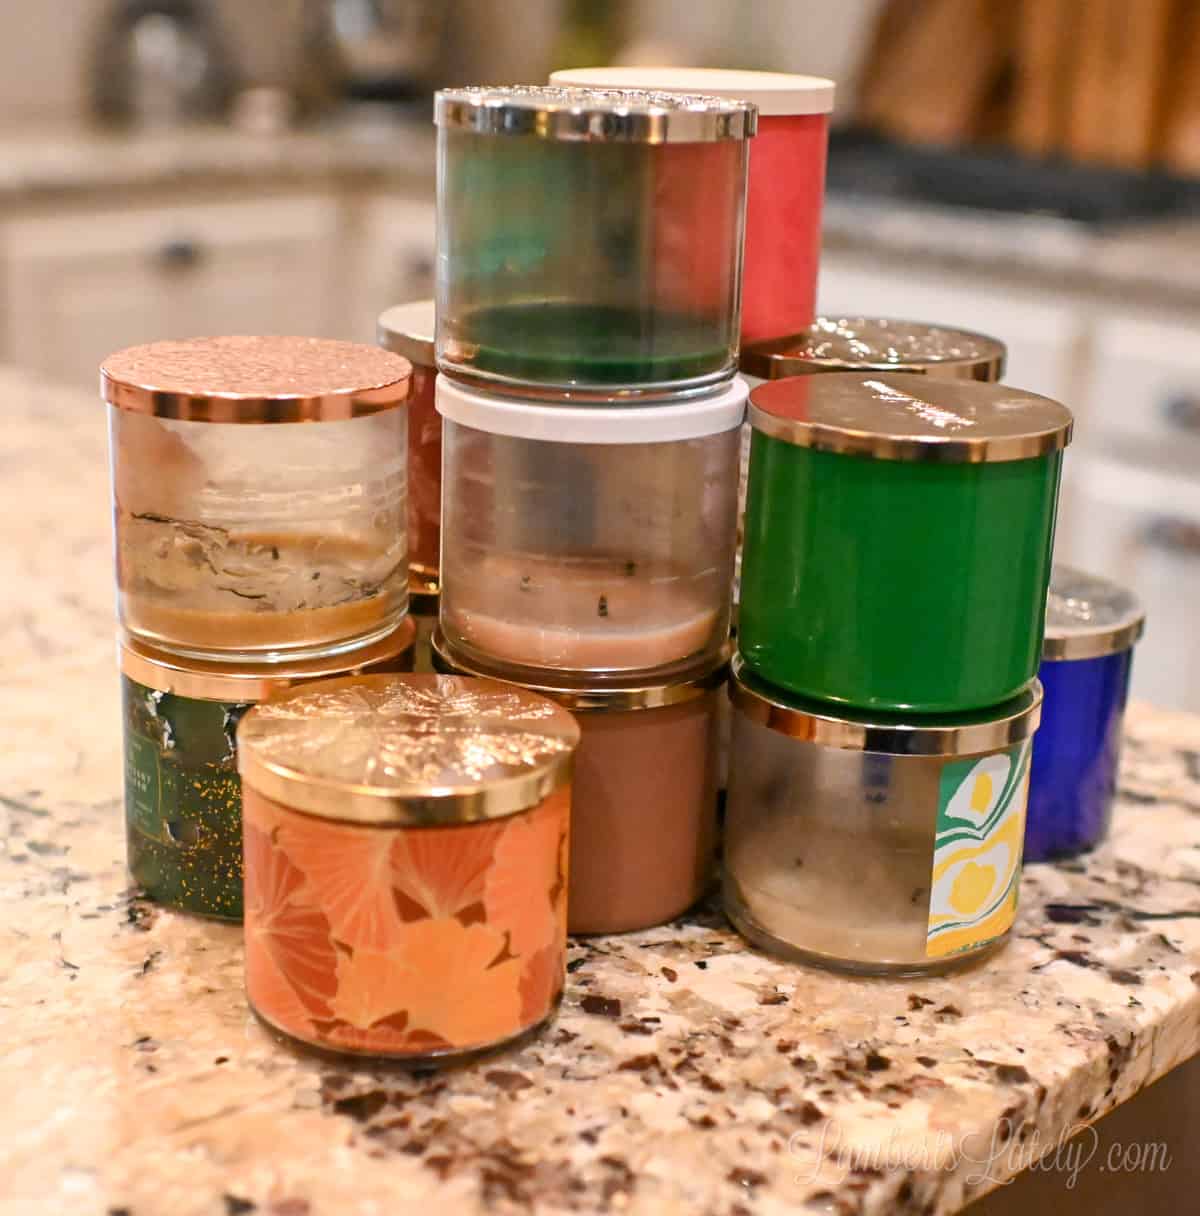
(This is only about half of my old candles - yes, I know I have a problem.)
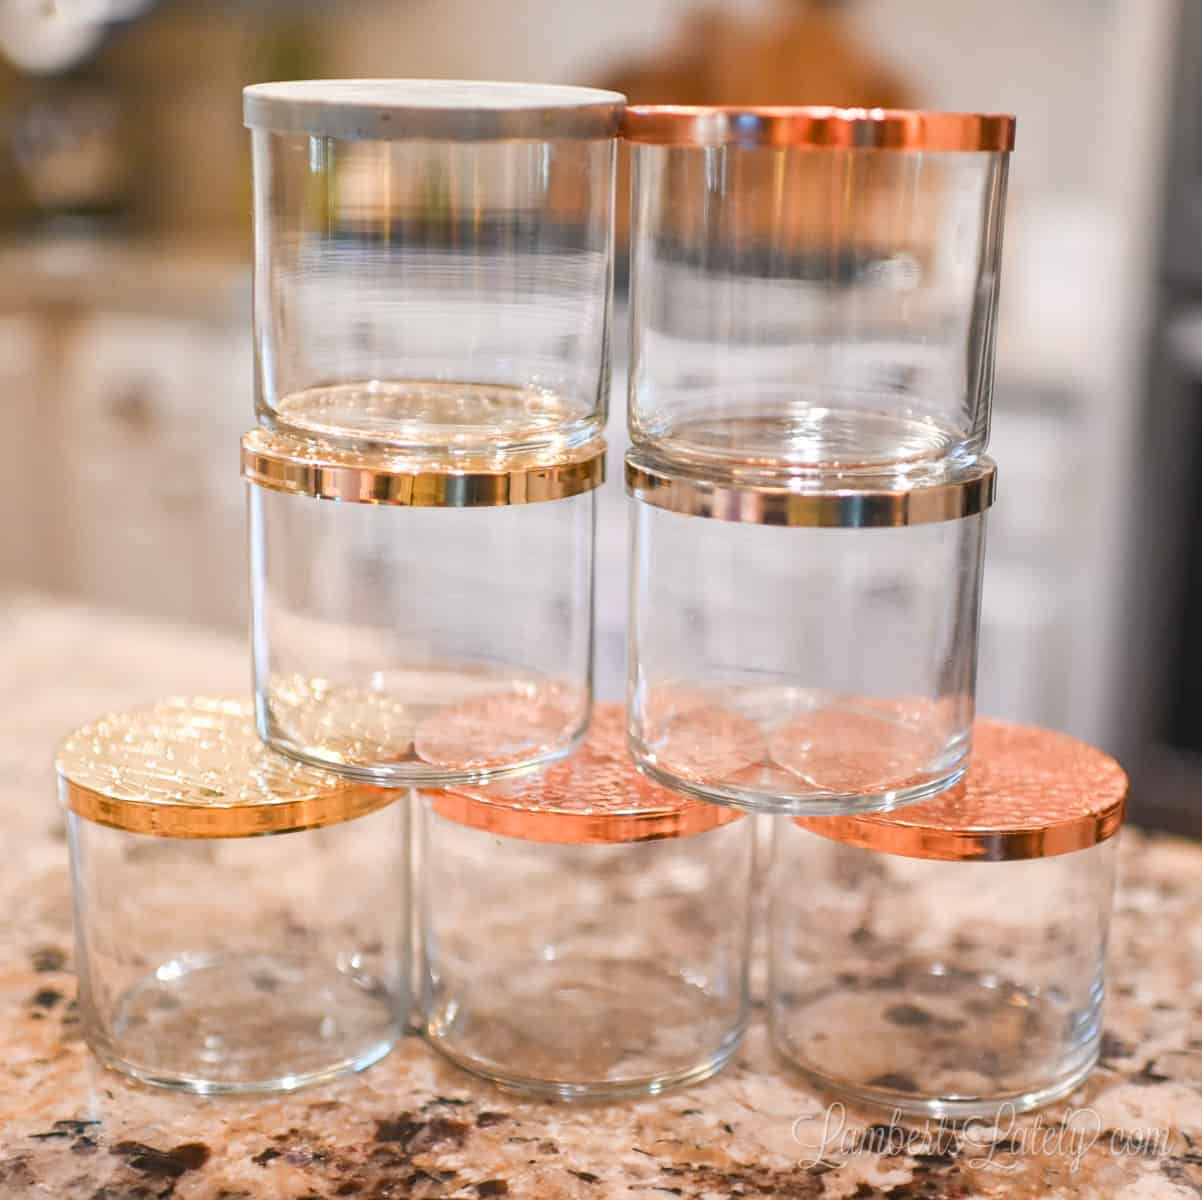
This is also an easy way to reuse those candle jars around your home. They're great in an office, craft room, or bathroom for storage of little items, like cotton balls or Q-tips. They're surprisingly easy to clean out with a few quick steps.
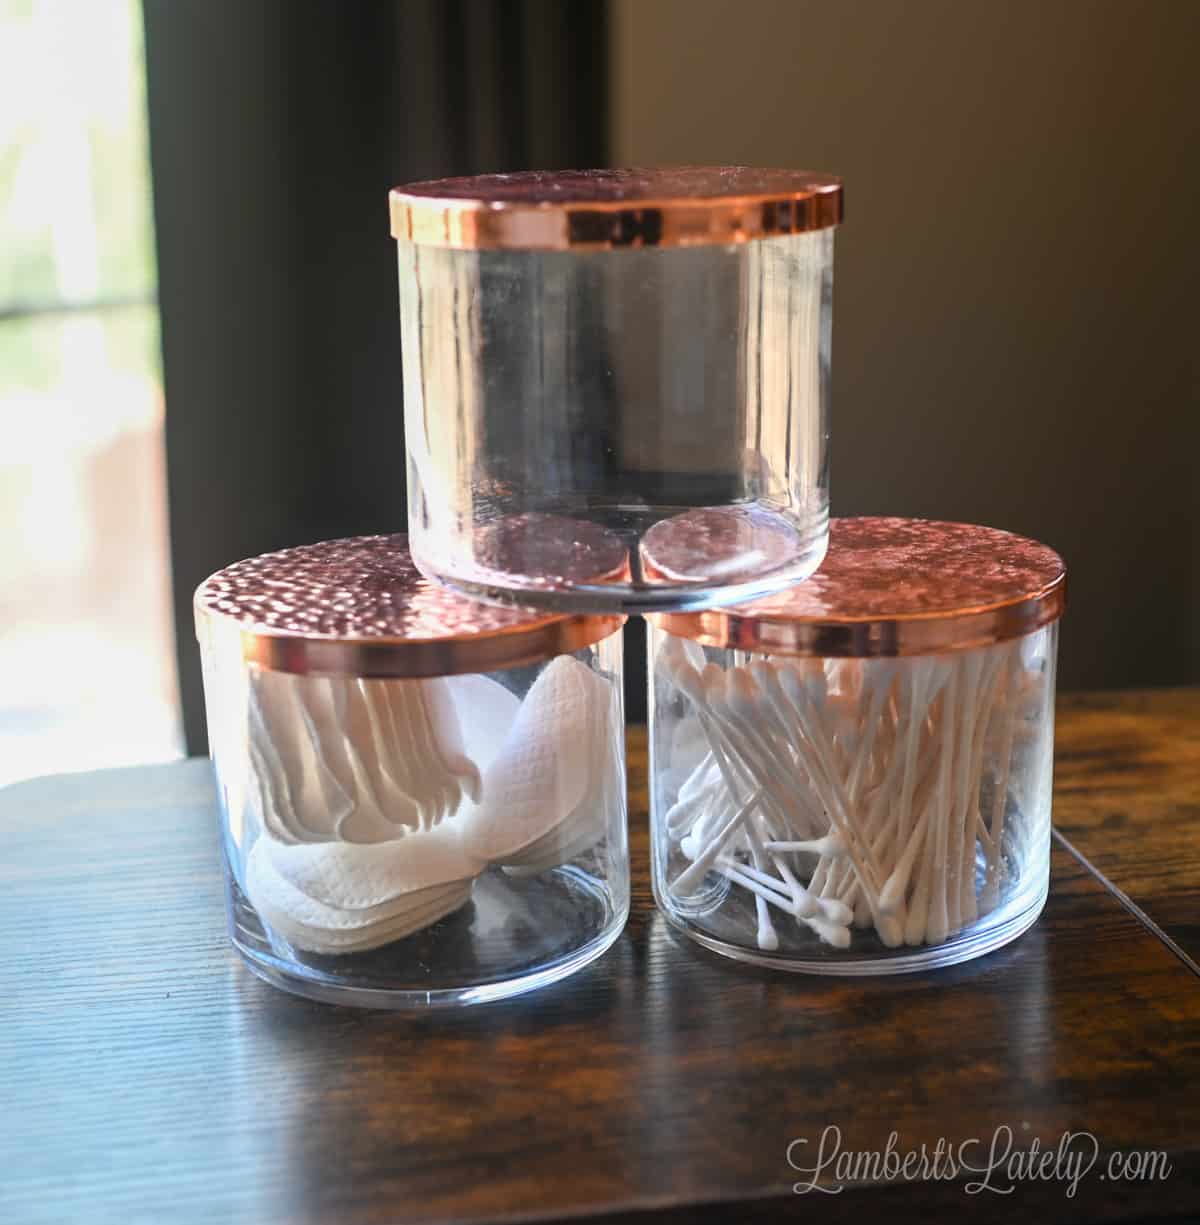
This is a cost-conscious DIY that will put that leftover candle to good use. Not only will you get a little bit of extra use out of that wax, but you'll also have a pretty glass container at no extra cost!
(Note: these methods are for glass jars only.)
Step 1: Remove wax from the jar.
This is probably the most time-consuming part of cleaning out those jars. Once the wax is out, the rest of the cleaning process is super simple.
Wax Removal Method 1: Freezer
This one is my least favorite method (for reasons stated below), but I thought I'd show it just for reference.
With this method, you just put the old candle jar in the freezer. Allow the whole candle jar to freeze overnight to shrink the wax down just a little (enough to make it easy to remove).
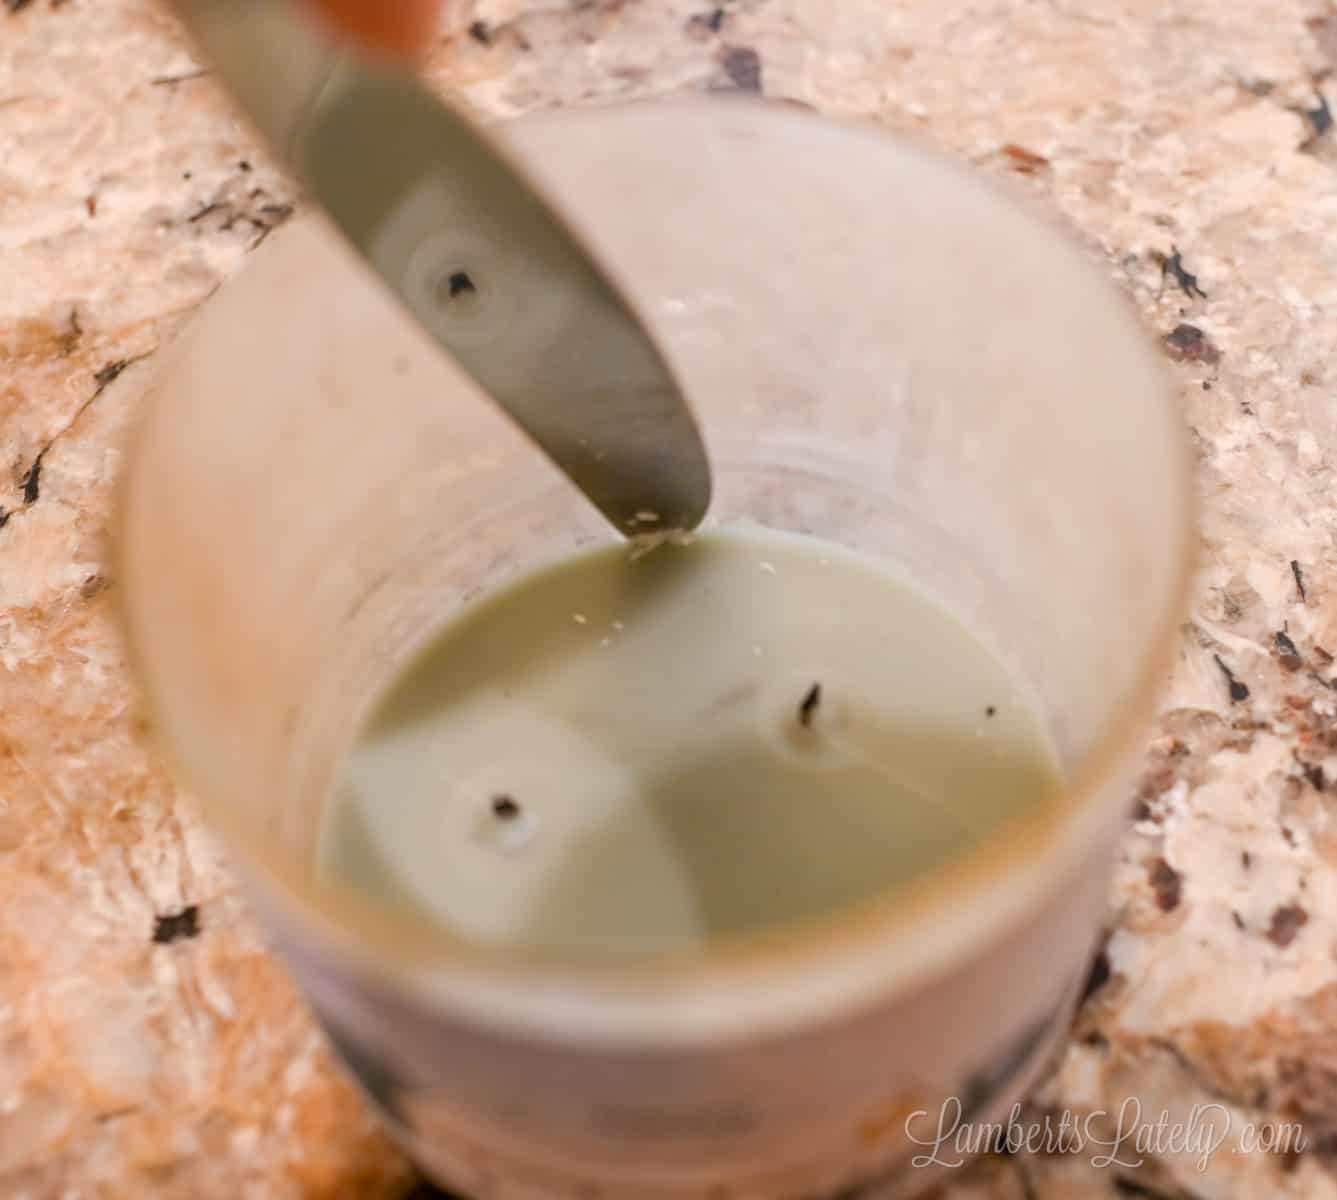
The next morning, use a butter knife to gently scrape around the sides of the candle wax. You might hear a pop as you do this - that's the wax popping out of the jar. Then, turn your candle jar upside down - the wax will come right out in one piece.
Advantages: no need to use heat to remove, takes the least work to remove wax
Disadvantages: takes the longest to complete, doesn't remove the wick from your wax, is the least reliable method (sometimes it just doesn't work), and even if it does work can still require additional heating to fully clean the jar
Candle Jar Cleaning Method 2: Hot Water Bath Method
This is my preferred method - it gets the jar the cleanest in the shortest amount of time and, if you're going for pretty wax melts, this is the method to use.
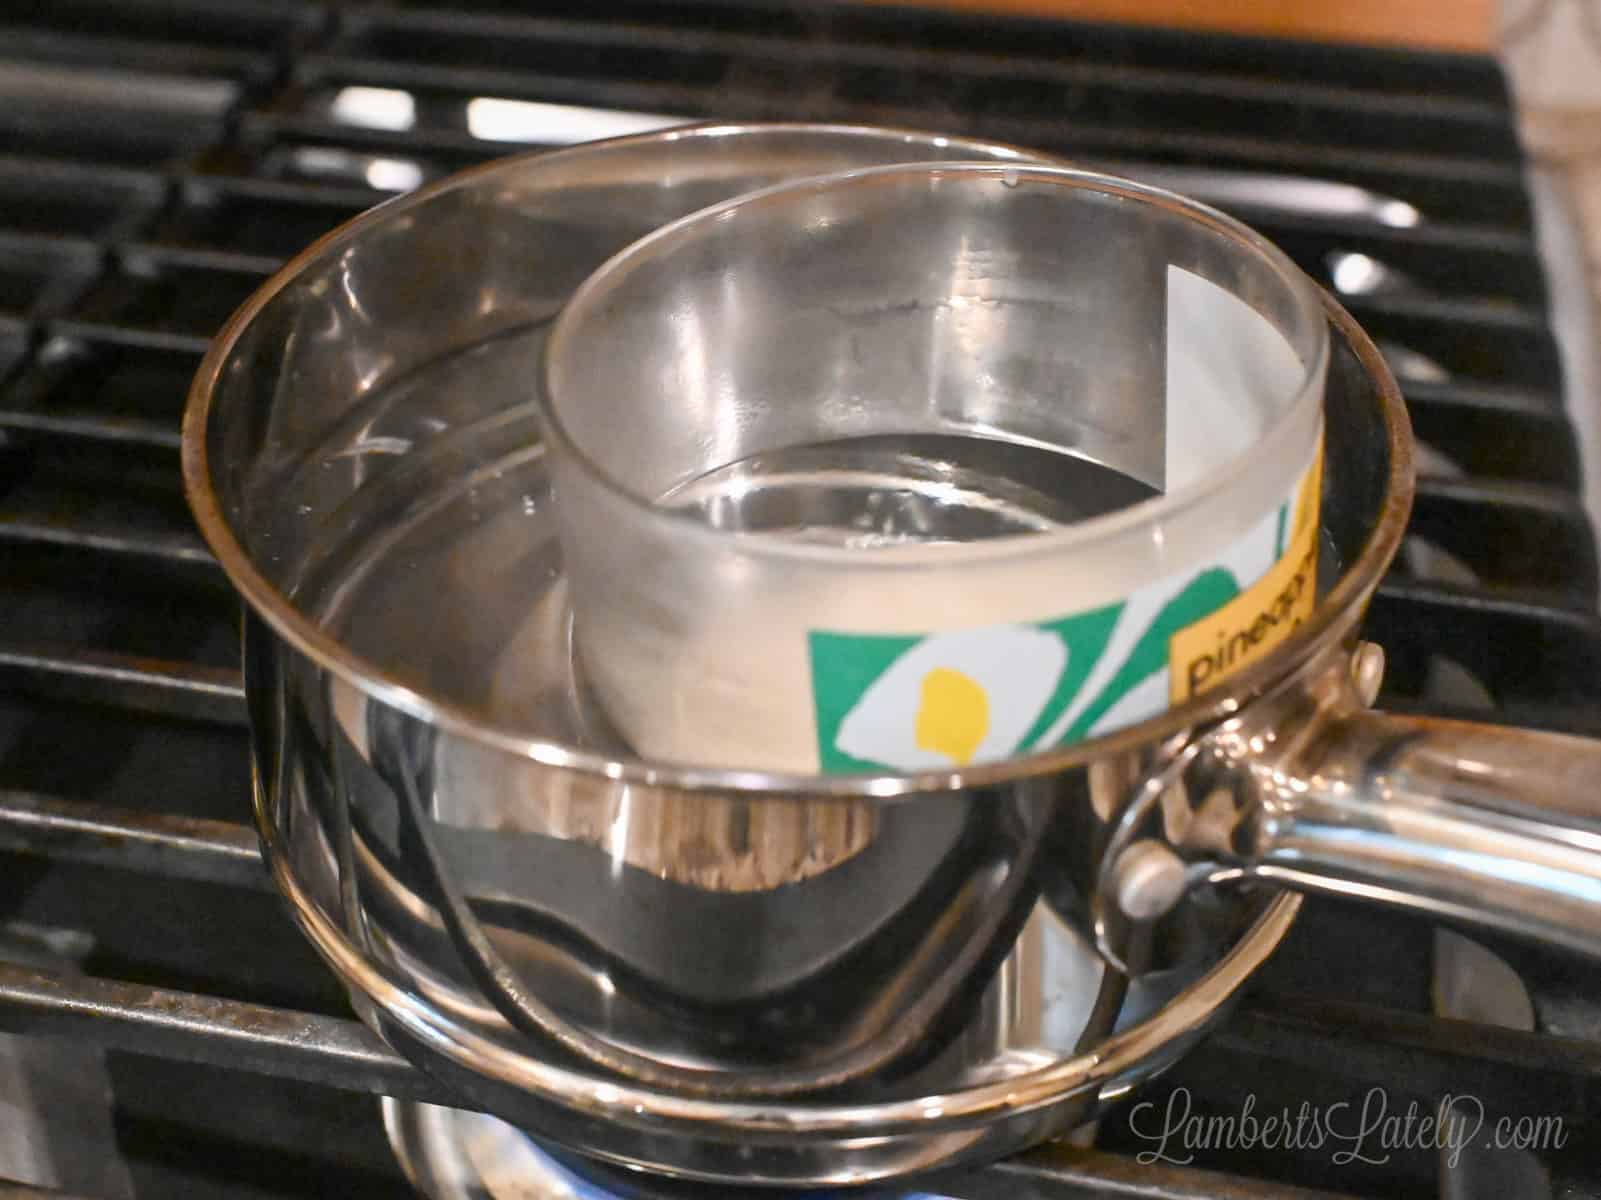
With this method, you heat water in a medium-sized saucepan on the stove. You just need enough water to cover the bottom half of the jar. Once the water is simmering (not quite boiling), very gently add the old candle jar to the water.
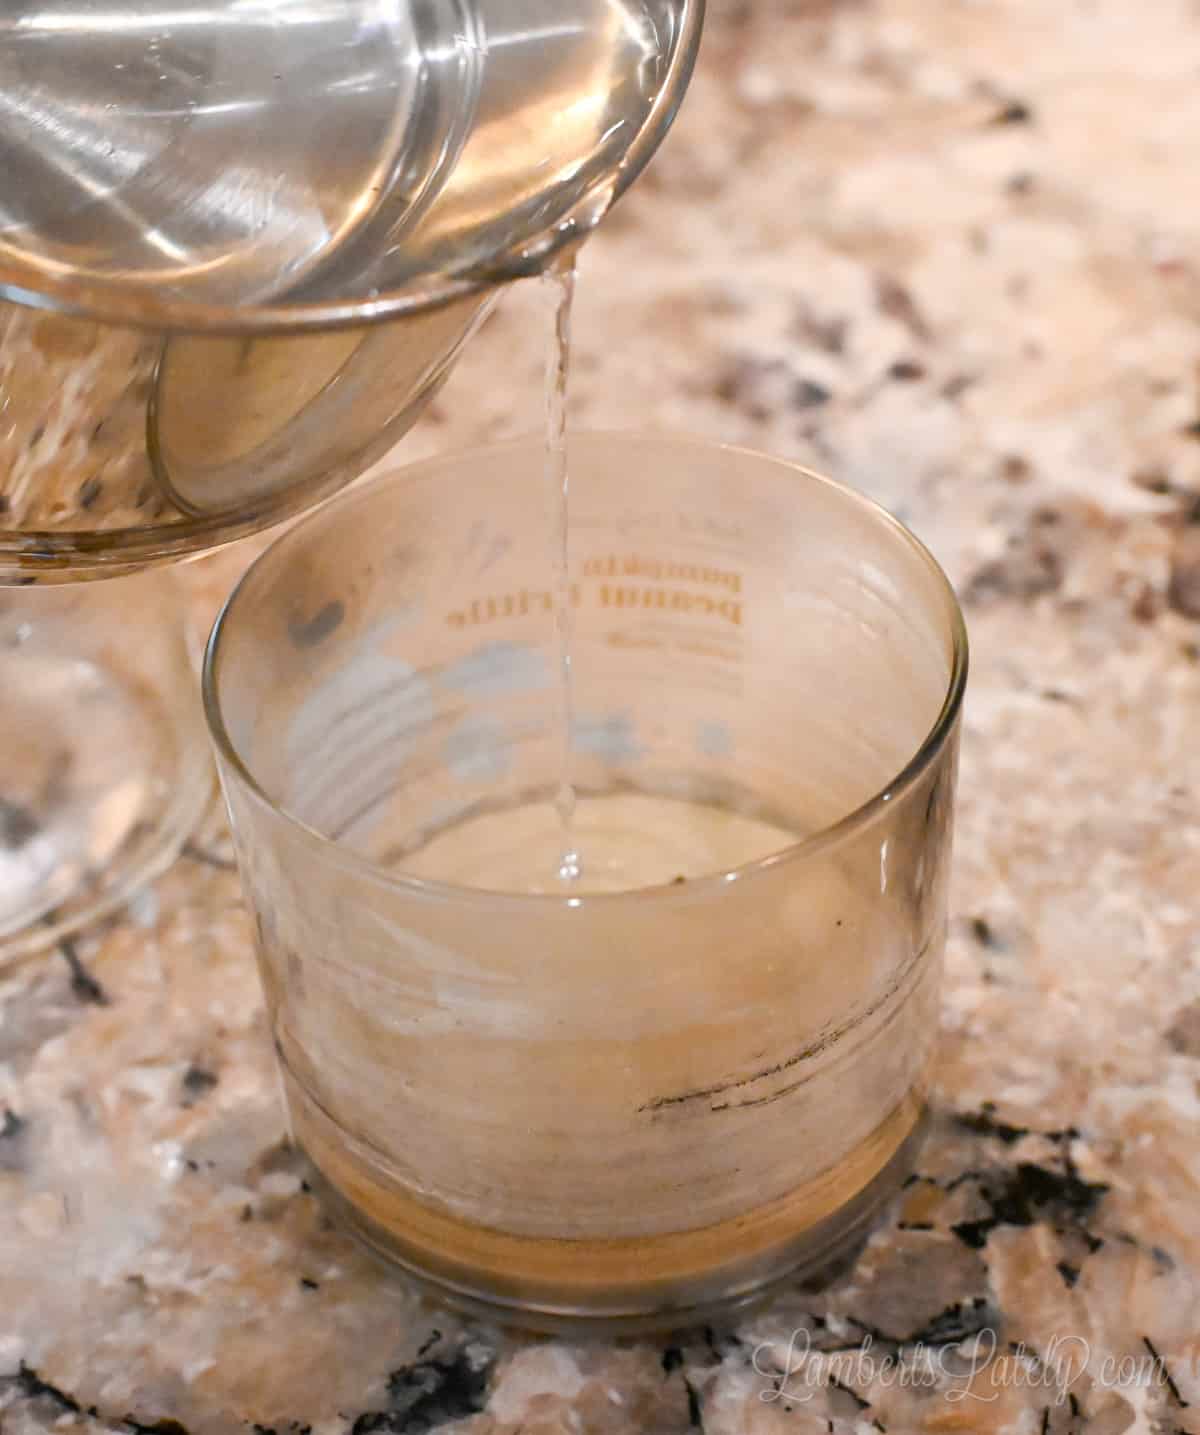
Once the wax is melted, very carefully (with an oven mitt) pour your leftover wax into a mold. It's really helpful to have a silicone oven mitt so you can get a good grip on the glass jar.
Advantages: makes pretty, uniform wax melts, fastest method, removes the wicks from the wax, the easiest method to clean your jar
Disadvantages: you have to work with hot water (and a hot candle jar), can be messy, need a separate mold for leftover candle wax
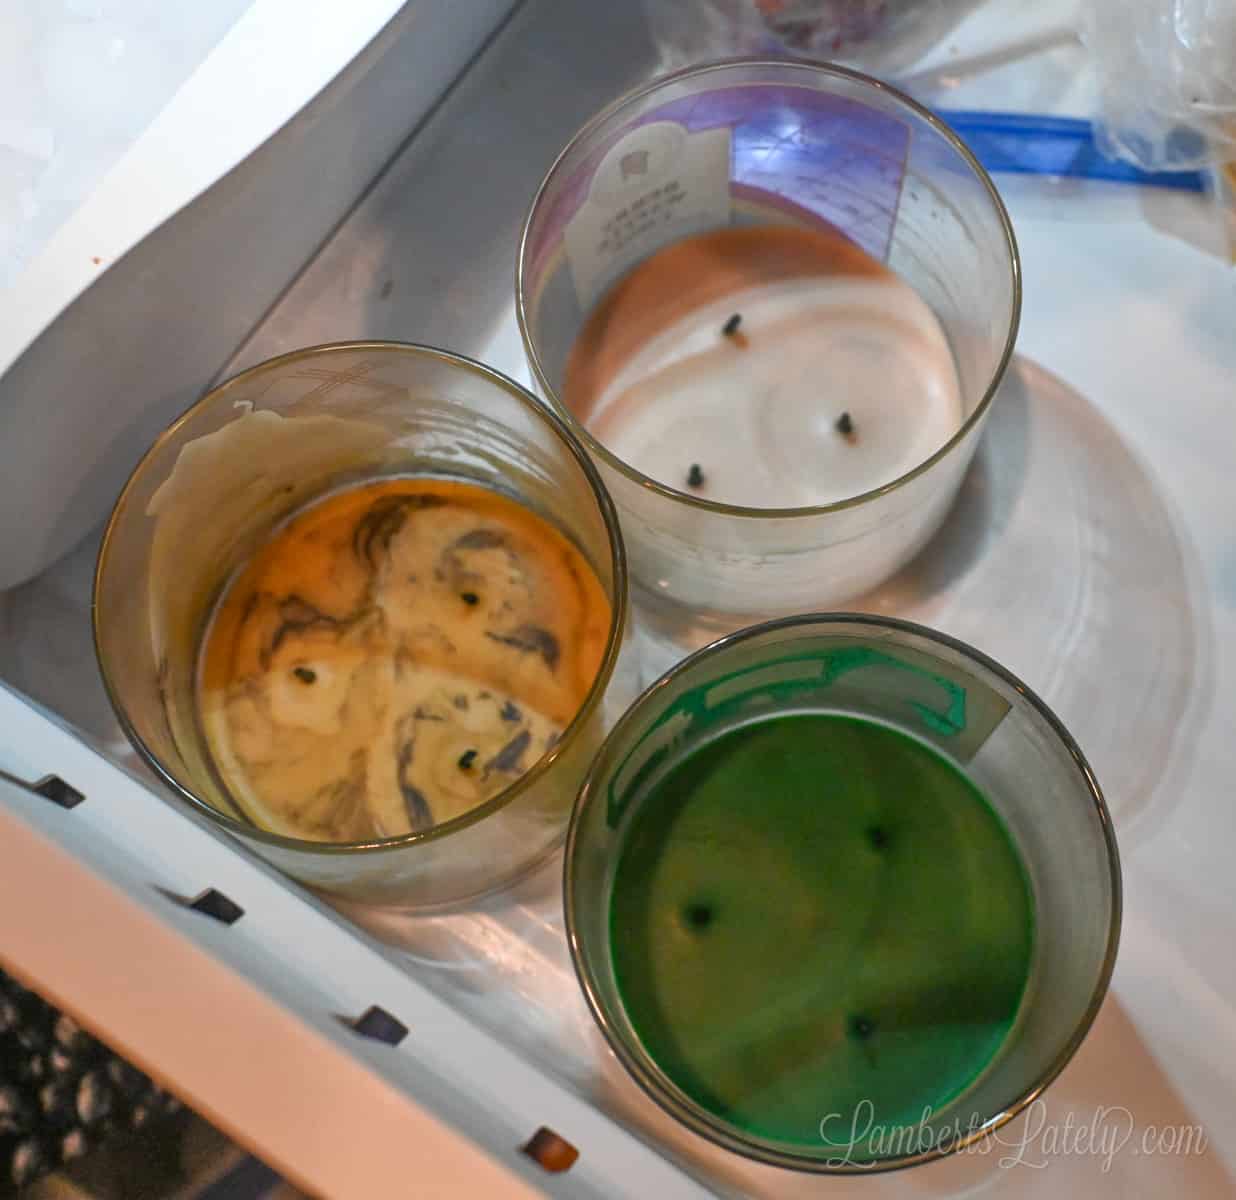
Wax Melting Method 3: Hot Water Pour
This is a great method because a) it's fairly quick and b) it's safer/cleaner than the hot water bath. All you need is a little bit of hot water!
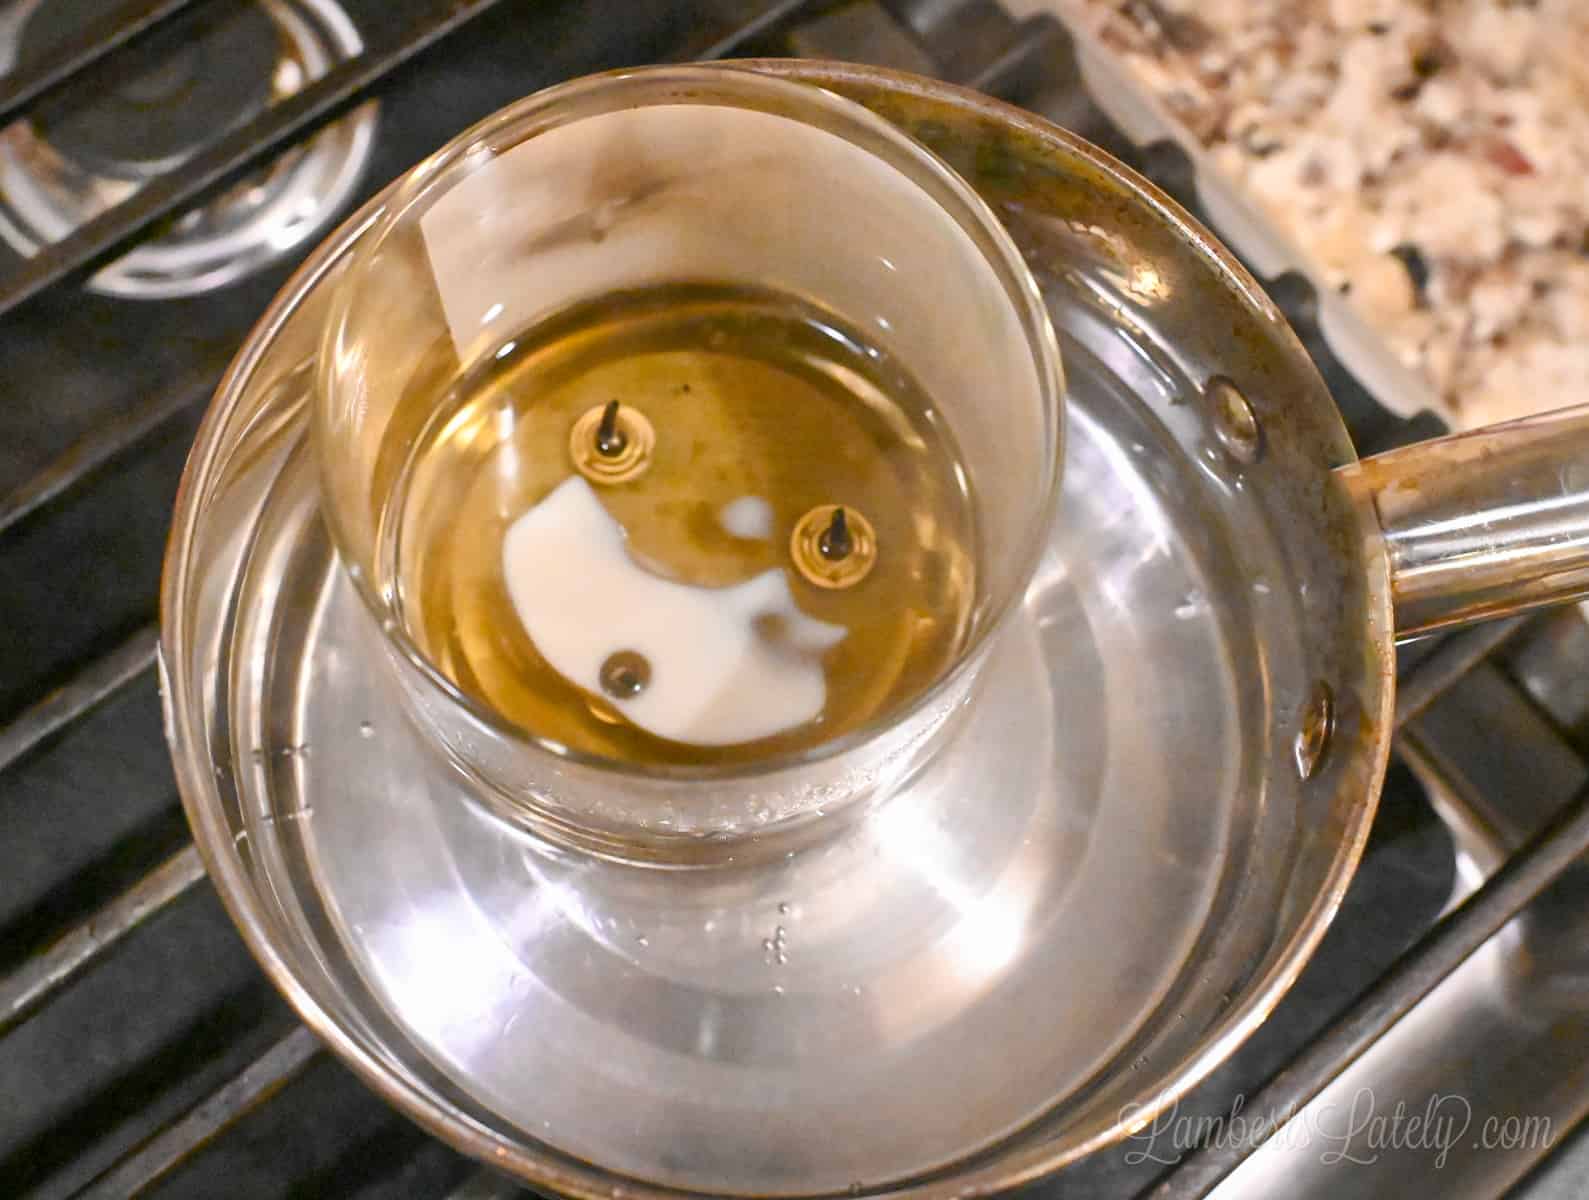
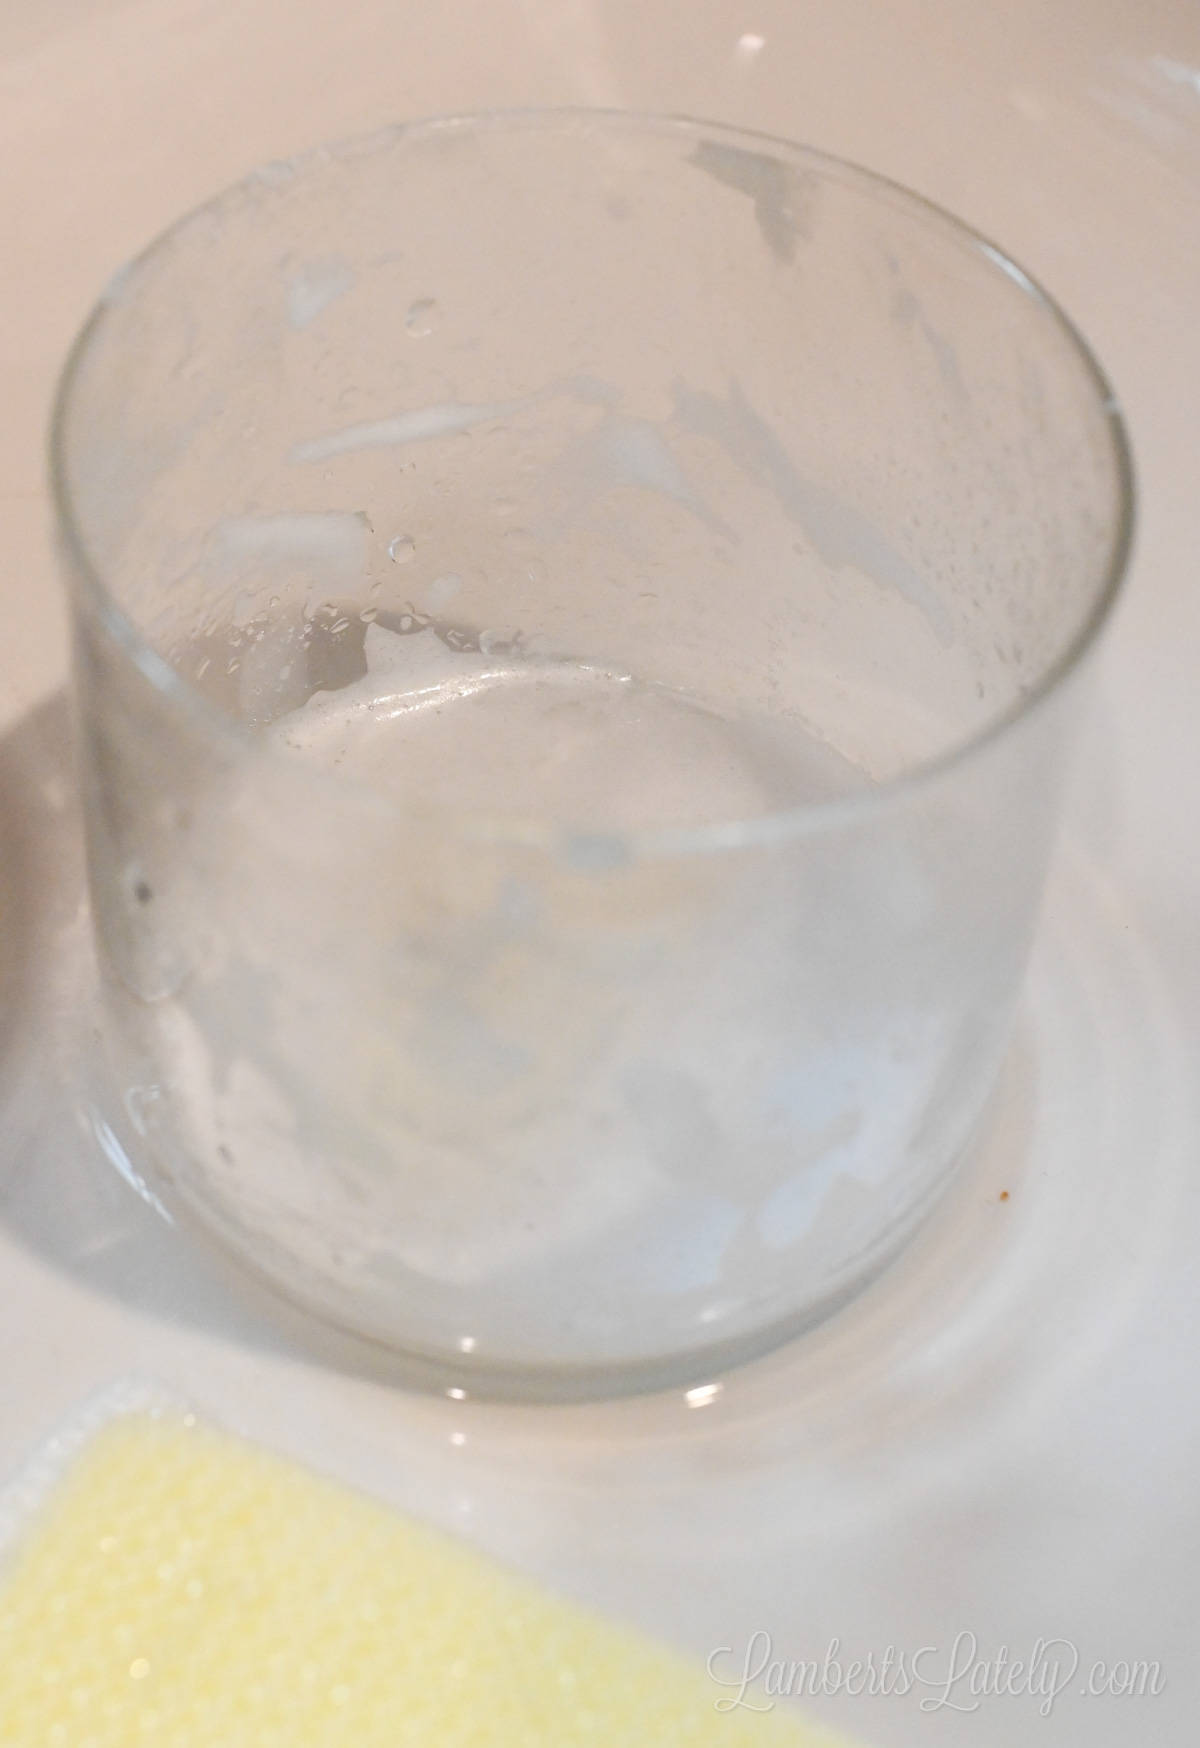
Heat a cup or two of water in the microwave for 3-4 minutes. Then, carefully pour the hot water into the old candle jar, right on top of the wax. After a few minutes, you'll see the wax start to melt and move its way to the top of the water.
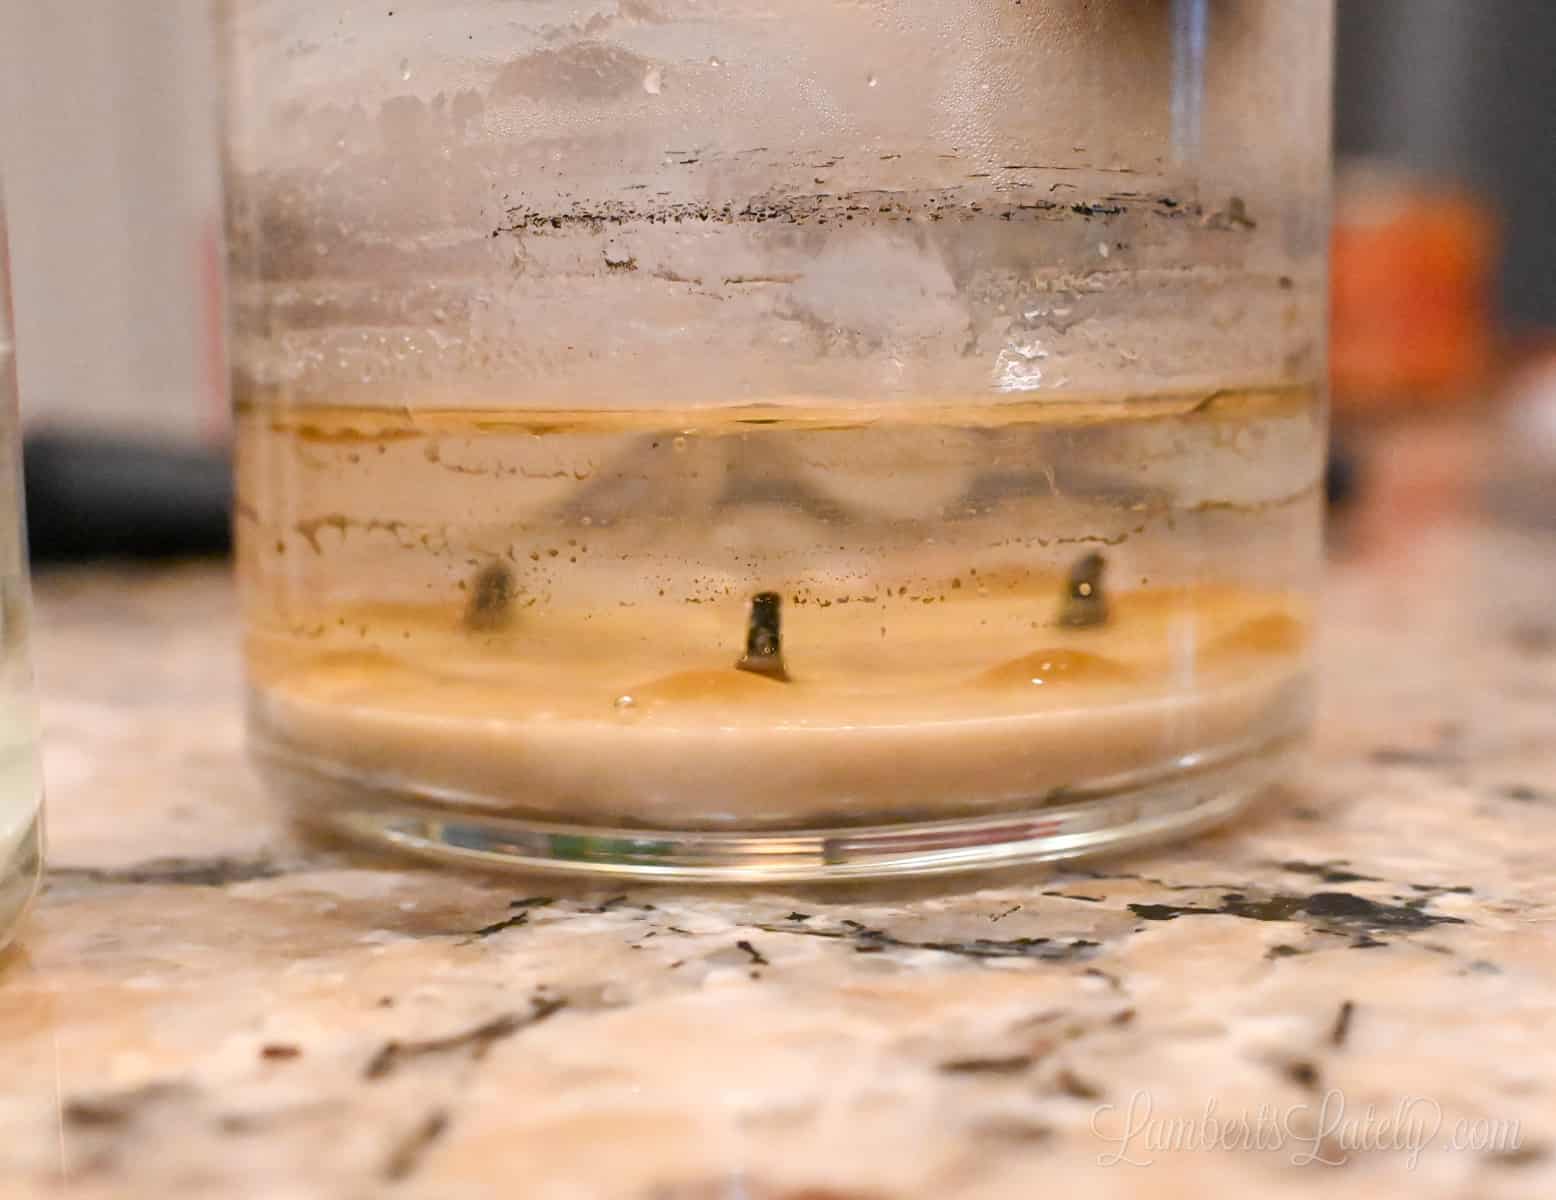
See those bubbles on top of the water? That's melted wax. It will eventually cool and harden into one piece.
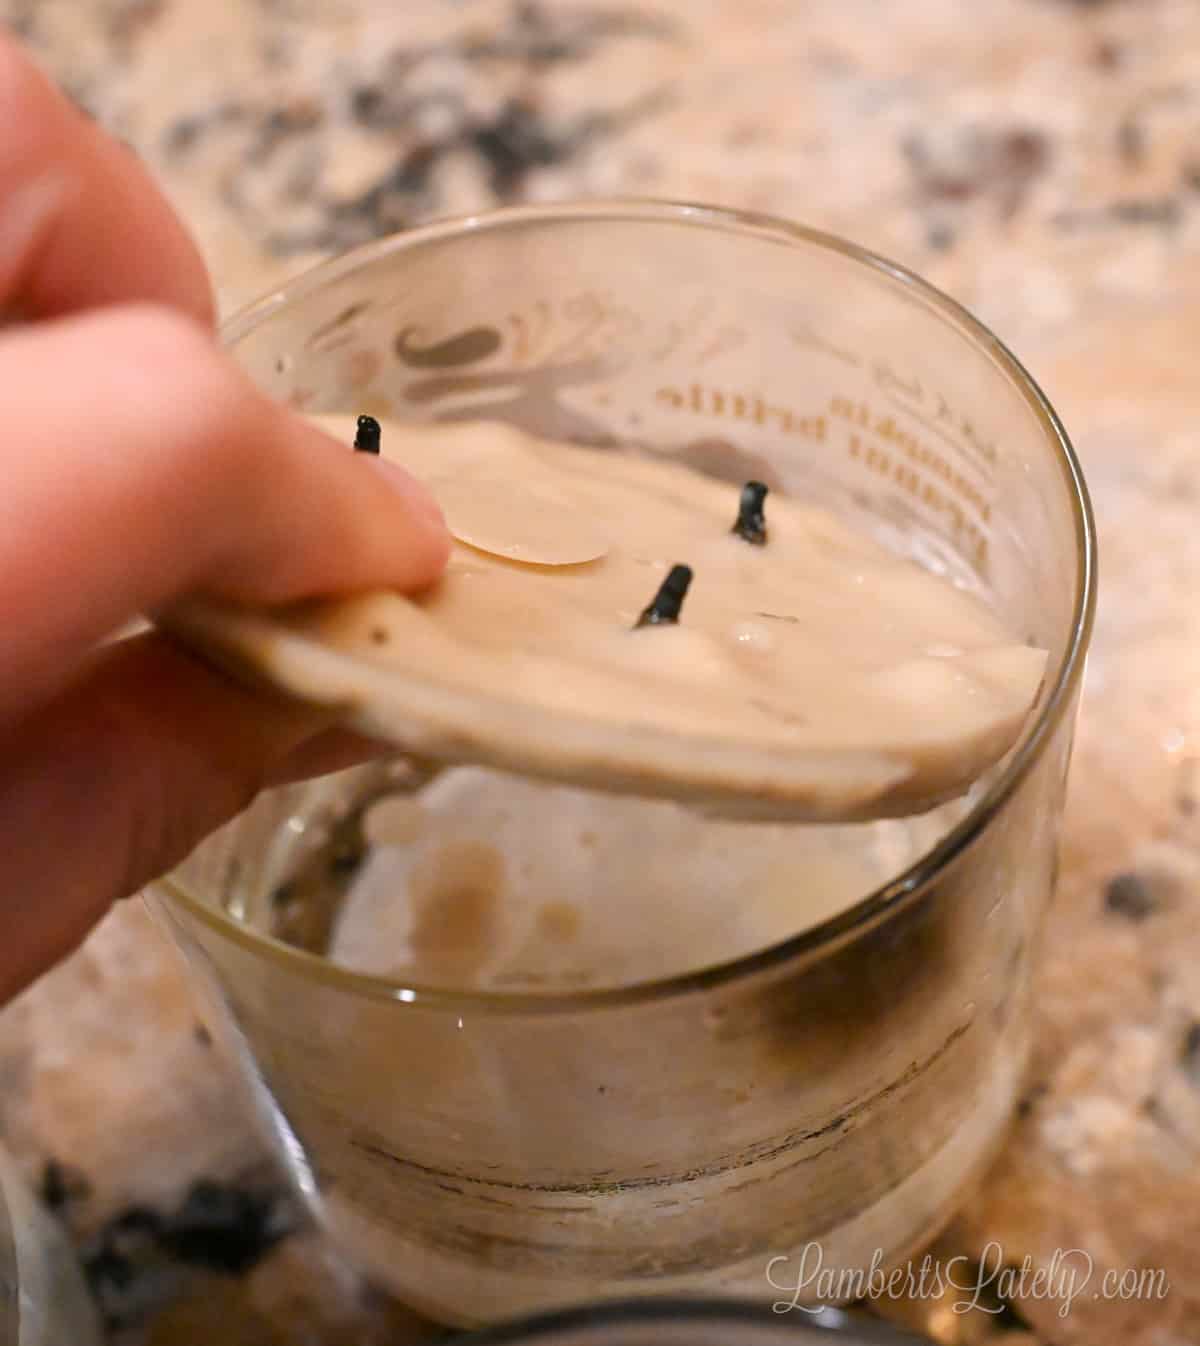
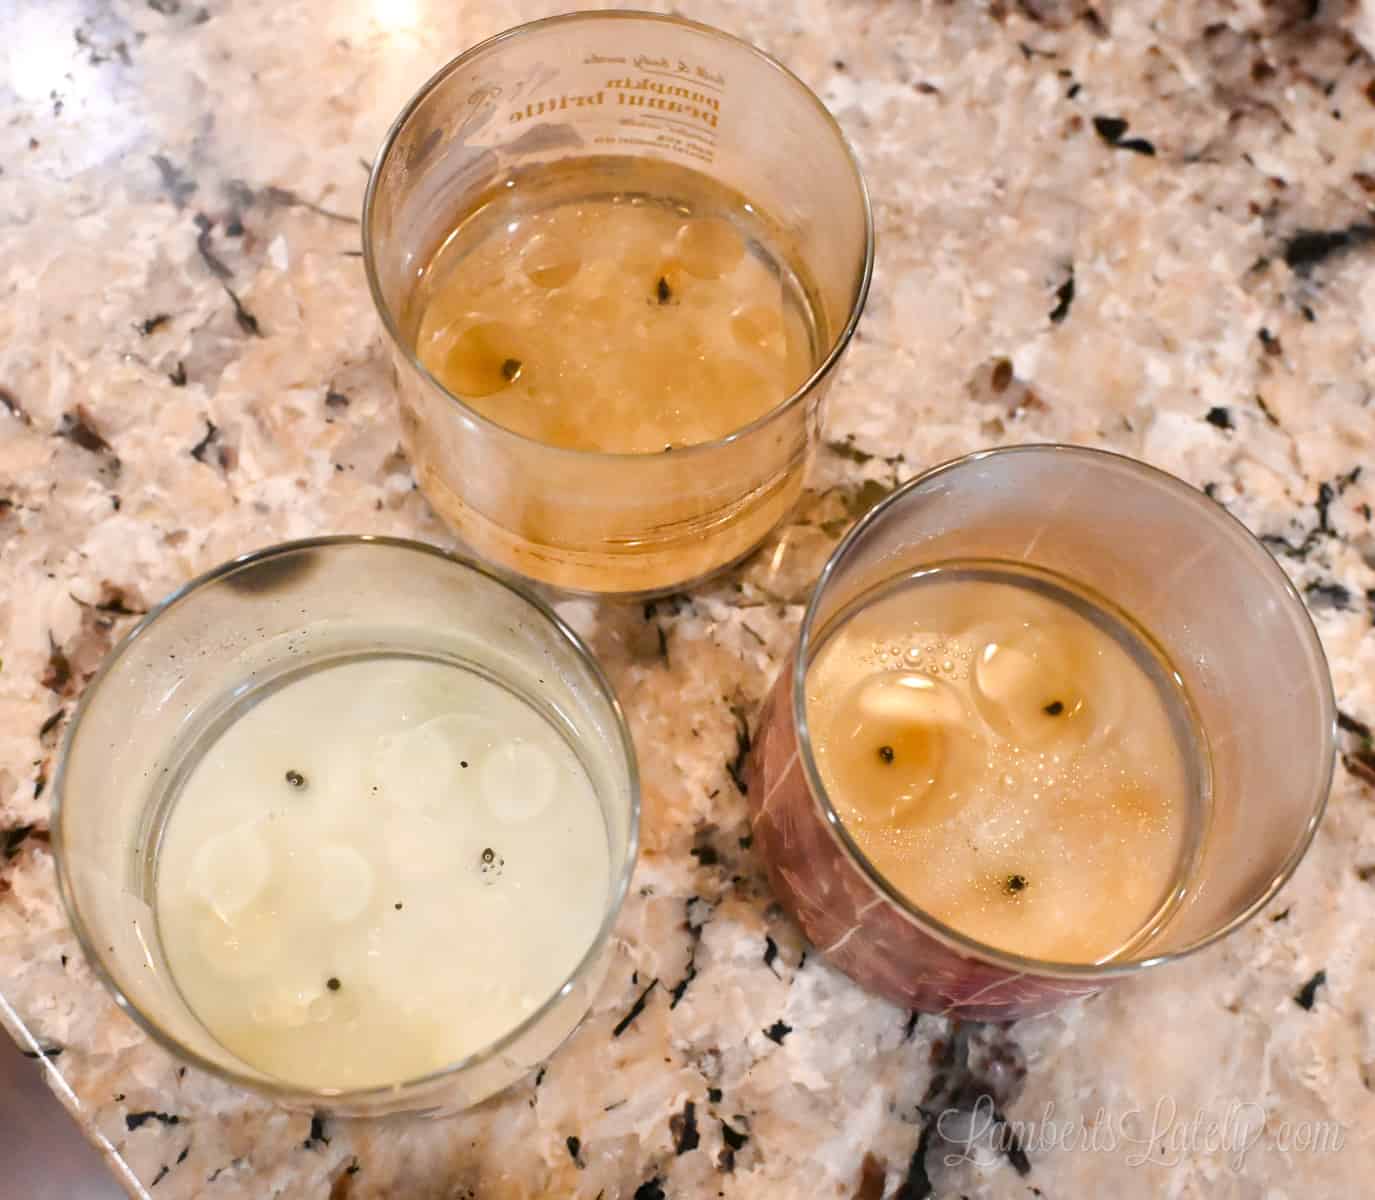
Allow the wax to melt and migrate to the top of the water for an hour or two. You'll know it's finished when the wax on top of the wax hardens. Then, simply pop the re-formed wax out!
Advantages: faster and more reliable than the freezer method, less babysitting than the hot water bath method
Disadvantages: slower than the hot water bath, can use up some scent in the wax, can leave wax/wicks behind (making the jar harder to clean)
Methods That Don't Work
- Oven - you might see some people put their old candle jars in the oven (on an aluminum foil-lined baking sheet) to remove wax, but I don't recommend this one. The candle jar gets extremely hot and is hard to handle.
- Hair dryer - this one takes forever! Submerging the candle jar in hot water is much easier.
Step 2: Remove any residue from candle jars.
Once you've removed the majority of the wax from your candle jar, you can start cleaning it for future use.
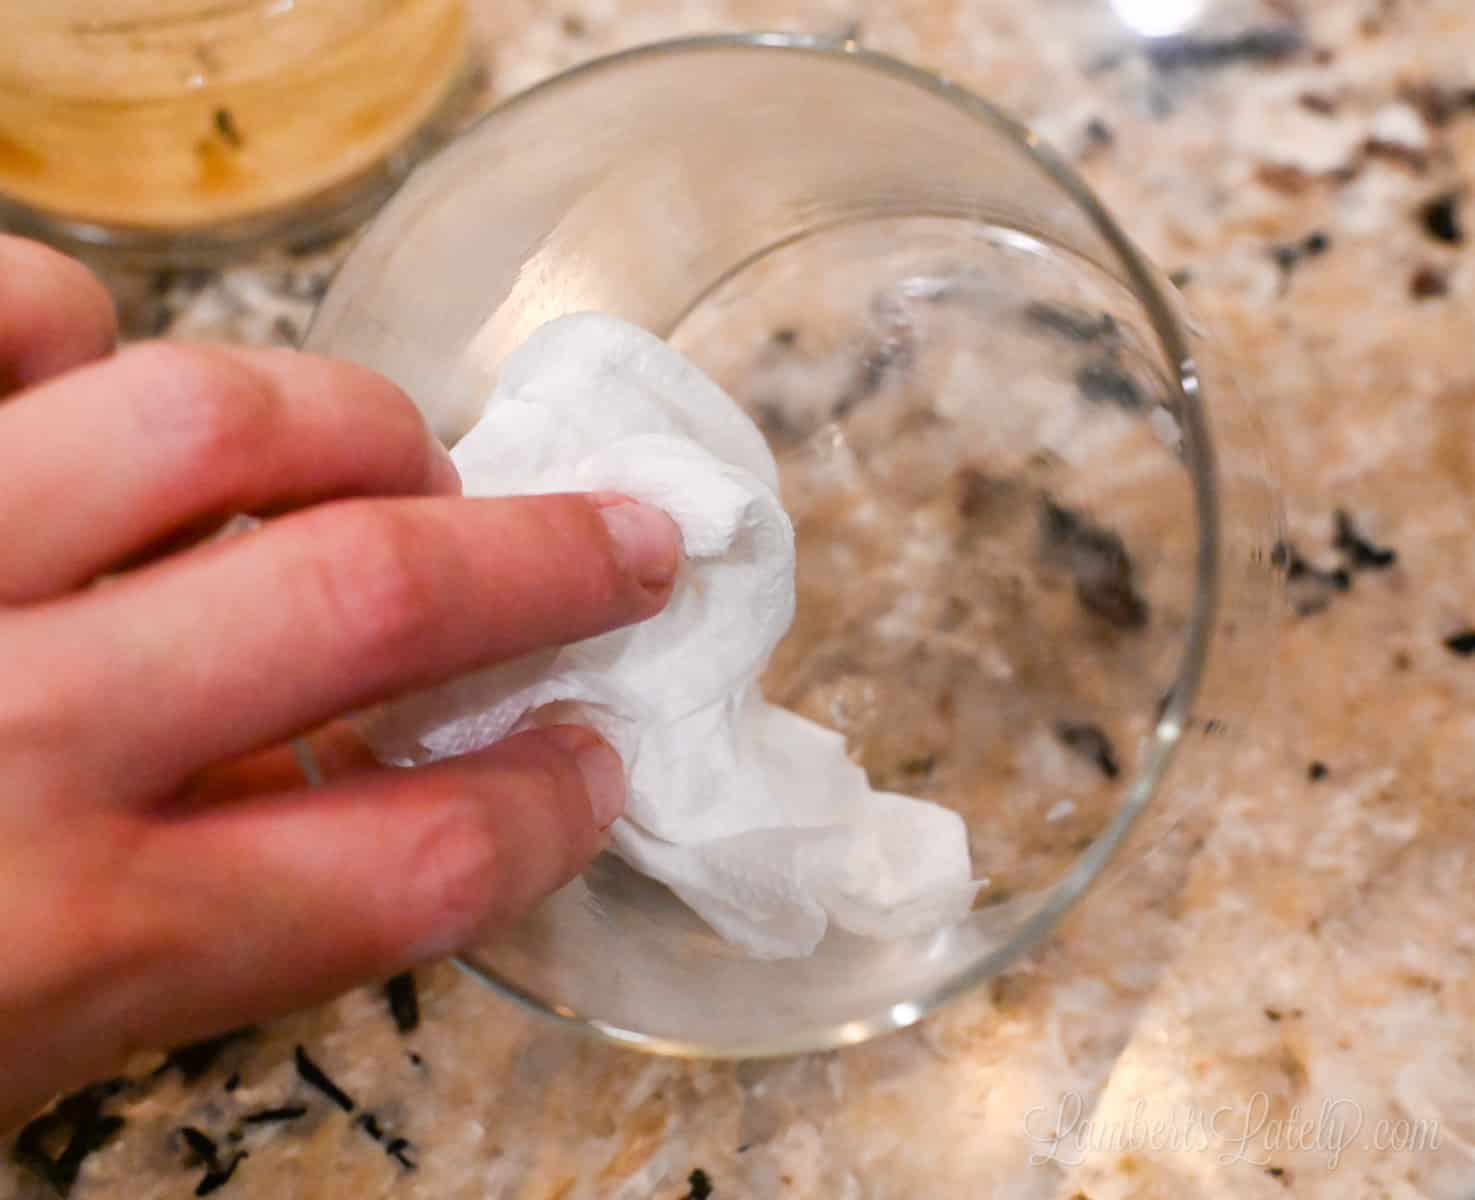
If you used one of the hot water methods, it's best to give your candle the first clean while it's still warm (but cool enough to handle). Use a paper towel to wipe as much remaining wax out of the jar as possible.
Remove the wicks if they're stuck to the bottom of the jar and wipe out any adhesive that held them in. (If you used the freezer method, you might want to dunk your jar in hot water for a minute to get it warm.)
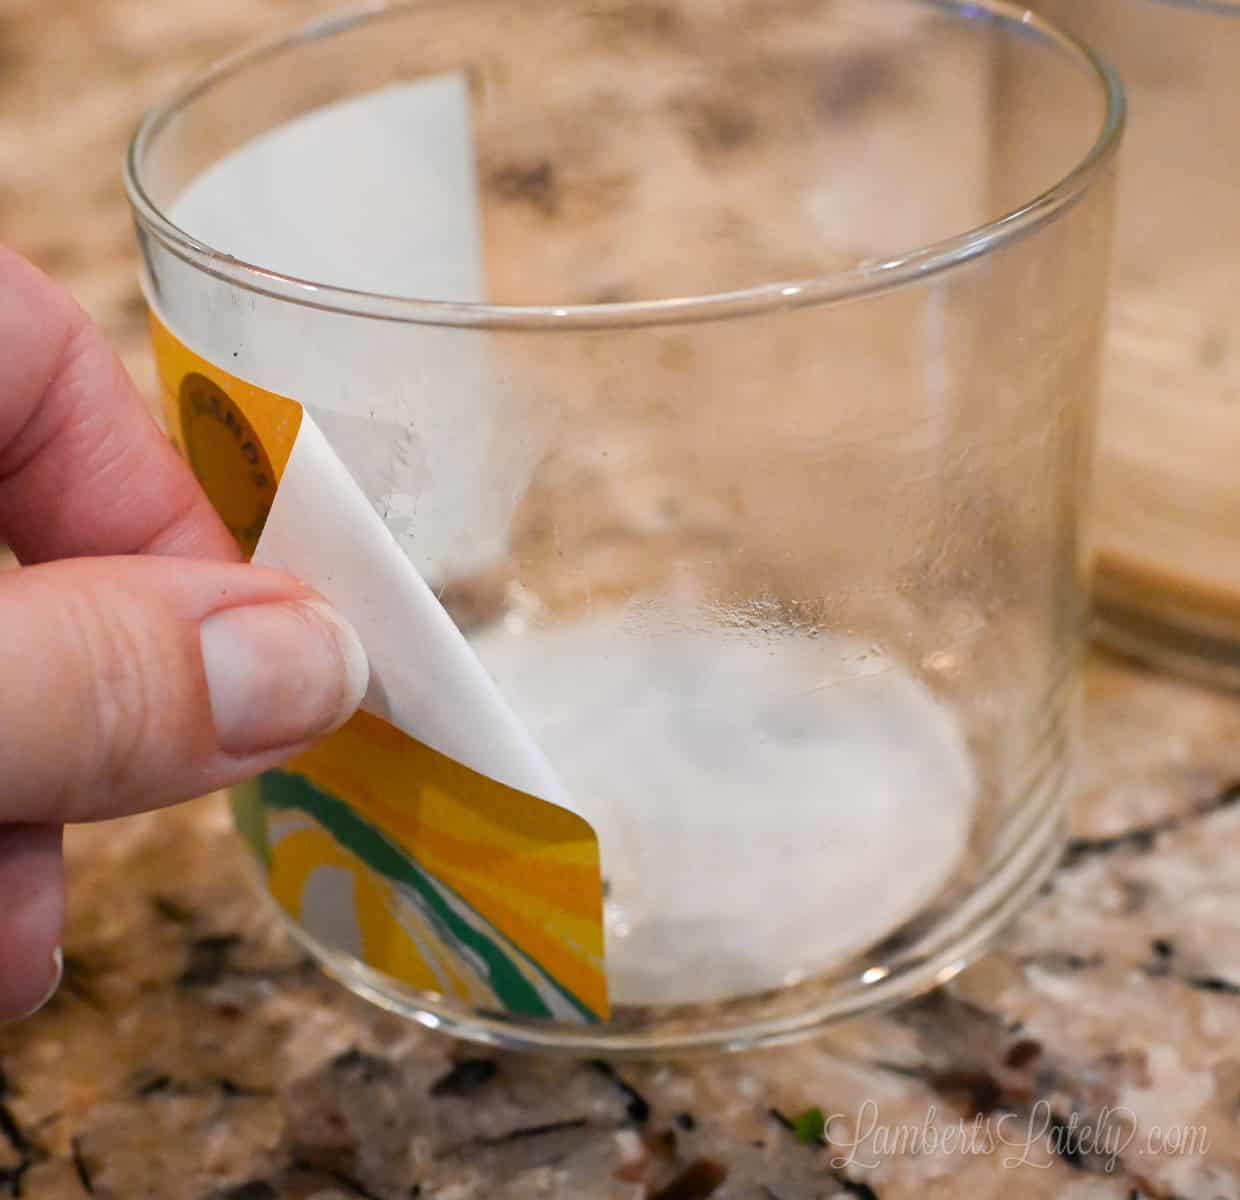
This is also a good time to remove the label. While the jar is still warm, carefully and slowly peel the label and bottom sticker off.
Step 3: Give the jar a bath.
Give your candle jar a good bath in warm water, gently scrubbing the inside and outside of the jar with a scratch-safe pad. Add some dish soap to the candle jar and scrub lightly until any leftover candle wax or adhesive residue is removed.
If there's any stubborn adhesive on the jar, Goo Gone is great for getting that last little bit of residue off.
Finally, pop it in the dishwasher to get any remaining bits of wax or adhesive. It should come out of the dishwasher squeaky clean!
How to Make Wax Melts
Since you've got the leftover wax anyway, you might as well use it!
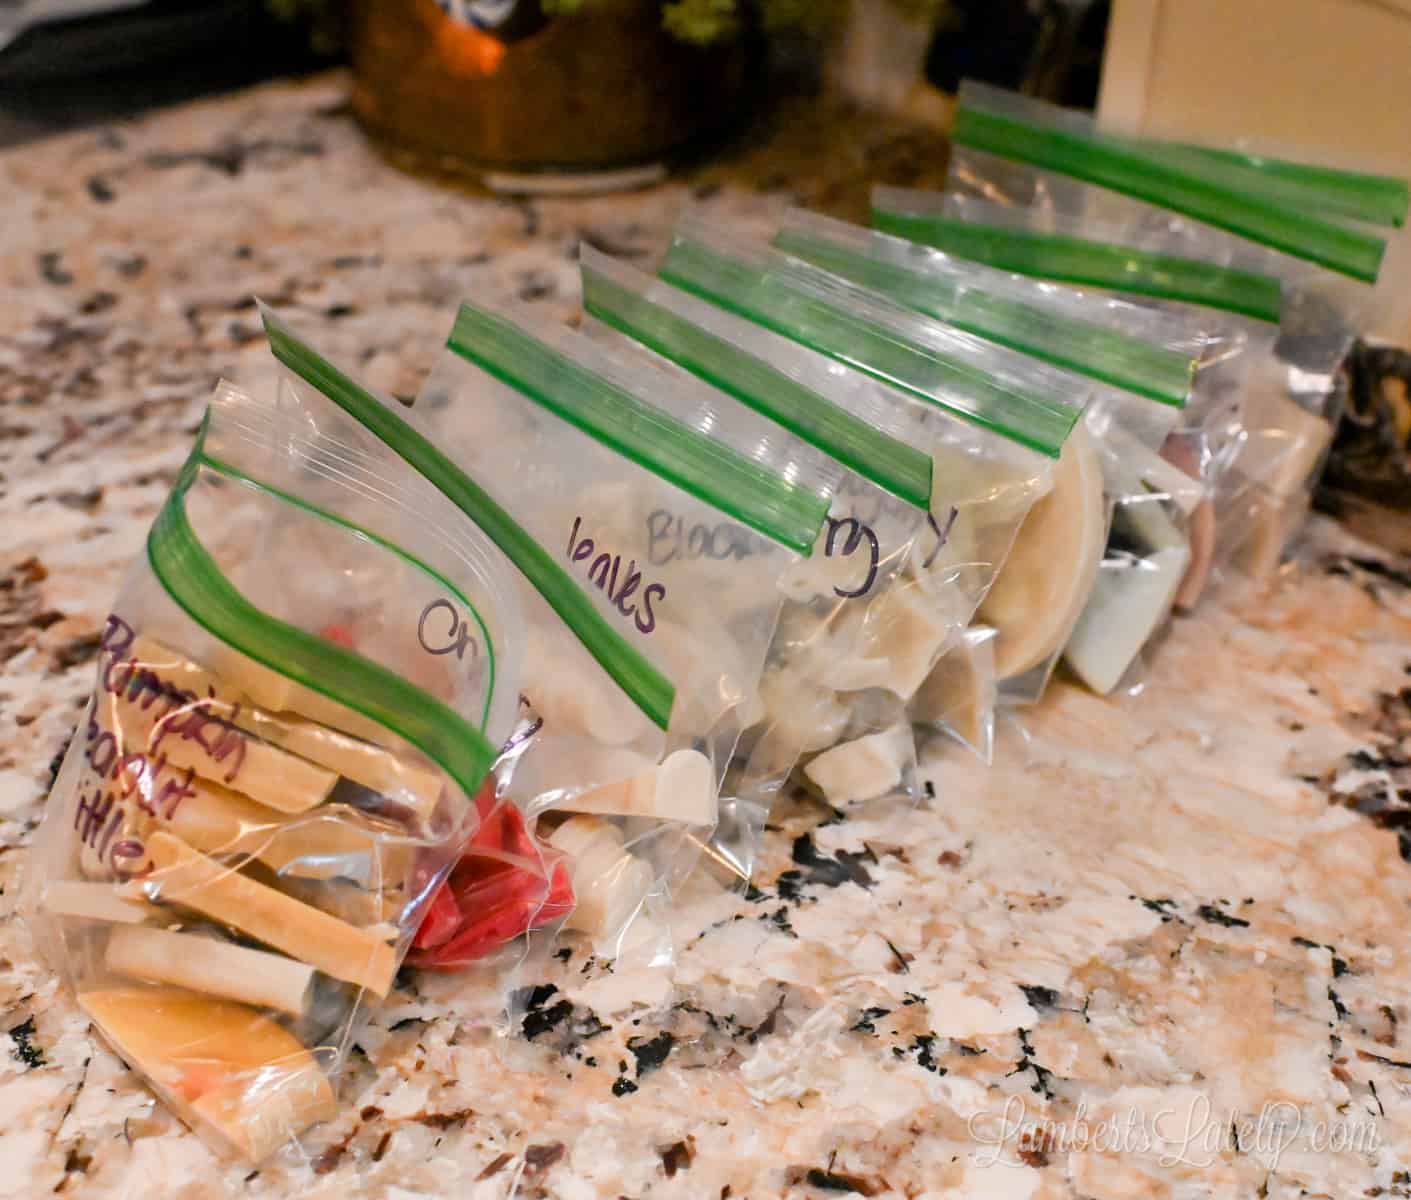
With the freezer and hot water pour methods, your wax pieces will be solid when you remove them. I prefer to break up the little pieces of removed wax and store them in a plastic baggie for future use. Make sure you label your scents for future reference!
The wicks will sometimes still be in the wax with the hot water pour and will always be with the freezer method. They're easy to remove though; just break your wax at the point where the wick is in the wax; the break will typically fall right at the wick, so you can easily pull it out.
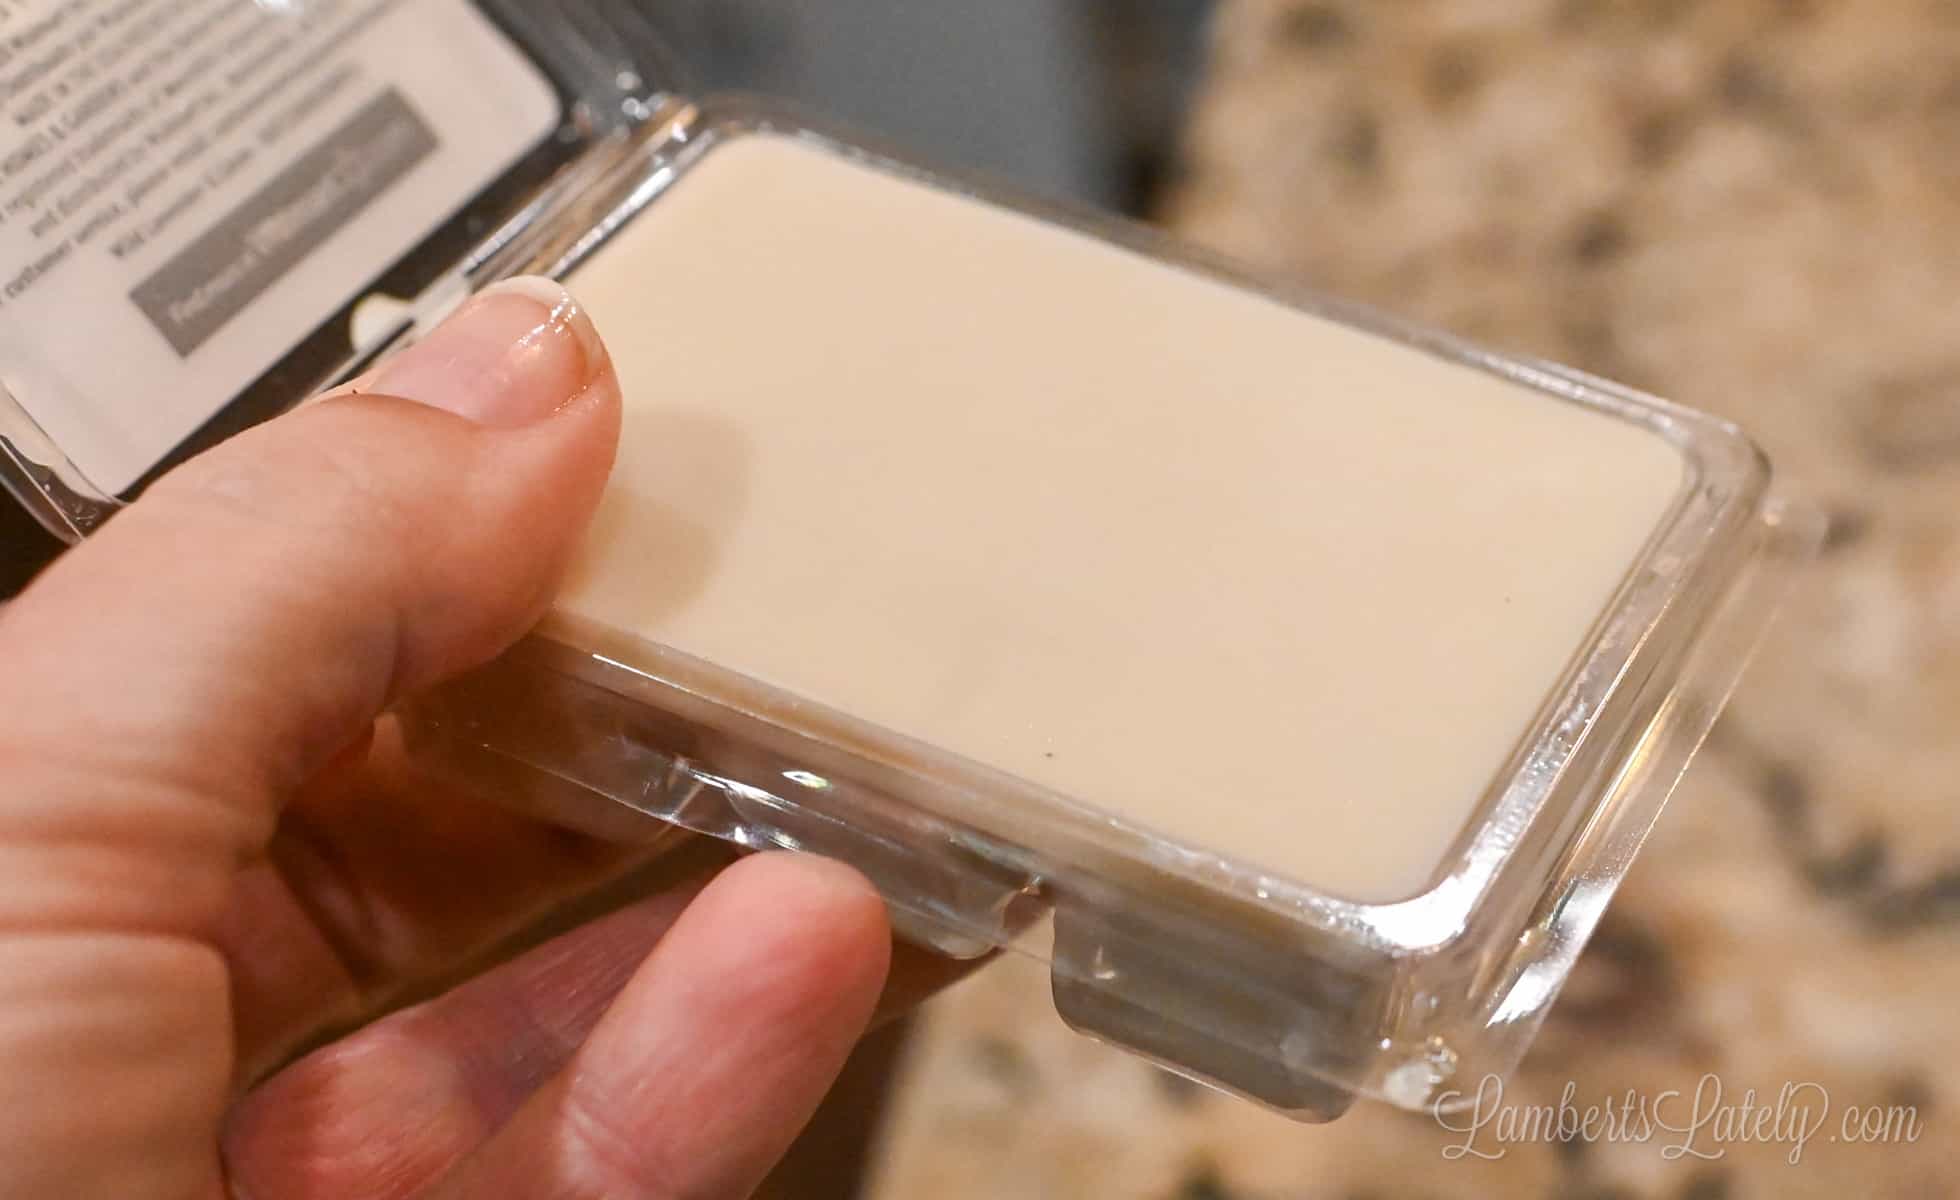
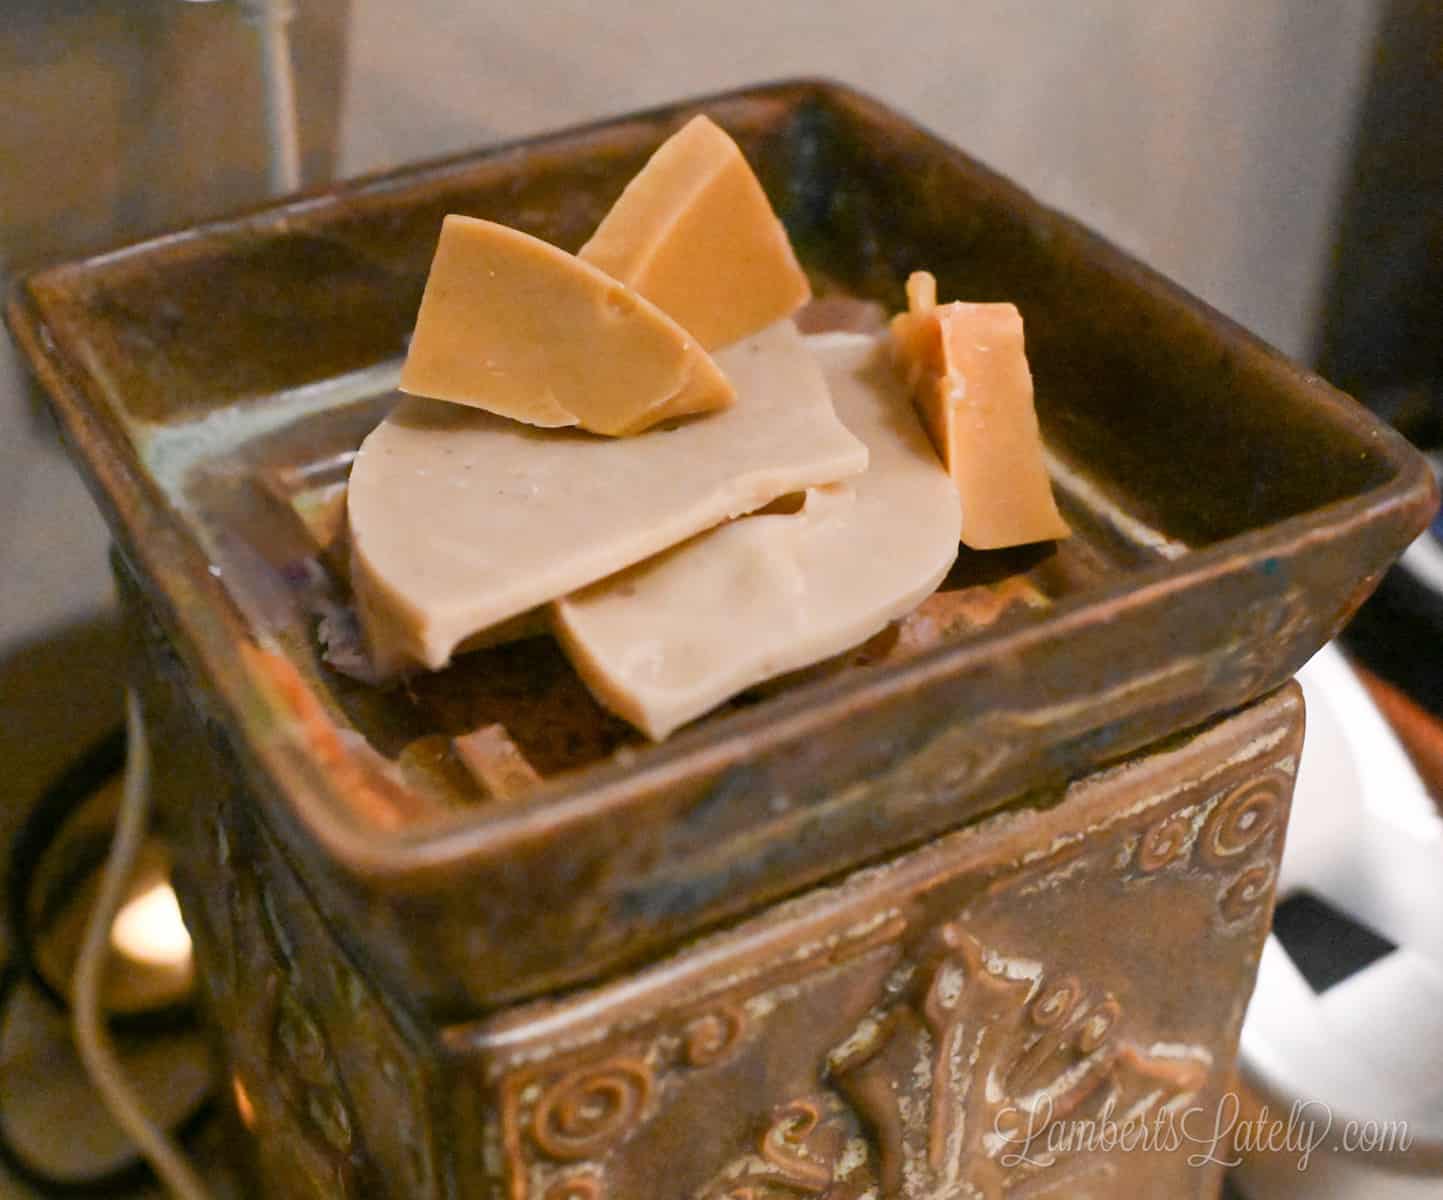
With the hot water bath method, your wax will be melted when you remove it. You can really form it into any shape you'd like. I like to save old clamshells from store-bought wax melts for this step, or you can use any kind of silicone mold if you'd like smaller wax tarts.
Allow the wax to harden for 15-20 minutes in any kind of mold. You can let those harden in the fridge to speed that up.
One note about these wax melts: they aren't going to be as strong as something you buy from the store...some of the scent has already been burned out. I usually use a lot more (think double) of this kind of wax in a wax warmer than I would with typical wax cubes.
Final Tips
- As you're going through jars to save, you will probably decide not to save them all. Make sure to save the "pretty" lids (neutral lids without a brand label) to use on the jars you clean and save.
- If your jar has a wrap-around label, the easiest way to remove it is to just cut it off. Run a knife (carefully!) under the label to cut it and remove it.
- Many jars have a frosted or painted-on covering - usually found in colored (non-clear) jars. If you do decide to keep one of these, be extra careful when scrubbing...that frosted coating can come off easily.
Cleaning wax from an old candle jar: FAQs
I can't wait to see what you do with your clean candle jars! If you use this method, let me know how it goes in the comments.
this diy was are really great. thanks thanks for sharing this with all