
This post shows how to make a DIY Splash Guard Liner - perfect for keeping kitchens clean! This mat covers a gas stove to protect the stainless steel from spills and splashes.
Paid links used in this post. Read more about my link usage policies.
I love a good content mash-up on the blog. Today's post combines an easy DIY project and cleaning your home by making something that guards against spills in the kitchen!
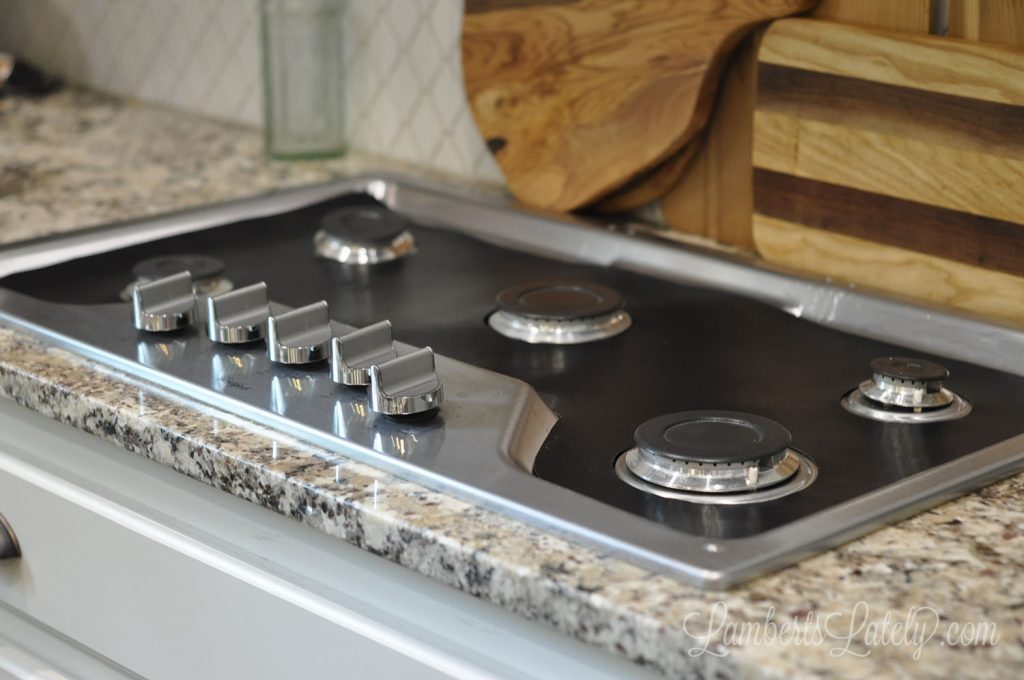
Many of you might have seen the commercials for the stove splatter guards that are now available. They seem so convenient - a simple mat you can put over your gas stove that protects the stainless steel from inevitable spills and splashes while cooking. When one popped up on my Facebook feed one day, I was so interested - until I saw the price. I just couldn't justify paying upwards of $50 for one of these guards that might save me a few minutes of cleaning a month.
Because of that, I initially wrote it off. But, after persistent ads (thanks, computer cookies), I started seeking out cheaper alternatives. The bad news: there really aren't any knock-offs currently available. The good news: the raw material to make a DIY Stove Guard is readily available and not expensive at all!
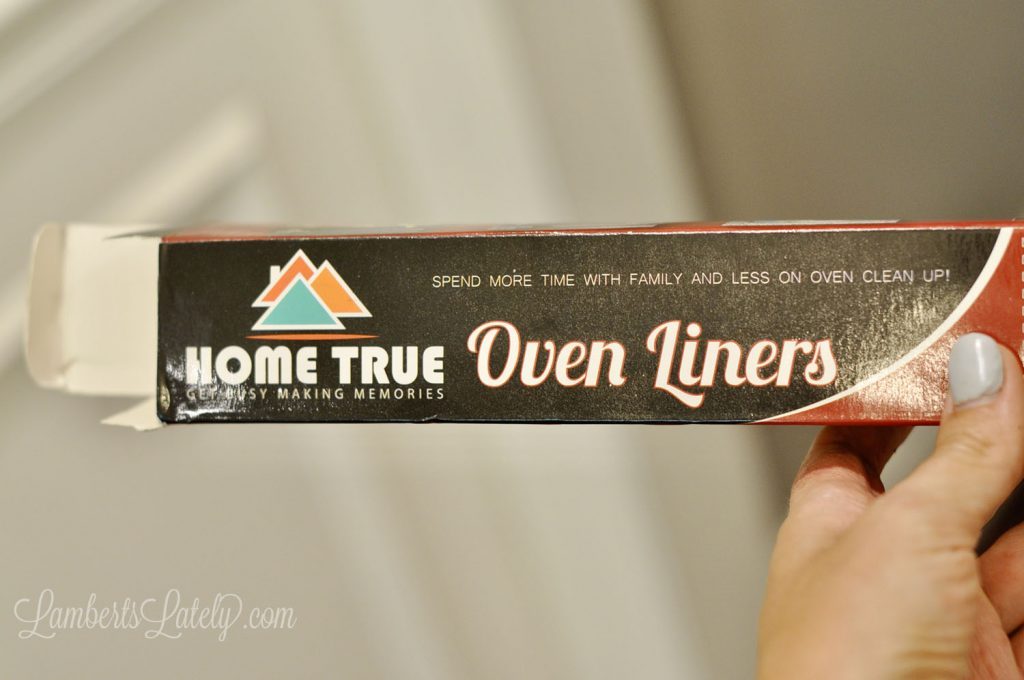
I found this oven liner material on Amazon. It's about $12 a roll and is big enough to make 2 guards for my stove-top (which is roughly 30" wide). It has a non-stick coating, is heat-proof up to 500 degrees, and is dishwasher safe - exactly what I needed for a stove liner!
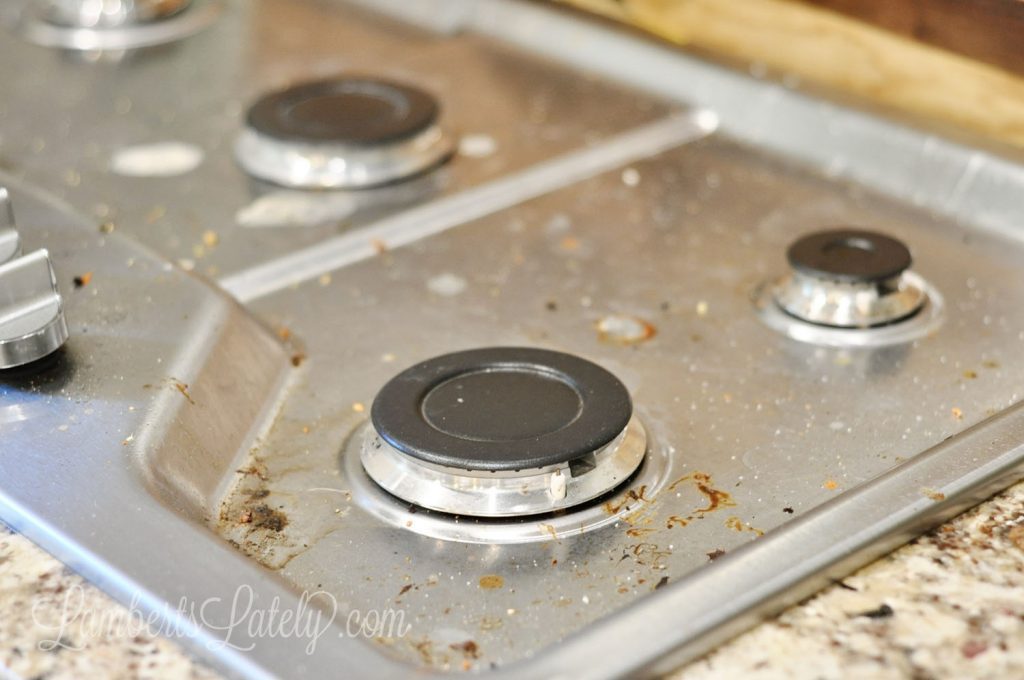
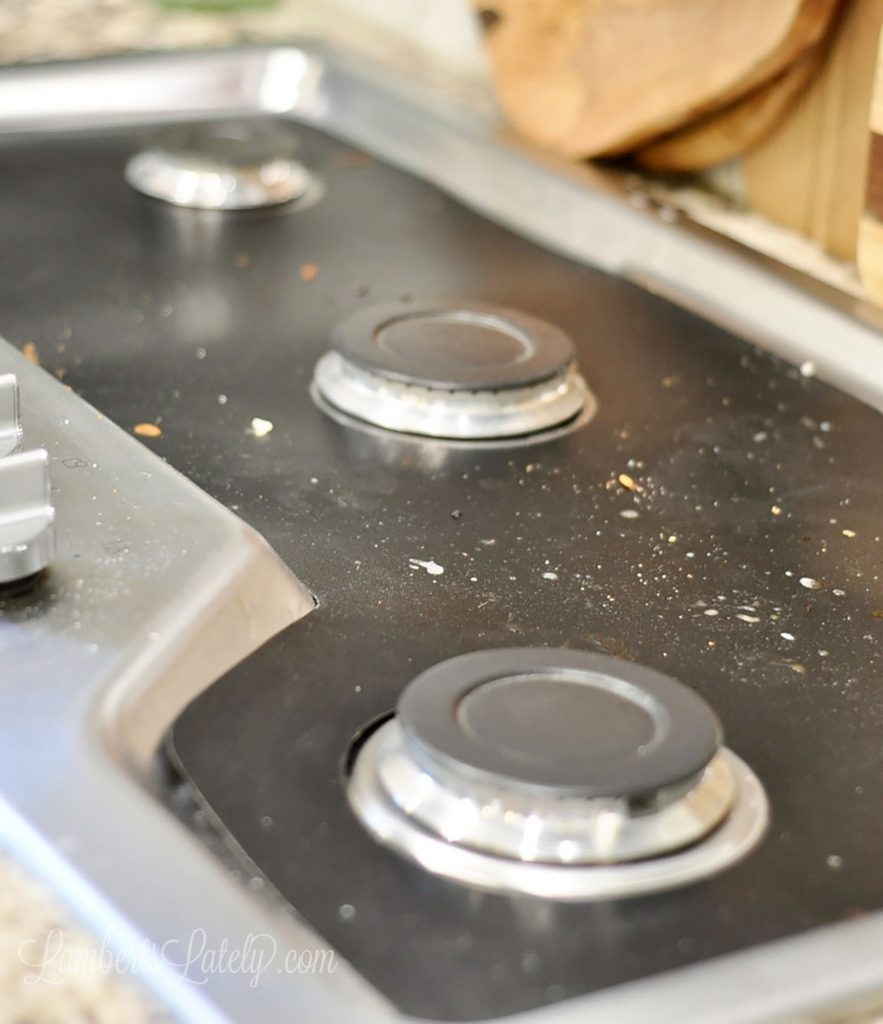
So, to begin, I addressed the mess that was my oven. This is what it looked like after only a few weeks of not cleaning - gross and a huge eyesore. I have it on my Journey to Clean schedule to clean this once a month, but it often needed cleaning much more often.
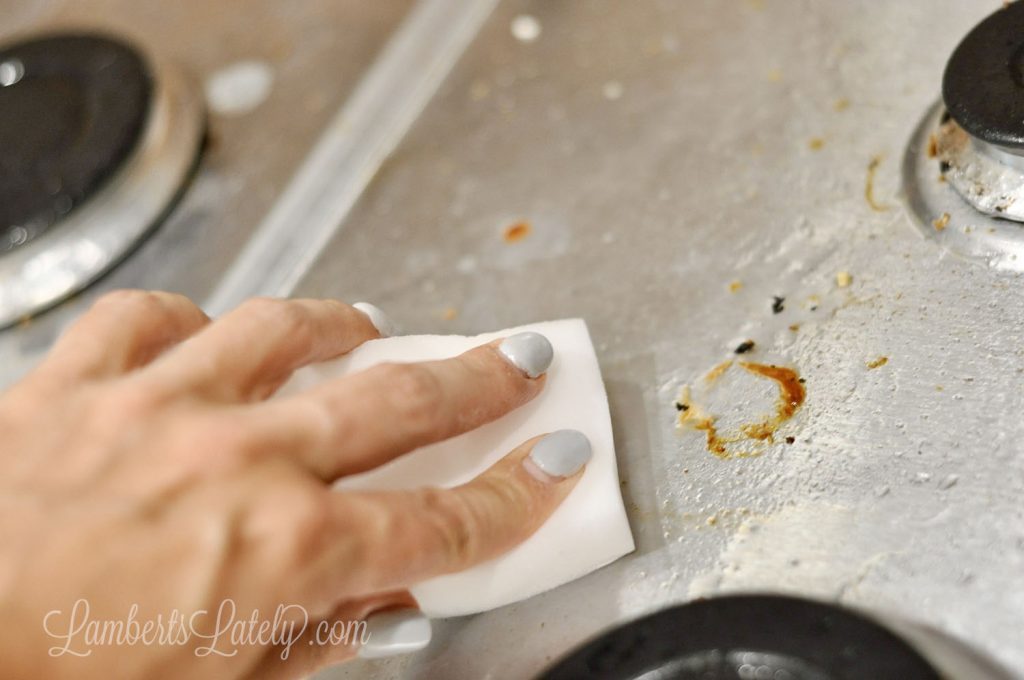
Melamine sponges (in the generic form - so much cheaper than name-brand) are really the only way to go with rough cooked-on food on a stovetop. I wet this sponge with a vinegar/water mixture (my go-to for cleaning stoves and ovens) and scrubbed off the gunk.
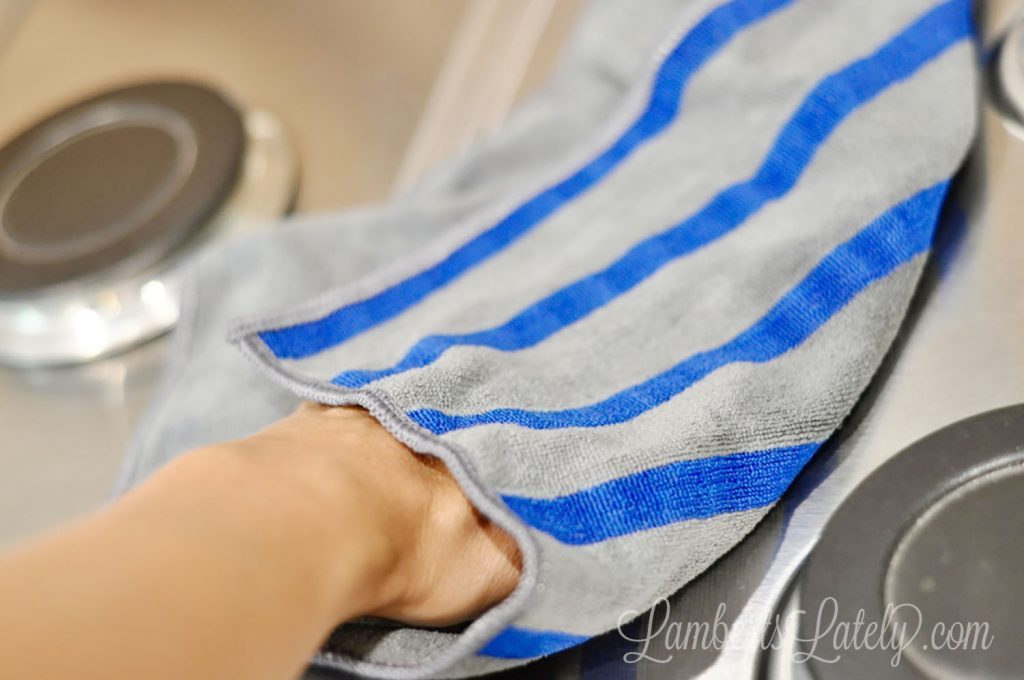
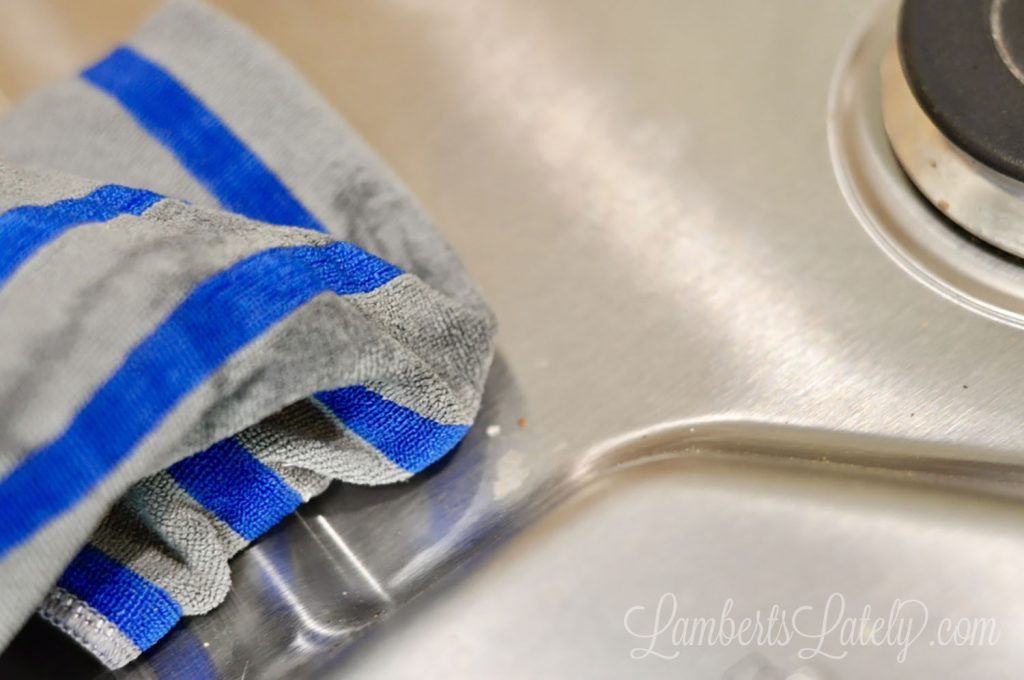
Then, all it needs is a good wipe with my ecloth stove cloth - those blue stripes give it just a little bit of grit to clean any remaining stains, while the gray is a soft, micro-fiber surface that shines the stainless steel. It's a great tool for general stove maintenance!
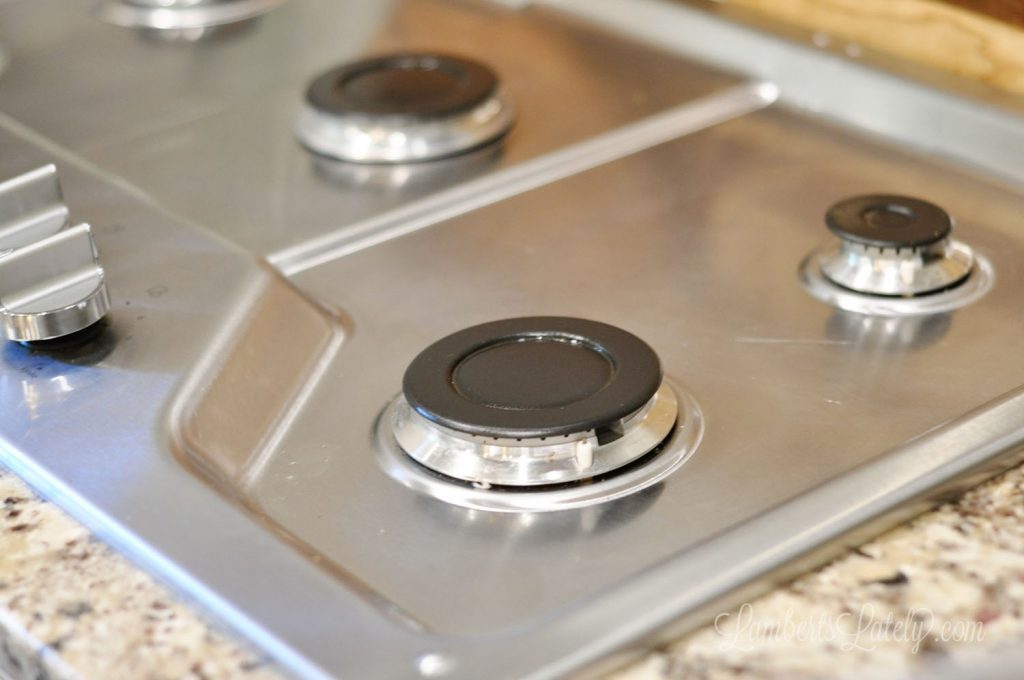
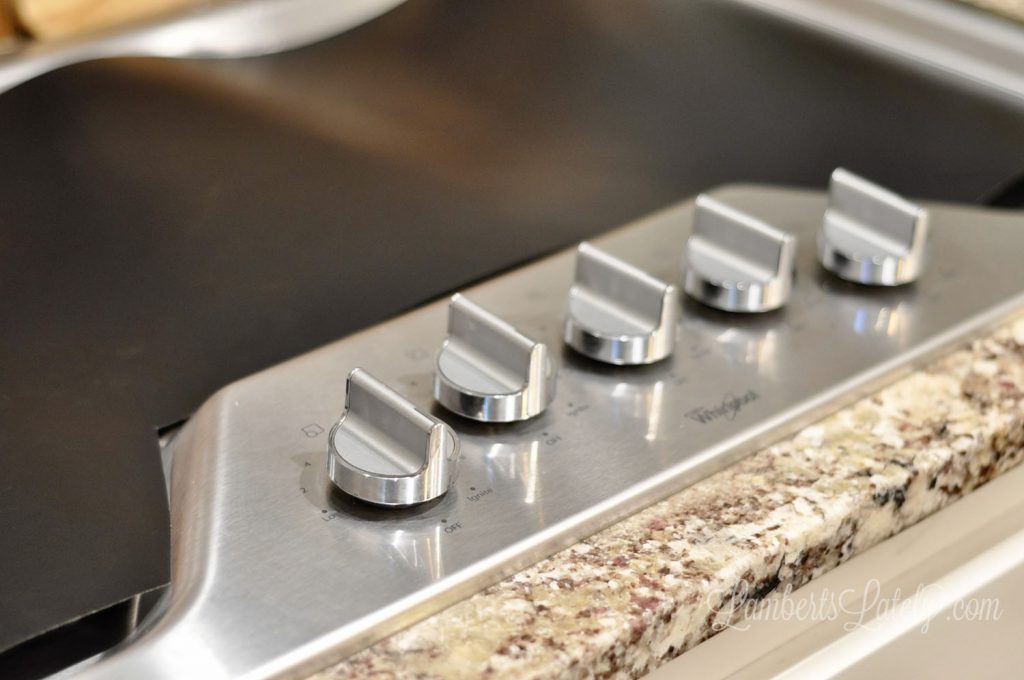
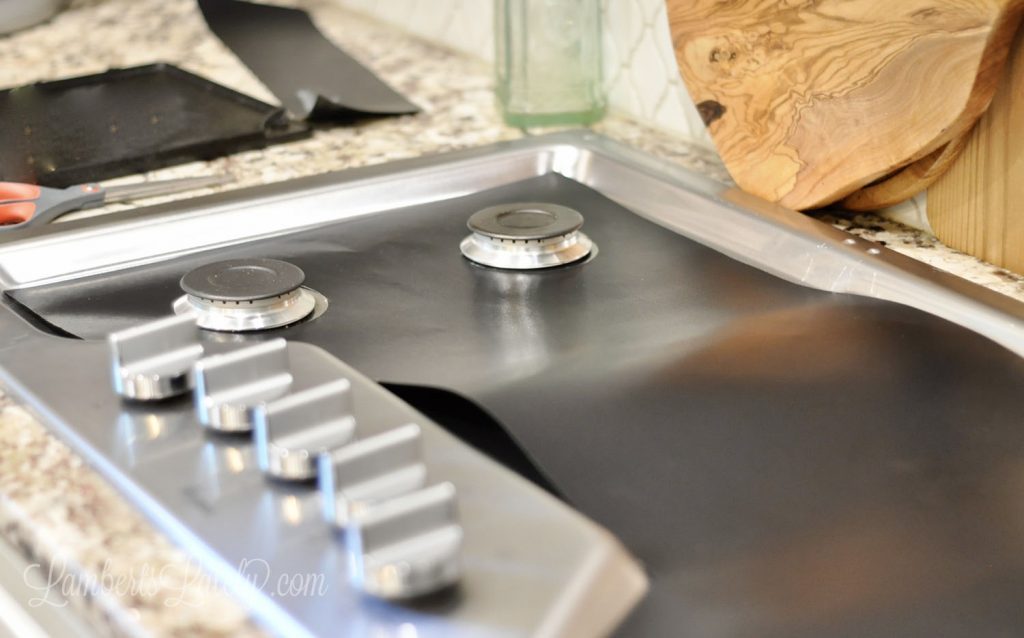
Clean and shiny - ready for a cover.
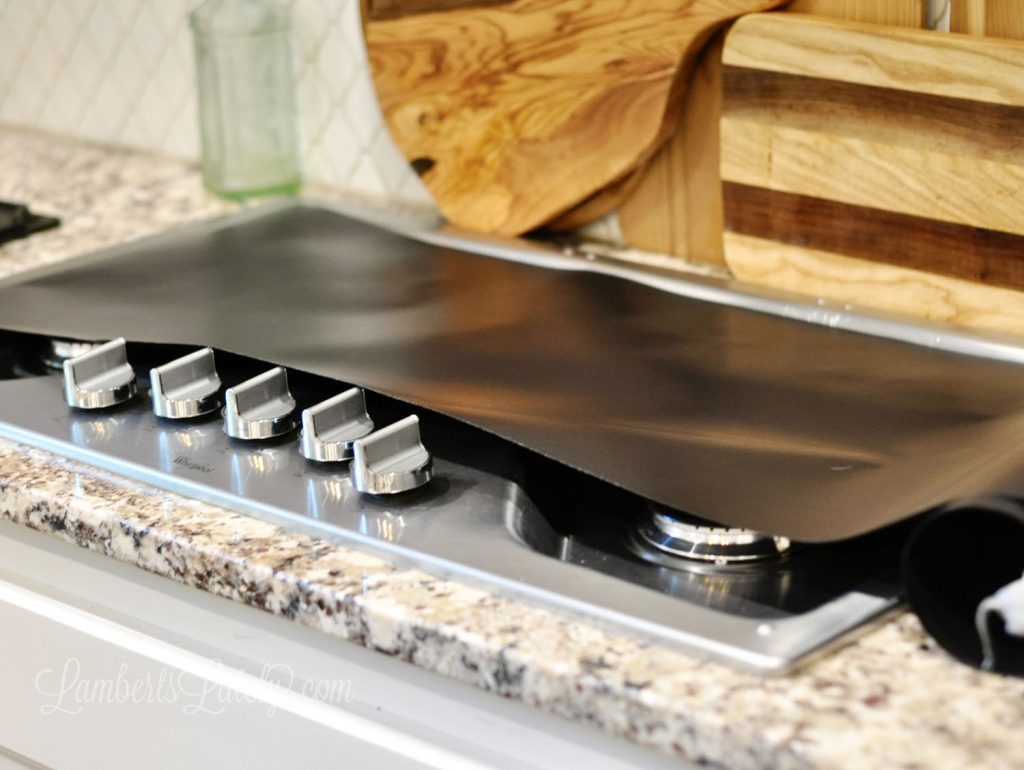

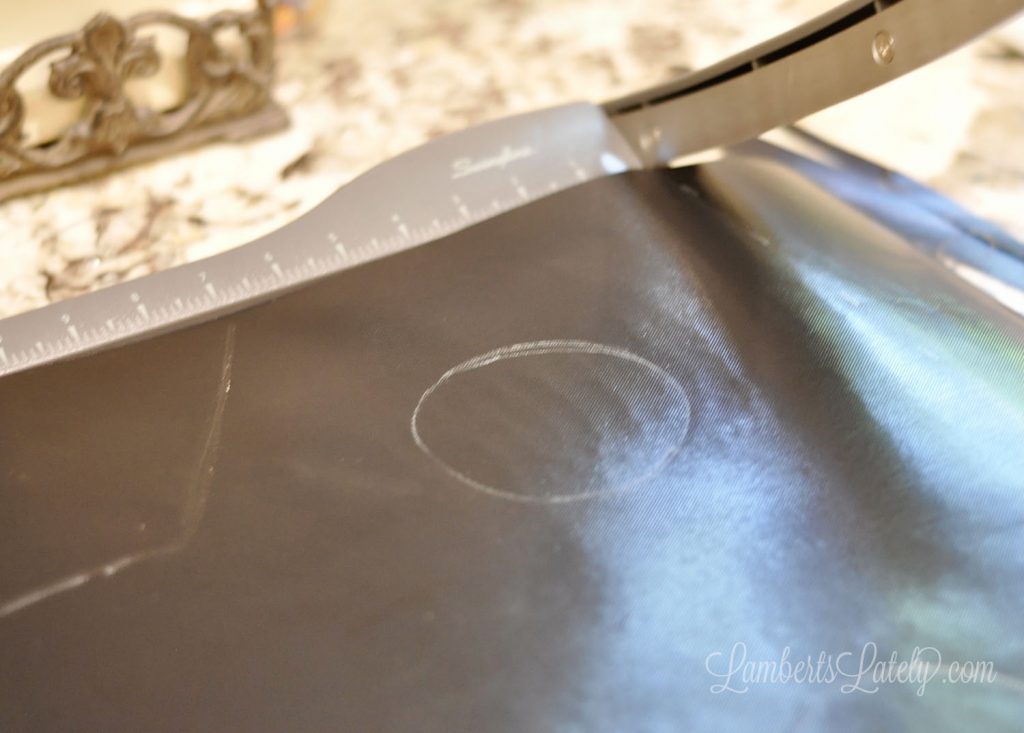
Roll your oven liner material out to cover the width of the stove, marking the cut line. It's better to overestimate a little and need to second time than to underestimate.

I used my paper cutter for this to get a nice straight line - just flip the material over to get both sides.
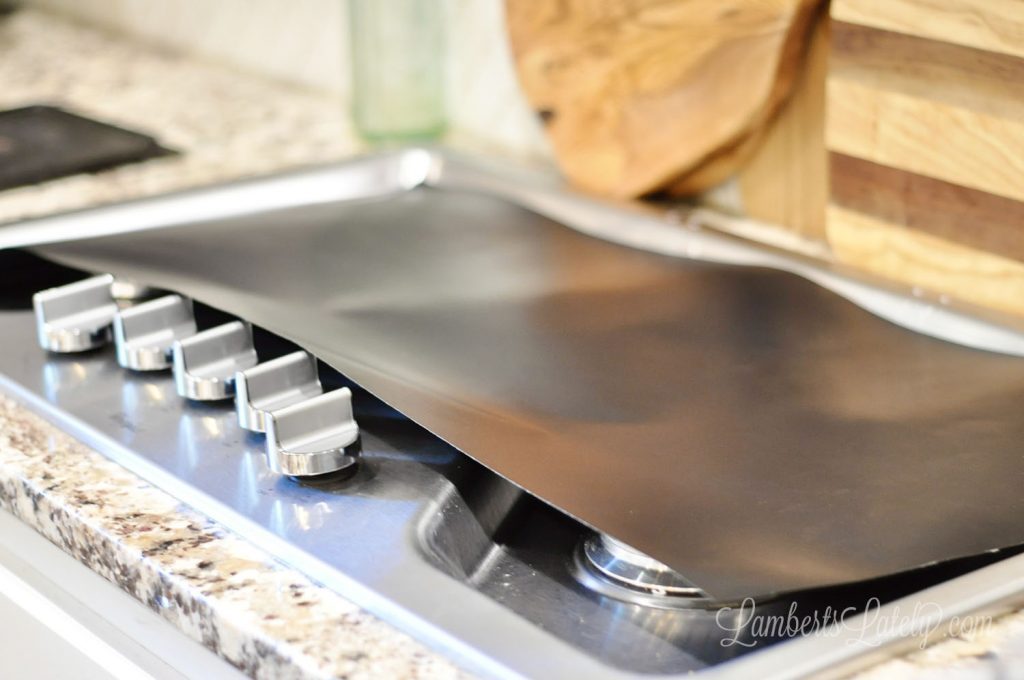
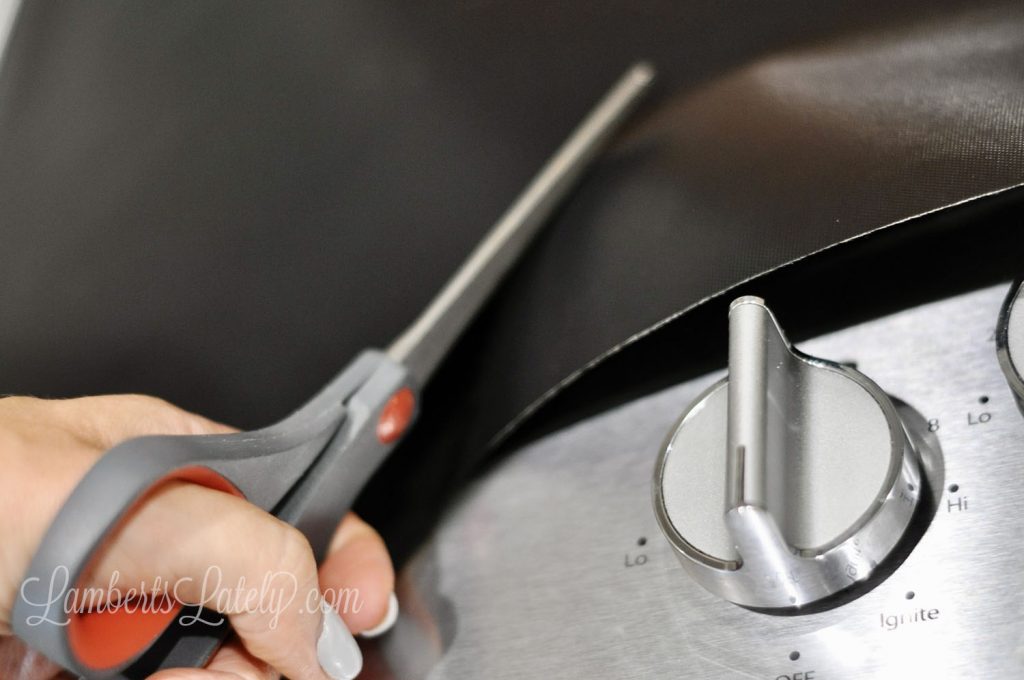
Now, every stovetop is different, but most have a jut-out at the front for the knobs. To accommodate this, I simply eyeballed the cut with my scissors (again, overestimating where I needed to cut and trimming as needed).
I did go back and round the edges after this to give it a more finished look.

Next up, the burners! Again, this involves a little bit of eyeballing. I used my fingers to kind of see where the burners were, estimated the middle, and put a dot with a chalk marker in the middle. Double check to make sure the middle dot is as close to the actual center of the burner as you can get it.
Just mark the first two burners at this point - this gives you some wiggle room before measuring the next ones.
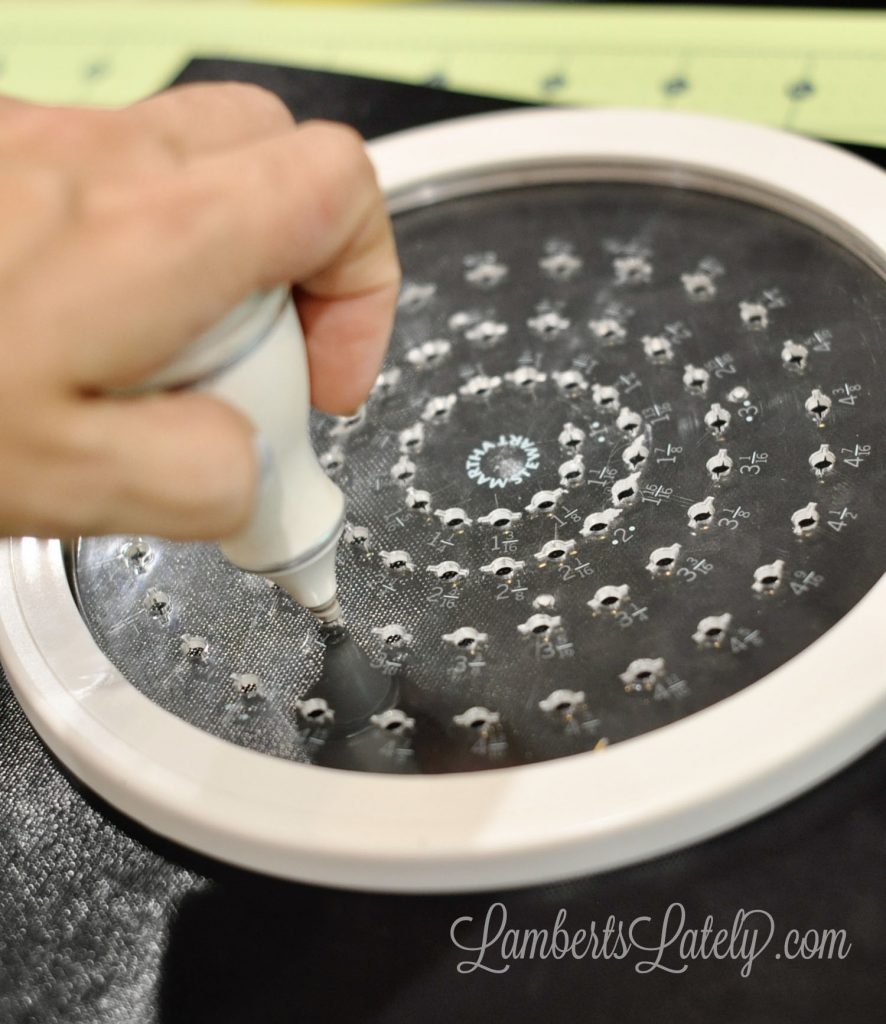
Then, after measuring the full width of the burner (including the ring around the outside), I used a circle cutter (this one is no longer available, but similar one here) on a self-healing mat to cut the circular hole for the burner ½" bigger than that full width. The circle cutter definitely isn't required if you don't have one, but makes it much easier and more precise. If you cut the circle with scissors, just make sure not to bend the material to harshly - it might permanently score it.
Check your first two burner cuts, adjusting as needed. There should be a small gap around the outside of the burner (the material shouldn't touch the burner), but still needs to be fairly close to fit properly.
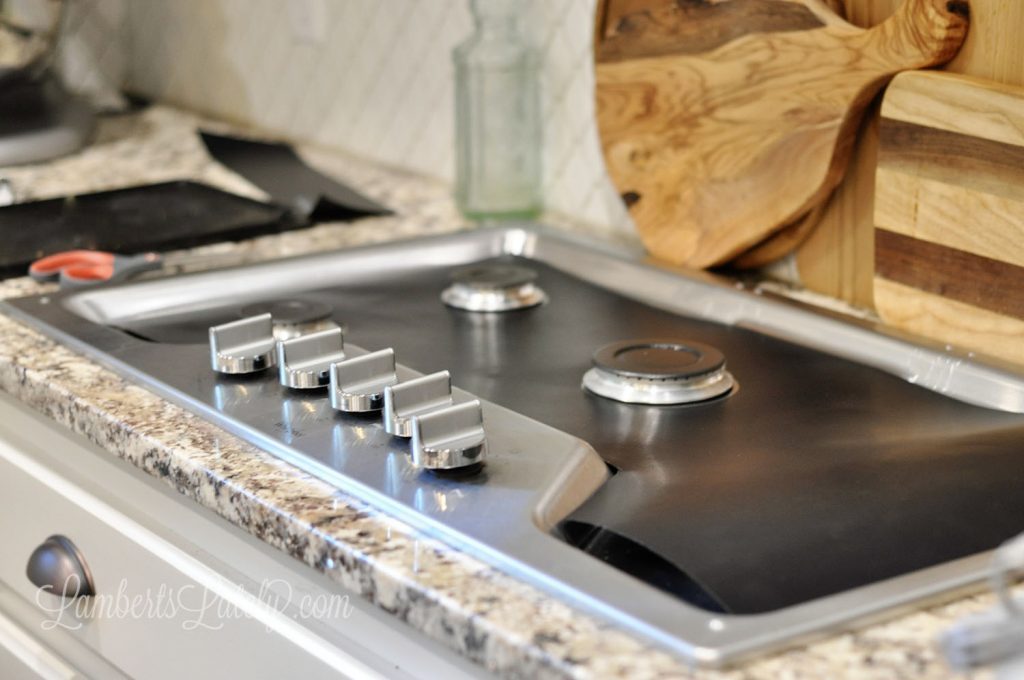
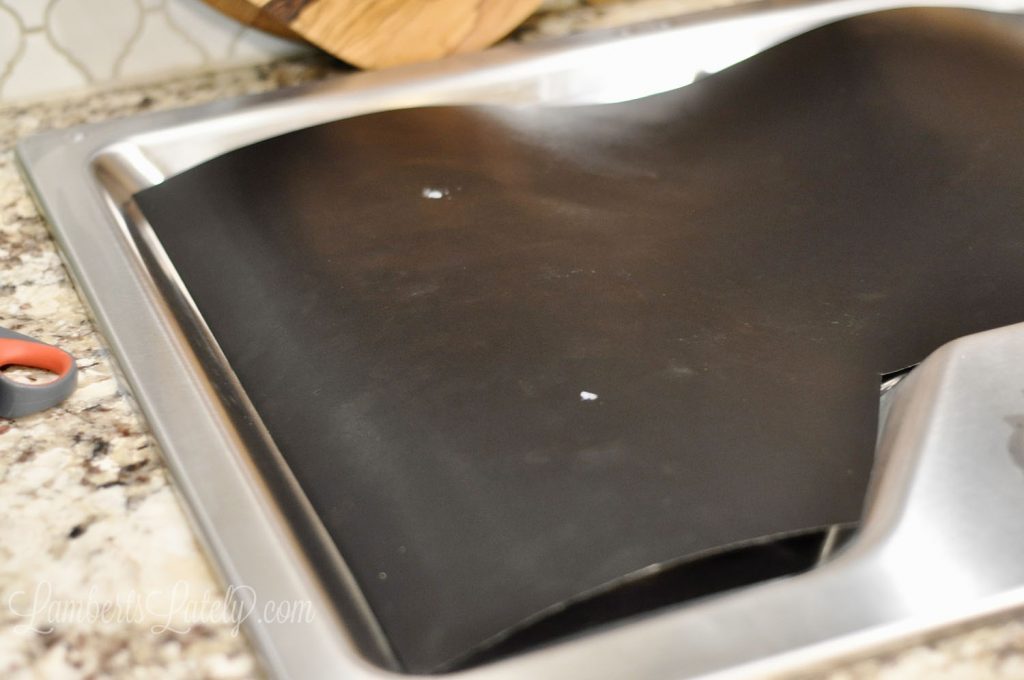
Then, simply work your way across the stove, cutting the holes 1-2 at a time.
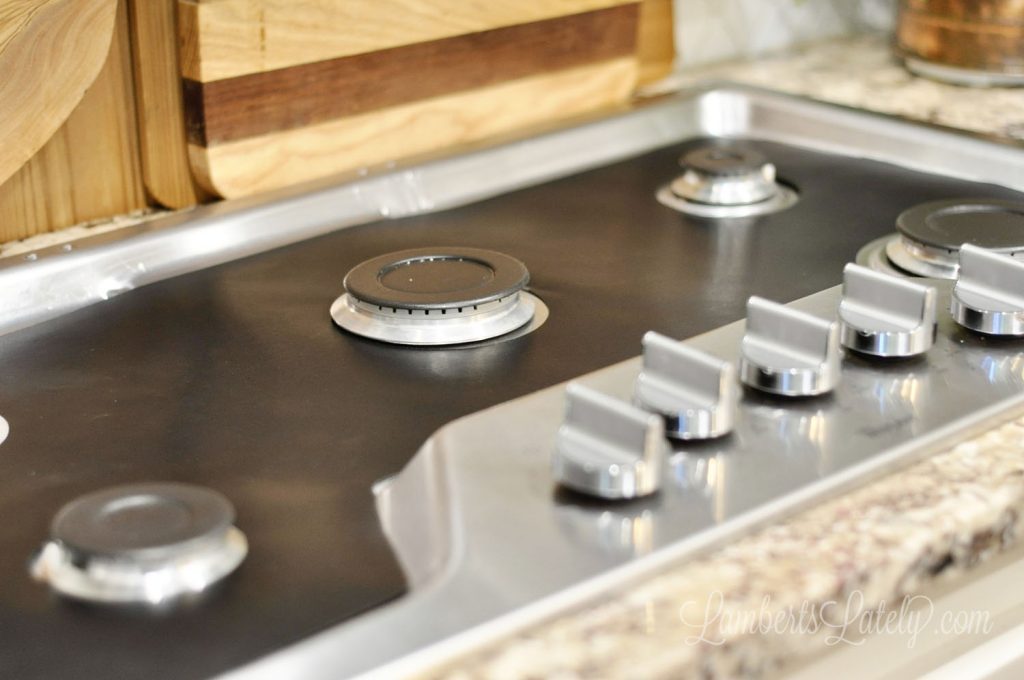
It's just as easy as that!
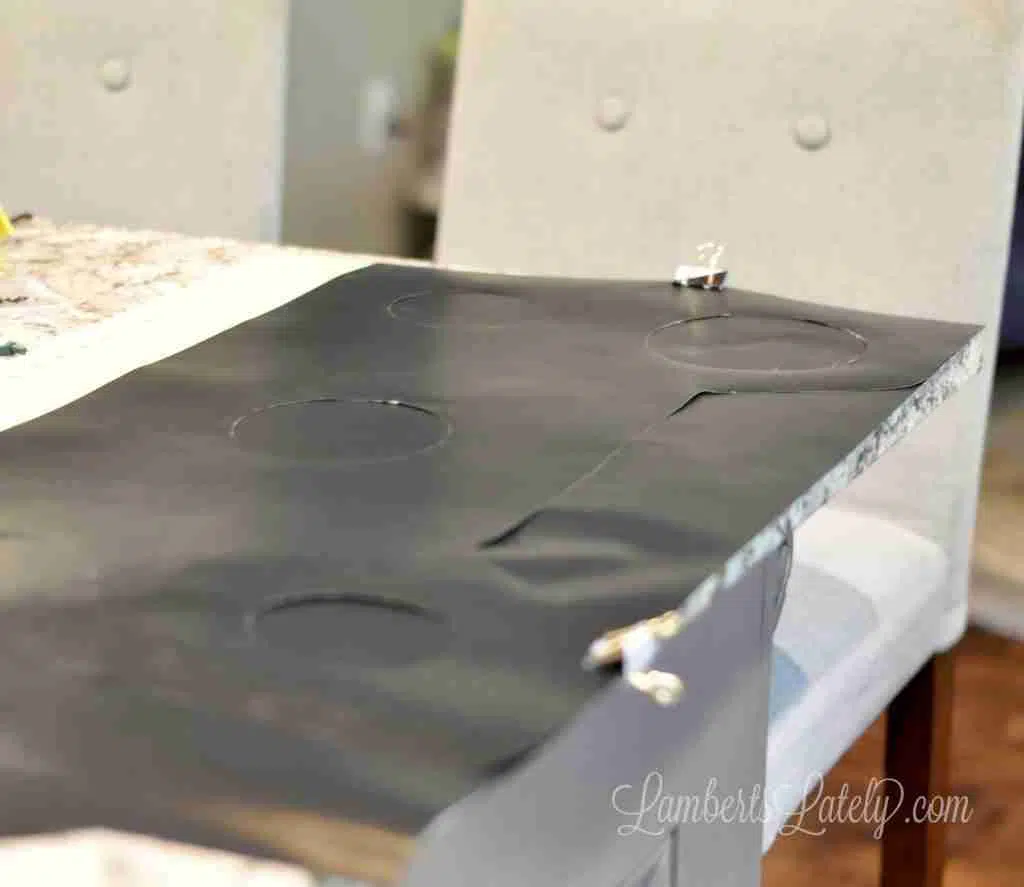
I mentioned that I had enough liner material to make 2 guards - so, while I was at it, I went on and traced another mat from the first template.
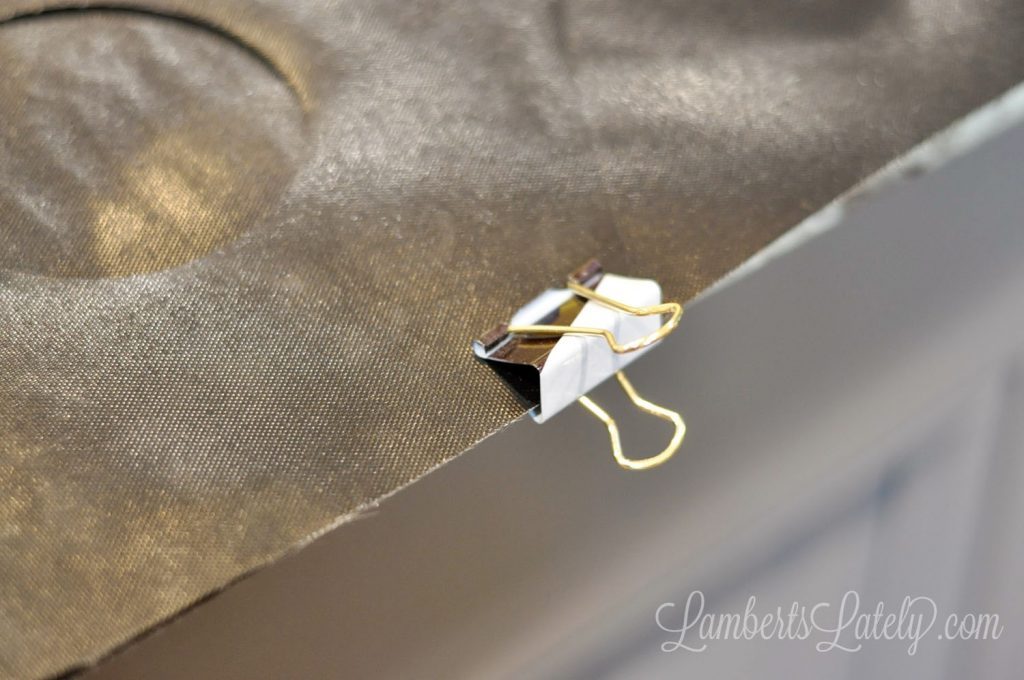
Simply use paper clips to secure the edges together and trace the second one with your chalk marker. (You can use something like a sharpie for all of the tracing in this, but it can be pretty difficult to see.)
Fast forward a few weeks - of course the guard is going to get dirty. That's what it's there for!
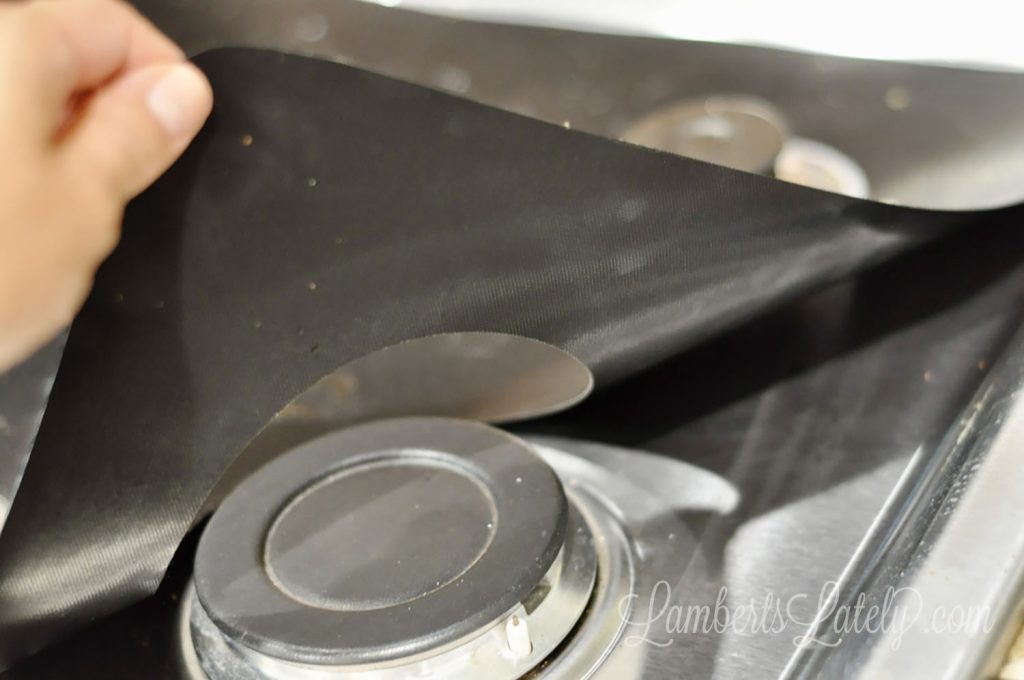
With 2 guards, I simply take the first off...
...give any outlier stains a quick scrub with the ecloth stove cloth...
...and throw that second mat on, tossing the first mat in the dishwasher. This process might take 3 minutes. A DIY Stove Guard is so much easier than giving your stove a deep scrub every couple of weeks.
Can you do this on an electric stove?
Can you use this in oven and on electric stoves
The material is approved for inside an oven (not on heating coils) - I'm not sure about electric stoves though. I believe it's safe up to 500 degrees.