

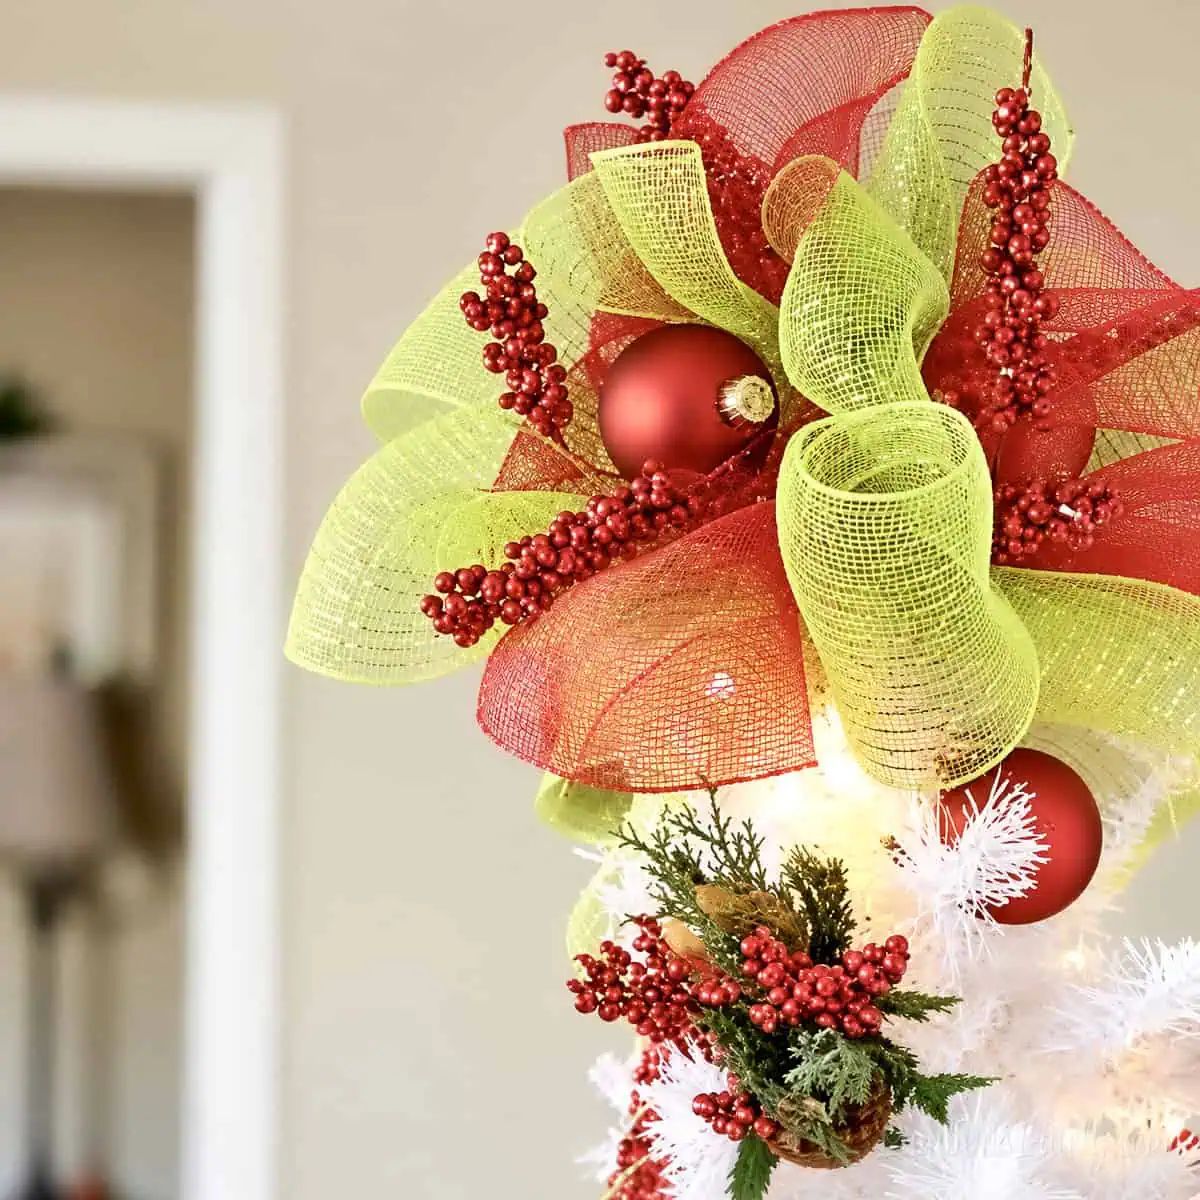
This DIY tree topper uses deco mesh ribbon, ornaments, floral picks, and a simple plastic cup to create a full, colorful topper in about 30 minutes. The cup gives you a lightweight base that fits over the top of the tree, while the deco mesh creates plenty of volume without making the finished topper too heavy.
Paid links used in this post. Read more about my link usage policies.
This is one of those projects that looks way fancier than it actually is. It's made with deco mesh ribbon, a few ornaments and floral picks, and...wait for it...a plastic cup.
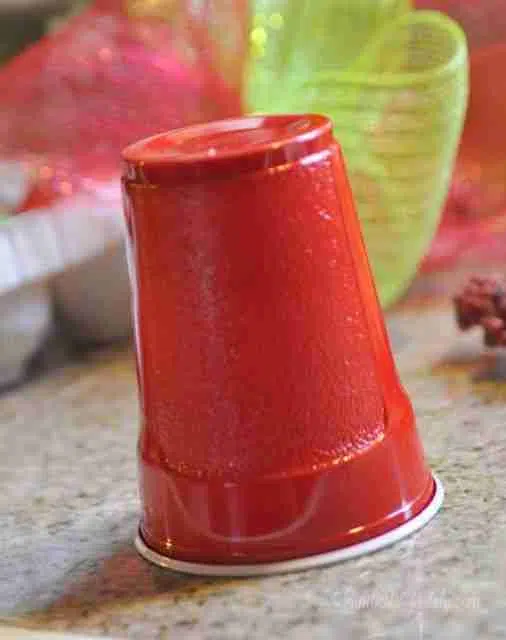
Yep. A Solo cup.
Who knew one of my college relics would eventually become part of my Christmas decor? 😂
The cup gives you the perfect little base to glue everything onto, and the whole thing is lightweight enough to sit at the top of the tree without making it lean sideways. Even better, you can make this homemade Christmas tree topper in about 30 minutes.
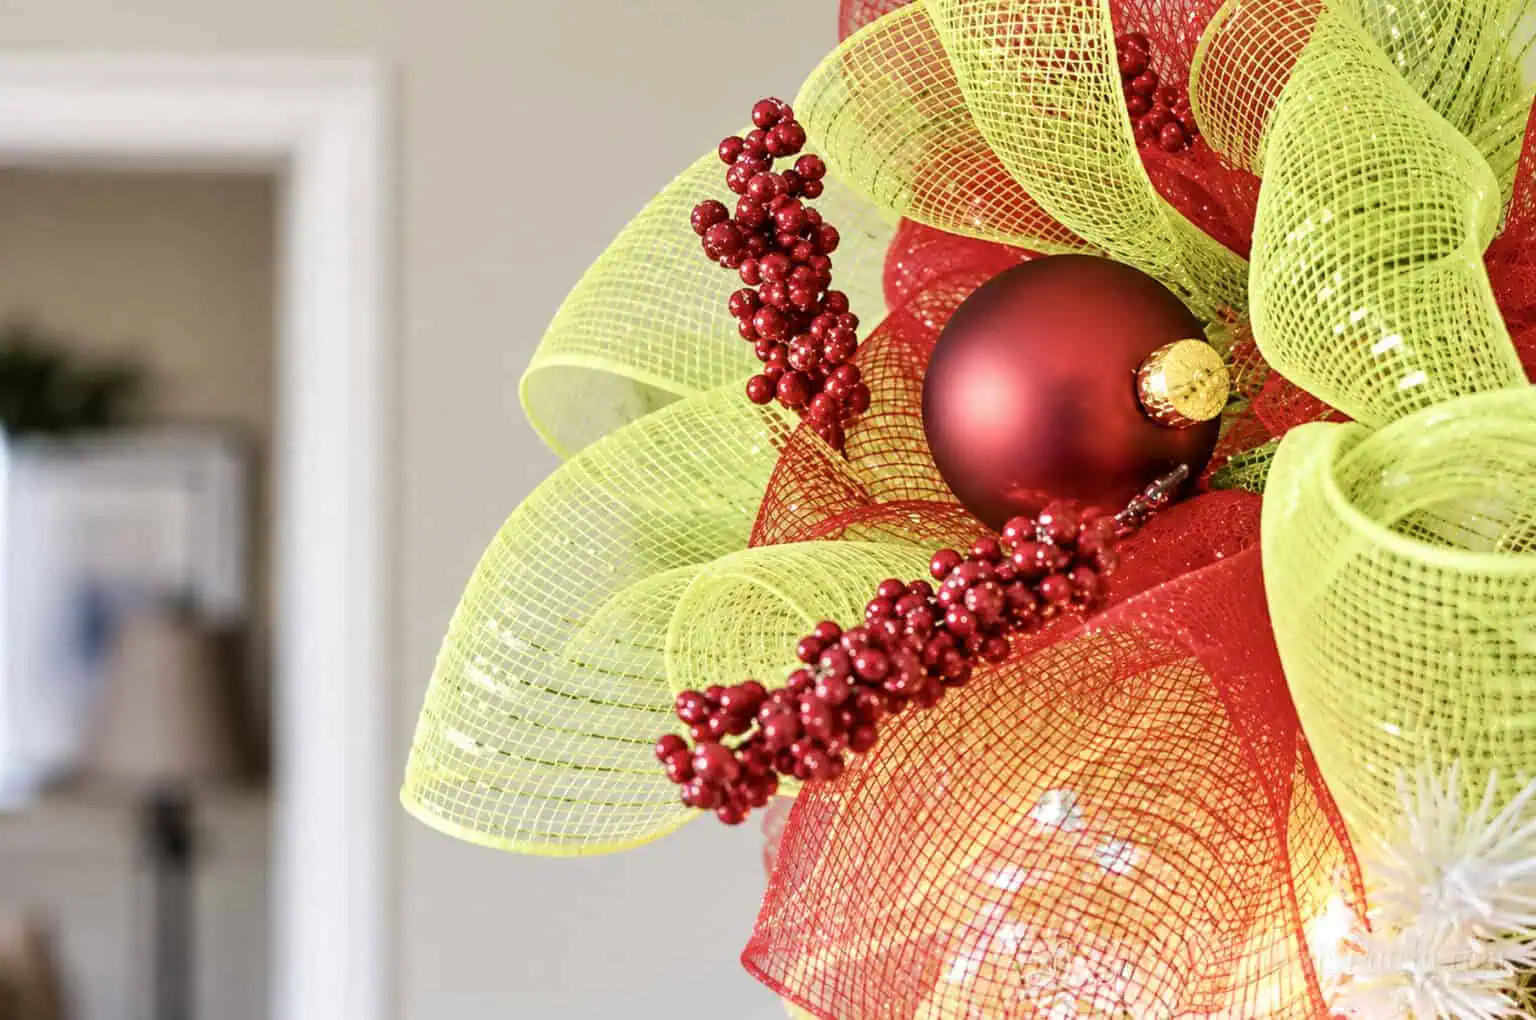
I went with classic red and green deco mesh combo for mine, but you can totally change up the colors and ribbon to match your tree. Plaid, metallic, burlap, neutrals...whatever you've got going on.
And if you're like me and love a Christmas craft that doesn't require a degree in crafting, you're in the right place.
(You've also got to check out my DIY Mesh Wreath while you're here!)
DIY Tree Topper at a Glance
- Time: About 25-30 minutes
- Difficulty: Beginner
- Cost: Around $10-$20 if you need to buy everything
- Main material: Deco mesh ribbon
- Base: Plastic cup
- Makes: 1 tree topper
If you're a Christmas-decoration hoarder like I am, there's a pretty good chance you already have half of this stuff somewhere in your house!
Why a Plastic Cup Works So Well
I knew I needed something lightweight that I could glue the ribbon and decorations onto, but I also needed the topper to actually sit on the tree. Turns out, a plastic cup checks all of those boxes!
It's sturdy enough for hot glue, light enough that it doesn't weigh down the top of the tree, and the opening in the bottom makes it easy to slip right over the top branch or pole.
I used red because it blended in well with my red and green decorations, but you definitely don't have to. A clear cup would work really well too if you'd rather camouflage the base completely.
Once you add all of the deco mesh, ornaments, and floral pieces, you can't even tell there's a cup under there. It's such a simple idea, but it works!
Supplies for the DIY Tree Topper
- 1 red plastic Solo cup - other colors work if you're going for a different color scheme. You can even use a clear cup to really camouflage your base.
- hot glue gun and glue sticks
- 2 rolls 6" deco mesh ribbon (different colors if desired) - I think getting the kind with a glitter strand running through the middle makes the tree topper really pop!
- craft wire - You can also use pipe cleaners, but craft wire is thinner and easier to use.
- 8-10 matching pieces of floral stems
- 6-8 matching Christmas ornaments (varying sizes)
- Sharp scissors
I used two different colors of deco mesh, but you can use whatever works with your Christmas tree. I also really like the mesh ribbon that has a glitter strand running through it. Once the Christmas lights hit it, it gives the topper a little extra sparkle!
For tying the bows, I prefer craft wire because it's thinner and easier to hide. Pipe cleaners will absolutely work too, though.
And one big tip before we get started: try to stick with lightweight ornaments. Foam or shatterproof ornaments are great for this. The lighter you keep the topper, the easier it'll be to keep it sitting straight on the tree.
How to Make a DIY Tree Topper
Don't let the number of pieces fool you...this really isn't complicated.
Basically, we're going to make a bunch of deco mesh bows, glue those around the cup, fill in the holes, and then cover the whole thing in Christmas prettiness. Easy peasy!
Step 1: Make the Deco Mesh Bows
Cut six pieces about 2 feet long from each roll of deco mesh. You don't need to get out a ruler and make these perfect...just eyeball it. Use a sharp pair of scissors so you get nice, clean cuts and don't have quite as much unraveling.
Take one piece of mesh and make a basic two-loop bow. Then, make another bow using your second color.
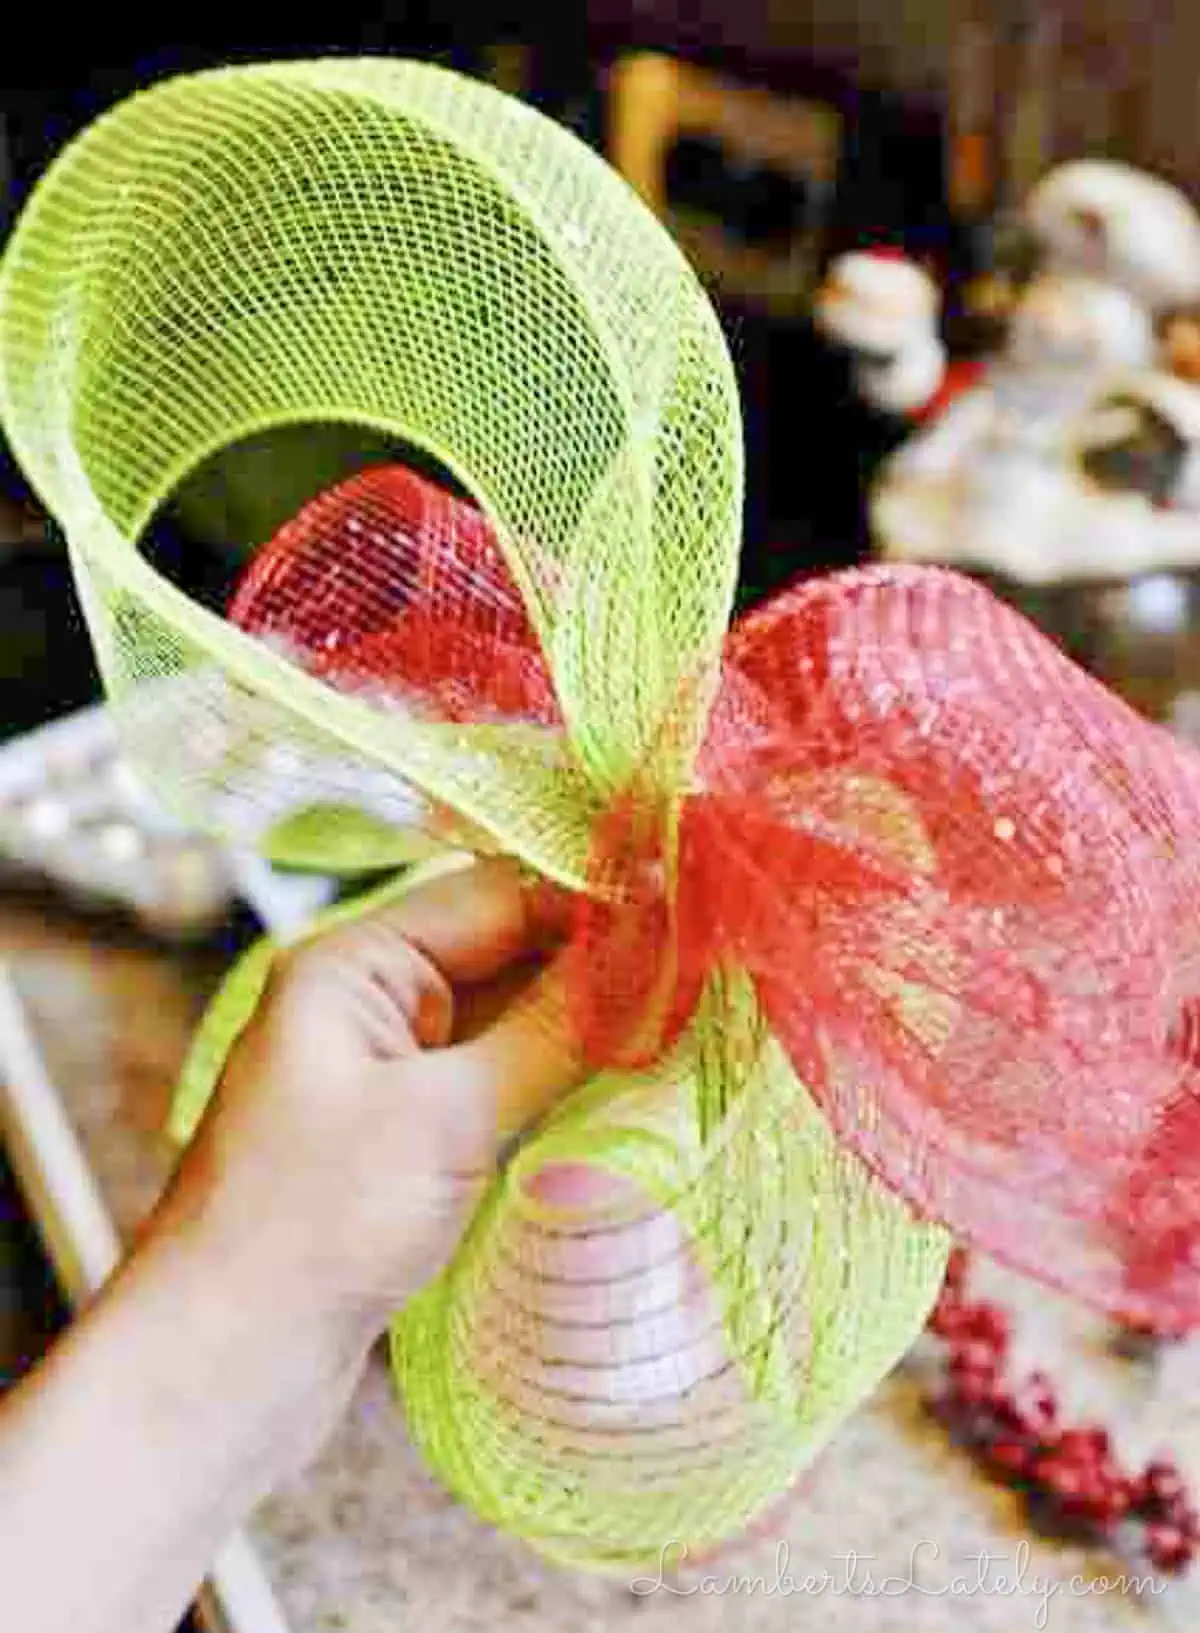
Cross the two bows on top of each other so they make an X. To secure the bow, cut a short piece of craft wire - around 3-4" - and wrap it tightly around the center of the two bows.
Repeat this five times for a total of 6 deco mesh x bows. And don't stress if your bows aren't identical...mine definitely aren't. Once you fluff everything and add the ornaments, nobody is going to be standing there with a measuring tape inspecting your Christmas tree topper.
At least I hope not. 😉
Step 2: Hot Glue the Bows to the Cup
Now it's time to make this plastic cup look way less like something you'd find at a tailgate.

Turn the cup upside down so the open end is facing down. Hot glue your first deco mesh X bow to the closed bottom of the cup, then attach the remaining bows around the sides.
(And please be careful with your fingers here. Hot glue and mesh can be a really dangerous combination if you get impatient.)
Keep gluing the rest of your bows around the cup.
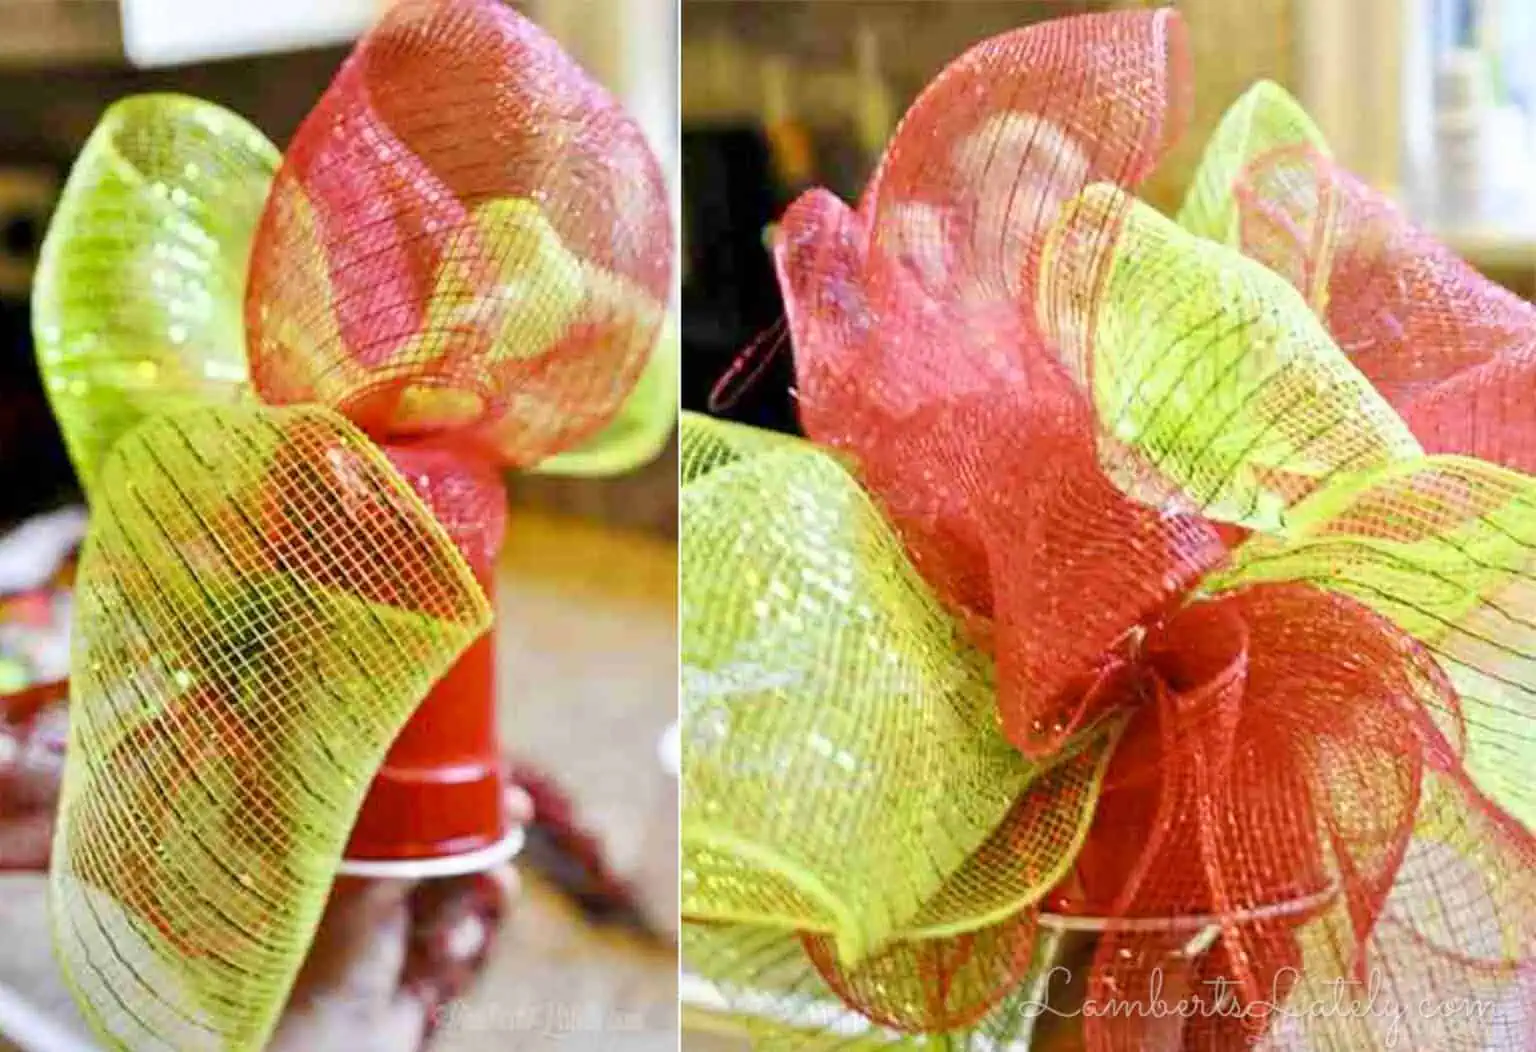
At this point, you'll start seeing the round tree topper shape come together. You're also probably still going to see some pieces of the cup....that's totally normal.
Don't keep making giant bows trying to cover every tiny spot. We're going to fill those holes in next.
Step 3: Fill in the Gaps with Deco Mesh
This part is super simple once you see what we're doing. Those smaller pieces of mesh aren't meant to be more bows. They're basically just little gap fillers.
Look around the topper and find the places where you can still see the plastic cup. Cut several pieces of deco mesh about 1 foot long. I'd start with five or six and cut more if you need them.
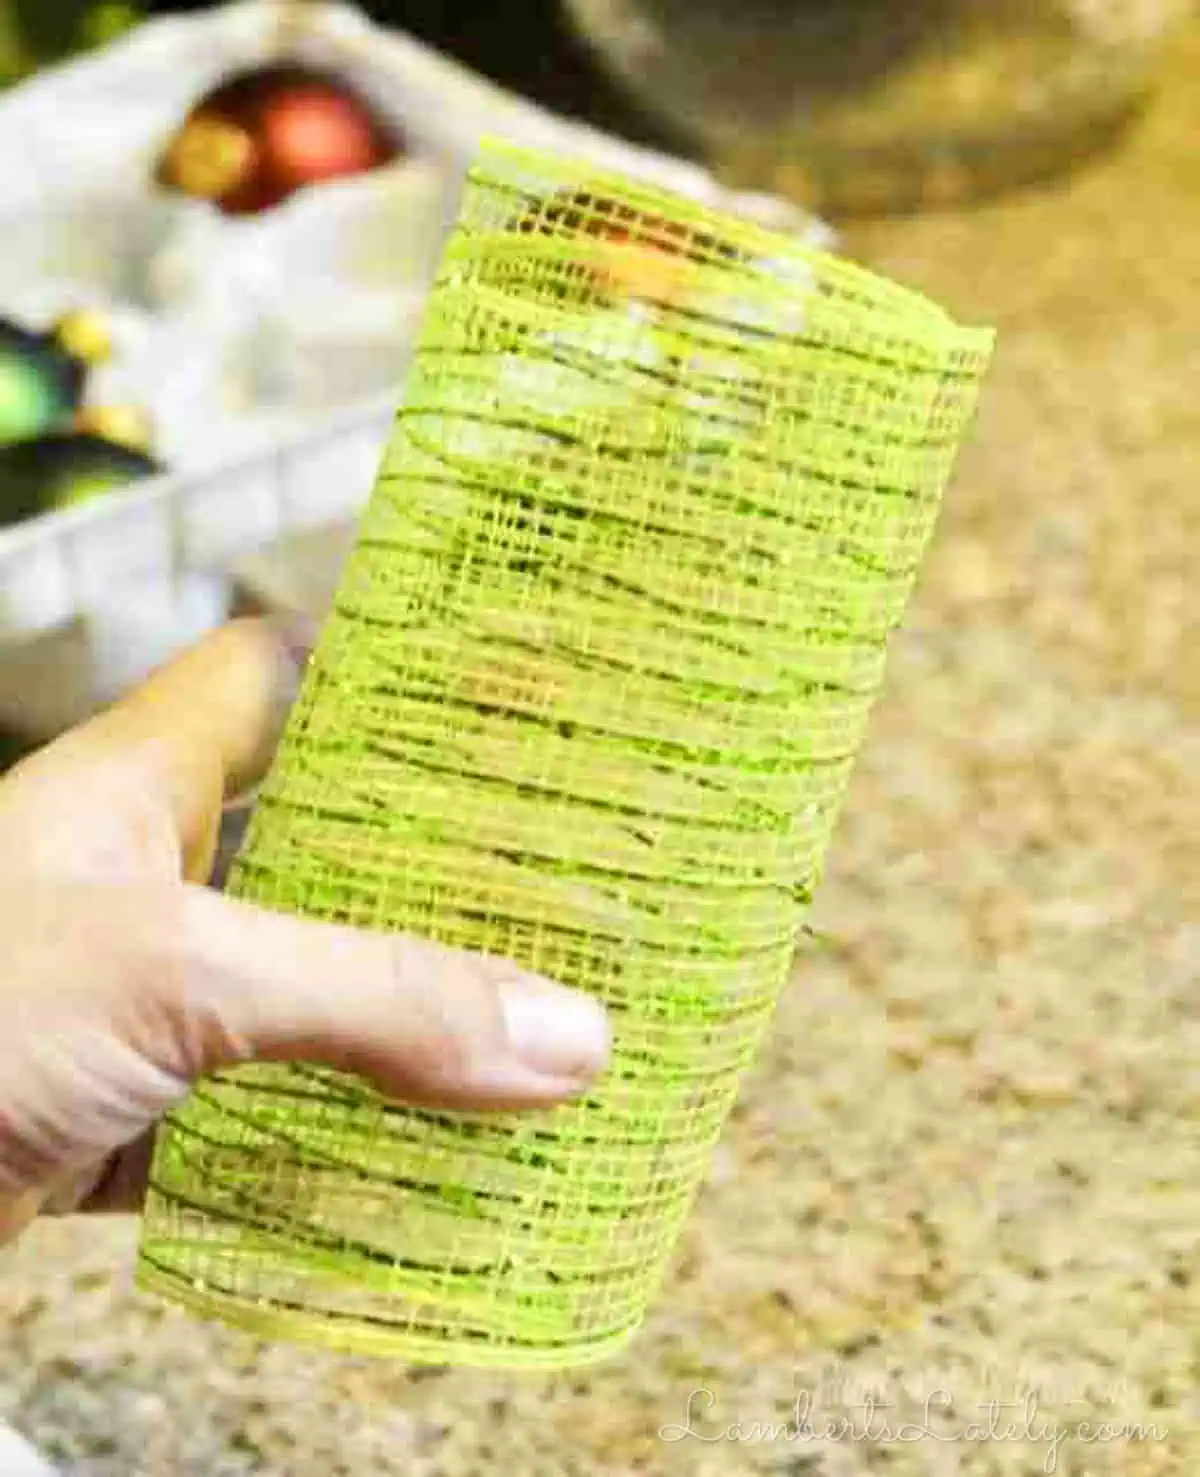
Roll one of the pieces lengthwise into a loose little tube and pinch one end together. Hot glue that pinched end directly onto one of the exposed places on the cup; the other end should stick out from the topper.
Keep doing that anywhere you can still see red plastic. You don't need to space these evenly, and there's no magic number. Their whole job is to hide the cup and give the topper a little extra fullness.
So if there's a hole, stick some mesh there. Very scientific. 😂
Step 4: Add Ornaments and Floral Picks
Now for my favorite part - covering everything in Christmas decorations!
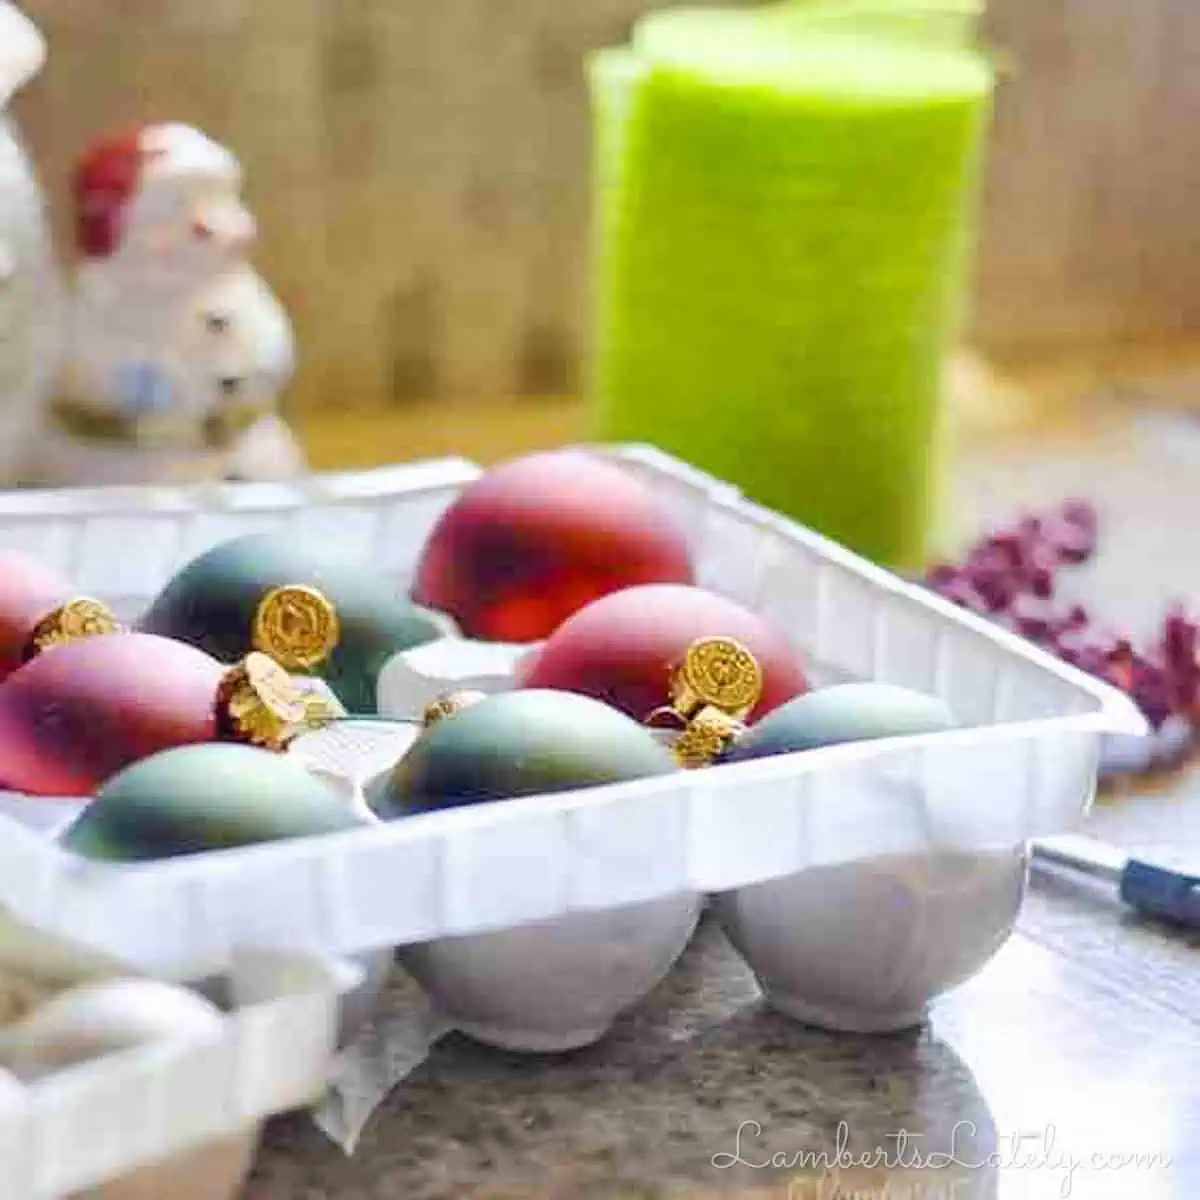
I used around 6-8 ornaments and a few floral picks. I actually had an old Christmas floral piece sitting around, so I just pulled it apart and used the individual pieces. No need to get fancy here!
Start placing ornaments anywhere you still see little gaps or anywhere the topper just looks like it needs something. Use different sizes if you have them. It keeps the whole thing from looking too matchy. Then, add your floral picks.
These decorations are great for giving the topper a little more height and dimension. I like to stick a few toward the top and outer edges so the whole thing doesn't just look like one giant round mesh ball.
Keep turning it as you work so you're covering the cup from every angle.
Step 5: Put the Tree Topper on the Tree
Once everything is glued down and the glue has completely cooled, it's time to put this baby on the tree!
The open end of the plastic cup should fit right over the top section of your tree. Depending on your tree, it might sit there just fine without any extra help.
If it feels a little wobbly or starts leaning, you can use a little craft wire or ribbon to tie the topper to the upper trunk or center pole of the tree. Just tuck the wire behind the mesh so you can't see it.
One more tip: Once it's up there, step back and look at it from across the room. This is when I do my final fluffing and move around any ornaments or floral picks that look a little wonky.
And there you go! Not too bad, right? From cutting the first piece of ribbon to putting this on top of the tree, the whole project took me around 30 minutes. And considering the base is literally a plastic cup, I think it turned out pretty darn cute.
Leslie's Helpful Tips
A few things I've learned from making and using this topper:
- Keep everything lightweight. Heavy ornaments are much more likely to pull the topper sideways or pop off after it's been stored.
- Use sharp scissors. Deco mesh likes to fray, so cleaner cuts help.
- Don't obsess over perfect spacing. If you see part of the cup, cover it. That's really all there is to it.
- Reinforce anything that feels loose. Add another dab of hot glue or a little wire before putting the topper on the tree.
- Look at it from all sides. It's really easy to accidentally make one side super full and completely ignore the back.
- Fluff it after it's on the tree. You'll get a much better idea of what needs adjusting once you're looking at the topper from normal viewing height.
How to Store Your Tree Topper
One of the best things about this project is that you can pull it back out year after year if you store it carefully. A few things that have worked for me over the years...
- Use a sturdy box. I like a box that's just a little bigger than the topper so it has room without sliding around everywhere.
- Give the mesh some cushion. You can loosely tuck tissue paper or bubble wrap around the sides so the bows don't get completely smashed.
- Keep it somewhere cool and dry. Really hot attics and damp basements aren't great for ribbon or hot glue.
- Give it a quick refresh next year. Fluff the mesh and check for anything that's come loose before you put it back on the tree.
It usually only takes a few minutes to get it looking good again.
DIY Tree Topper Variations
- Wired ribbon: Swap the deco mesh for wide wired ribbon for a crisper, more structured tree topper. You may need a few extra bows to completely cover the cup.
- Plaid ribbon: Perfect for a traditional or cozy Christmas tree.
- Burlap ribbon: Use burlap for more of a rustic farmhouse look.
- Metallic ribbon: Gold, silver, or champagne ribbon gives the topper a little more glam.
- Different color schemes: Match the mesh, ornaments, and floral picks to whatever colors you're already using on your tree.
FAQs & Troubleshooting
Hope you guys have a wonderful holiday season! You can check out a few more of my Christmas posts by clicking the links below.
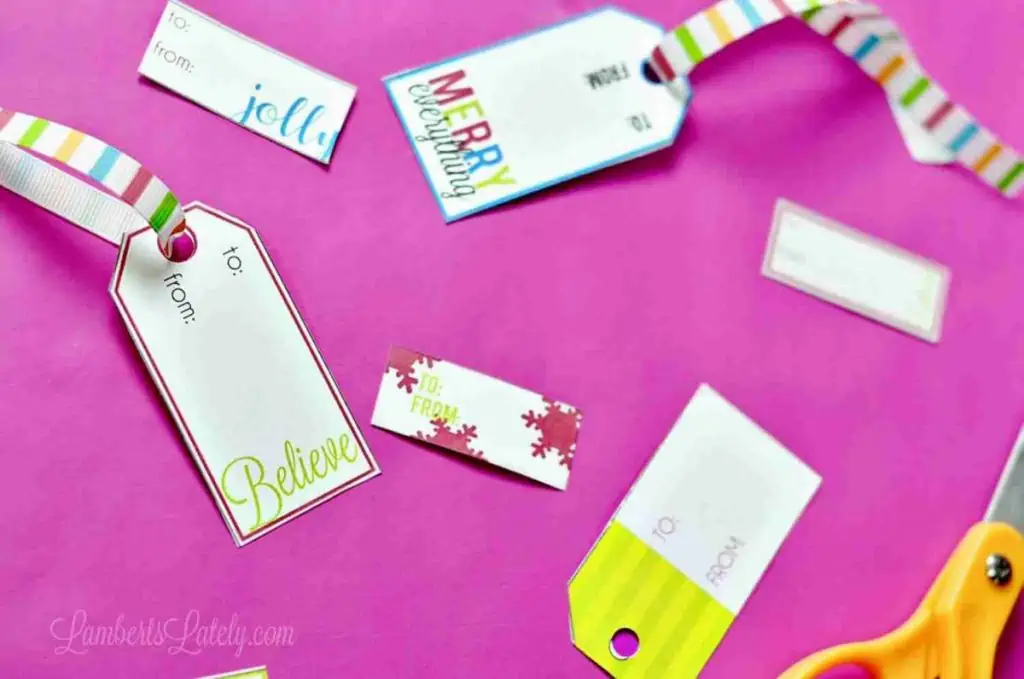


DIY Tree Topper with Deco Mesh Ribbon
Affiliate links used in this recipe card.
Equipment
- Hot glue gun
- Sharp scissors
Supplies
- 1 red plastic Solo cup
- 2 rolls 6" deco mesh ribbon (different colors if desired)
- craft wire
- 8-10 floral stems
- 6-8 matching Christmas ornaments (varying sizes)
- hot glue sticks
Instructions
- Make the deco mesh bows. Cut six pieces about 2 feet long from each roll of deco mesh. Make a simple two-loop bow with one piece of each color, then cross the two bows to form an X. Wrap a 3-4 inch piece of craft wire tightly around the center to secure them together. Repeat until you have 6 X-shaped deco mesh bows.
- Attach the bows to the cup. Turn the plastic cup upside down so the open end is facing down. Hot glue one deco mesh bow to the closed bottom of the cup, then attach the remaining bows around the sides until the cup starts to look full.
- Fill in the gaps. Cut 5-10 pieces of deco mesh about 1 foot long. Roll each piece lengthwise into a loose tube and pinch one end together. Hot glue the pinched end anywhere the plastic cup is still visible, leaving the other end sticking outward. Keep adding pieces until the cup is covered.
- Add ornaments and floral picks. Hot glue lightweight ornaments into any remaining gaps, using different sizes to add dimension. Tuck floral picks into the mesh and secure them near the cup with hot glue or craft wire. Add a few toward the top and outer edges to give the topper more height and shape.
- Put the topper on the tree. Let the hot glue cool completely, then place the open end of the cup over the top section of your Christmas tree. If the topper feels wobbly or leans, secure it to the upper trunk or center pole with craft wire or ribbon. Fluff the mesh and make any final adjustments once it's in place.
Notes
- Keep it lightweight. Foam or shatterproof ornaments are much easier for the tree to support than heavy glass ornaments.
- Don't worry about perfect spacing. If you can still see part of the plastic cup, just add another piece of rolled mesh.
- Use wired ribbon if you prefer. You can swap the deco mesh for wide wired ribbon, although you may need a few extra bows to completely cover the cup.
- Balance the decorations. If the topper starts leaning to one side, move heavier ornaments or floral picks to the opposite side.
- Store it carefully. Keep the topper in a sturdy box with tissue paper or bubble wrap around the mesh so it doesn't get crushed.

Leslie Lambert is a lifestyle writer and content creator specializing in home organization, family recipes, and intentional living. With 17 years of experience in blogging and digital storytelling, she helps busy women create calm, purposeful homes they love.








Love the tree topper! Not understanding the direction where you say " Now take your roll of deco mesh and cut out 5-10 1' pieces . Wind them up pretty tightly......". You don't have a picture of this step and I can't picture what is done.
Can you clarify this for me?
Sure! You're really just making small pieces of mesh and rolling them up, making a cylinder out of them. Kind of smash the end together and glue that end to the cup.
Still not understanding. Sorry to be so dense!
Where on the cup do I glue this and what purpose does it serve?
You're really just filling in any gaps with those...no specific place for them. They are for covering any cup that is still showing.
Thanks. Leslie! Happy Thanksgiving.
Lesley, this is beautiful! You do lovely work. Bookmarking this to try later. Blessings.
Visiting today from FF#12&13
Never would I ever have guessed and this is just brilliant! Featuring when my party opens.
Oh thank you so much Carol!
What a fun DIY for Christmas Leslie!
Thank you for sharing this project at Create, Bake, Grow & Gather this week. I'm delighted to be featuring your DIY tree topper at tonight's party and pinning too.
Happy fall,
Kerryanne
That's wonderful, thanks so much Kerryanne!