
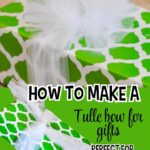
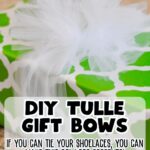
See how to make a tulle bow for the prettiest gifts this Christmas! If you can tie your shoe, you can make this DIY tulle gift bow by following this easy tutorial.

Paid links used in this post. Read more about my link usage policies.
I get comments all the time on how I tie my tulle bows for gifts, so I thought I'd share the process with y'all today!
It's one of my favorite fake-outs. Really, it's one of the easiest ways you can put a bow on a gift. If you can tie your shoes, you can tie this bow.
Supplies Needed
All you'll need are scissors and 6" spools of wrapping tulle. I usually get a year's worth of tulle from Hobby Lobby when it's on sale during Christmas, but the link to Amazon spools of tulle above has it for about the same price.
How to Make a Tulle Bow
Start with a big, flat area to tie your tulle gift bows. I usually spread my supplies out on the floor or on an empty table.
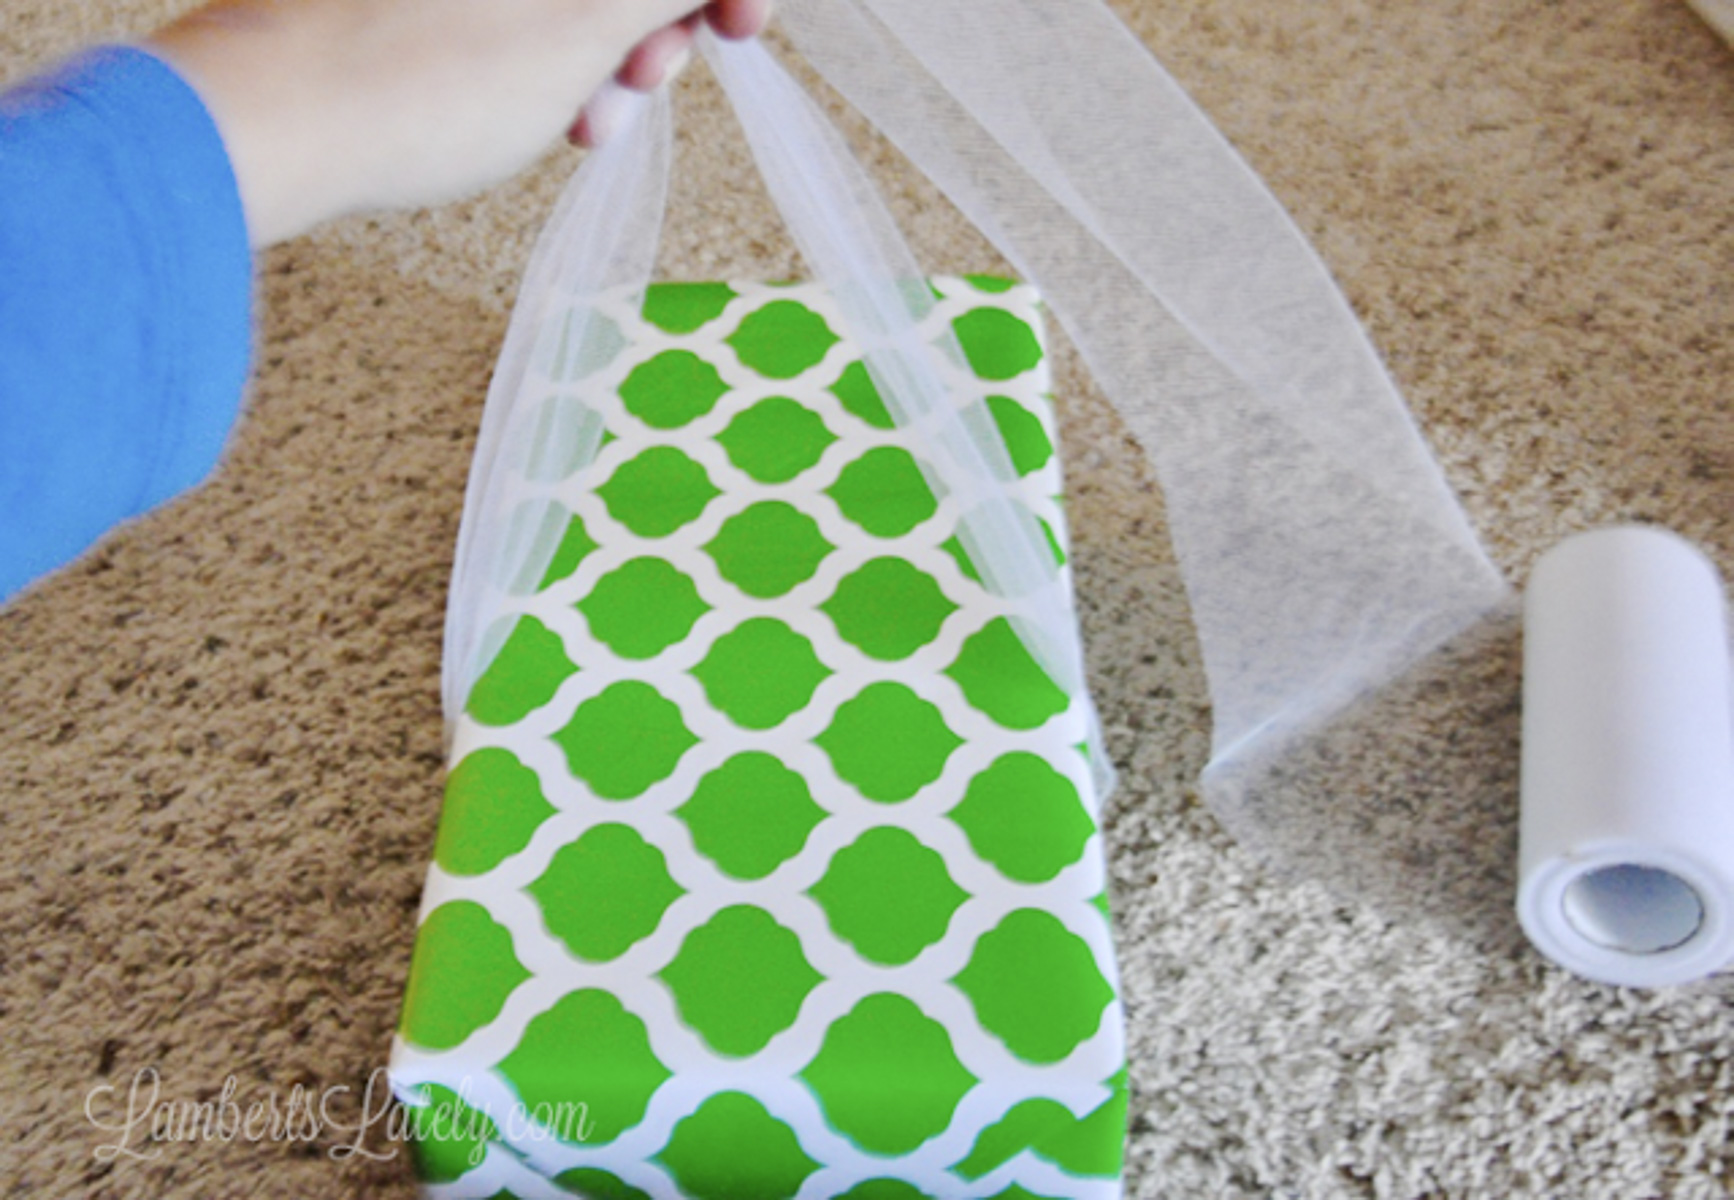
Wrap your tulle very loosely around the gift, leaving enough extra that you could tie a shoelace bow with the excess. You'll probably want around 8 inches of tulle past the edges of your gift on each side.
Cut this single length of tulle, then use that piece of tulle to measure out and cut 3-4 more strands that are the same length.
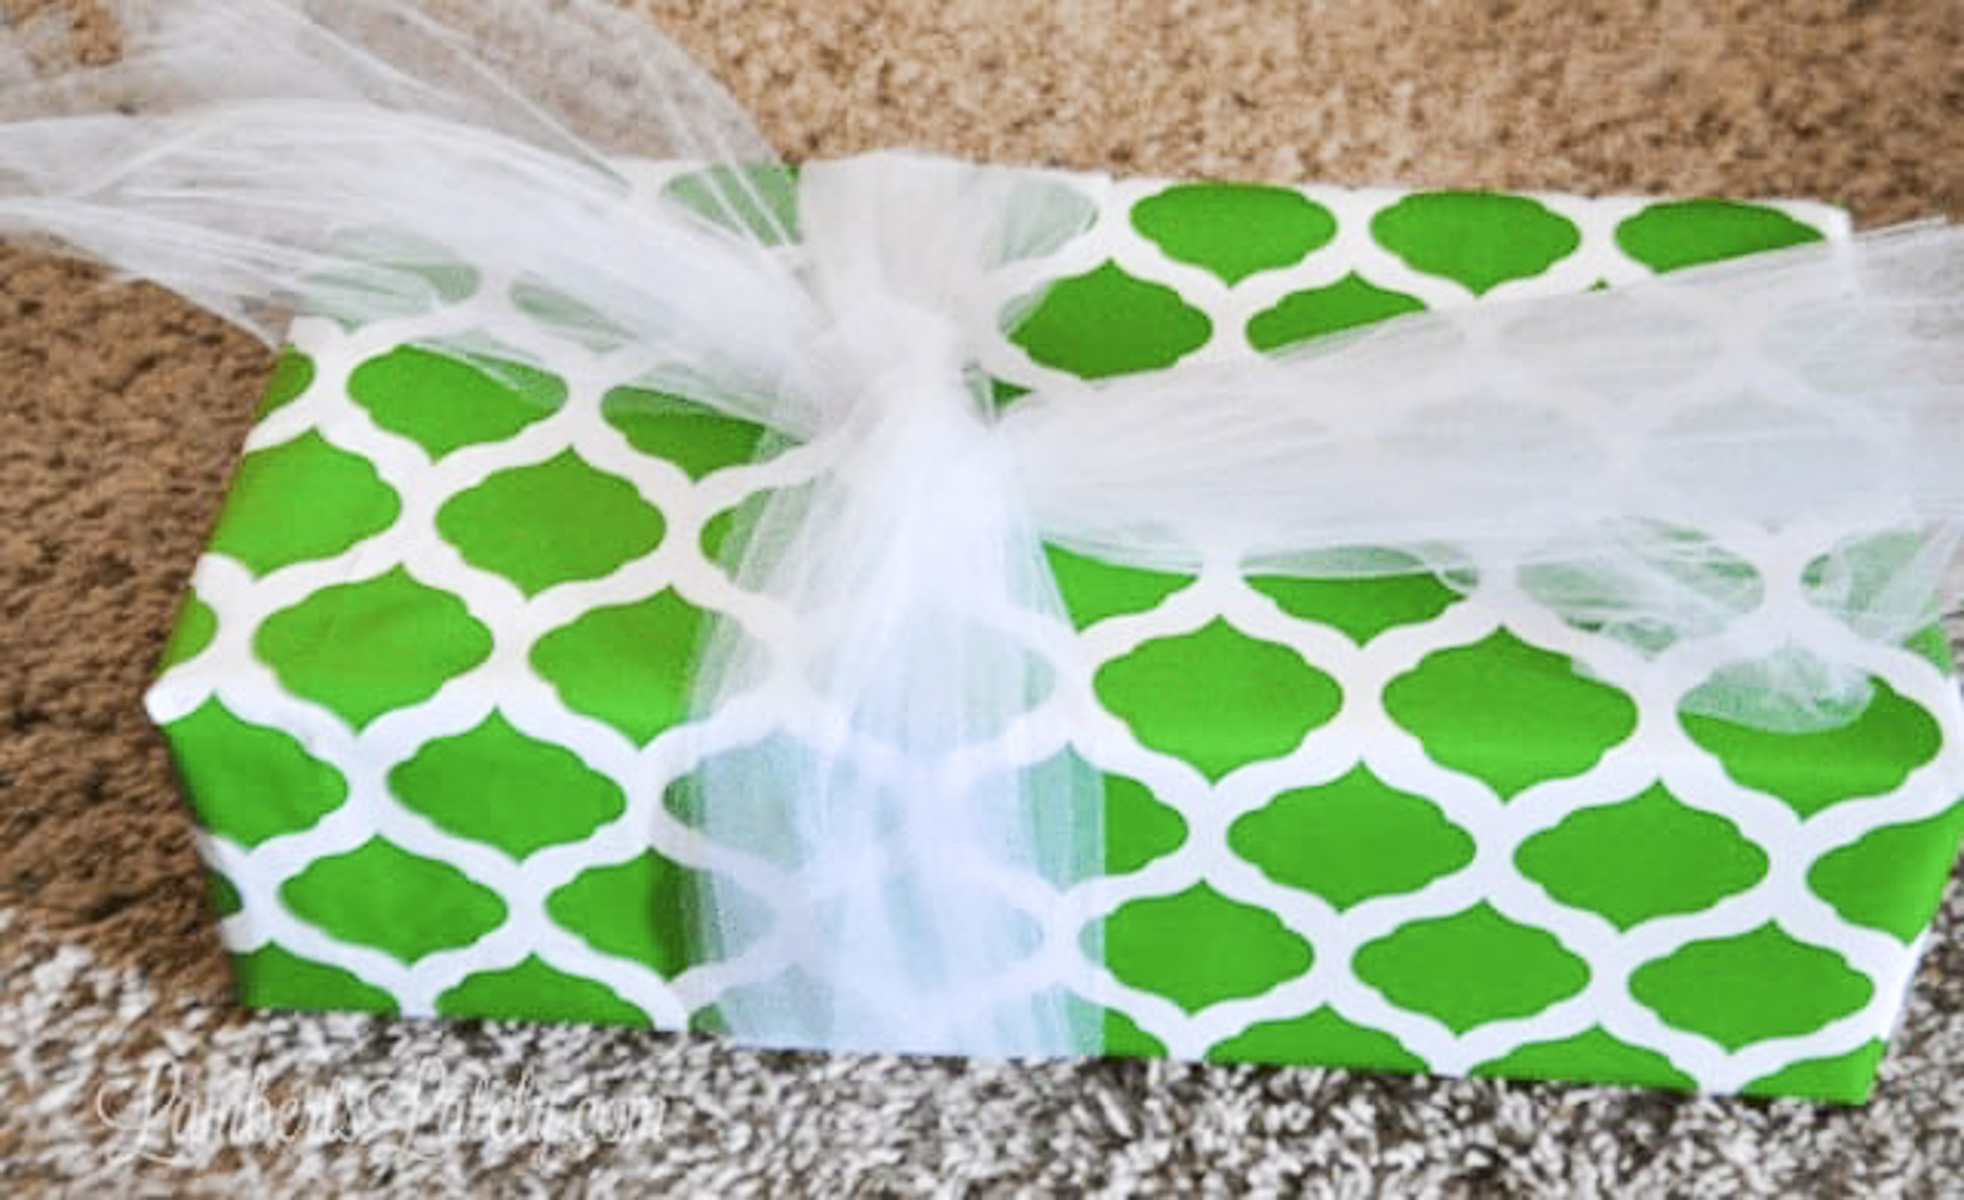
Next, take all of your pieces of tulle and bundle together. Tie the first part of your shoelace bow by looping the pieces together like I have them above. You'll loop this just like you loop the first step of tying your shoelaces.

Finish tying the "shoelace bow" by making 2 loops with a knot in the middle. Make sure the end pieces hanging out are about the same length as the loops.

Now the magic: put your scissors through each loop of the tied bow and cut the loop in half.
You can start to see the bow coming together at this point.

Finally, fluff each piece of tulle!
See, told you that was easy! Once you start tying bows this way you'll never go back...it looks so pretty and is so incredibly easy.
Love DIY? Make sure you check out my DIY Tree Topper and How to Preserve a Puzzle projects, too!
Step-by-Step Video
More Tips & Tricks
- The size of the bow totally depends on how many strands of tulle you use to make the knot and how long the extra tulle is that will make your shoelace knot. The longer the tulle, the bigger in diameter the bow will be; the more strands you use, the fluffier the bow. I think 4-5 strands is perfect for a gift, but in a pinch, 2-3 works just fine.
- Make sure to fluff your bow with your hands after cutting the loops; this is the trick to make it look finished!
- The color of tulle you use is totally up to you. I usually opt to buy white because it goes with everything. You can also mix colors of tulle to make this bow; red, white, and green look so pretty together for Christmas.
- Want to make a single bow that doesn't wrap around a gift? Just use a small tube of cardboard (like a paper towel roll). Using this tutorial, tie your shoelace bow around the cardboard, make the bow as instructed, and slip it off the roll to use as decor or on a gift!
FAQs

Leslie Lambert is a lifestyle writer and content creator specializing in home organization, family recipes, and intentional living. With 17 years of experience in blogging and digital storytelling, she helps busy women create calm, purposeful homes they love.


I absolutely loved this tutorial! The video was super helpful, and your step-by-step instructions made it really easy to follow. I can’t wait to try making these tulle bows for my gift wrapping. Thanks for sharing such a creative idea!
I absolutely love this tutorial! The video made it so easy to follow along, and the tulle bows turned out beautiful. Can’t wait to try this for my next gift. Thanks for sharing!
This tutorial is fantastic! I never realized how easy it could be to make tulle bows. The video was super helpful, and I can't wait to try this on my next gift! Thank you for sharing such a creative idea!