

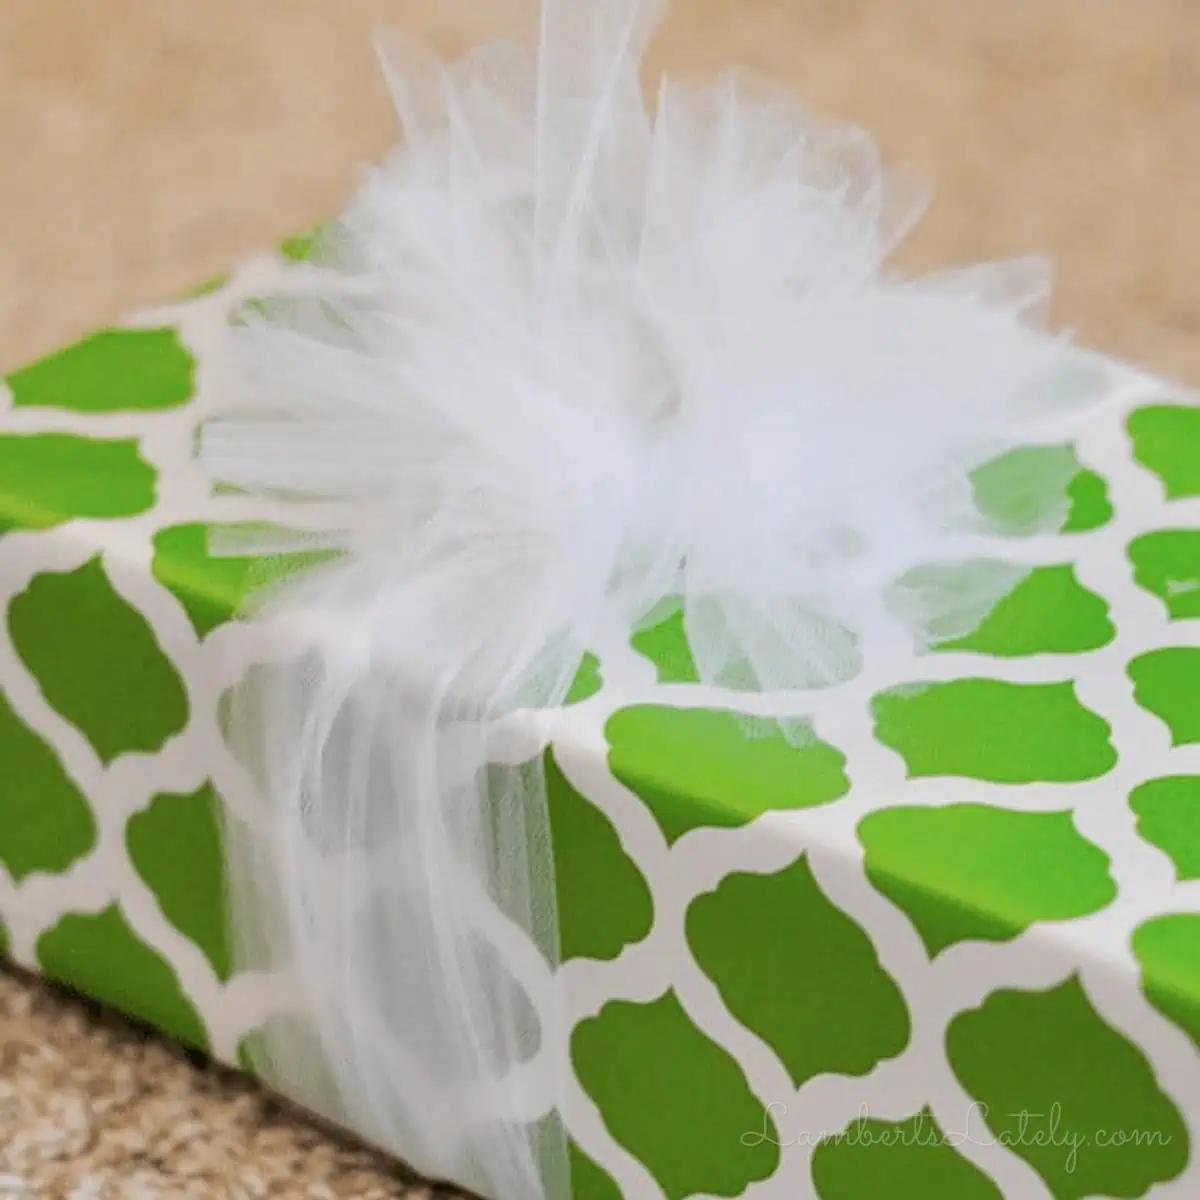
See how to make a tulle bow for gifts with just a spool of tulle and a pair of scissors! If you can tie your shoes, you can make this easy DIY tulle bow.
Paid links used in this post. Read more about my link usage policies.
I get comments all the time about the tulle bows I use on gifts, so I thought I'd finally share exactly how I make them!
This is one of my favorite little gift-wrapping fake-outs. These bows look like you spent forever making them, but they're actually super simple. You basically tie a shoelace bow, cut the loops, fluff the tulle, and you're done.
No sewing, no glue, and no floral wire needed!
Supplies Needed
You really only need two things to make these tulle gift bows:
- 6-inch wrapping tulle - Soft, flexible tulle works best for this method. I usually buy white because it goes with just about any wrapping paper, but you can use any color you like.
- Scissors - You'll use these to cut your strands of tulle and snip the loops after the bow is tied.
I usually stock up on tulle when it goes on sale around Christmas, but I use these bows for birthdays and other gifts throughout the year too.
How to Make a Tulle Bow
Start with a big, flat area where you can spread everything out. I usually use the floor or an empty table.
1. Measure your first piece of tulle
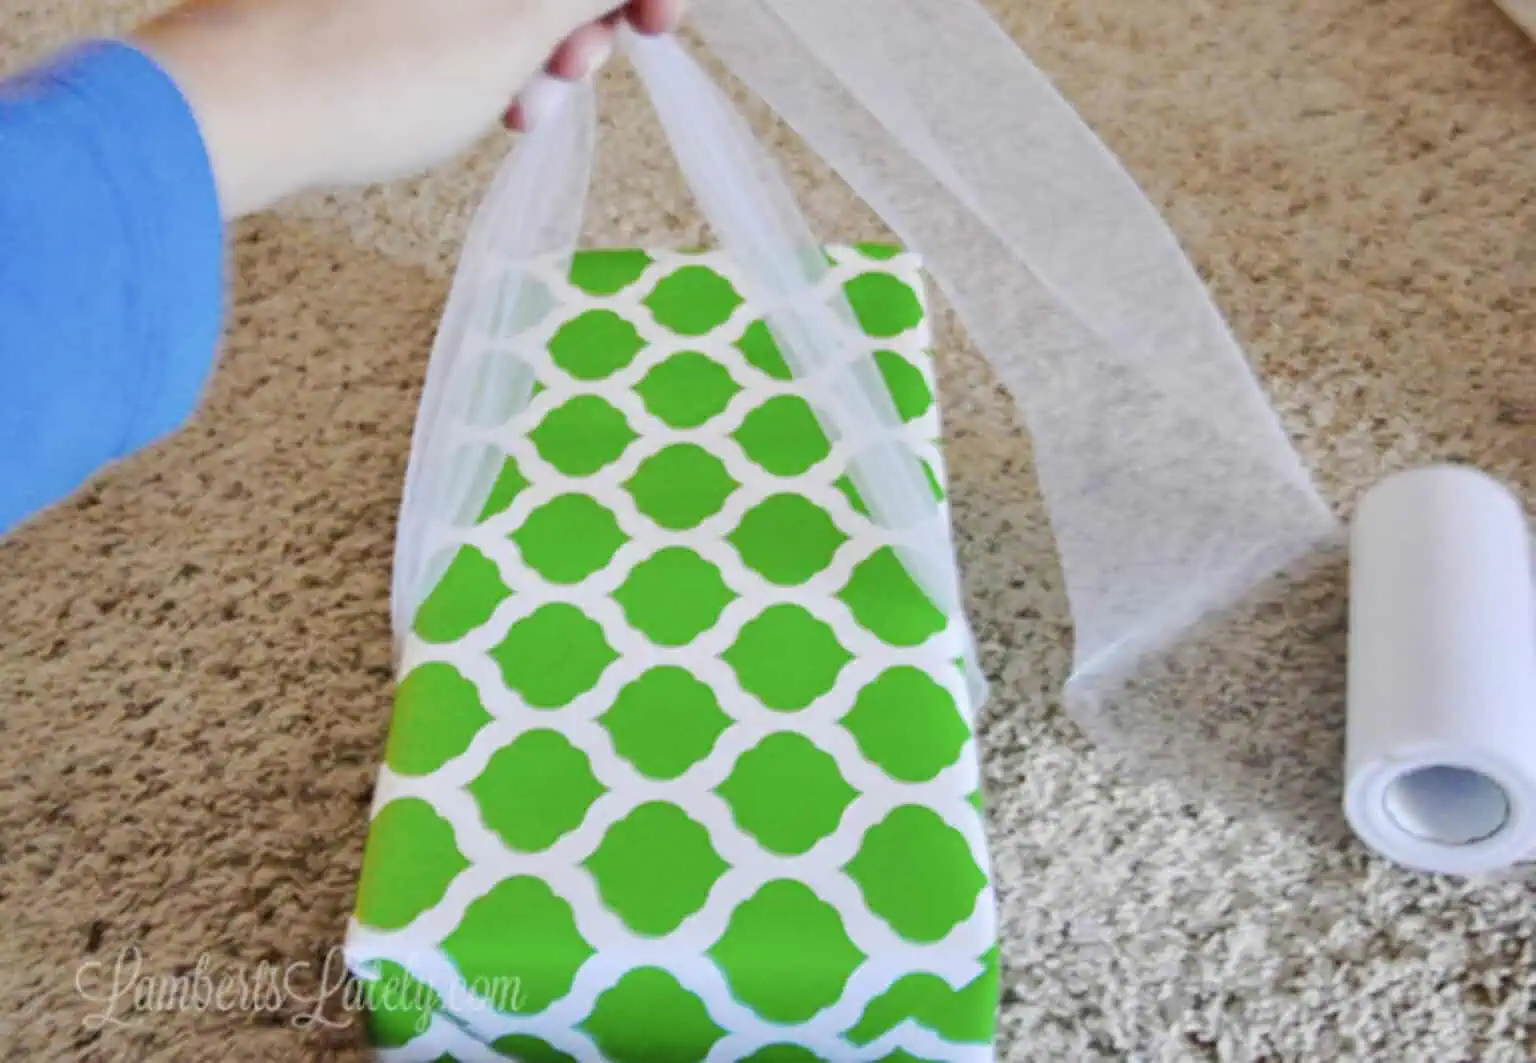
Wrap the tulle loosely around your gift, leaving enough extra on each end to tie a normal shoelace bow. For most gifts, I leave roughly 8" of extra tulle beyond the edge of the box on each side.
You don't need to measure this perfectly. You just want enough room to make nice-sized loops without struggling to tie the bow.
2. Cut several pieces the same length
Cut that first piece of tulle. Then, use it as a guide to cut 3-4 more pieces the same length.
I usually use 4-5 strands total for a nice, fluffy bow. You can absolutely use fewer if you're running low on tulle; the finished bow just won't be quite as full.
3. Bundle the pieces together
Stack all of your pieces of tulle together and treat them like one big piece of ribbon. Wrap the bundle around your gift.
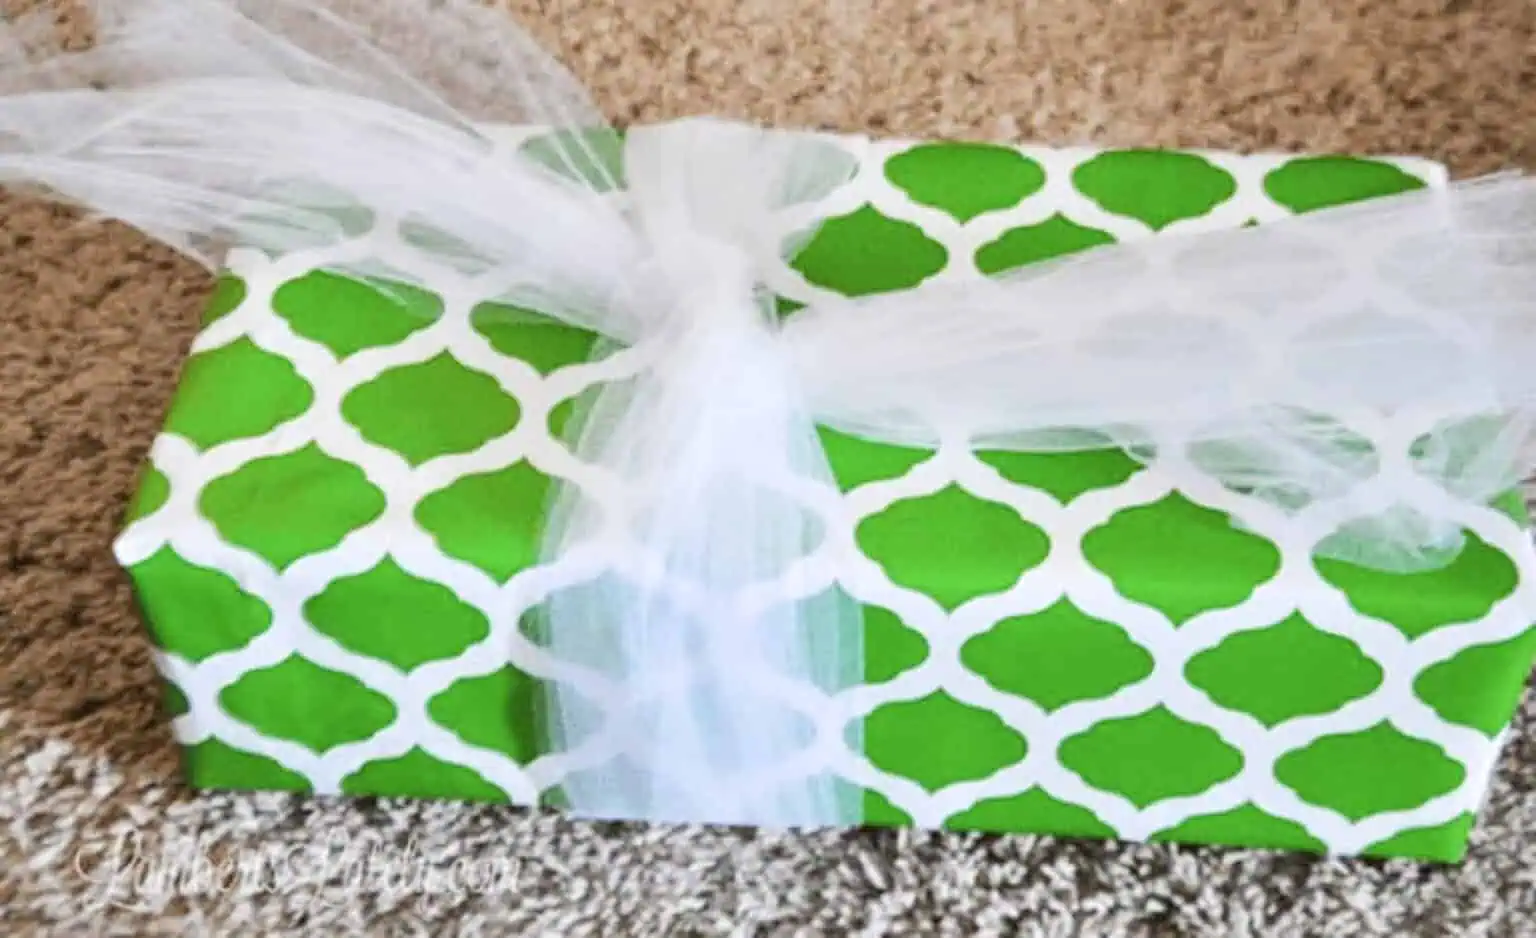
Now cross the two ends and tie the first part of your knot exactly like you would when you start tying your shoes.
That's really the trick to this whole thing!
4. Tie a shoelace bow
Then, finish tying the tulle just like a regular shoelace bow with two loops and a knot in the middle.
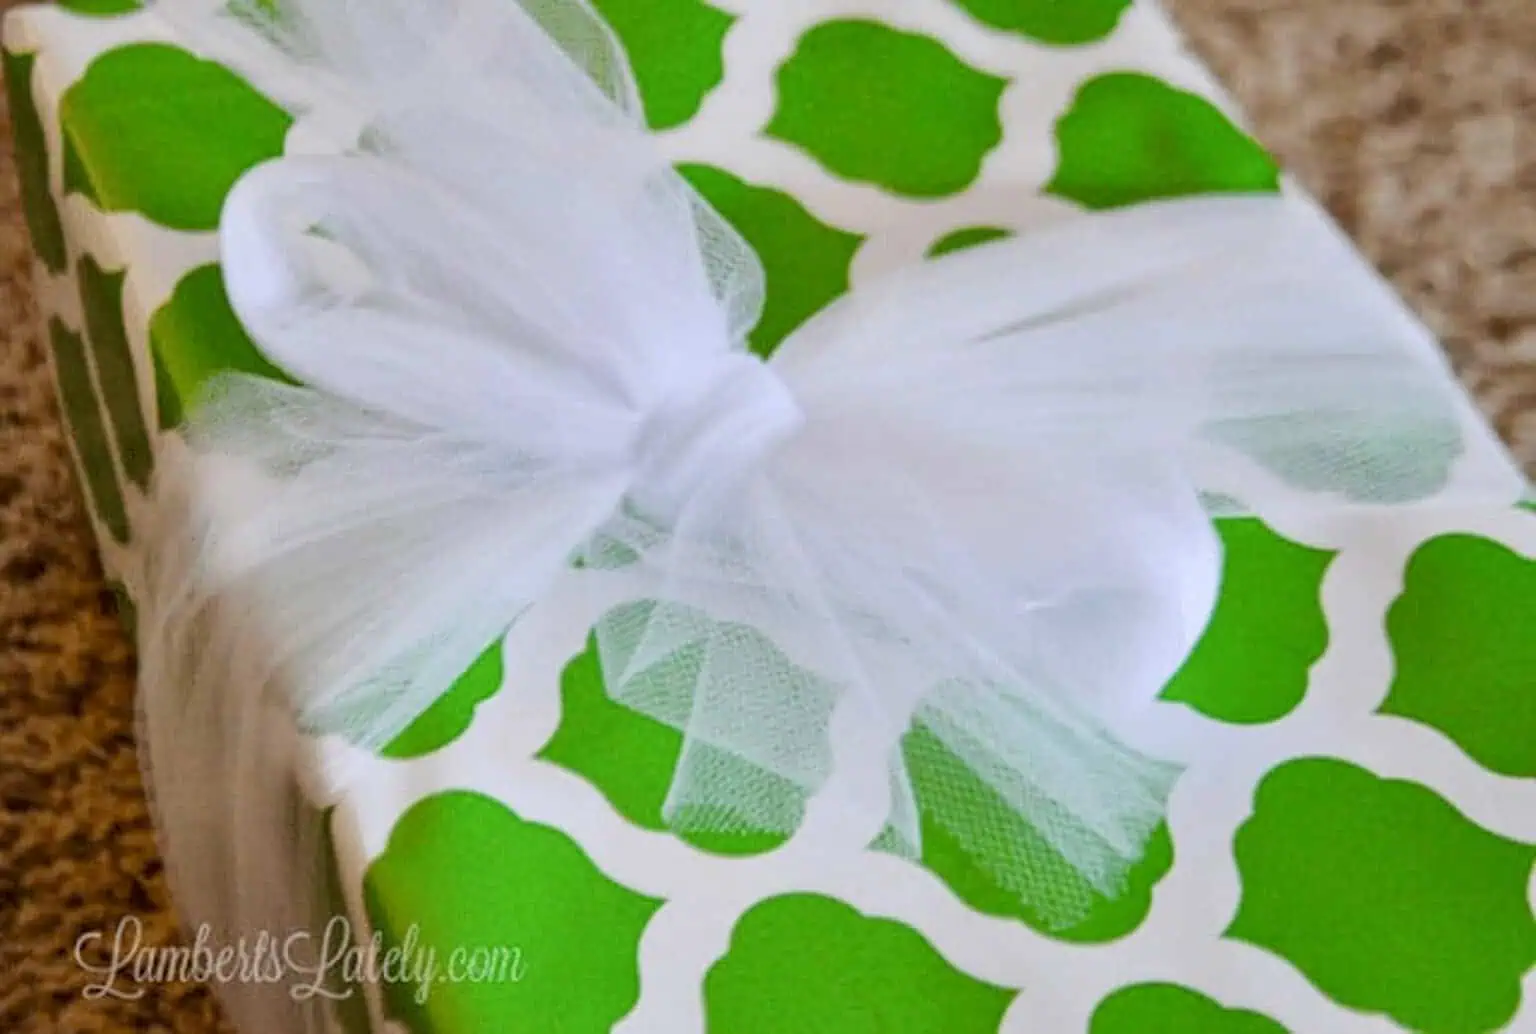
Before tightening everything completely, you can adjust the loops so they're roughly the same size. I also like the loose ends to be about the same length as the loops.
Don't worry if it looks a little funny right now...we haven't gotten to the good part yet.
5. Cut the loops
Now the magic! Slide a blade of your scissors into one of the loops and cut straight through the middle.
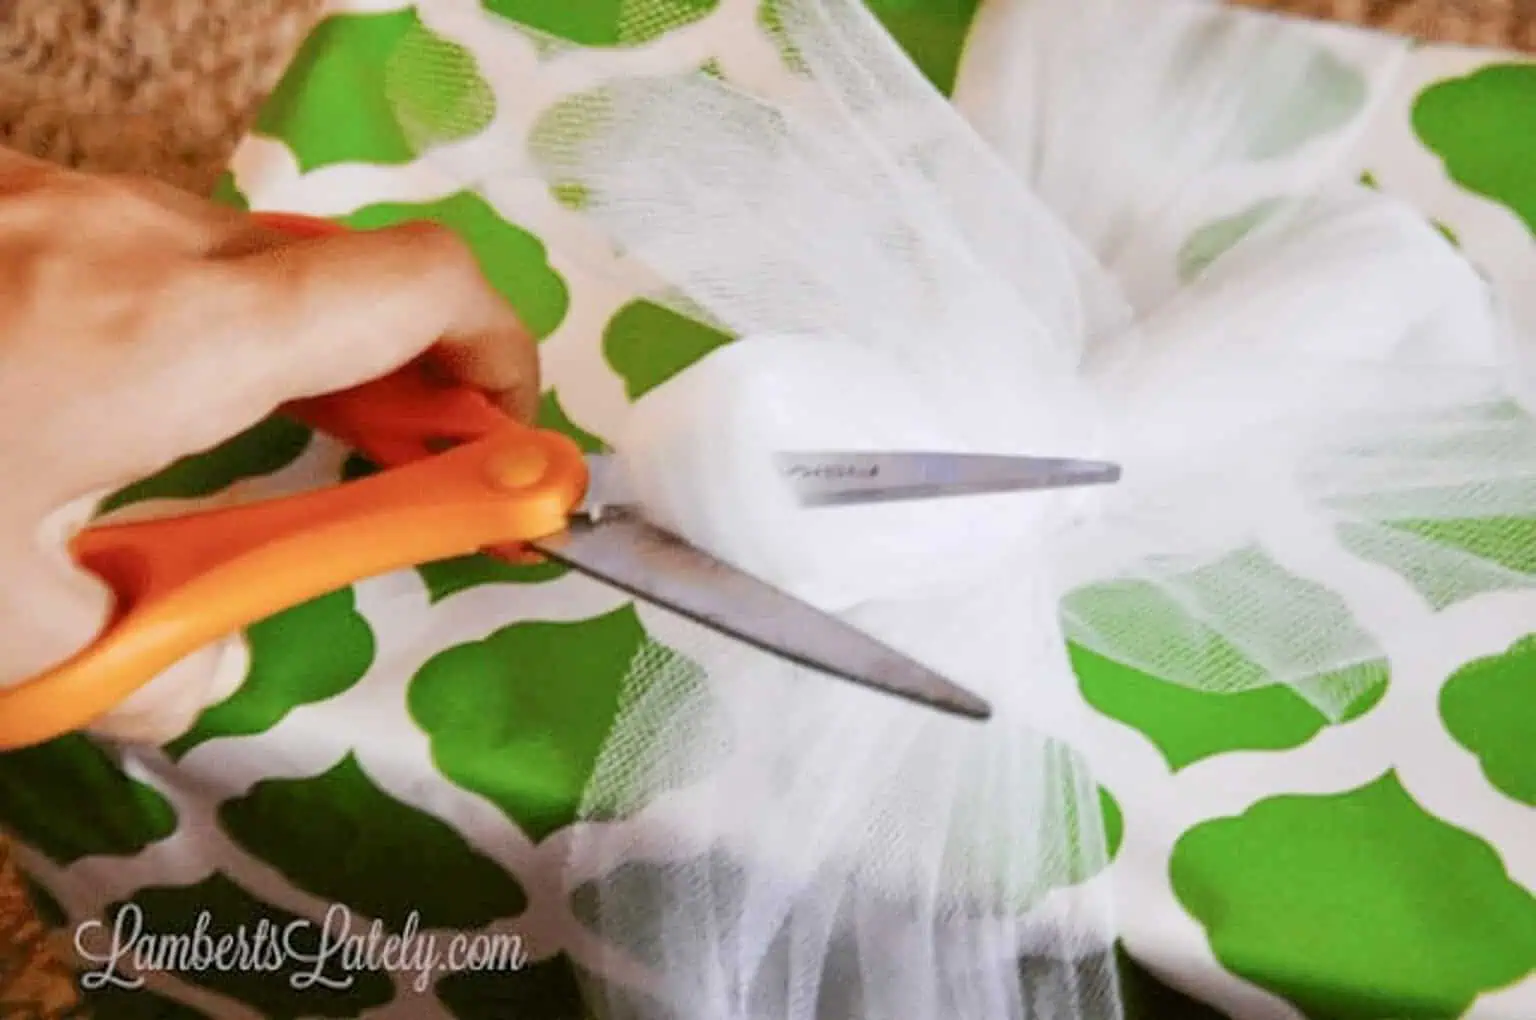
Do the same thing with the other loop. Once those loops are cut, you'll have lots of individual pieces of tulle sticking out from the center instead of two big loops.
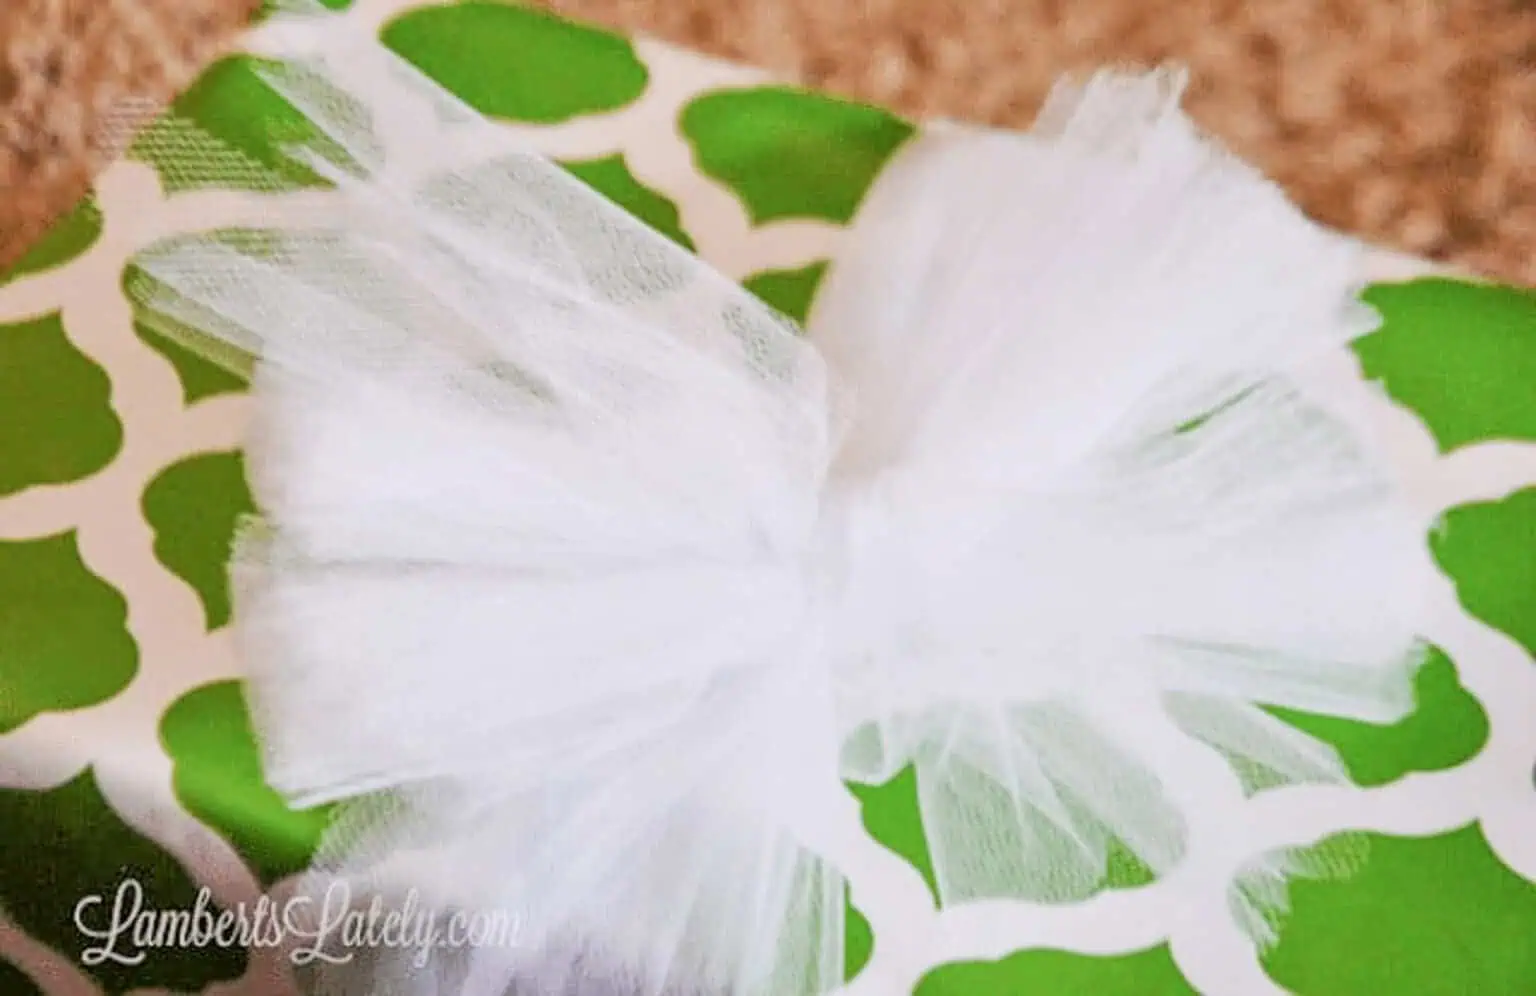
You can start to see the tulle bow coming together at this point.
6. Fluff the tulle
Finally, use your fingers to separate and fluff every piece of tulle. Pull the strands in different directions until the bow looks full and even.
If you have a few pieces that are noticeably longer than the others, you can give them a little trim.
See, told you that was easy! Once you start wrapping gifts this way, you might never go back. These bows look so pretty, and they're ridiculously easy to make.
Step-by-Step Video
Sometimes it's much easier to see this technique than it is to explain it. Watch the step-by-step video below to see exactly how I tie, cut, and fluff my tulle bows.
How Much Tulle Do I Need to Make a Bow?
The amount of tulle you need depends on two things: the size of your gift and how full you want your bow to be.
The easiest way to figure it out is to measure your first strand. Wrap one piece of tulle all the way around the gift, leaving enough extra on both sides to tie your bow. Once you know how long one strand needs to be, multiply that length by the number of strands you want to use.
So for example, if one strand is 36" long and you want to use five strands, you'll need about 180" of tulle total...roughly 5 yards.
I usually plan on somewhere around 4-5 yards of 6" tulle for an average gift bow. You can always use less...your bow just won't be quite as fluffy.
Tulle Bow Variations
Once you know how to make a basic tulle ribbon bow, there are all kinds of ways to change the look.
- Mix tulle colors. Bundle different colors together before tying the bow. Red, white, and green is so pretty for Christmas.
- Use one neutral color. White is still my go-to because it works with almost every wrapping paper.
- Use fewer strands for a simple bow. Two or three strands give you a lighter, less fluffy look.
- Use more strands for an extra-full bow. Add another piece or two if you want something really dramatic.
- Make a removable bow. Use the cardboard-tube method below if you don't want the tulle wrapped around the entire gift.
Can I Make This Bow With Deco Mesh?
Unfortunately, this particular tutorial doesn't work very well with stiff or wired ribbon.
You need something really flexible so you can tie it into a normal shoelace bow and fluff the individual pieces after cutting.
If you're working with deco mesh instead, check out my DIY Tree Topper tutorial. That project uses a different bow technique that works much better with mesh.
How to Make a Tulle Bow Without Wrapping It Around a Gift
Want a tulle bow that you can attach to a gift bag, wreath, basket, or another project instead? You can use almost the exact same method.
- Use a small cardboard tube, like a paper towel roll, instead of a gift box.
- Wrap your strands of tulle around the cardboard.
- Tie the tulle into a shoelace bow.
- Cut through both loops.
- Fluff the individual pieces.
- Slide the finished bow off the cardboard.
Now you have a separate fluffy tulle bow that you can attach wherever you want!
More Tips for Making a Fluffy Tulle Bow
- Use more strands for a fuller bow. I think 4-5 strands is perfect for most gifts. In a pinch, 2-3 strands still works.
- Use longer pieces for a larger bow. The more tulle you leave for your shoelace loops, the bigger the finished bow will be.
- Don't skip the fluffing step. Separating the individual pieces after you cut the loops is what makes the bow look finished instead of flat.
- Keep the initial wrap fairly loose. You want enough room to comfortably tie your bow without pulling everything too tight around the gift.
- Trim at the very end. It's much easier to see which pieces are actually too long once the bow has been completely fluffed.
FAQs & Troubleshooting
More DIY Christmas Projects

Leslie Lambert is a lifestyle writer and content creator specializing in home organization, family recipes, and intentional living. With 17 years of experience in blogging and digital storytelling, she helps busy women create calm, purposeful homes they love.



I absolutely loved this tutorial! The video was super helpful, and your step-by-step instructions made it really easy to follow. I can’t wait to try making these tulle bows for my gift wrapping. Thanks for sharing such a creative idea!
I absolutely love this tutorial! The video made it so easy to follow along, and the tulle bows turned out beautiful. Can’t wait to try this for my next gift. Thanks for sharing!
This tutorial is fantastic! I never realized how easy it could be to make tulle bows. The video was super helpful, and I can't wait to try this on my next gift! Thank you for sharing such a creative idea!