

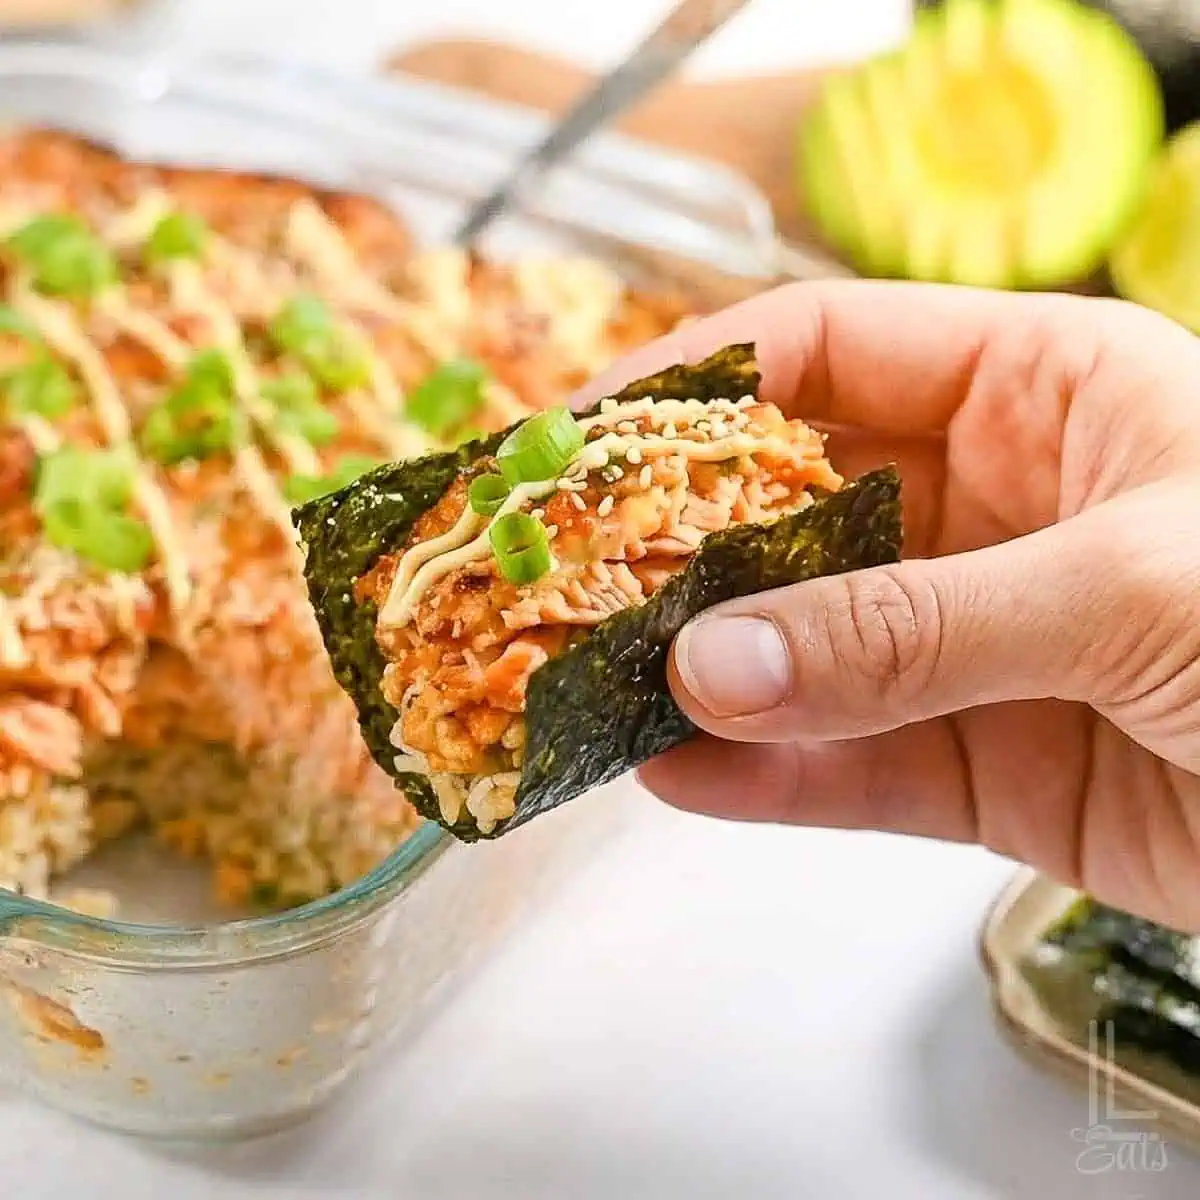
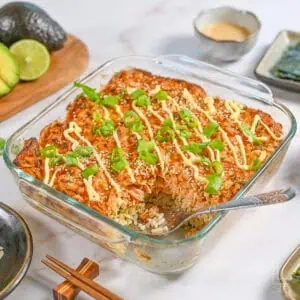
This spicy salmon sushi bake is a quick, creamy sushi casserole made with rice, furikake, and spicy mayo salmon. Easy, customizable, and ready in under an hour.
Paid links used in this post. Read more about my link usage policies.
Spicy Salmon Sushi Bake: What You Need to Know

Enjoy sushi at home...without the work! This Tiktok viral Spicy Salmon Sushi Bake is a fun, crowd-pleasing way to get all the flavors of your favorite deconstructed sushi roll in one yummy bite, complete with a tangy rice base and a creamy, sriracha-spiked salmon topping that bakes up all bubbly.
If you're a fan of my Seafood Fisherman's Pie, my Crab Rangoon Dip, or a rich, creamy pot of Crawfish Monica, you'll love this recipe, too!
Prep Time: 50 minutes
Serves: 6
Spice Level: Medium (but adjustable)
I think you seafood fans are going to love this one...hope you enjoy!

Ingredient Notes
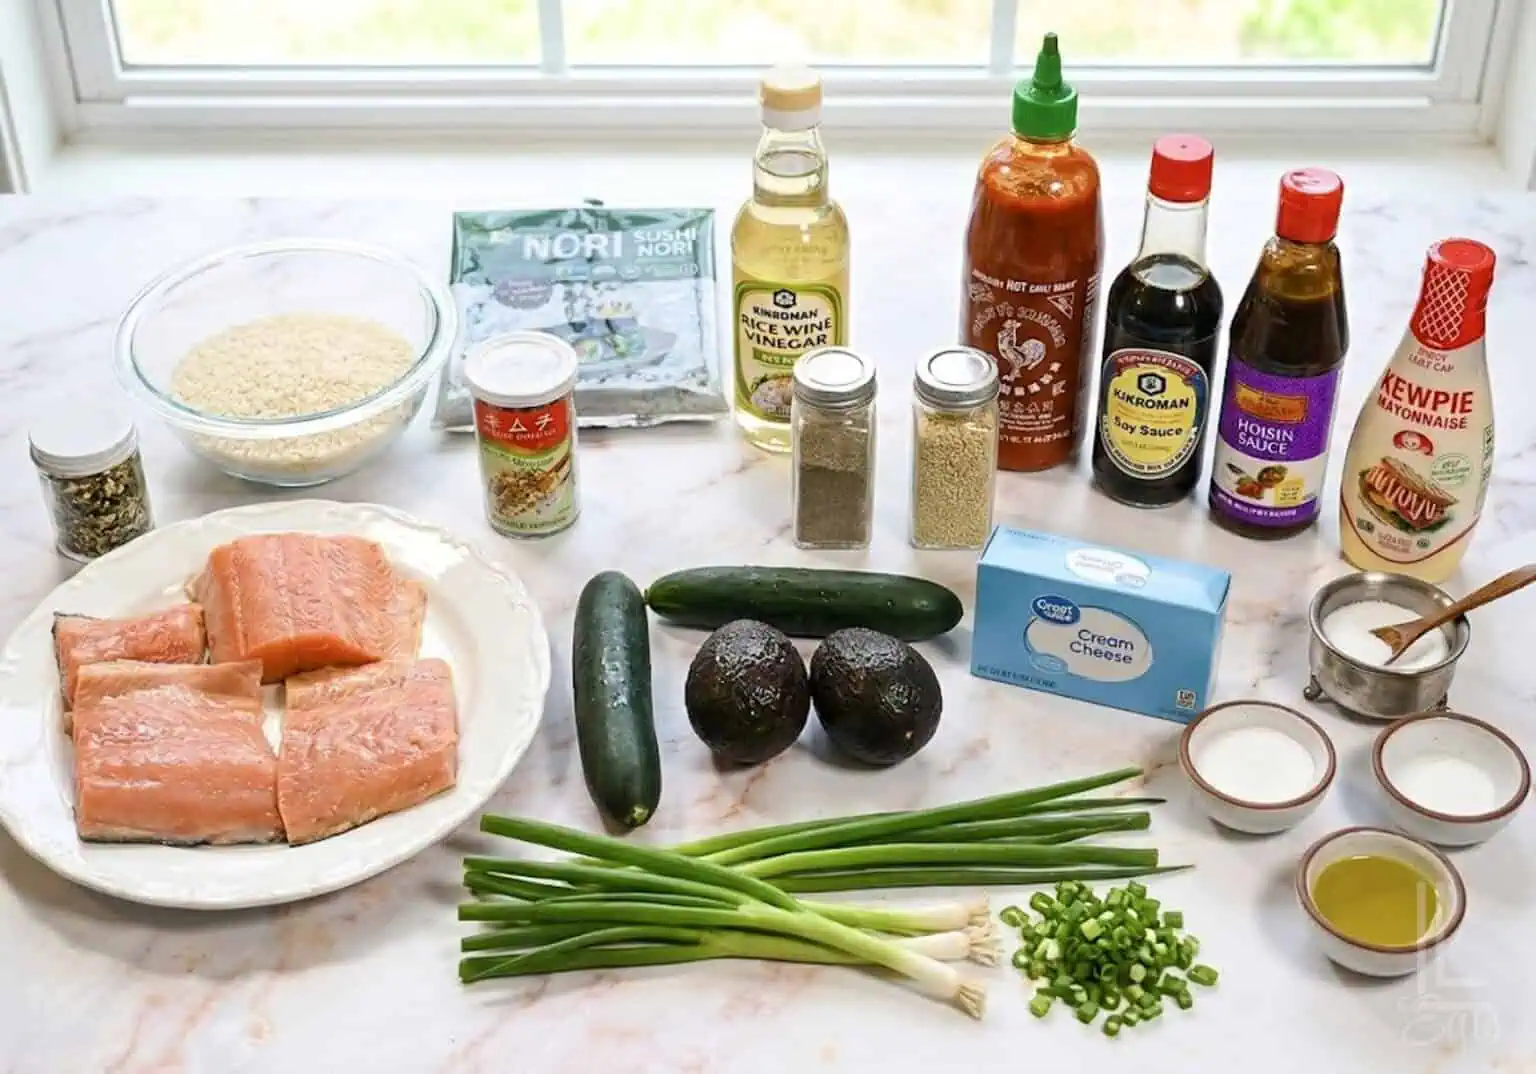
(See recipe card at the bottom of the post for exact ingredient measurements and a full list.)
Some of these ingredients might look a little intimidating if you've never made homemade sushi before, but don't worry! They are easy to find, and I have simple subs for almost all of them.
- Sushi Rice: This gets perfectly sticky when cooked, which helps hold your casserole layers together. If you don't have access to sushi rice at your local store, don't sweat it! Just grab regular short-grain white rice instead.
- Rice Wine Vinegar: This gives the rice base that signature bright, tangy flavor. It's typically pretty easy to find right in the condiment or vinegar aisle at the grocery store.
- Salmon: Fresh is great, but frozen fillets are just fine for this - that's actually what I use! Just make sure to thaw them right before you start making the recipe.
- Kewpie Mayonnaise: This is a Japanese mayo that is a little bit sweeter, richer, and less tangy than regular mayo. It adds the best flavor to our salmon layer, but it is totally fine to use standard mayonnaise if that's what is in your fridge.
- Furikake Seasoning: This is a savory spice blend traditionally used on sushi that really complements the whole dish. I get my bottles on Amazon, and they last a really long time.
- Sriracha: This provides that iconic kick! If you or your kids are not a fan of spice, just skip the Sriracha entirely.
- Hoisin Sauce: This adds a yummy sweet balance to the heat. Don't have hoisin sauce on hand? You can easily use eel sauce or a teriyaki glaze instead.
- Nori Seaweed Sheets: We use these to scoop up the warm bake like a little hand roll! They can sometimes be kind of hard to find at regular grocery stores, so I easily order mine on Amazon. If you don't have them, just skip them and grab a fork!
Easy Variations & Additions
This is a super customizable dish! If you want to mix things up or adapt it to what you have in the fridge, here are a few fun ways to make this recipe your own:
- Swap out the protein: If you aren't in the mood for salmon, this recipe works great with other seafood. Feel free to use cooked shrimp, crabmeat (or imitation crab), lobster, or even crawfish instead.
- Create a DIY toppings bar: Get creative and let everyone customize their own individual portions. Set out extra toppings like crunchy tempura flakes, pickled ginger, a squeeze of sweet honey, wasabi, or an extra drizzle of sriracha for the spice lovers.
- Build sushi bowls: Instead of wrapping the bake in seaweed sheets, scoop a generous portion into a bowl and layer it with fresh cucumber, diced avocado, and a sprinkle of sesame seeds for a quick, deconstructed sushi bowl.
Balancing the Heat: How Spicy is This Recipe?
Since this is a spicy salmon sushi bake, it definitely packs a little kick! The heat comes from the ¼ cup of Sriracha mixed into the cream cheese and mayonnaise.
Because the Sriracha is folded into that rich, creamy base, the dairy helps mellow out the sharp sting of the hot sauce. It leaves you with great heat that mimics a classic spicy salmon roll, not an overwhelming burn.
The best part about a homemade sushi casserole is that you control the heat! Here is how to easily adjust the spice level for your family:
- To make it extra hot: Stir a dash of chili oil or crushed red pepper into the salmon filling. Right before serving, give the baked casserole an extra-heavy drizzle of Sriracha!
- To make it mild (Kid-Friendly): Reduce the Sriracha to 1 tablespoon or skip it entirely. Swap it for a sweet teriyaki glaze to keep that deep flavor without the heat.
- To make it medium (As Written): Use the full ¼ cup of Sriracha. It provides a noticeable, crowd-pleasing kick that perfectly balances the rich salmon and rice layers.
How to Make Spicy Salmon Sushi Bake
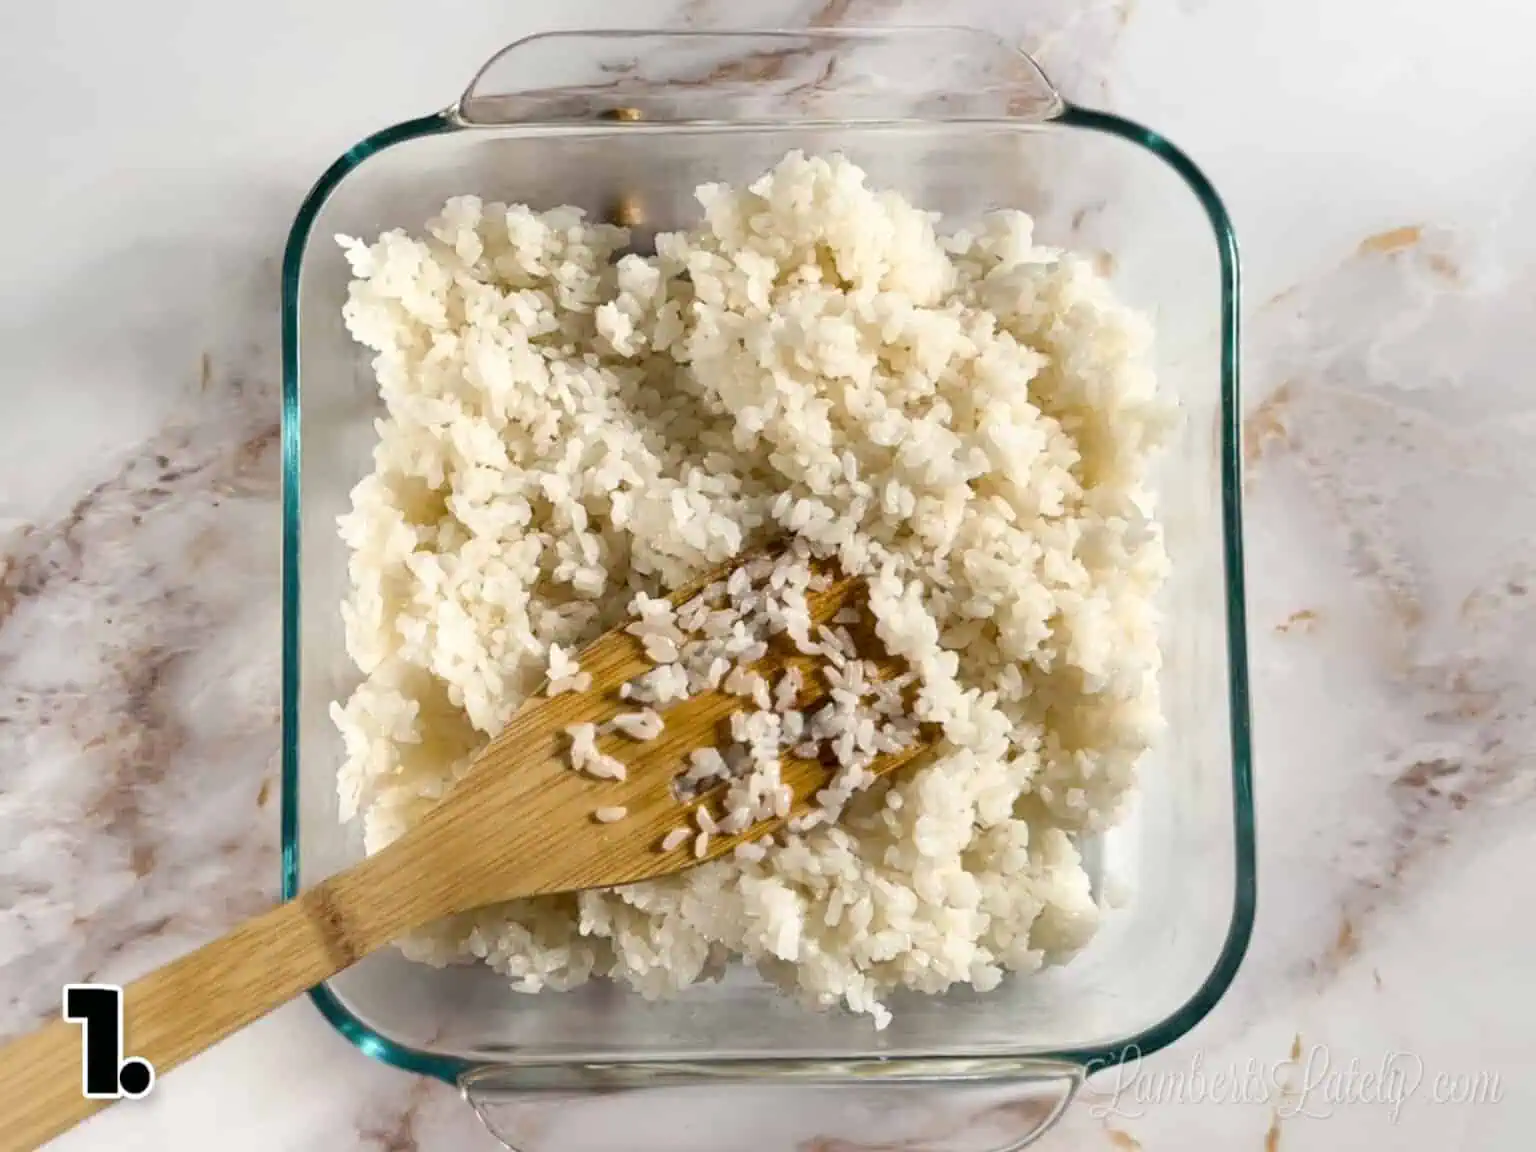
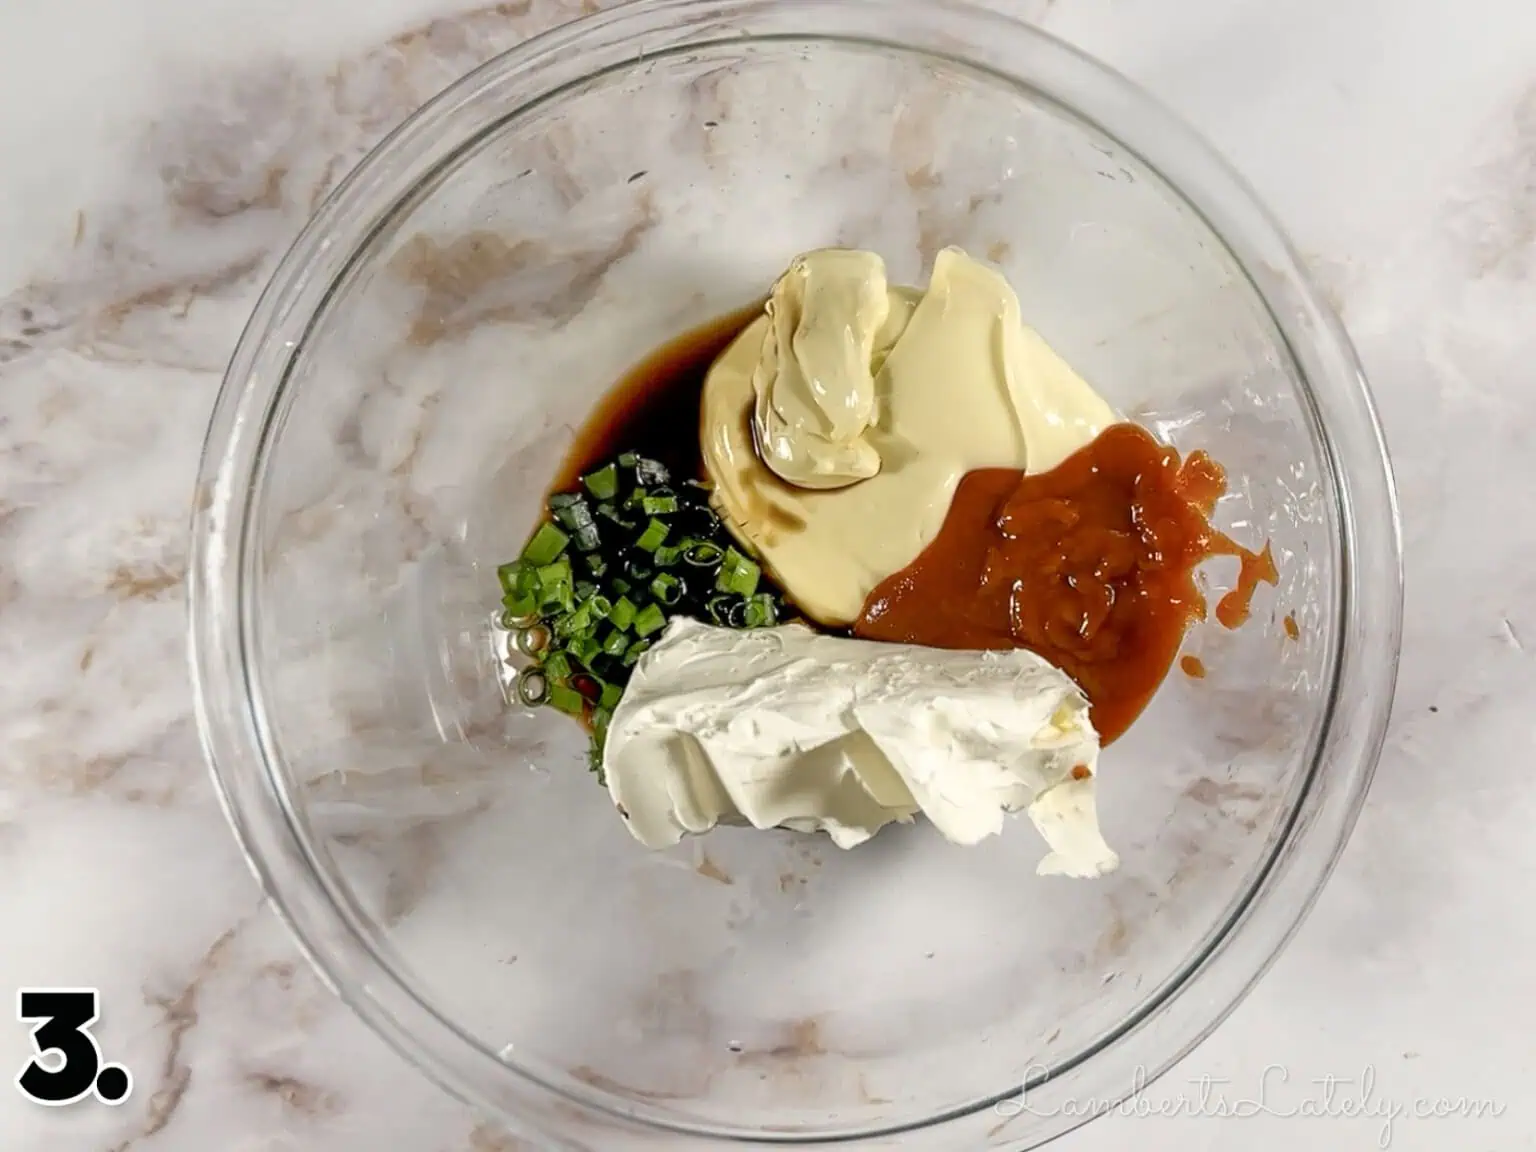
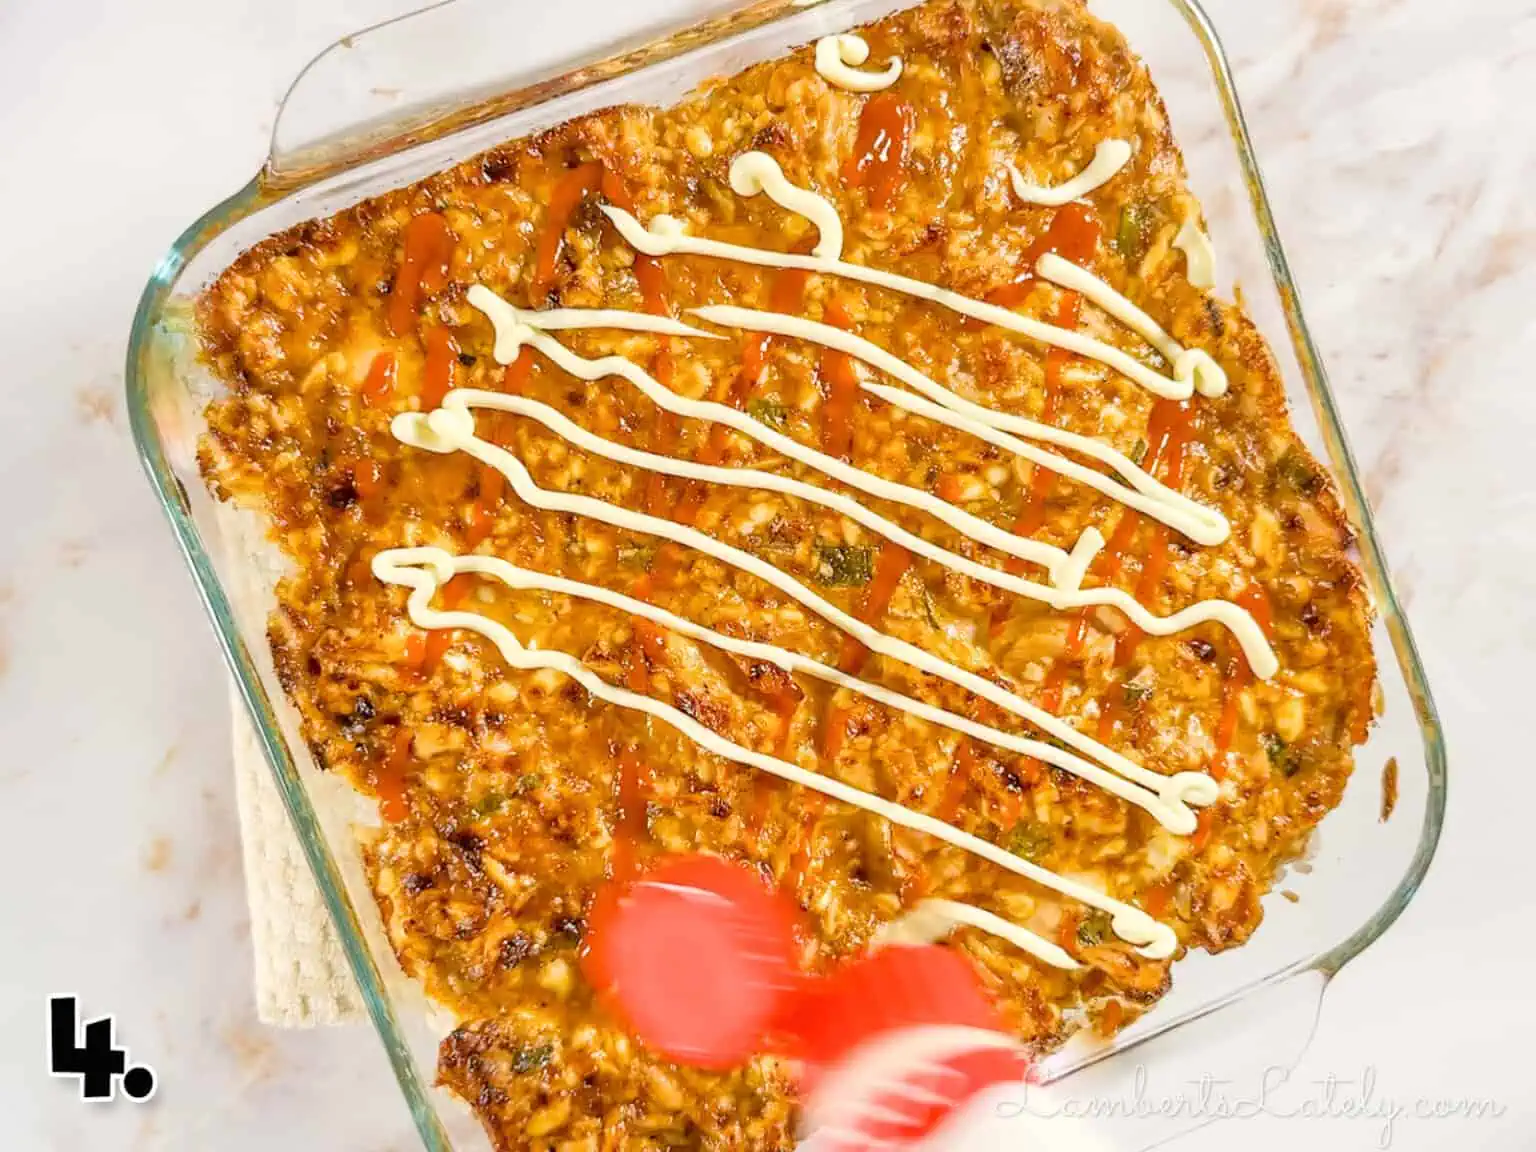
- Prepare and season the sushi rice: Cook your sushi rice according to the package directions. While it's warm, fold in the rice wine vinegar, sugar, and salt. Press the seasoned rice into an even layer along the bottom of an 8x8" glass baking dish.
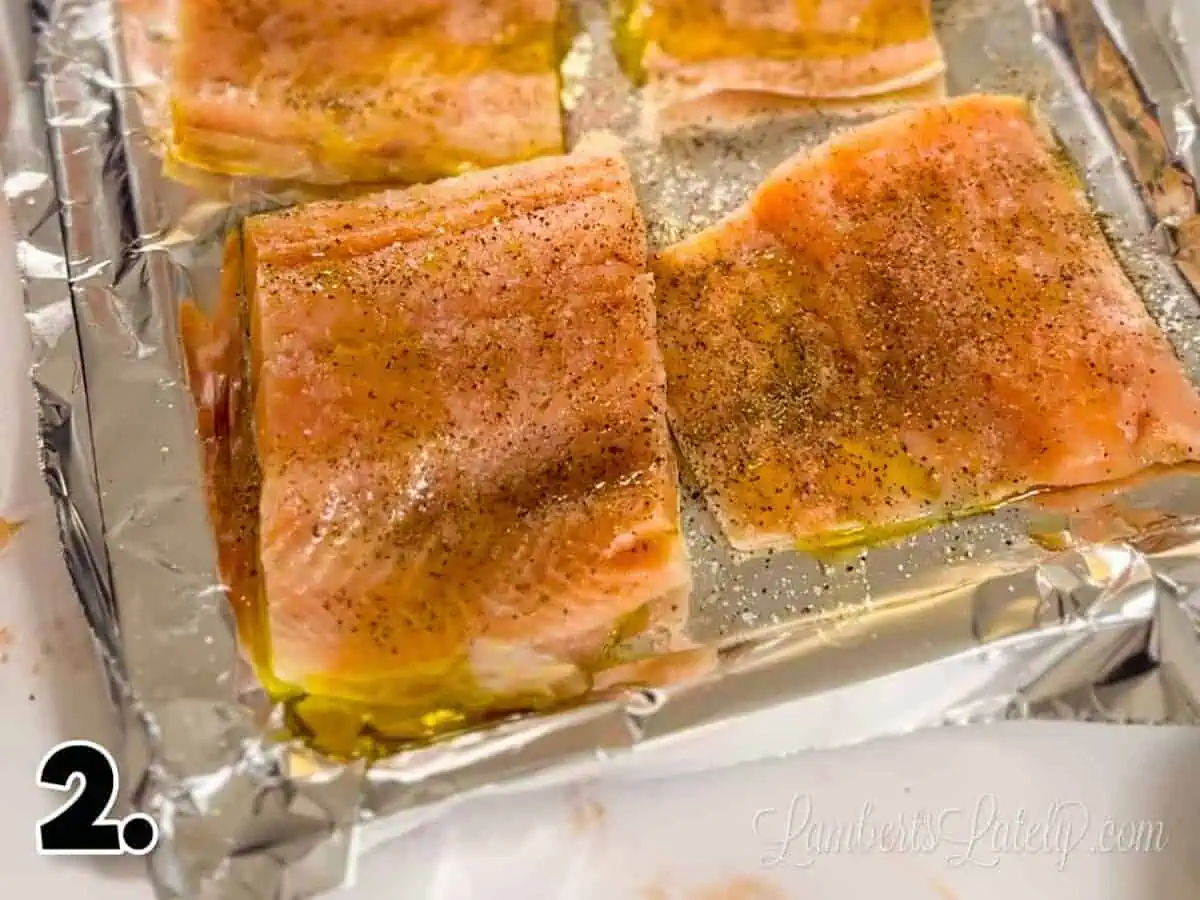
- Bake and shred the salmon: Rub your salmon fillets with olive oil, salt, and black pepper. Bake at 425°F for 10-12 minutes until the tops just begin to brown, then remove them from the oven and flake the meat with a fork.
- Mix the creamy spicy salmon layer: In a large mixing bowl, combine the mayonnaise, softened cream cheese, Sriracha, soy sauce, hoisin, Furikake seasoning, and chopped green onions. Blend with a hand mixer until completely smooth, then gently fold in the flaked salmon, and spread the mixture evenly over your rice base.
- Bake, broil, and serve: Place the casserole in the oven at 400°F for 15-18 minutes until the sides are bubbly. Switch the oven to broil for an additional 3-5 minutes to get the top golden brown. Finish with a drizzle of extra sauces, green onions, and Furikake, then scoop into nori sheets with fresh avocado and cucumber!
How to Serve, Store, and Reheat
Whether you want to eat this Tiktok viral sushi bake warm or straight out of the fridge cold, it is equally delicious either way!
Creative Ways to Serve
- Make mini hand rolls: This is the most popular way to enjoy it! Lay a small piece of nori seaweed sheet flat, add a few spoonfuls of the warm sushi casserole, pile on your favorite toppings, roll it up, and enjoy.
- Build a sushi bowl: Scoop a generous portion of the bake into a bowl and let everyone customize their own dinner with fresh toppings like sliced avocado, diced cucumber, and a sprinkle of sesame seeds.
Leftovers & Storage Tips
Storage: If you happen to have leftovers, place them in an airtight container and keep them in the refrigerator. It will stay fresh and delicious for up to 4 days.
Reheating: When you're ready for round two, you can absolutely enjoy it cold! If you prefer it hot, just pop a portion into the microwave for about 30 seconds to warm it right back up.
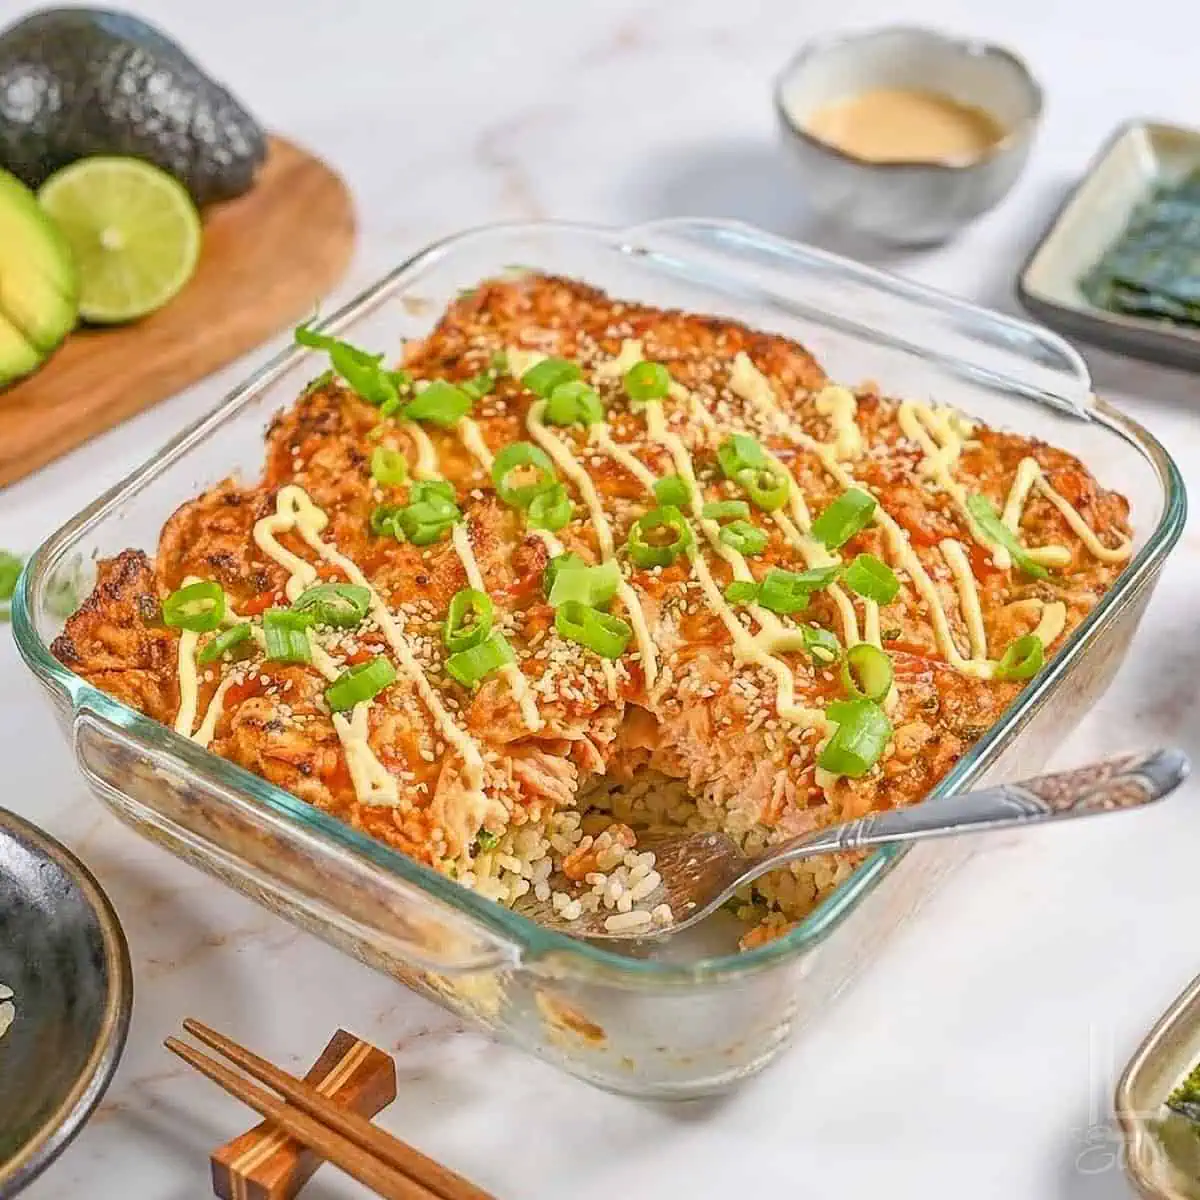
Leslie's Helpful Tips & Tricks
- I like cooking my sushi rice in the Instant Pot - makes it so easy! Just add the rice, water, and seasonings to the pot all at once and set on manual, high pressure, 5 minutes.
- Always rinse your rice: Give the sushi rice a thorough rinse under cold water before cooking to remove excess surface starch. This keeps the rice from getting overly mushy or gummy.
- Prep ahead of time: You can easily bake and flake the salmon and cook the rice a day in advance. Store them separately in the fridge, then just mix, layer, and bake when you are ready for dinner.
- Soften the cream cheese: Make sure your cream cheese is completely at room temperature before mixing. This makes sure the spicy salmon layer blends up smooth and creamy without any stubborn lumps.
FAQs & Troubleshooting
More Great Casseroles

I hope you love this fun, unique dinner idea! If you make it, I'd love to hear about it - you can either rate and review ⭐️ the recipe below or tag me in your pictures 📸 on social media @lambertslately.
Spicy Salmon Sushi Bake
Ingredients
Sushi Rice Base
- 1.5 cups sushi rice
- ½ cup rice wine vinegar
- 2 teaspoon white granulated sugar
- 1 teaspoon salt
Salmon Topping
- 16 oz salmon
- 2 tablespoon olive oil
- 2 teaspoon salt
- 2 teaspoon black pepper
- ½ cup kewpie or regular mayonnaise
- 8 oz cream cheese softened
- ¼ cup sriracha
- 2 tablespoon soy sauce
- 1 tablespoon Furikake seasoning
- ¼ cup hoisin sauce
- ¼ cup chopped green onions
Toppings
- 2 avocados chopped
- 1 cucumber chopped
- 2 tablespoon white and/or black sesame seeds
- 1 oz nori (seaweed) sheets
- ½ cup chopped green onions
Instructions
- Cook & season the rice: Cook the sushi rice according to the package directions, then gently fold in the rice wine vinegar, sugar, and salt while it's still warm. Press the seasoned rice into an even, compressed layer along the bottom of an 8x8" glass baking dish.
- Bake & flake the salmon: Rub your salmon fillets with the olive oil, salt, and black pepper. Bake at 425°F for 10-12 minutes until the tops begin to brown, then remove from the oven and flake thoroughly with a fork.
- Make the salmon filling: In a large mixing bowl, blend the mayonnaise, softened cream cheese, Sriracha, soy sauce, hoisin, Furikake seasoning, and green onions with a hand mixer until completely smooth. Gently fold the flaked salmon into this creamy base.
- Assemble & bake: Spread the spicy salmon mixture evenly over the pressed rice layer. Bake at 400°F for 18-20 minutes until the sides are bubbling and the center is heated through. (Note: The 8x8" dish creates a thicker layer than a 9x13", requiring a slightly longer bake time).
- Broil & garnish: Switch your oven to broil for 3-5 minutes to get the top beautifully golden brown. Garnish with an extra drizzle of sauces, Furikake, and green onions, then serve warm with nori sheets, avocado, and cucumber.
Notes
- Instant Pot Rice Hack: Combine rinsed rice, water, and seasonings in your Instant Pot. Cook on manual high pressure for 5 minutes, then natural release for 10 minutes.
- The Rice Rinse Rule: Always rinse sushi rice under cold water before cooking to remove excess surface starch and prevent a gummy casserole base.
- No-Lump Salmon Base: Ensure cream cheese is completely at room temperature so it blends smoothly with the mayo and sauces without leaving lumps.
- Time-Saving Prep: Cook the rice and bake the salmon a day early, storing them separately in the fridge. When ready, assemble and bake (just add 3-5 minutes to the initial bake time).
- Freezer Warning: Do not freeze this dish. The mayonnaise and cream cheese base will break down and separate upon thawing. Store leftovers in the fridge for up to 4 days.
Nutrition Facts

Leslie Lambert is a lifestyle writer and content creator specializing in home organization, family recipes, and intentional living. With 17 years of experience in blogging and digital storytelling, she helps busy women create calm, purposeful homes they love.