

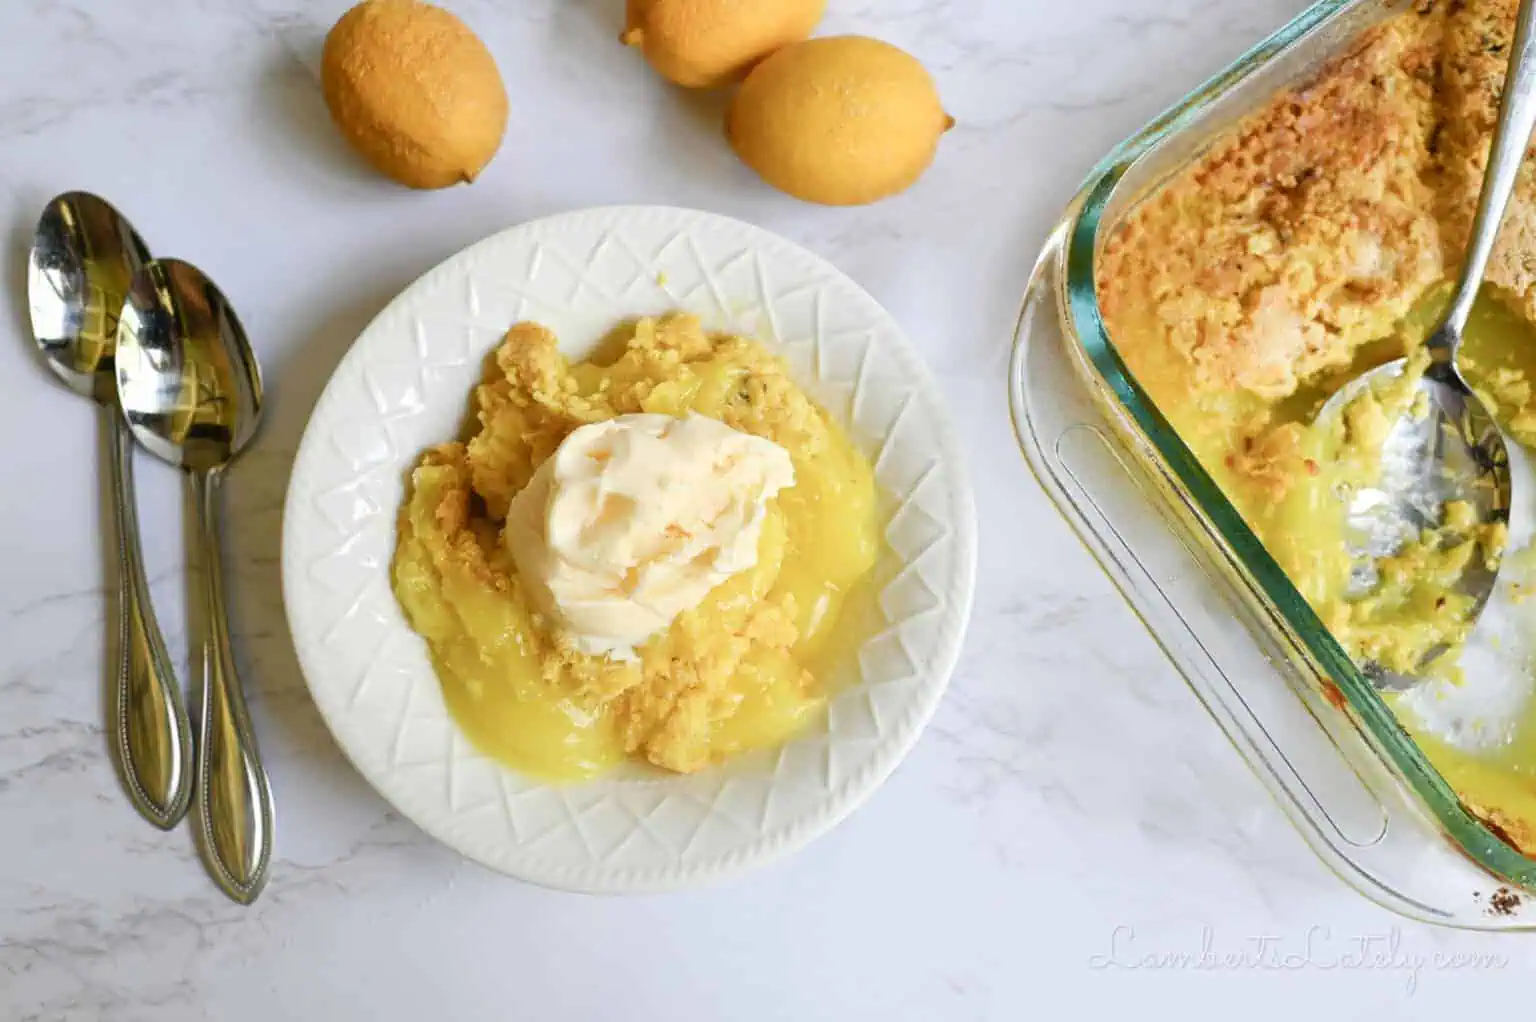
This lemon dump cake is the perfect summer dessert - just 3 ingredients and ready in under an hour. If you love a classic lemon cobbler with cake mix but want something even simpler, you will obsess over this recipe. Enjoy a buttery, tart treat that's great with ice cream!
Paid links used in this post. Read more about my link usage policies.
Why You'll Love This 3-Ingredient Dump Cake

If you've been hanging around the blog for a while, you already know that a bright, citrusy dessert is a favorite of mine. In fact, if you've already fallen in love with my lemon brownies or those decadent, layered lemon cream cheese bars, you can think of this recipe as their low-effort, high-reward cousin.
It delivers all that same intense, sweet-and-tart flavor but with literally five minutes of prep time!
This dessert is summer in a casserole dish - I think you're going to love it!

What is Lemon Dump Cake?
Lemon dump cake is an easy dessert made by layering lemon pie filling, dry cake mix, and butter in a baking dish - no mixing required. As it bakes, the layers all take on their own vibe - a gooey lemon filling with a golden, buttery cake topping. It's basically a shortcut cobbler with bright citrus flavor and minimal prep!
Ingredient Notes
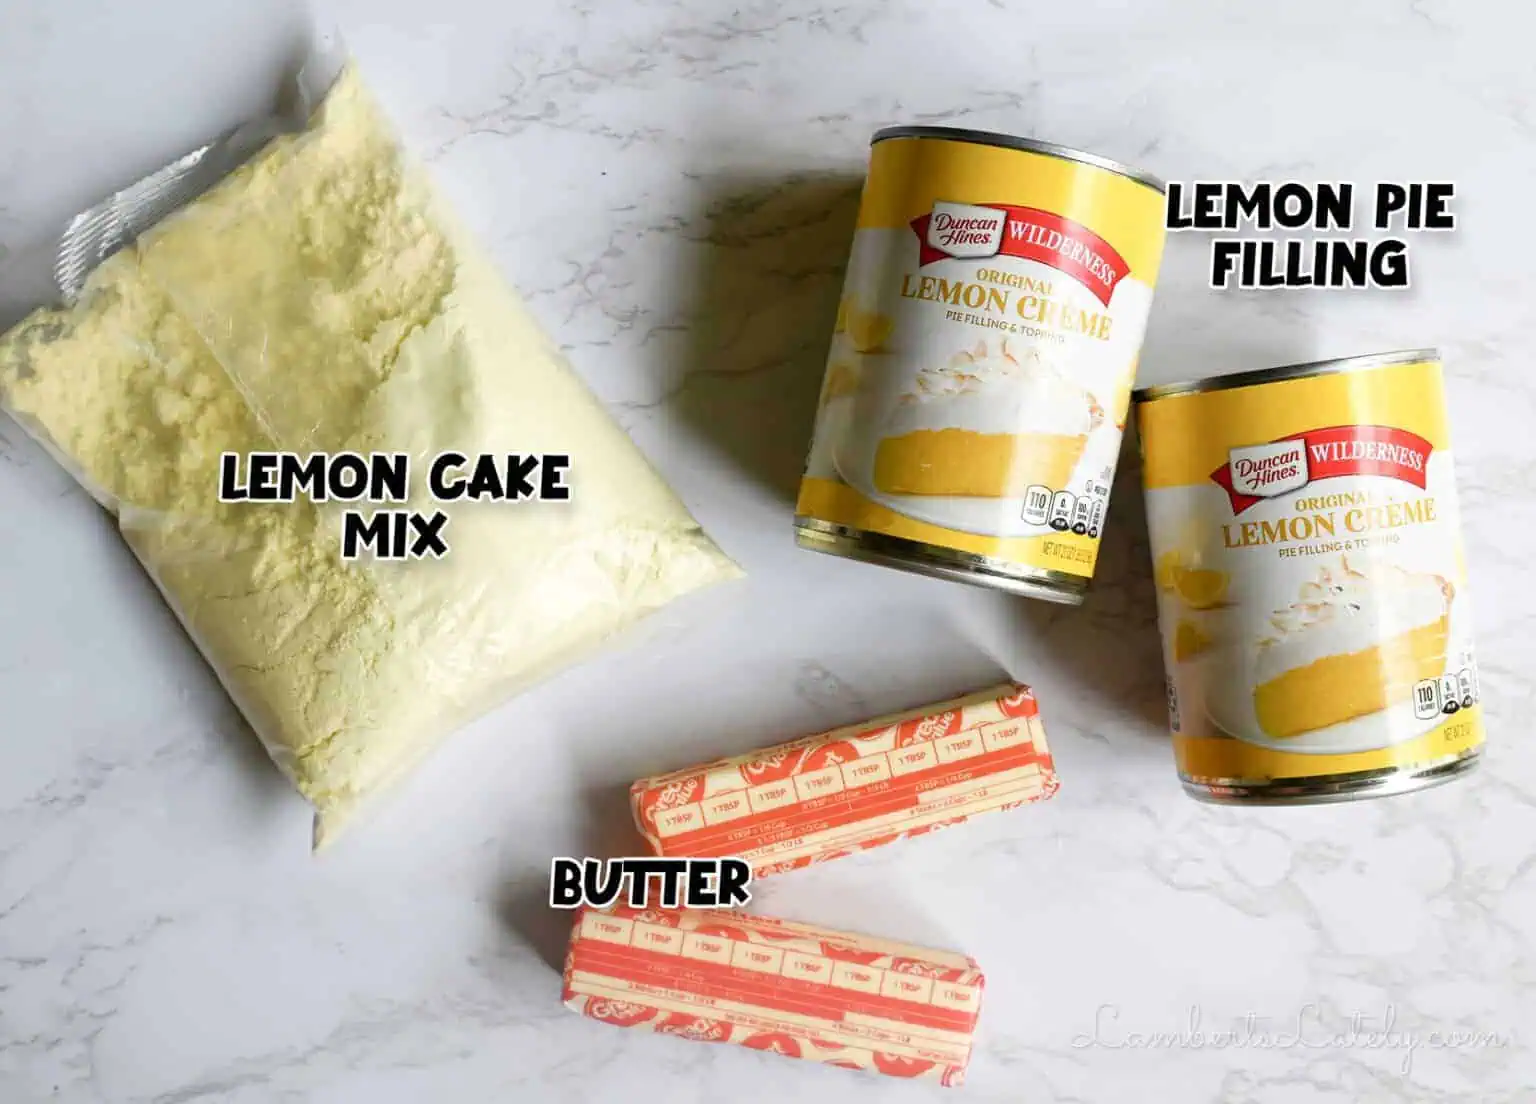
(See recipe card at the bottom of this post for exact ingredient measurements.)
- Lemon Cake Mix: A regular 15.25-ounce box (give or take an ounce) works perfectly. If you want a a little more mellow flavor with less tartness to it, you can easily swap this out for a box of yellow cake mix or white cake mix instead.
- Lemon Pie Filling: Look for standard 21-ounce cans (you will need two of them for a great gooey-to-crust ratio). You might see this labeled in the baking aisle as "lemon cream pie filling" - it's the exact same thing!
- Butter: You'll need real salted butter. Pro-tip: Make sure your butter is completely cold straight from the fridge; it makes slicing it into thin, even squares so much easier.
Additions & Variations
- Make this with any flavor you'd like. If there's a pie filling flavor you'd rather use, go for it! You can make this with a strawberry pie filling/strawberry cake mix combo, as a cake mix pineapple dump cake, or with an apple pie filling (like this Apple Pie Dump Cake).
- Get creative with flavor combos. Combine flavors of cake mix and pie filling for a really creative dessert. For example, chocolate cake mix and strawberry pie filling, or apple pie filling and spice cake mix are great combos.
- Add 1 cup of crushed nuts (like pecans or walnuts) to the top of the cake before baking for a crunchy element.
- Mix 1 cup of fresh blueberries into the lemon pie filling for a delicious lemon blueberry dump cake.
- Make it a lemon cream cheese dump cake by adding 4oz of cream cheese to the pie filling layer. Just evenly distribute it over the filling by spooning it over in dollops!
How to Make Lemon Dump Cake with Cake Mix
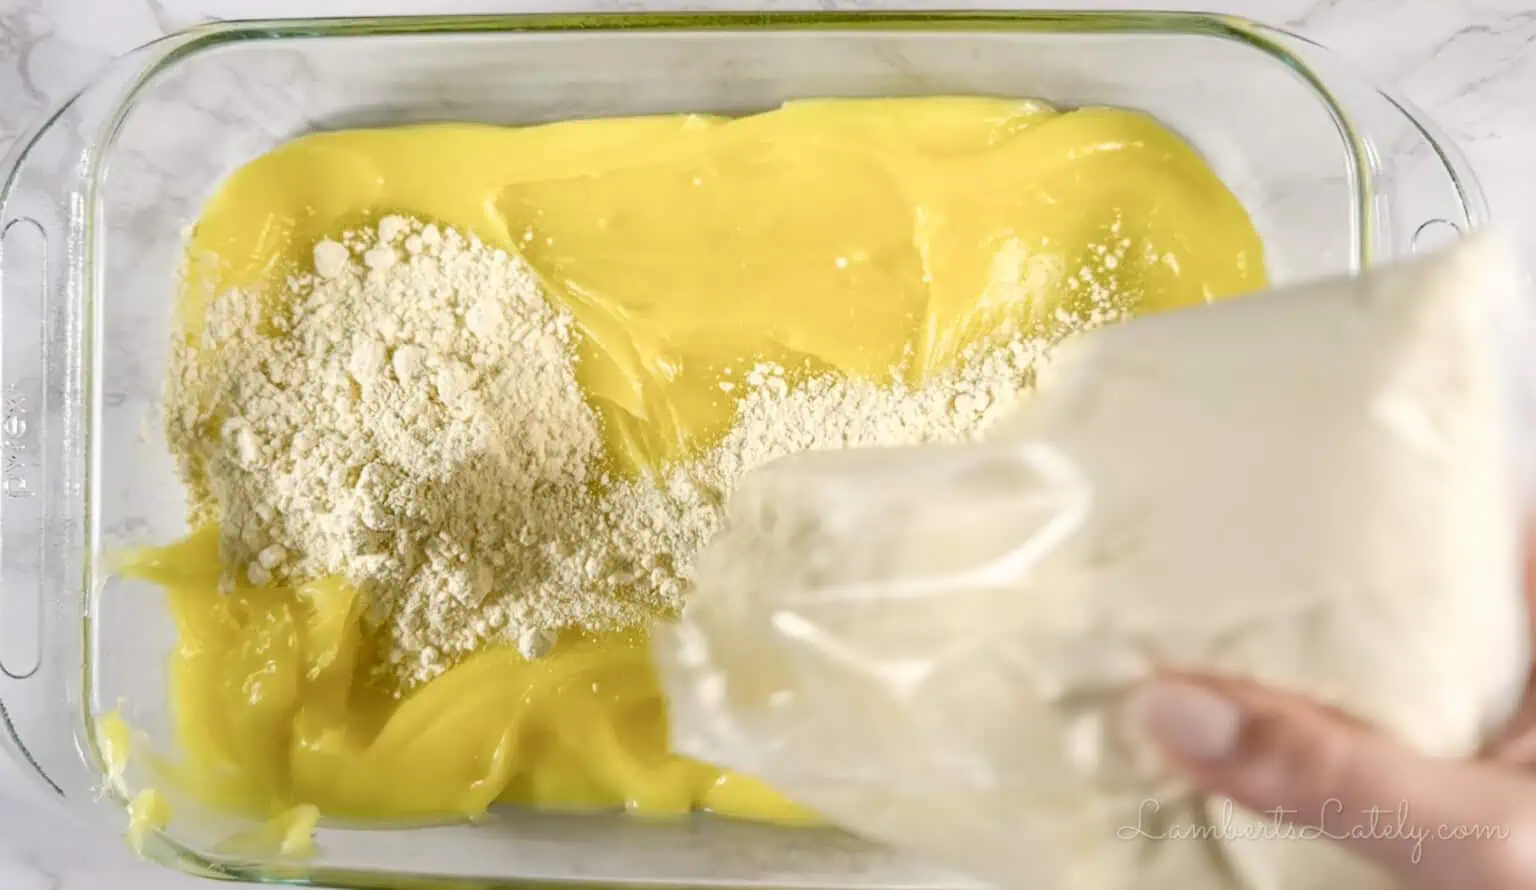
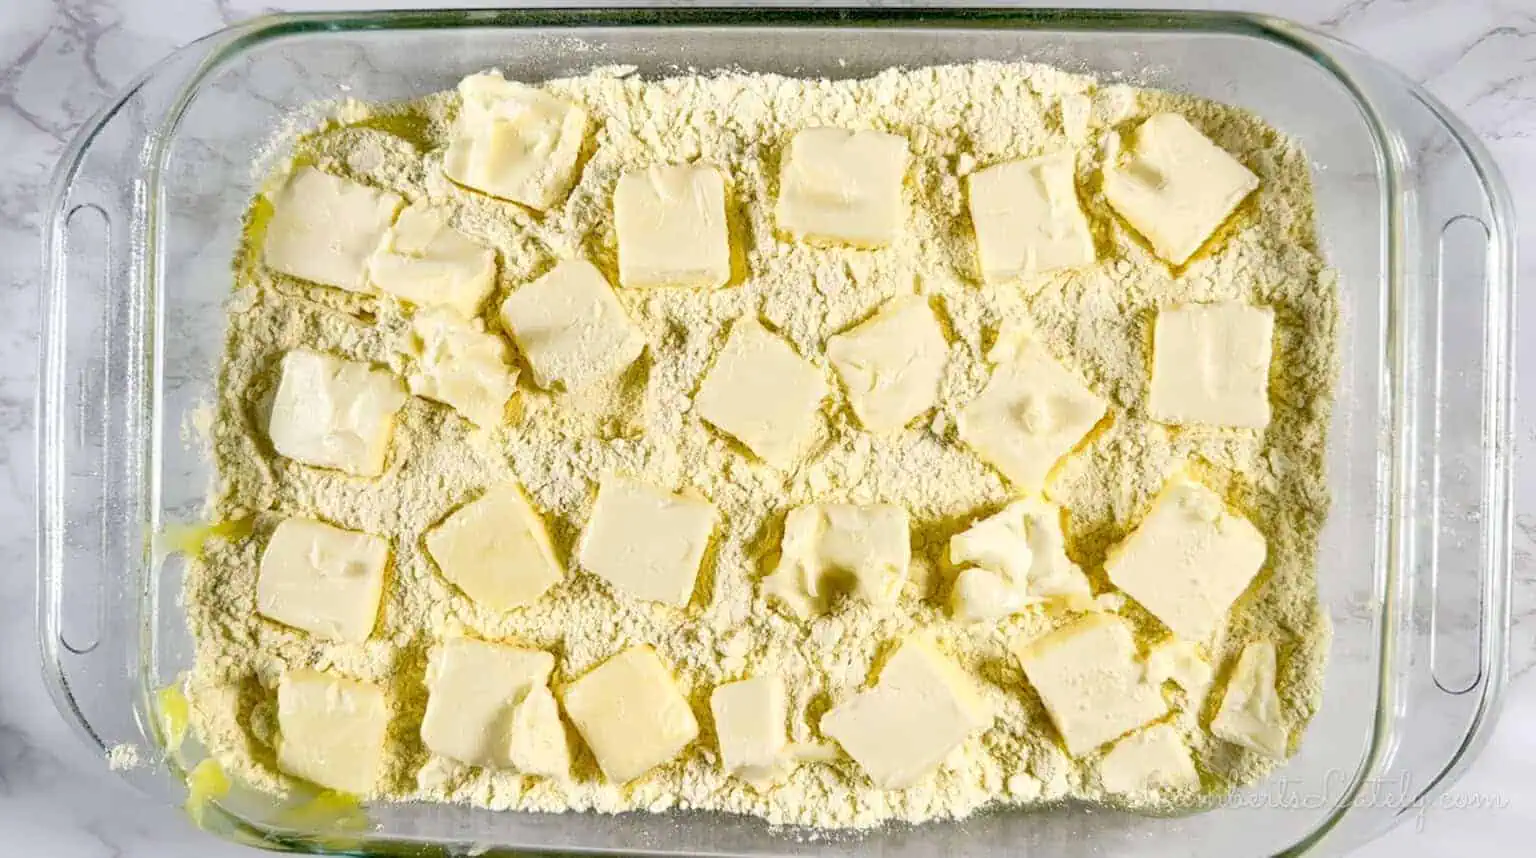
Before you get started, go ahead and preheat your oven to 375°F and grab a standard 9x13" glass baking dish. There is no need to grease the pan for this recipe - the filling and butter have you completely covered!
- Layer the Lemon Base: Open your two cans of lemon pie filling and empty them directly into the bottom of your baking dish, using a spatula to spread it into a smooth, even layer.
- Add the Dry Cake Mix: Open your box of dry cake mix and sprinkle it evenly over the top of the pie filling. The Golden Rule: Whatever you do, do not mix them together! I know it feels wrong to leave a dry layer of flour sitting there, but I promise the layers will magically transform into a delicious cobbler crust in the oven. Trust the process!
- Slice and Layer the Butter: Take your cold butter and slice it into thin, evenly sized ¼-inch squares. Layer these butter slices across the top of the dry cake mix, spacing them out so they cover as much of the dry surface area as possible. Again, resist the urge to stir!
- Bake to Golden Perfection: Pop the baking dish into your preheated oven and bake at 375°F for 35 to 40 minutes. You will know it is completely done when the edges are bubbling up furiously and the top of the cake mix turns a light golden brown.
- Cool and Serve: Let it cool for just a few minutes so the filling can set, then spoon it into bowls. This dessert is so good served with a dollop of Cool Whip or a big scoop of homemade vanilla ice cream!
Leftovers & Storage
This one should be stored in an airtight container in the refrigerator after baking. I recommend enjoying this one within 3-4 days of baking it.
When you're ready to serve it again, microwave single servings for 30 seconds to a minute. Or don't - it's great cold as well!
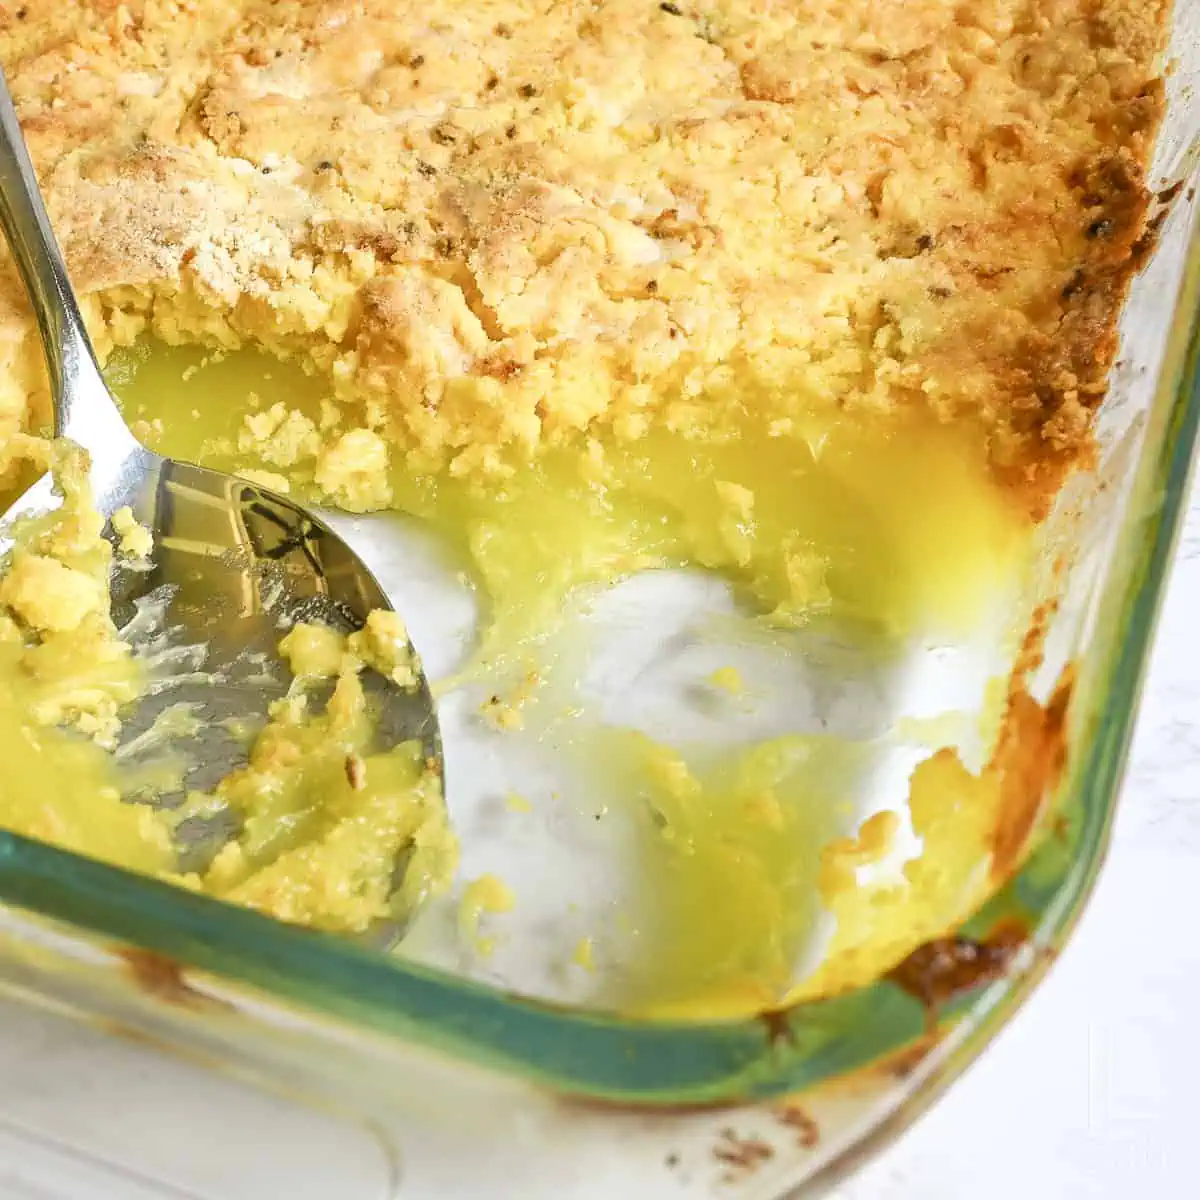
Can I Freeze Dump Cake?
I don't recommend freezing a finished dump cake. Because of how this dessert is put together, the baked cake mix layer completely loses its structure during the freezing and thawing process. Moisture from the gooey lemon pie filling seeps into the crust, causing the crisp topping to turn really mushy when thawed.
For the best texture, store your baked cake in the refrigerator for up to 4 days, or assemble the layers up to 24 hours in advance and bake it fresh.
Leslie's Helpful Tips & Tricks
- Fixing Dry Cake Mix Pockets: If you notice chalky flour spots during the last 10 minutes of baking, don't panic! Just take a spoon and gently pat or swirl the melted butter into those dry areas. Just don't dig deep enough to disturb the gooey pie filling layer underneath.
- The Sliced Butter Secret: While some recipes call for pouring melted butter over everything, cold, thinly sliced butter is my absolute favorite method. It melts slower in the oven, ensuring even coverage and keeping your dessert from turning out greasy.
- Keep the Layers Separate: To get that nice contrast between a gooey fruit base and a crisp topping, do not push or spread the cake mix down into the pie filling. Keep it strictly as its own loose layer on top so it bakes up beautifully.
- Make-Ahead: You can easily prep this up to 24 hours in advance! Just layer your ingredients in the baking dish, cover tightly, and store in the fridge. When you're ready, uncover and pop it straight into the oven - just add 2 to 3 minutes to the bake time since the dish is cold.
- Scaling Down: Feeding a smaller crowd? You can cut this recipe exactly in half! Just use one can of pie filling, half a box of cake mix, and half a stick of butter. Bake it in an 8x8" square dish at 375°F for 30 to 35 minutes.
FAQs & Troubleshooting
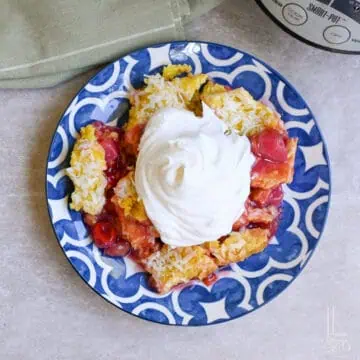

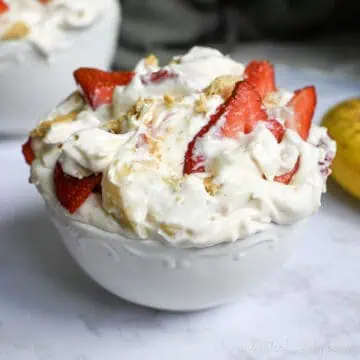

I hope you love this simple dump cake, friends! If you try this recipe out, I'd love for you to rate 🌟 and review 💬 the recipe in the comments below. And follow along for the latest recipes from the blog!
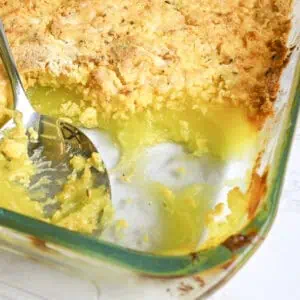
Lemon Dump Cake
Ingredients
- 42 oz canned lemon creme pie filling (2 standard cans)
- 15.25 oz boxed lemon cake mix
- 1.5 sticks butter
Instructions
- Preheat oven to 375℉.
- Pour lemon pie filling into a 9x13" dish. Top with cake mix (don't mix!).
- Slice butter into ¼" slices. Layer this on top of the dry cake mix (again, don't mix it).
- Bake at 375° for 35-40 minutes, until the top of the cake mix starts to turn golden brown.
- Top with whipped cream or ice cream.
Notes
- Do Not Mix: Keep the layers completely separate and avoid stirring the box mix into the pie filling so it bakes up like a crisp cobbler crust.
- The Sliced Butter Trick: Layering cold, thin butter squares ensures even moisture coverage, preventing the sad, dry flour pockets that melted butter can leave behind.
- Fixing Dry Spots: If you see chalky flour spots during the last 10 minutes of baking, gently pat or swirl the melted butter into them with a spoon.
- Make-Ahead Option: Assemble this up to 24 hours in advance, cover tightly, and refrigerate. Just add 2 to 3 extra minutes to the bake time.
- Storage Rule: Store leftovers in the fridge for up to 3 to 4 days. Reheat single portions in the microwave for 30 to 45 seconds.
- Skip the Freezer: Do not freeze this dessert. The lemon filling will seep into the top layer during thawing, turning your crisp crust incredibly mushy.
Nutrition Facts

Leslie Lambert is a lifestyle writer and content creator specializing in home organization, family recipes, and intentional living. With 17 years of experience in blogging and digital storytelling, she helps busy women create calm, purposeful homes they love.







very helpful and thorough directions
Can you use unsalted butter in this recipe?
You can if needed - I would probably recommend adding a pinch of salt into the cake mix though, the salt really accentuates the sweetness in the dish.