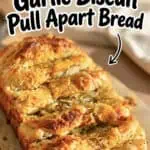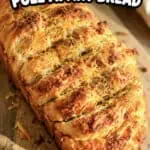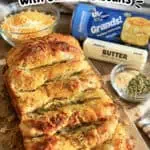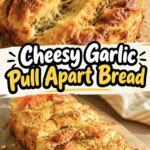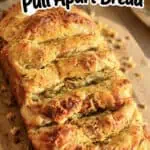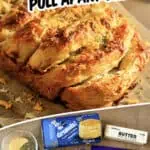

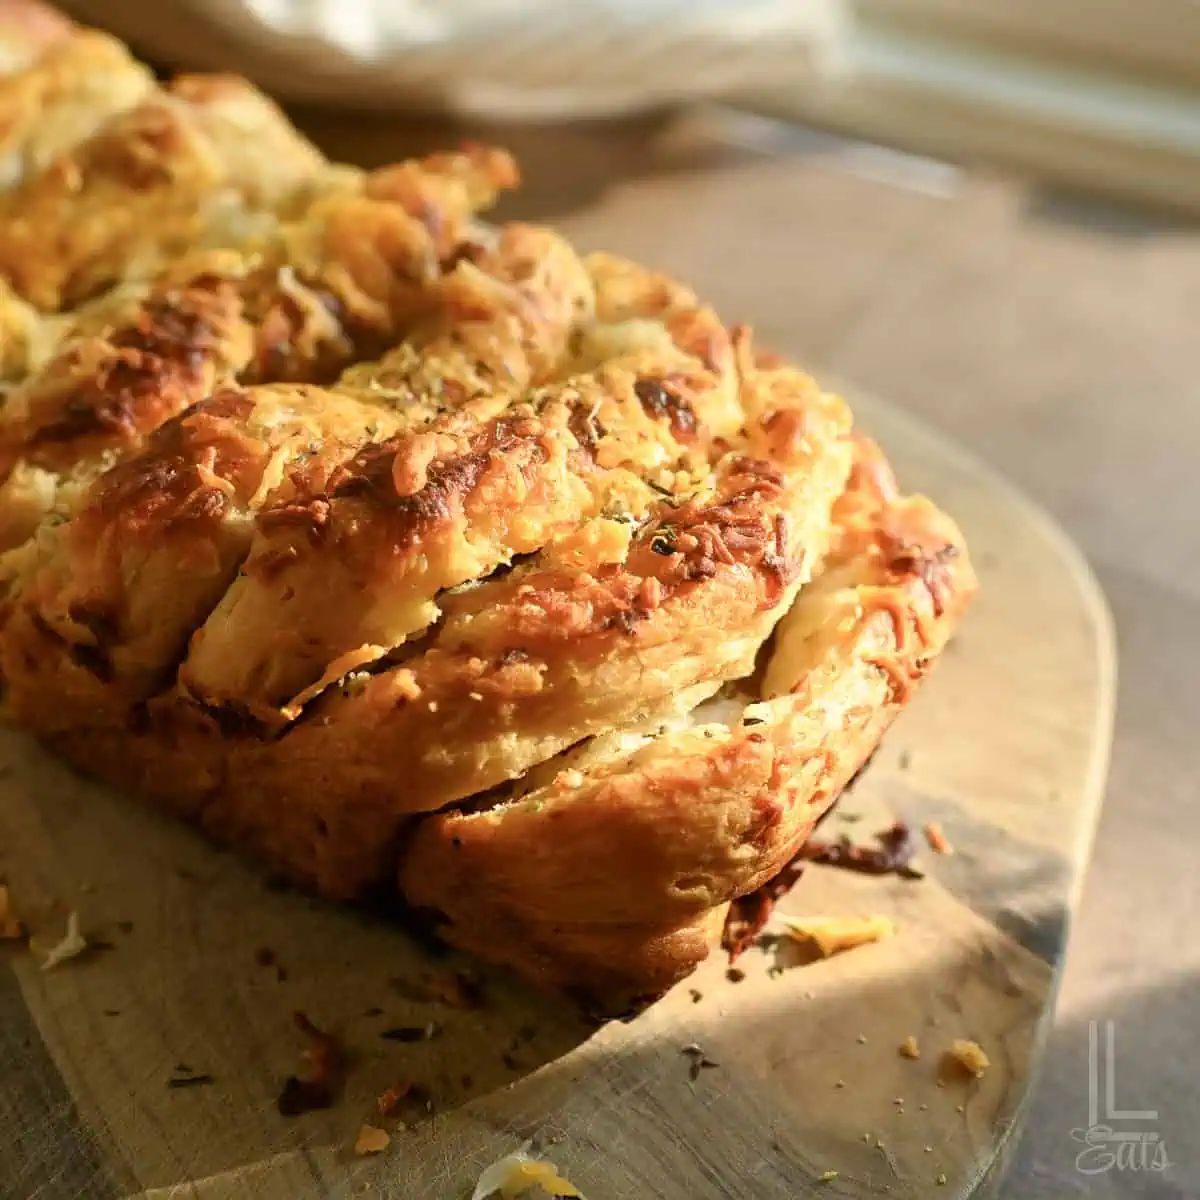
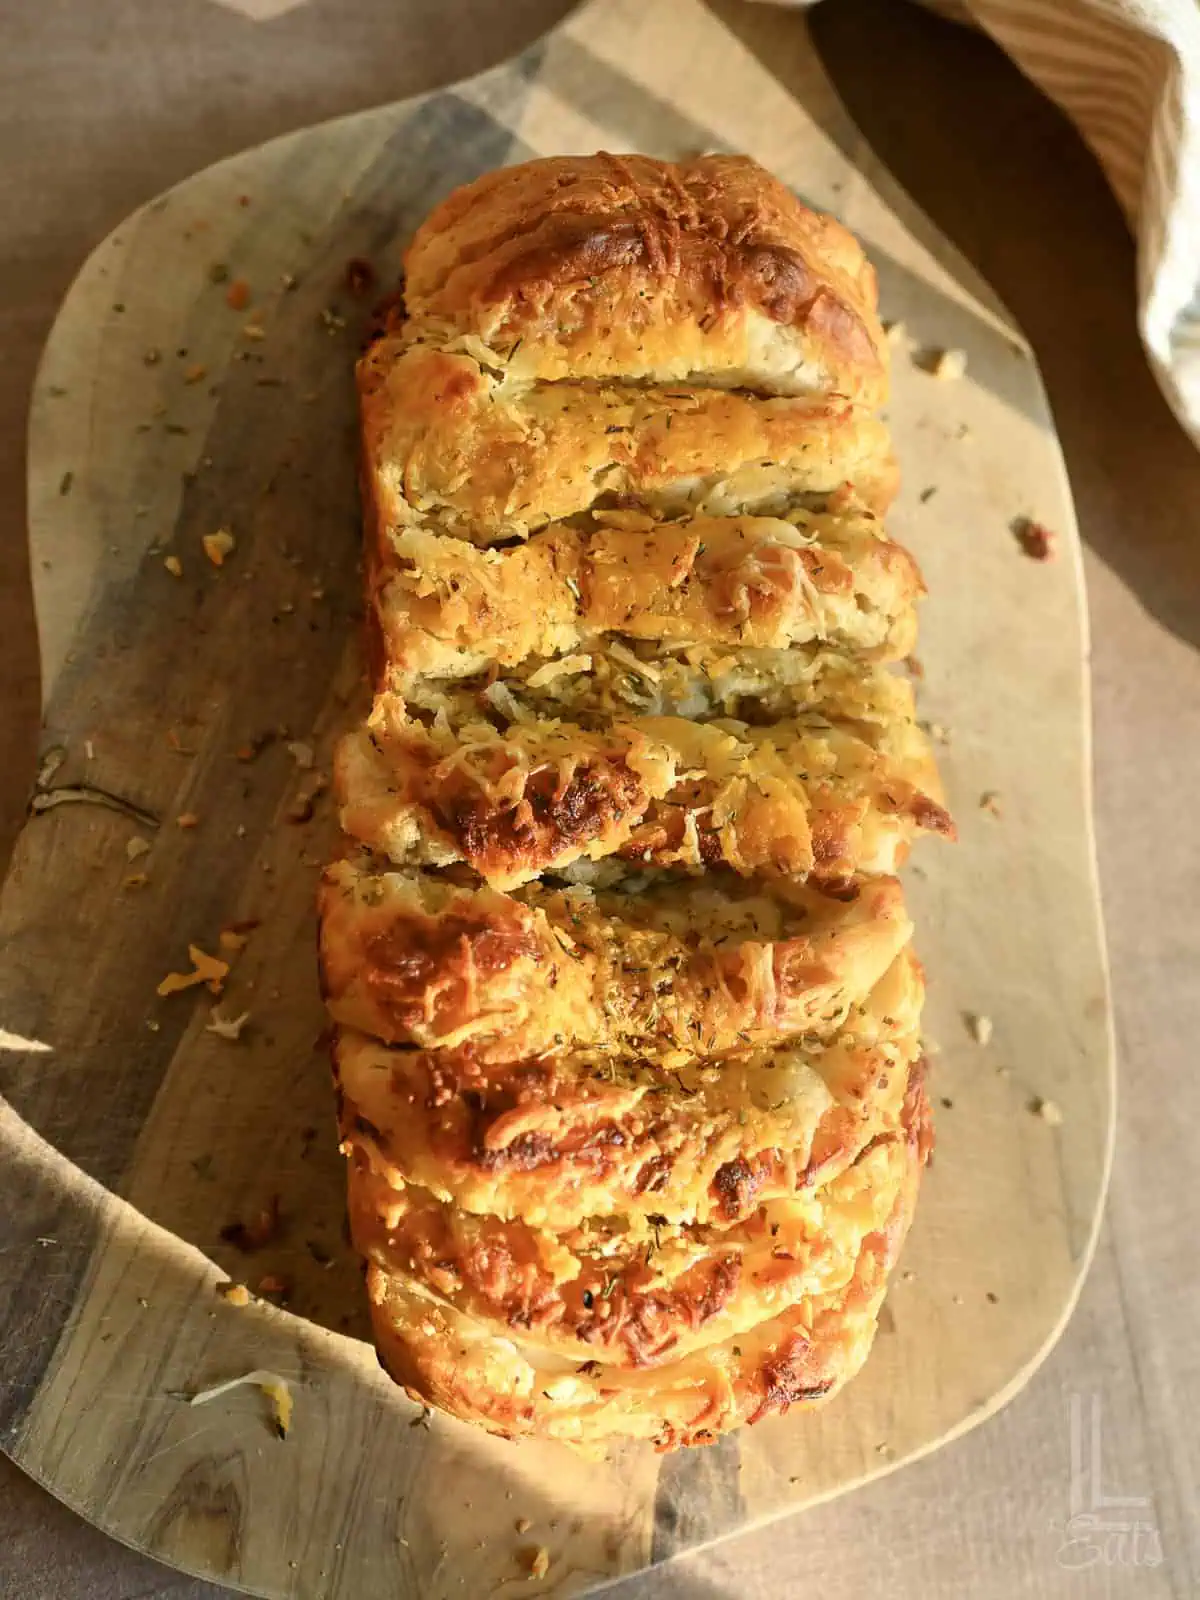
This cheesy garlic pull apart bread is made with canned biscuits, buttery garlic seasoning, and tons of melty cheese between every layer. It's an easy appetizer or side dish that bakes up golden, gooey, and ready to share.
Paid links used in this post. Read more about my link usage policies.
Why You'll Love Cheesy Garlic Pull Apart Bread

Guys, I LOVE the idea of a pull apart bread - but unless it's for my Cinnamon Rolls recipe, I'm just not making bread from scratch. Wouldn't be me.
So - I thought I'd figure out a shortcut recipe to make this Cheesy Garlic Pull-Apart Bread, and I must say - I think this one's a winner! It's pretty simple to make and absolutely loaded with cheesy, garlic-y, buttery flavor.
Canned biscuit shortcut
Easy prep work
Just 6 ingredients
This is a really fun recipe - hope you love it!

Ingredient Notes
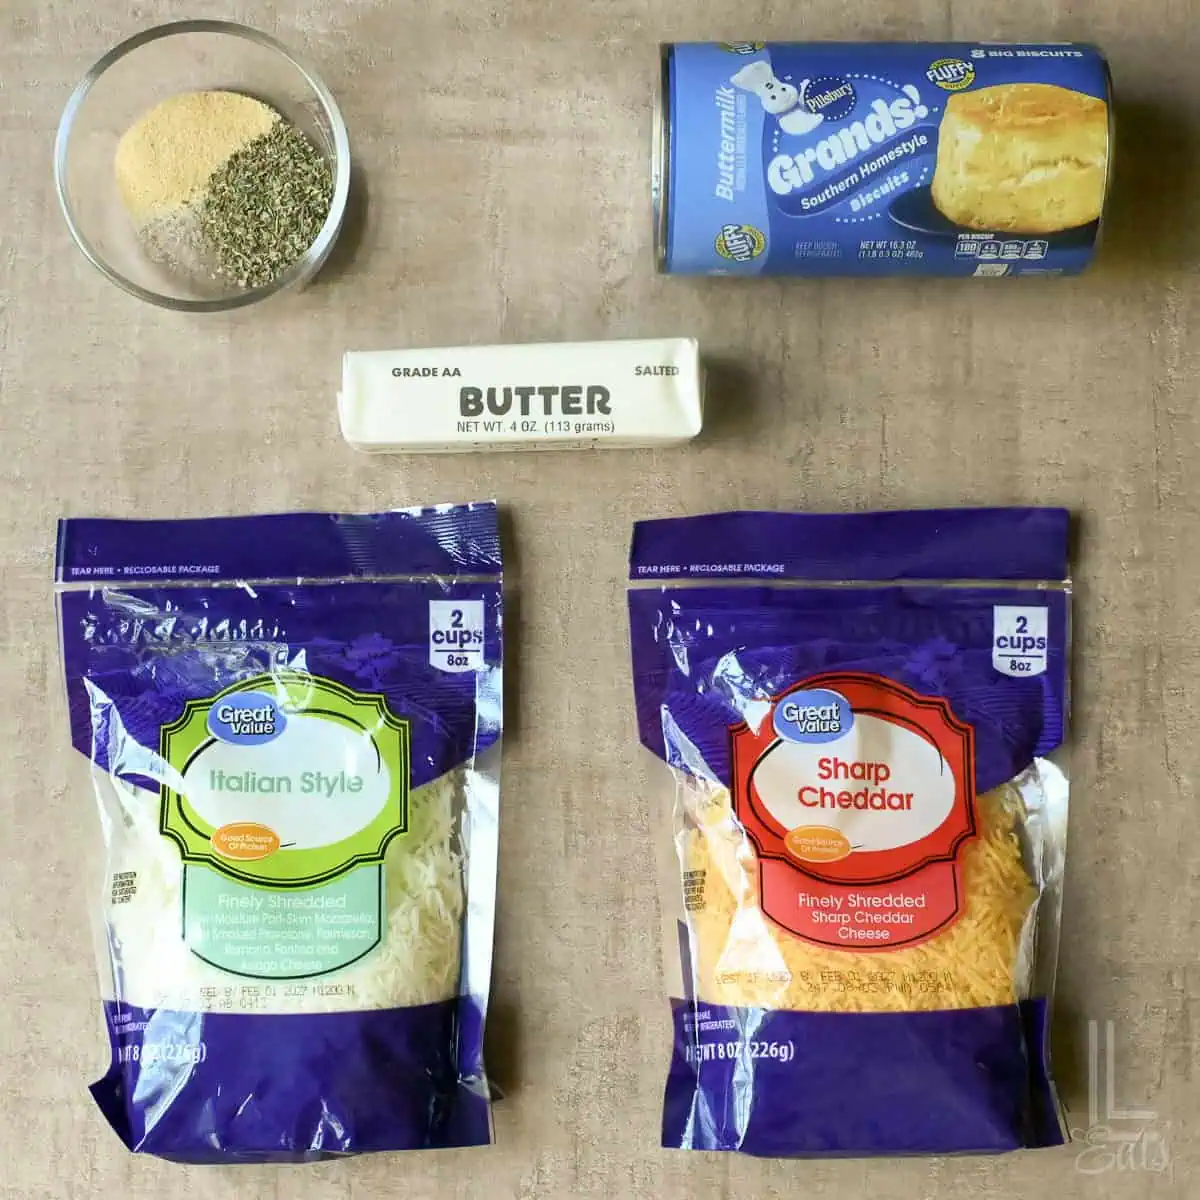
(See recipe card at the bottom of this post for exact ingredient measurements.)
- Homestyle biscuit dough: Homestyle biscuits work well here because you can flatten and stack them without all those flaky layers separating.
- Butter: Melted butter goes into the cheesy garlic mixture, with a little more brushed over the hot bread at the end.
- Italian seasoning: This gives you a nice mix of herbs without having to measure out the different seasonings.
- Garlic powder: It mixes right into the melted butter and spreads that garlic flavor throughout the bread. No mincing needed!
- Cheddar cheese: Cheddar adds plenty of cheesy flavor without overpowering everything else.
- Italian blend cheese: This gives the bread that gooey, melty texture you want in a pull-apart bread.
Additions & Substitutions
- Add a little heat: Mix a pinch of crushed red pepper flakes into the garlic butter mixture.
- Add fresh herbs: Sprinkle chopped parsley over the bread right before serving.
- Change up the cheese: Try swapping part of the cheese for another good melting cheese that you like.
- Add Parmesan: Sprinkle a little grated Parmesan over the top along with the reserved cheese for even more cheesy flavor.
How to Make Cheesy Garlic Pull Apart Bread
- Preheat the oven to 375°F. Lightly grease a 9x5" loaf pan with nonstick cooking spray.
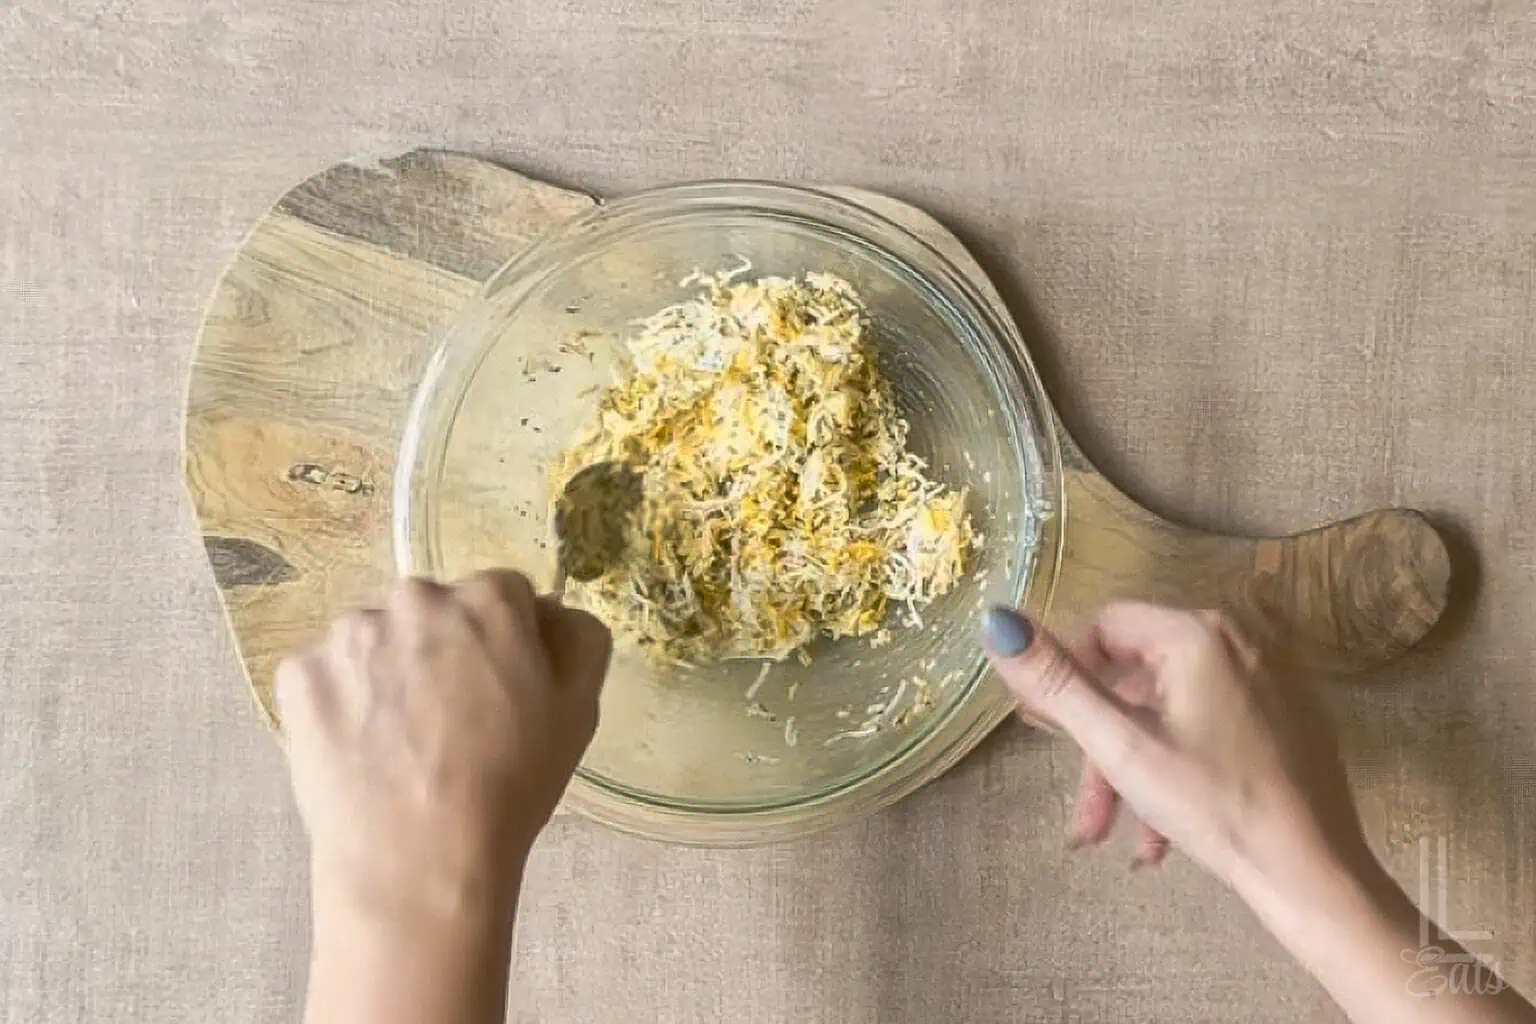
- Make the cheese mixture. Combine the cheddar and Italian blend cheese, then set aside ½ cup for the top. Stir the remaining cheese together with 4 tablespoons melted butter, Italian seasoning, and garlic powder.
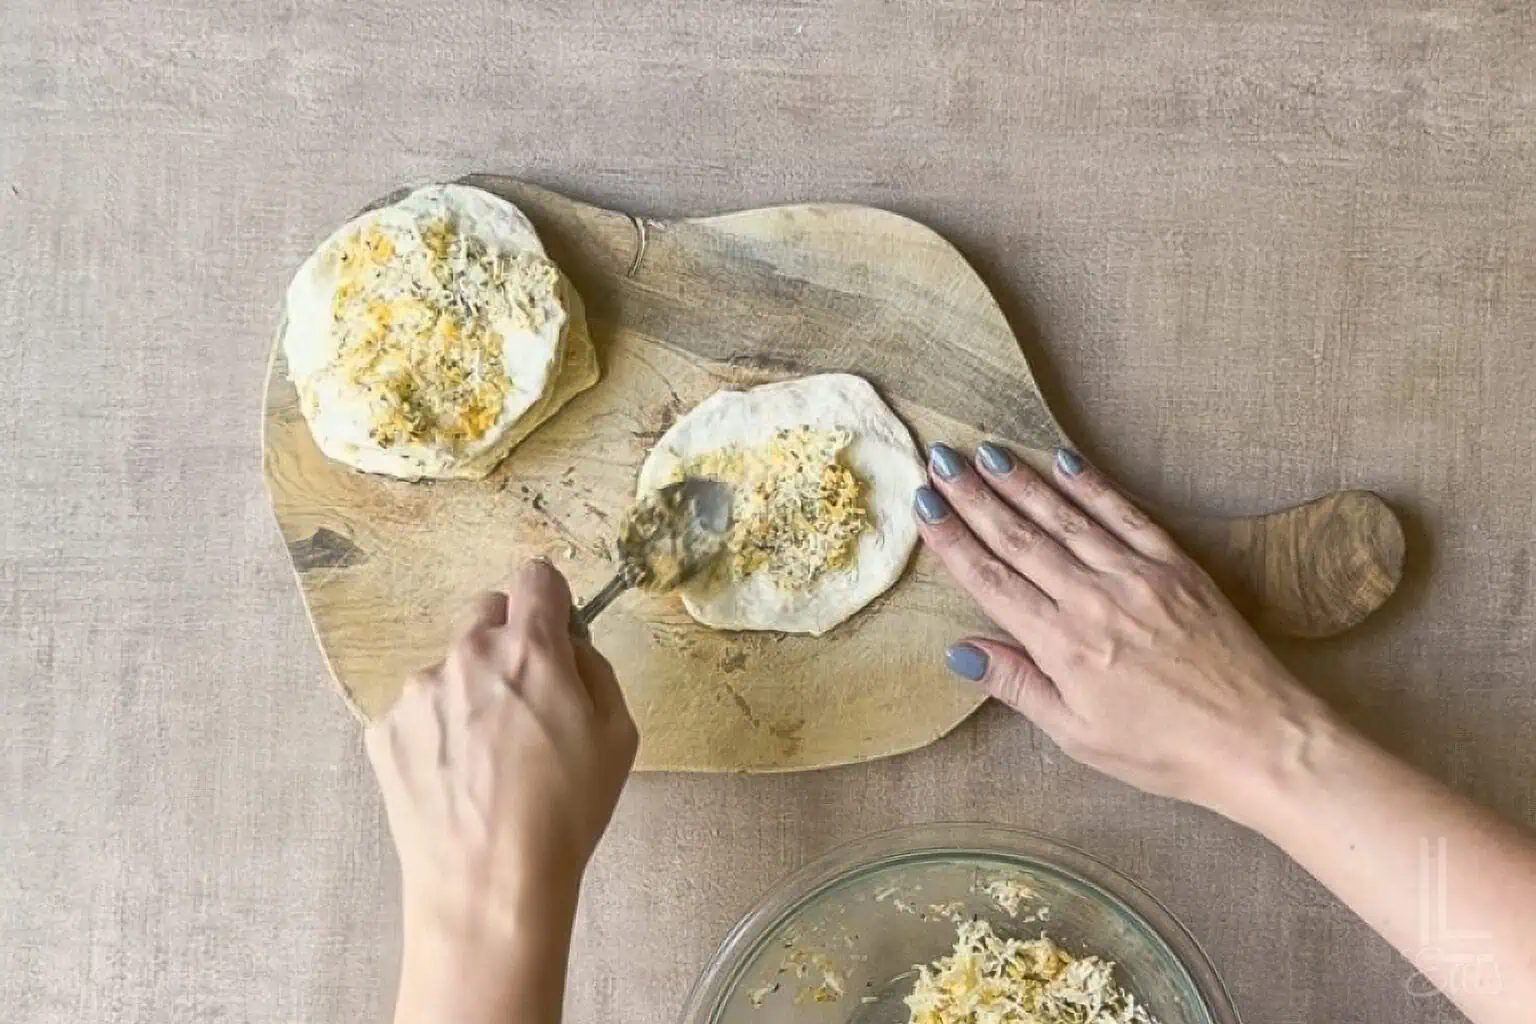
- Flatten and fill the biscuits. Separate the biscuits and roll or press each one to about ¼" thick. Spread some of the cheese mixture over each biscuit as you stack them on top of one another.
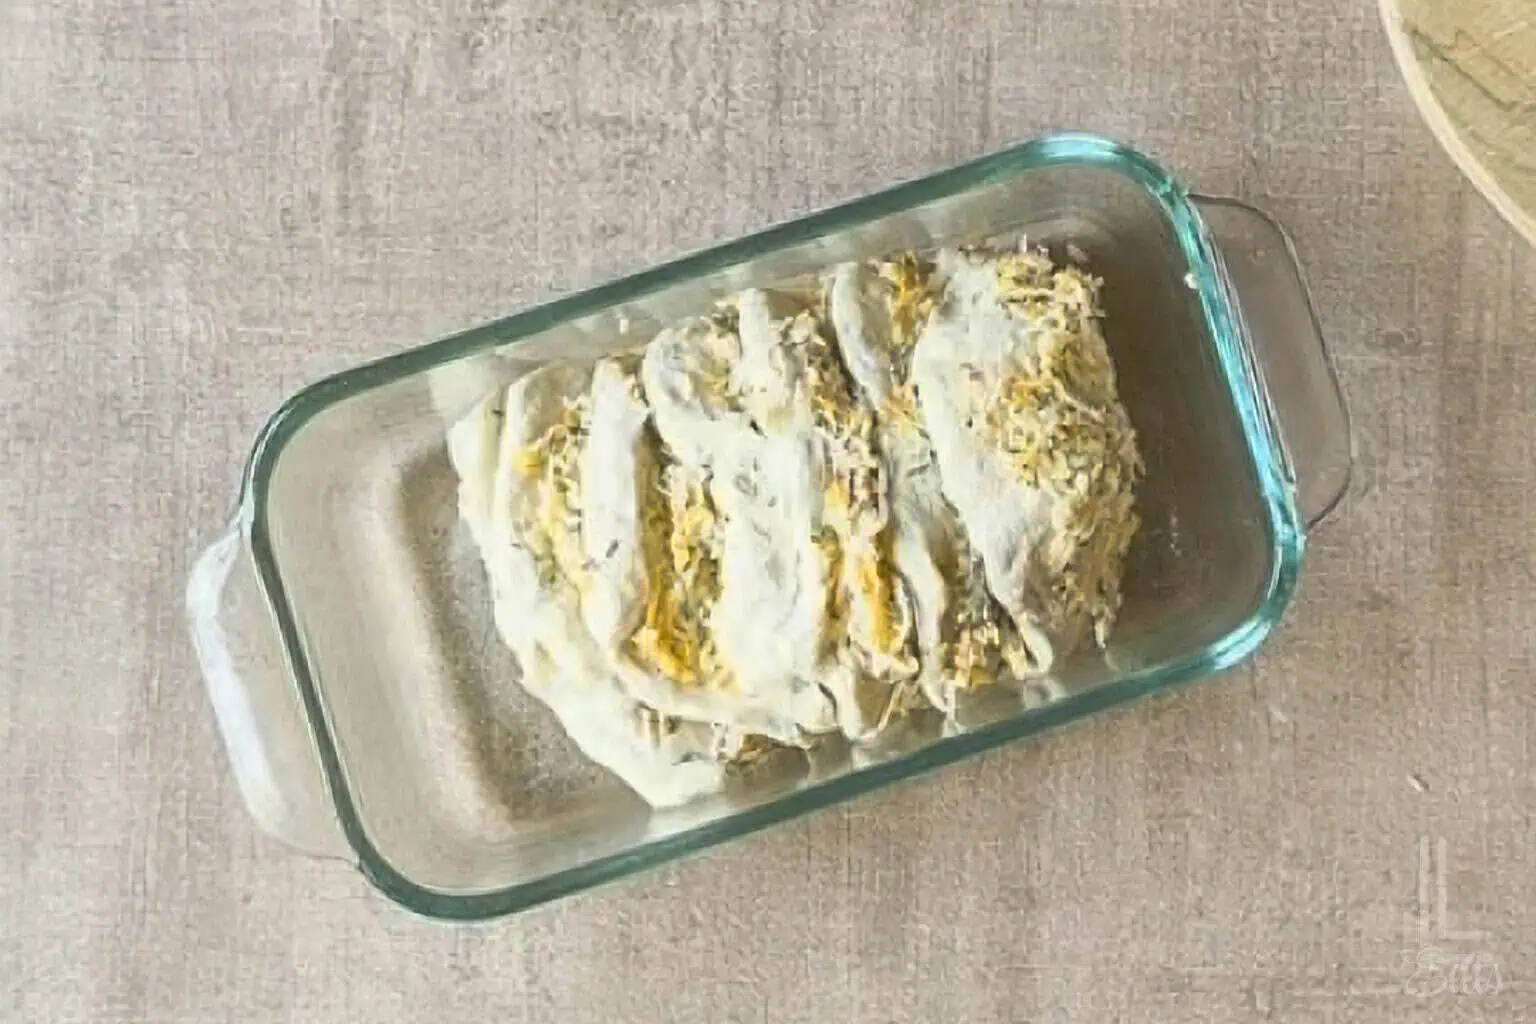
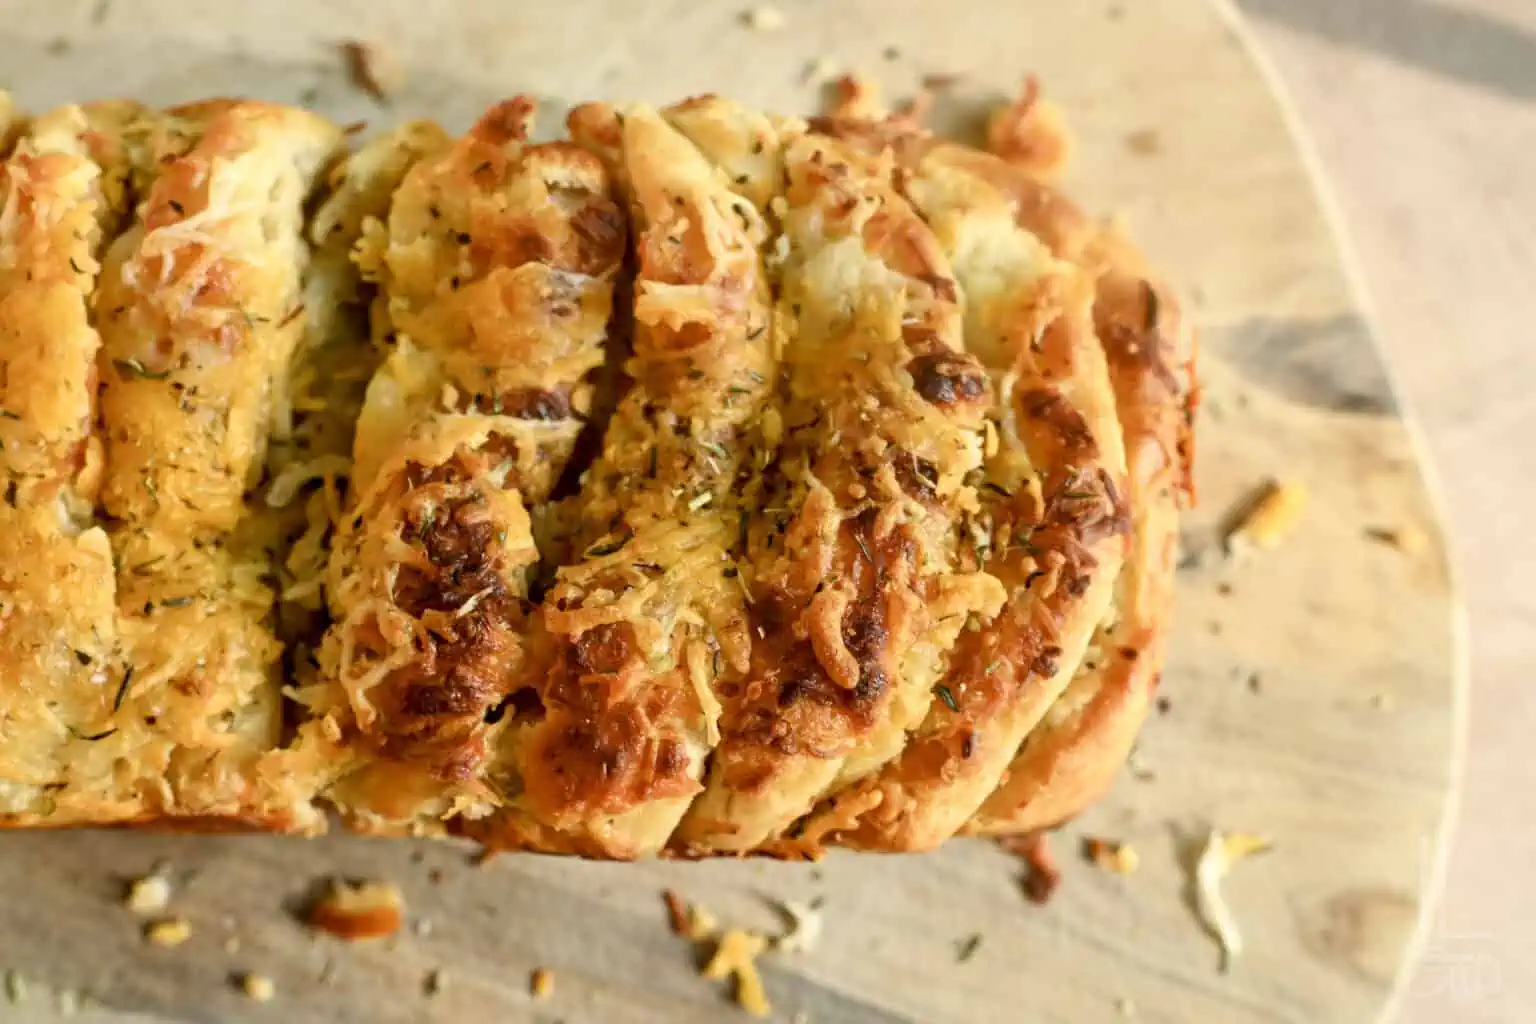
- Arrange the bread. Carefully turn the biscuit stack sideways and place it in the prepared loaf pan. Sprinkle the reserved cheese over the top.
- Bake. Bake for 25-28 minutes, until the biscuits are puffed and cooked through. Broil for the final 3-4 minutes, watching closely, until the top is golden brown.
- Finish with butter. Melt the remaining 2 tablespoons butter, brush it over the hot bread, and serve warm.
What to Serve With Cheesy Garlic Pull Apart Bread
This bread is so easy to work into all kinds of meals. You can serve it with spaghetti, Tik Tok pasta, Marry Me Chicken, or just about any pasta dish when you want something a little more fun than regular garlic bread.
It's also really good with soup. Tomato soup is an obvious choice, but it would work with vegetable soup, lasagna soup, or a big bowl of chili too.
For an appetizer, set the whole loaf out while it's warm and put marinara or pizza sauce on the side. Everyone can just pull off a piece as they want one. It would also fit right into a game day spread with wings, dips, meatballs, or other easy finger foods.
Leftovers & Storage
Storage: Let the bread cool, then transfer any leftovers to an airtight container and keep them in the refrigerator. I'd enjoy this one within 2-3 days of baking it for best results.
Reheating: For the best texture, reheat the bread in the oven or air fryer until warmed through. Those methods help bring back a little of that just-baked texture. The microwave works too when you just need something quick, but the biscuits will be softer.
Make Ahead Tips
Since this recipe uses refrigerated biscuit dough, I'd assemble this bread shortly before you're ready to bake it.
The easiest option is to measure the seasonings, mix the cheeses, and have everything ready to go. Then flatten, fill, and stack the biscuits shortly before you're ready to bake - that still cuts down on the prep without risking a change in the dough's texture.
Leslie's Helpful Tips & Tricks
- Use homestyle canned biscuits. They're easier to flatten and stack than flaky-style biscuits, which can separate into layers while you're working with them.
- Use a mix of cheddar and Italian blend cheese. Cheddar adds more flavor, while the Italian blend melts really well between the biscuit layers.
- Flatten the biscuits evenly. Try to get them all about the same thickness so they bake at the same rate. You're aiming for around ¼" thick - about the thickness of 4 stacked quarters.
- Don't overfill the layers. Spread the cheese mixture across each biscuit instead of piling it in the middle, which can make the stack harder to handle.
- Set aside some cheese for the top. This gives you that bubbly, cheesy look you get after baking.
- Check the center before taking it out of the oven. The top can look done while the middle is still doughy. If needed, loosely cover the top with foil and keep baking until the center is cooked through.
- Serve it warm. The biscuits are softest and the cheese is at its gooey best right out of the oven.
FAQs
More Cheesy Favorites
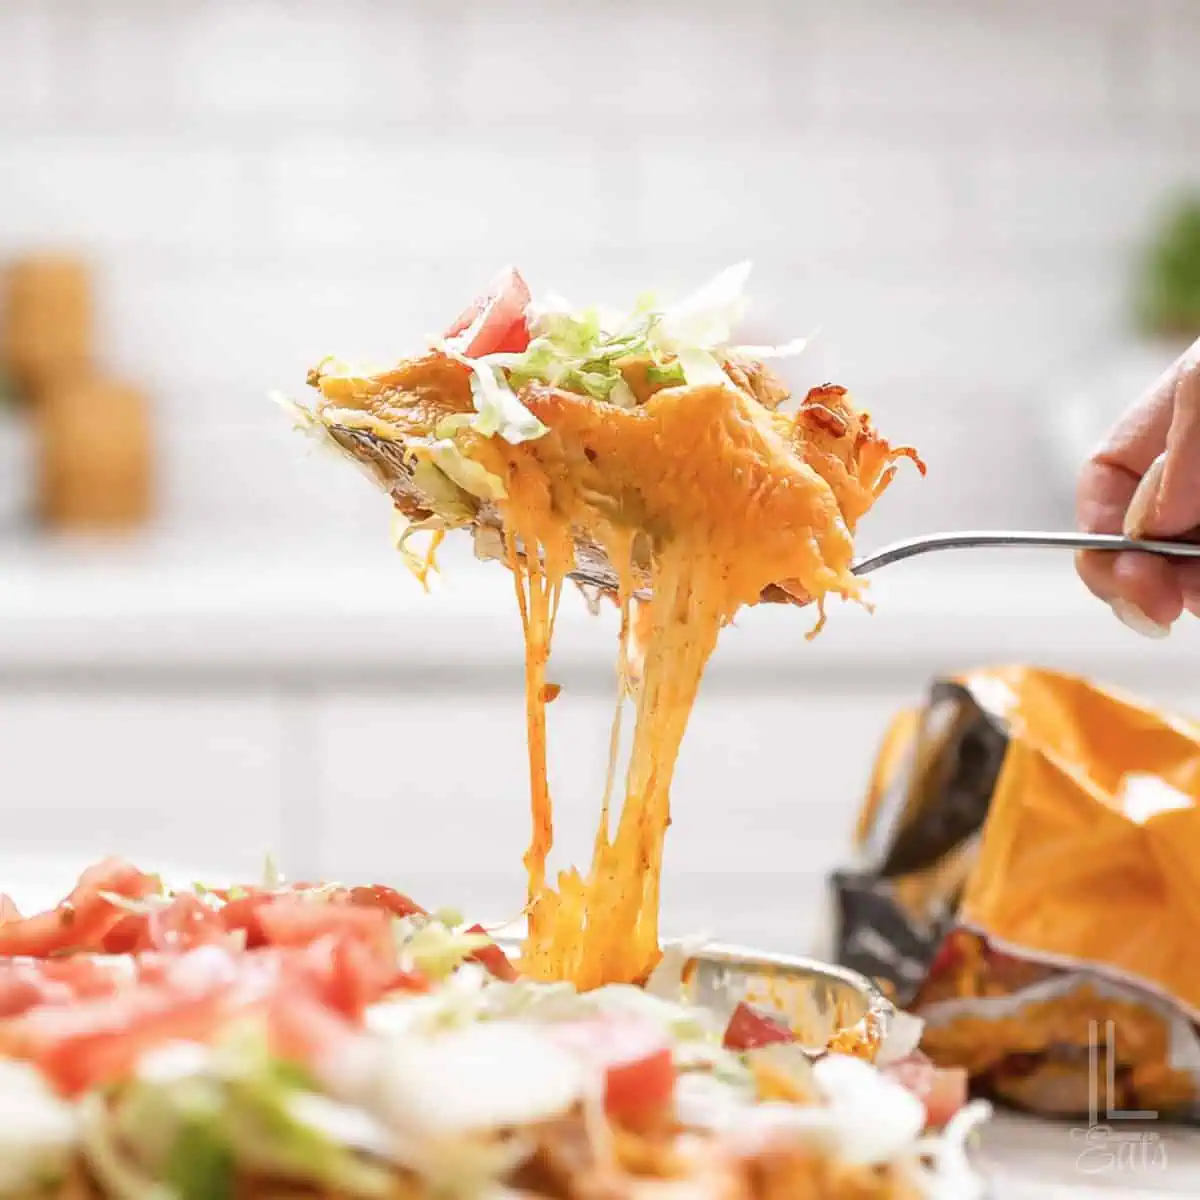
I hope you love this easy cheesy bread! If you give the recipe a try, make sure to tell us what you think in the comments below.
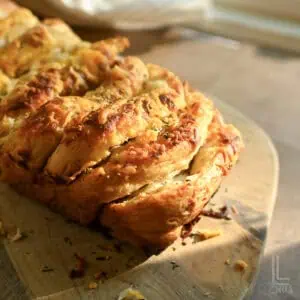
Cheesy Garlic Pull Apart Bread
Ingredients
- 16.3 oz canned homestyle biscuit dough (1 standard can)
- ½ stick butter (melted; 4 tablespoons)
- 2 teaspoon Italian seasoning
- 2 teaspoon garlic powder
- ½ cup shredded cheddar cheese
- 1 cup shredded Italian blend cheese
- 2 tablespoon melted butter
Instructions
- Preheat the oven to 375°F. Lightly grease a 9x5-inch loaf pan with nonstick cooking spray.
- Make the cheese mixture. Combine the cheddar and Italian blend cheese, then set aside ½ cup for the top. Stir the remaining cheese together with 4 tablespoons melted butter, Italian seasoning, and garlic powder.
- Flatten and fill the biscuits. Separate the biscuits and roll or press each one to about ¼-inch thick. Spread some of the cheese mixture over each biscuit as you stack them on top of one another.
- Arrange the bread. Carefully turn the biscuit stack sideways and place it in the prepared loaf pan. Sprinkle the reserved cheese over the top.
- Bake. Bake for 25-28 minutes, until the biscuits are puffed and cooked through. Broil for the final 3-4 minutes, watching closely, until the top is golden brown.
- Brush with butter. Melt the remaining 2 tablespoons butter, brush it over the hot bread, and serve warm.
Notes
- Use homestyle canned biscuits for the best results. They're easier to flatten and stack than flaky-style biscuits.
- Flatten the biscuits evenly so they bake at the same rate.
- Don't overfill the layers; spread the cheese mixture evenly over each biscuit.
- Set aside ½ cup of the mixed cheese for the top before making the filling.
- Check the center before removing the bread from the oven to make sure the biscuit layers are cooked through.
- Watch the bread closely while broiling because the cheese can brown quickly.
Nutrition Facts

Leslie Lambert is a lifestyle writer and content creator specializing in home organization, family recipes, and intentional living. With 17 years of experience in blogging and digital storytelling, she helps busy women create calm, purposeful homes they love.