

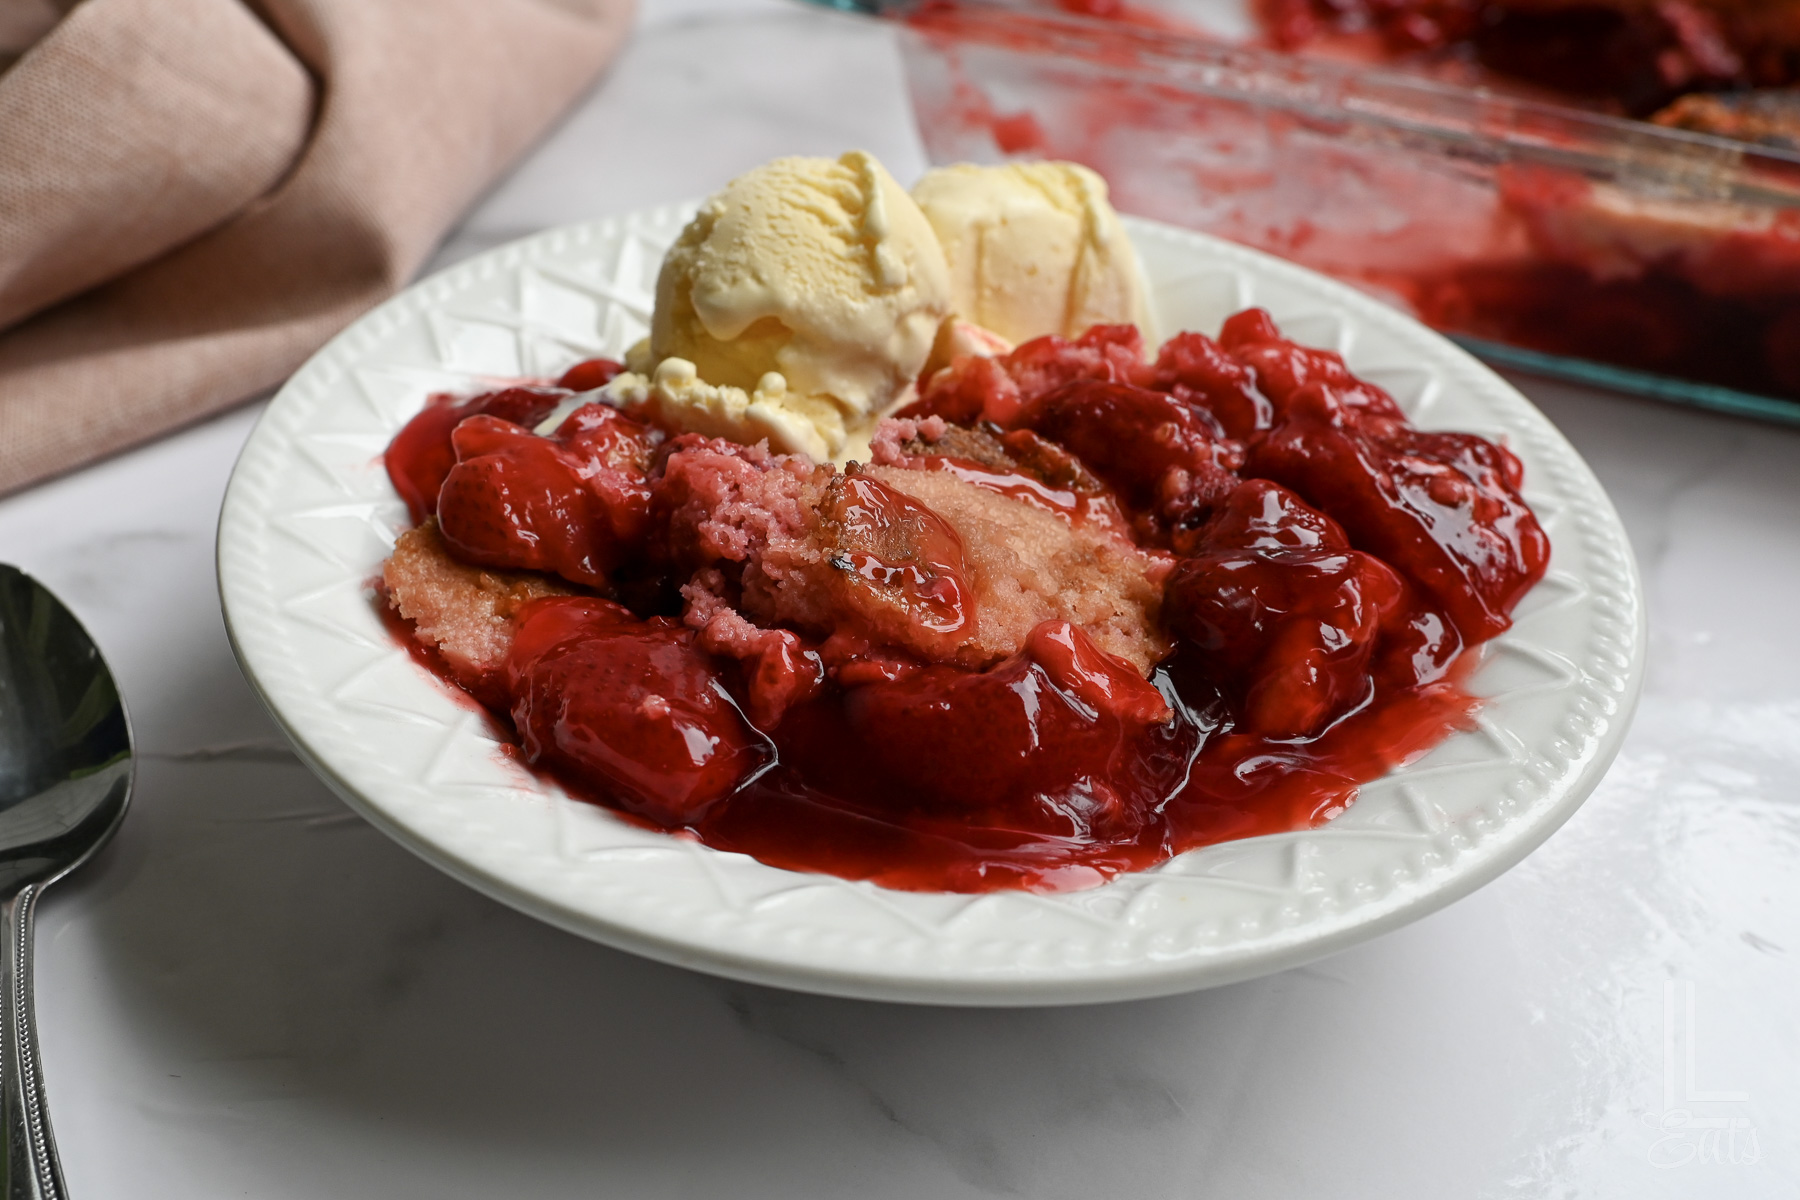
This strawberry dump cake uses a triple strawberry method (cake mix, pie filling, and fresh berries) for huge berry flavor that comes together fast. Perfect for busy days, last-minute guests, or any get-together treat!
Paid links used in this post. Read more about my link usage policies.
Why You'll Love This Dump Cake

Talk about simple! Today's recipe is about as foolproof as it gets for those times you need a dessert that feels homemade without a ton of work.
Today, we're taking 4 ingredients and turning them into a buttery, rich, fruity cake that's beyond perfect with vanilla soft serve. If you loved my 3-ingredient lemon dump cake or easy crockpot peach cobbler, you're going to go crazy over this one!
We're making a strawberry dump cake with cake mix here, but I have a little "freshness hack" that gives generic store-bought ingredients a bright twist that makes the cake taste homemade.
This one's going to come in clutch during those spring and summer parties - it packs big flavor with not a lot of effort. I hope you enjoy it!

Ingredient Notes
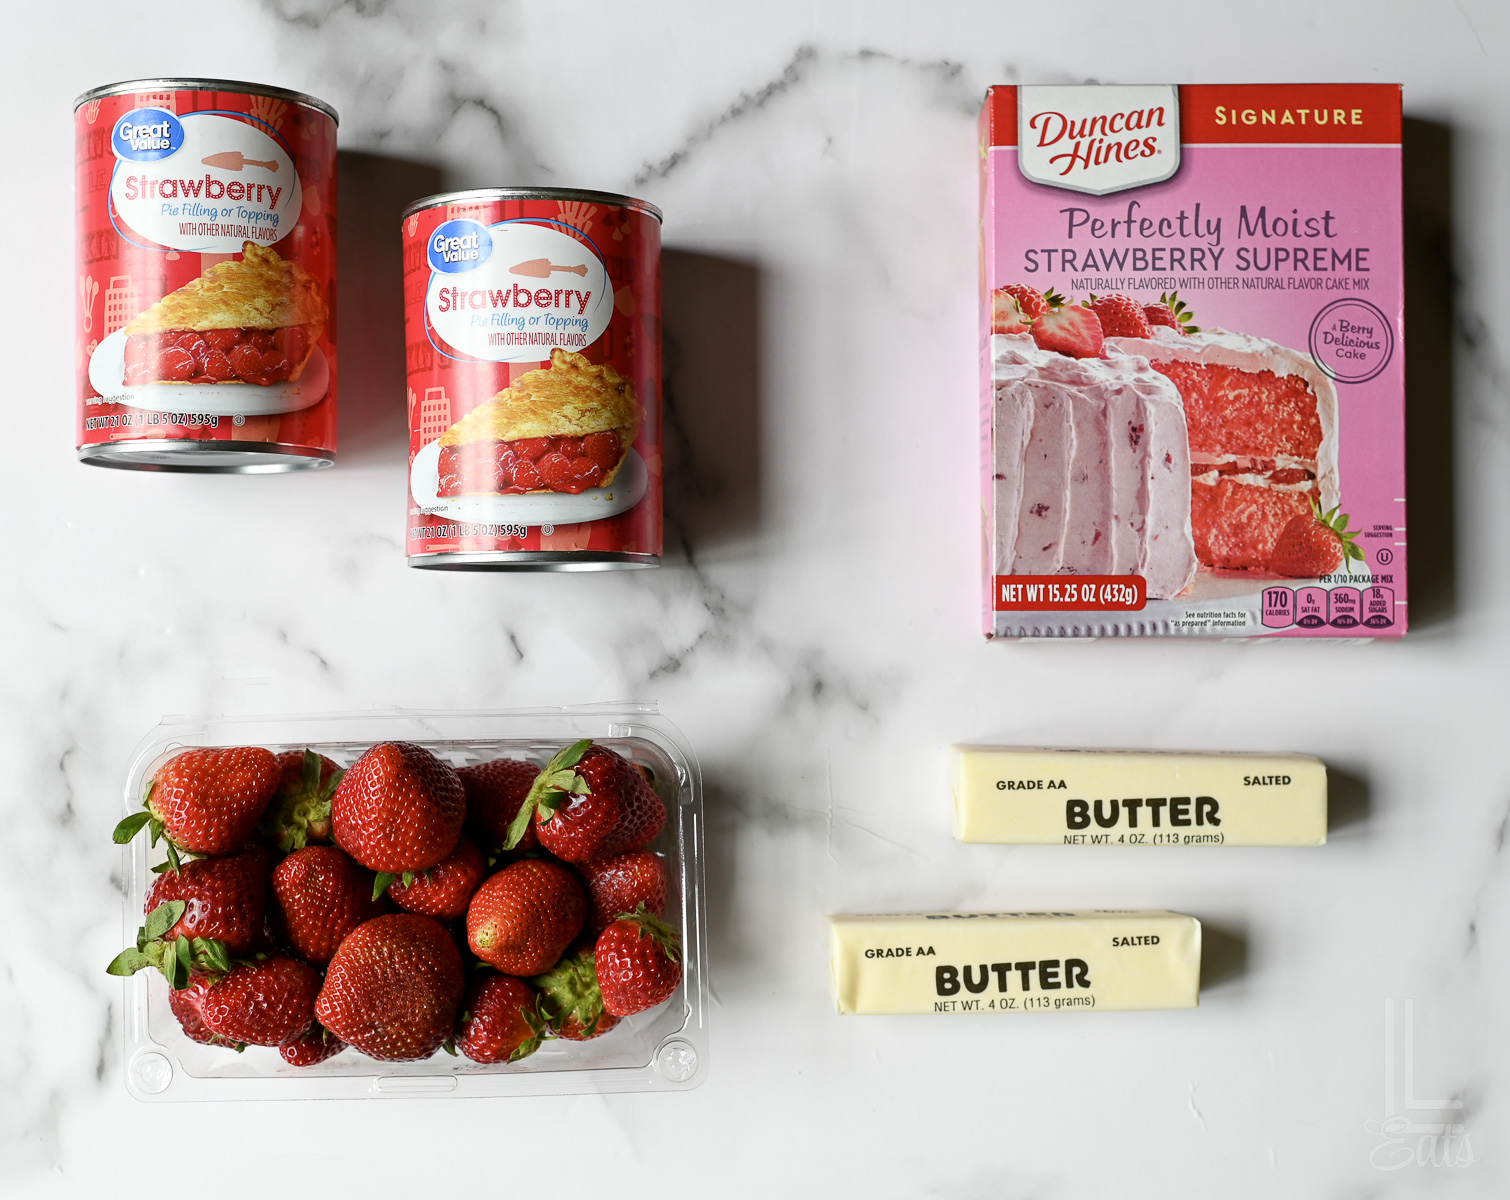
(See recipe card at the bottom of this post for exact ingredient measurements.)
- Strawberry Cake Mix: Use strawberry cake mix for a stronger berry flavor and pink color. If unavailable, substitute yellow or white cake mix (flavor will be milder).
- Strawberry Pie Filling: Use two 20-21 oz cans. This creates the thick, jammy base that keeps the cake moist. Avoid low-sugar versions - they can be too thin.
- Fresh Strawberries: Add 1-2 cups chopped fresh strawberries for a fresher flavor and better texture. If using frozen, thaw and drain well to prevent excess moisture.
- Cold Salted Butter: Slice cold butter into thin ¼-inch pats and cover as much of the dry mix as possible to avoid dry patches. Salted butter balances sweetness; if using unsalted, add a small pinch of salt.
Additions & Substitutions
- Swap the Cake Mix: If you can't find strawberry cake mix, a yellow, white, or even French vanilla cake mix works great. You'll lose that bright pink color, but it will still taste yummy!
- The "Cheesecake" Twist: For a creamier version, cut an 8 oz block of cream cheese into small cubes and "dot" them over the pie filling before adding the dry cake mix. Tastes just like strawberry cheesecake!
- Go Tropical: Swap one of the cans of strawberry filling for a 20 oz can of crushed pineapple (don't drain it!). The strawberry-pineapple combo has great summer vibes.
- Add Some Crunch: If you like a little texture, sprinkle half a cup of chopped pecans or walnuts over the top of the butter slices before sliding the dish into the oven.
- Chocolate Strawberry: Use a Devil's Food or Chocolate cake mix instead of strawberry. It tastes exactly like a chocolate-covered strawberry in cake form!
- Frozen over Fresh: Out of fresh berries? You can use frozen sliced strawberries instead. Just make sure to let them thaw and drain any excess liquid first so the cake doesn't get too soggy.
How to Make an Easy Strawberry Dump Cake
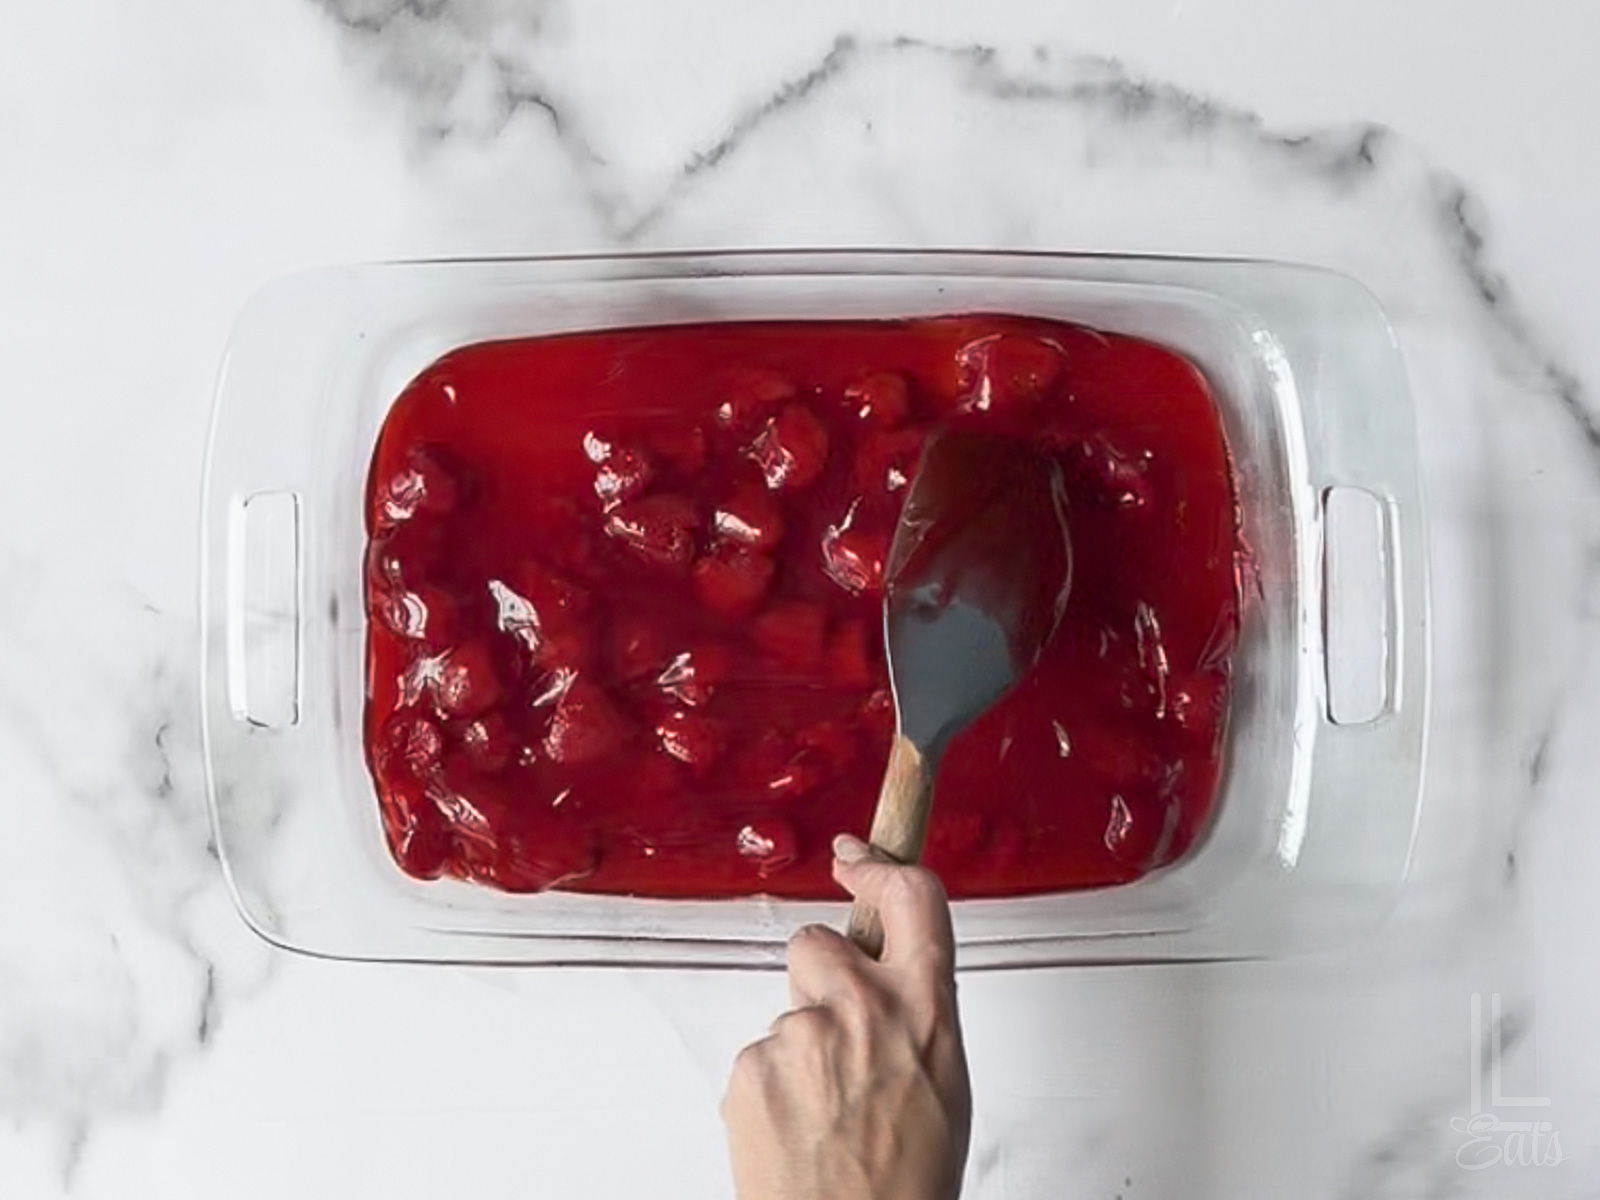
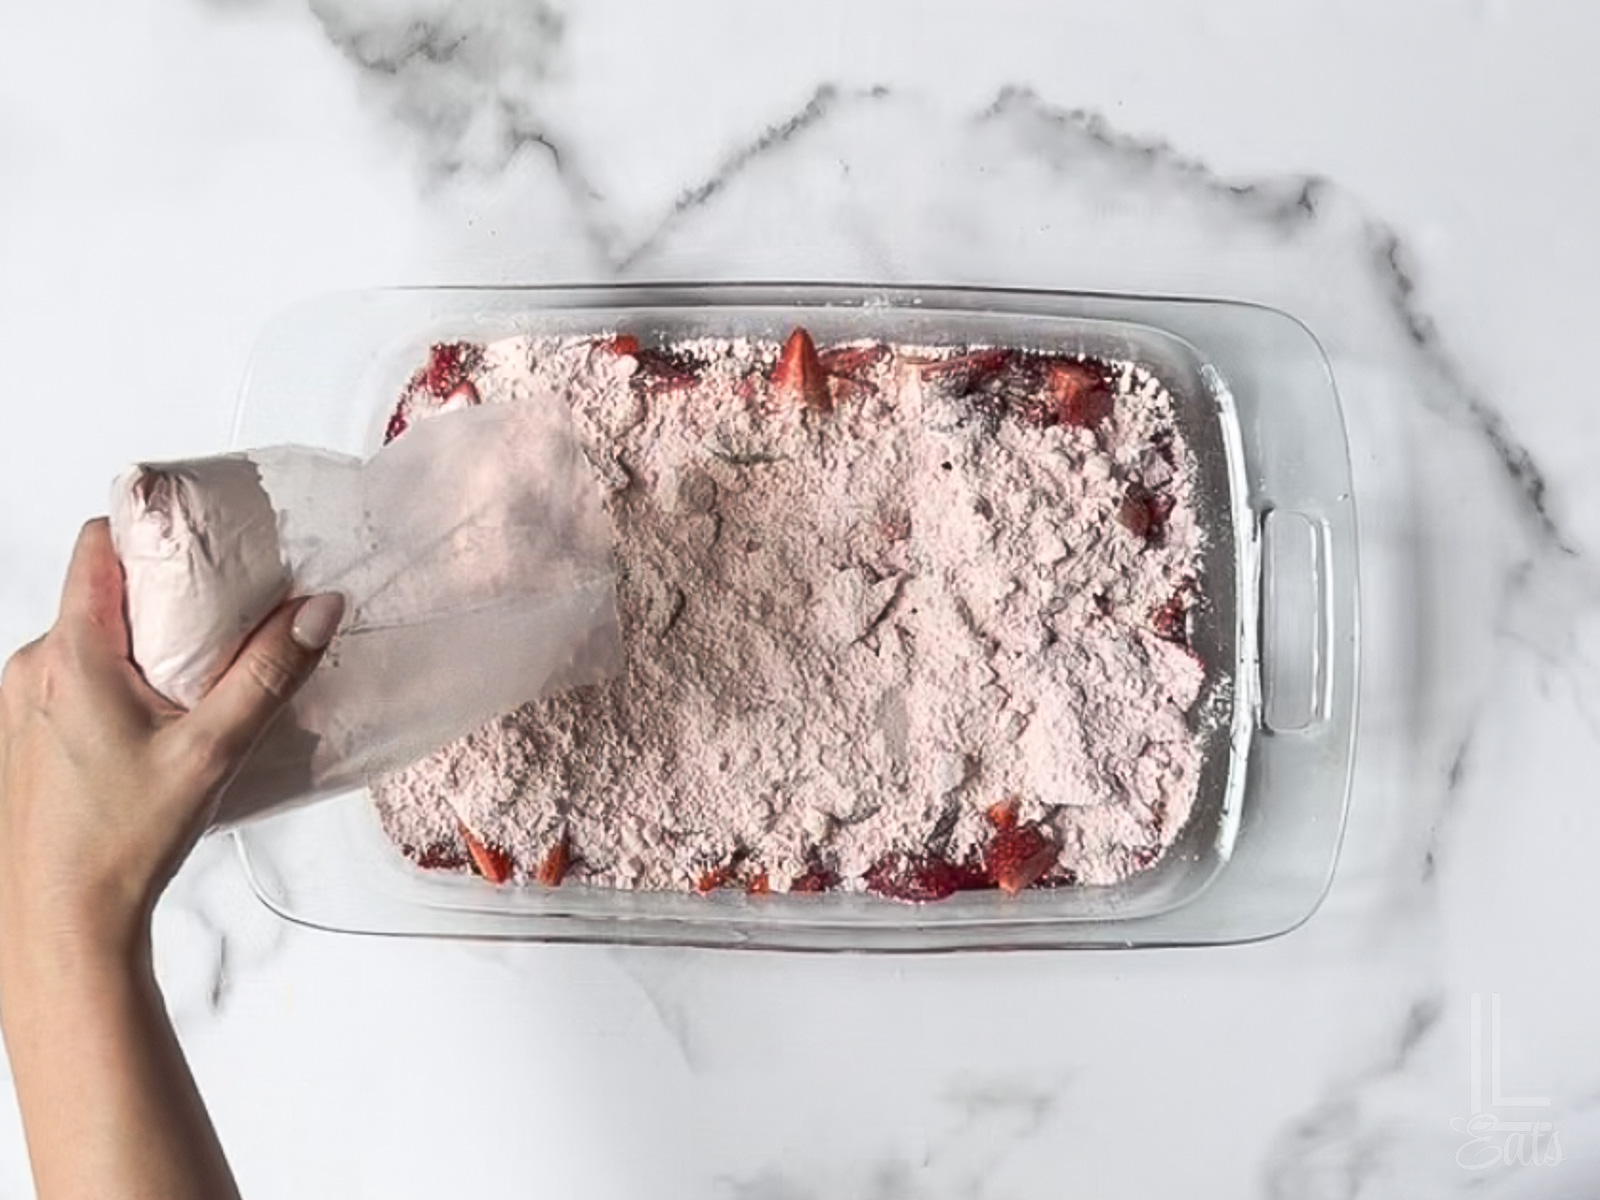
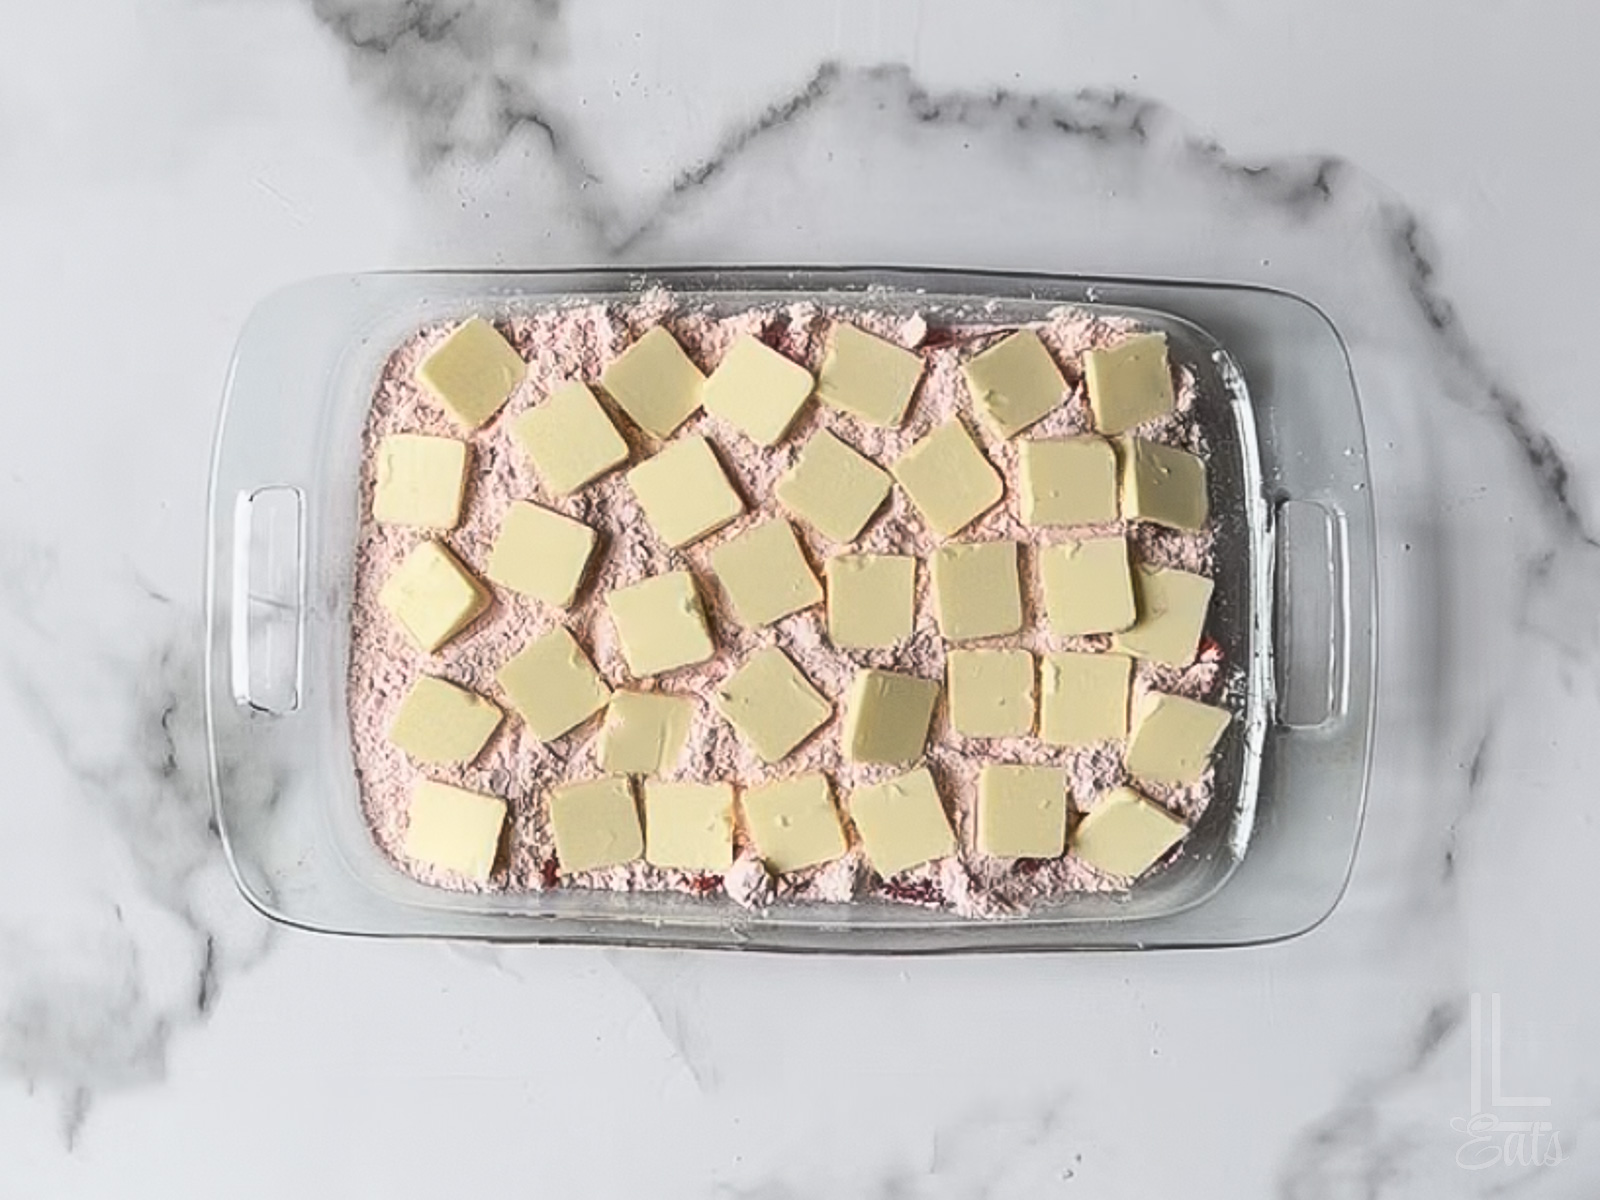
- Prep the Base: Start by pouring both cans of strawberry pie filling into the bottom of a 9x13" baking dish. Use a spatula to spread it out evenly so every bite of the finished cake has plenty of fruit.
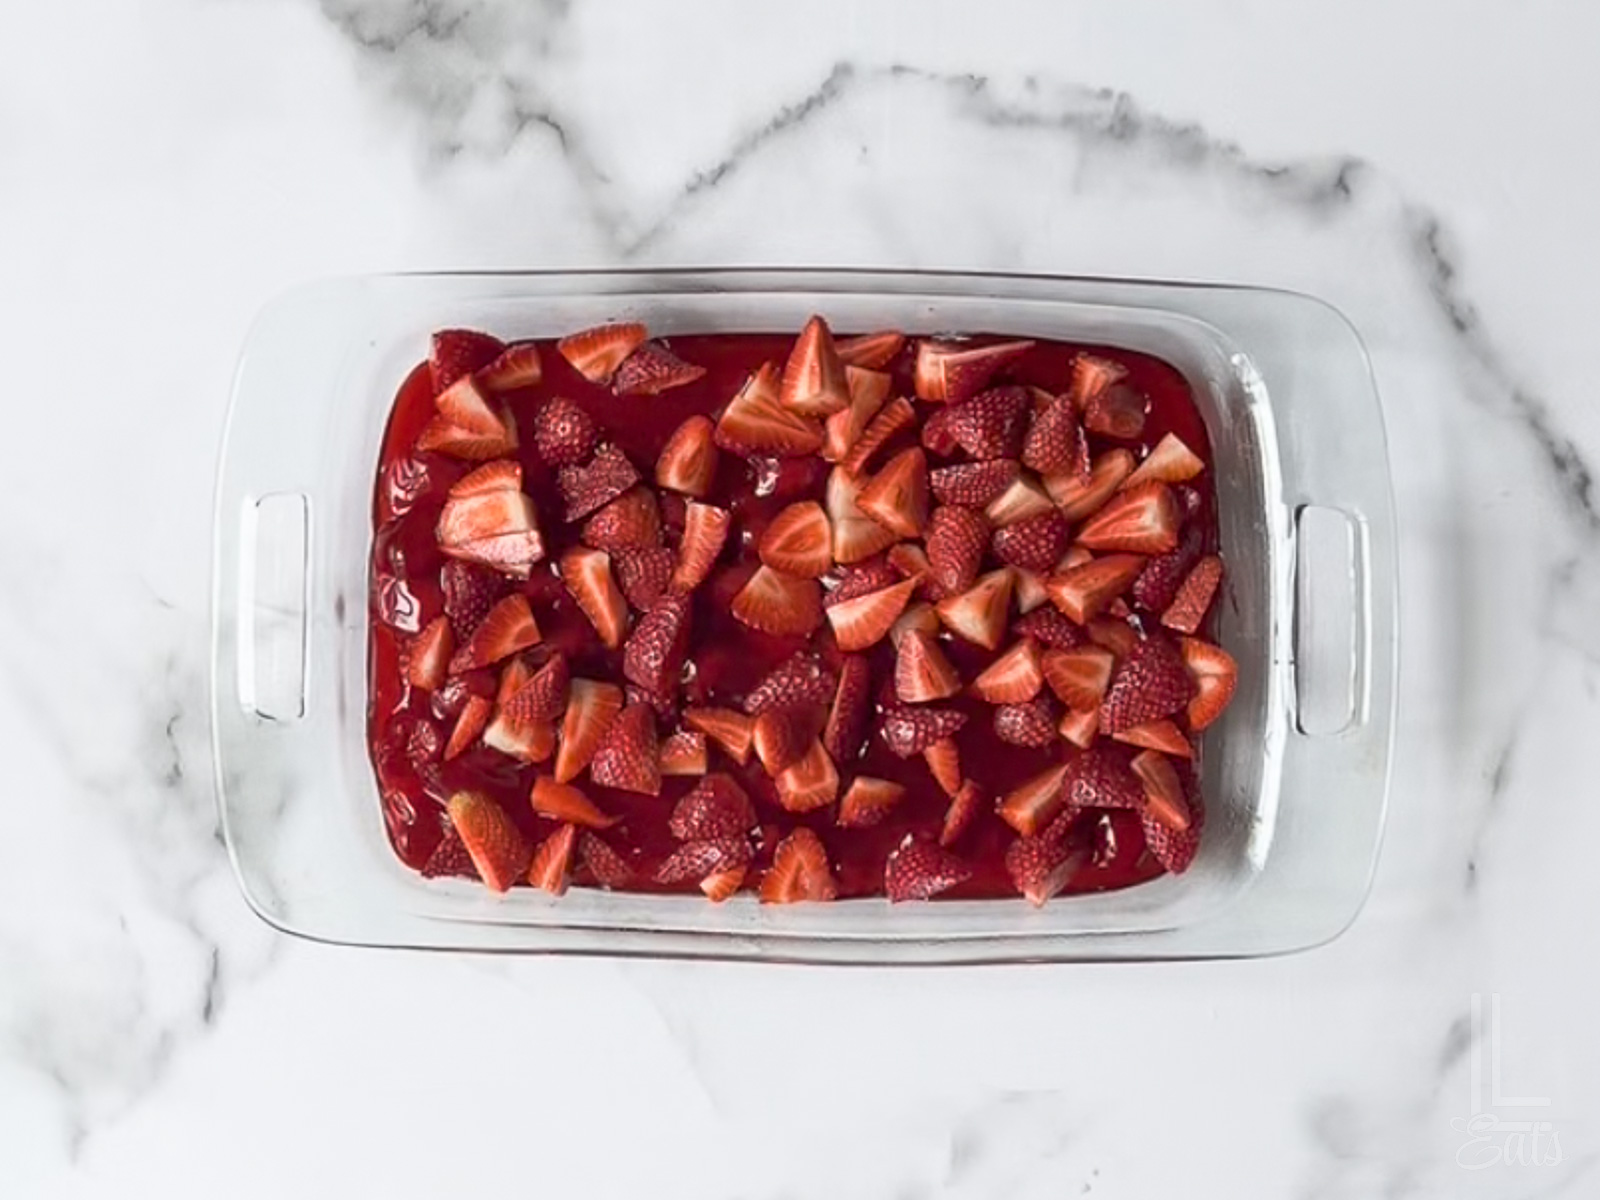
- Layer the Fresh Berries: Scatter your chopped fresh strawberries directly over the filling. This is my favorite "pro tip" - the fresh fruit will soften as it bakes, adding this tart contrast to the sweet pie filling is going to make the whole dish taste homemade.
- The "No-Stir" Secret: Sprinkle the dry strawberry cake mix evenly over the top of the berries. Whatever you do, do not stir! Keeping the layers separate is what allows the butter to sit on top and create that irresistible, cobbler-style crust instead of a soggy batter.
- The Butter Blanket: Slice your cold butter into thin ¼" pats (think thin) and layer them over the cake mix. Try to cover as much of the dry flour as possible. As it bakes, the butter melts down into the mix to create a golden, buttery topping that is the best part of the whole dessert.
- Bake Until Bubbly: Pop it into the oven at 350°F(190°C ) for 35-40 minutes. You're looking for the edges to be bubbling and the top to have a golden-brown finish. If you still see a tiny patch of dry flour, don't worry...it usually disappears as the cake rests!
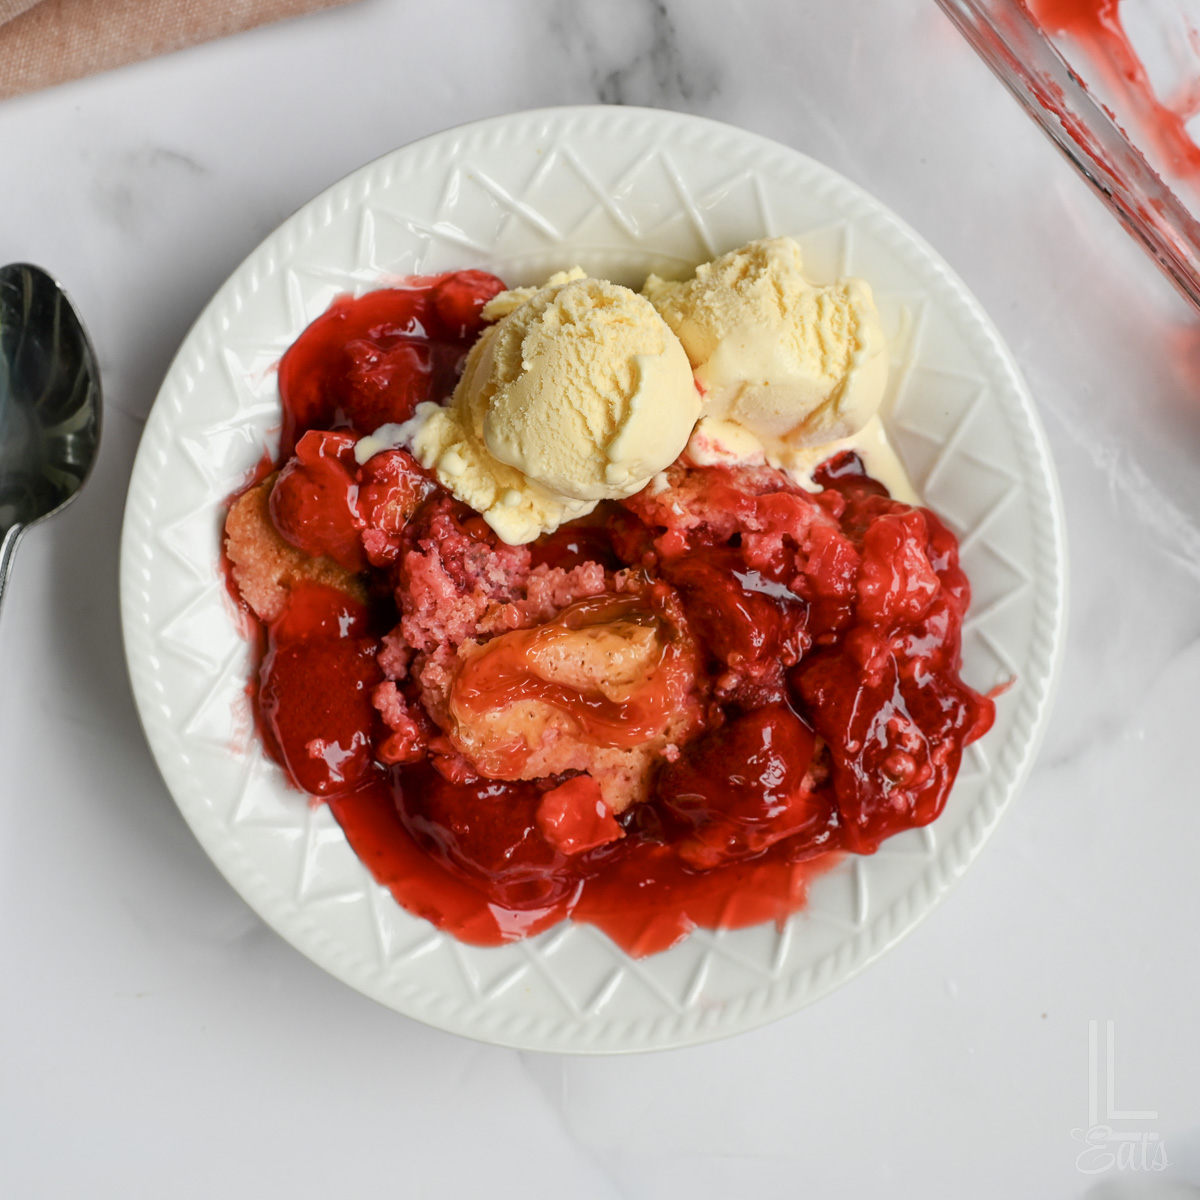
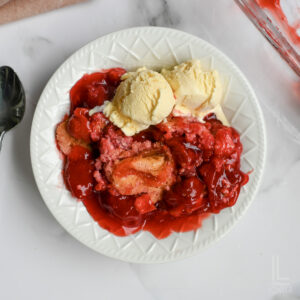
- Serve it Warm: Let the cake sit for about 5-10 minutes after it comes out of the oven to let the filling set slightly. It's best served warm with a big scoop of vanilla ice cream or a dollop of whipped cream on top!
Leftovers & Storage
Leftovers: Cover your cake and store in the fridge for up to 3-4 days after baking.
Reheating: I like to reheat dump cakes in the microwave; give it 30-45 seconds, then top with vanilla ice cream (this helps mask any cold spots and is a great contrast against the warm cake!).
Freezing: I don't recommend freezing dump cakes; the topping tends to lose that yummy crunch. Just make this one from scratch instead!
Common Strawberry Dump Cake Mistakes (& how to fix them)
- Using the wrong baking dish: An oversized or undersized pan can lead to uneven baking or a dry top.
- Fix: Use a standard 9x13" dish for best results.
- Ignoring fruit moisture levels: Different pie fillings can vary in thickness, which will affect your texture.
- Fix: Adjust as needed - add a bit of fresh fruit if too thick, or a small splash of liquid if too dense.
- Cutting into it too soon: Serving this dump cake immediately can make the filling seem runny and the top of the cake seem soggy.
- Fix: Let it rest 10-15 minutes after baking so it sets.
- Overloading with mix-ins: Too many additions can prevent even baking and weigh it down.
- Fix: Keep extras to a minimum.
- Using very cold ingredients: Cold filling or fruit can slow the baking process down and cause an uneven texture.
- Fix: Let the strawberry ingredients sit at room temperature for a few minutes before assembling.
- Expecting a traditional cake texture: Dump cake is more like a cobbler than a sliceable cake.
- Fix: Expect a scoopable dessert with a gooey base and crispy, buttery topping.
How to Get the Perfect Dump Cake Crust
- If you see a dry spot while it's baking, you can give it a tiny (and I mean tiny) spritz of cooking spray.
- Don't Over-Bake: Because strawberry cake mix has a high sugar content, it can go from "perfectly golden" to "burnt" really quickly. Start checking at around the 30-minute mark; you want the edges to be bubbly and the center to be set, but slightly soft.
- Thin Butter Pats: Use cold butter to slice thin ¼" pats. Thin slices cover more surface area than thick chunks, which helps moisten every bit of the dry cake mix and prevents those dreaded "flour pockets."
- Do Not Stir: It's tempting, but don't do it! Keeping the layers separate allows the butter to fry the cake mix into a crisp topping rather than turning it into a dense, heavy batter.
- Watch for the Bubble: Your cake is done when the fruit filling is bubbling up around the edges and the center is a deep golden brown. Let it rest for 10 minutes before serving to allow the crust to fully set.
FAQs
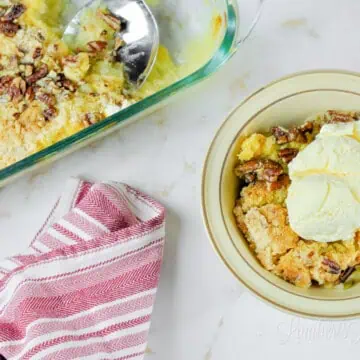
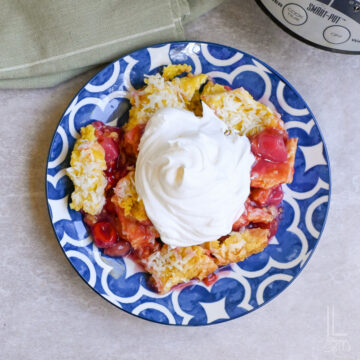

I hope this summery cake is a new favorite in your home! 🍓 If you give it a try, I'd love to hear what you think of it - just rate and review the recipe in the comments below.
Strawberry Dump Cake
Ingredients
- 15.25 oz strawberry cake mix
- 42 oz strawberry pie filling (2 cans)
- 2 cups chopped fresh strawberries
- 2 sticks cold salted butter (1 total cup)
Instructions
- Preheat the oven to 375℉ (190℃).
- Pour both cans of strawberry pie filing in the bottom of a 9x13" dish.
- Layer fresh chopped strawberries over the top.
- Sprinkle dry cake mix over the top of the strawberries. Do not mix!
- Slice butter into ¼" pats. Layer these pieces over the top of the cake mix, again, not mixing.
- Bake at 375℉ for 35-40 minutes, until sides of cake are bubbling and top begins to turn golden brown.
- Serve warm, topped with vanilla ice cream or whipped cream.
Notes
- Do Not Stir: This is the golden rule of dump cakes! Keep the layers separate so the butter can "fry" the cake mix into a crisp, cobbler-like topping instead of a dense batter.
- Butter Coverage: If you see any large dry patches of cake mix after layering your butter, add a few extra thin slivers. Total coverage is the secret to avoiding floury spots.
- Fresh vs. Frozen: If using frozen strawberries, thaw and drain them well before adding to the pan to prevent the filling from becoming too watery.
- Serve Warm: This cake is best enjoyed warm from the oven, ideally topped with vanilla ice cream or a big dollop of whipped cream.
- Storage: Store leftovers in an airtight container in the refrigerator for up to 4 days. Reheat in the microwave for 30 seconds to bring back that "just baked" buttery texture.
Nutrition Facts

Leslie Lambert is a lifestyle writer and content creator specializing in home organization, family recipes, and intentional living. With 17 years of experience in blogging and digital storytelling, she helps busy women create calm, purposeful homes they love.