
See how to clean a dryer the easy way! Find out how to clean the dryer drum, scrub the lint trap, clean ducts, and more in this simple maintenance routine.

Paid links used in this post. Read more about my link usage policies.
I'm one of those people who's adamant about cleaning the lint trap every single time I run the dryer. I thought that was enough, as I'm sure most of you do.
Nope.
There's a lot of nastiness you probably don't even know about lurking in your dryer. There are lots of tubing and sneaky corners that are notorious for holding onto small pieces of lint and dirt.
Not only do you want to do this to remove grossness, but it's important to the efficiency of your dryer (and reducing the risk of fire even). I'd recommend doing the following at least a couple of times a year - you'll notice a difference!
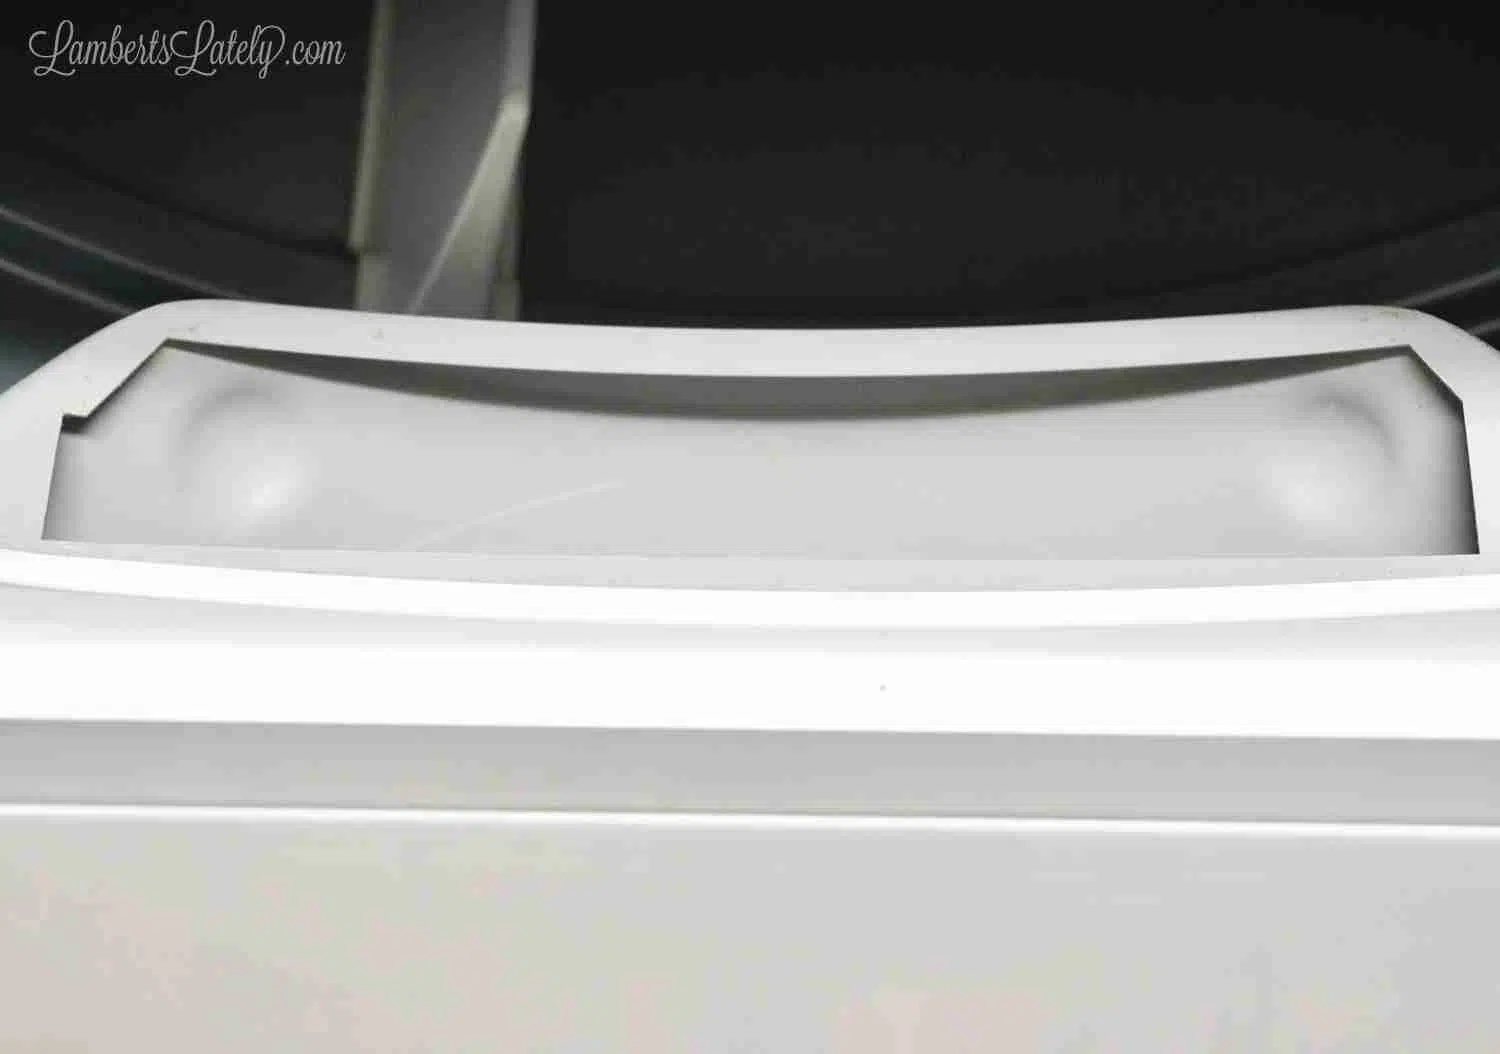
Step 1: Clean the exterior and blades of your dryer's drum.
This is something I do regularly anyway (it's built into Journey to Clean living areas week), so mine wasn't a big issue right now.
About once a month, I take a microfiber cloth and wipe down the inside and outside of the dryer to reduce dust. Not a big deal - it may take 5 minutes! This is a great time to wipe down the washer too.
Related: Check out how to deep clean a top-load washer
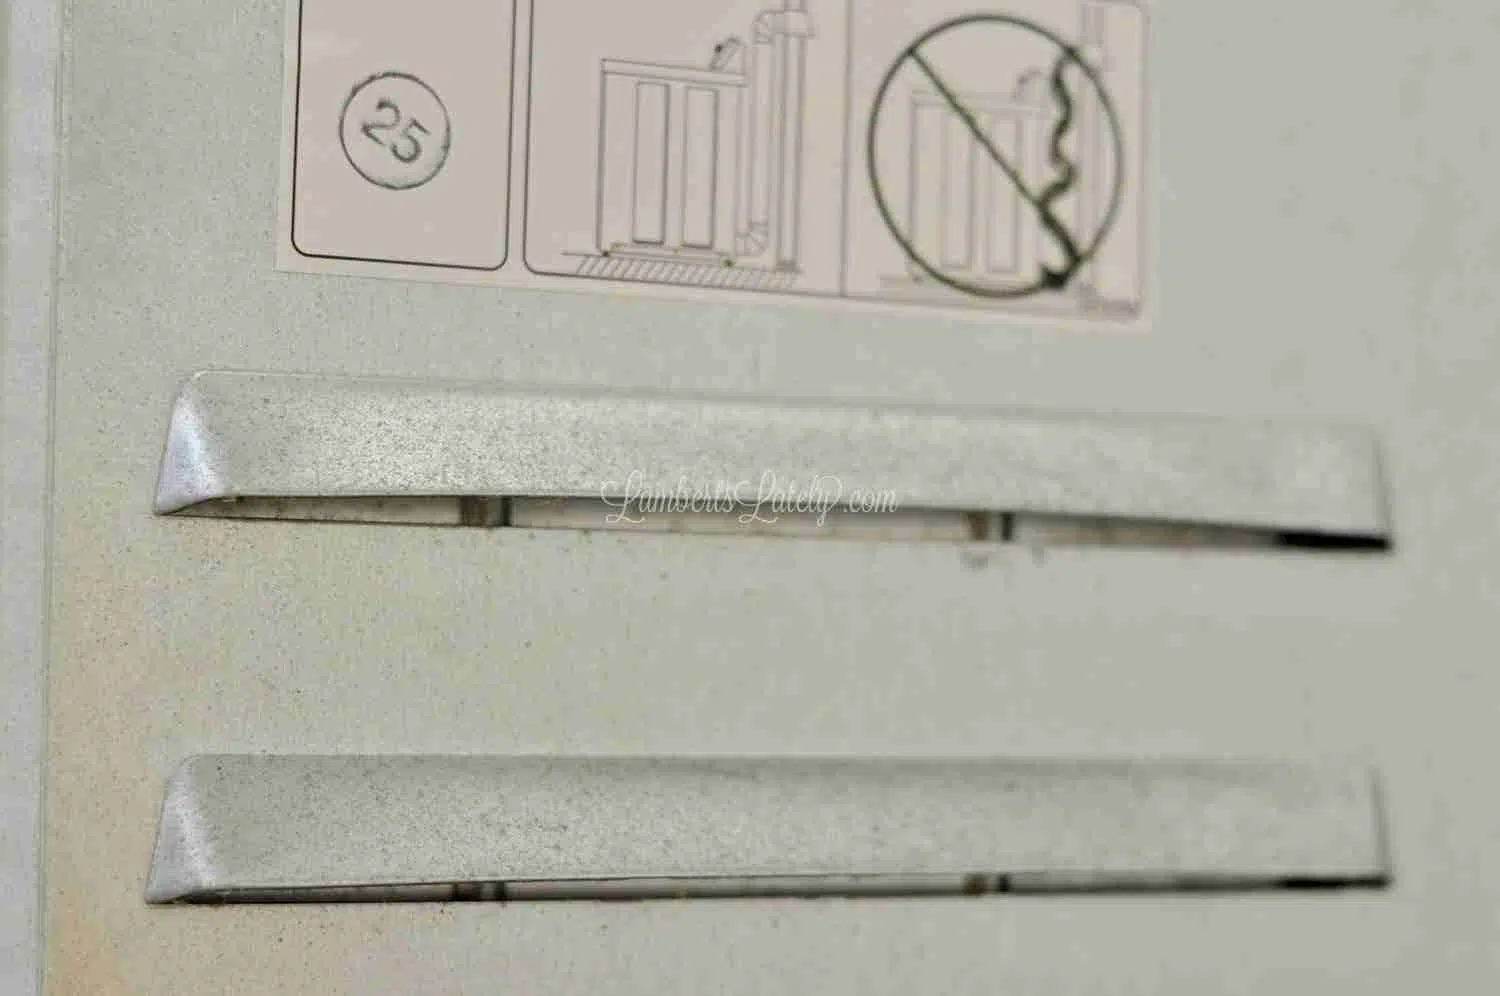
Step 2: Remove lint and clean under the lint screen.
Guys, prepare to be shocked. Your lint trap is actually just to grab the big stuff.
If you don't know much about how dryers work, there's a tube that runs from the dryer's lint screen to the hose that dryer vents to the outside of your home. Lots of lint can build up over time in that tube - and it's necessary to clean it out every once in a while.
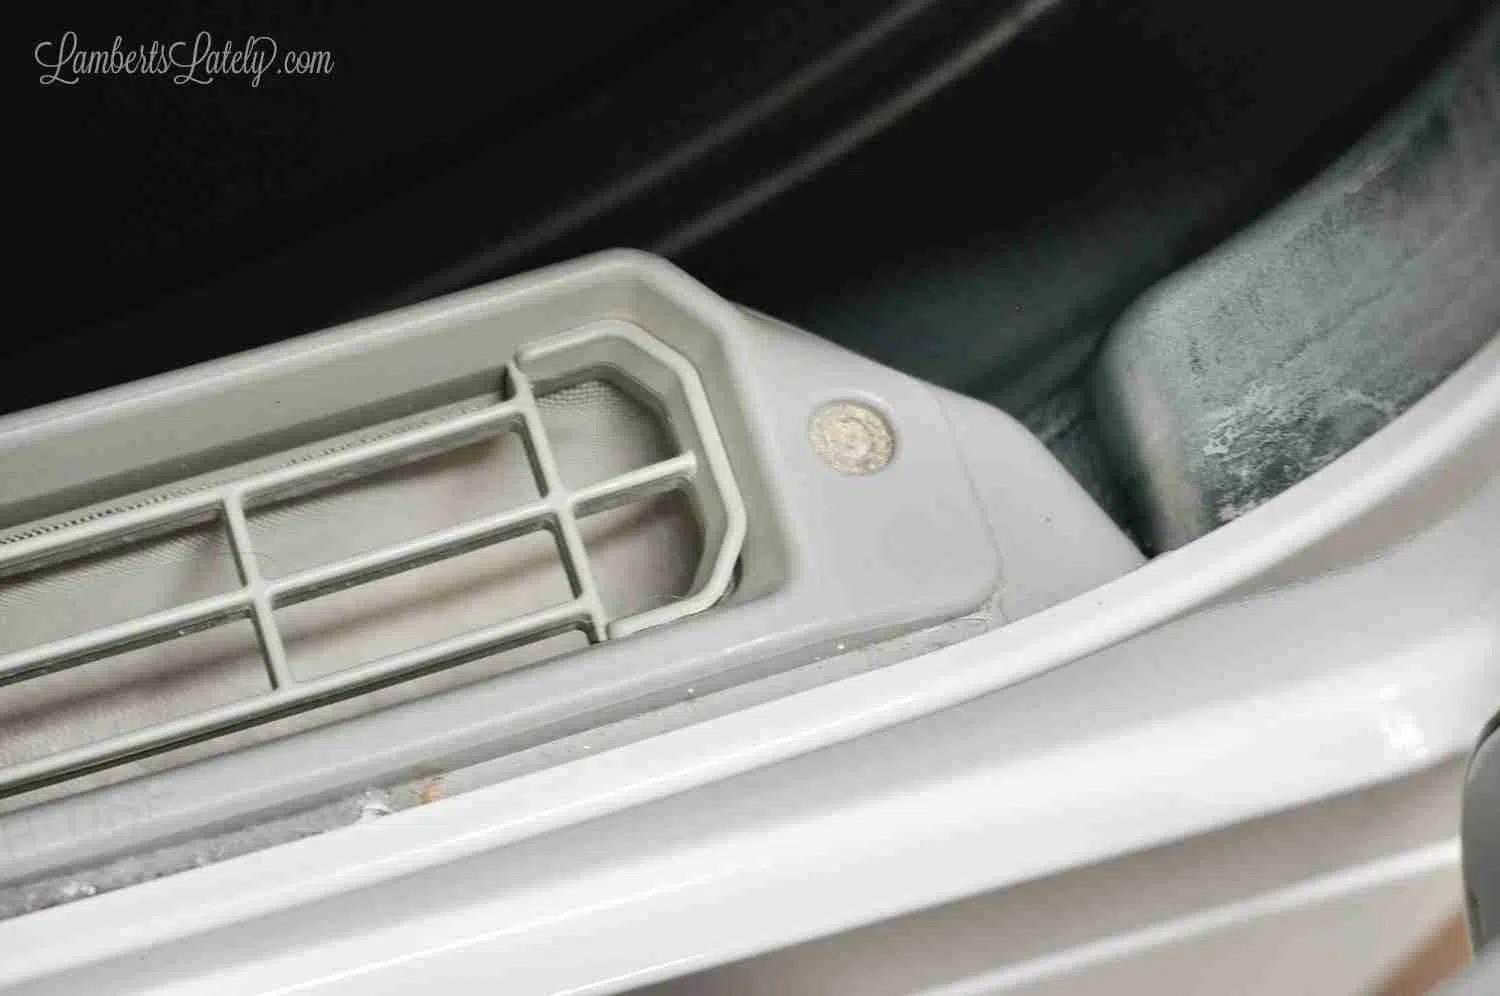
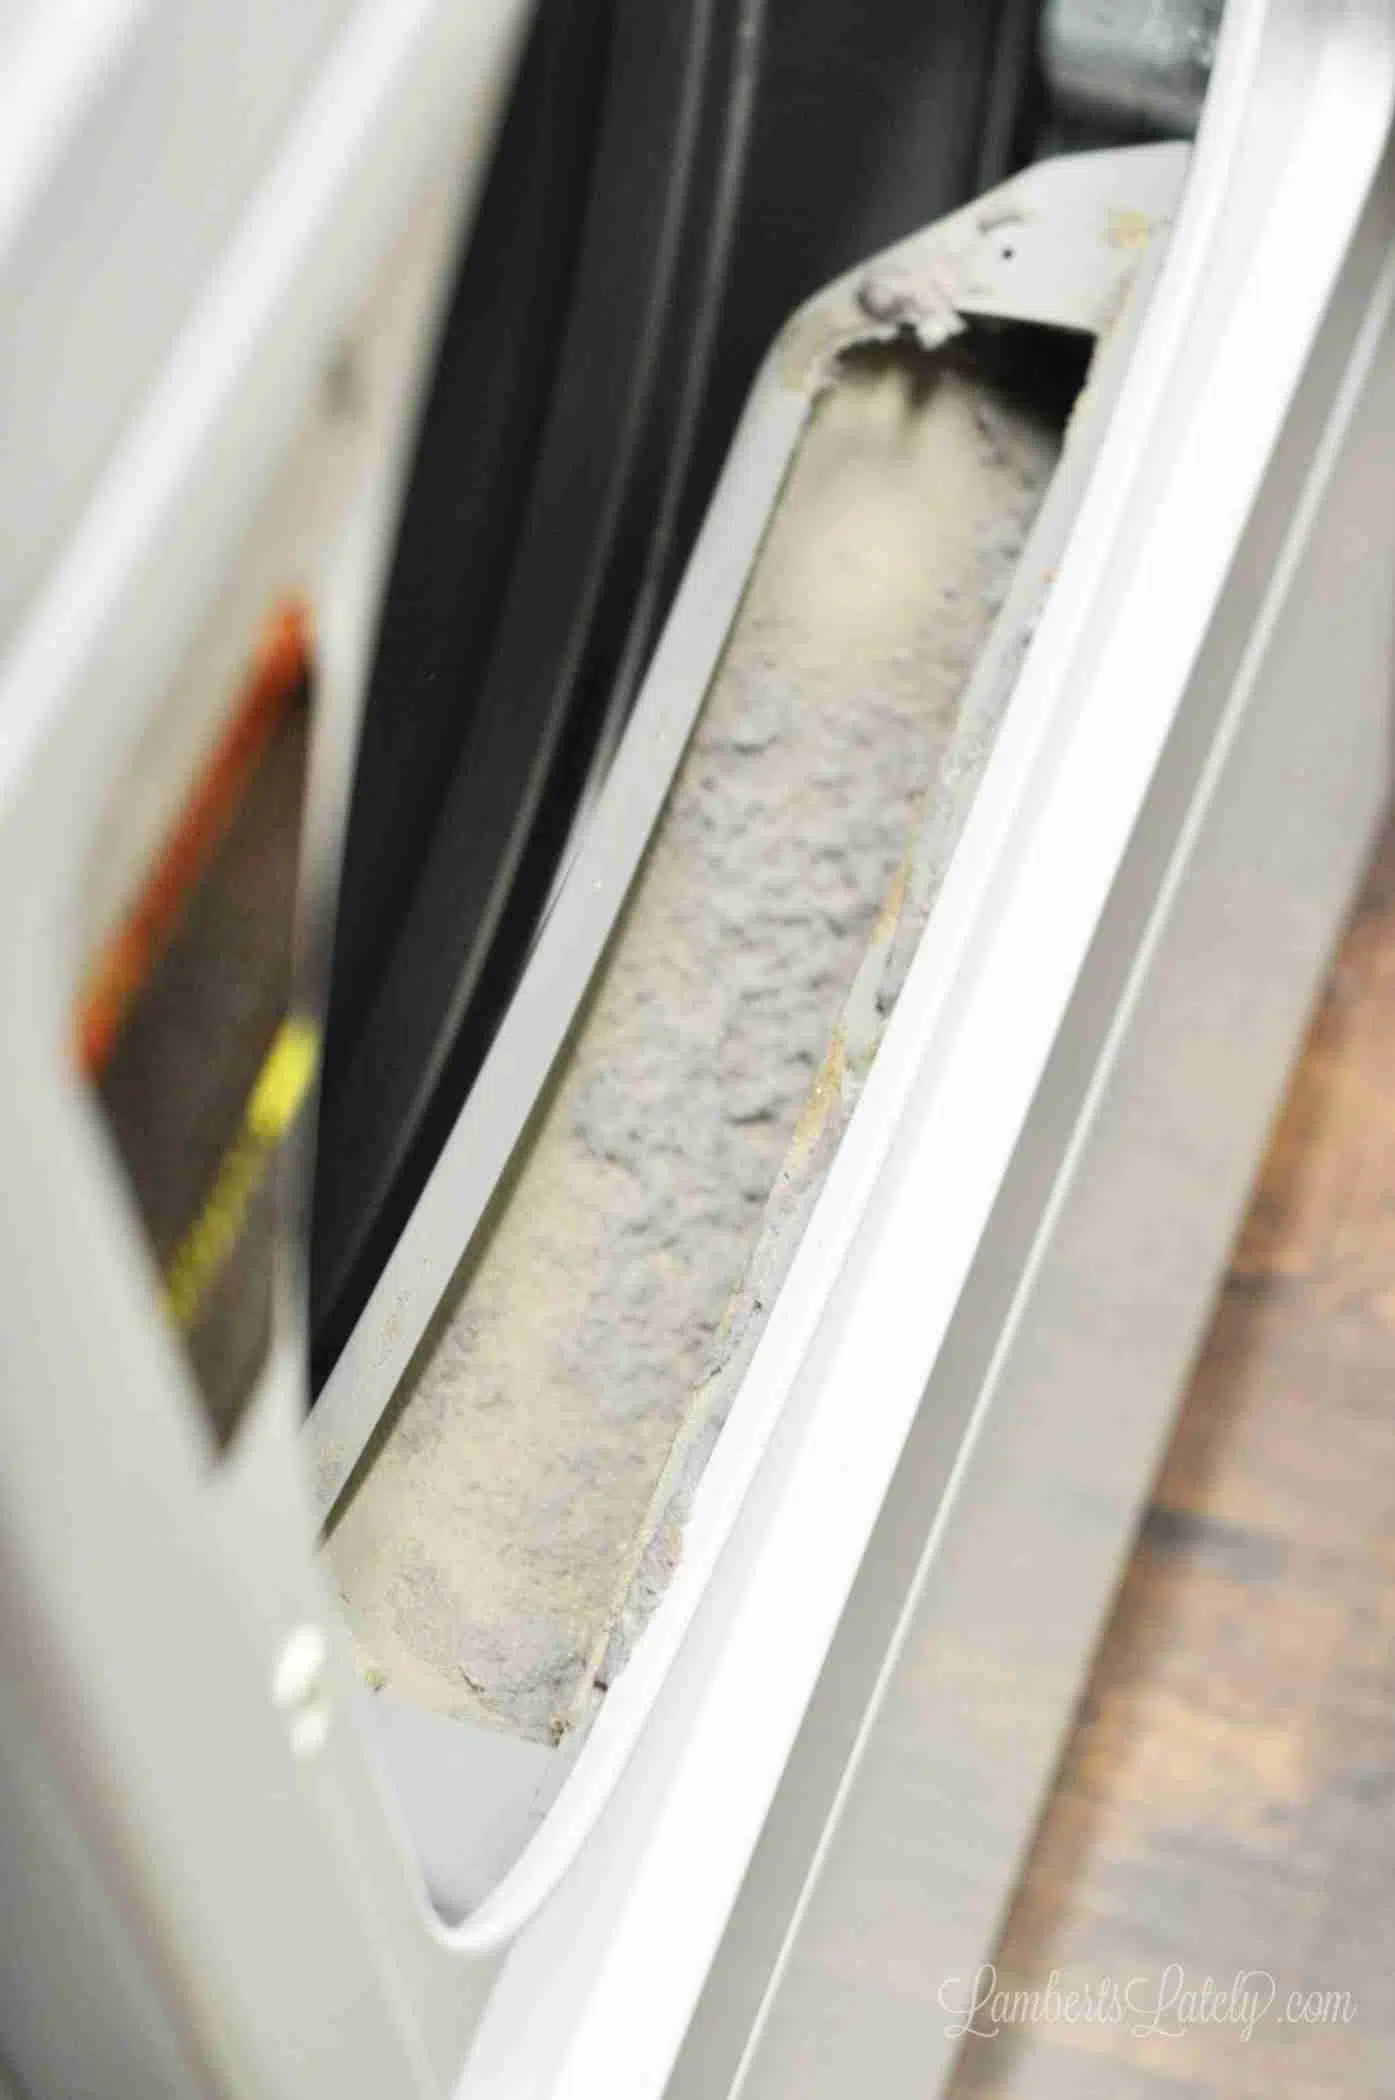
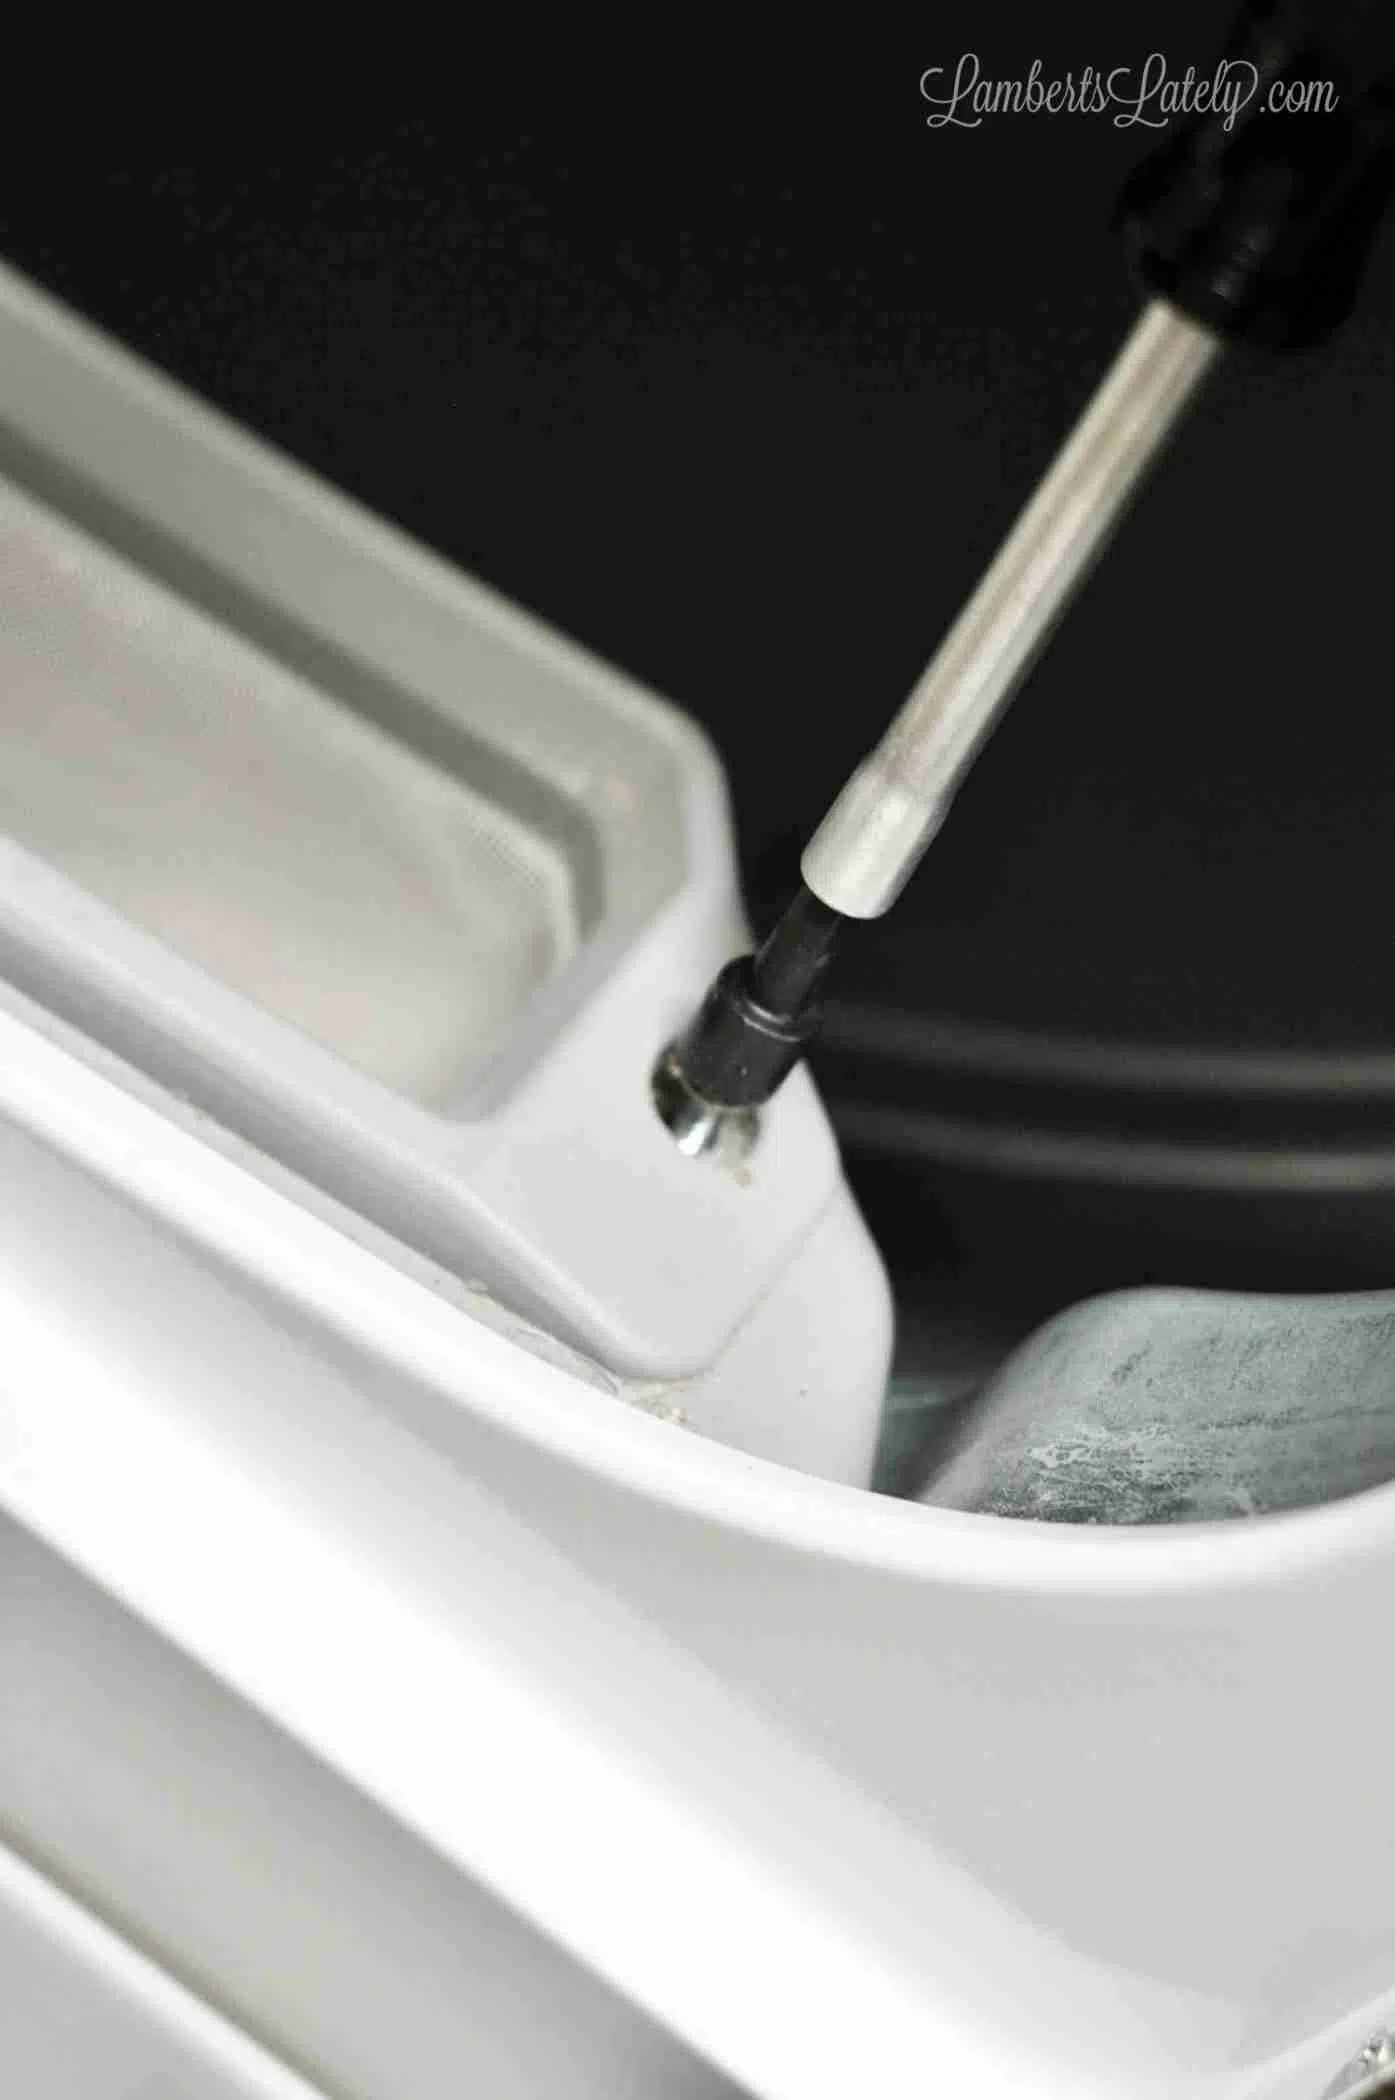
On my machine (a Speed Queen), there's a single screw that had to be taken out with a socket driver. You can't see it from here for the lint (eww), but it's there.
This is what I found underneath. I knew it was bad, but not quite this bad.
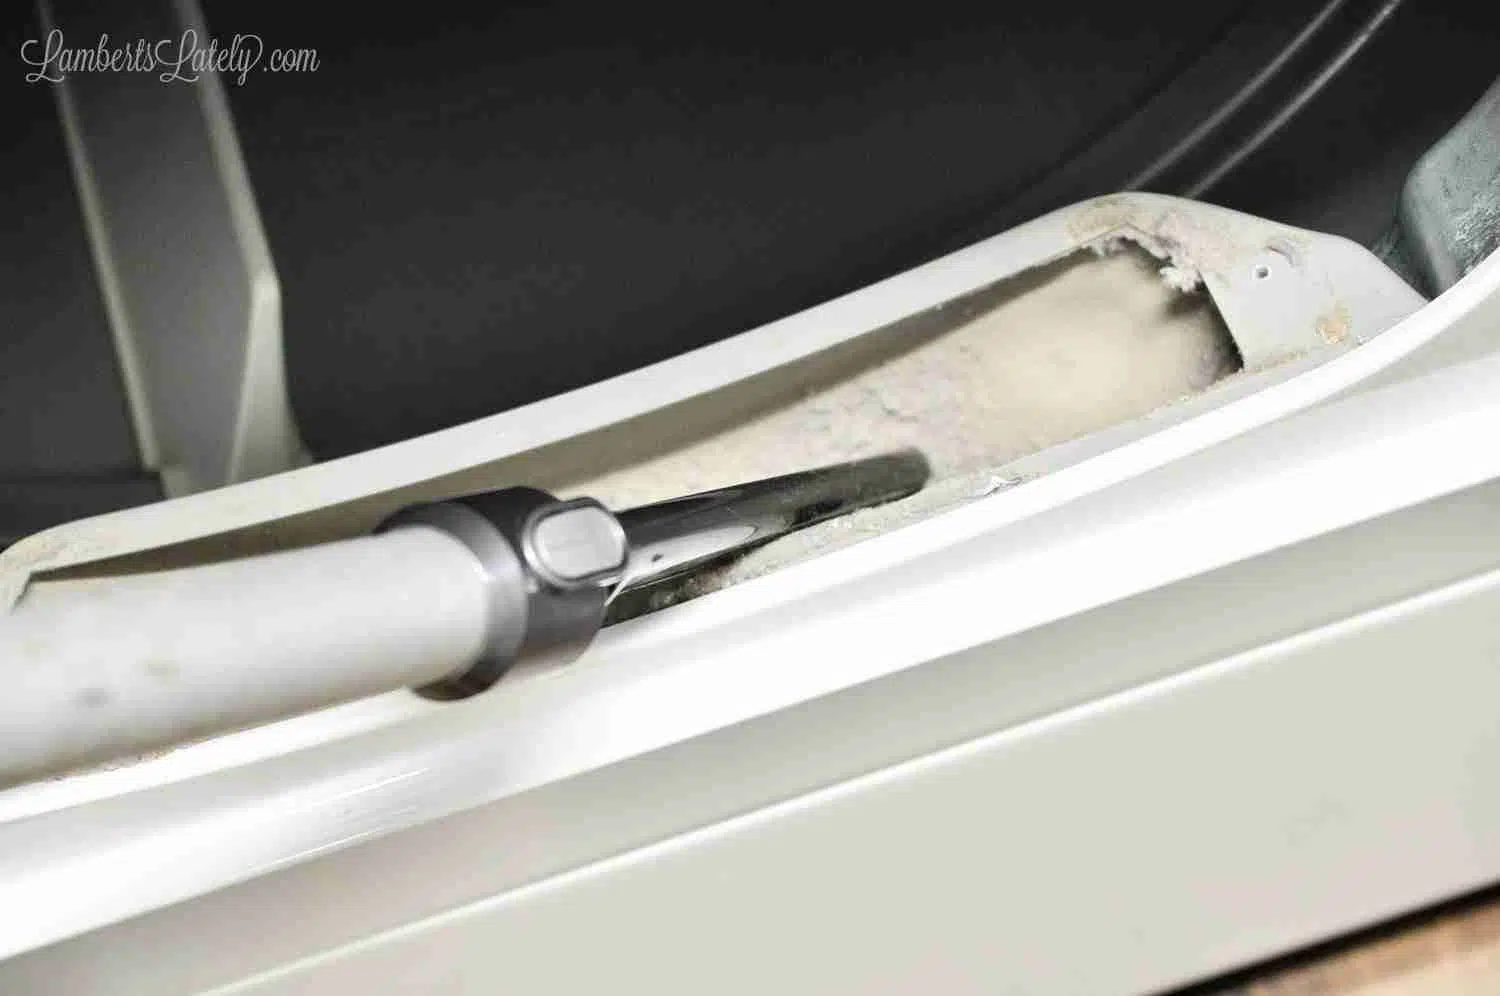
From there, I used the thin attachment for my vacuum cleaner to get into the nooks and crannies. I wanted to get as much lint as possible before cleaning it with a rag.

Even with vacuuming as much as possible, this is what my cloth looked like.
There was so much lint! I just used my basic multi-purpose cleaner and my microfiber towel to clean it out. You can also use a small scrub brush or even an old toothbrush to clean the smaller areas.
But, after cleaning, the lint filter looks a thousand times better (and I'm sure works better too).
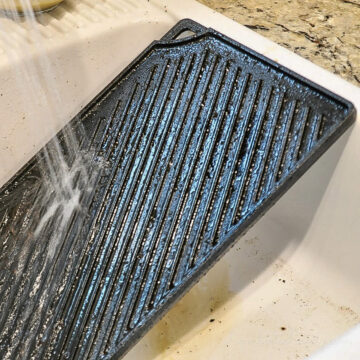
Step 3: Wash the lint trap.
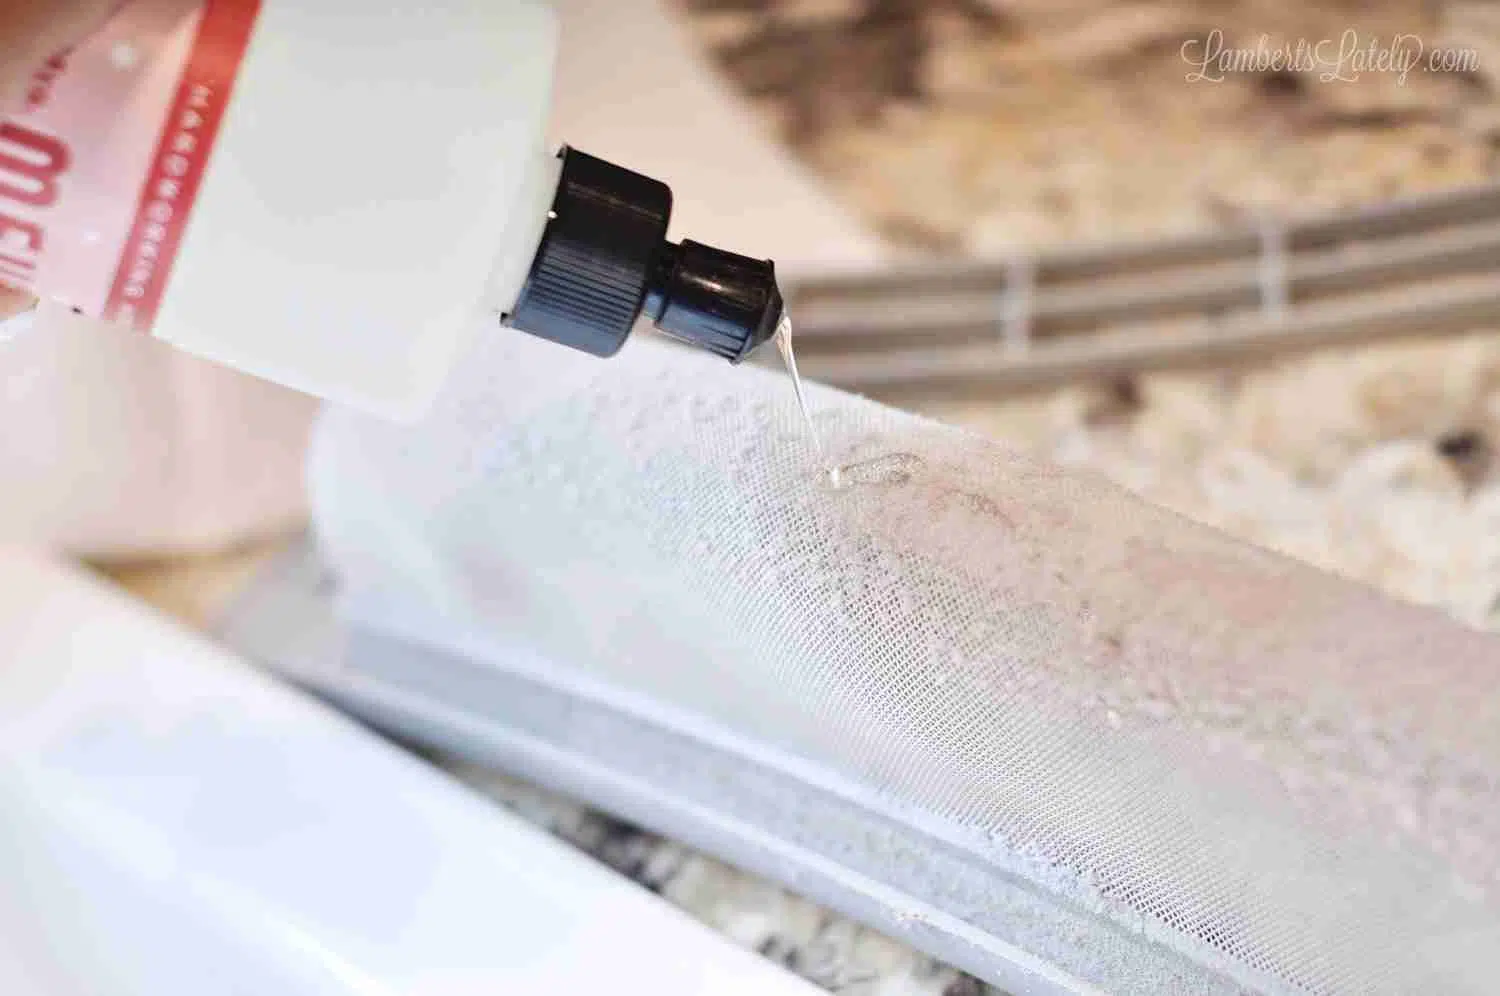
I washed the lint trap with a little bit of dish soap, allowing it to dry before I put it back into place.
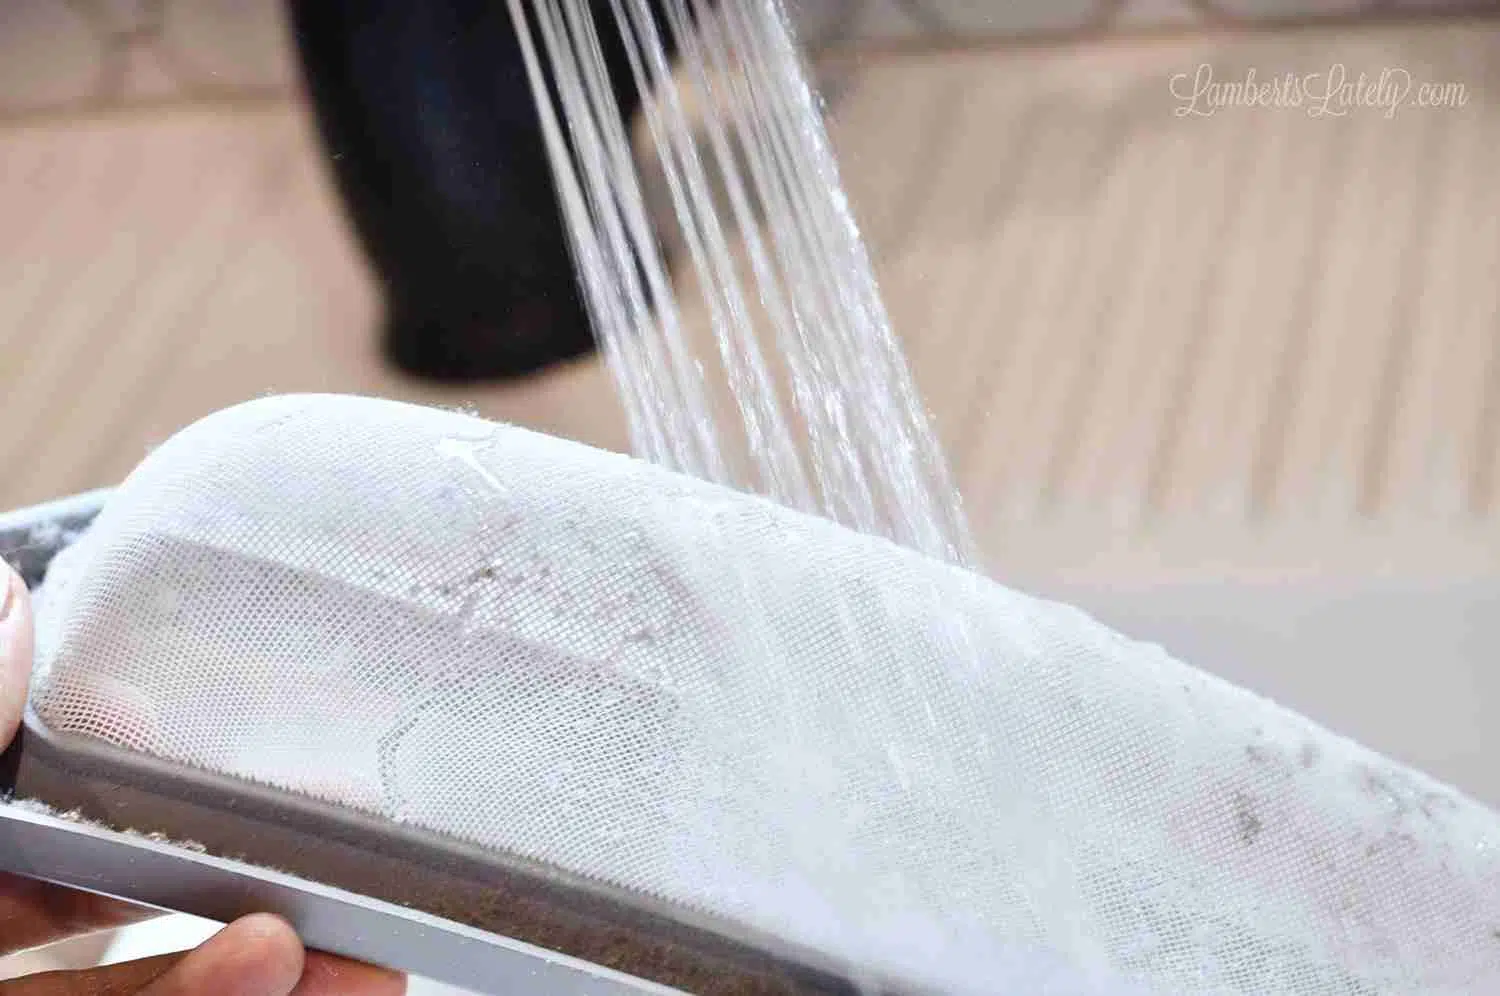
Much better!
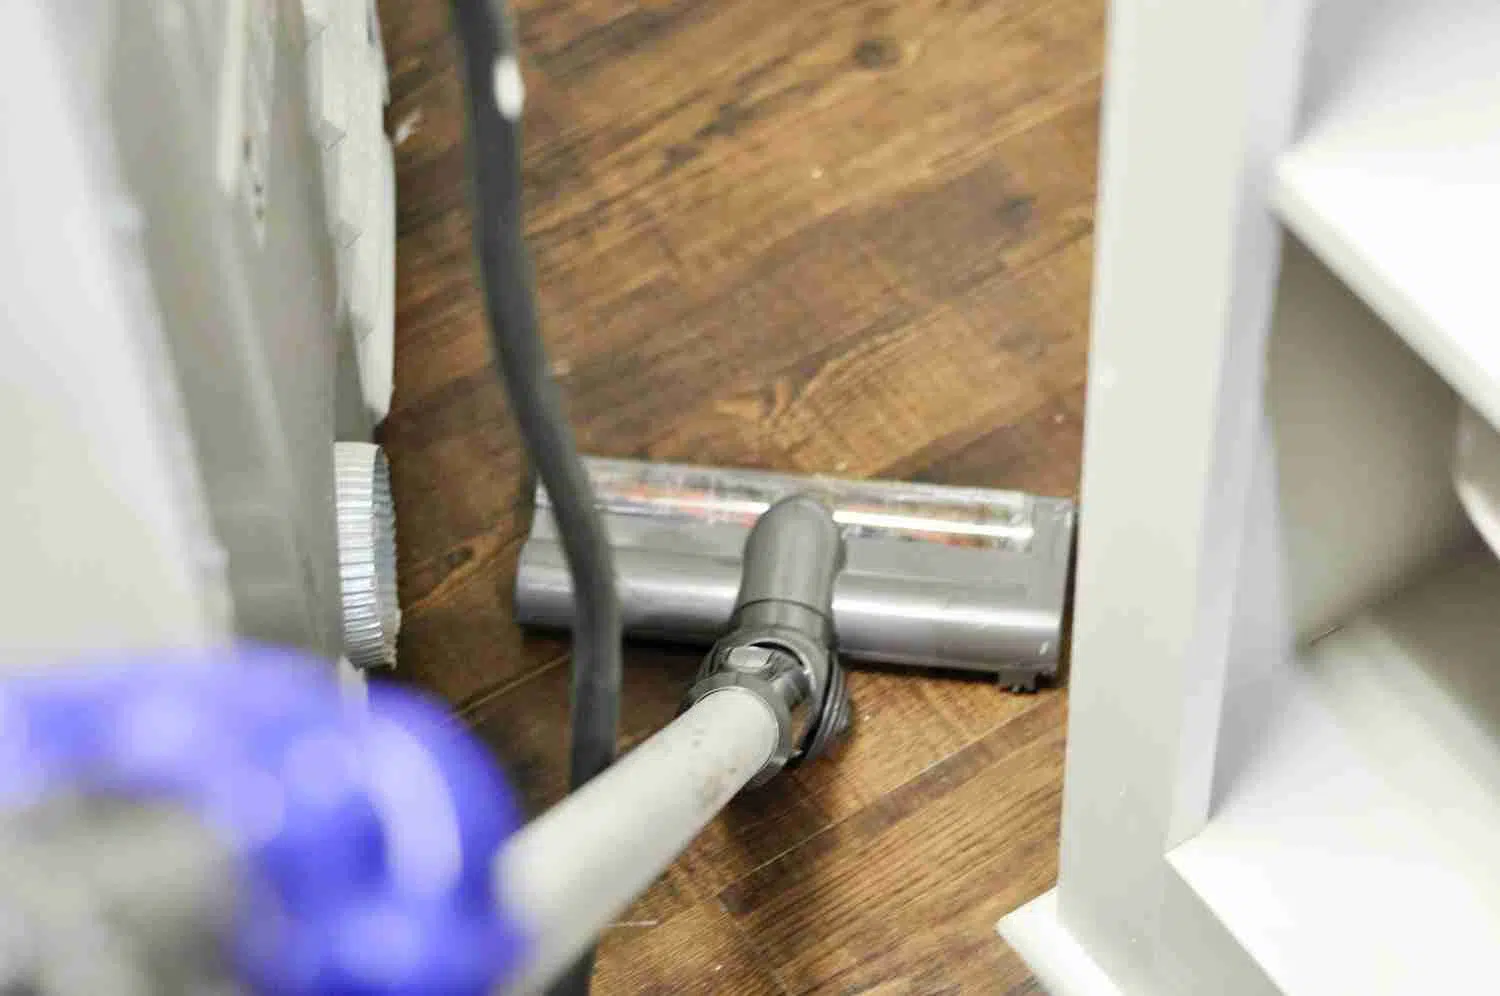
Step 4: Clean out the vent duct.
Next, you'll need to pull the dryer out and unplug it (important).
This is what I found - yikes! Not only is it messy, but this debris can become a fire hazard without proper cleaning.
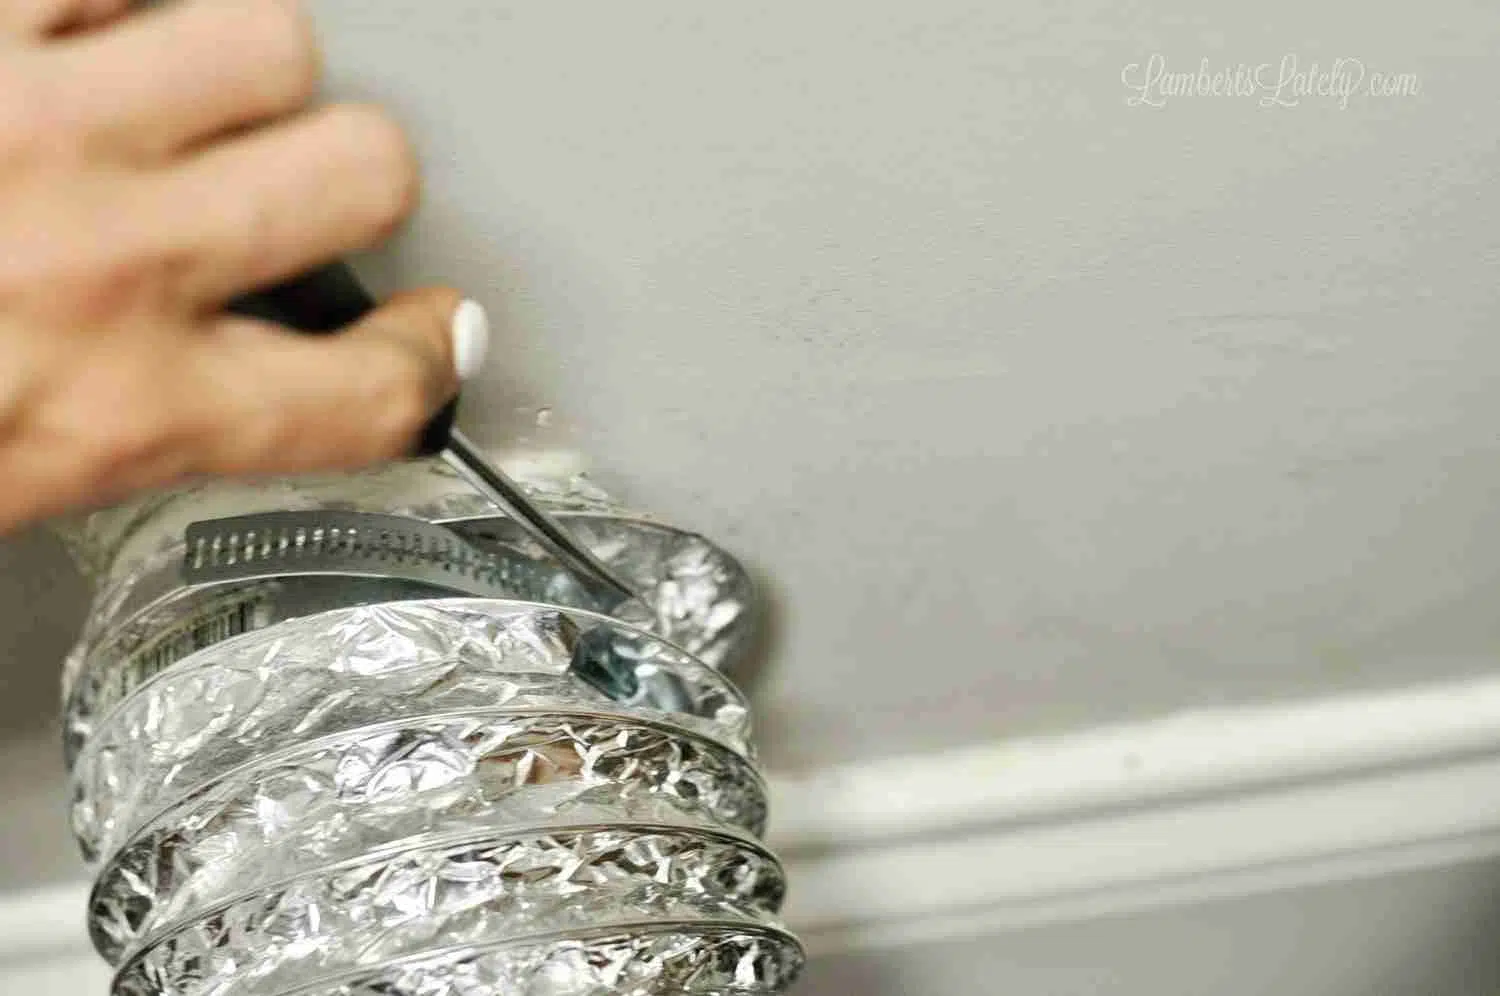
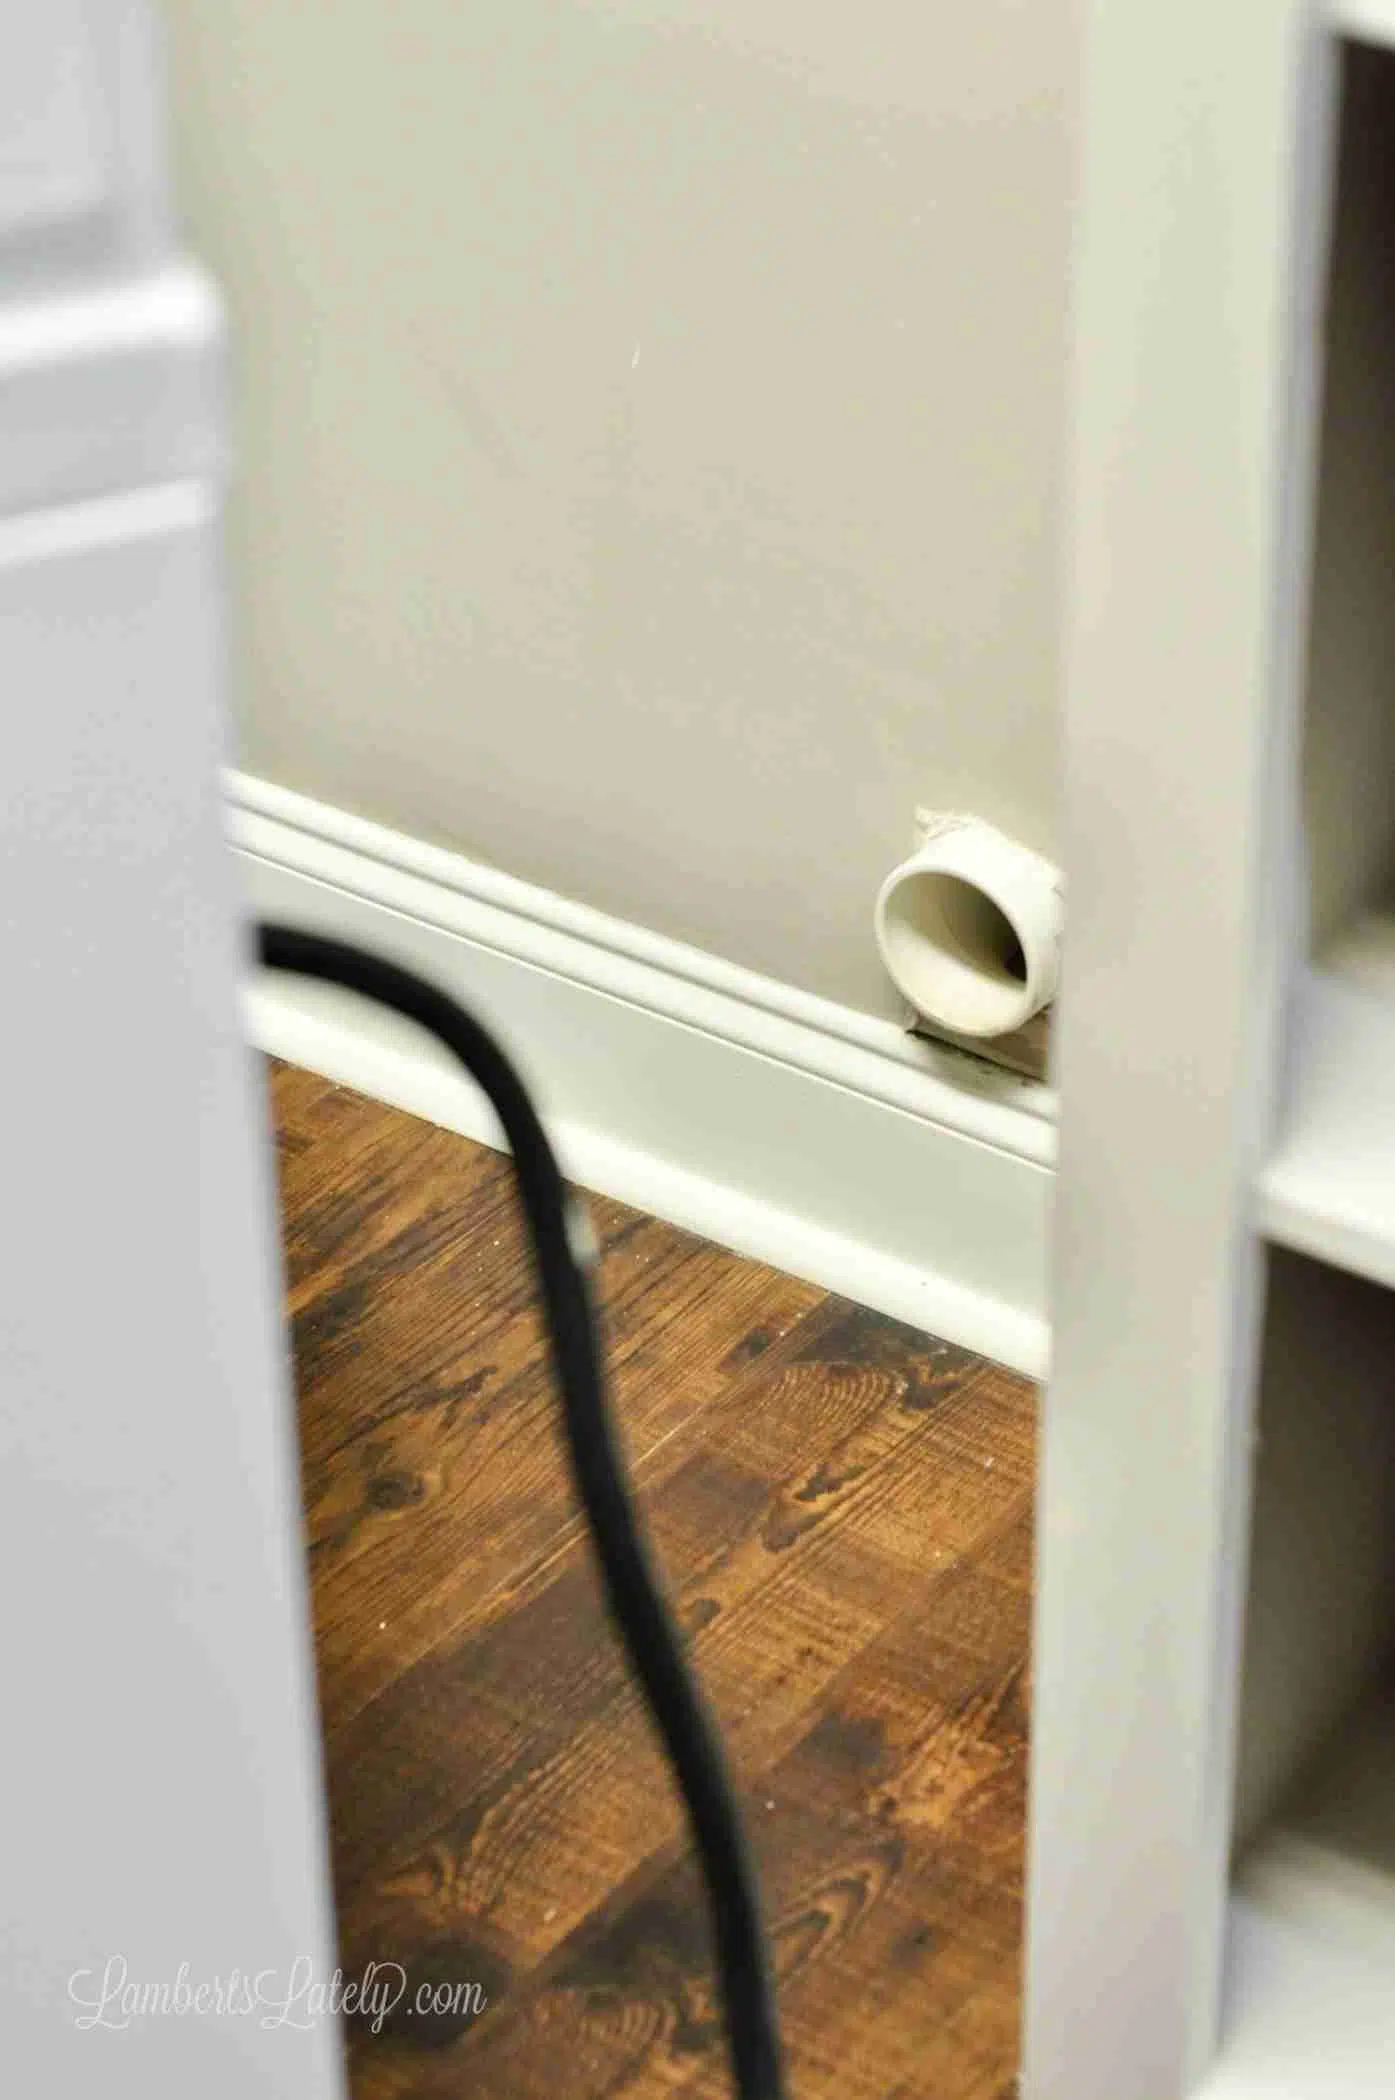
Use a flathead screwdriver to gently unscrew the vent clamps from the wall and the dryer.
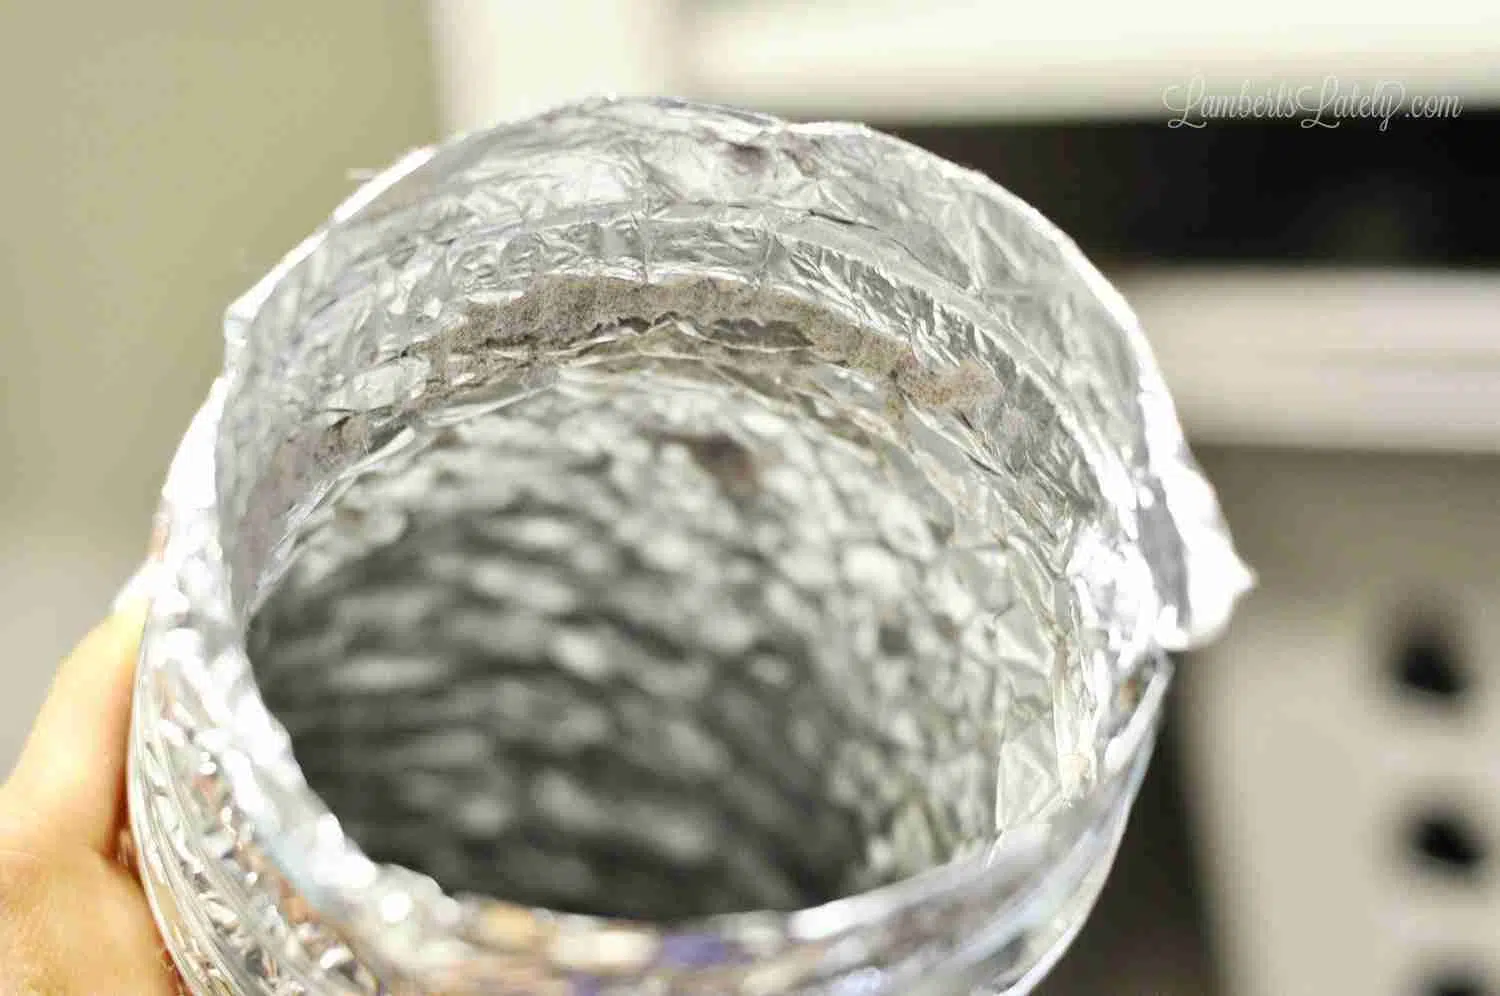
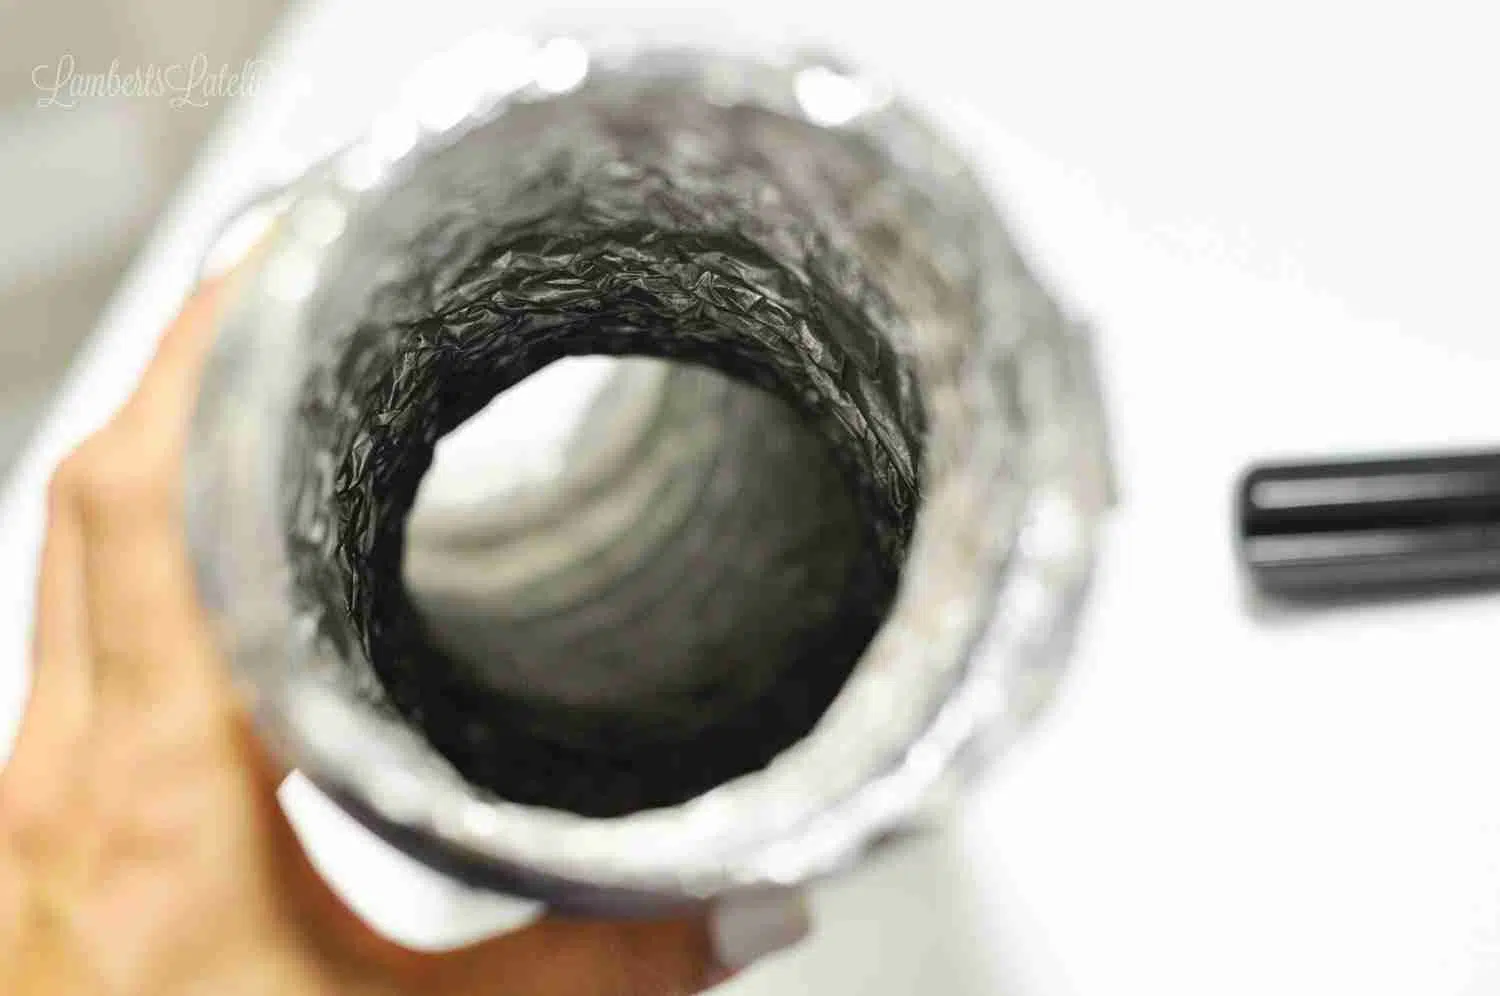
There was a lot of lint build-up in ours, but just dumping it in the trash got most of the build-up out.
Step 5: Clean any lint off of the back of the dryer.
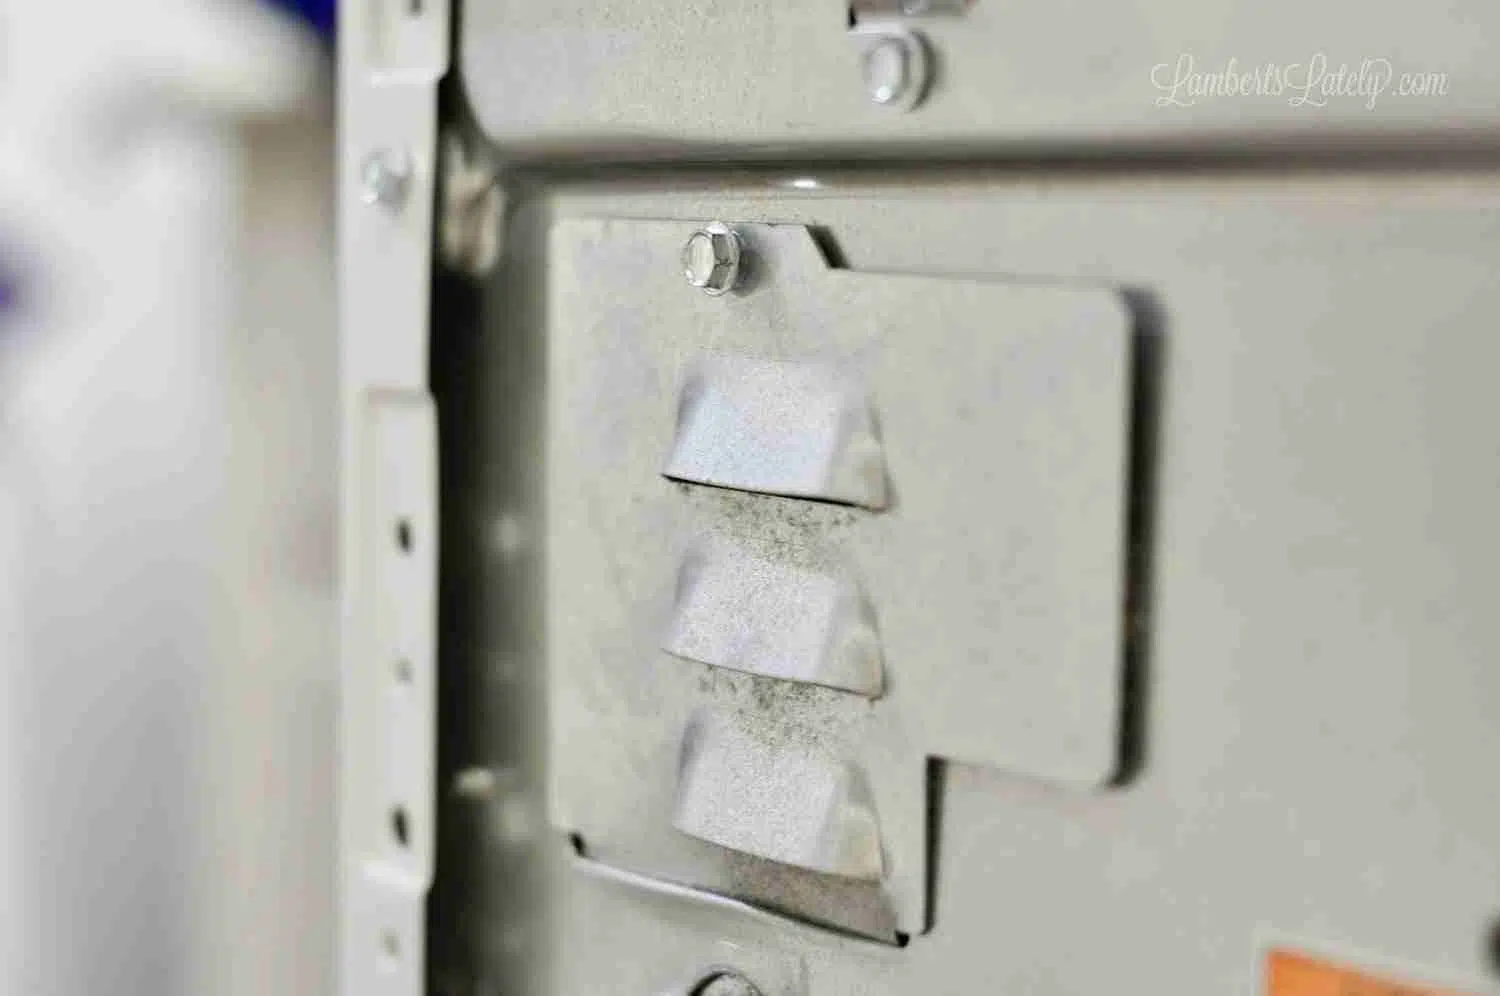
Then, I gave the back of the dryer a good wipe-down.
I've read that some people take the entire back off of their dryer - I attempted this, but there were a ton of screws. I figured that if the good people at Speed Queen thought that was necessary, they would have made the process a little easier. 🙂
I didn't want to break my dryer, so I skipped it. However, it might be worth checking into - if there are just a couple of screws holding the back of your dryer on, I've read that lint can build up in the back too.
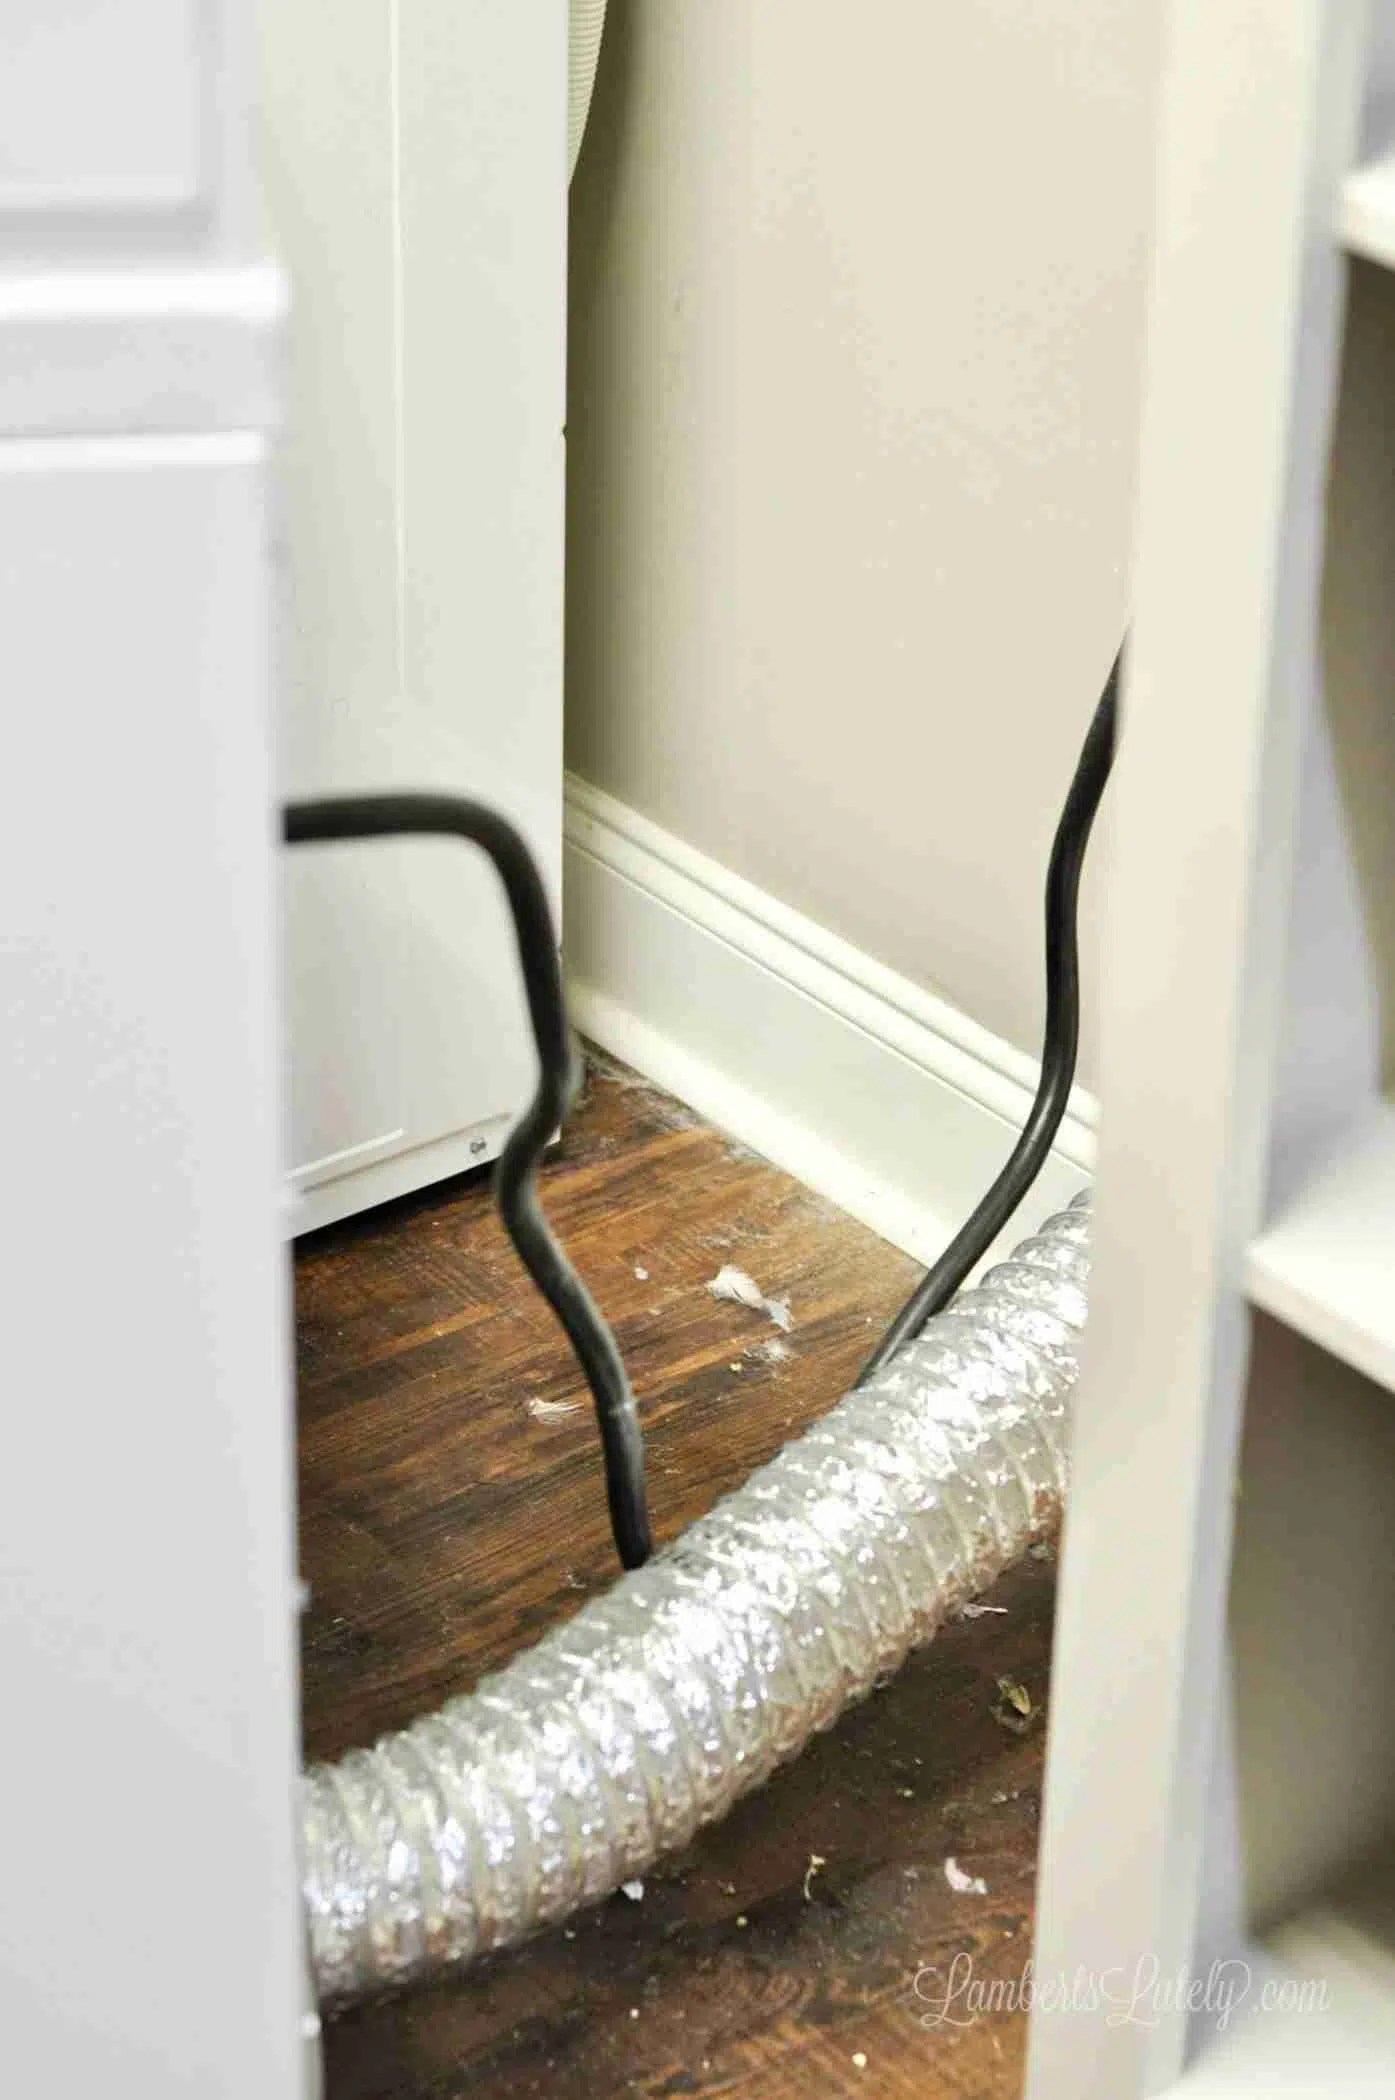
Step 6: Clean the area around the dryer.
Finally, do a good vacuum of the floor and wipe the baseboards/walls before replacing the tubing, plugging the dryer back in, and sliding it back into place.
And with those simple steps, you have a well-maintained dryer!
I'm a big believer in protecting your investments, and appliances definitely fall into that category. This is great for dryers and can extend the life of your investment - do yourself and your dryer a favor and take the simple steps to maintain it every once in a while.
More Dryer Cleaning Tips
- I recommend doing this deep-cleaning process once or twice a year.
- Skip the fabric softener. Fabric softener and dryer sheets with lots of fragrance can cause a residue buildup in your dryer's drum. Instead, use something like a wool dryer ball to keep your clothing soft.
- Make sure to clean the lint trap each and every time you empty a load of clothing. Make it a habit!
- Only dry your clothing as long as is needed - longer cycles give build-up more time to stick to the walls of the dryer drum. Similarly, don't leave loads of clothing in the dryer for too long.


Leslie Lambert is a lifestyle writer and content creator specializing in home organization, family recipes, and intentional living. With 17 years of experience in blogging and digital storytelling, she helps busy women create calm, purposeful homes they love.


Oh my gosh! I did this and was grossed out by the amount of dirt and lint and dust contained in this area! It was super easy (I have the same model of Speed Queen as you....love it!) with just one screw coming off and a microfiber cloth and vacuum. It hadn't ever been done in the 7 years we've had our machine so it was well overdue and I know my machine is doing better since. In fact, the sensor hadn't been working very well (clothes were still a little damp after being placed on the very dry setting) and now is totally drying my clothes. THANK YOU! Love your site!!!
Lena
You are so welcome, Lena! Glad it helped.