

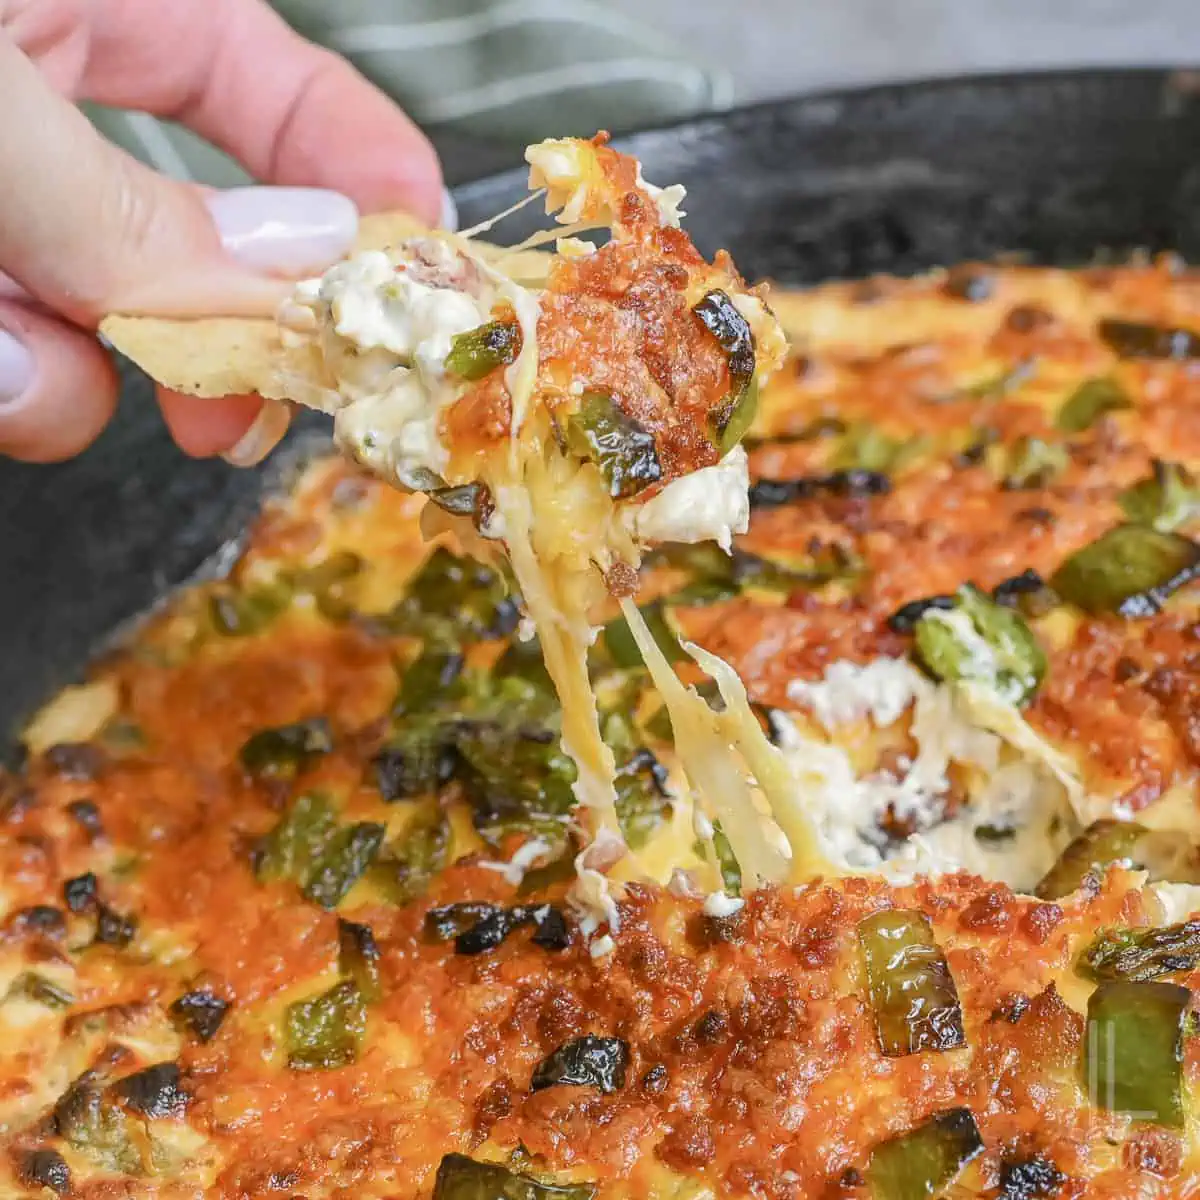
This skillet jalapeño popper dip has everything you want in a hot party appetizer: cream cheese, bacon, two kinds of shredded cheese, and plenty of spicy jalapeño flavor - all melted together and broiled right in the same skillet.
Paid links used in this post. Read more about my link usage policies.
Why You'll Love This Jalapeño Popper Dip

If you love a cheesy, creamy dip that's a little bit spicy (like my Buffalo Chicken Dip or the fan-favorite Crock Pot Rotel Dip), I think you're going to love today's Jalapeño Popper Dip recipe! It absolutely belongs on your game day spread this football season.
This is the kind of appetizer that looks and tastes like you put in more effort than you actually did. It's creamy, smoky, cheesy, and a little spicy, with fresh jalapeños on top so everyone knows exactly what they are getting.
Total Time: 15 minutes
One-skillet wonder
Spice Level: Medium (but adjustable)
Grab a skillet and let's get cooking!

Why Use Both Fresh and Canned Jalapeños?
Fresh and canned jalapeños bring two different kinds of flavor to the dip. The fresh jalapeños are sautéed in the skillet first. Cooking them for a few minutes softens them up and takes away some of that raw pepper bite.
Canned jalapeños are softer and tangier. They blend easily into the creamy base, so you get jalapeño flavor in every scoop instead of only in the bites that have a piece of fresh pepper.
Ingredient Notes
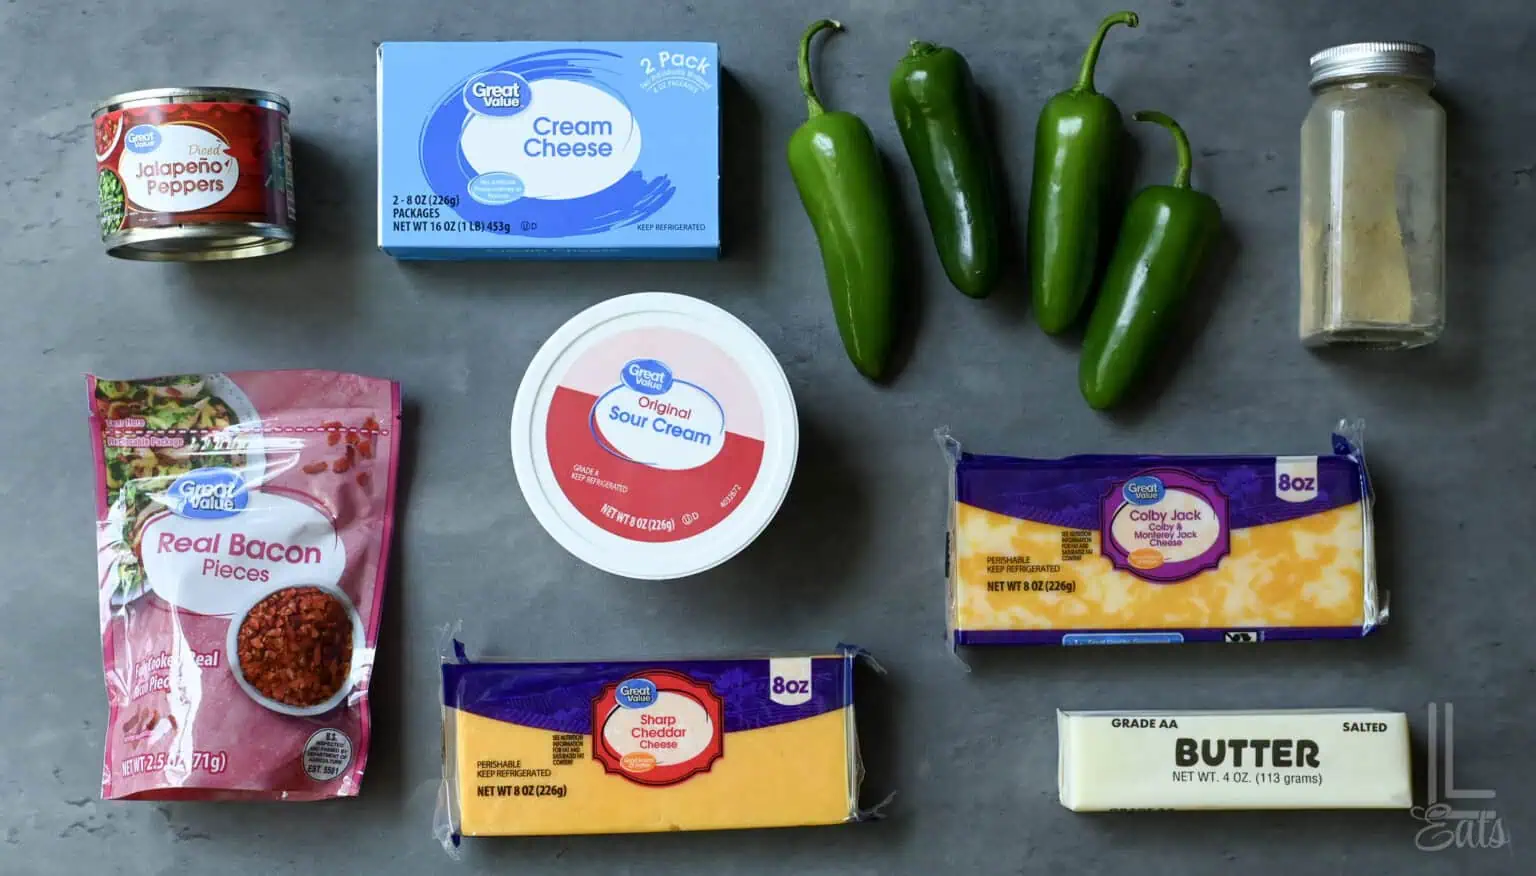
(See recipe card at the bottom of this post for exact ingredient measurements.)
- Fresh jalapeños: Use two jalapeños with the seeds and membranes removed. Finely chop them so they soften up quickly and spread evenly throughout the dip.
- Canned jalapeños: The canned variety adds extra spice and a little tang.
- Pre-cooked bacon: This is a great shortcut ingredient! These are bagged, cut pieces of bacon that give it that smoky flavor without the work. You can find this in the salad topper section, near the bacon bits (but make sure not to use bacon bits - you want real bacon pieces here!)
- Cream cheese: Softening the cream cheese first helps it melt more smoothly into the dip...just leave on the counter for about an hour before cooking. Feel free to use reduced-fat cream cheese - it works great!
- Sour cream: Sour cream thins the cream cheese some and gives the dip a smooth, scoopable texture. If you want to up the protein a little bit, use an equal amount of Greek yogurt instead.
- Colby Jack and cheddar: Colby Jack melts smoothly, while cheddar adds more of a flavor punch.
- Garlic powder: One teaspoon will season that creamy base without adding fresh garlic, which might burn under the broiler.
Additions & Substitutions
- Make it less spicy: Use two fresh jalapeños instead of four and use mild canned jalapeños.
- Make it hotter: Leave some of the inner membrane on those fresh peppers or add uncooked sliced jalapeños to the top.
- Use Pepper Jack: Replace the Colby Jack with pepper Jack for extra heat.
- Add green onions: Stir sliced green onions into the filling or sprinkle them over the finished dip for a little bit of fresh onion flavor.
- Add a crunchy topping: Sprinkle a little bit of buttered panko over the reserved cheese before you broil. The dip is already super flavorful without it, though!
- One note: I don't recommend adding salt or pepper before at least tasting the dip. The bacon, cheeses, and canned jalapeños add plenty of saltiness.
How to Make Jalapeño Popper Dip
- Preheat the broiler. Position an oven rack approximately 6 inches below the heating element.
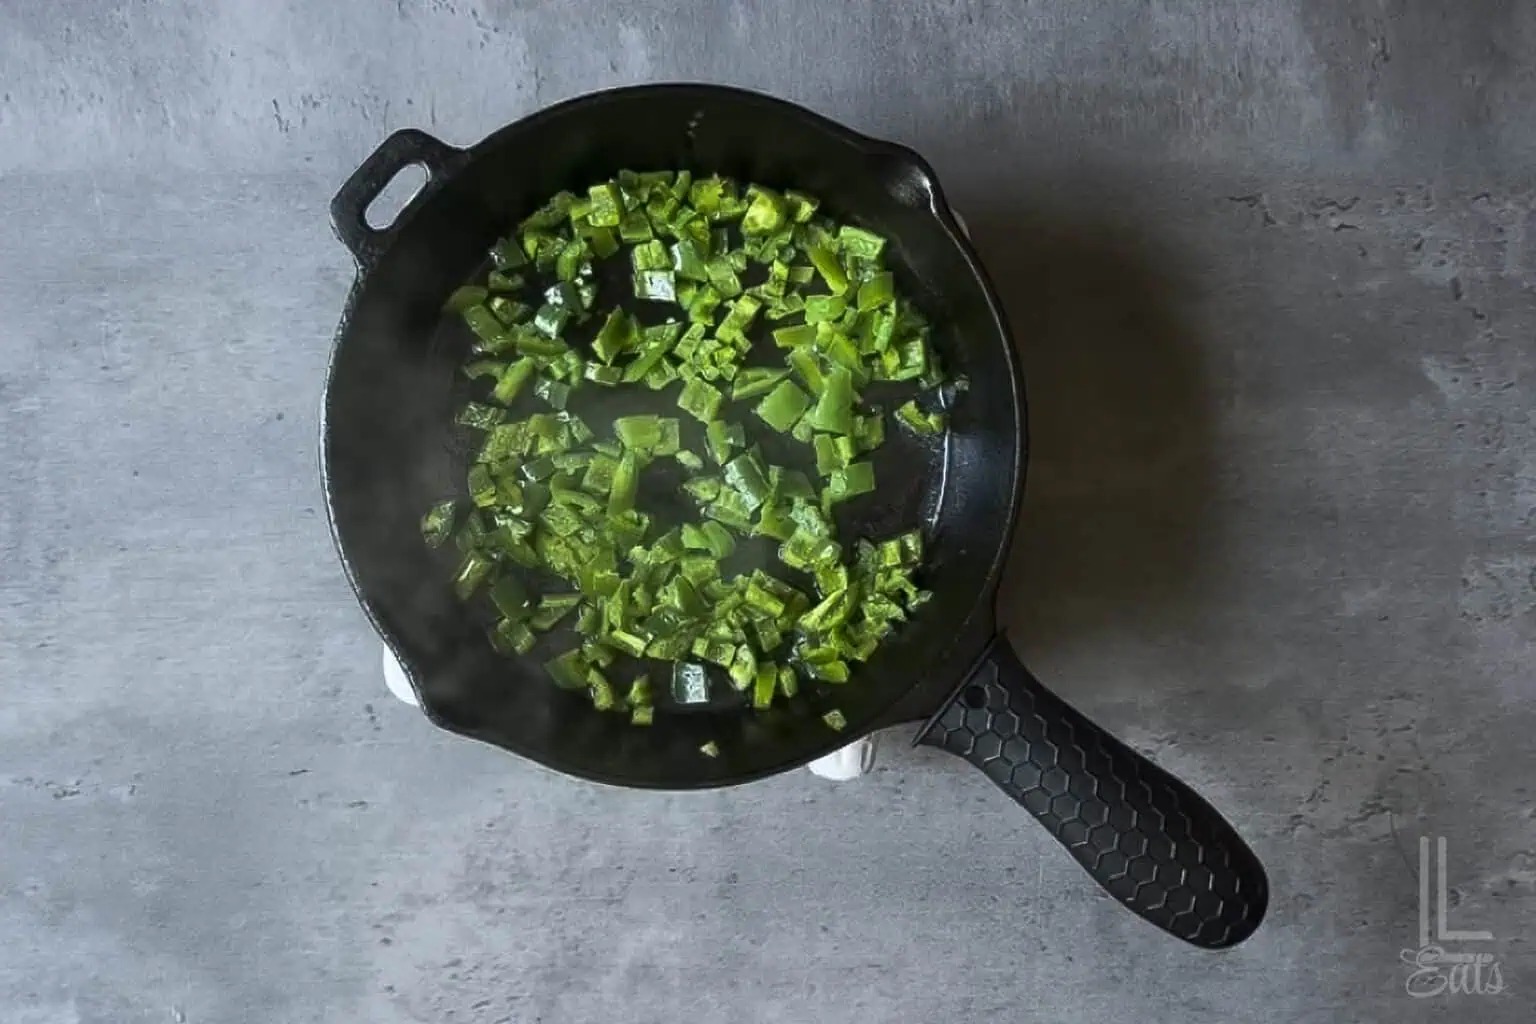
- Add butter or oil to the skillet; allow it to get hot. Add the chopped fresh jalapeños to a 10-inch broiler-safe skillet. Cook over medium heat for three to four minutes, stirring occasionally, until they're a little bit softened.
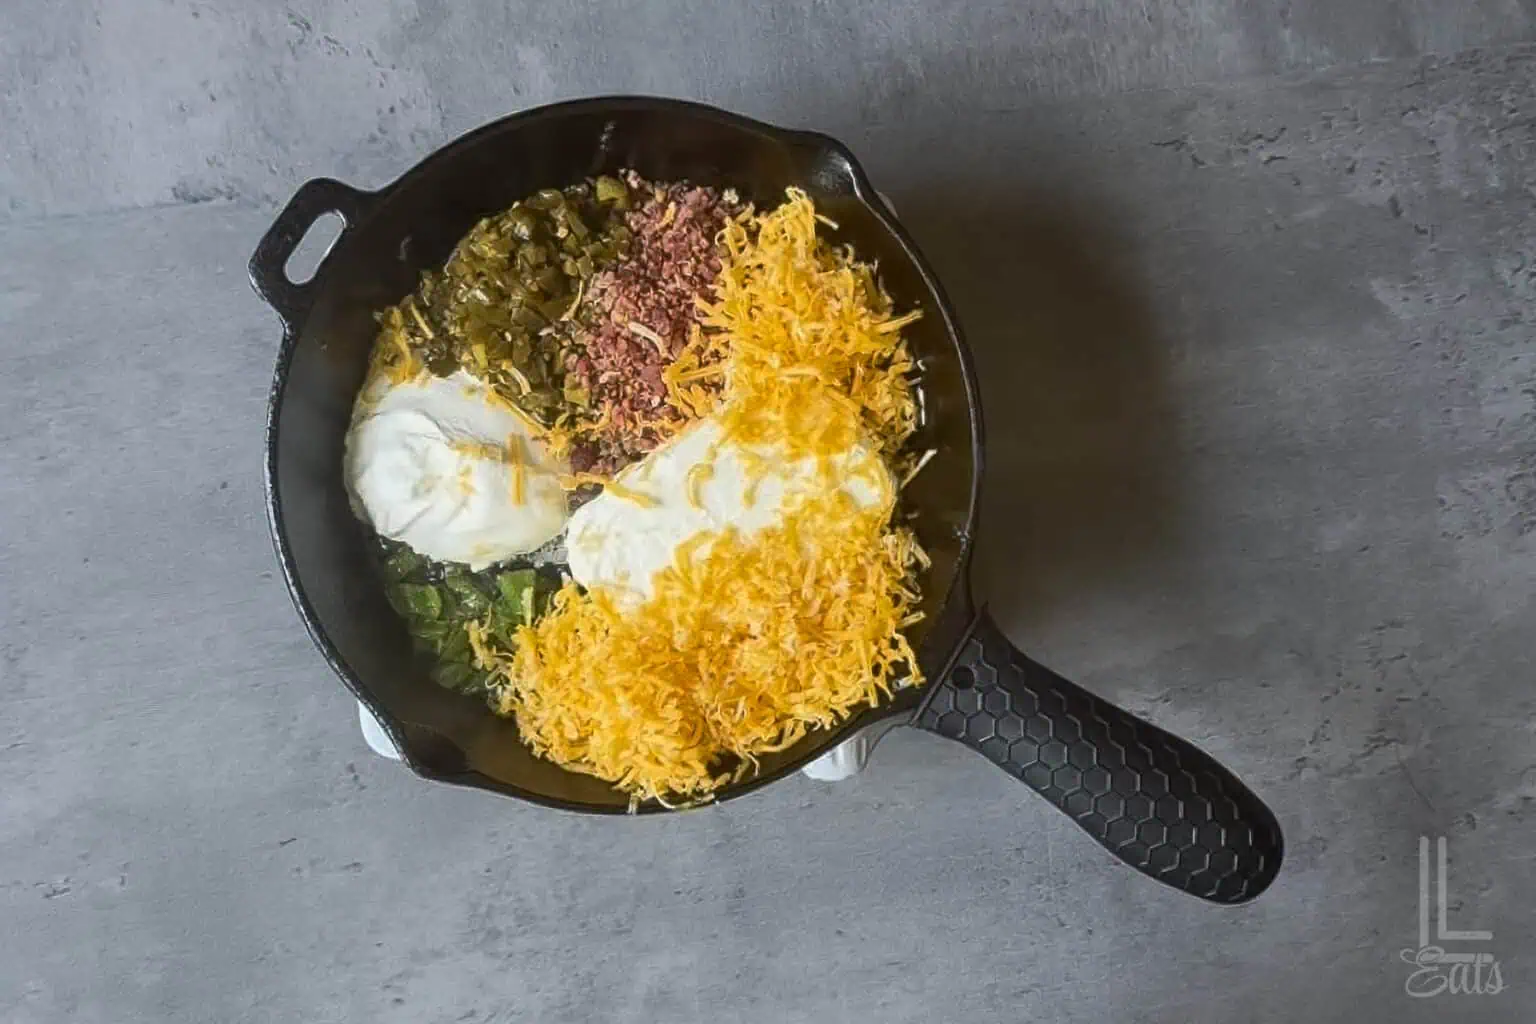
- Transfer half of the sautéed jalapeños to a small bowl and reserve them for the topping. You'll also need to reserve ¼ cup of the bacon. Combine the Colby Jack and cheddar, then reserve ½ cup of the combined shredded cheese for the topping.
- Reduce the heat beneath the skillet to low. Add the cream cheese, sour cream, and garlic powder. Stir until the cream cheese softens and the mixture is mostly smooth. Stir in the drained canned jalapeños, remaining bacon, and remaining shredded cheese. Continue stirring over low heat until the cheese has melted and the dip is hot and evenly combined. Do not boil.
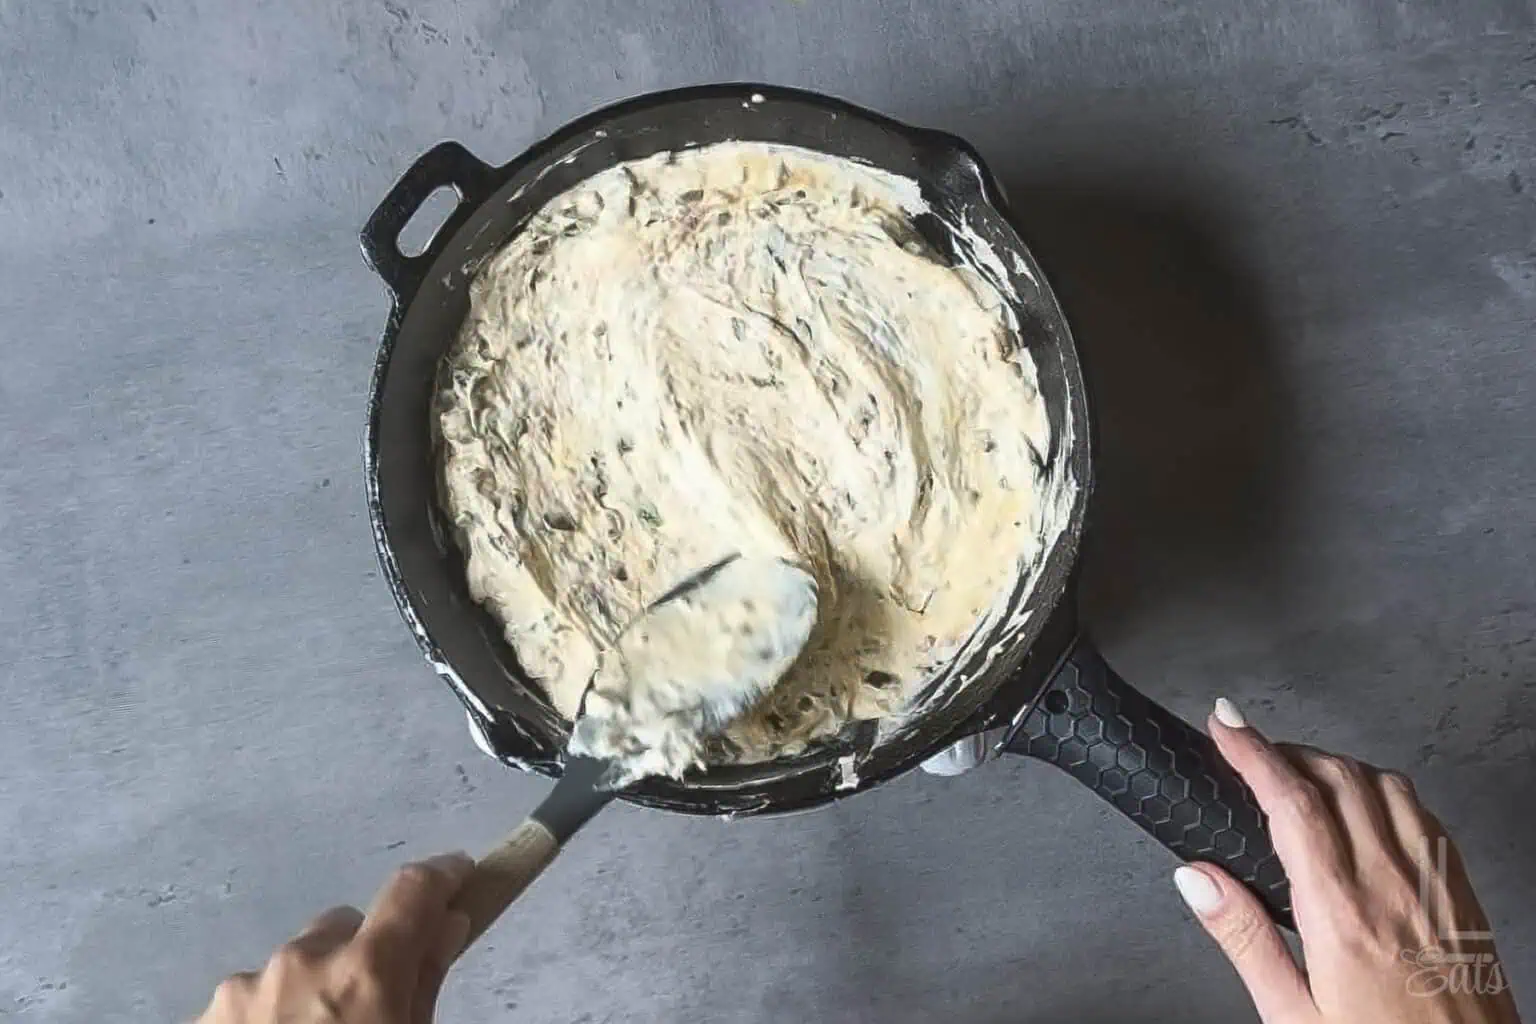
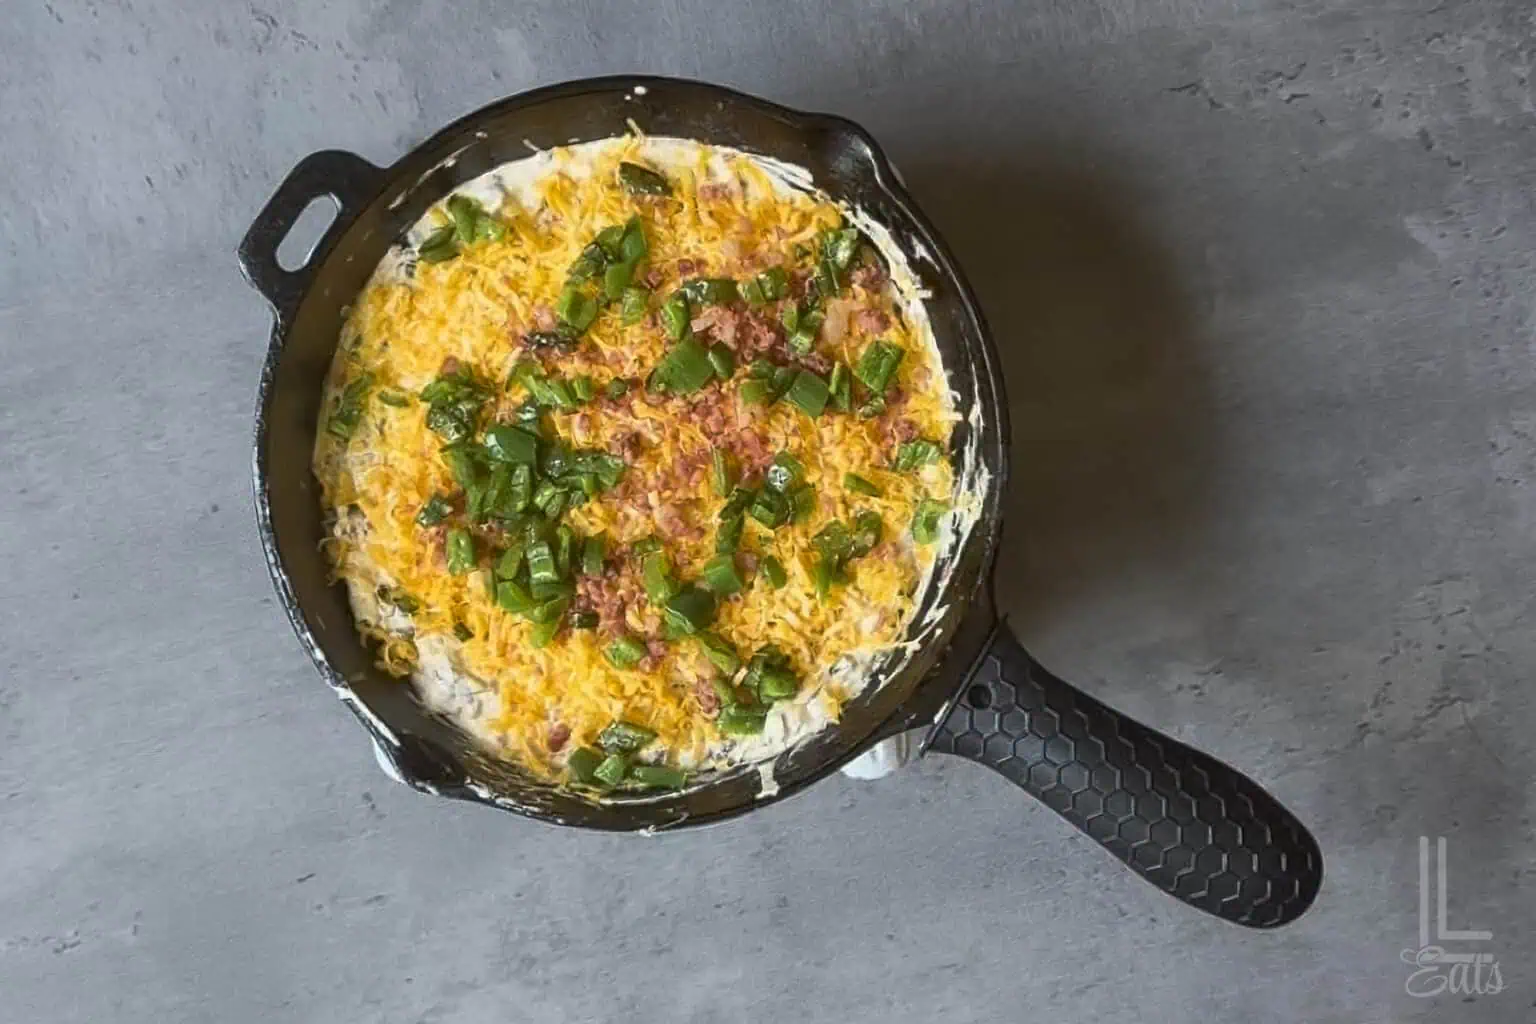
- Smooth the dip into an even layer. Top with the reserved ½ cup cheese, reserved ¼ cup bacon, and reserved sautéed jalapeños.
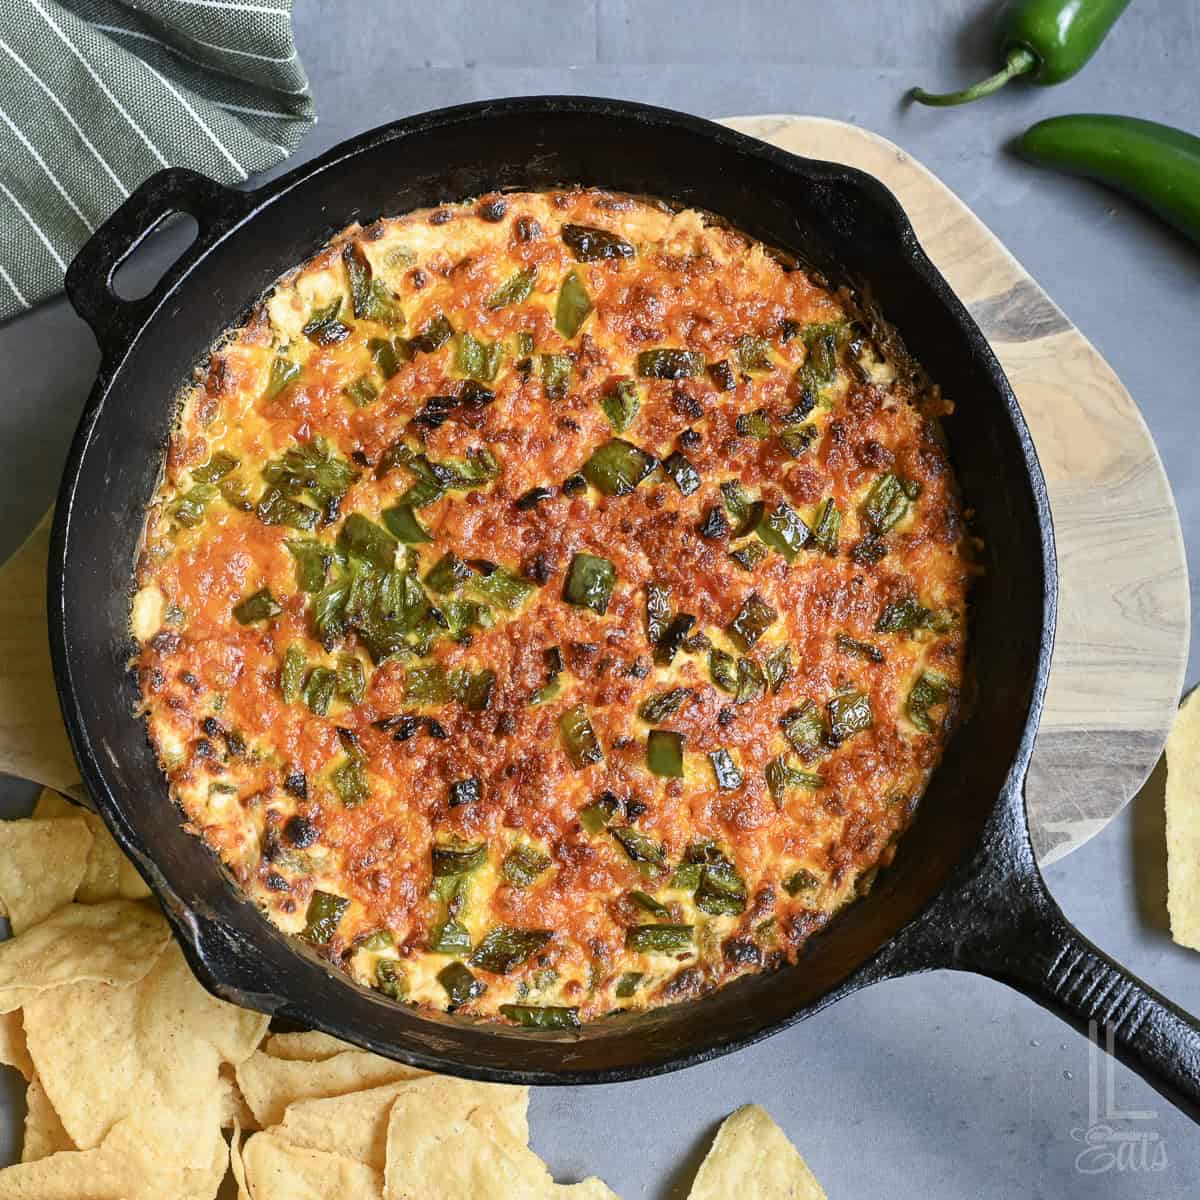
- Place the skillet under the broiler for four to six minutes, watching closely. Remove it when the cheese is melted, the edges are bubbling, and the top is just a little bit browned.
- Let the dip rest for five minutes before serving.
How Spicy Is This Dip?
With the seeds and membranes removed from the fresh jalapeños, this dip should fall somewhere around a medium heat.
The exact heat will depend on what peppers you use. Some jalapeños are pretty mild, while others can be surprisingly hot. If you want to reduce the heat a little bit, feel free to take out 1-2 of the fresh jalapeños!
Pepper Tip
Wear gloves while chopping jalapeños when possible. Avoid touching your eyes or face. (You'll regret it, I promise!)
What to Serve With Jalapeño Popper Dip
Tortilla chips are the go-to choice for a dipper, but they aren't the only option!
Try serving your dip with:
- Corn chips
- Ritz crackers
- Pretzel crisps
- Toasted baguette slices
- Crostini
- Celery sticks
- Carrot sticks
- Cucumber slices
- Mini sweet peppers
Make sure to use thicker chips and crackers that can handle a thick, cheesy dip without breaking.
Can I Make It Ahead Of Time?
You can make most of this dip ahead of time, but the one-pan method works best when it's done right before serving. Sauté the jalapeños, reserve the topping portions, and mix the filling in the skillet. Let it cool, cover the skillet, and refrigerate it.
Keep the reserved cheese, bacon, and jalapeños in separate covered containers. When you are ready to serve, warm the filling slowly on the stovetop until it is hot. Add the reserved toppings, then broil.
How to Store Leftovers
Storage: Let the dip cool, then transfer it to a covered, airtight container or cover the skillet tightly. Enjoy your leftovers from this one within 3-4 days.
Reheating: For a small serving, microwave the dip in 30-second intervals until hot, stirring in between each interval. For a larger amount, warm it in an oven-safe dish at 350°F until it's heated through. You can add a little sprinkle of fresh shredded cheese before reheating if the top is looking dry.
If the dip thickens up when it's refrigerated, stir in a spoonful of sour cream or milk.
Freezing: I wouldn't freeze this one. Cream cheese and sour cream can become grainy or release water after freezing/thawing. The flavor may still be fine, but the texture will be a little off, not as smooth as when it was freshly made.
Leslie's Helpful Tips & Tricks
- Soften the cream cheese: Cold cream cheese takes longer to melt and can make your filling lumpy. Let it sit at room temperature before you begin, or cut it into small cubes so it softens more quickly in the skillet.
- Keep the heat low: Once the peppers are good and sautéed, turn the burner to low. The goal is to melt and combine the filling, not boil it.
- Reserve the toppings first: Measure out the ¼ cup bacon and ½ cup cheese before adding the remaining ingredients to the skillet; set them aside. This makes the recipe easier and makes sure you have plenty of cheese and bacon left for the top.
- Watch the broiler closely: Do not walk away once the skillet goes under the broiler. The top may brown in two minutes in one oven and take closer to four in another.
- Remember that the skillet handle will be extremely hot. Keep an oven mitt or heatproof handle cover over it while serving so no one grabs it by accident.
FAQs & Troubleshooting
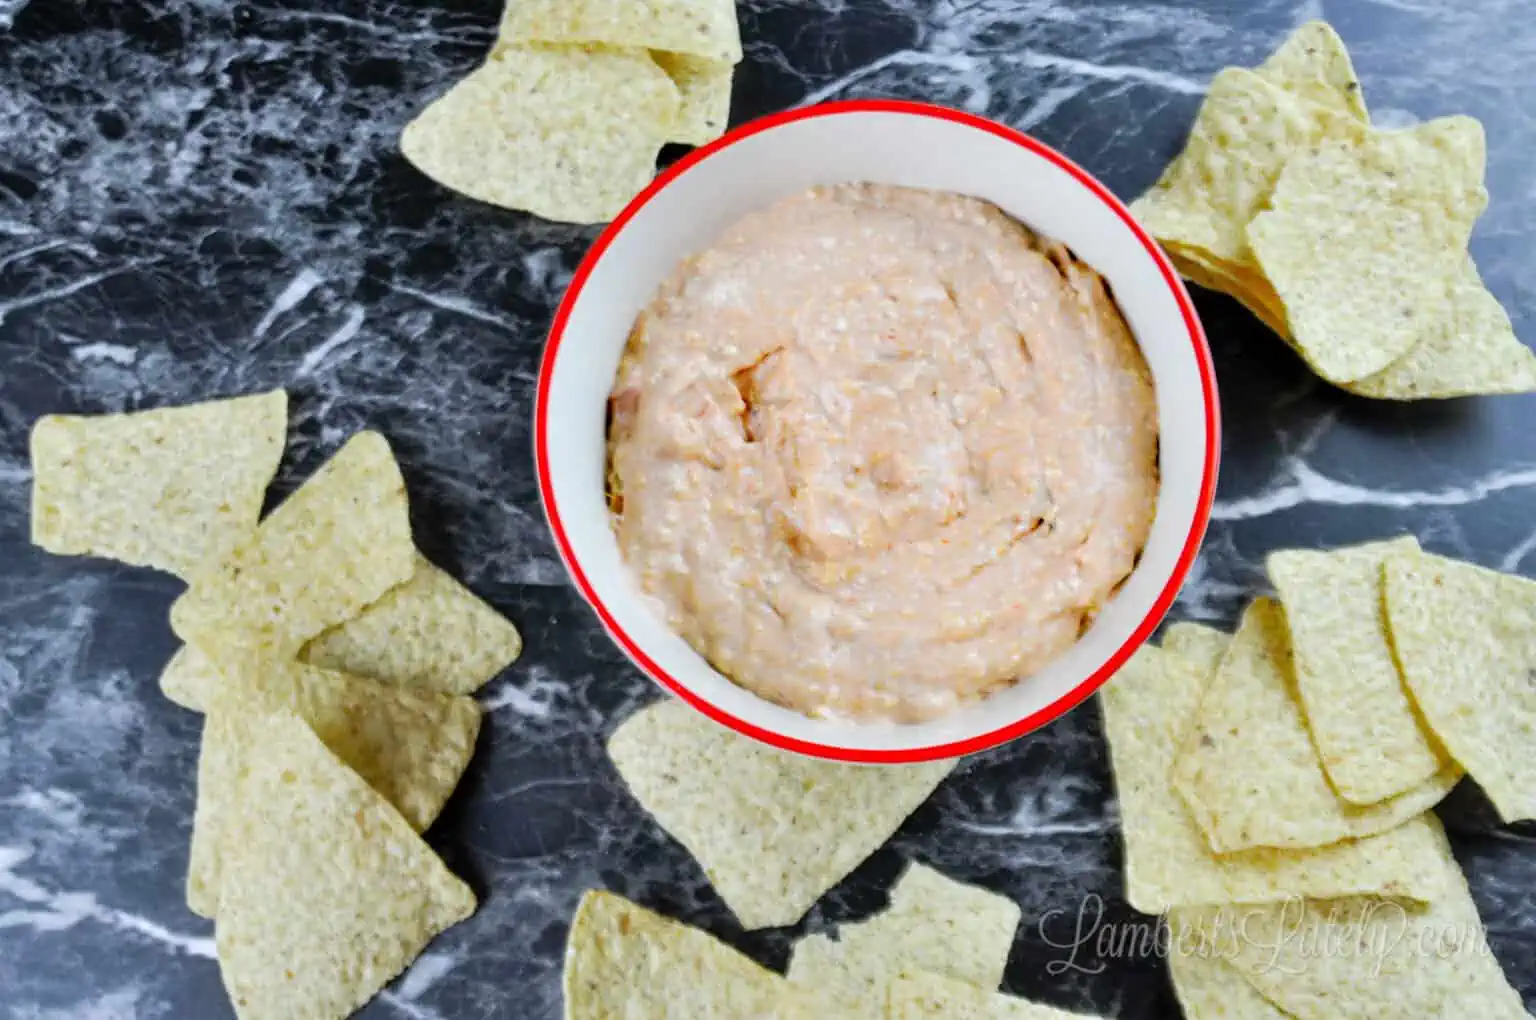
More Cream Cheese Dips
I hope you love this easy skillet dip! If you give it a try, I'd love for you to rate it in the comments below. And don't forget to add Lamberts Lately as a preferred source on Google to see more of my recipes in search!

Jalapeño Popper Dip
Ingredients
- 1 tablespoon butter
- 4 fresh jalapeños (seeds removed and finely chopped)
- 4 oz canned diced jalapeños
- 8 oz cream cheese (softened to room temperature)
- ½ cup sour cream
- 1 teaspoon garlic powder
- 2.5 oz bagged real bacon pieces
- 4 oz shredded Colby Jack cheese
- 4 oz shredded cheddar cheese
Instructions
- Preheat the broiler and position an oven rack about 6 inches below the heating element.
- Add the butter to a 10-inch broiler-safe skillet. Once warm, add the chopped fresh jalapeños. Sauté over medium heat for 3 to 4 minutes, until slightly softened. Transfer half of the jalapeños to a small bowl for topping.
- Reserve ¼ cup of the bacon and ½ cup of the combined Colby Jack and cheddar for topping.
- Reduce the heat to low. Add the cream cheese, sour cream, garlic powder, drained canned jalapeños, remaining bacon, and remaining shredded cheese to the skillet.
- Stir until the cream cheese and shredded cheese are melted and the dip is smooth and hot. Do not let it boil.
- Smooth the dip into an even layer. Top with the reserved cheese, bacon, and sautéed jalapeños.
- Broil for 4 to 6 minutes, watching closely, until the cheese is melted and browned in spots.
- Let the dip rest for about 5 minutes before serving.
Notes
- Use a 10-inch broiler-safe skillet so the dip can go straight from the stovetop to the broiler.
- Soften the cream cheese for a smooth, creamy dip. About an hour out of the fridge works.
- Keep the heat low once the dairy is added. Boiling the dip can cause the cheese to separate and become oily.
- Broil for 2 to 4 minutes, watching closely, until the cheese is melted and lightly browned.
- Let the dip rest for 5 minutes before serving. Remember, the skillet handle will be super hot!
- Store leftovers in the refrigerator for 3 to 4 days; freezing is not recommended.
Nutrition Facts

Leslie Lambert is a lifestyle writer and content creator specializing in home organization, family recipes, and intentional living. With 17 years of experience in blogging and digital storytelling, she helps busy women create calm, purposeful homes they love.