
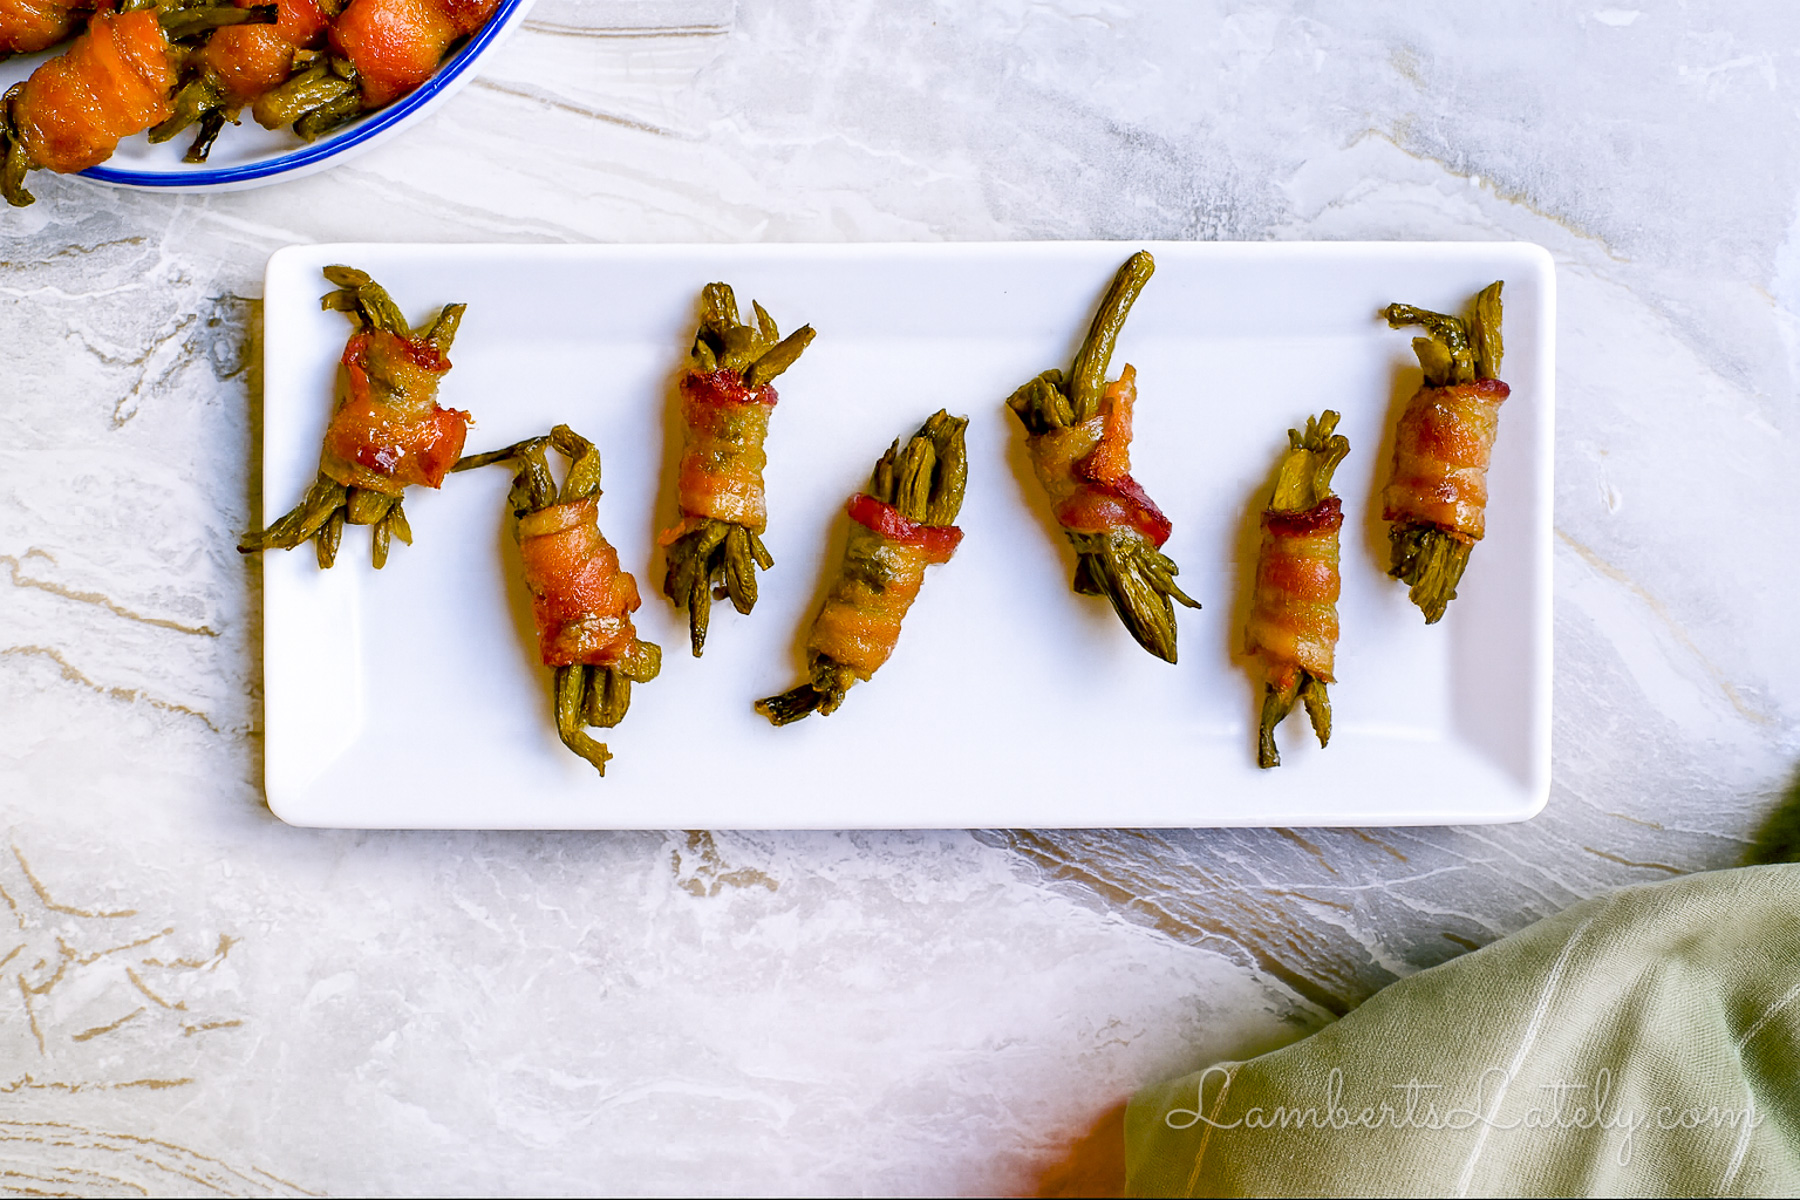
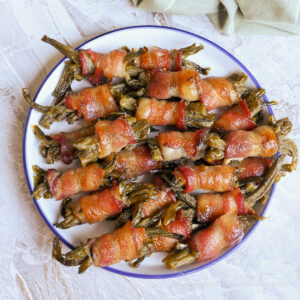
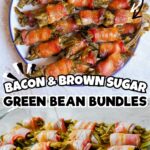
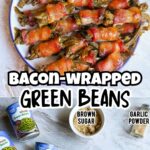
Green bean bundles wrapped in bacon with a brown sugar glaze - made easy with canned green beans. Sweet, smoky, perfectly bite-size, and make-ahead friendly.
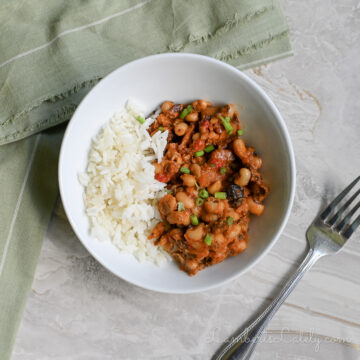
We all have that short list of recipes that never let us down - the ones that come in clutch for so many potlucks, holiday meals, and random Tuesday nights. Just like my easy slow cooker corn pudding and my canned yam casserole, these bacon green bean bundles with a sweet brown sugar glaze have earned a permanent spot on my list.
Why This Recipe Works
- Sweet, salty, and smoky flavor combo - brown sugar, butter, and bacon caramelize together for the perfect balance in every bite.
- Canned green beans keep it simple - already tender, bite-size, and perfectly shaped for easy rolling.
- Crispy bacon, glossy glaze - the butter-sugar mixture bakes into a golden, caramelized coating that makes these bundles irresistible.
- Flexible for any occasion - serve with toothpicks as an appetizer or as a side dish for family dinners and holidays.
- Make-ahead friendly - prep and refrigerate the bundles, then bake right before serving.
Ingredient Notes
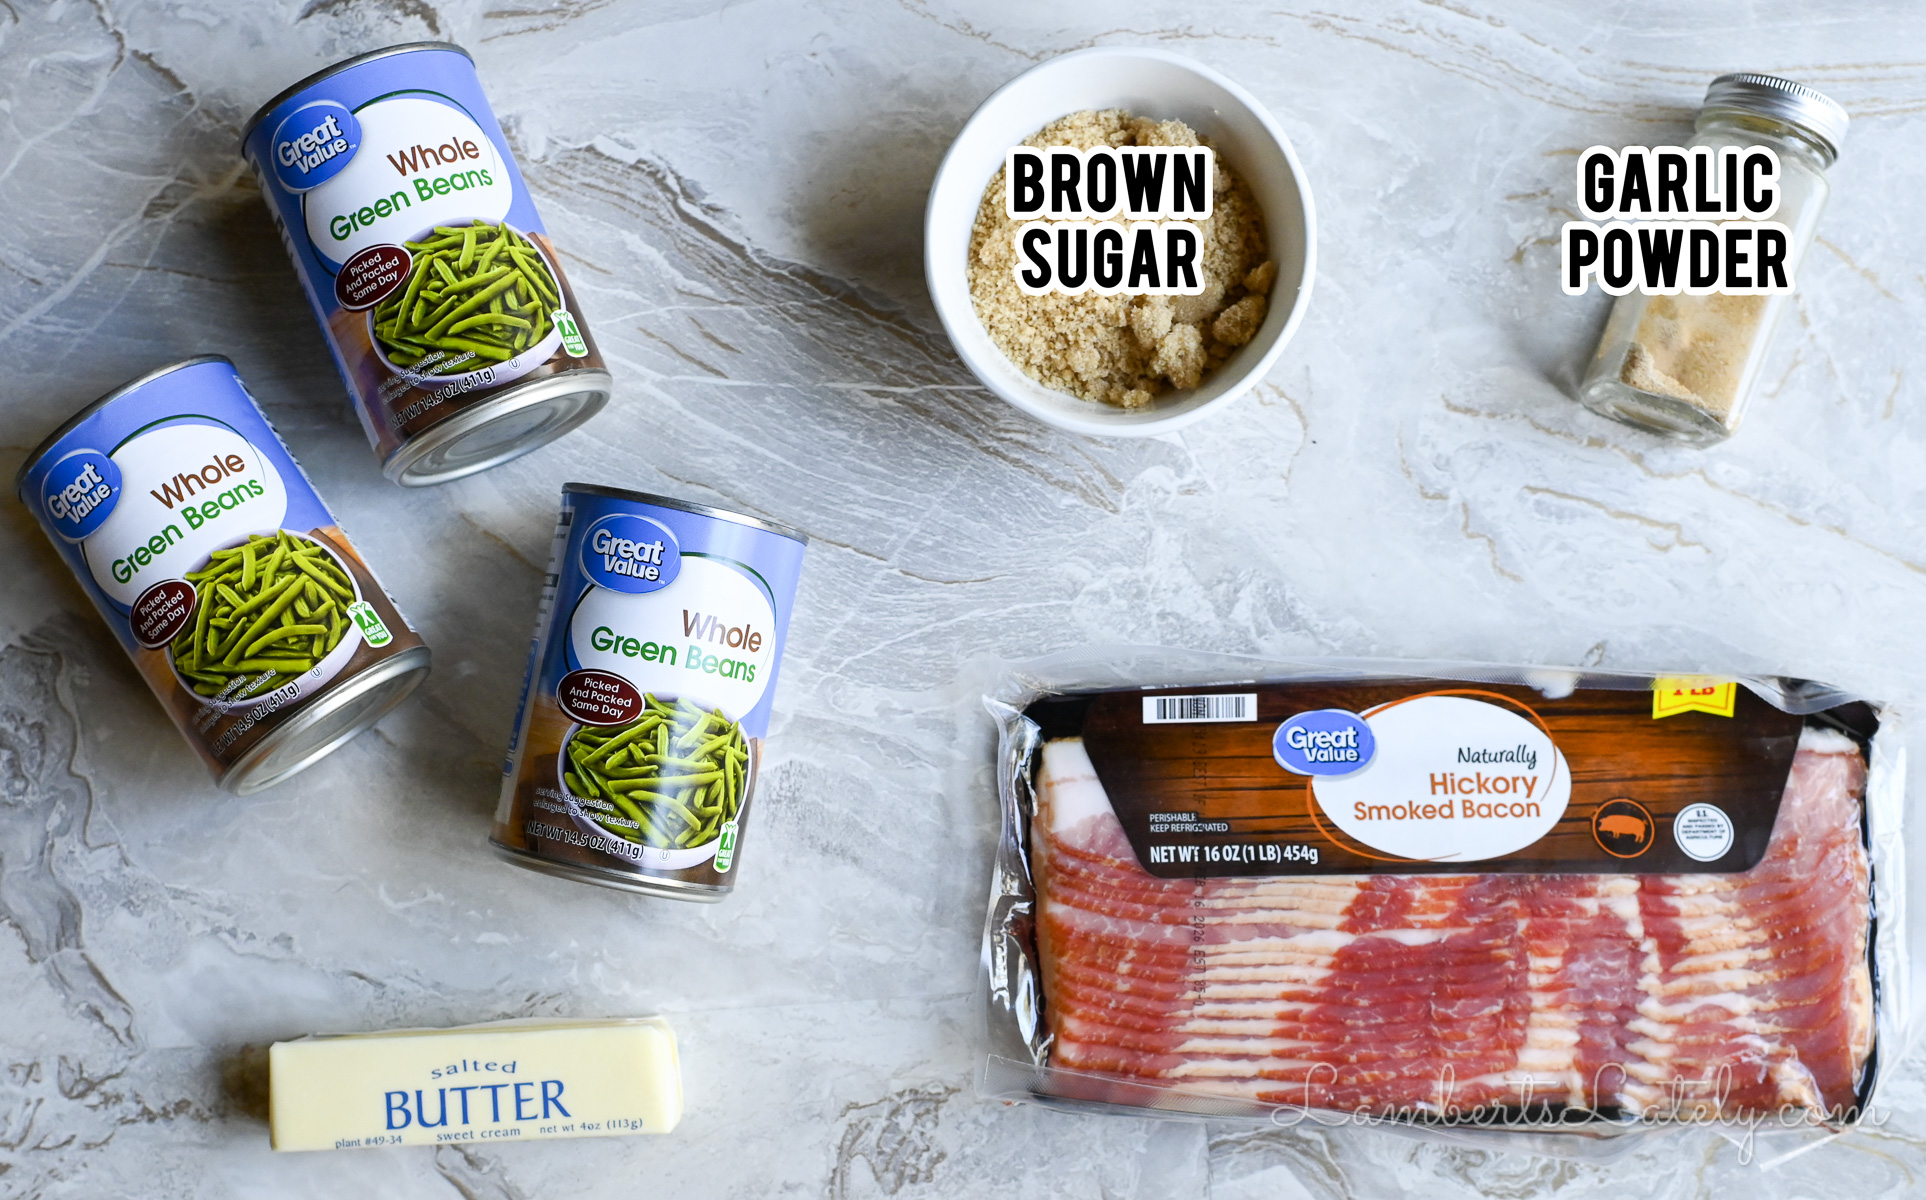
- 3 cans (14.5 oz each) whole green beans (drained) - I prefer whole beans for a prettier presentation, but you can use 3 cans cut green beans if you want smaller, bite-size bundles.
- 16 ounces bacon - Regular-cut bacon crisps up best. Thick-cut works in a pinch, but I like how the thinner bacon crisps up well around the bundles. If you use thick cut bacon, add 5-10 minutes to the cooking time.
- ⅔ cup brown sugar - Light or dark both work; dark brown sugar gives a deeper, richer caramel flavor. I prefer light brown because it's not too overpowering.
- 1 stick (½ cup) butter - Melted butter helps the brown sugar glaze coat evenly and bake into a super smooth finish.
- ½ teaspoon garlic powder - Adds a touch of savory balance to the sweet brown sugar glaze.
Why canned green beans?
I've made this recipe with both fresh and canned green beans, and over time, the canned version has completely won me over. I know that sounds strange, but the size and texture of canned green beans make these bundles the perfect bite-sized appetizer.
Since canned green beans are already cooked, you don't have to worry about underdone centers or overbaked bacon. They turn out tender every time, and the whole bundle stays easy to eat - no knife required.
You've got two good options: cut or whole canned green beans. Cut beans fit the bacon slices almost perfectly, creating compact, bite-size bundles that are great for parties or buffets. Whole green beans, on the other hand, make for a prettier presentation. The tips peek out from the bacon, giving them that restaurant-style look. It's a little more elegant on the plate, but either way is delicious (and won't taste very different).
Want to make this as more of a side dish? I have a deconstructed version with these Sweet Green Beans with Bacon!
Can I use fresh green beans?
Yes, you can definitely use fresh green beans, but the process is a little different.
If you're starting with fresh beans, blanch them first so they soften slightly before baking. Here's how...
- Trim the ends of the fresh green beans and bring a large pot of salted water to a boil.
- Blanch (boil in salted water) for 3-4 minutes until the beans are bright green but still crisp.
- Immediately transfer them to a bowl of ice water to stop the cooking, then pat dry before wrapping with bacon.
From there, follow the recipe as written. Fresh green beans look a little brighter and end up being a little firmer after baking, while canned beans are more tender and bite-size. Both work, it just depends on whether you want a softer, melt-in-your-mouth bundle (canned) or a crisper, more vibrant version (fresh).
How to Make Bacon-Wrapped Green Bean Bundles
- Drain and prep the green beans. Open all three cans of green beans and pour them into a large colander. Pat dry with paper towels. Excess liquid can make the glaze too thin, so give them a few minutes to dry while you prep the bacon.
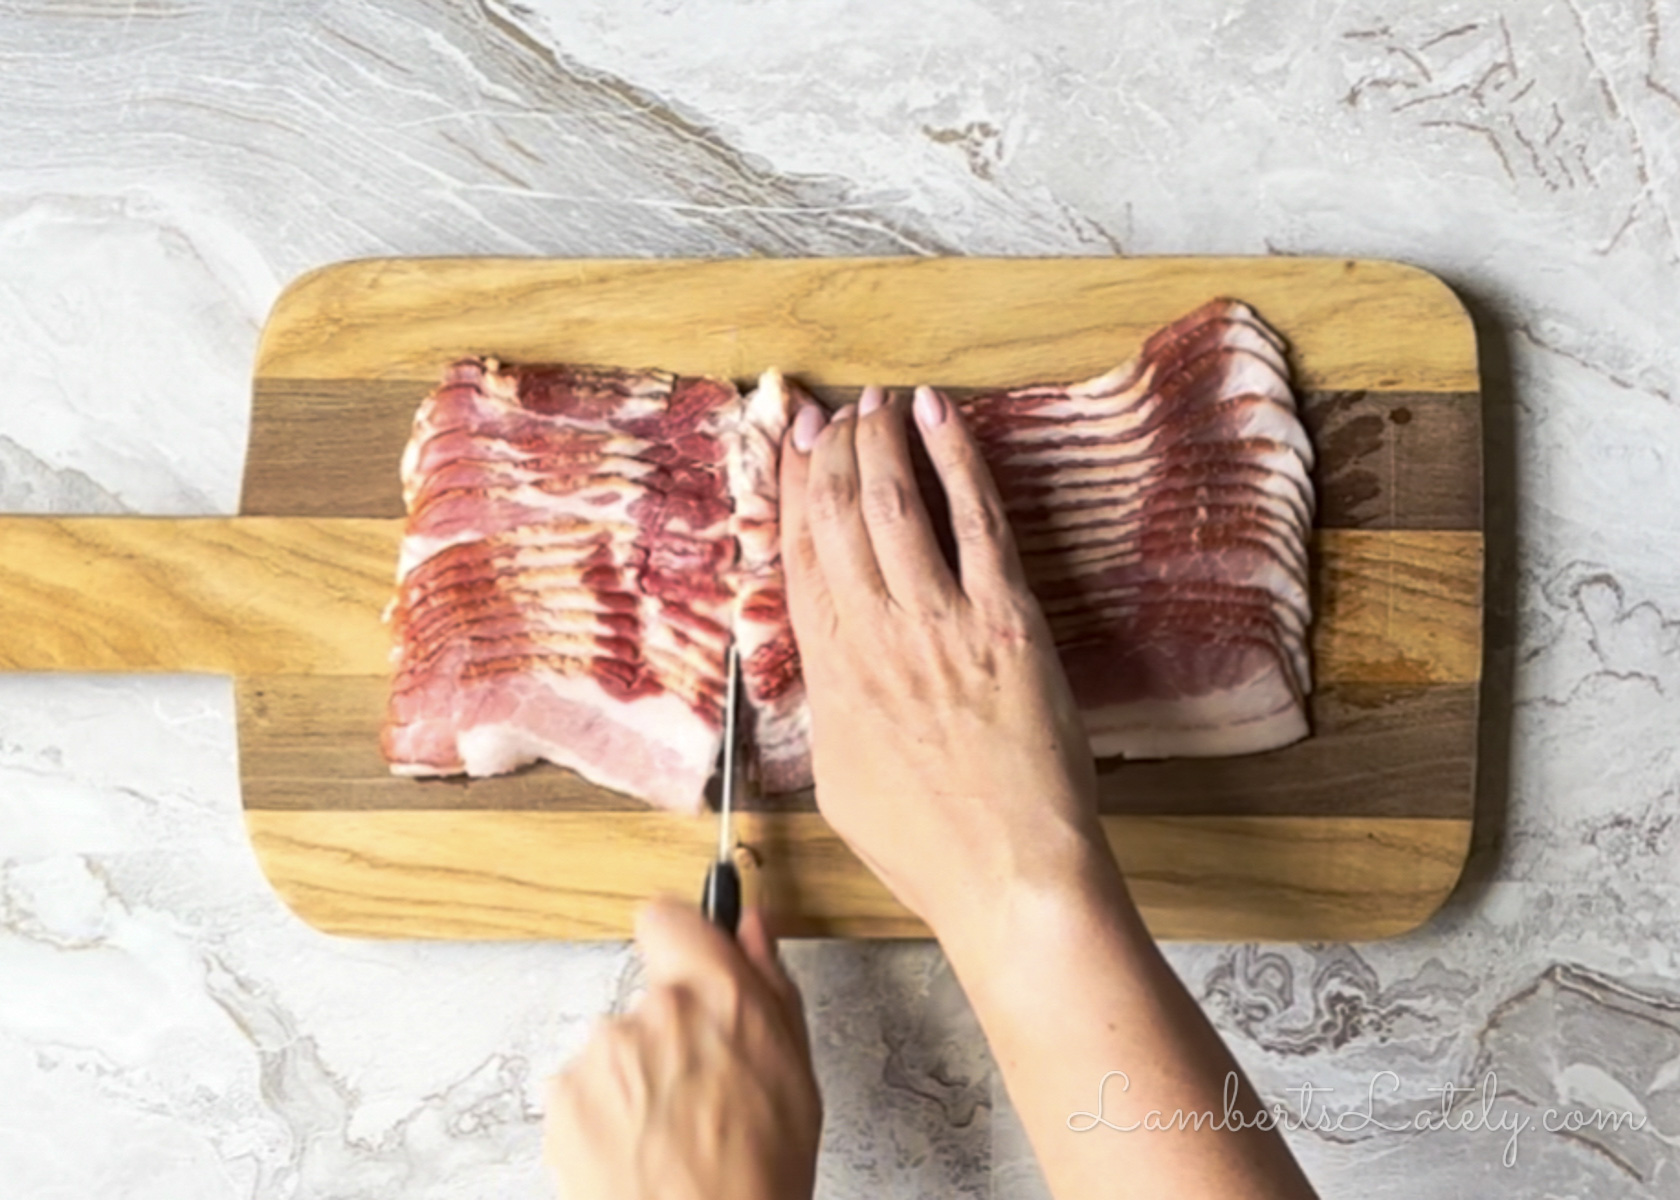
- Cut and prep the bacon. Use a sharp knife or kitchen shears to cut the bacon slices into thirds. Gently stretch each piece to make it a little longer and thinner - this helps it wrap around the beans more easily and crisp up evenly.
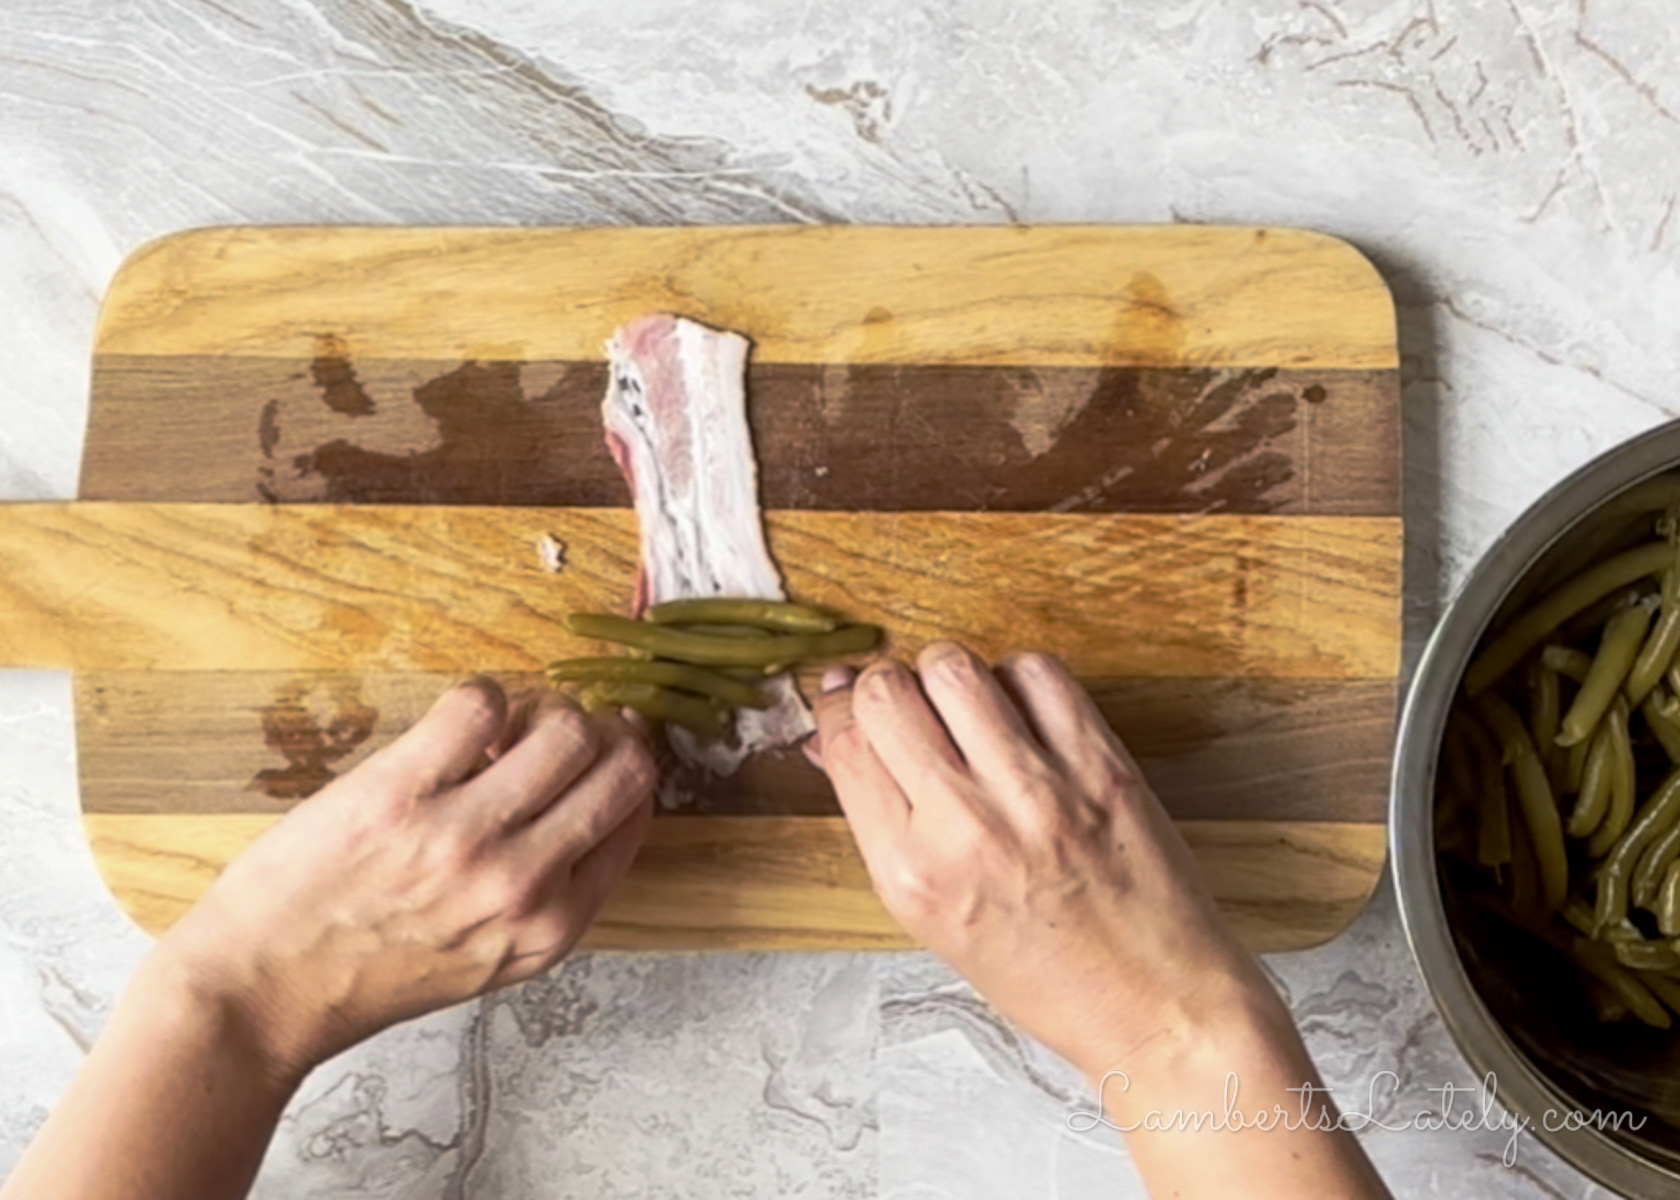
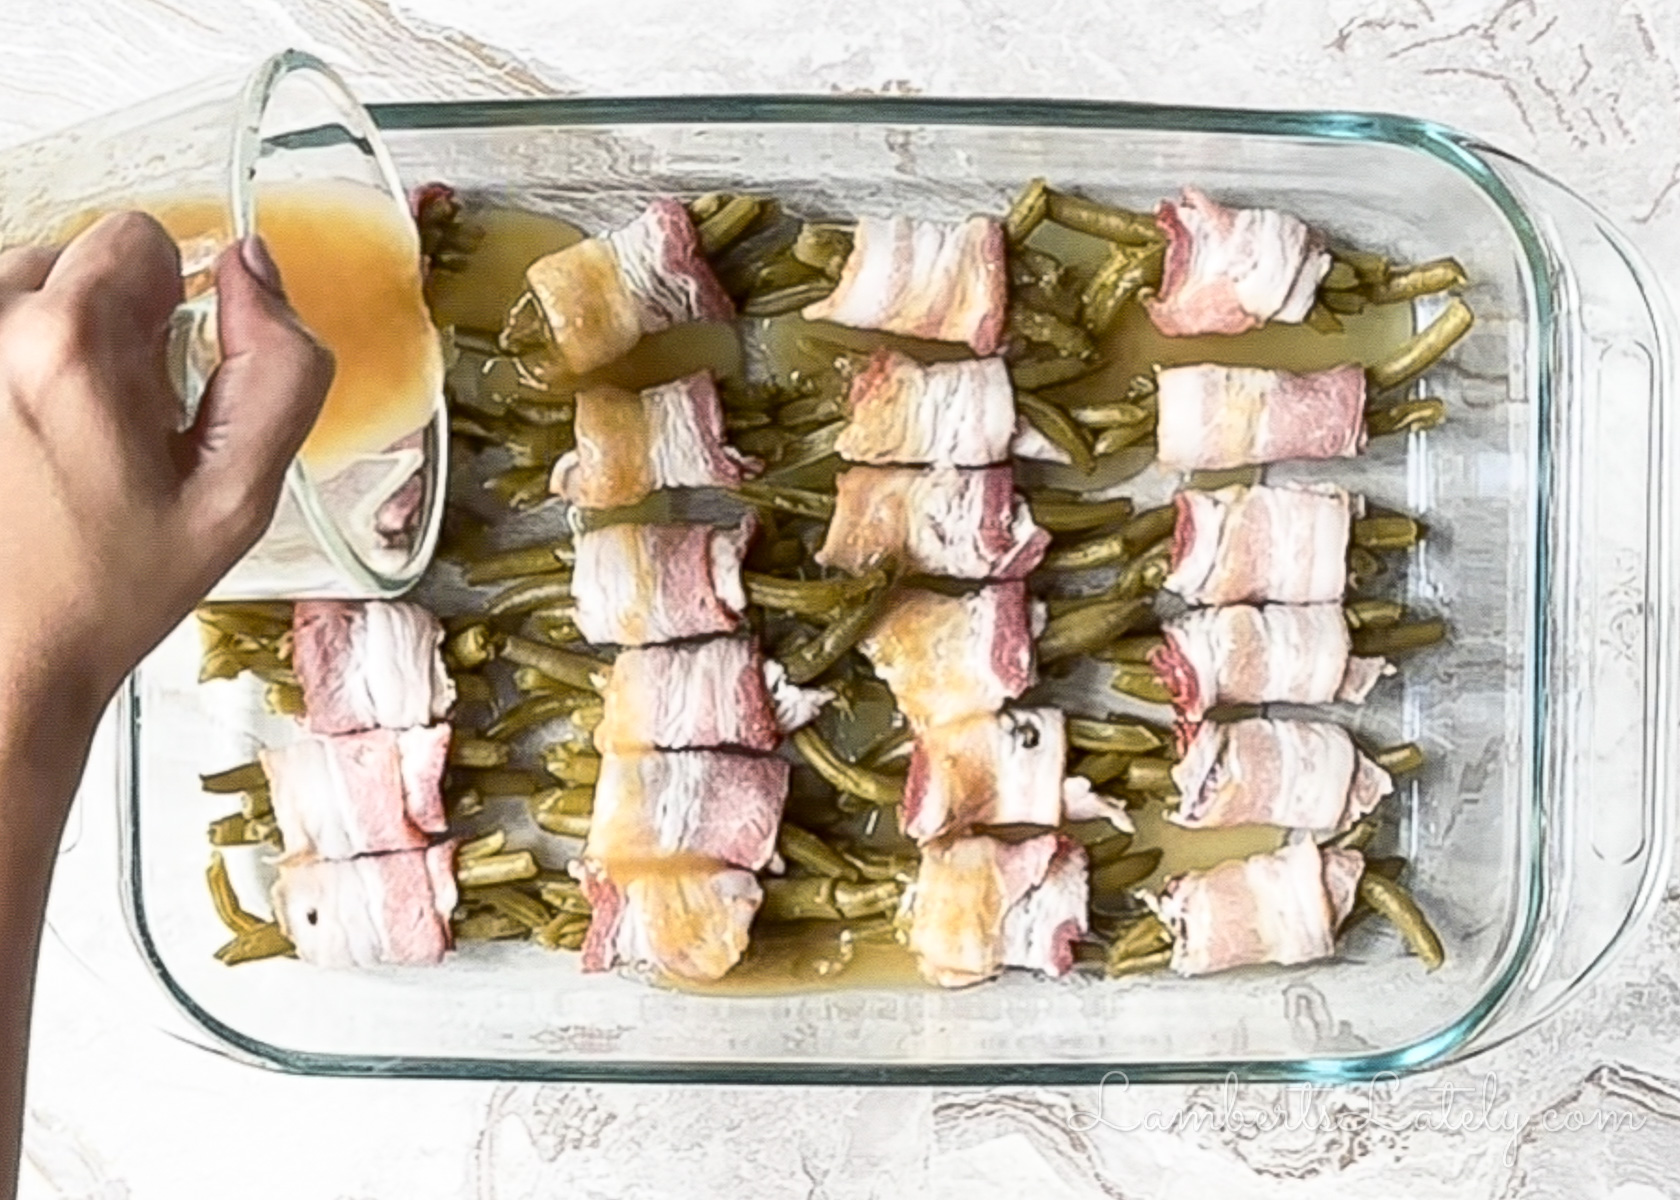
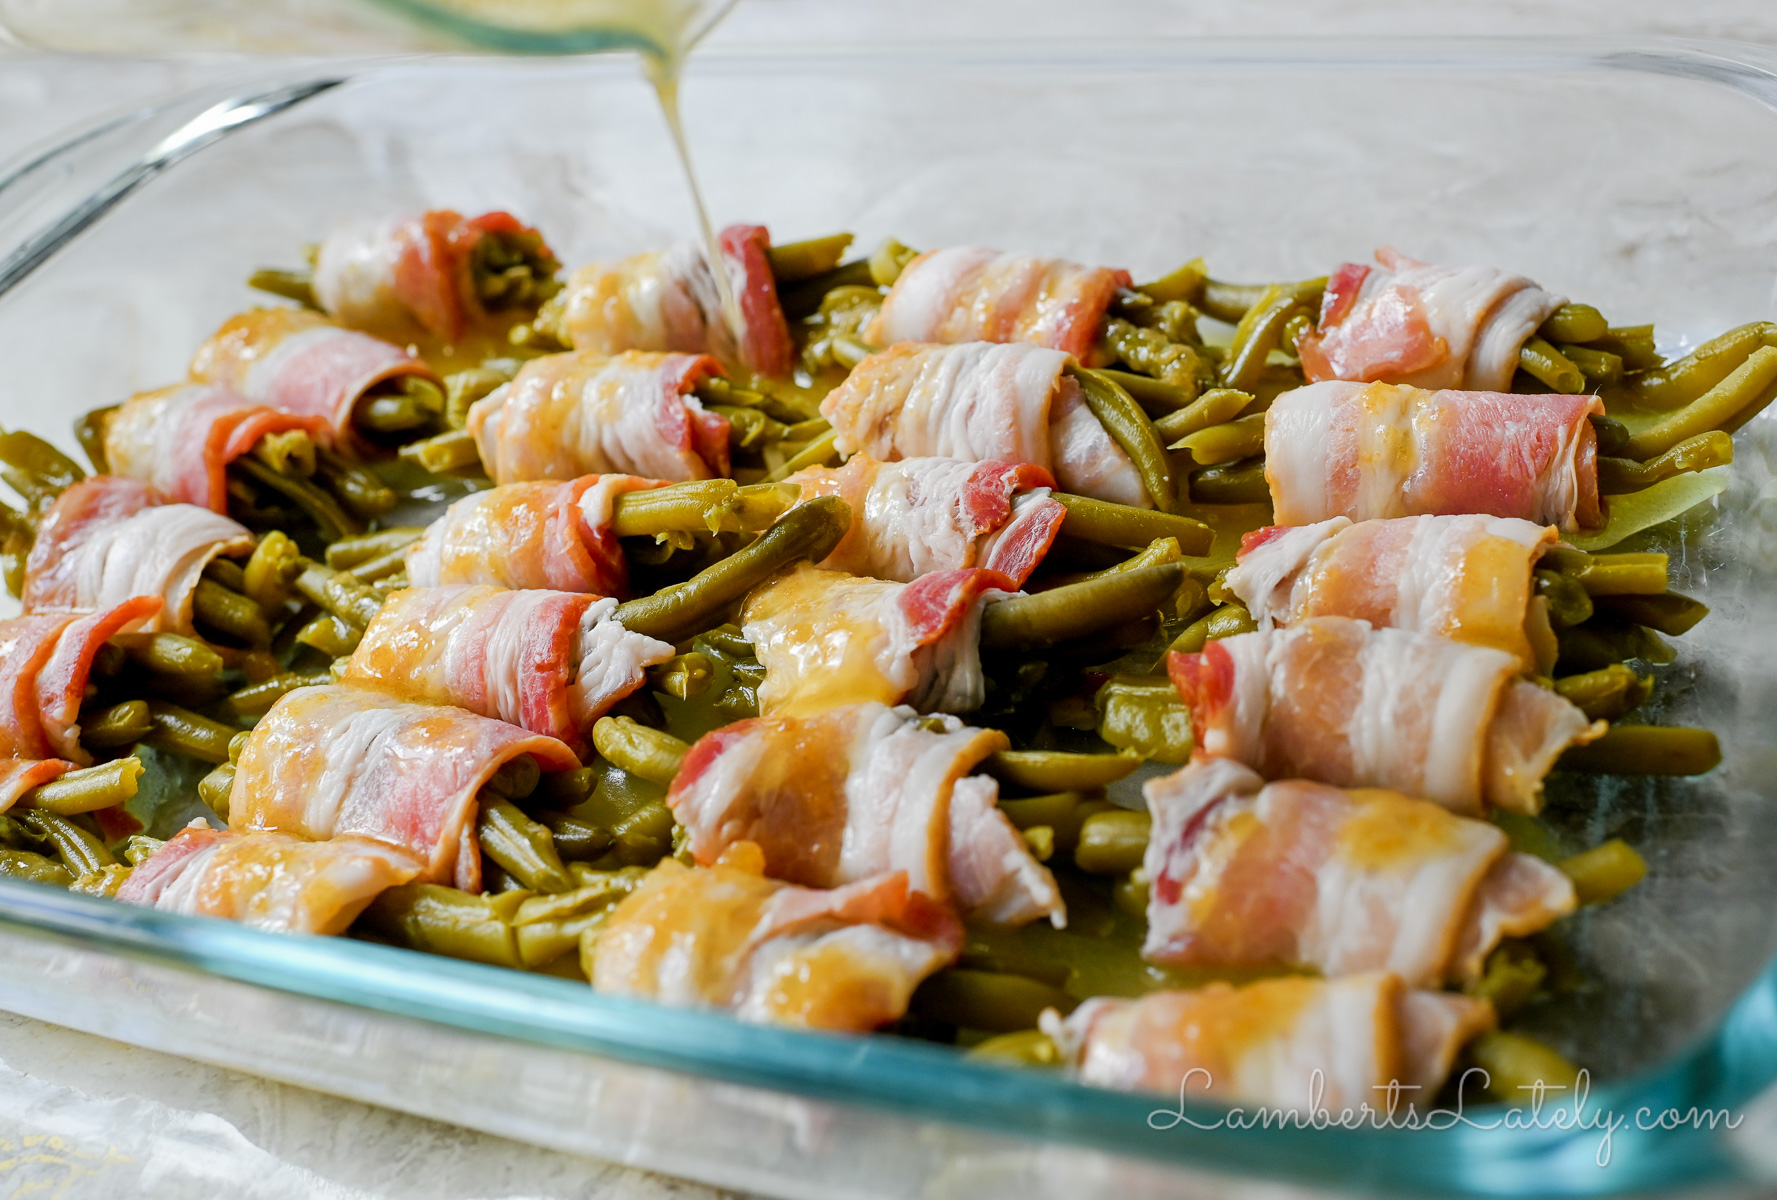
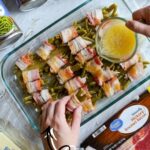
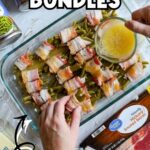
- Assemble the bundles. Lay one piece of bacon flat on a cutting board. Place 5-6 green beans across one end of the strip, then roll the bacon tightly around the beans to create a bundle. Place each bundle seam-side down in a glass baking dish. Keep them in a single layer so the bacon can brown evenly.
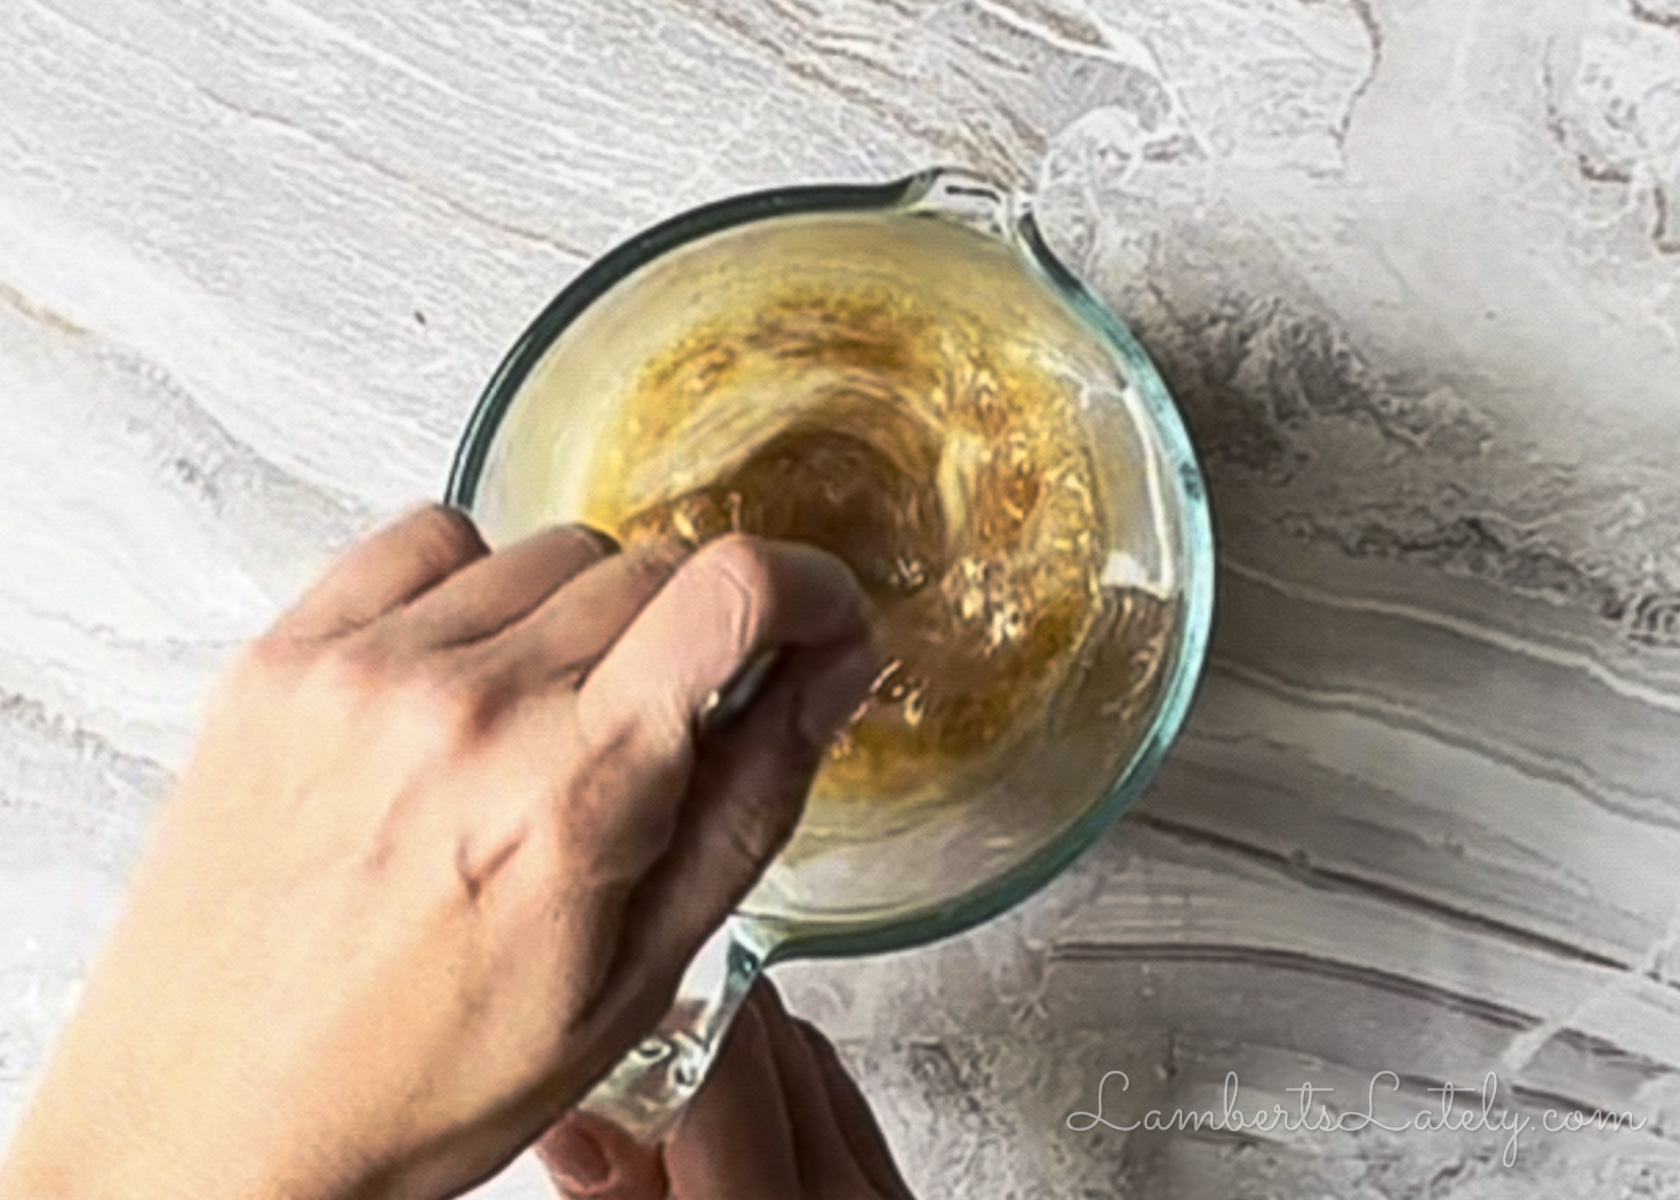
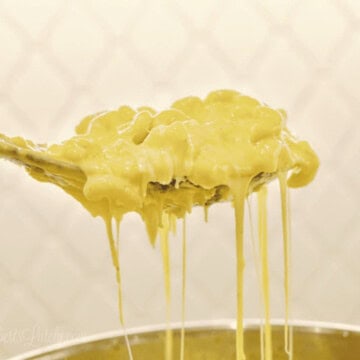
- Make the glaze. In a microwave-safe bowl (I like to use a pourable measuring cup), melt 1 stick (½ cup) butter in 30-second intervals until fully melted. Stir in ⅔ cup brown sugar and ½ teaspoon garlic powder until smooth and combined. The glaze should be thick but pourable.
- Spoon or pour the glaze evenly over the bacon-wrapped bundles, making sure each one is coated. If a little glaze pools in the bottom of the dish, that's perfect-it will caramelize during baking.
- Bake the bundles. Bake at 425°F (218°C) for about 40 minutes, or until the tops of the bacon are browned and caramelized.
- Drain and crisp. About 10 minutes before serving, carefully drain off most of the rendered bacon fat from the dish. Return it to the oven for the remaining time - this step helps the bacon crisp up beautifully.
The Secret to Crispy Bundles
Don't skip that last drain! It's really important to remove about 90% of the fat from the baking dish before the final few minutes in the oven. All that rendered bacon grease keeps the bundles from crisping - once it's poured off, the bacon can crisp up instead of sitting in its own fat.
After draining, slide the dish back into the oven for about 10 more minutes, or even give it a quick 1-2 minute broil. That last bit of heat caramelizes the glaze and crisps the edges just right.
It also might help to flip the bundles for that last bit of cooking - sometimes the undersides don't crisp as well, and flipping will make sure every bit of the bacon gets crispy & crunchy.
Step-by-Step Recipe Video
Leslie's Helpful Tips & Tricks
- Make ahead without losing crispness - Assemble the bundles and refrigerate (unbaked) up to 24 hours. Add the glaze right before baking so the sugar doesn't dissolve too early.
- Use a rimmed baking dish - The glaze bubbles as it cooks, and the bacon releases plenty of fat. A rimmed glass or metal dish keeps everything contained.
- Keep a single layer - don't stack the bundles; use two baking dishes if needed. They tend not to crisp up properly if you have more than one layer in the baking dish.
- Avoid soggy bottoms - Place the bundles seam-side down in a single layer, leaving space between each one so the air circulates and the bacon browns evenly. I also recommend turning the bundles over for that last 10 minutes of cooking, after you drain the fat.
- Reheating - Reheat leftovers in a 350°F oven for about 10 minutes until warmed through and crisp. You can also microwave them, just expect softer, less crispy bacon.
- Storage - Store cooked bundles in an airtight container in the fridge for up to 3 days. For longer storage, freeze unbaked bundles up to 3 months, then thaw in the fridge before baking.
- Yield - plan for this dish to feed 6-8 per guest as an appetizer, or 5-6 as a side.

FAQs


Hope you love this one as much as we do! If you try this recipe and love it, make sure to give it a review ⭐️⭐️⭐️⭐️⭐️ and comment 💭 below.
Green Bean Bundles
Ingredients
- 3 cans whole green beans drained
- 16 ounces regular-cut bacon
- ⅔ cup light brown sugar
- 1 stick butter
- ½ teaspoon garlic powder
Instructions
- Drain and pat dry 3 cans of green beans. Cut bacon slices into thirds and gently stretch each piece.
- Place 5-6 green beans on one end of a bacon strip and roll up tightly. Arrange seam-side down in a single layer in a glass baking dish.
- Melt butter in a microwave-safe bowl. Stir in brown sugar and garlic powder until smooth.
- Spoon the mixture evenly over the bacon-wrapped beans, coating each one.
- Bake at 425°F for 40 minutes, or until bacon is browned.
- Drain off excess fat about 10 minutes before serving, then return to oven to crisp. Serve warm as an appetizer or side.
Notes
- Canned vs. Fresh: Canned green beans make this recipe faster and easier. They're already tender, perfectly sized for bite-size bundles, and bake evenly without blanching.
- Whole or Cut: Whole beans look prettier with the tips peeking out; cut beans make smaller appetizer-size bites.
- Bacon Type: Regular-cut bacon crisps best. Thick-cut works but may need 5-10 extra minutes.
- Drain for Crispness: About 10 minutes before serving, pour off most of the bacon fat, then return to the oven so the bacon crisps and the glaze caramelizes.
- Make-Ahead: Assemble up to 24 hours in advance, refrigerate unbaked, and add the glaze right before baking.
-
- Freezing: For best results, freeze unbaked bundles up to 1 month. Thaw overnight in the fridge before baking.
- Reheating: Reheat baked bundles in a 350°F oven for 10 minutes until warm and crisp. Skip the microwave - it softens the bacon.
- Serving Tip: Serve 5-6 bundles per person as an appetizer or 3-4 as a side dish.
-
Nutrition Facts

Leslie Lambert is a lifestyle writer and content creator specializing in home organization, family recipes, and intentional living. With 17 years of experience in blogging and digital storytelling, she helps busy women create calm, purposeful homes they love.


these little bundles are so savory! I'm headed to my family reunion down here in Mississippi. These babies will be the first to go off the appetizer table cause you can't wait to eat them as a side dish. that's just cruel to make the relatives wait! 🤣🥰