
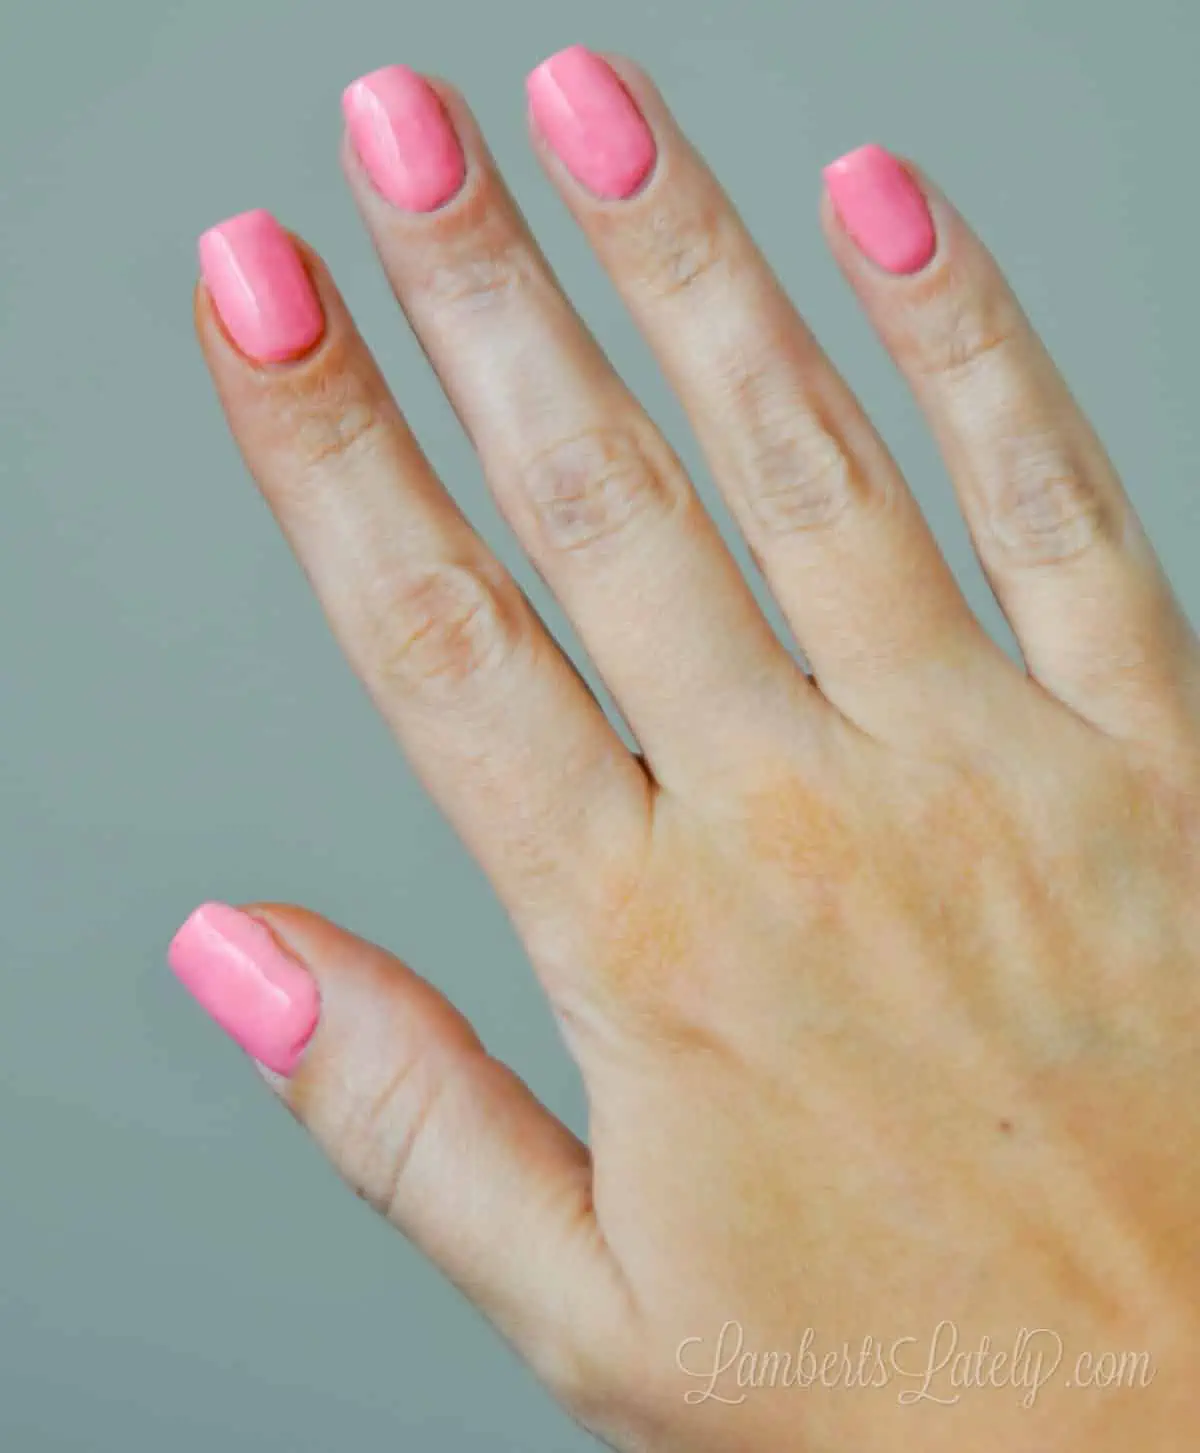
Give DIY Dip Powder Nails a try - they're so easy to do! See how to do dip nails at home with a step by step tutorial. Get instructions on how to apply coffee filter tips, apply Revel's powder, do an alternate gel method, and remove dip nails.
Paid links used in this post. Read more about my link usage policies.
I think we all learned how to DIY a few new things in 2020 - one of my favorites was learning how to dip nails at home. Listen - if I can do this, you can do this.
I am absolutely terrible at painting my nails - it often looks like a 5 year old did it when I try to use standard nail polish (not to mention that it peels after a day or two). I've even tried gel nails in the past, and I still can't kick that urge to peel it off after a few days.
I had heard of dip nails (but never had them done in the salon), and after seeing a Youtuber try another brand of at-home dip powder, I gave it a try. To my surprise, it wasn't that difficult!
What are Dip Nails?
Dip powder manicure is a method of applying color and a hard acrylic finish to nails. You paint on a super glue-like base and dip nails into a colored powder. After several layers, an activator is used to harden the manicure into almost a shell.
Why Should I Get a Dip Manicure?
Dip nail manicures are incredibly durable. I can normally get at least two weeks out of a set of dip powder nails (and I'm a notorious polish peeler).
Dip powder, when using the right polishes, hardens into a tough, thick coat on your nails, making it virtually impossible to peel. I am ROUGH on my nails. When following these steps, they hardly ever chip at all (and if they do, it's a very minor one).
Why Should I Do Dip Nails at Home?
The best part about doing your own dip manicures is the amount of money you'll save over the salon. You can get dozens of uses out of a kit that's under $50. That's about what you'd normally pay to get one set of dip nails done professionally.
For me, it's also a time-saver. I can do my nails in an hour or two every few weeks while I watch TV at night (a time when I'd probably be playing on my phone or watching TV anyway). That beats the heck out of spending hours at a nail salon.
So, grab your drink of choice, get your supplies ready, and let's dip!
Option 1: How to Do Dip Nails at Home with the Traditional Method
First off, I'm going to show you the traditional way to do dip nails at home with a full dip powder kit. There's more than one way to do this - see an alternate option later on in this post that I now use.
Traditional Dip Powder Method Supplies
- Nail File and Buffer Block
- OPI Bond Aid
- Rubbing Alcohol
- Lint-free wipes
- Acrylic Brush/Pen
- Coffee Filter
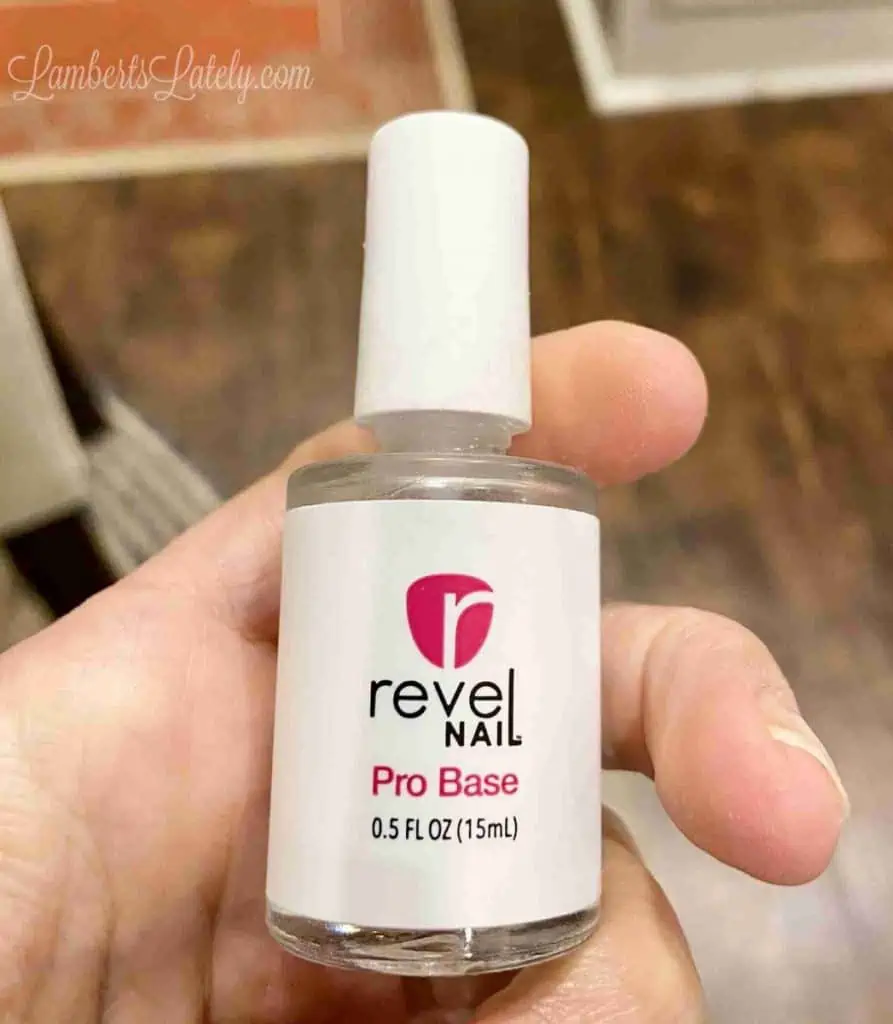
- Revel Nails Dip Powder Starter Kit with the shade of your choice (the color I used in this portion of the tutorial is Shady)
- Nail Brush
- E-file Drill
Step 1: Prep nails with a file, buff, bonder, and optional tip
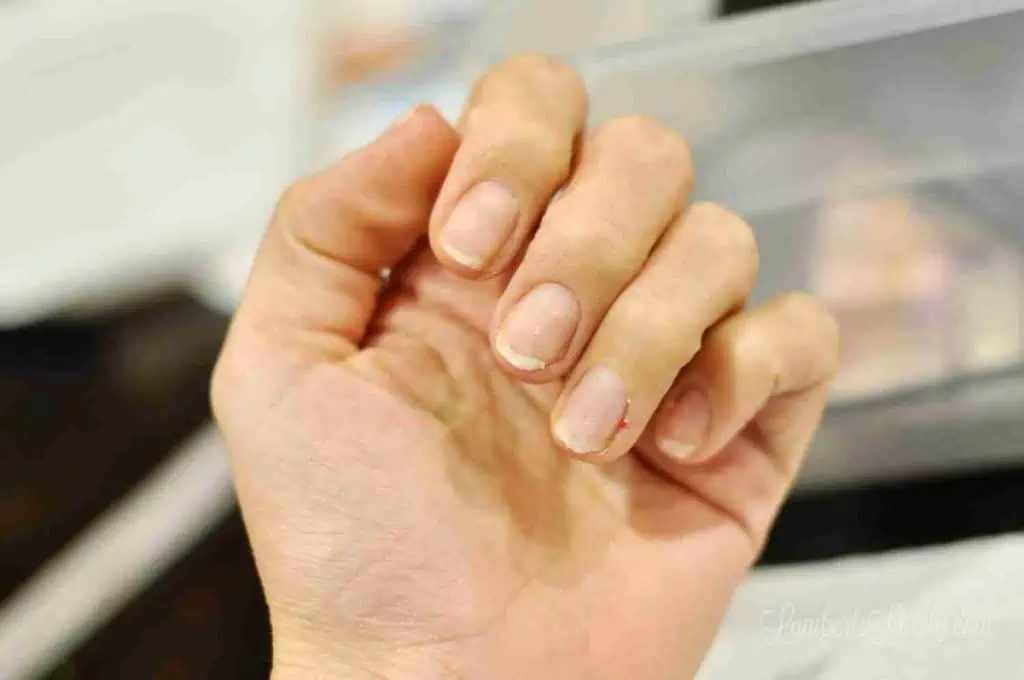
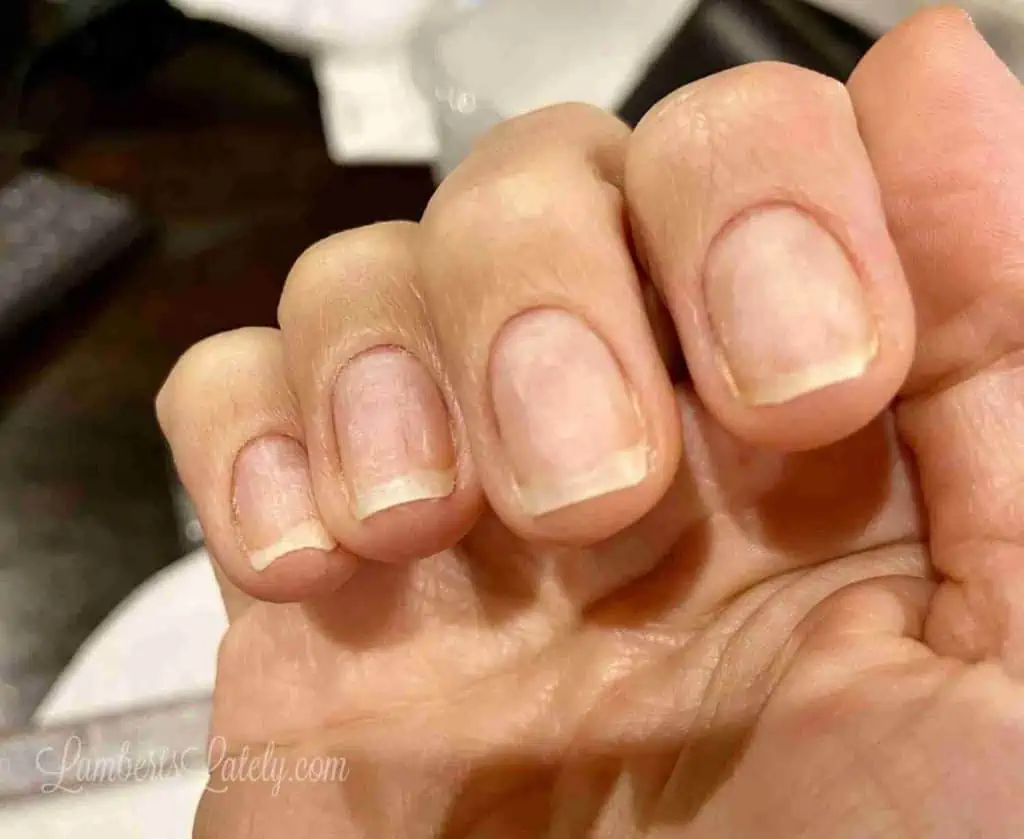
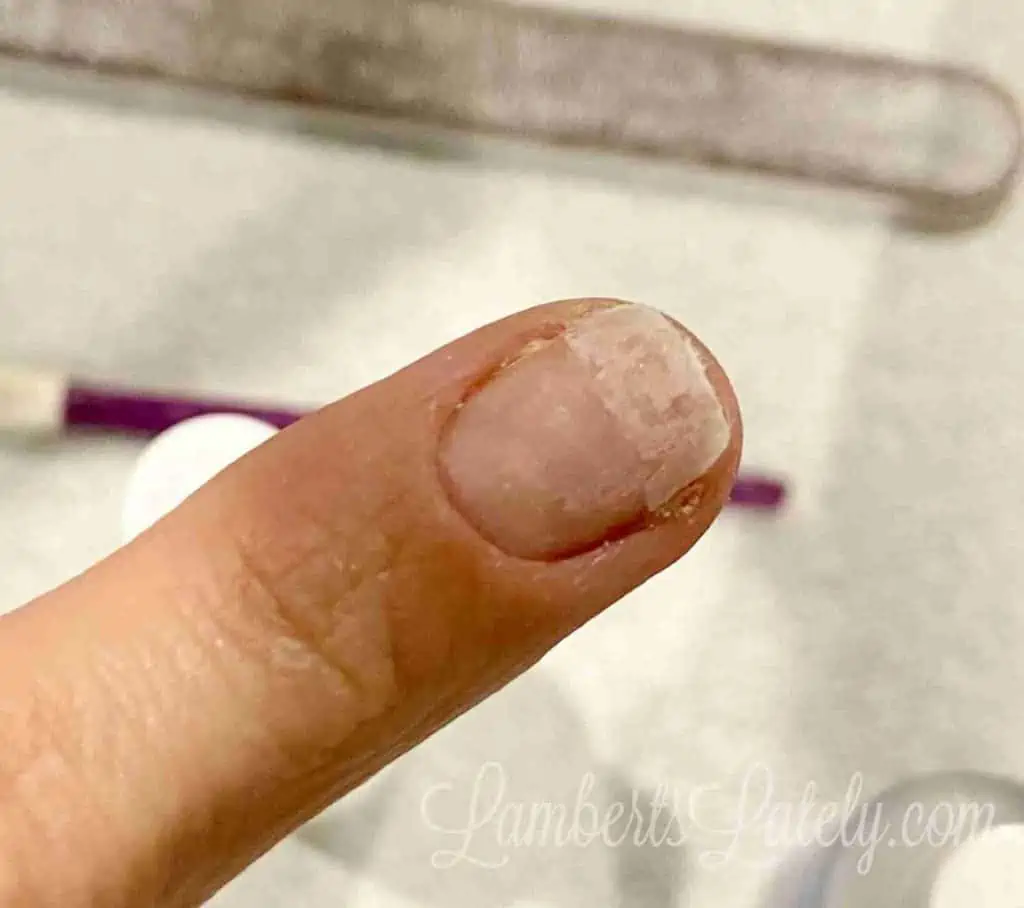
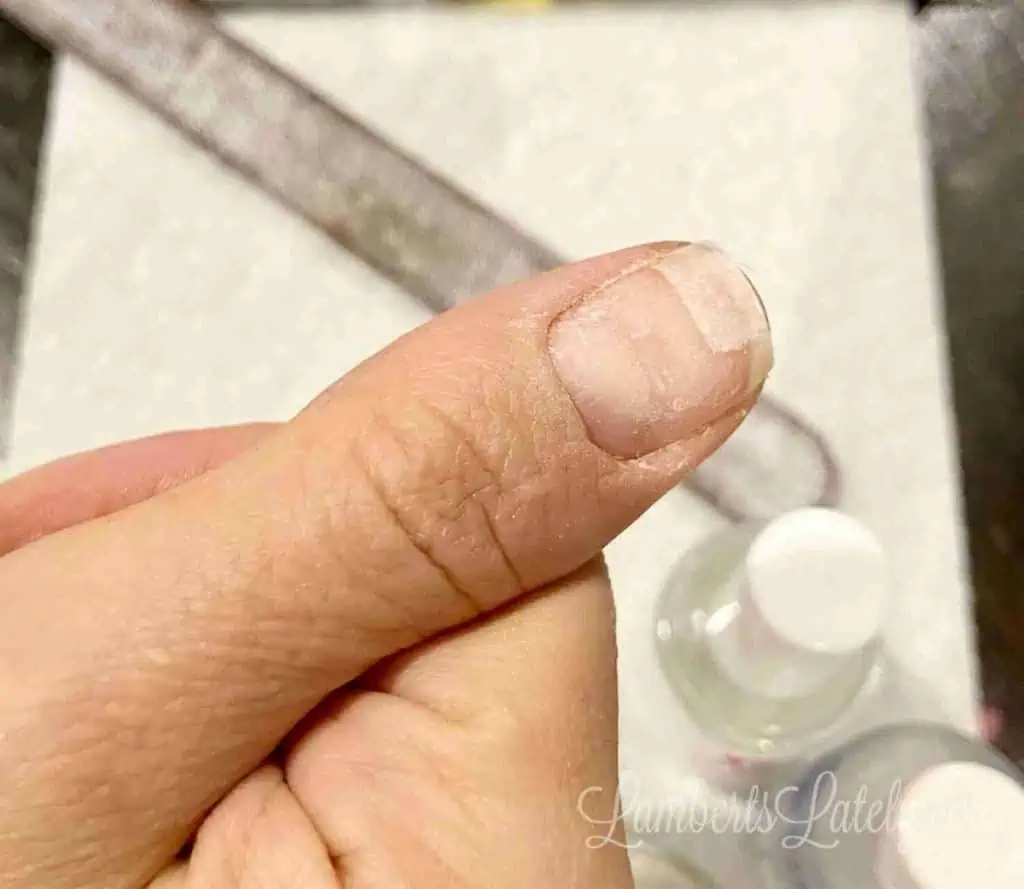
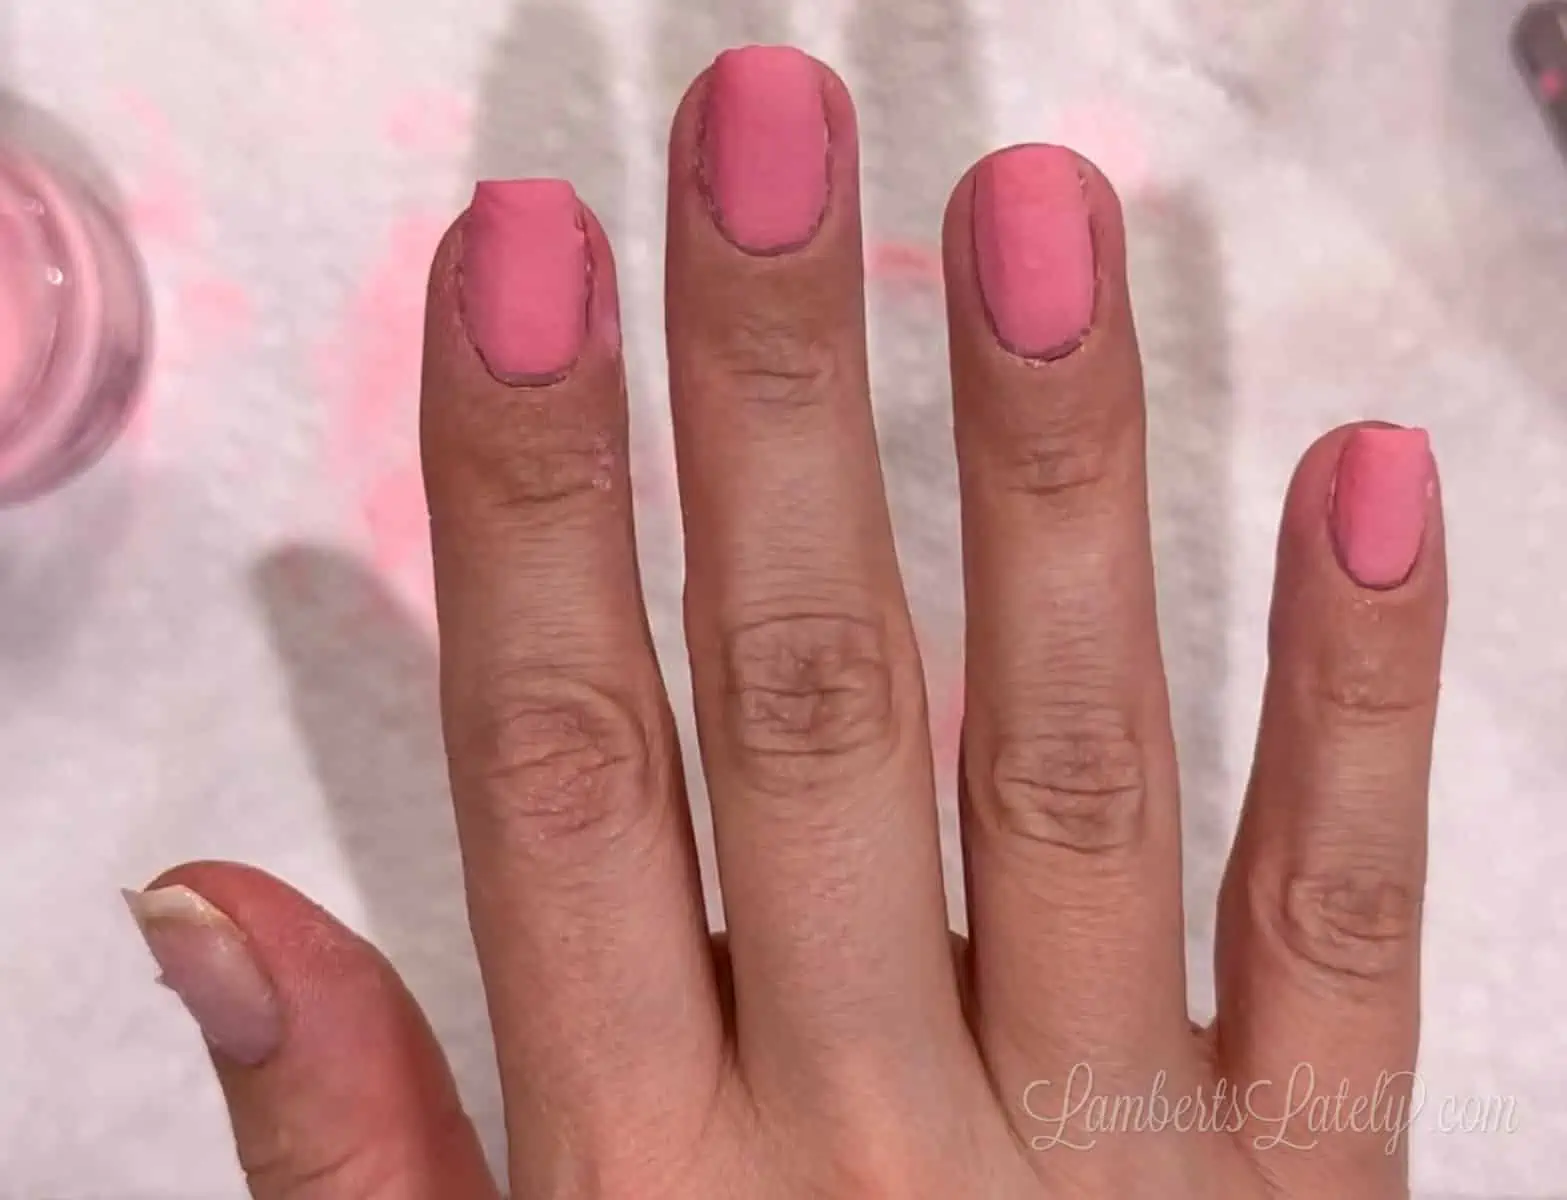
This is what I started with - uneven, un-buffed nails.
Before you start, lay a paper towel on your work surface. Dip powder and filing make a mess - this makes for easy clean-up!
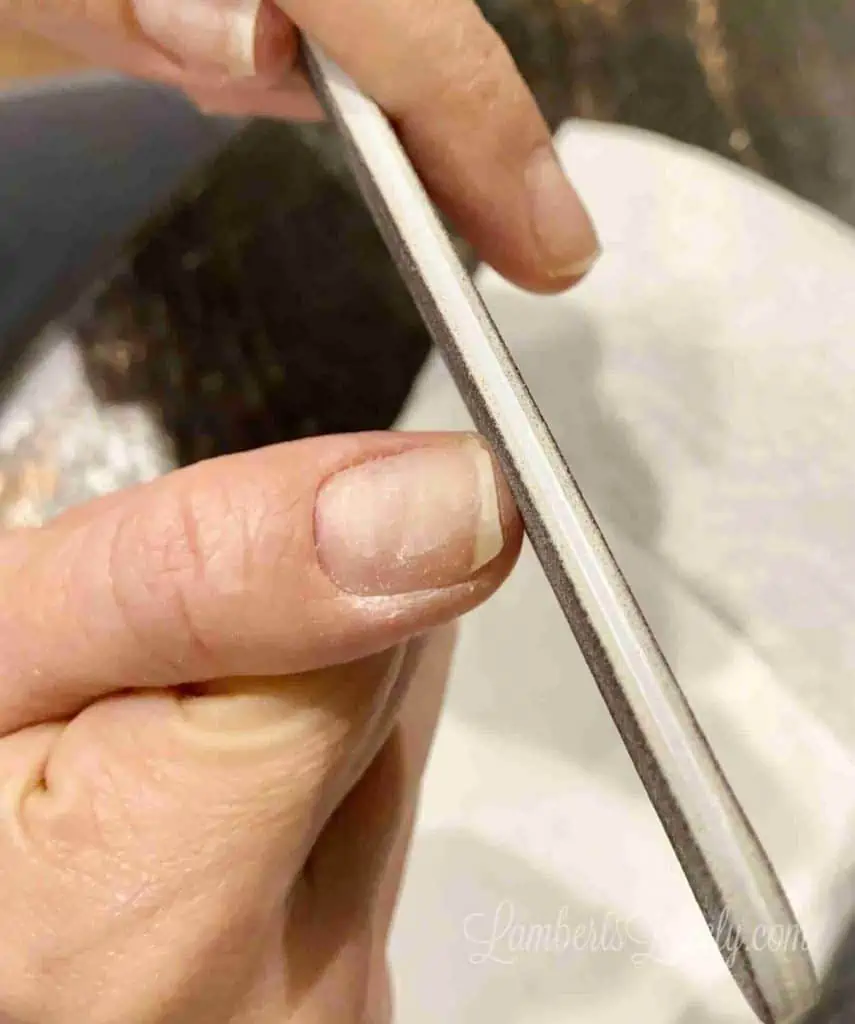
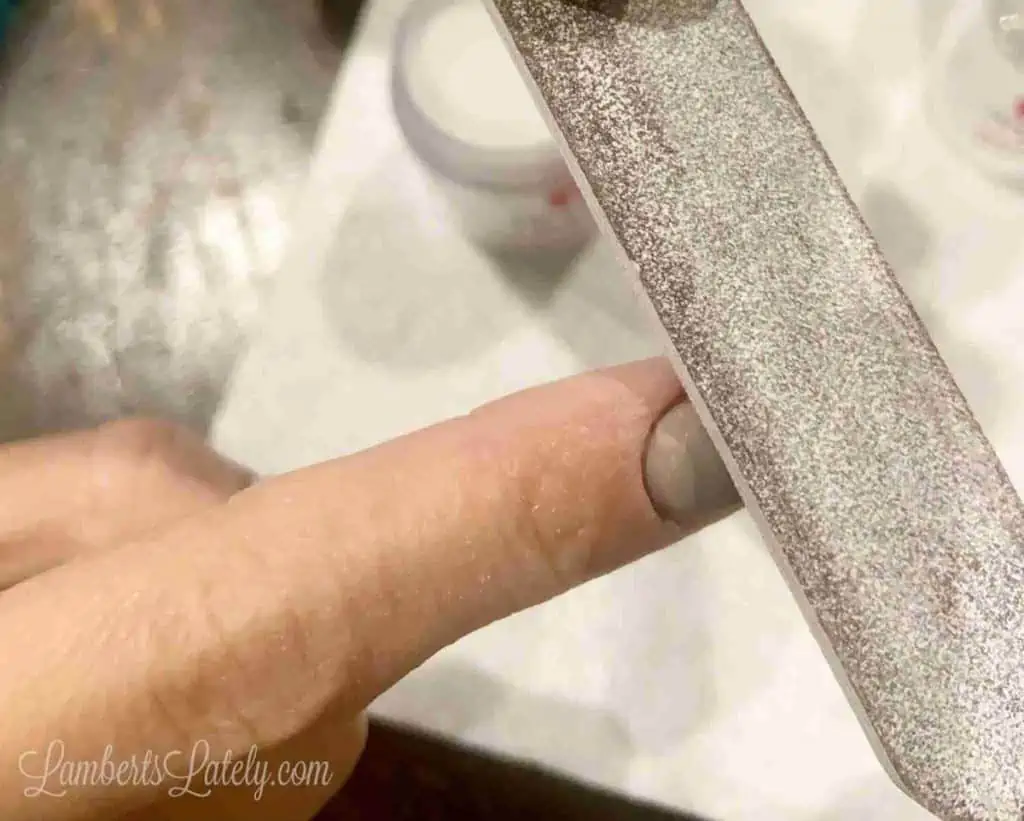
Use a tougher-grit nail file (around 100 grit) to even your natural nail out as much as possible. Buff the surface of the nails a buffer block - not a lot, just enough to take any shine off of the surface.
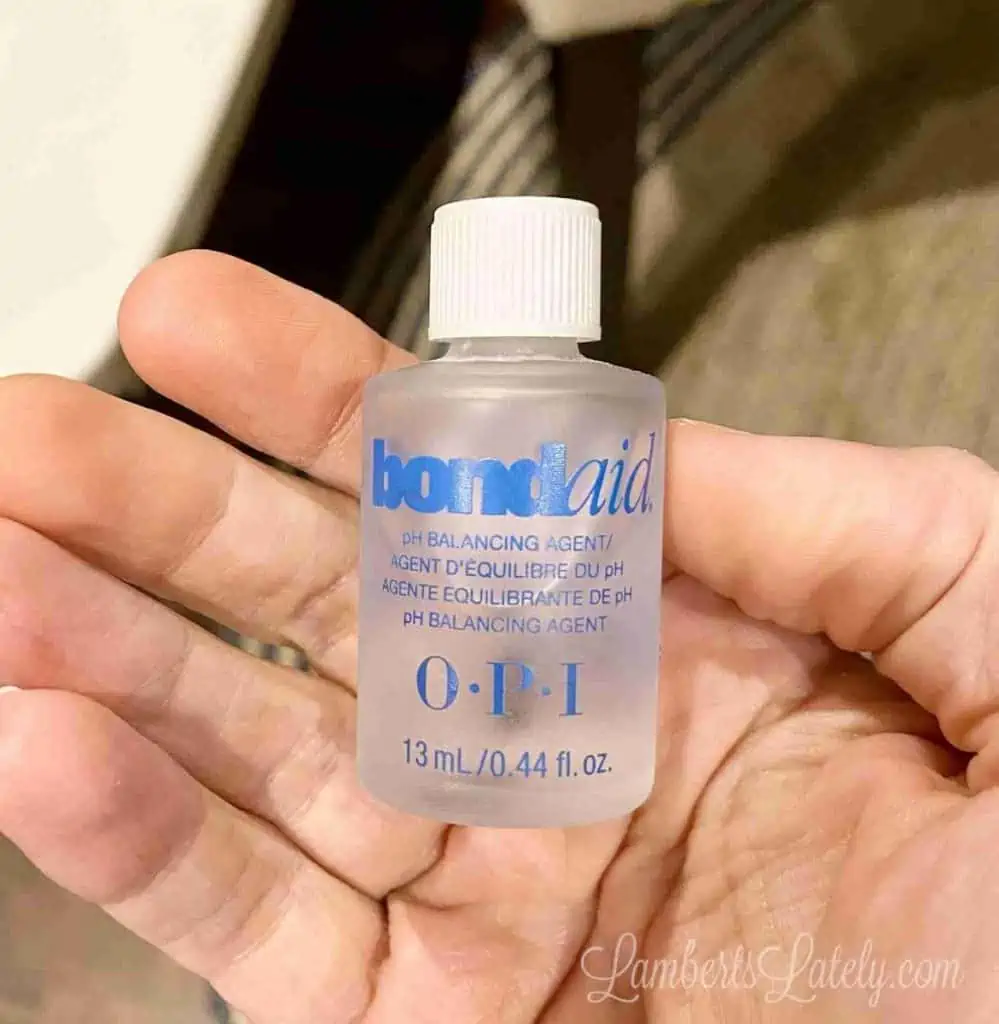
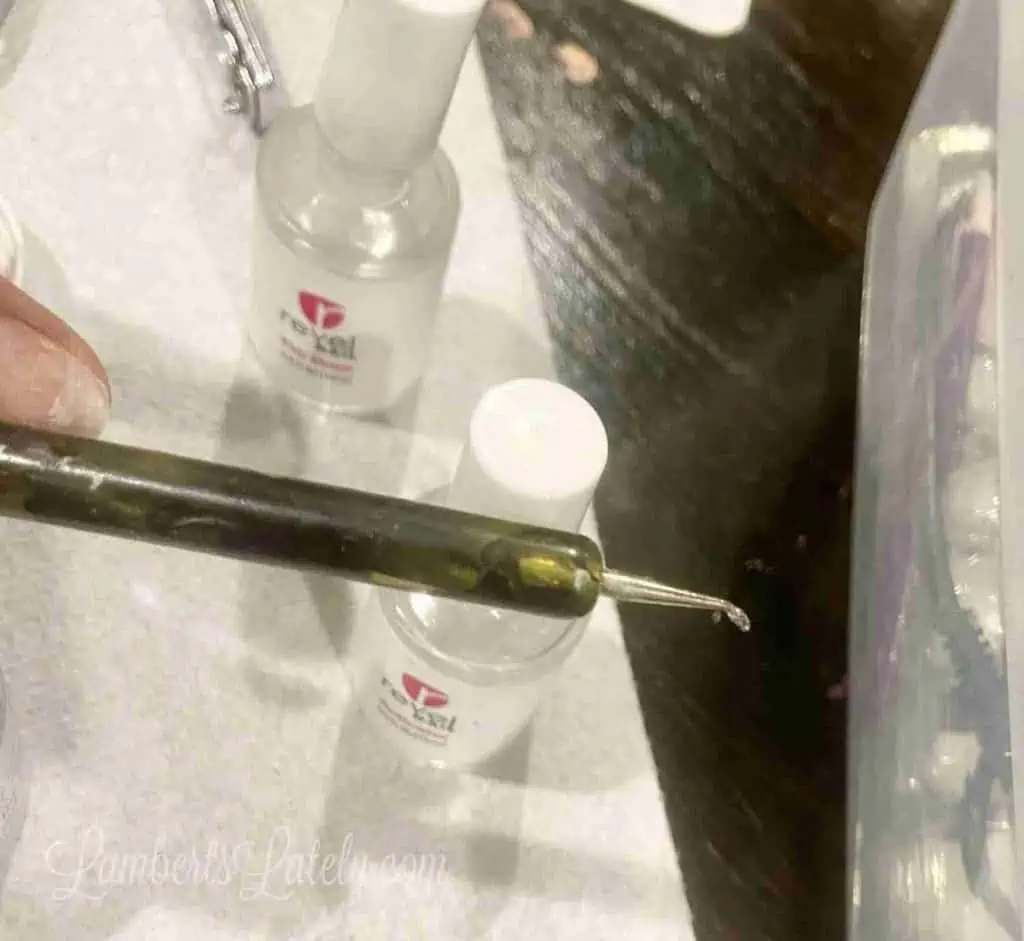
Wipe your nail with a lint-free cloth and rubbing alcohol. Then, apply this magic potion to the nail - Bond Aid. This is my secret weapon for making sure nails stick well. It dehydrates the surface of the nail, making sure no moisture or oil keeps the nail from bonding.
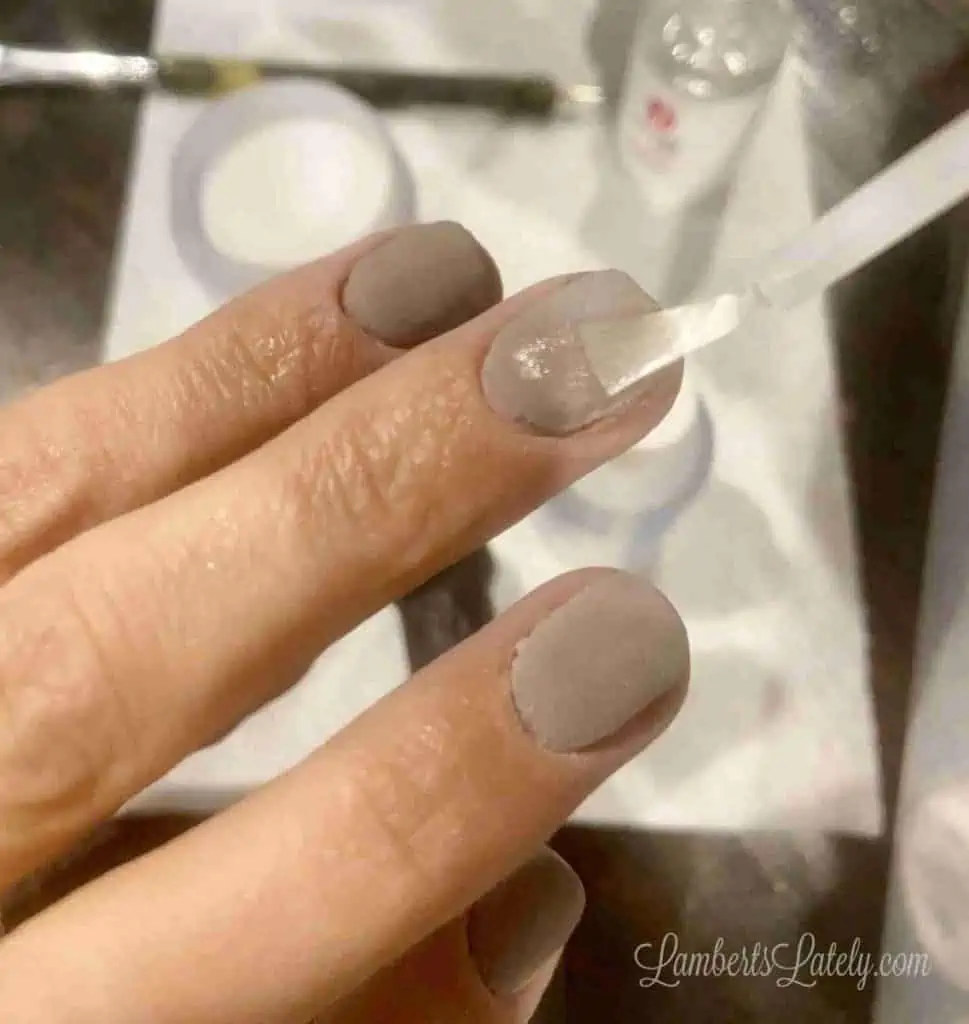
Not too bad so far, but I wanted a little extra length on a couple of nails and I had a little chip on that index finger. Now of course you can apply tips if desired (more on that below), but if you have a coffee filter handy, you can easily fix little flaws!
Optional: How to Add Coffee Filter Tips
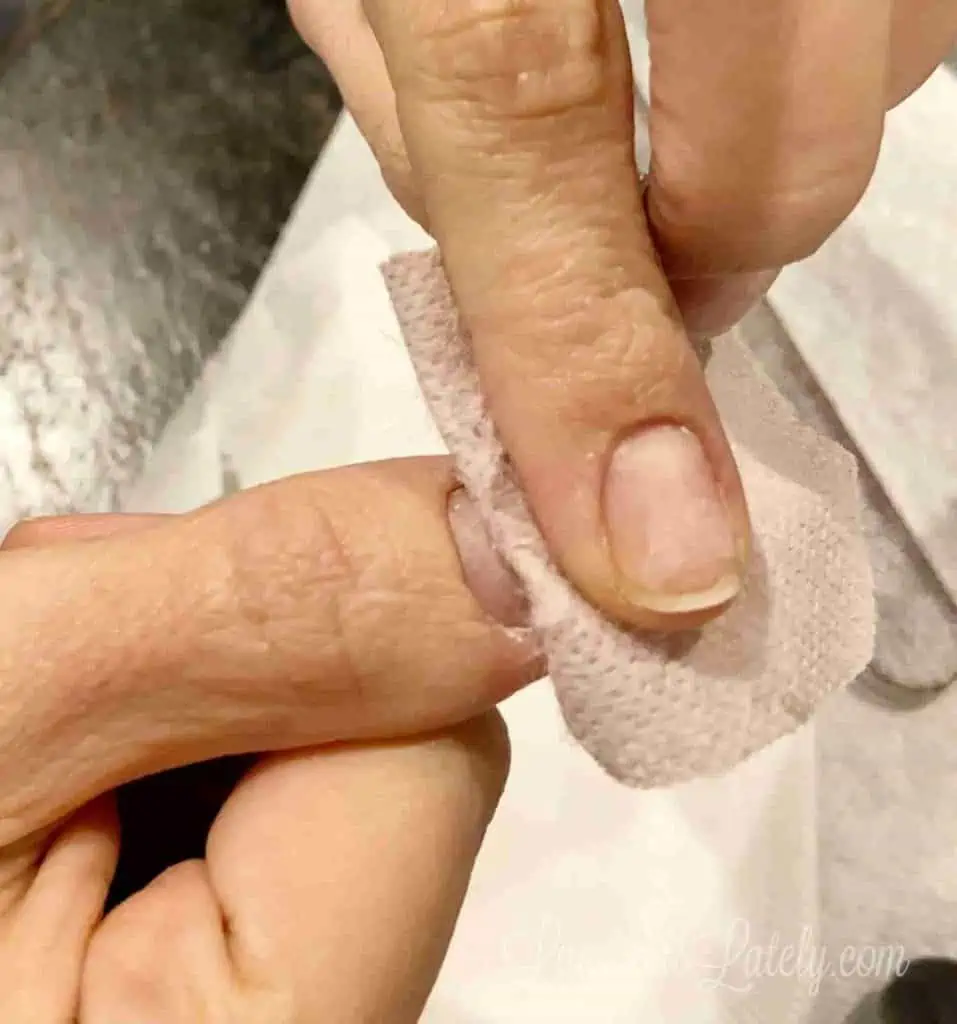
Cut a teeny tiny piece of coffee filter - just enough to fit the width of your nail and add the needed length (but not too long).
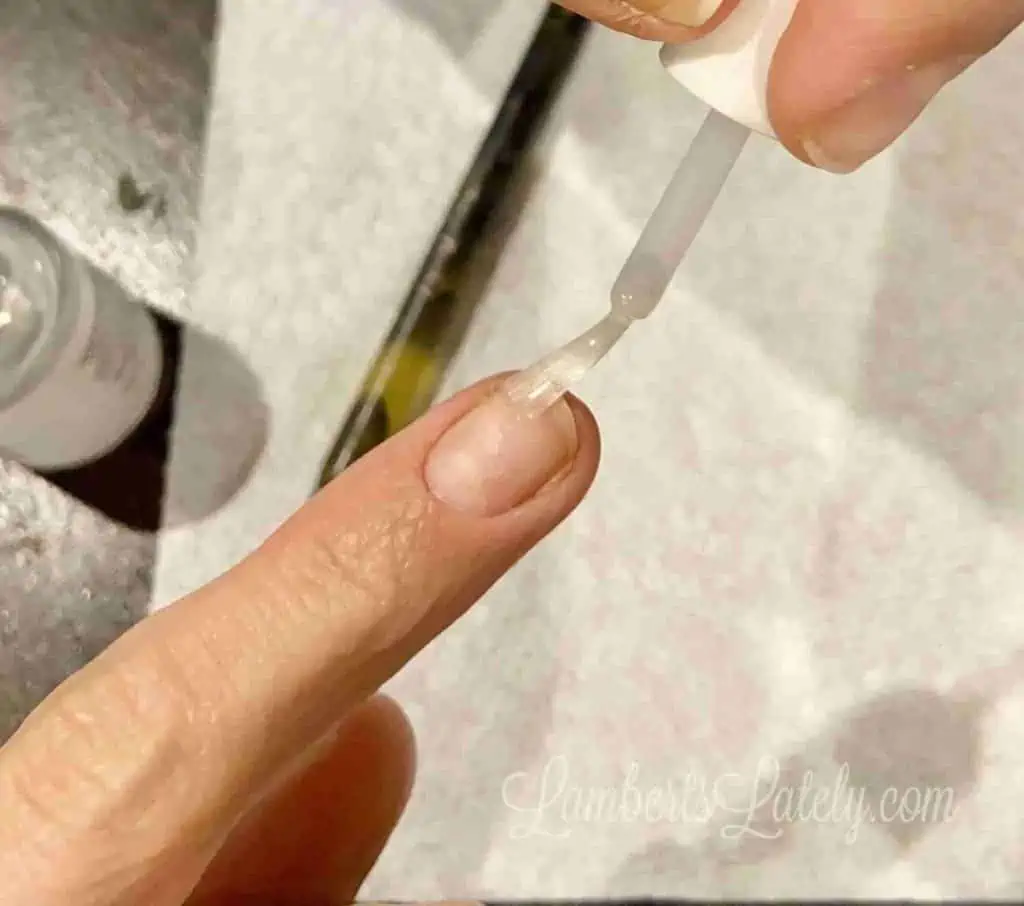
Brush your Revel Pro Base just on the top part of your nail, where the coffee filter needs to stick. Use the Acrylic Pen to gently push the coffee filter down onto the nail and position it in place.
Make sure the coffee filter is attached all the way across, especially at the sides.
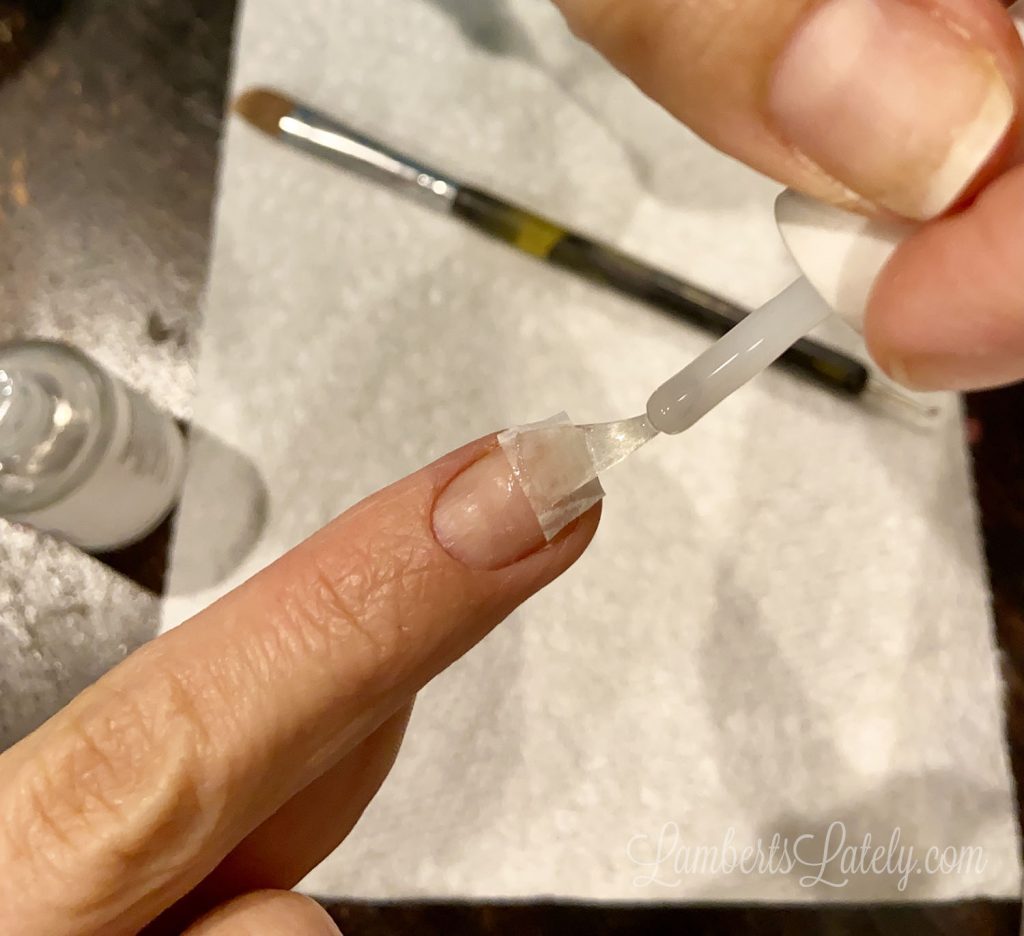
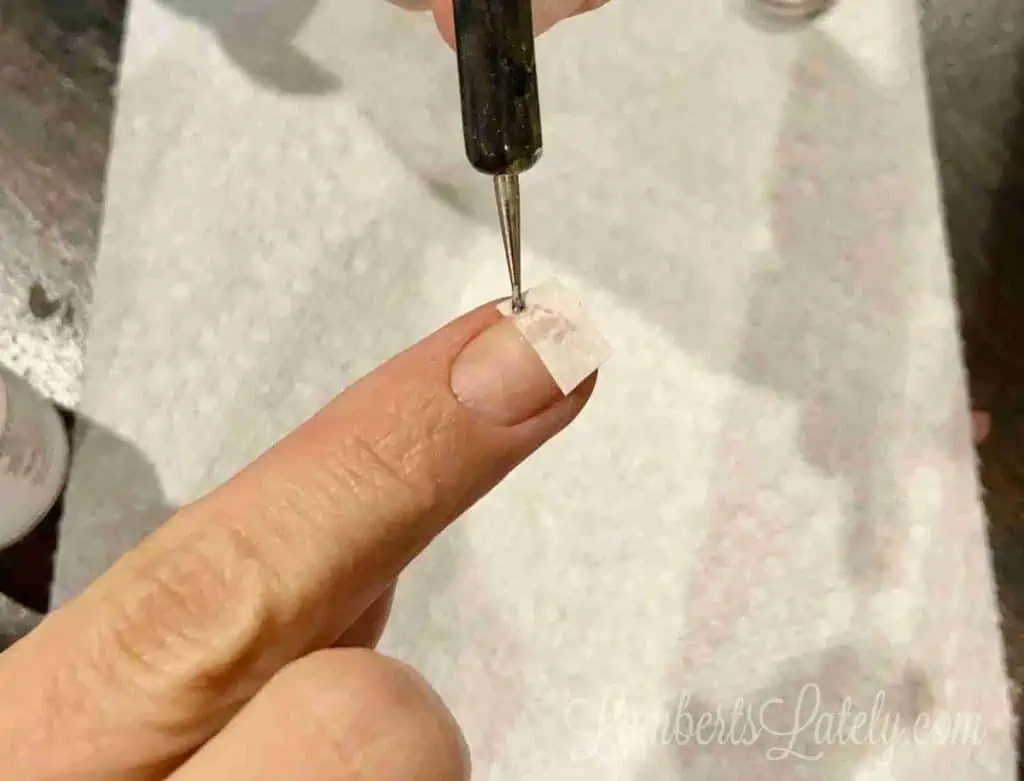
Apply a second coat of Pro Base over the coffee filter and allow to dry.
(Sorry for the blurry picture.) Then, use the Revel Activator (step 2) and, after the Pro Base dries, apply a coat on the coffee filter. This will harden the filter into a tip for your nail.
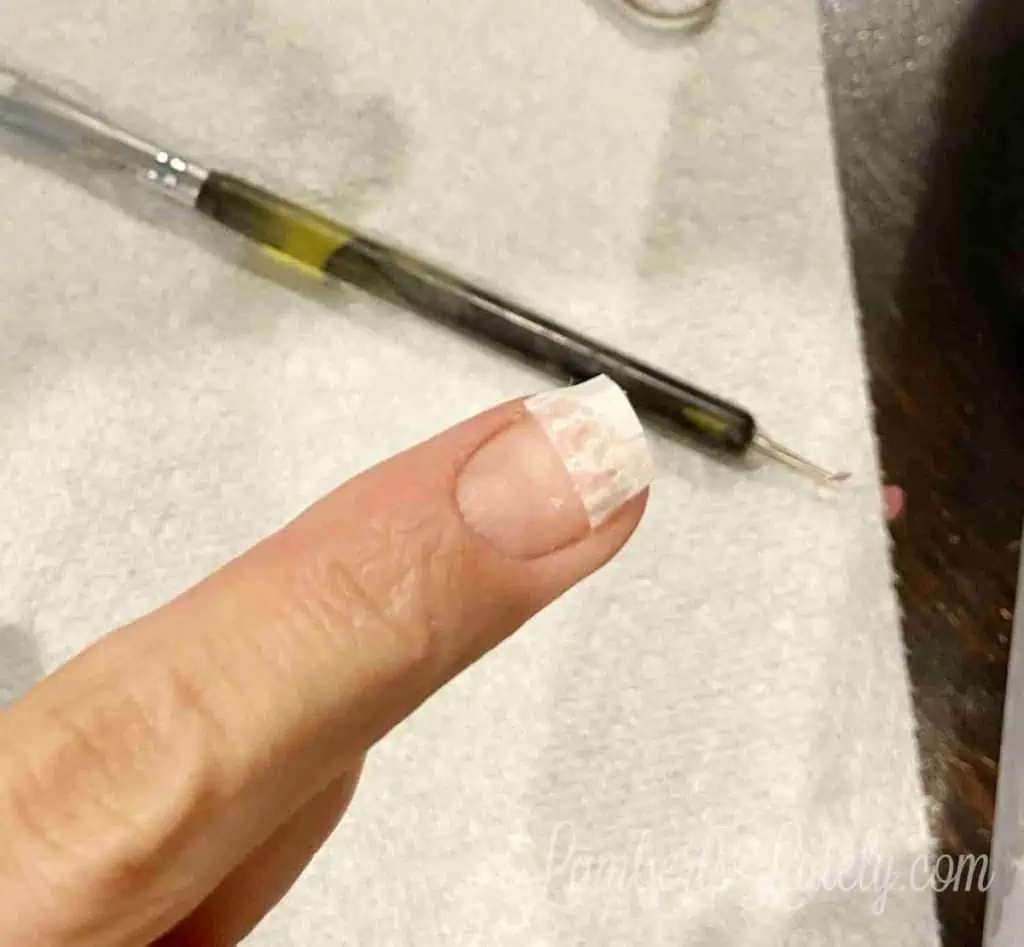
Let it dry, then file and shape as needed! Make sure the filter is buffed to be even with the surface of your nail.
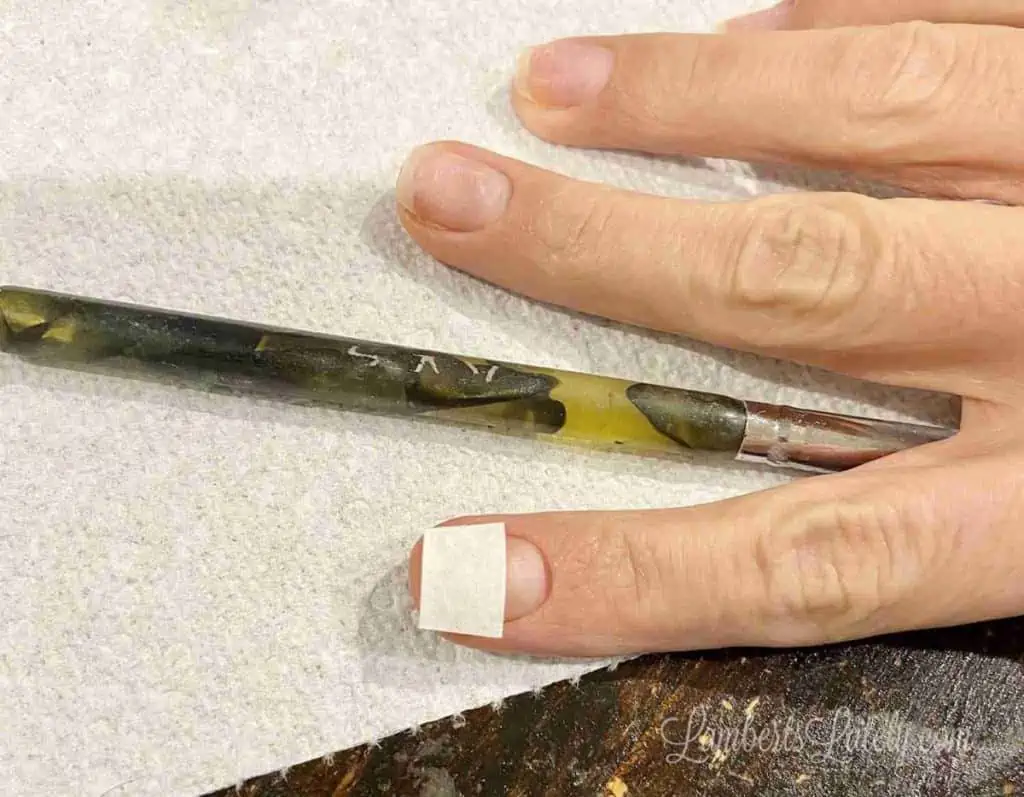
You can even use portions of coffee filter to patch small chips in your nails, as pictured above.
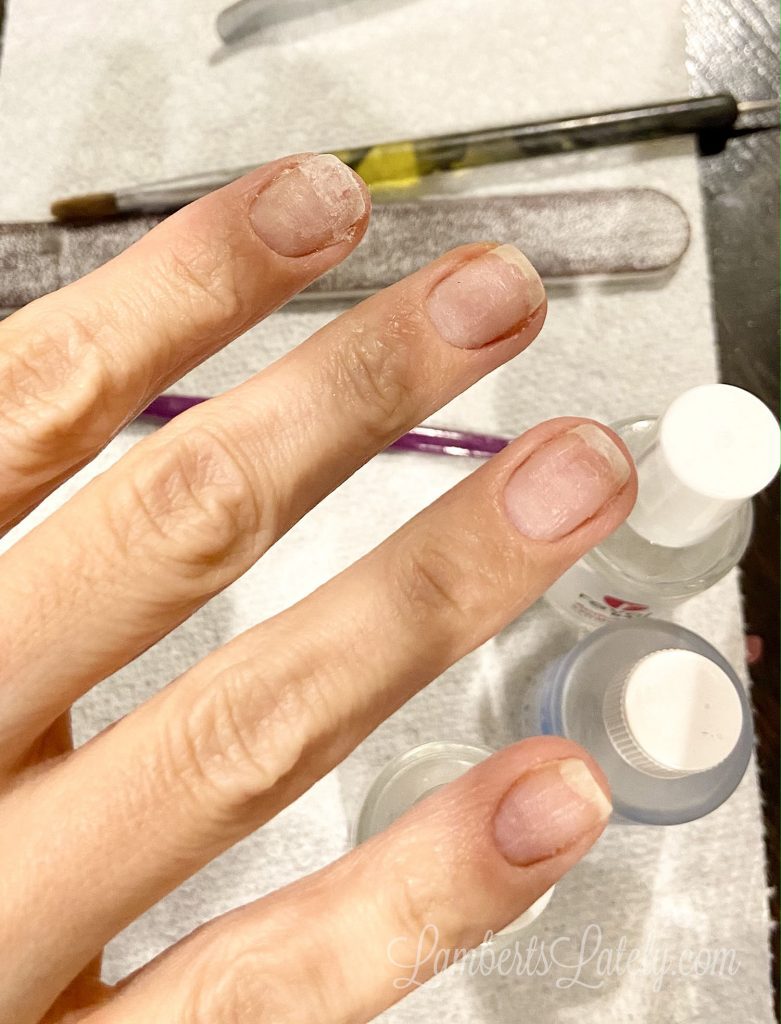
After filing, buffing, dehydrating, and fixing chips, the nails are ready for actual dipping. Make sure you push back any cuticles with a cuticle pusher (my cuticles are weird and usually don't grow, so I don't normally have to worry with this.)
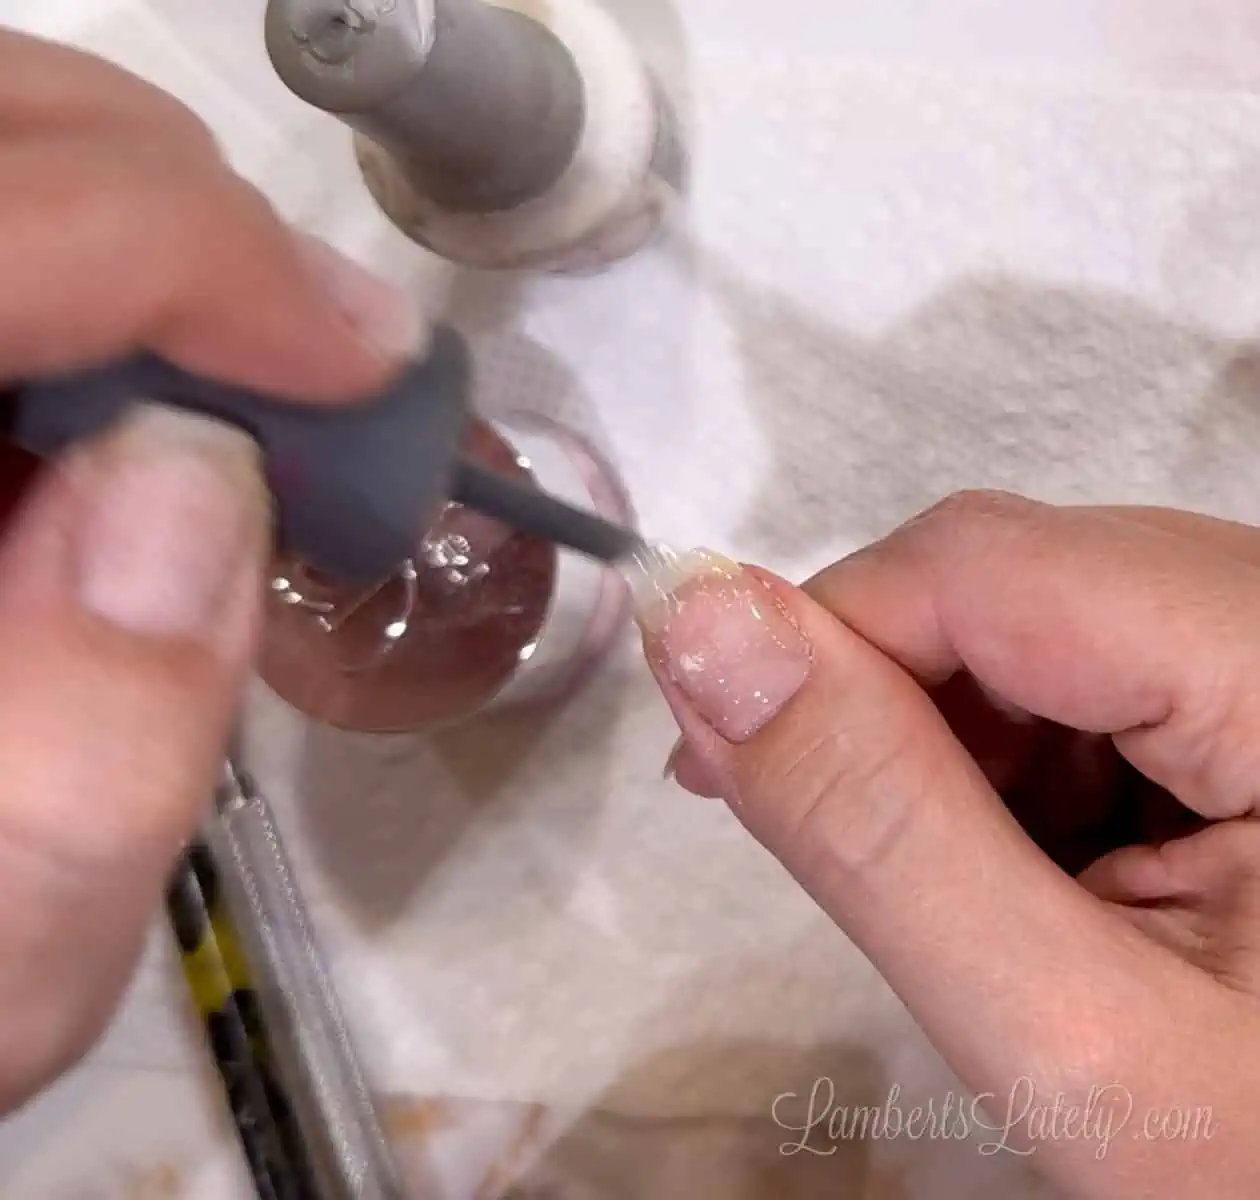
Step 2: Apply Colored Dip Powder
First, if you applied tips, wipe again with alcohol and put a coat of Bond Aid on your whole nail. Oil and moisture are your enemies. You want the nail as dehydrated as possible before starting.
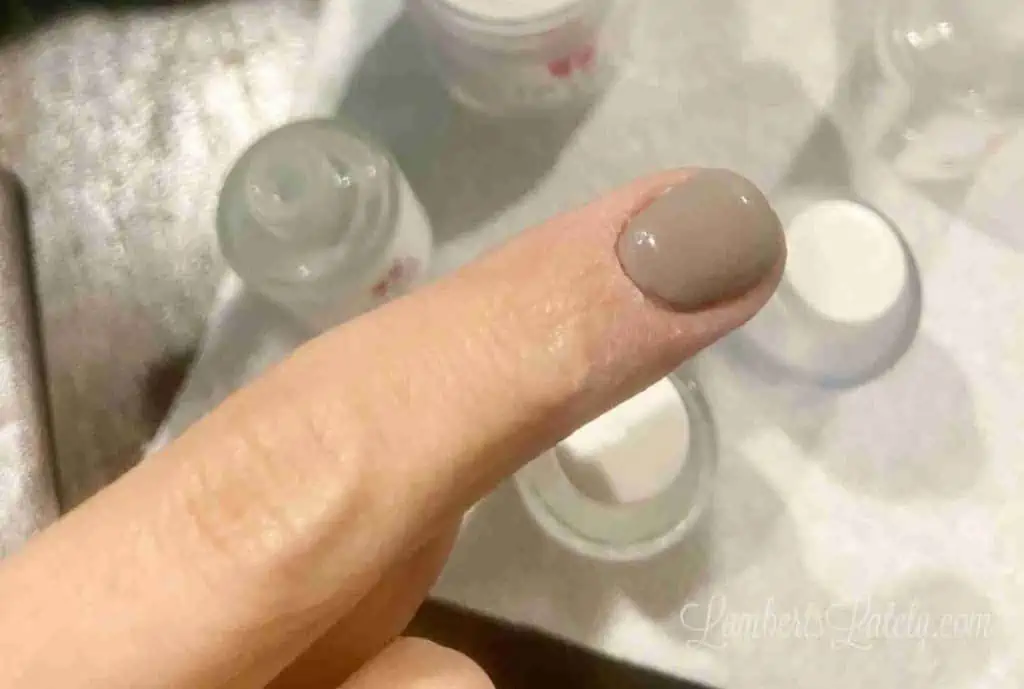
Put a the step 1 base coat over the whole nail (keeping off of cuticles) and let dry, without dipping in anything. I don't know why this helps, but it has gotten me a few extra days out of manicures!
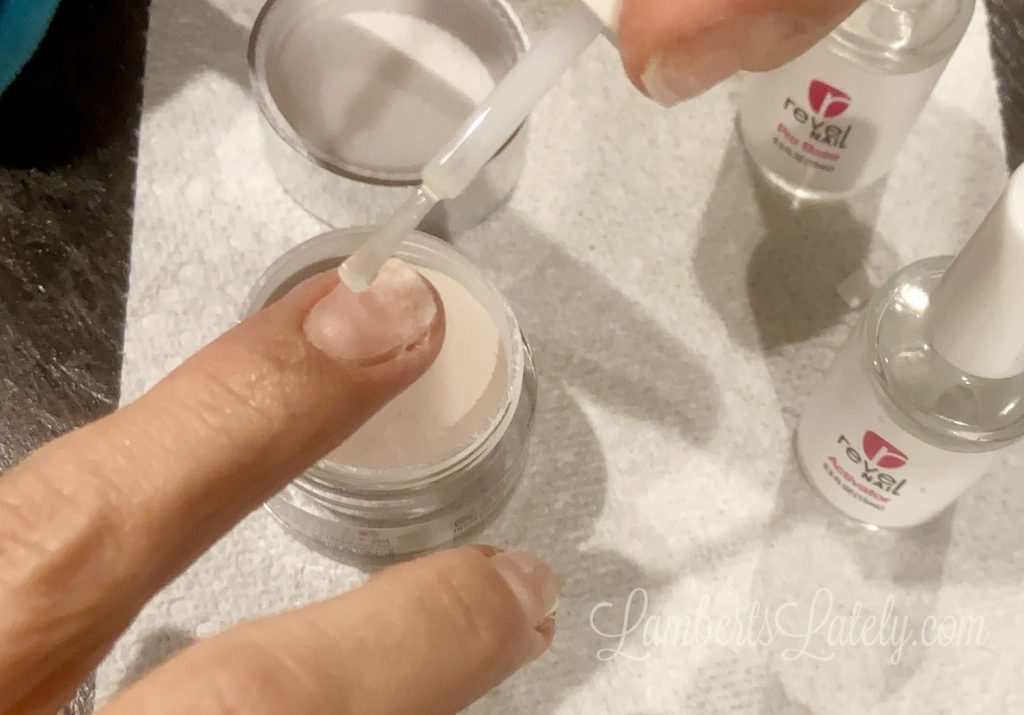
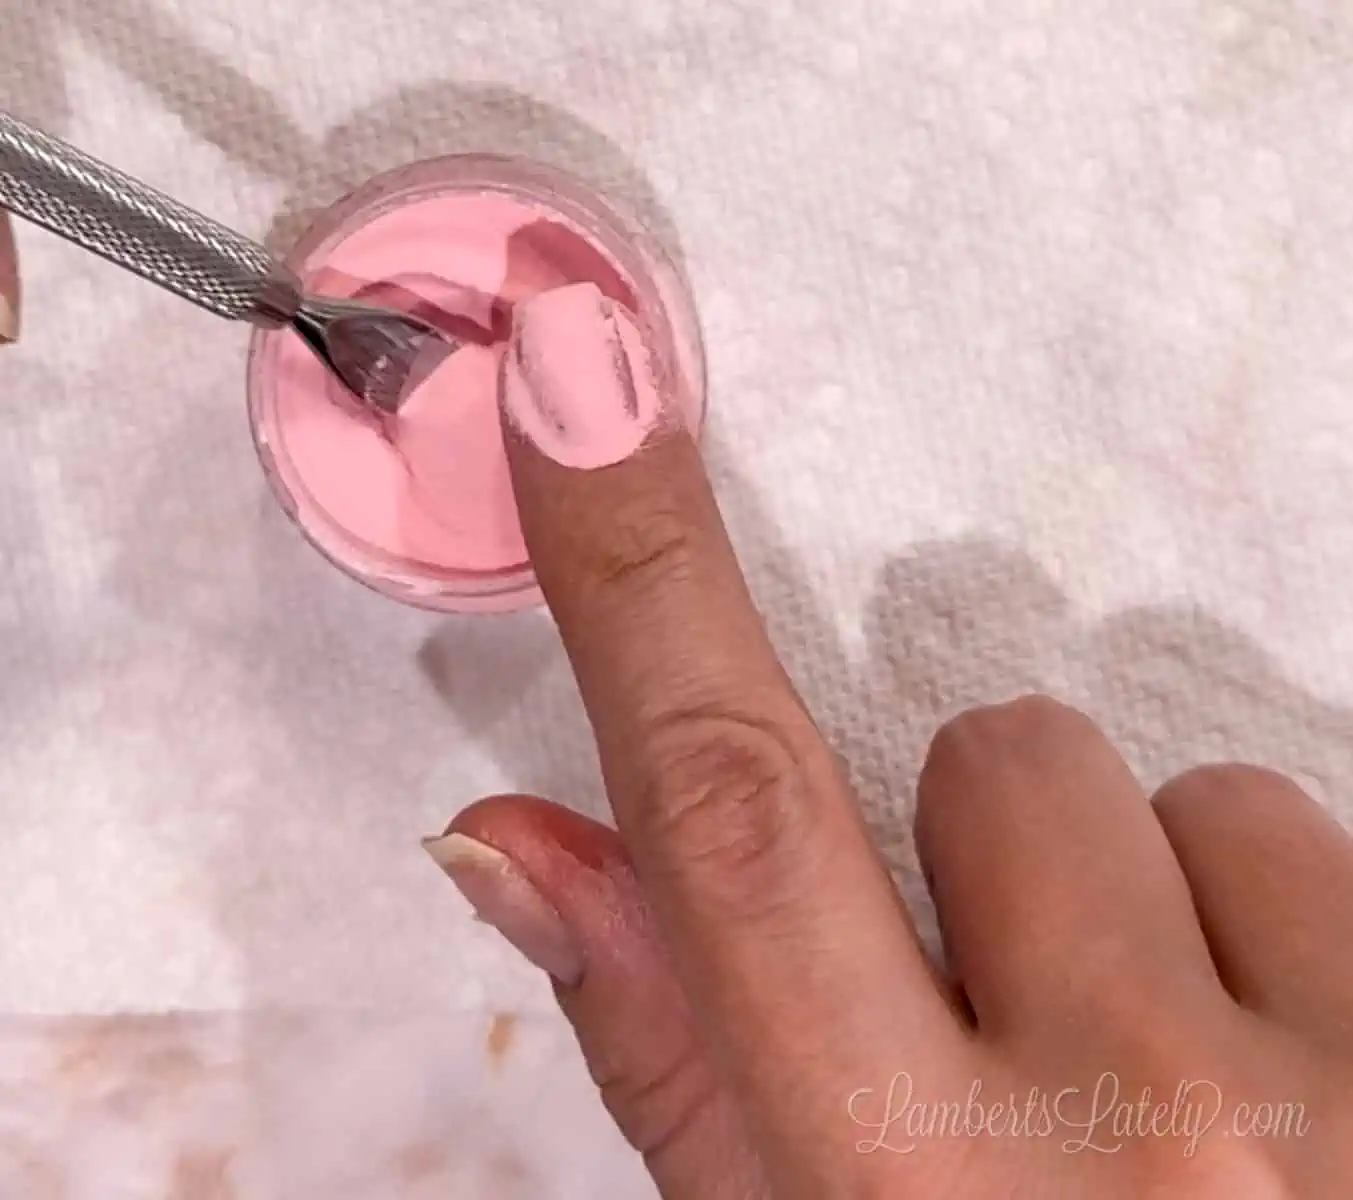
Next, apply another (thin) coat of Probase (step 1) over about ½ of the center of one nail and dip in the color of your choice for a few seconds. You're not covering the whole surface of the nail yet - this creates kind of an "apex" that makes the nail stronger.
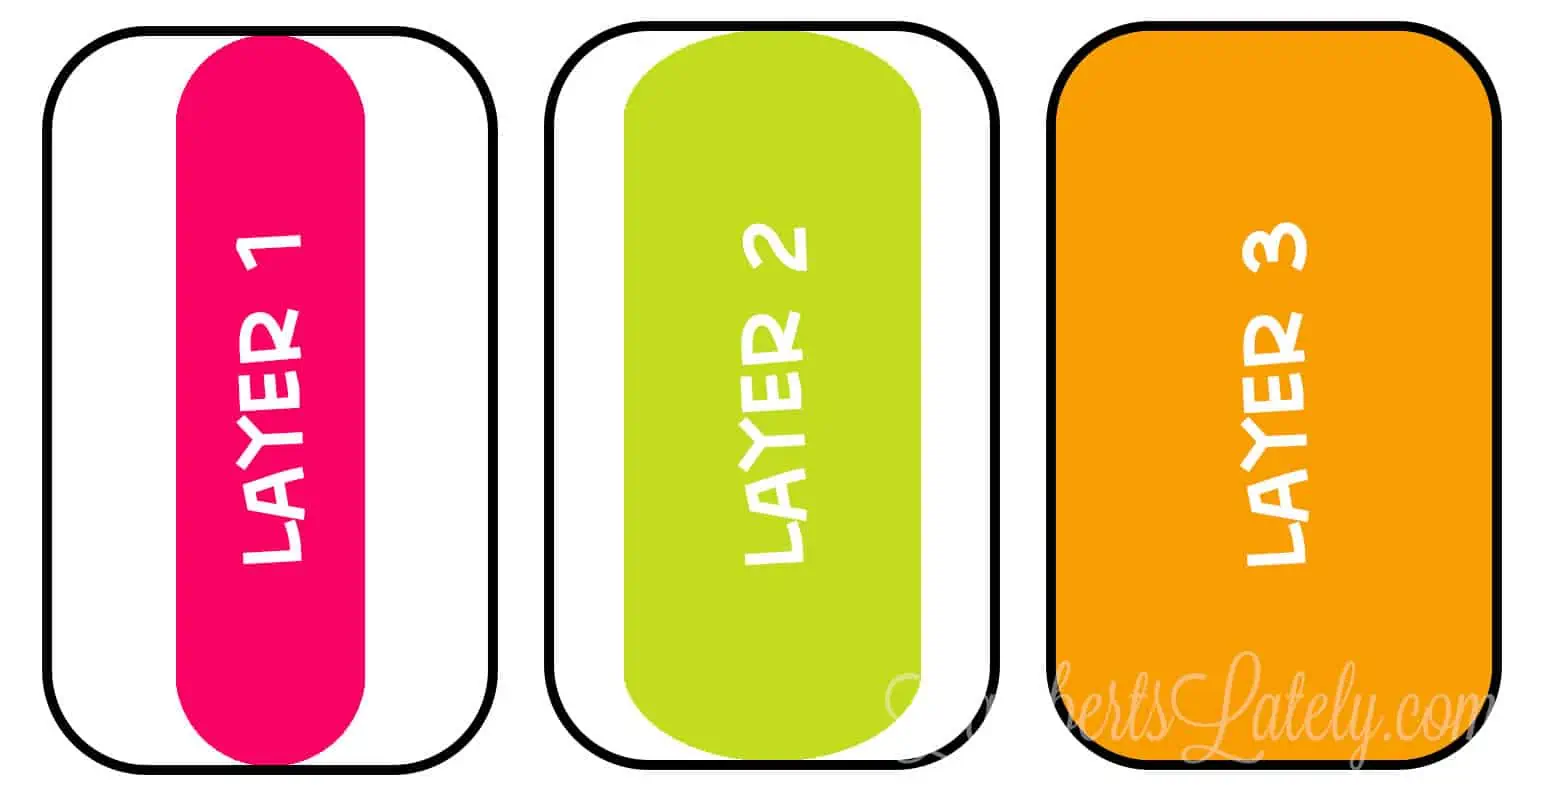
For the first dip, I cover about half of the nail bed with Probase, then dip. Start in the center of the nail and make that swath thicker as you move on to the next layers. The second layer will be about ¾ of the nail, then the entire nail on that third layer.
Another apex option is the "Tik-Tok method." (Guess where it started.) This is a better apex method for short manicures. For the first dip, cover the top third of the nail. Second nail ⅔ of nail and cover the whole nail on the third dip. This one gives the top of the nail more bulk and durability.
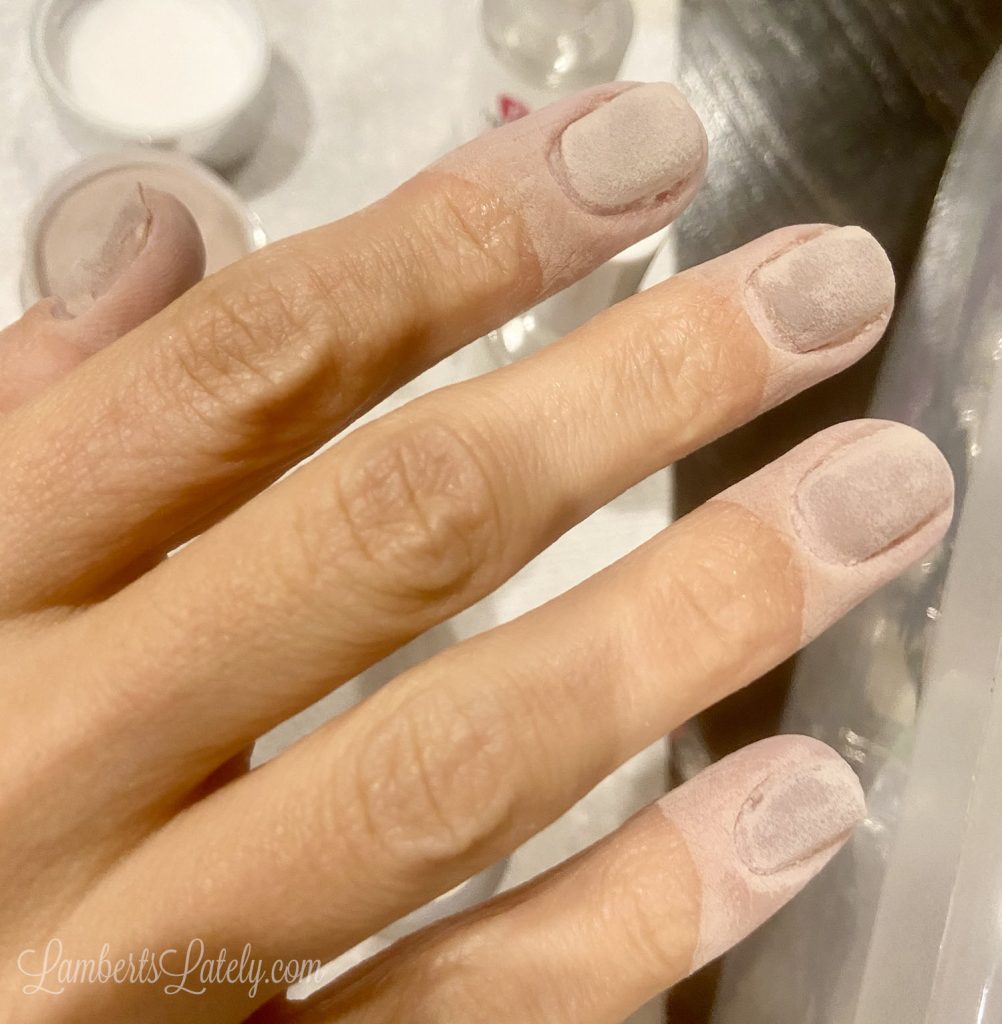
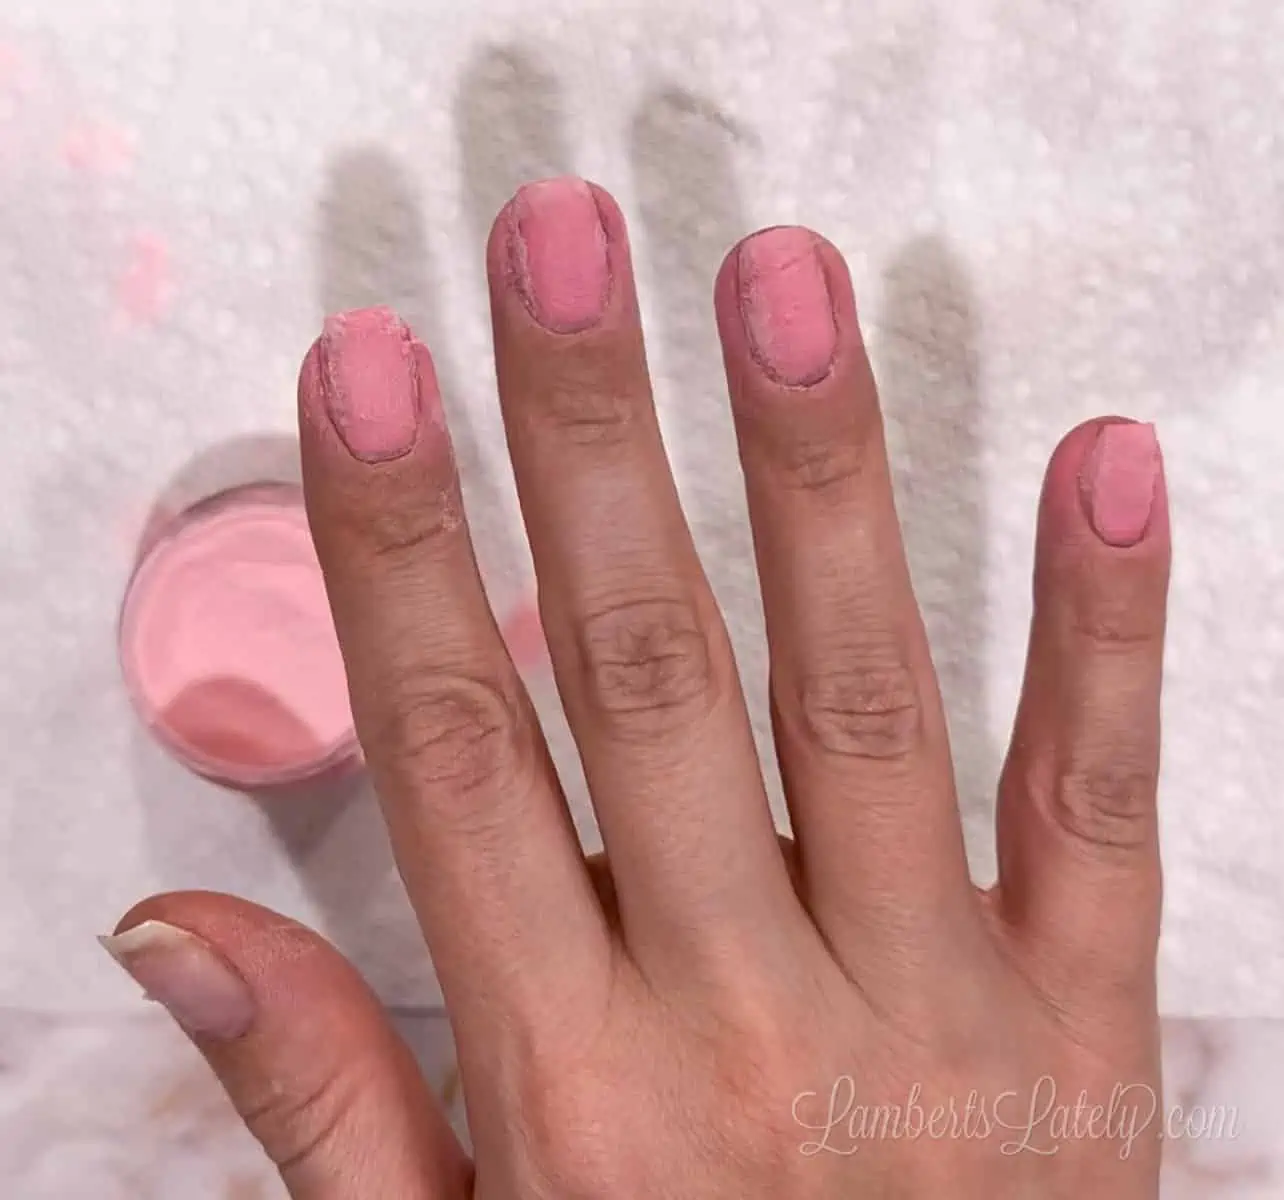
You'll need to do layers that cover the whole nail 2-3 times, depending on how thick you want the nails and how pigmented a particular powder is. I did 4 dips on this one (so one half layer, one ¾ layer, two whole layers).
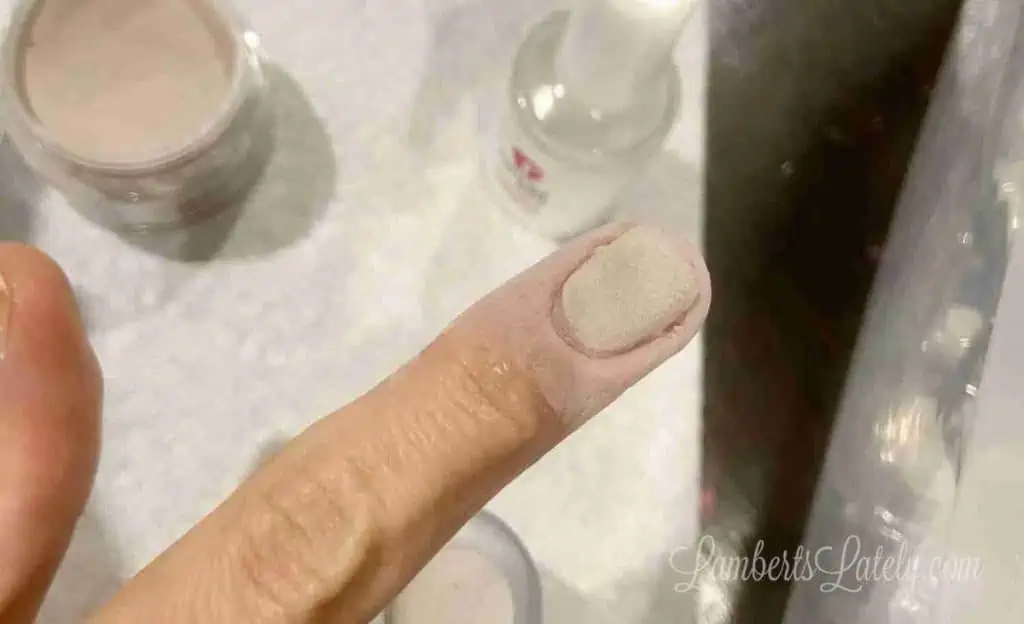
After you dip, remove your finger from the pot, let the powder settle for a few seconds, and make sure there aren't any wet areas on the nail (if there are, dip again).
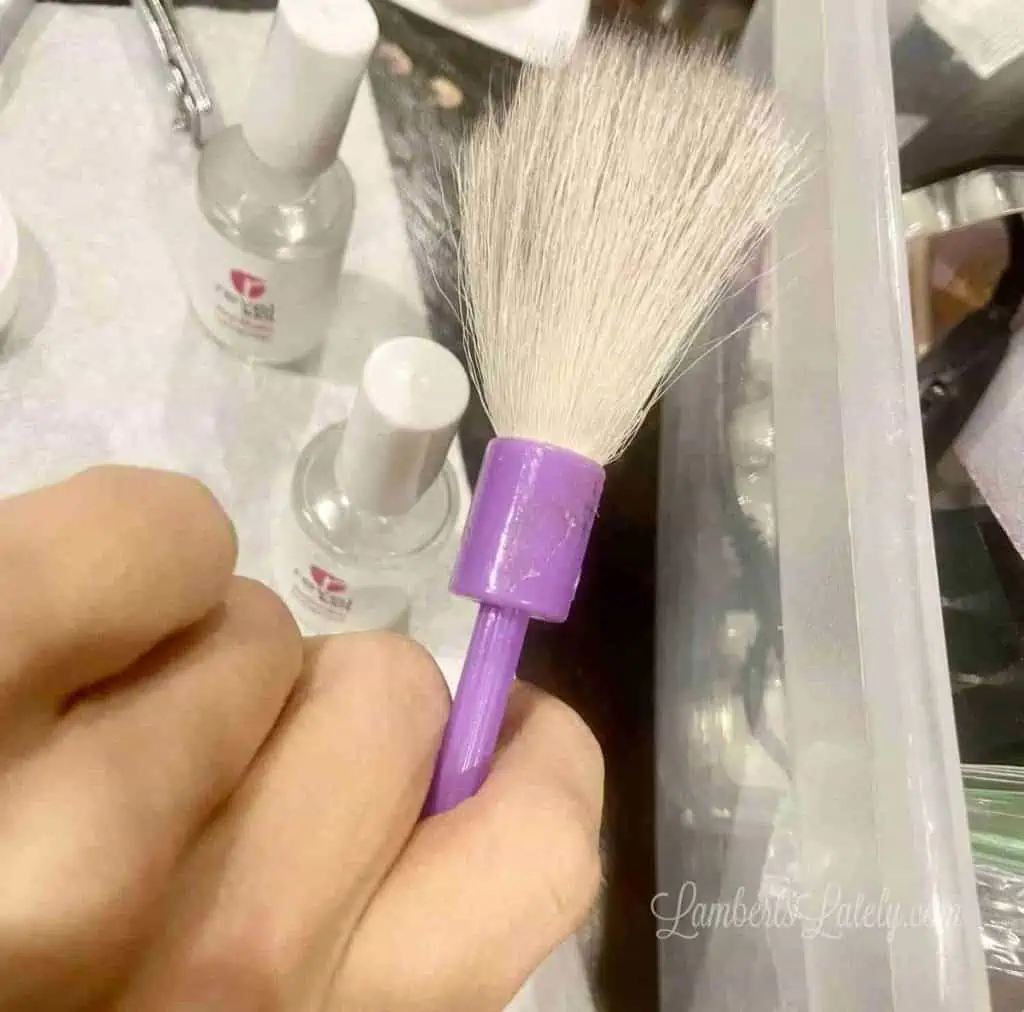
Brush off excess powder from skin around nails and surface of nails (very gently) with a light brush. This is one I used to use from one of my kids old geology sets 😂, but you can get a similar one here.
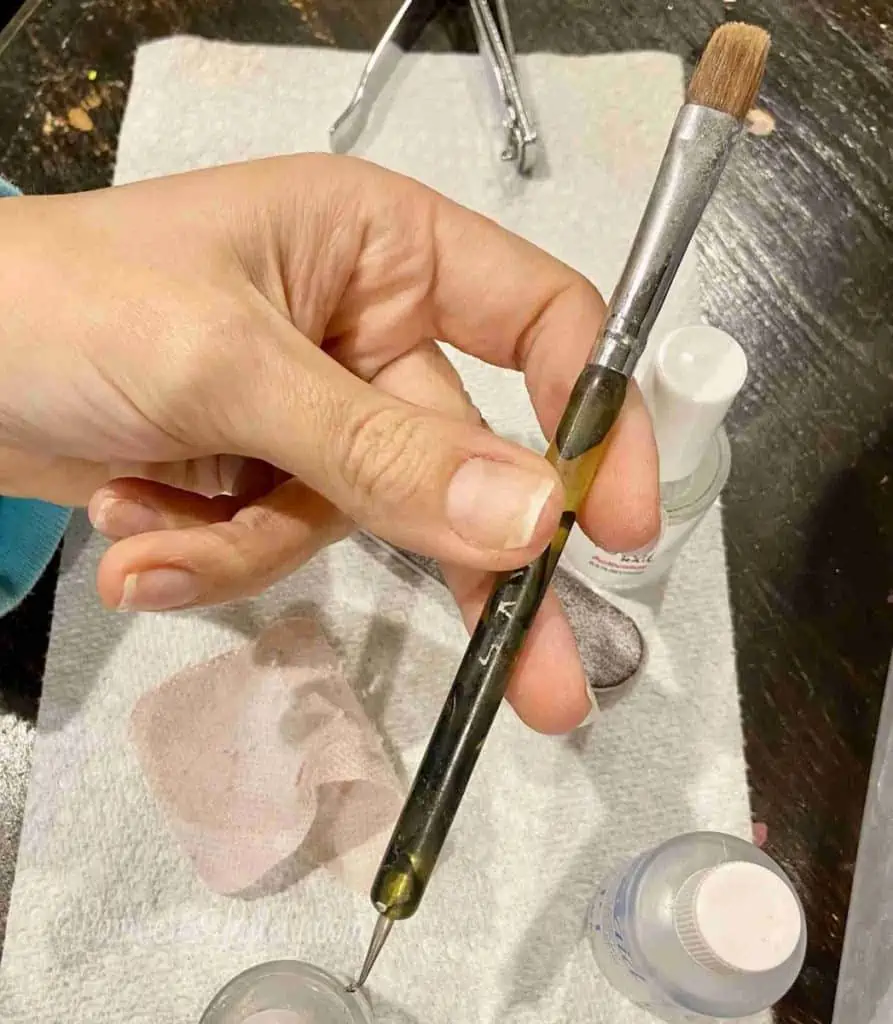
This guy is another one of my secrets for a great manicure. I use that pointy end to go around cuticles after each and every layer of dip to remove excess powder. This step is incredibly important!
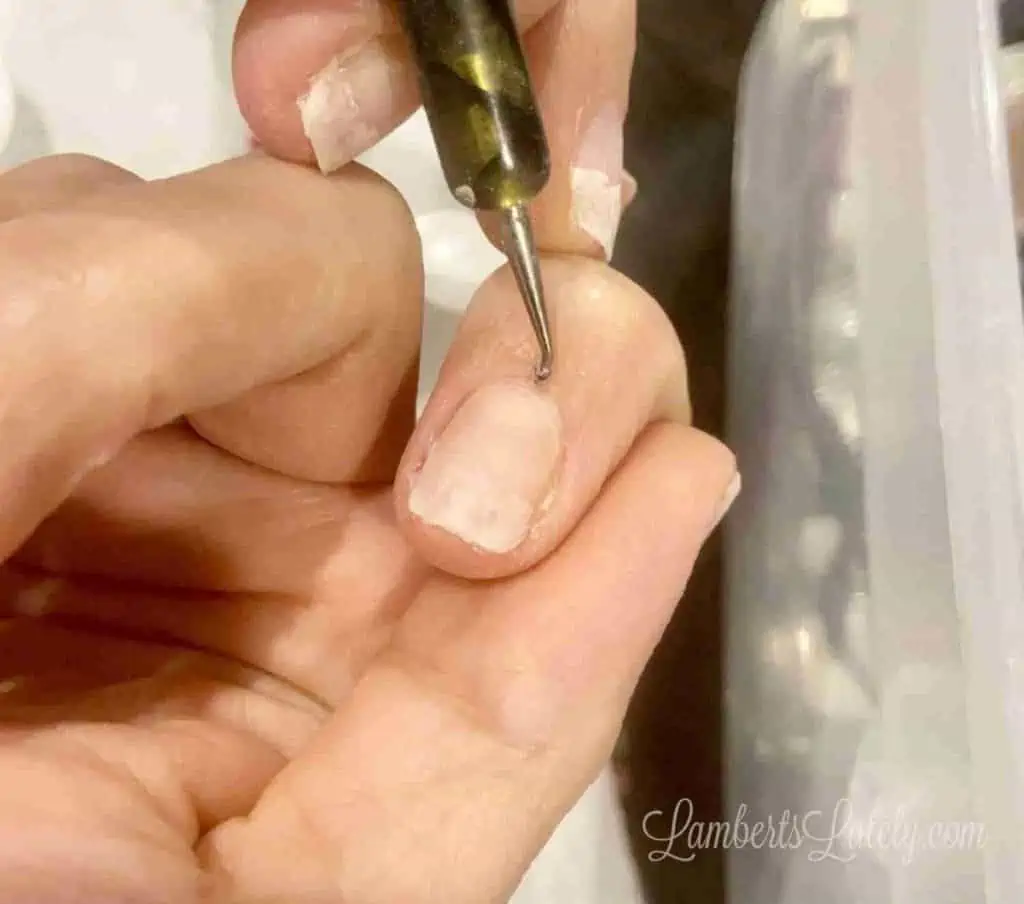
Using the pointy tip, kind of grab outward on your cuticle and sweep out any excess powder. There shouldn't be a huge gap between your cuticle and your dip once you're finished (less than 1mm), but a tiny gap makes sure your dip doesn't pool in your cuticles (which looks bad and can cause the manicure to lift early).
I do all of the nails on one hand at a time. One at a time, apply Pro Base, dip, brush off excess lightly, and use your cuticle tool to get any excess powder out of the cuticle.
Keep applying layers, the next wider than the last, until your nails are thoroughly covered and at the thickness you desire for your dip nails.
Step 3: Activate
Go over each nail one last time with the acrylic tool, double and triple checking that the cuticles are clean (this is hard to fix later if not done now). Brush away any excess powder one last time.
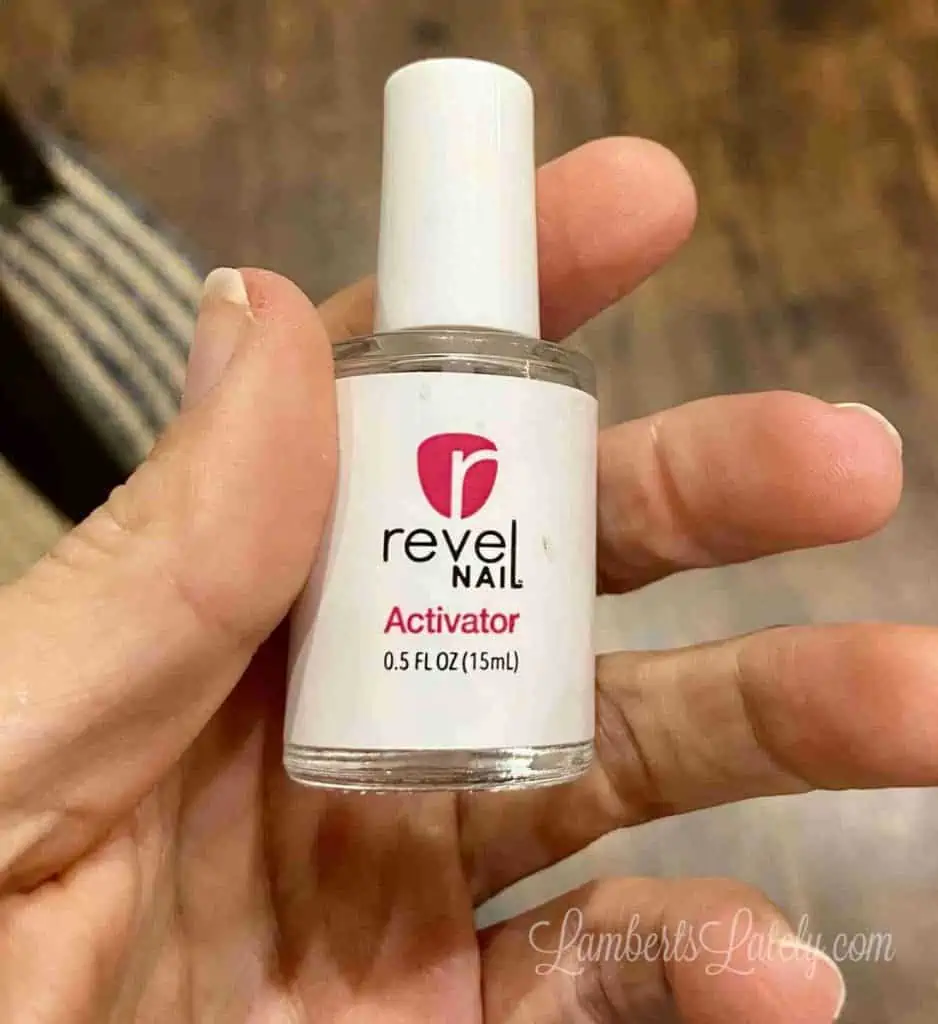
Then, use your step 2 (Activator) on each nail. This isn't really a polish, more of a liquid, so go over everything (including cuticles) well. It will dry almost like rubbing alcohol.
Allow to dry for a minute or two, until surface of the nail is hard.
Step 4: Shape and Buff
From here, you'll want to make the surface of the nail as smooth as possible. Concentrate on the cuticle area, making sure the transition at the sides from nail to dip is smooth.
File away any bumps in your dip - an E-file is nice to have around if your manicure is especially rough, but if the nail is smooth enough you can just use a rougher (around 100 grit) nail file.
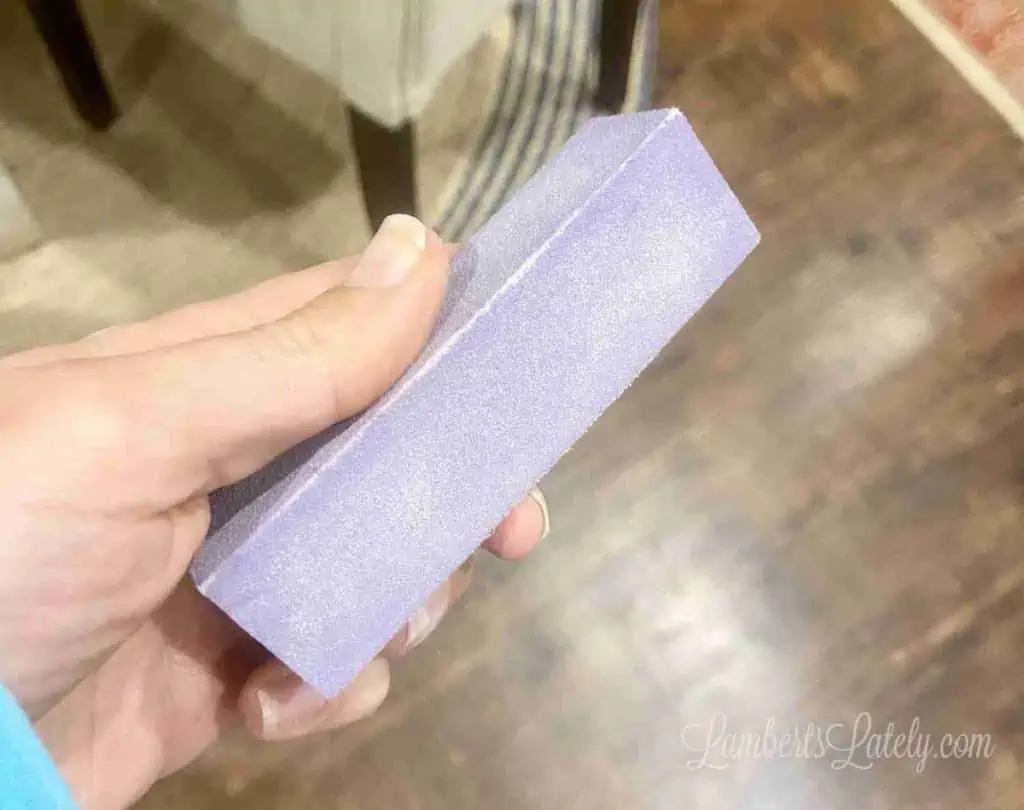
Once your nails are smooth and the sides are even, buff, buff, and buff some more! The more you buff, the smoother your final nail will be.

Step 5: Apply Top Coat
Once you're good with the smoothness of the nail, *technically* you can stop there if you want a matte finish - just be warned that the dip has a tendency of wearing down, making it smoother and less matte over time. A matte top coat might help with this.
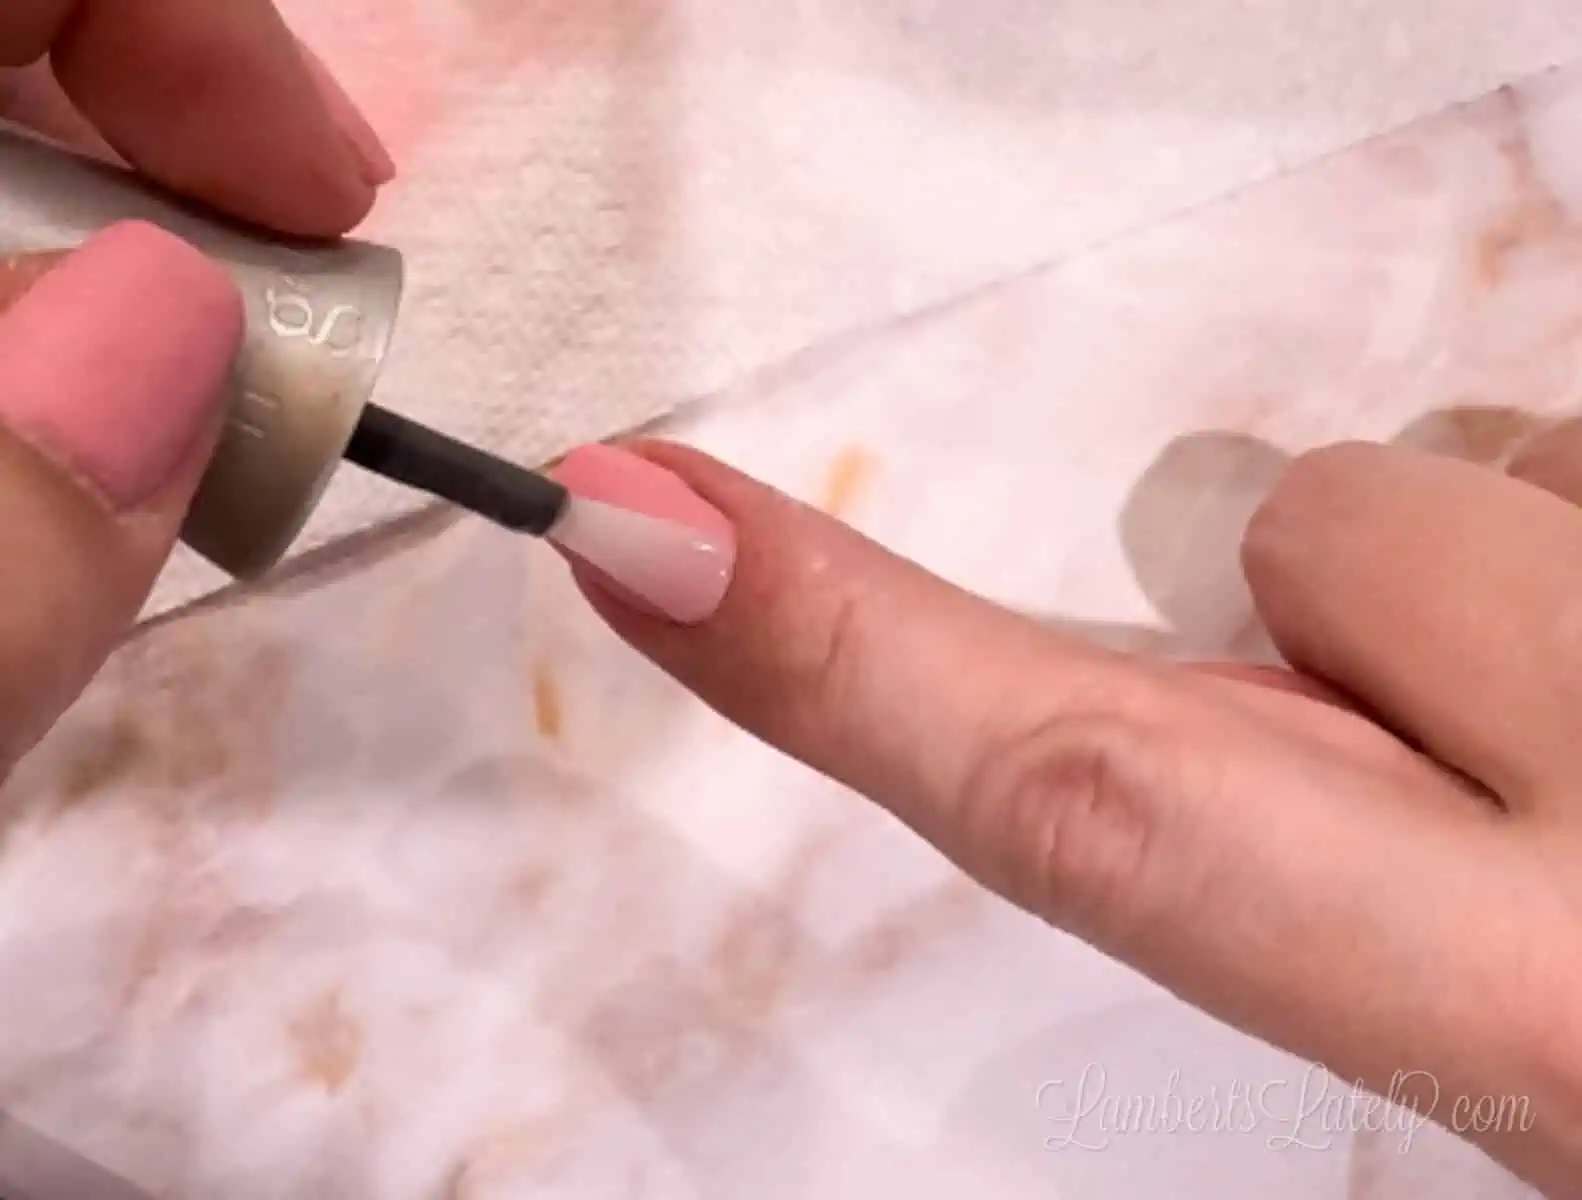
If you want a glossy finish, apply one kind of rough coat of the finishing polish (step 3) over most of the nail. Let that dry for a minute or two, then apply a much more precise coat that covers all of the dip (but not the cuticle).
And with that, you're done! I can normally completely do my nails (from removing the old ones to apply new ones) in a little over an hour.
At this point, you can apply your cuticle oil as desired. I use argan oil as my cuticle oil - works great!
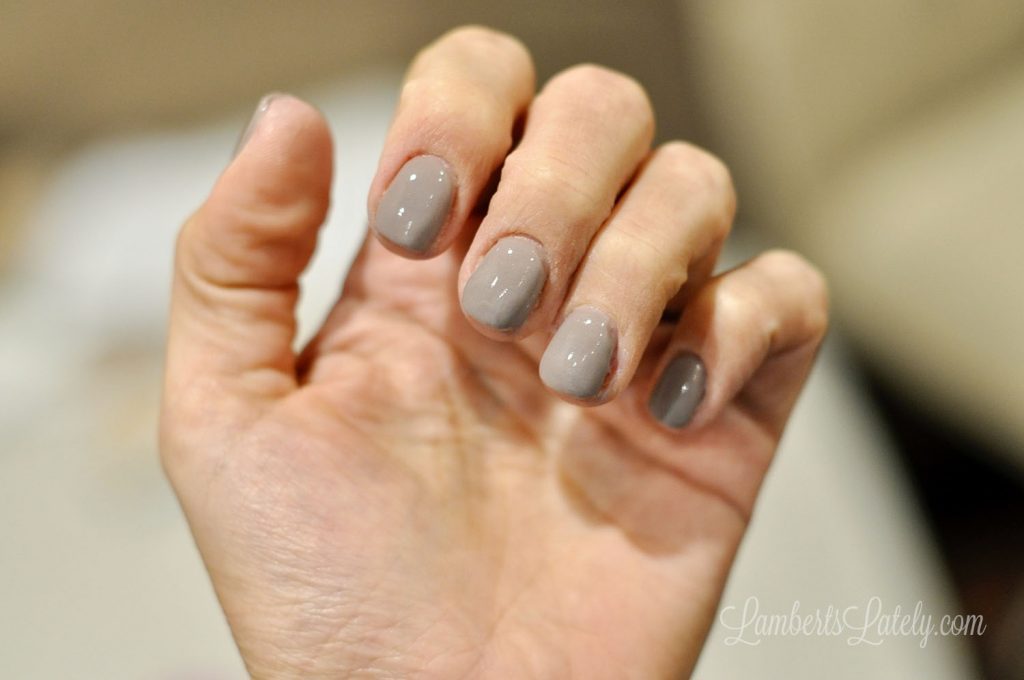
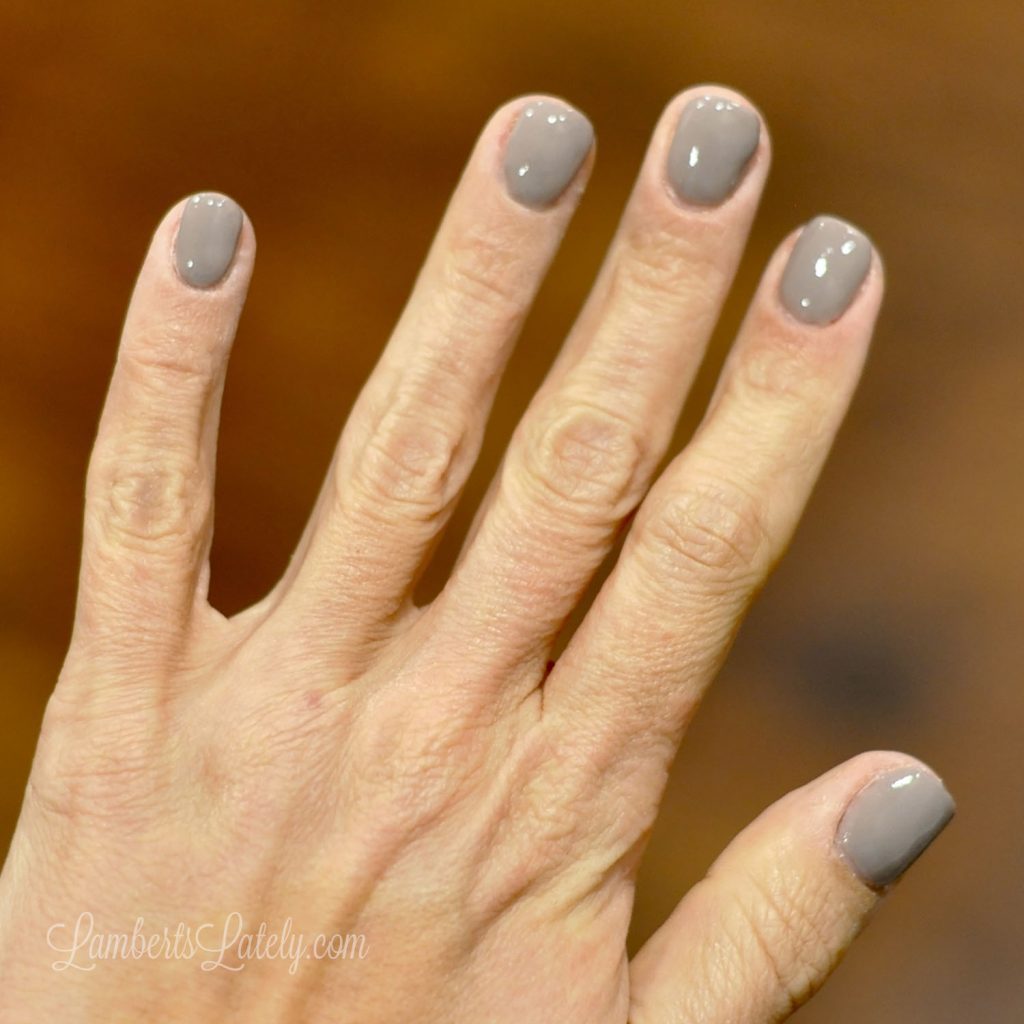
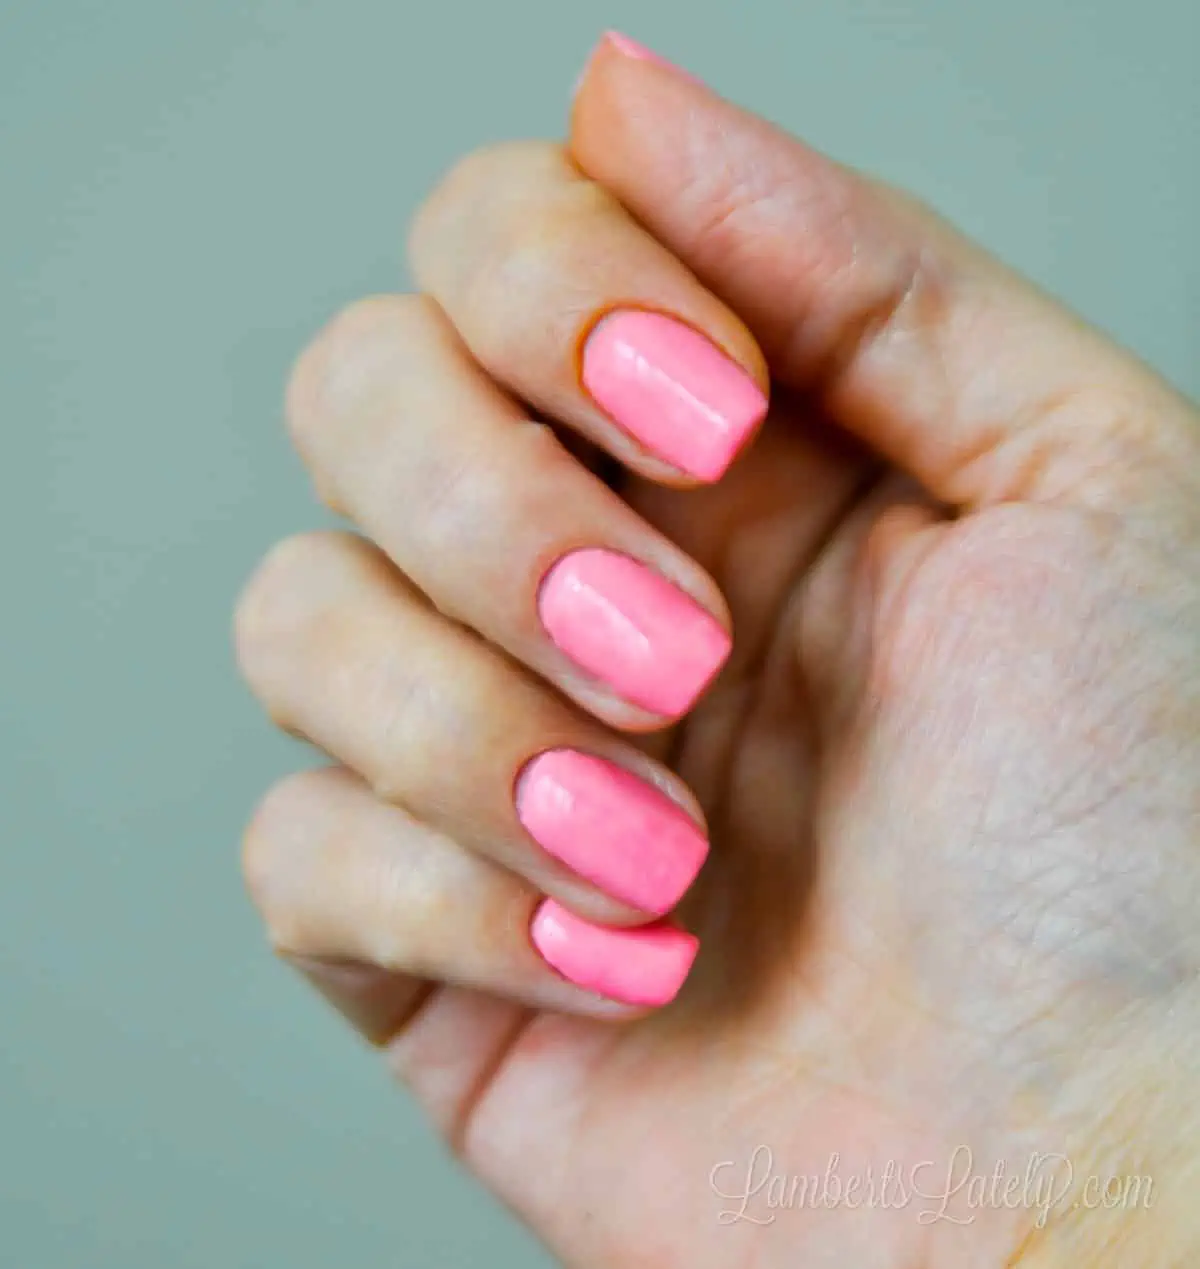
I thought I'd document how durable these nails are...

You can see the biggest problem is growth - no chips, no damage, and nails stay super glossy (and, like I said, I'm incredibly rough on my nails).
Option 2: How to Do Dip Nails at Home with the Gel Method
Now, if that first one works, why another method?
I posted the first version of this post in 2021. Over time, I discovered that I was allergic to the traditional dip kit's liquids. It's a somewhat common problem. Not only does my skin go crazy after being exposed to step 2 of the traditional kit, but I have what's called "dip flu" every time I use that method.
What is dip flu?
Dip flu is basically an allergy attack. Stuffy nose, sore throat, sneezing...think seasonal allergies, but for me, worse. It's not really a huge deal, but nobody wants to be "sick" for a few days each month because of their nails.
I switched to this method maybe 6 months ago and haven't had dip flu since!
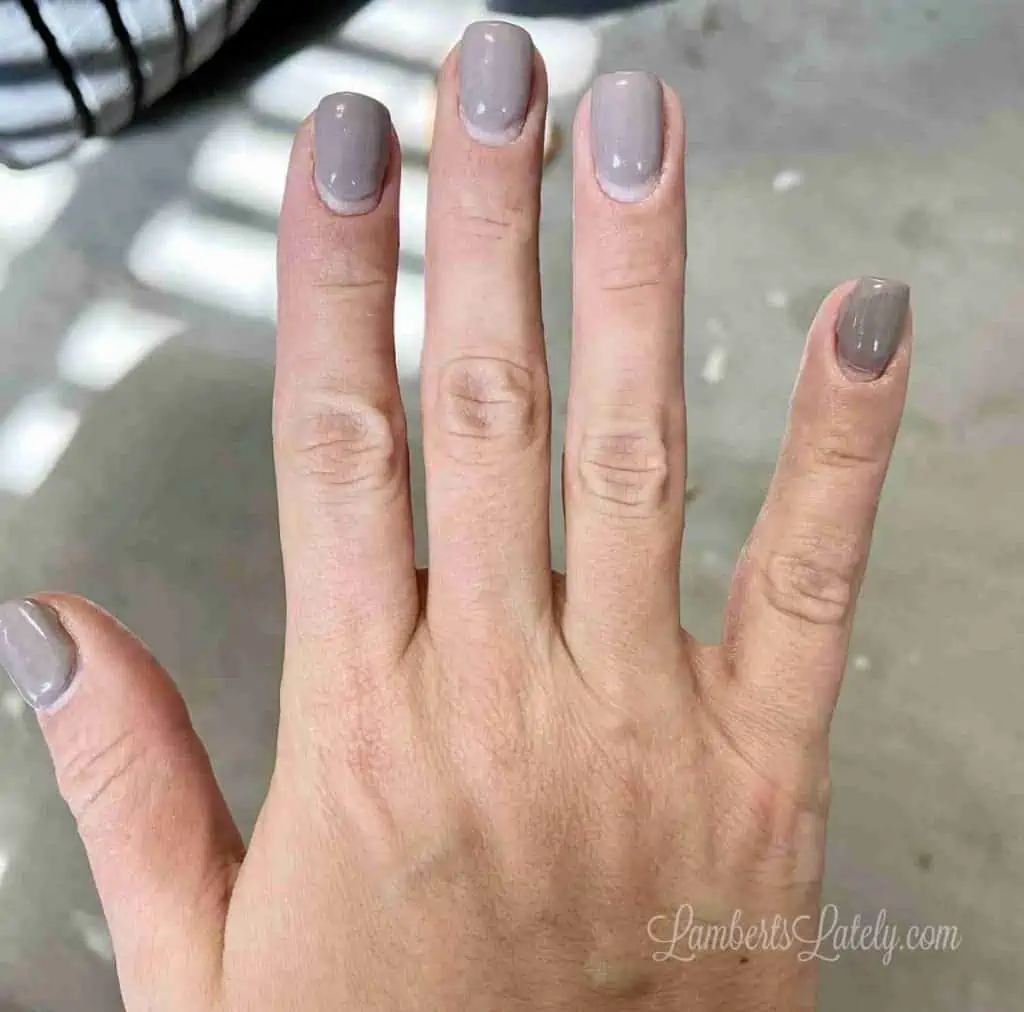
I've found this method to be a little bit less expensive. You only need 2 bottles of polish for this, and they last so much longer than dip liquids (that can dry out really easily). This method's nails also last way, way longer for me - I got four weeks out of this manicure!
I normally don't let mine go this long, but I really just wanted to see how long they would last. I only had to glue 2 nails back on, and that was after the three week mark. This was done using the gel method...it works!
The gel method isn't for everybody, but it's at least worth a try if you have had any allergy issues with dip liquids.
Gel Dip Powder Method Supplies
- Nail File and Buffer Block
- Nail Prep and Wipe
- Lint-free wipes
- Optional Nail Tips
- Dip Powder of Your Choice (I use Revel's Hottie in this tutorial.)
- Gelish Foundation and Top-Off
- Gel Curing Light
- Acrylic Brush/Pen
- Nail Brush
- E-file Drill
Step 1: Prep nails; buff, file, apply tips, and apply bonder.
Same process as the traditional method; file nails to your desired shape, adding tips if needed. Buff the nails to take the shine off and apply a bonder/dehydrator to your nails.
(This bonder is a little different than OPI Bondaid. I still think Bondaid is great, but this one doubles as a tacky layer wipe after you finish gel nails. If you don't have this one, rubbing alcohol works too.)
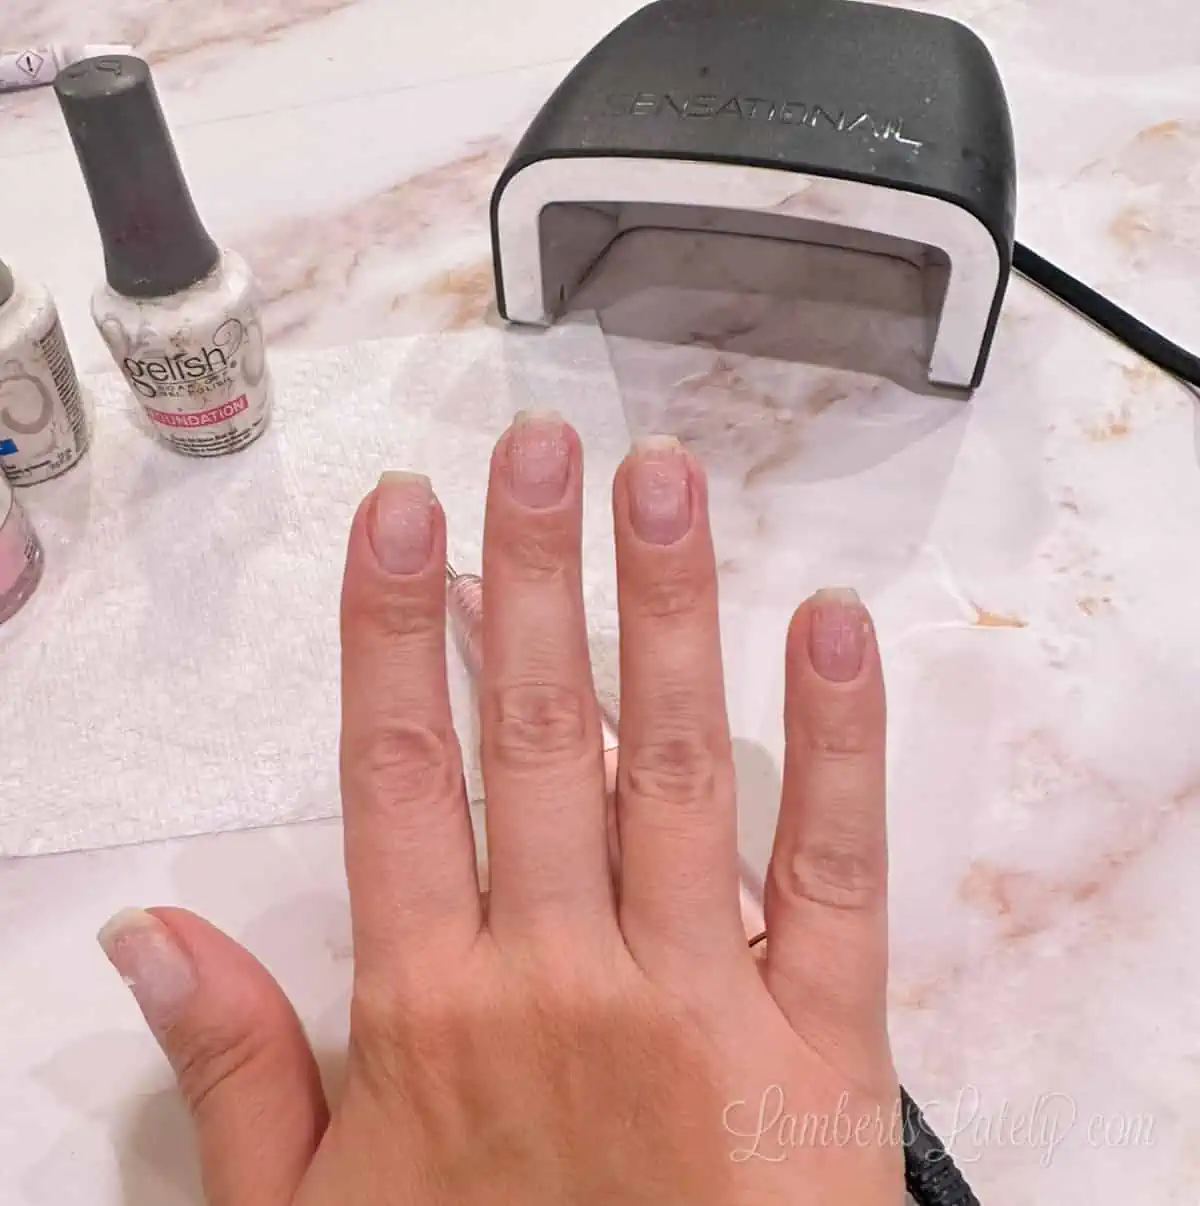
Step 2: Apply one layer of foundation and cure.
Before even starting with the dip powder, apply one layer of the step 1 in the gel polish kit (Gelish Foundation for me) and cure for 30 seconds. This gives it a sticky layer that's great for getting the remaining layers to bond well.
Step 3: Apply first layer of gel polish foundation and powder; cure.
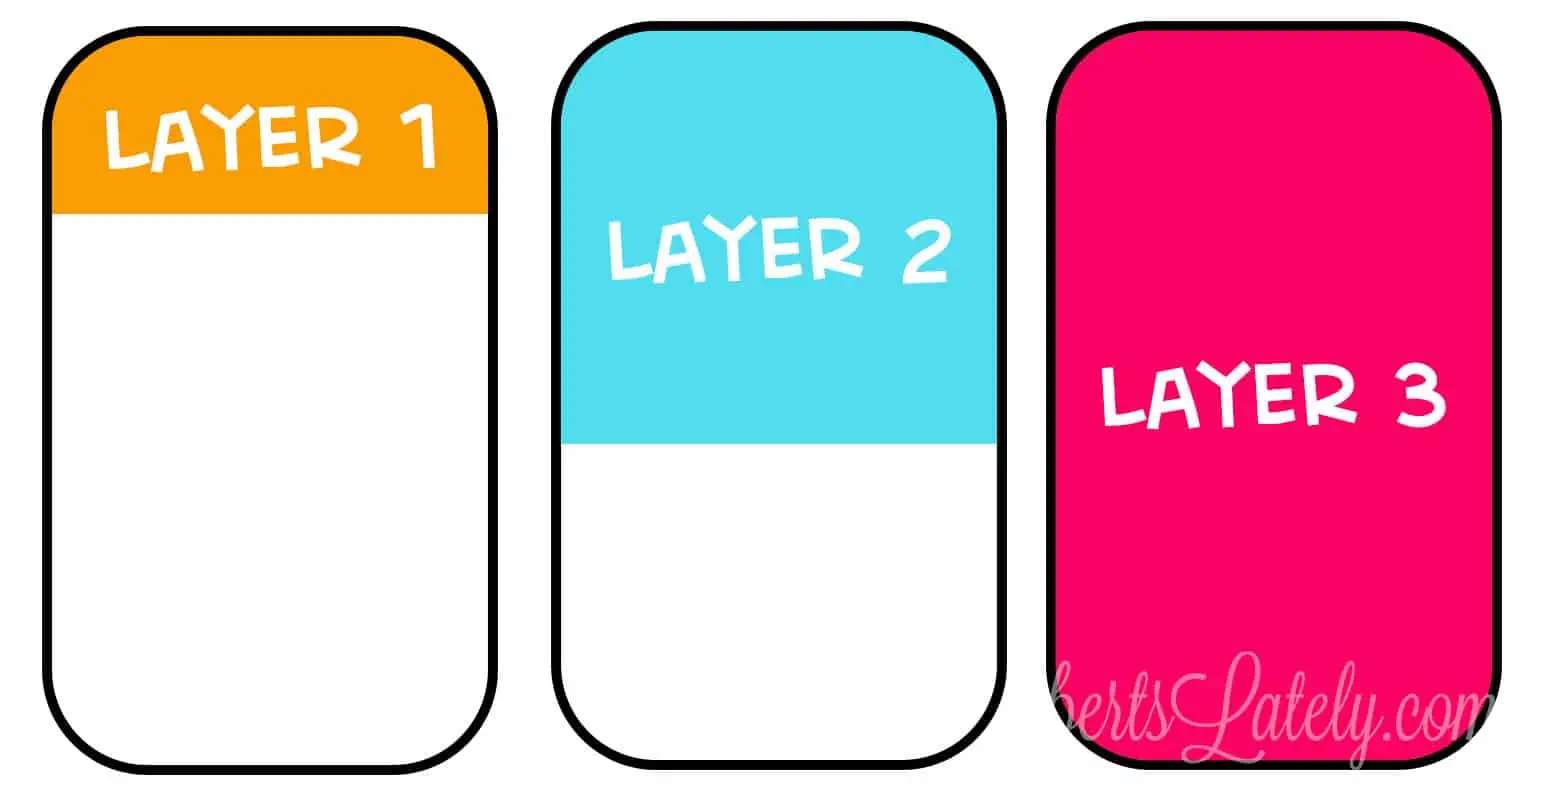
Now, apply another (pretty thin) layer of gel polish on about a third of the nail (see diagram above for apex method). The color I'm using in this dip is Revel's Hottie.
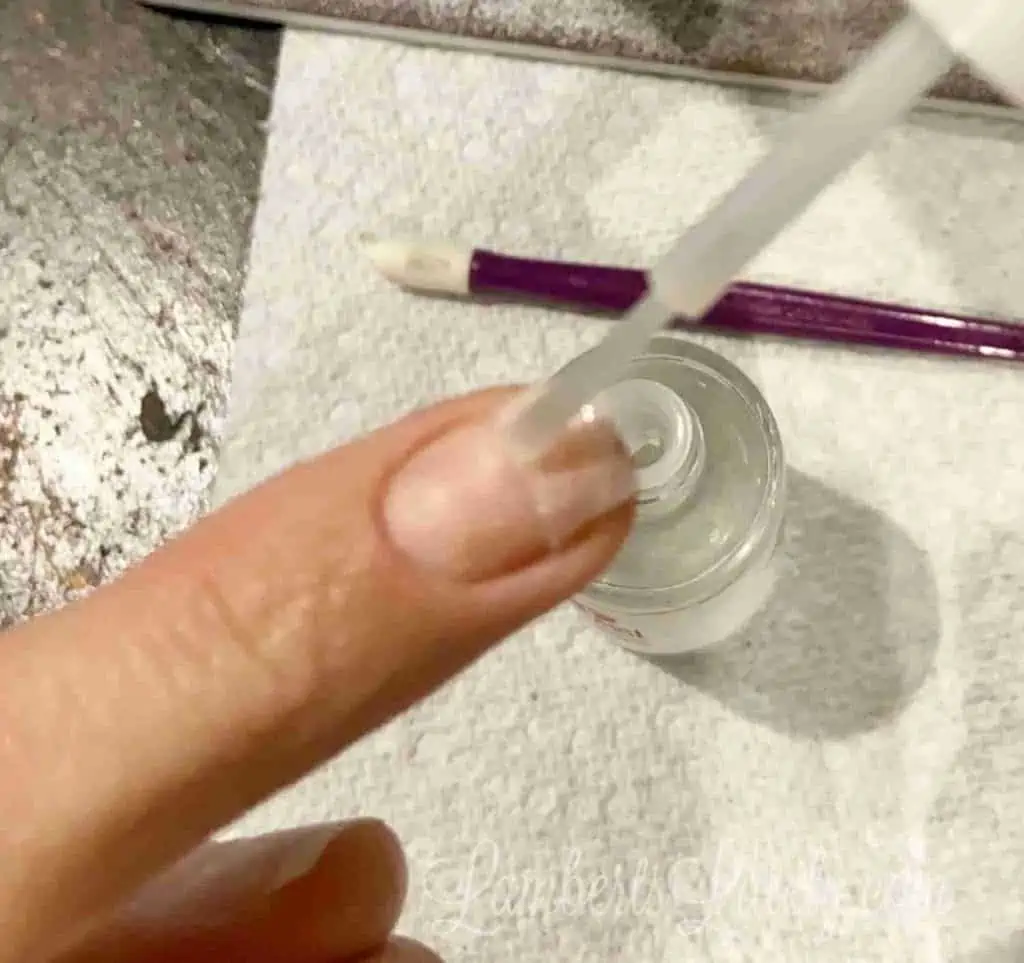
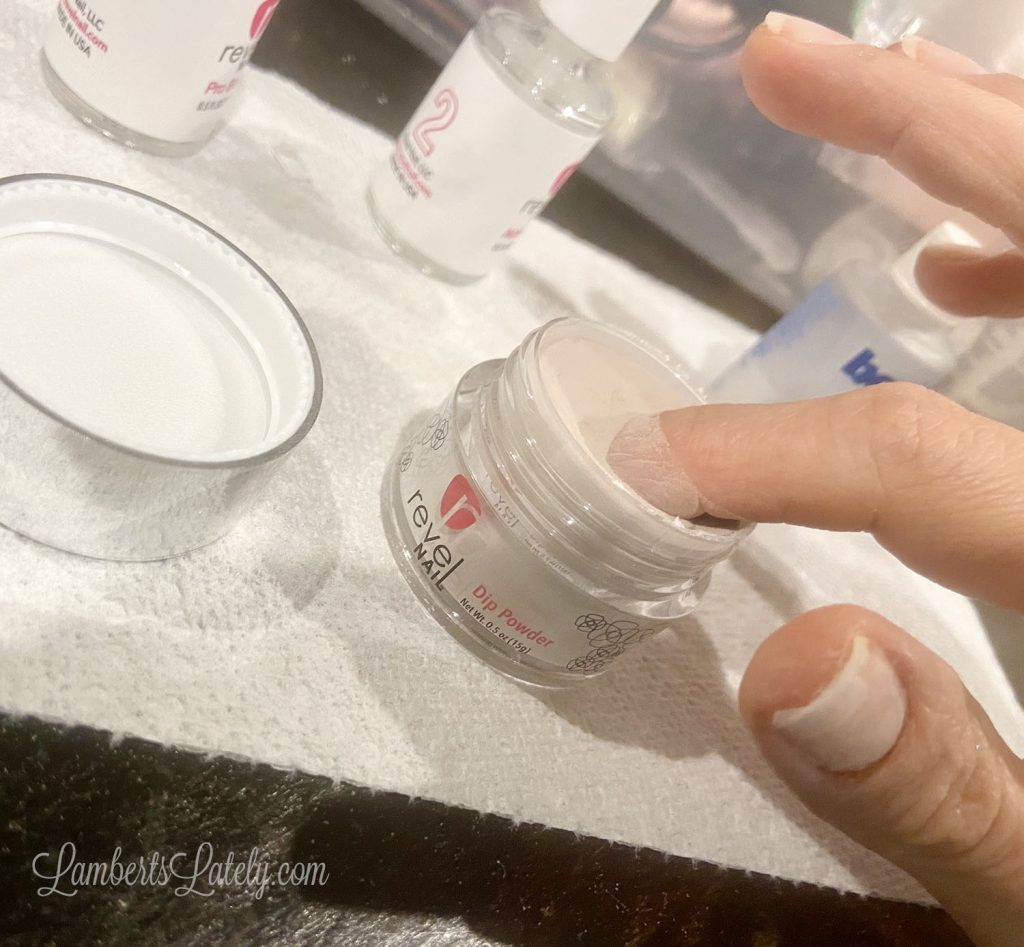
I also use what's called the pour over method now. Instead of dipping, hold your step-1-covered nail over the powder container and pour powder over until covered. It makes for much less buffing after application. You can use an old spoon or (what I'm using) a cuticle pusher to scoop and pour.
Dip or pour over your nail, shake off any excess, and let the powder settle for a few seconds. If you start to see any part of the nail get wet again, re-dip or re-pour.
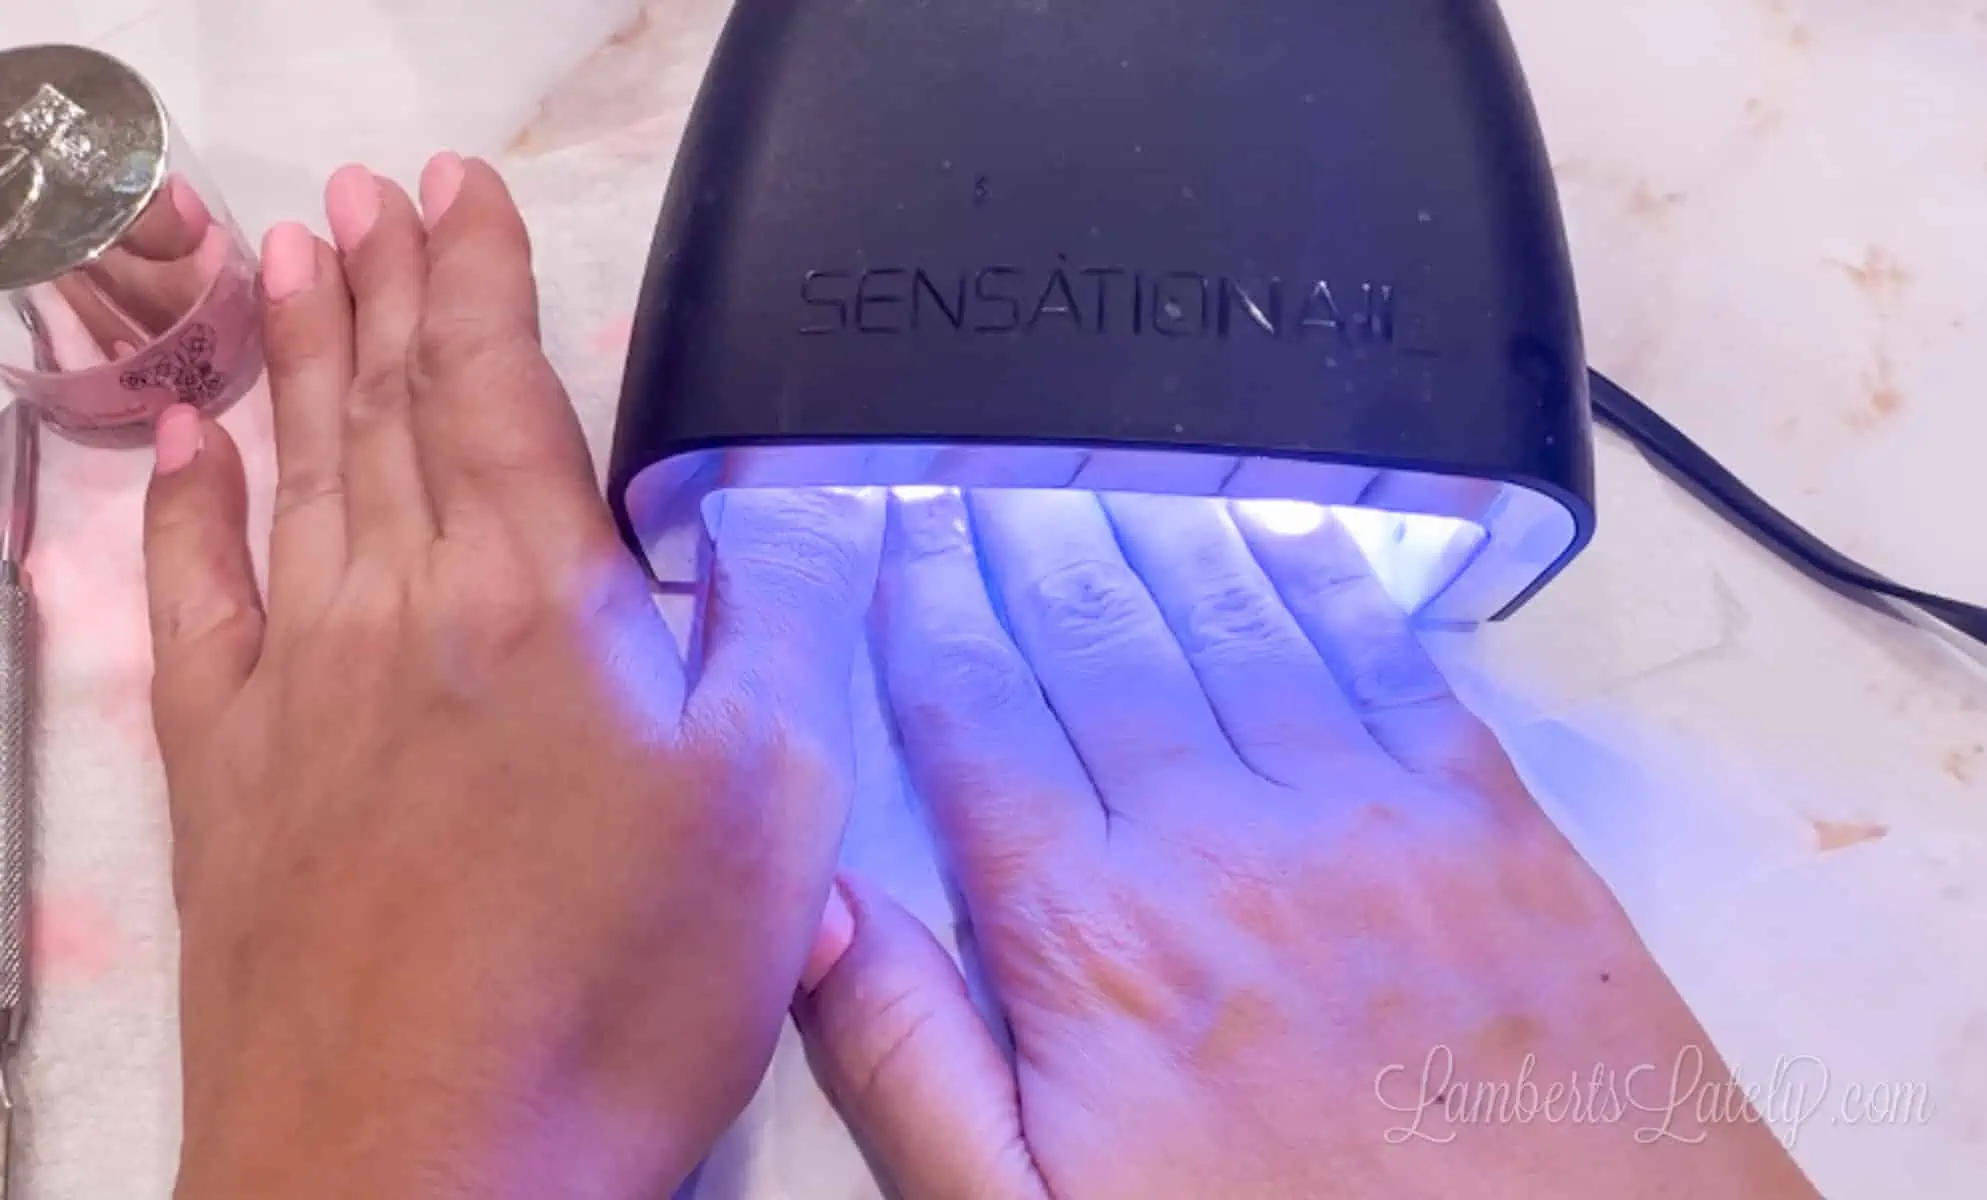
When doing my nails, I do four non-thumb nails on one hand and the thumb on the other hand. It's hard to get your whole hand (including thumbs) under the UV lamp. This little trick lets me get five fingers done at a time without having to cure the thumbs separately. (Of course, if your light is big enough for your hand, disregard this.)
There's been a lot of talk lately about the safety of UV lamps. That's one downside of this method...we just don't know if the UV exposure is a big danger. You might want to invest in a pair of fingerless gloves for using the UV light, I just haven't done it yet.
Once you get a whole hand's worth of nails done, brush them off with a nail brush and run your acrylic tool around the cuticles (as described with the first method) to make sure no powder is stuck in the cuticle. Then, cure under the light for 30 seconds.
Step 4: Repeat layers, making apex wider.
Apply a second coat by brushing about ¾ of the nail with foundation step 1. Dip, brush off excess, go around cuticle, and cure.
Keep going until the whole nail is covered and repeat the whole-nail coats a few times until you reach your desired thickness.
Step 5: File and buff.
One nice thing about the gel method is that you don't have to wait for a hand to dry. Once it's out of the light, it's completely cured! So, as soon as you cure that last coat, start filing.
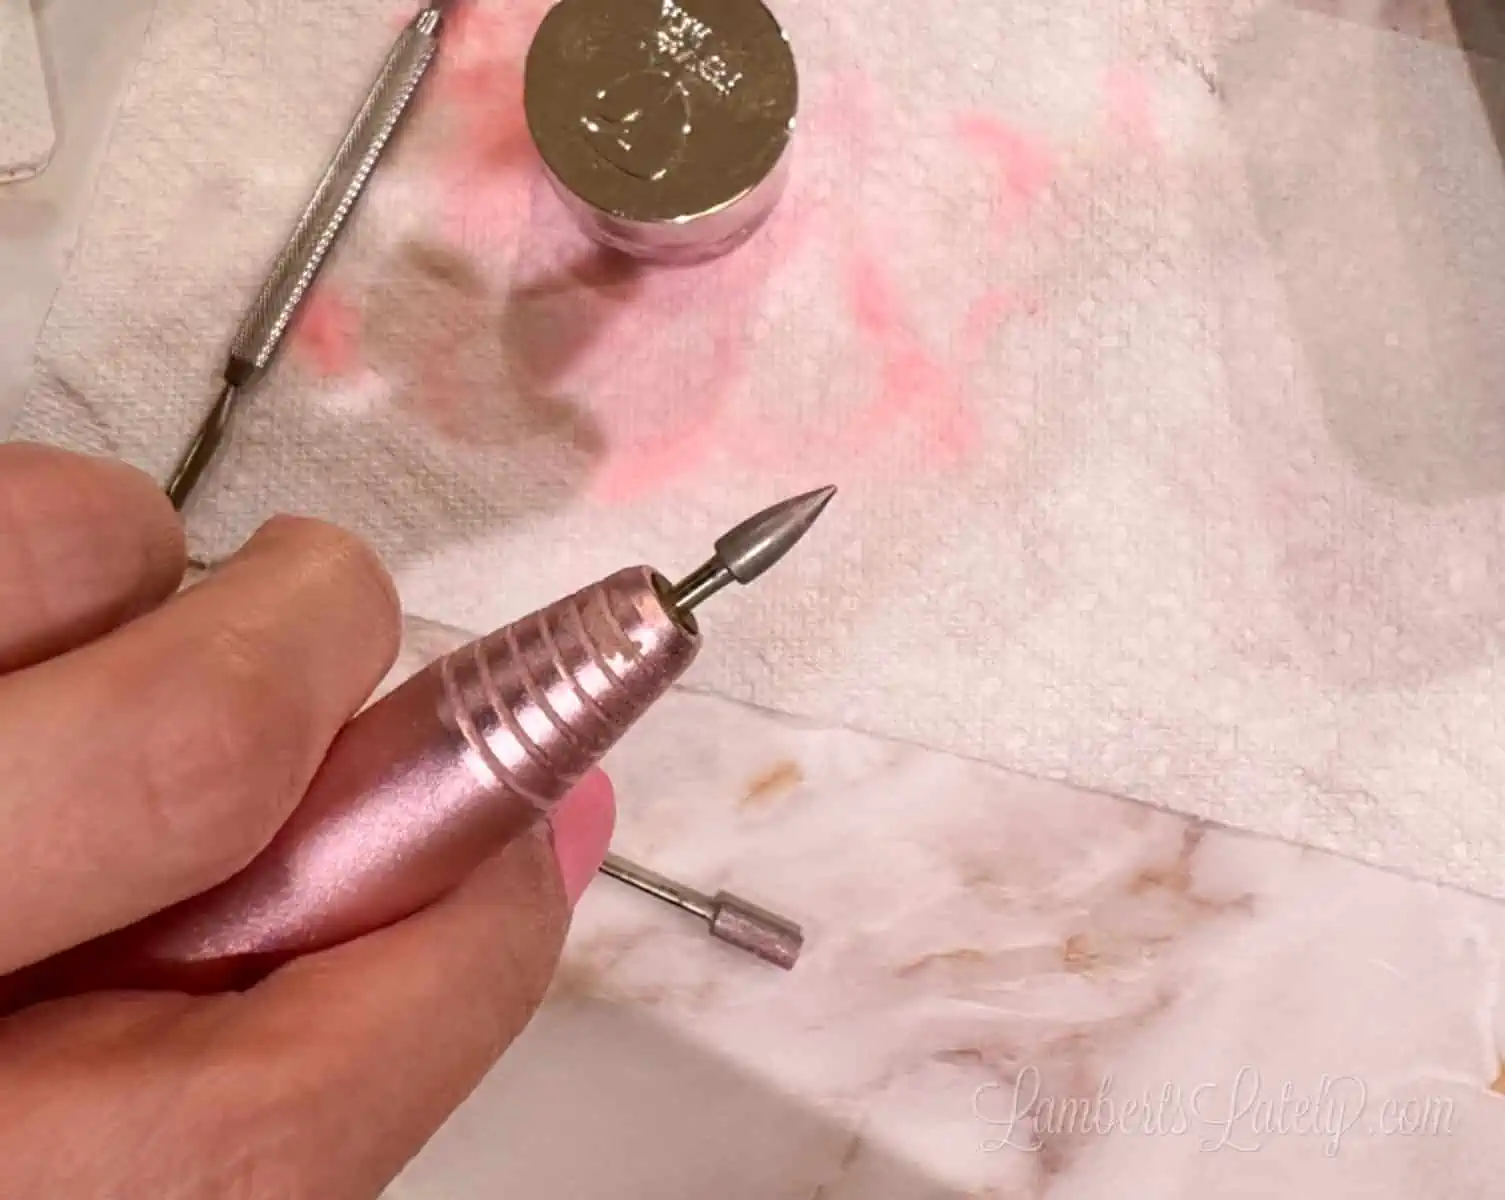
I use an e-file now because it's just so much faster. There's a little bit of a learning curve to how heavy to file, but once you figure it out it's just the better option. I also like that my e-file includes cuticle tips (seen above) to really get that cuticle area even and level.
I go over the whole nail with the barrel-looking tip, then use the cuticle tip to get the edges clean.

After filing, buff your nails. This gets out any harsh lines from filing and makes sure the nail is nice and smooth. If it isn't smooth, you'll notice after polishing!
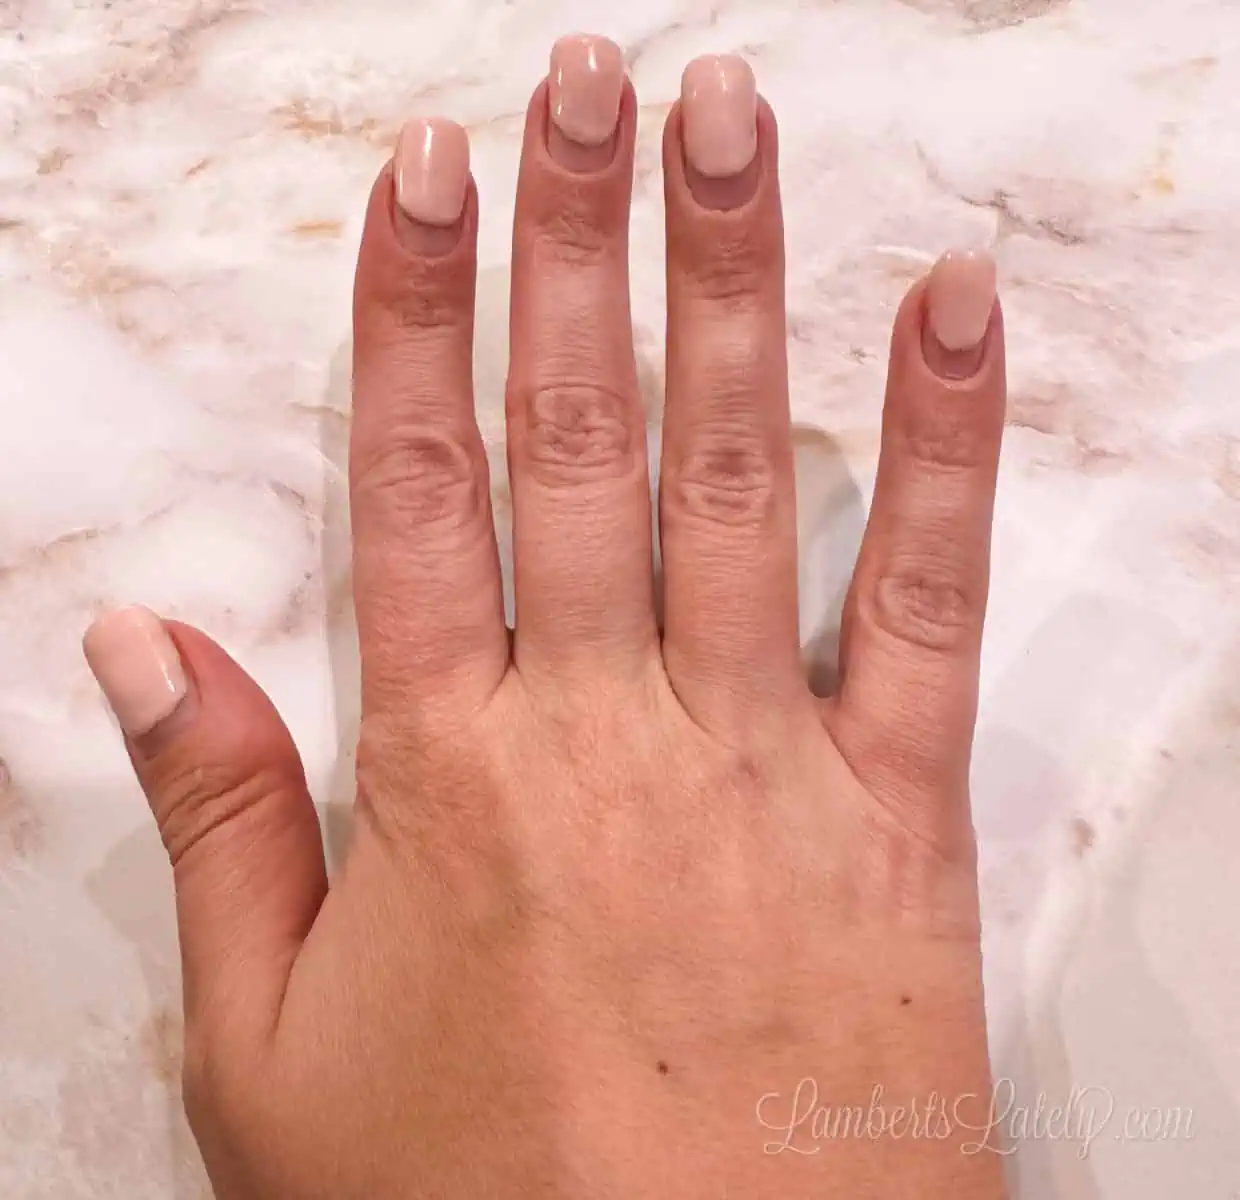
Step 6: Apply top coat and wipe away tacky coat.
Once nails are filed and brushed off one more time, you'll simply apply the step 2 gel top coat and cure. Make sure the top coat doesn't pool in your cuticles before curing under the uv light. It's easy to fix this before curing but really difficult after.
Also make sure you're capping the ends - this helps your manicure last longer! Just brush a little bit of step 2 over the top edge of the nail before curing.
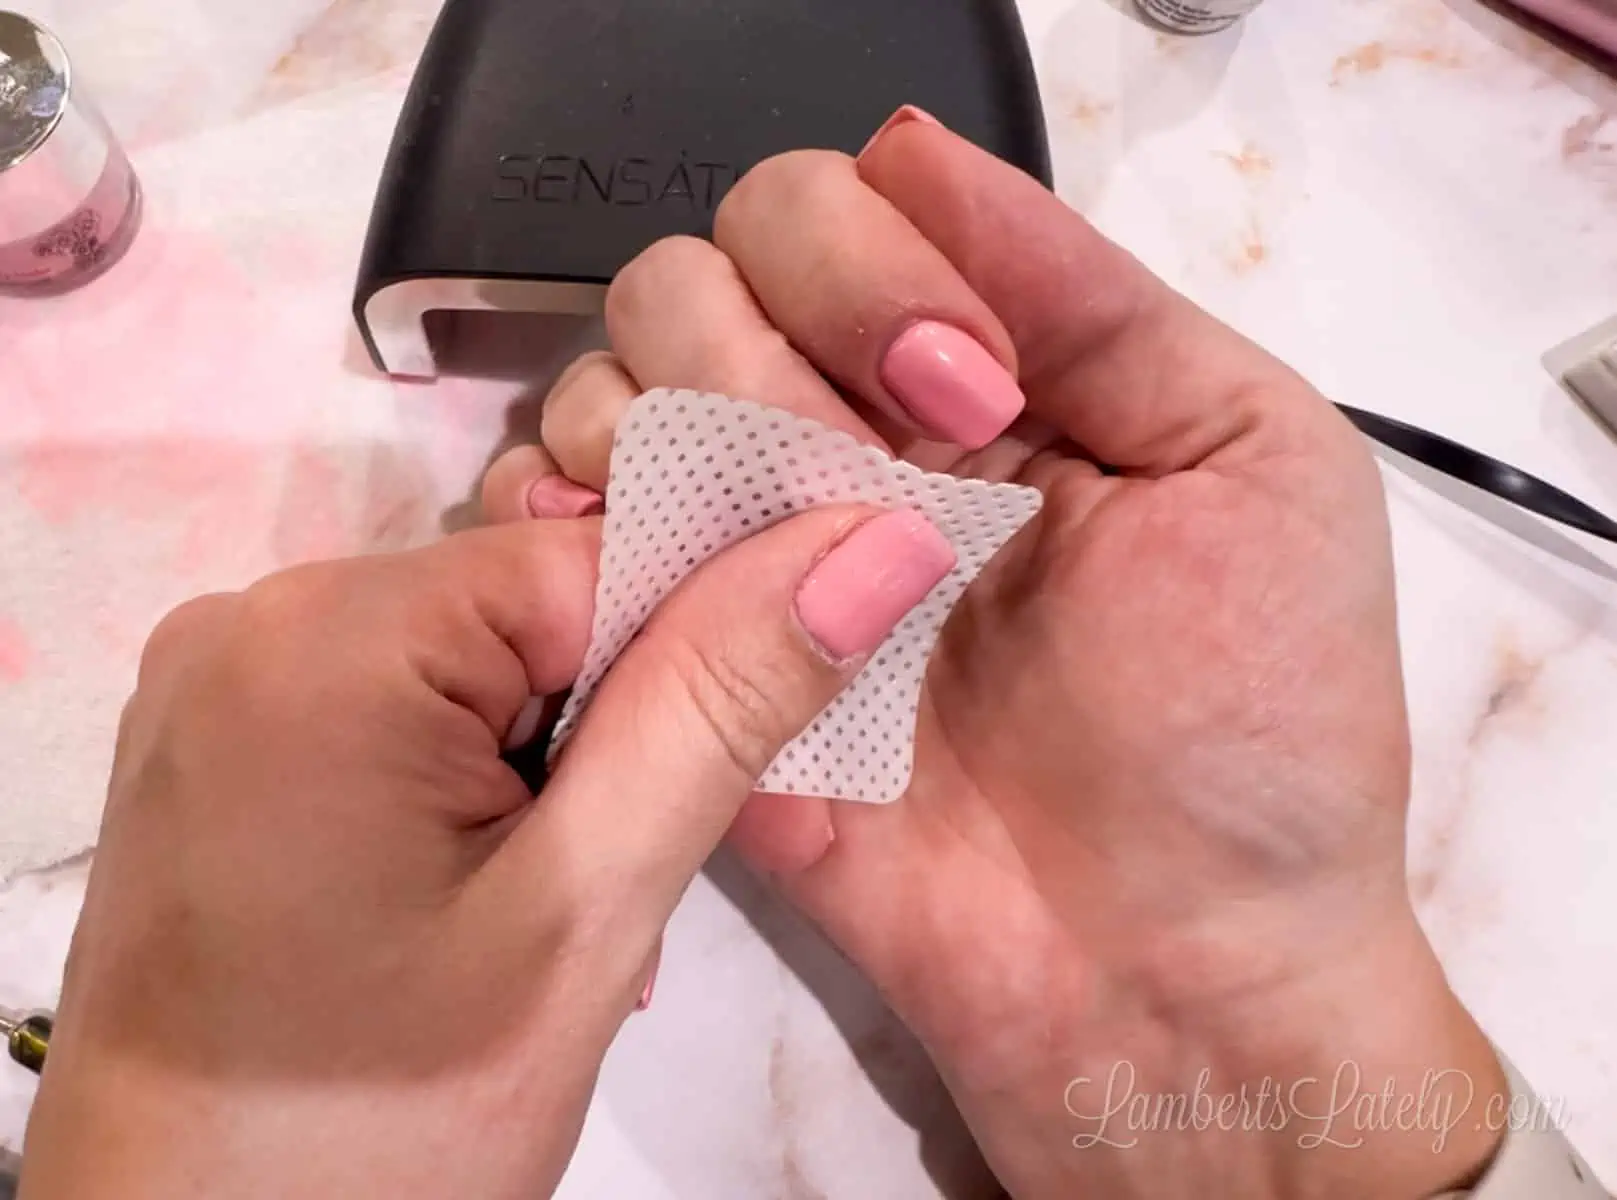
After you cure that top coat, grab a little bit of rubbing alcohol, hand sanitizer, or the dual-use bonder and wipe coat I use to get that tackiness off of your gel nails.
And finished! This takes me max of 2 hours and lasts weeks. I normally get at least 2 weeks out of my nails with this method.
Video: Gel Method
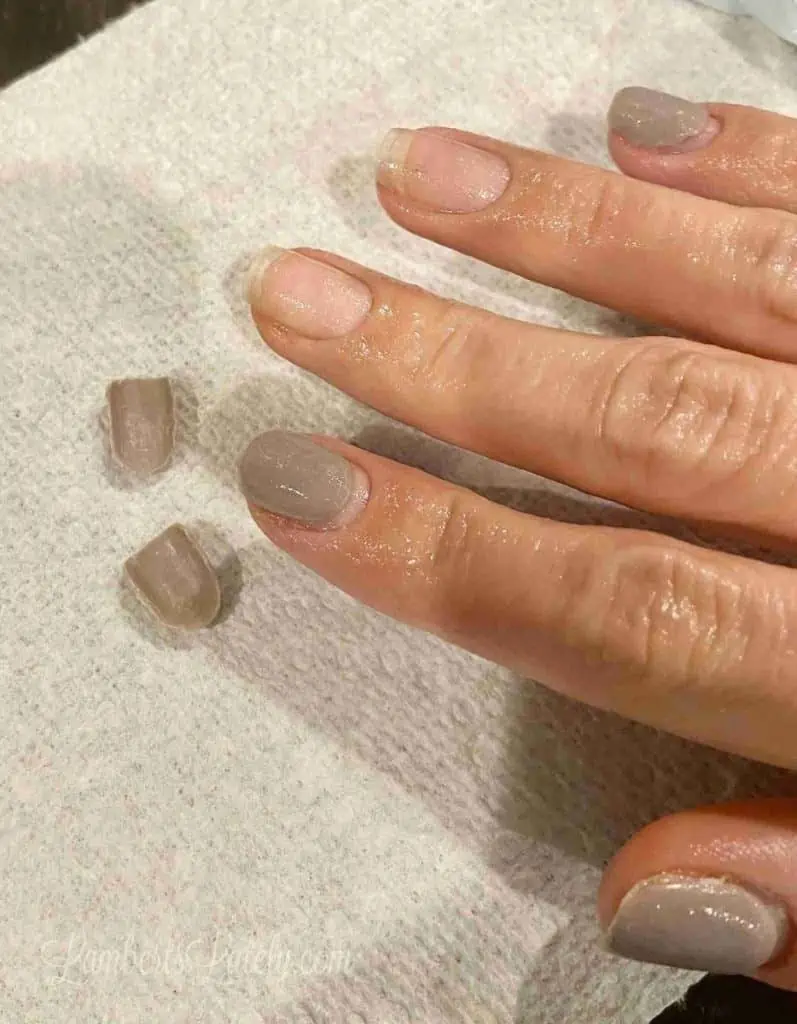
How to Remove Dip Nails at Home
You're eventually going to want to take these off. Let me warn you, do NOT just try to peel off. It's really painful and damages your natural nail beds so much. Don't worry though - taking the nails off is easy and doesn't require anything super fancy.
These pictures are from the original traditional dip method, but this works for either traditional or gel method.

All you need is a bowl of warm water, a plastic baggie, a dryer sheet, and soak off solution (regular, pure acetone works well too).

Put around ¼ cup of the soak off solution in the bag, along with the dryer sheet. Put your whole hand (all 5 fingers) in the dryer sheet.

Gently submerge the bag in the water, making sure the water doesn't get in the bag. Start moving your fingers around...you'll feel the solution warm up, that's totally normal.
Every couple of minutes, take your hand out of the bag and gently try to peel the nails off. If it hurts AT ALL, keep soaking. It shouldn't be painful!
After a couple of minutes, the nails that had already lifted some start coming off for me.
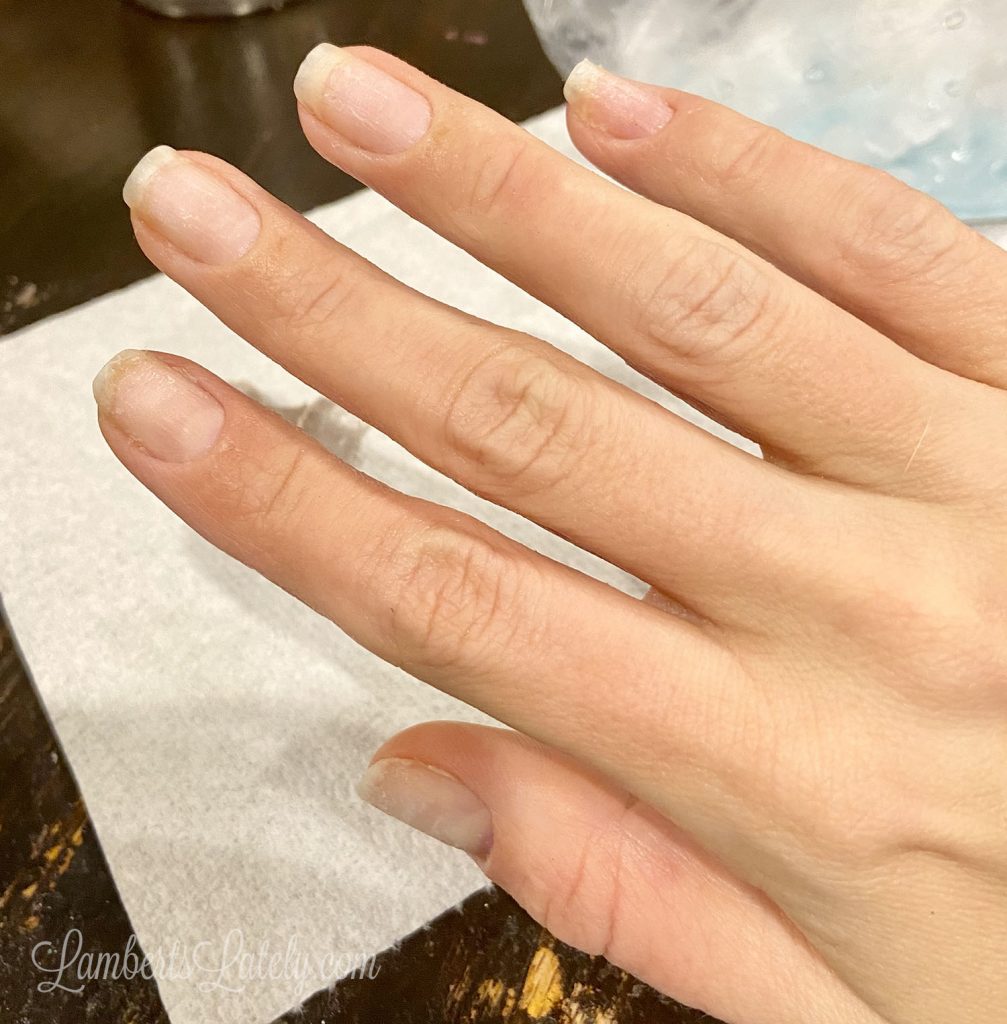
After about 5 minutes, they're all safely off! Now your nails are clean and ready for a new set. 🙂
Now, you're in on one of my favorite DIY finds of the past couple of years. It takes a few sets to really figure out your groove, but trust me, it's totally worth it - and kind of fun!
A HUGE shout-out to the Revel Nail Facebook Group for most of the information you see in this post - I've learned so much from those ladies (and spent way too much money on new shades because of them 😉 ).
Thanks.. love this !!