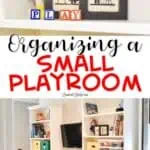
Want a few small playroom ideas? This post gives tips on toy storage bins to use, how to divide play spaces, and DIY organization methods on a budget to create a fun and organized play space.
Paid links used in this post. Read more about my link usage policies.
I think everybody who has ever built a house has one or two things they'd go back and change if they could.
I don't want this to be taken as complaining - because I absolutely LOVE our house and would definitely go through the building process again to get it. But, if I could time travel and change something about the house, it would be the kids' playroom.
It's the area where we cut square footage when needed. It was originally supposed to be about double the size it ended up being. I had so many big plans for tons of wall space and storage in this area - but, ultimately, something had to go, and this is where we cut it.
So, we ended up with a playroom that's on the smaller side. It's more of a landing area at the top of the stairs and leads to bedrooms/bathrooms in the back of the second story.
But, that doesn't mean it's not a space we use and love! I'm literally listening to my kids having playtime in this room upstairs as I type this. We've tried to make the space as functional and fun as possible - and I think we've done a pretty good job. I'll be sharing a few of our best small playroom ideas with you today.
(Reader Note: if you see a couple of pictures throughout this post that look a little different, they're probably from the first version of this post I made 5 years ago. Not much has changed, though!)
Before you ever start planning the playroom organization, prioritize.
It's smart to go into a project like this with a plan. Think of 3-4 different interests your kids have that you really want to prioritize.
Do they love art? Reading? Science projects? Think about what they're going to use the most and go from there.
Organize a small playroom with vertical storage.
This is my #1, most important tip - it's vital to organizing a small playroom. When you don't have a lot of floor space, build up!
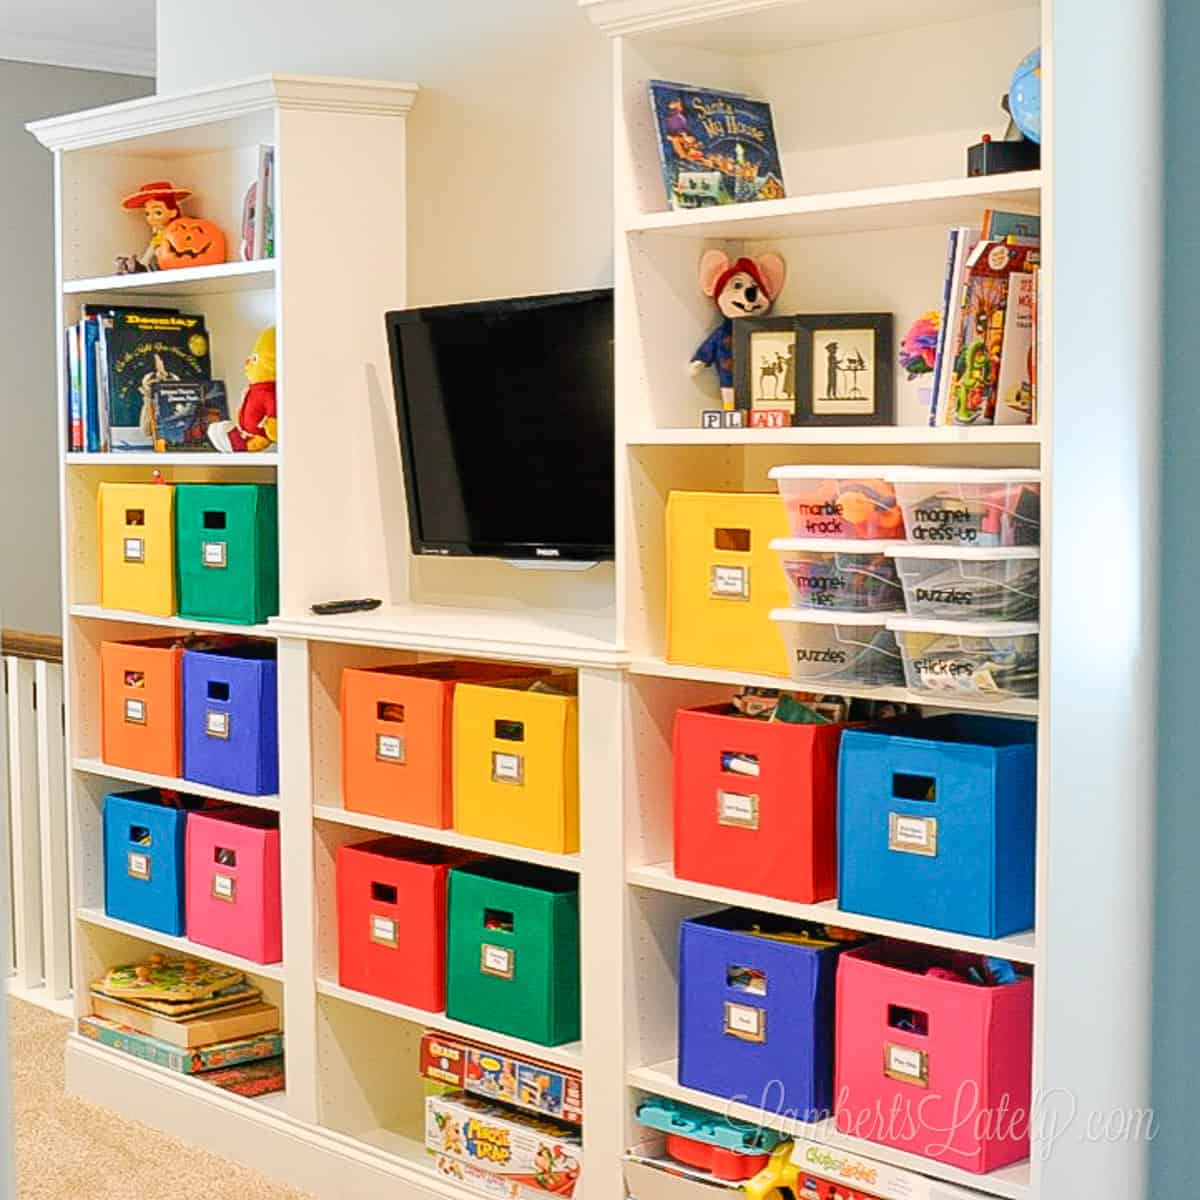
I talked a little bit about this in my Ikea Built-In Hack post from Tuesday...we put in a huge set of inexpensive built-ins that really took advantage of the vertical storage space in the room. Instead of these toys taking up valuable real estate on the floor, they all have their place in bins on the built-in cabinets.
This whole set-up costs around $400 to install (as of publish date) and has been so incredibly useful for us in the playroom.
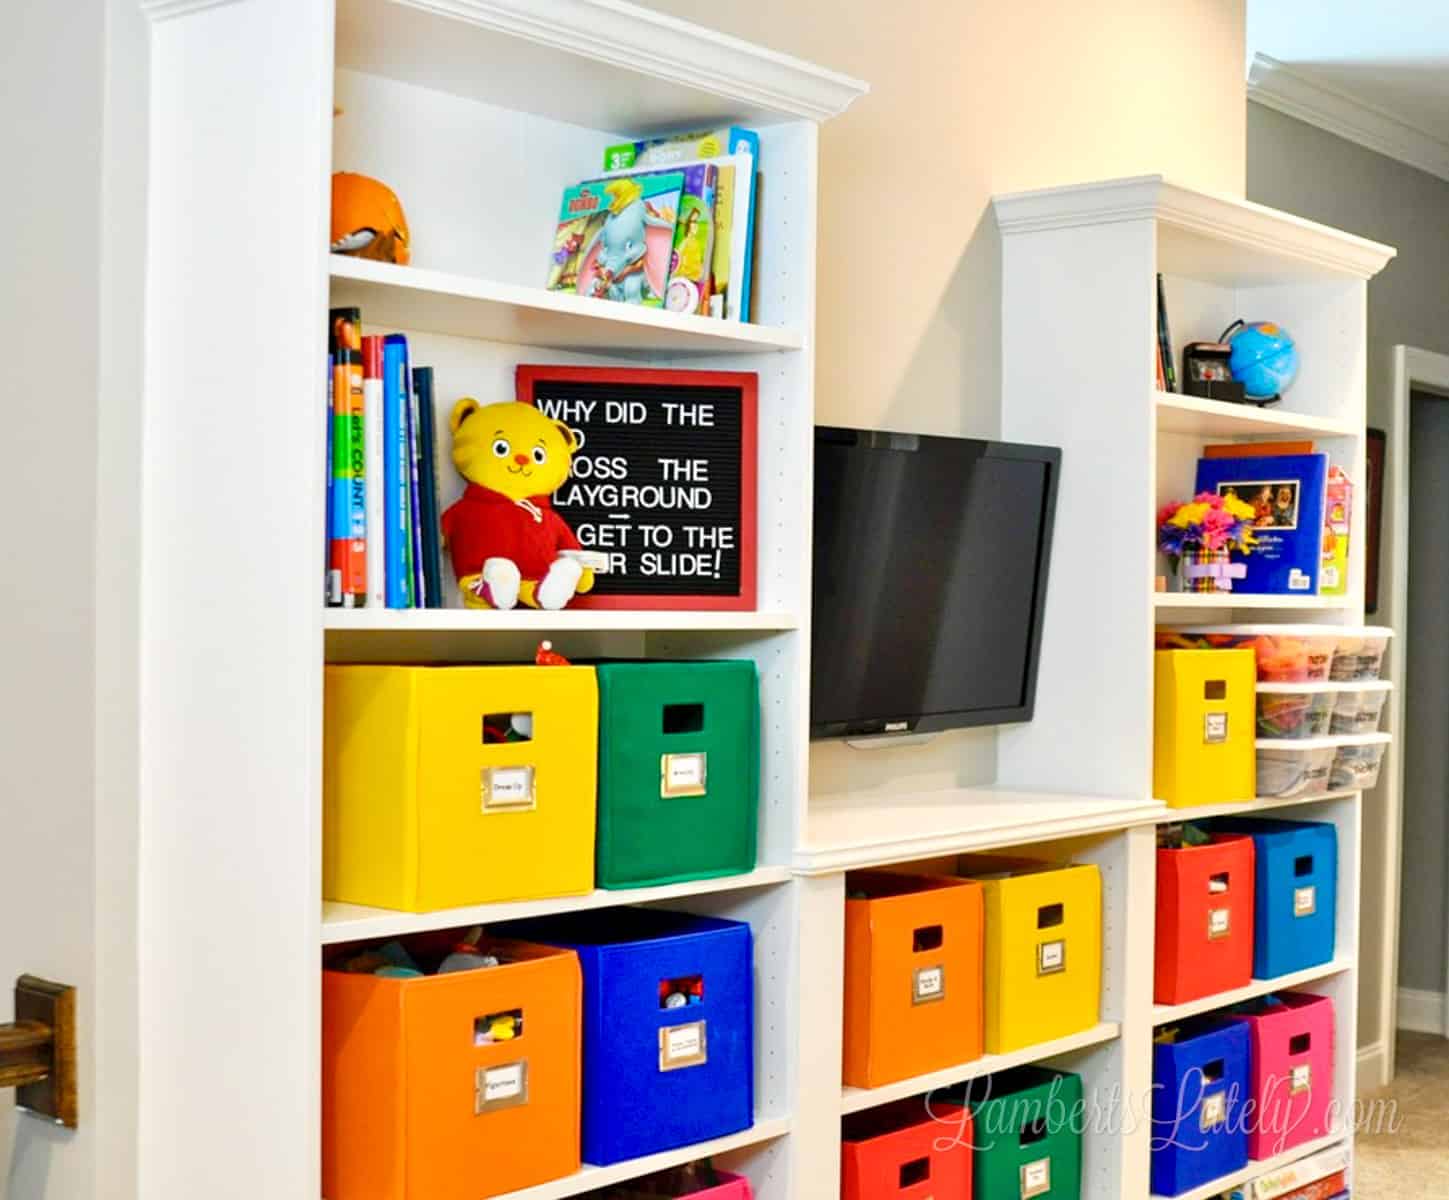
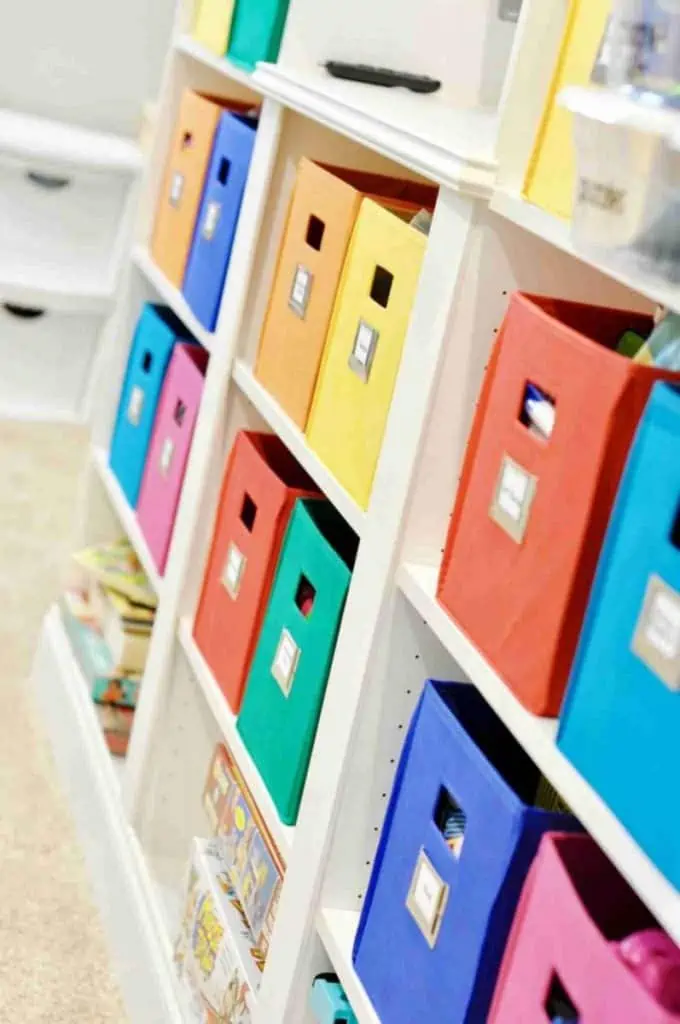
We used these colorful fabric cubes to organize all of the toys. With a little metal label holder and some E6000, they were ready for organized storage.
Below those, we left space for bigger items, like games and puzzles. Above, we store some of the books that we might not use as often.
Have a place for absolutely everything.
Every single thing in our small playroom has a place. If it doesn't, I either make a new bin/container for it or it doesn't really belong in the playroom.
This is a must when organizing a small space. All of those little toys get disorganized quickly if you don't get some kind of system. I like to put larger quantities of toys (like dress-up, figurines, toy cars) in the large fabric bins, with smaller categories (like stickers & magnet tiles) in the smaller bins you see above.
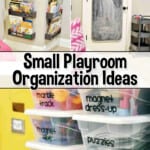
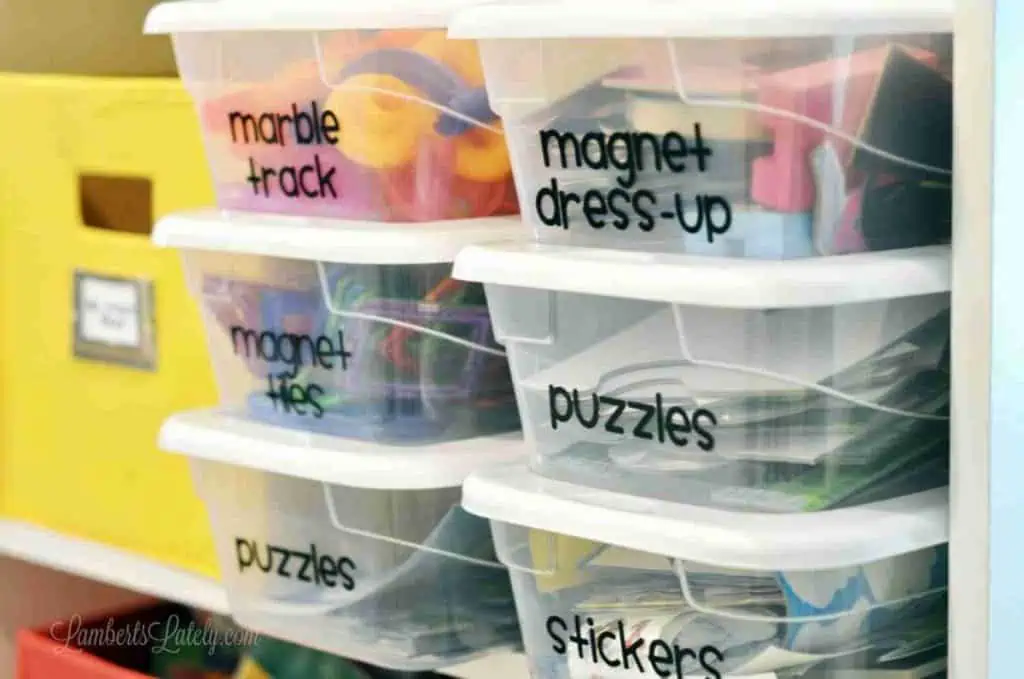
One of my favorite inexpensive ways to corral items in a playroom is with these plastic shoe bins. They're really cheap (usually around a dollar each), stackable, and clear, letting you see everything you're storing in each box. I use these in so many places in our home, but the playroom is one of the most useful areas.
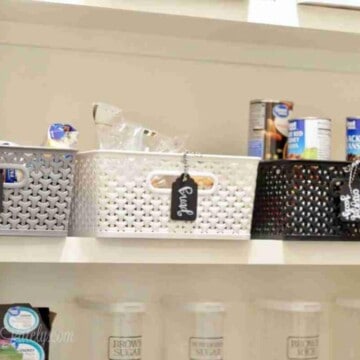
Once it's in its place, label it.
Once you find a place for everything in the playroom, make sure everyone knows what it is! I've tried to have a playroom organization system without labeling before, and it just doesn't seem to work - it helps so much to make it clear what goes where.
I labeled those shoe boxes you see above with my vinyl-cutting machine. I've got a full tutorial on how to easily label with a Cricut.
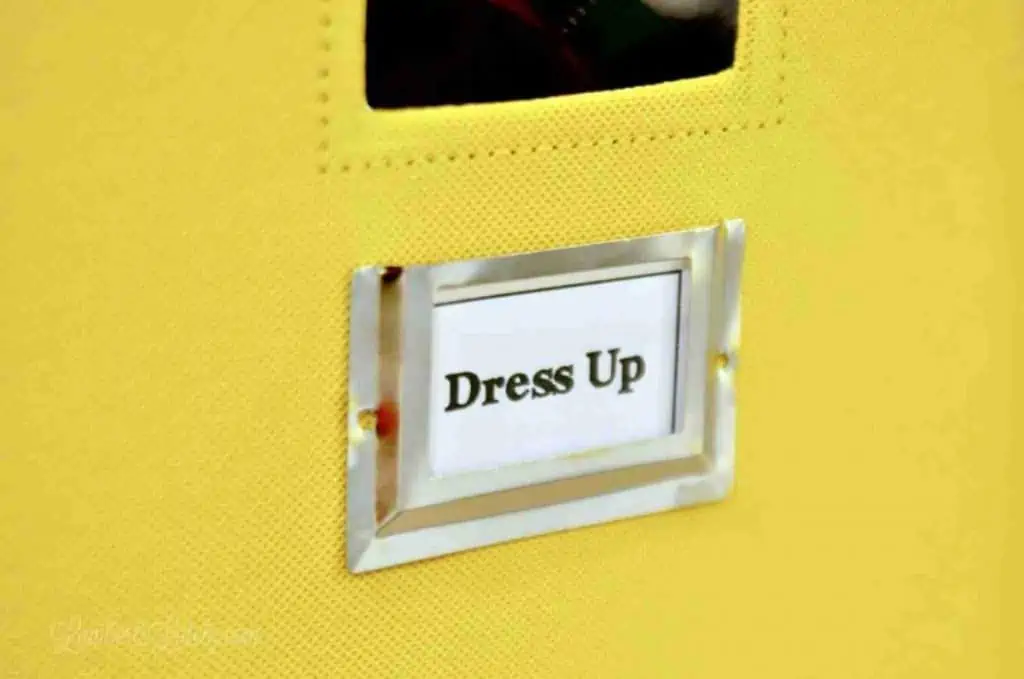
I also mentioned above that I used metal label holders attached with E6000 to label our colorful fabric bins. Then, I just printed the labels on card stock for them - no need to get fussy.
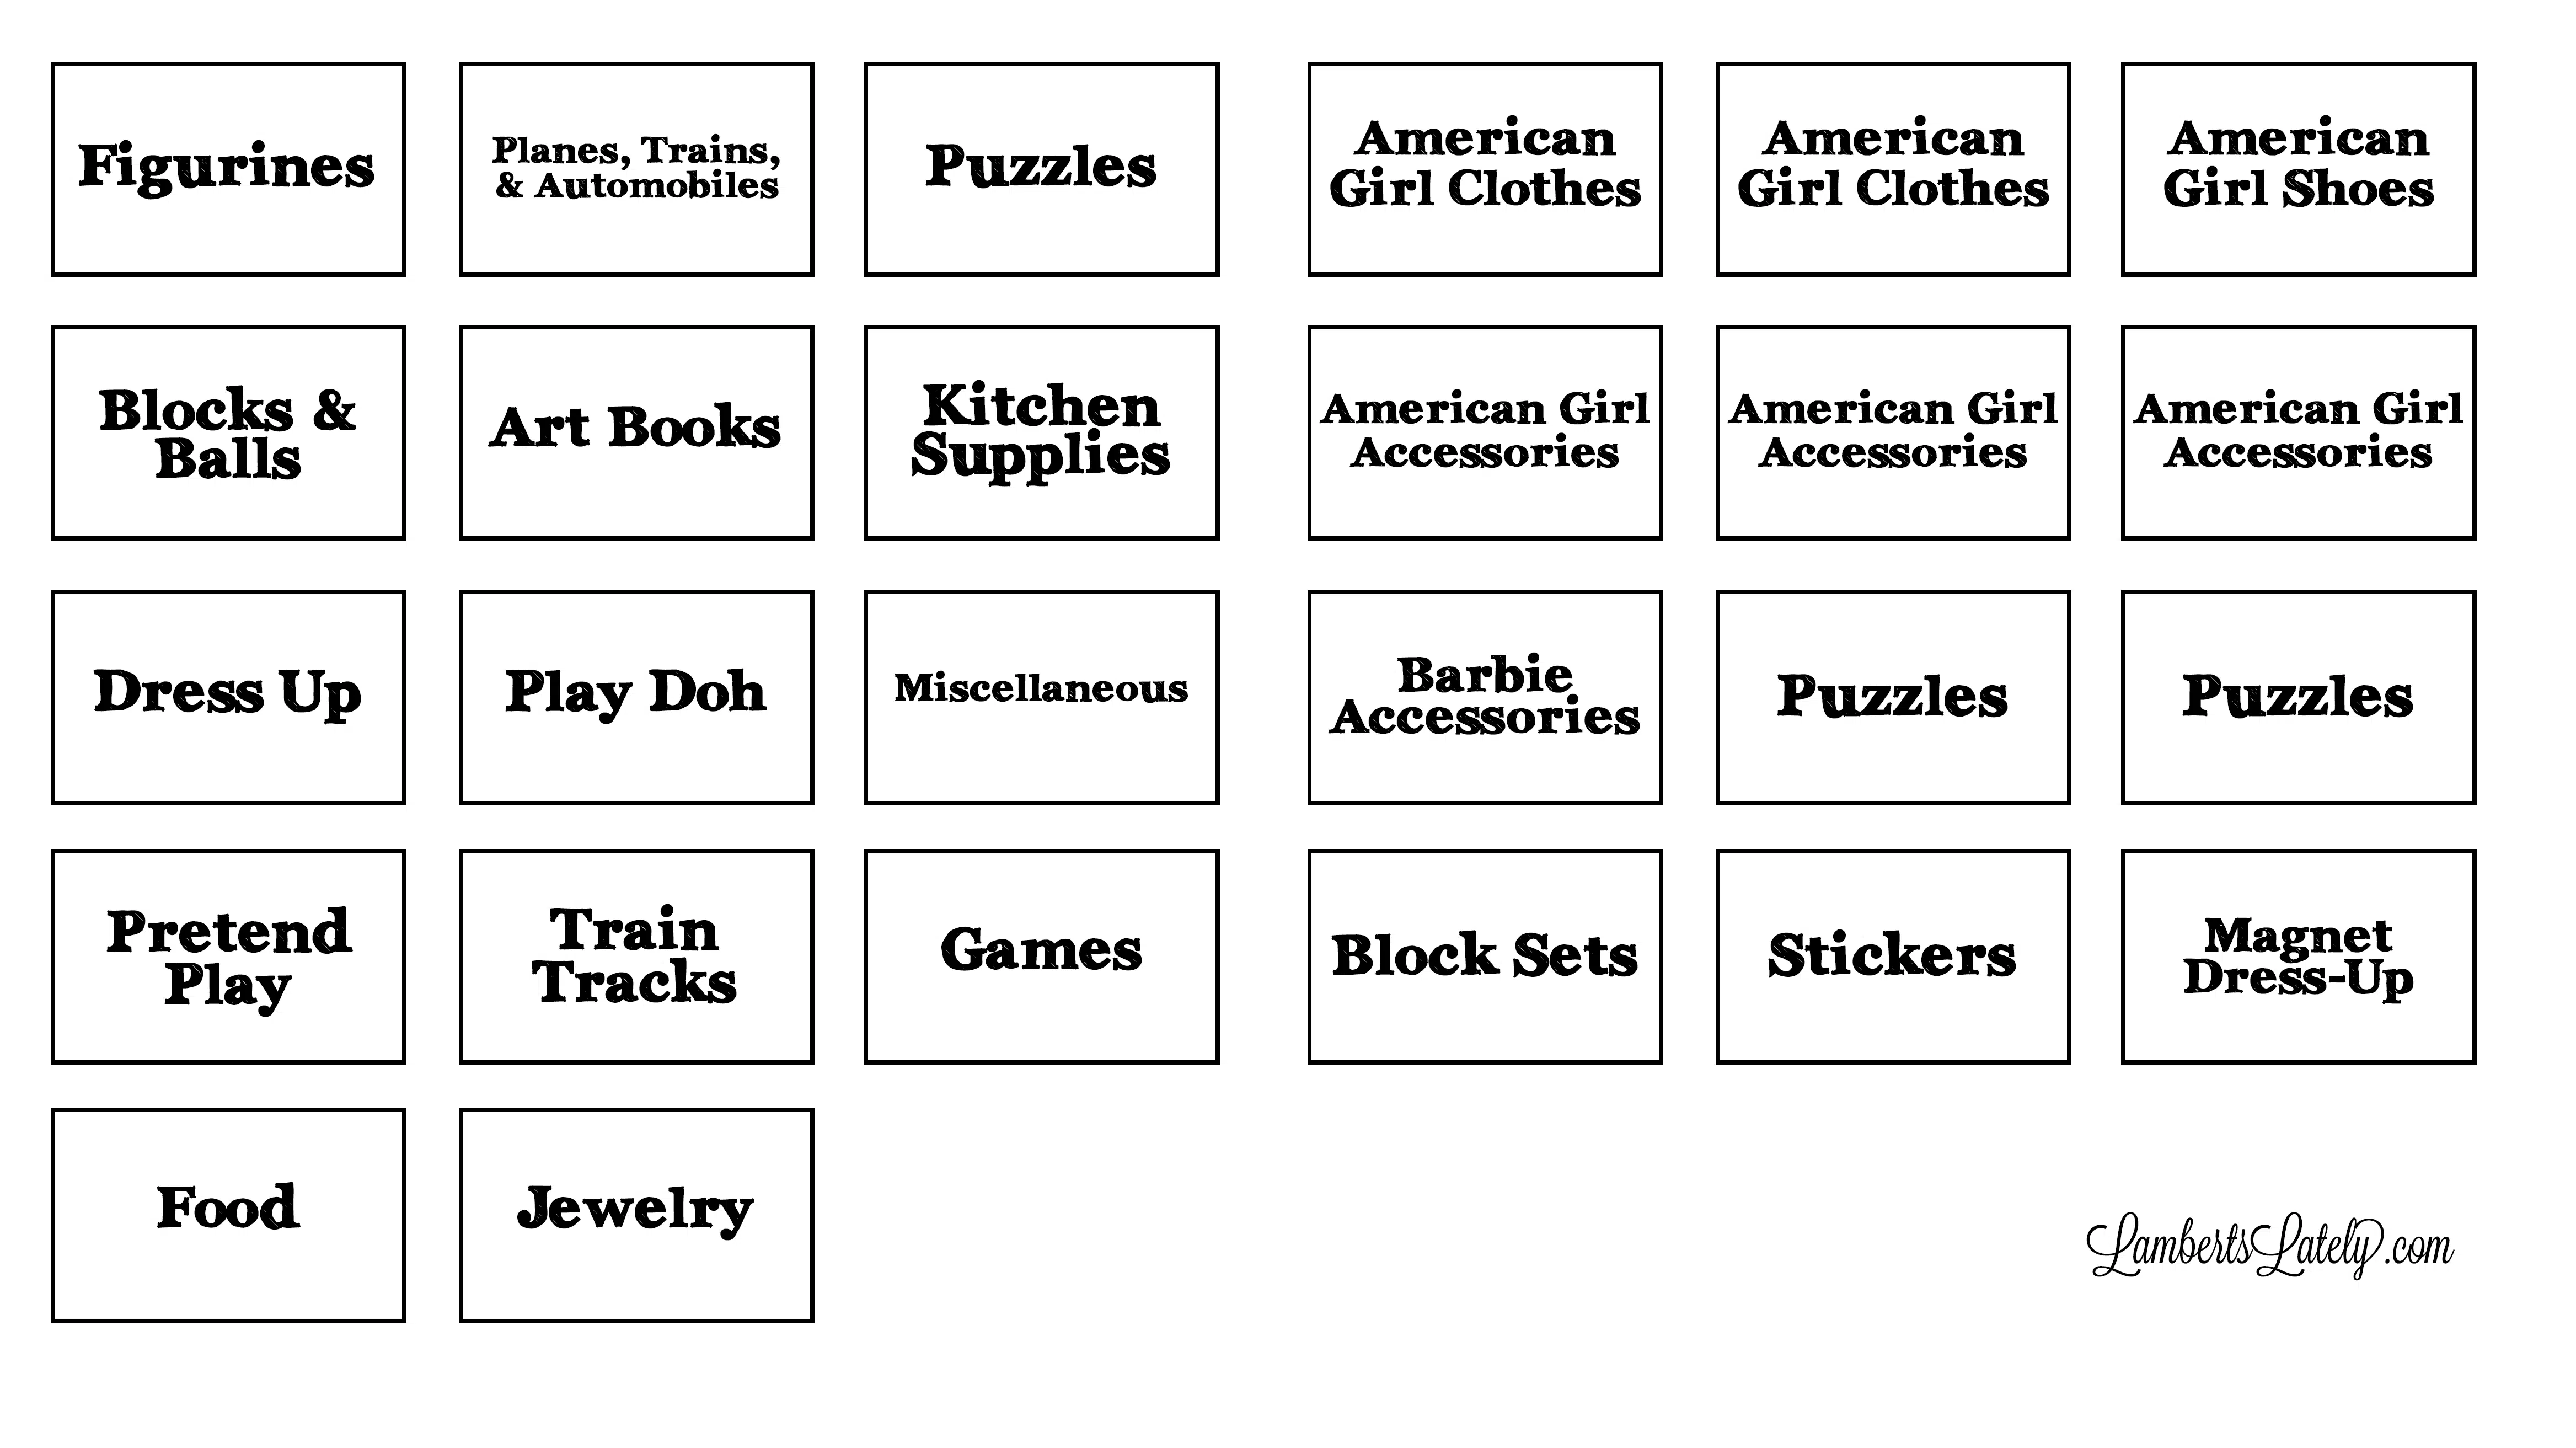
I saved the labels I used when I originally completed this project, so I thought I'd share them with you too!
The font is the bold version of Archistico if you need to edit them in any way. These fit perfectly in the label holders I linked above. And don't worry about durability - I've used this method in several rooms and these have lasted me for years.
Take advantage of playroom walls (& doors) for functional play & creativity.
Walls in a playroom are valuable. We don't have a ton of wall space. Between the area being at the top of the stairs and having a large hall connected to it, there just simply isn't a lot of square footage for decor.
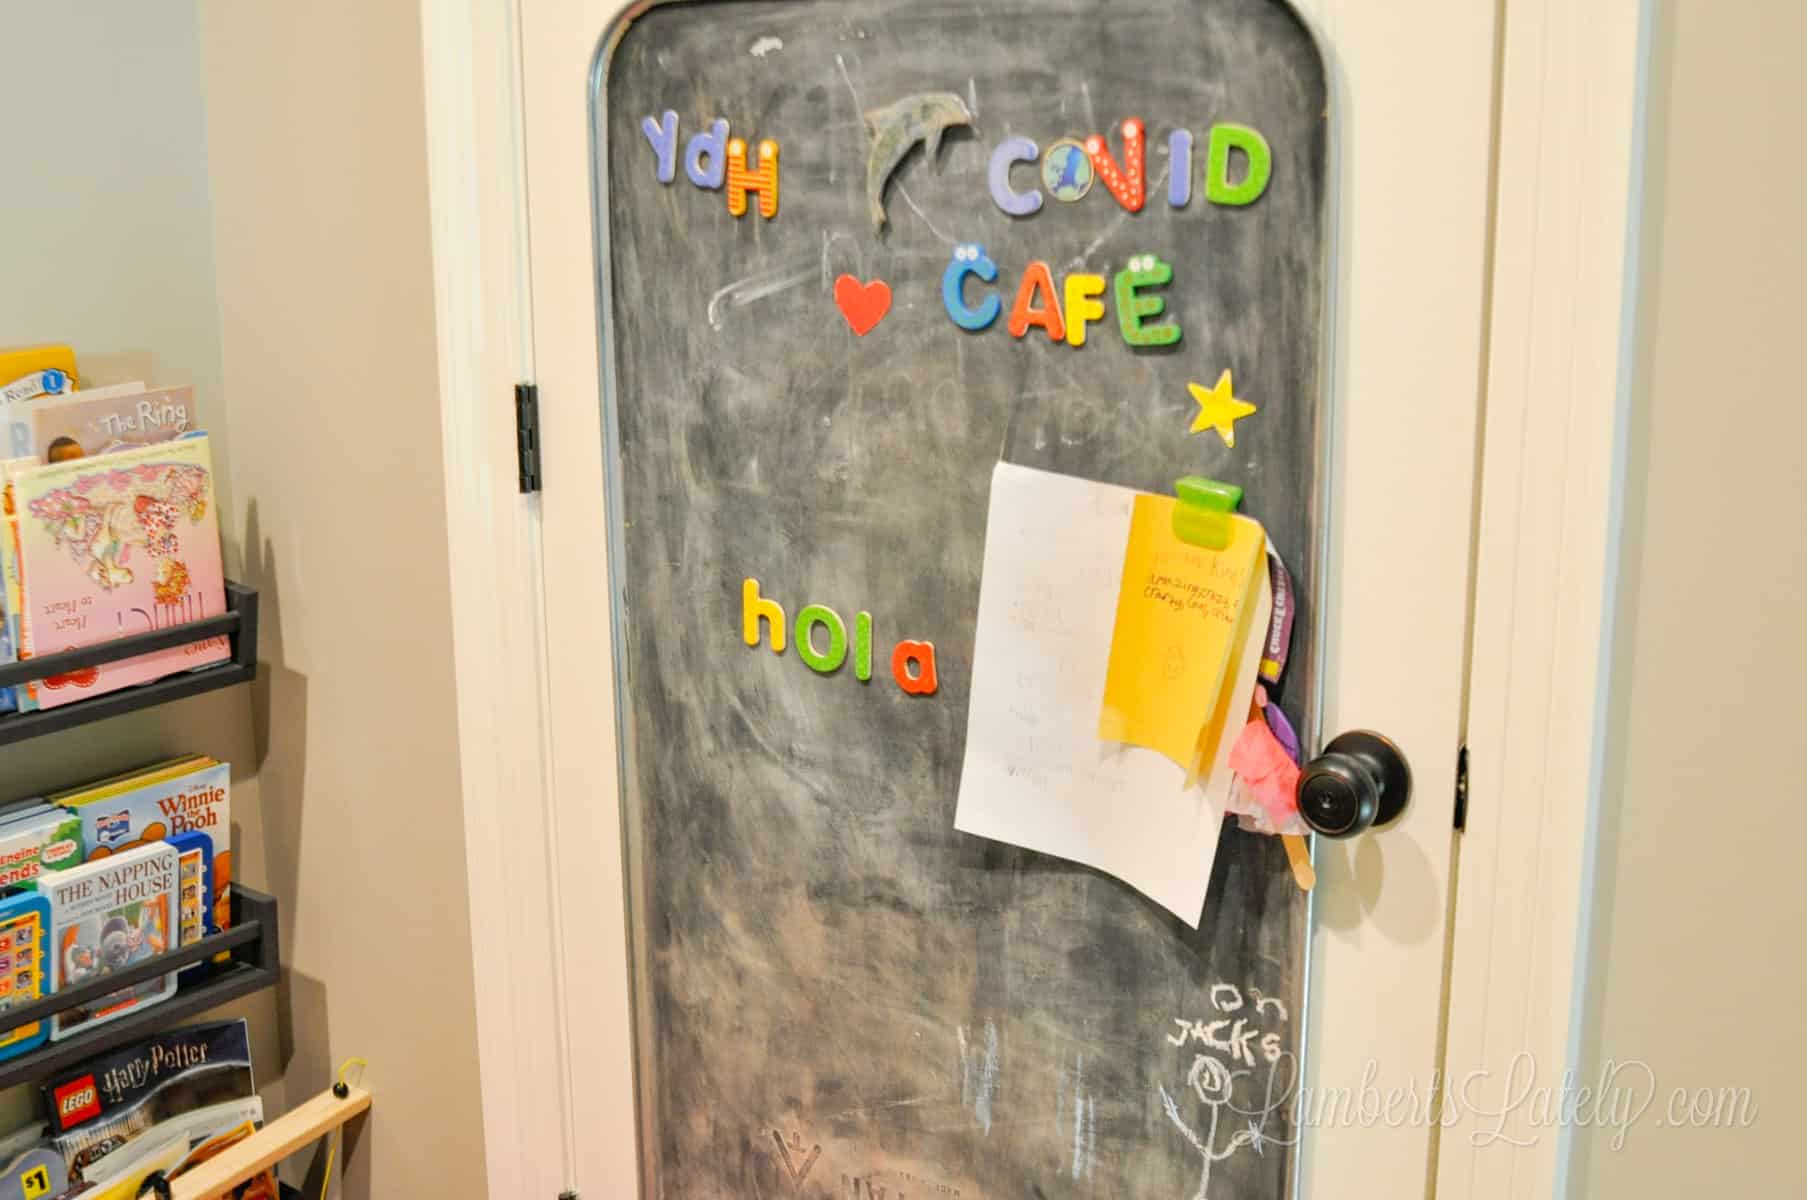
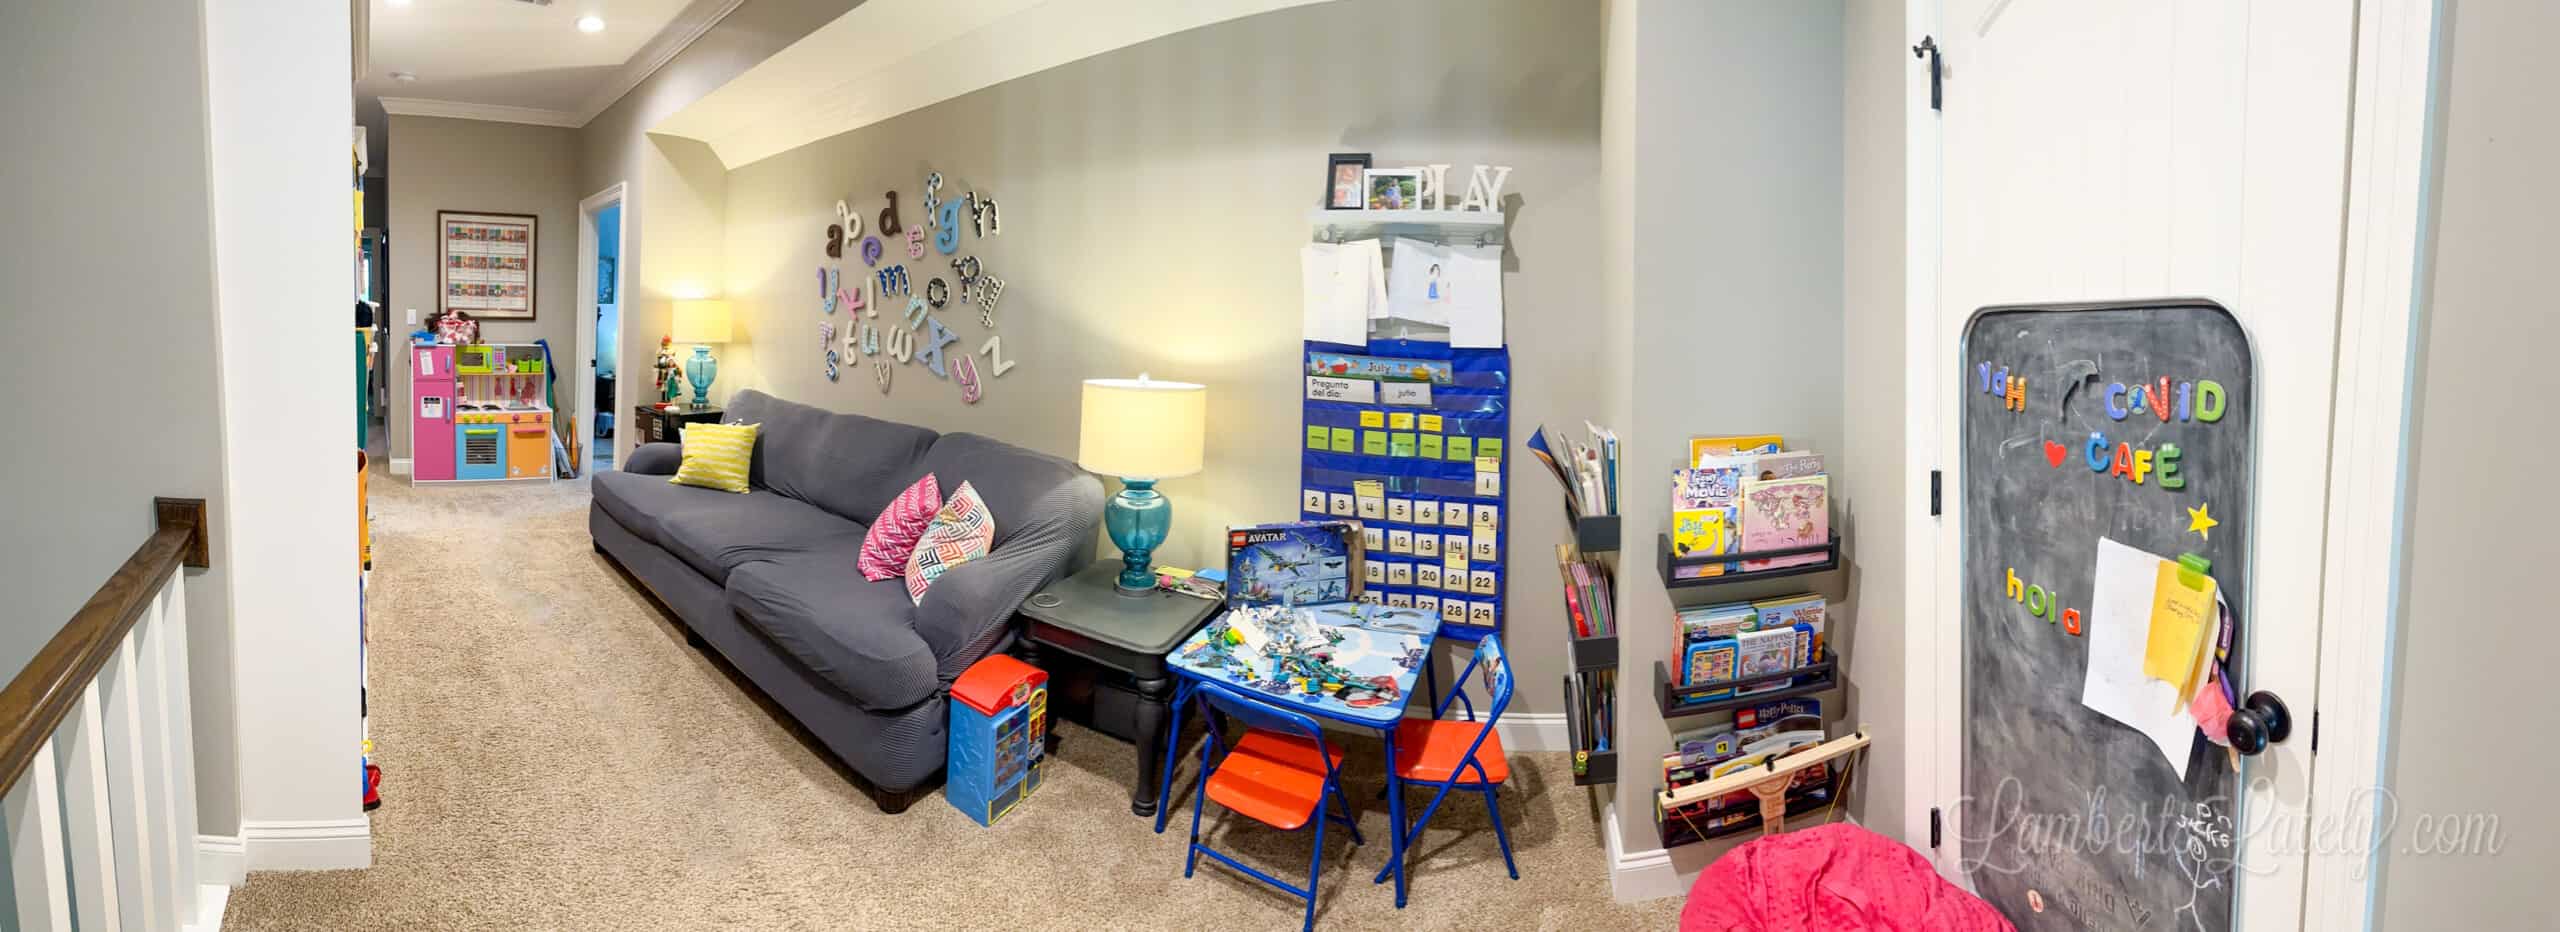
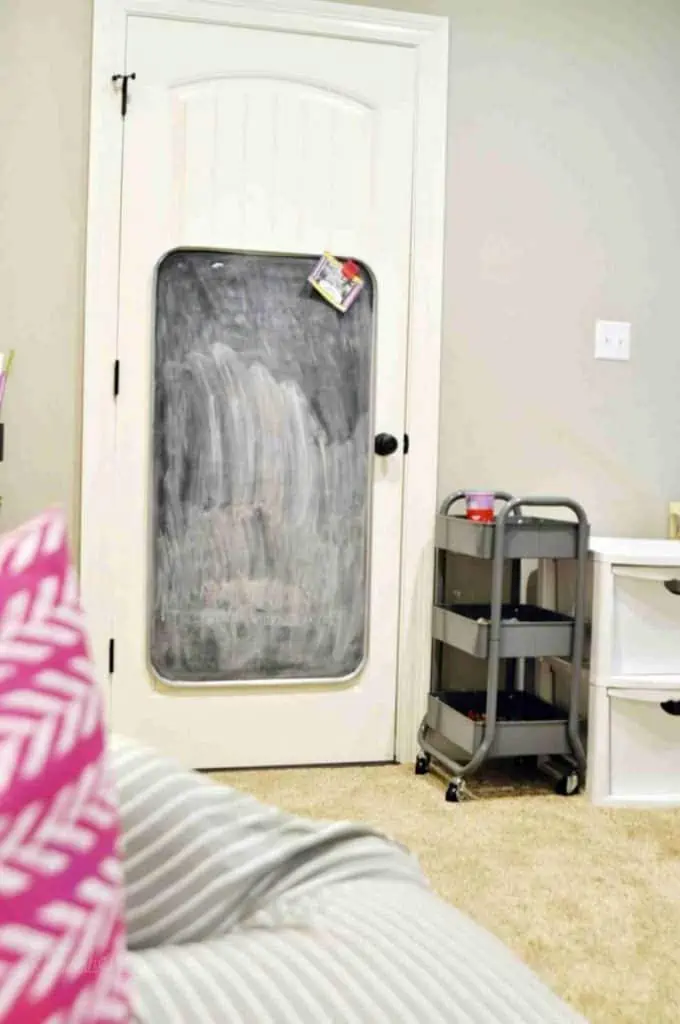
So, we used doors too! I originally made this chalkboard out of an auto drip pan and homemade chalk paint (just one cup of black paint to 2 tablespoon of unsanded grout, available at home improvement stores).
It's been one of my kids' favorite things about their playroom ever since. When there wasn't an obvious wall space for it, I thought, "why not use the door?" And it's been the perfect place for it. We rarely use this door (it leads to attic space), so it really just blends in as part of the wall.
If you don't want to go with the door, there are tons of chalkboard paint brands or chalkboard decals on the market. Just portion off a section of the playroom as the chalkboard wall.
Make children's books easily accessible.
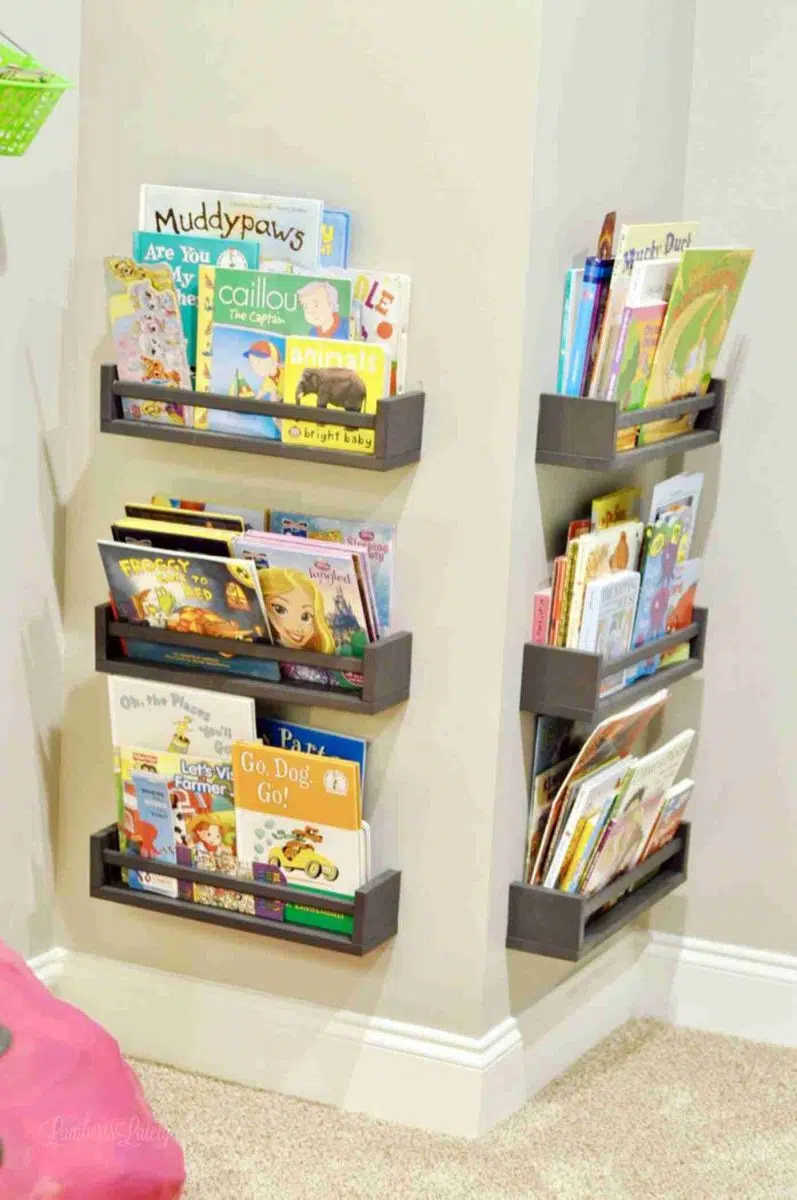
I have a reading nook for my kids that has shelves of vertical books. These shelves were so inexpensive - they're actually made from cheap spice racks from Ikea. The whole set-up was around $30 (as of 2018, a little bit more as of this publish date...close to $40).
The most important thing about this bookshelf setup is that it's at kids' reach. They can easily pick a book they love and use the reading nook to enjoy it.
Incorporate learning tools that kids love.
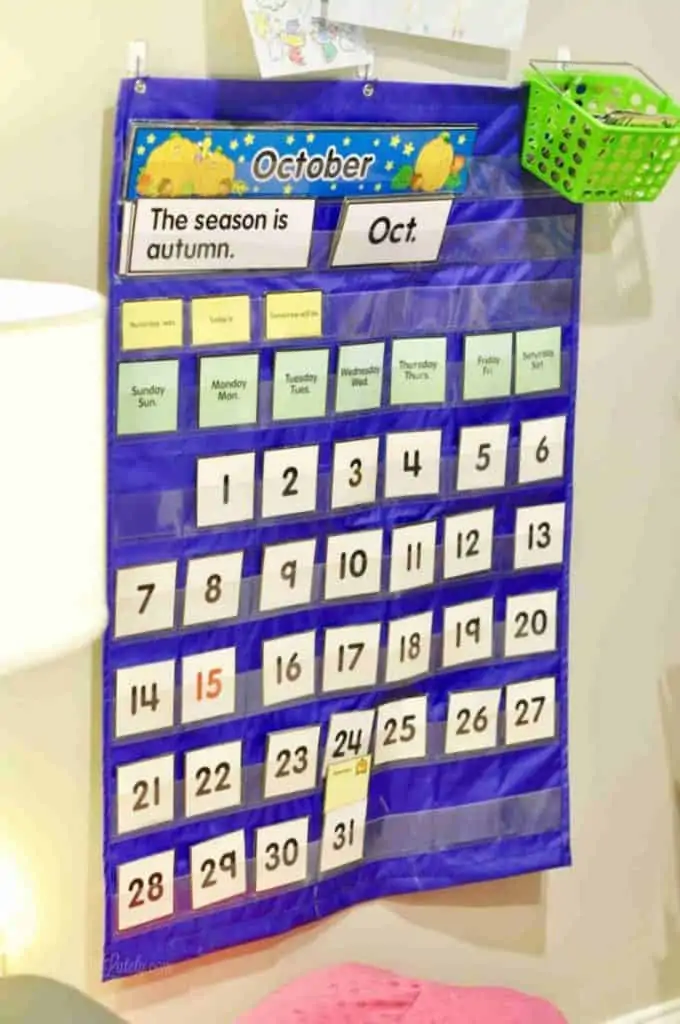
We have this beloved calendar from my teaching days close to the book nook. It takes up a lot of the wall space we do have, but it's worth it. My kids use this all the time. When allotting your wall space, just make sure that what you are using it for is valuable to you and your kids.
Give your kids some ownership in how to decorate their playroom, too.
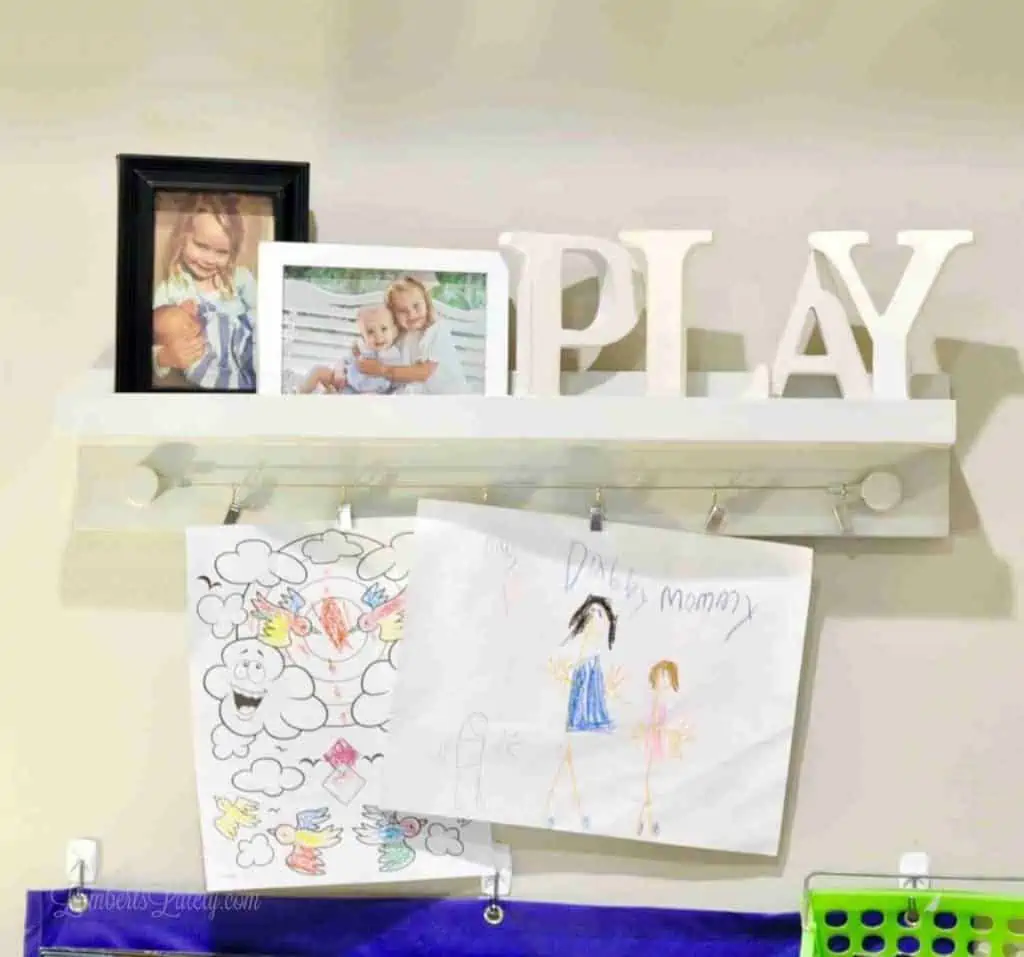
Just above the calendar, we have a shelf and art hanger (from Minted, no longer available) that really utilizes space for decor and function too. I love this for displaying the kids' art projects.
This gives them some say in how we decorate. I really wanted to get their input throughout designing this space - it's for them, after all! By doing little things like displaying their artwork and letting them keep chalkboard drawings up as long as they want, they get some agency and feel like it's their space.
Divide your playroom into departments.
This method I adopted in the playroom from our last home has worked so well in this one too.
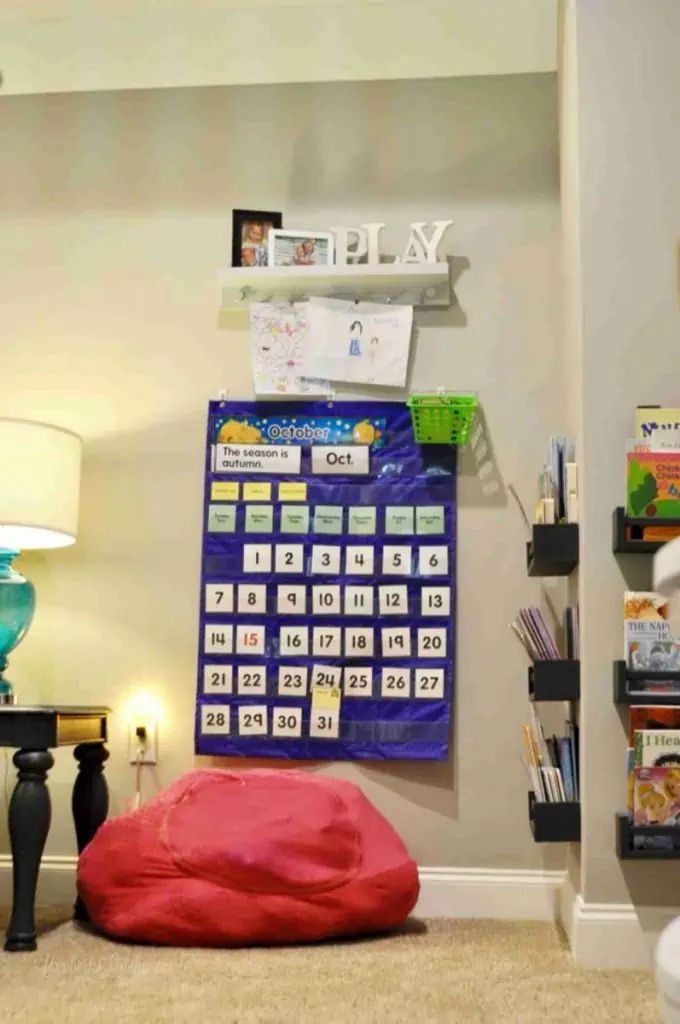
Coming up the stairs, you'll see our reading area. The book corner is over to the right (using those Ikea spice shelves I talked about earlier) and I have a little bean bag (that doubles as stuffed animal storage - similar here) next to that.
It's a cozy little book nook where the kids can read. It gives them easy access to books - something I really wanted in our playroom.
(You might notice in some pictures that it's changed a little since first writing this post in 2018 - still same concept, just a little different placement!)
We have a small art area next to the book nook. It's a simple area where the kids can use the chalkboard or access their favorite art supplies.
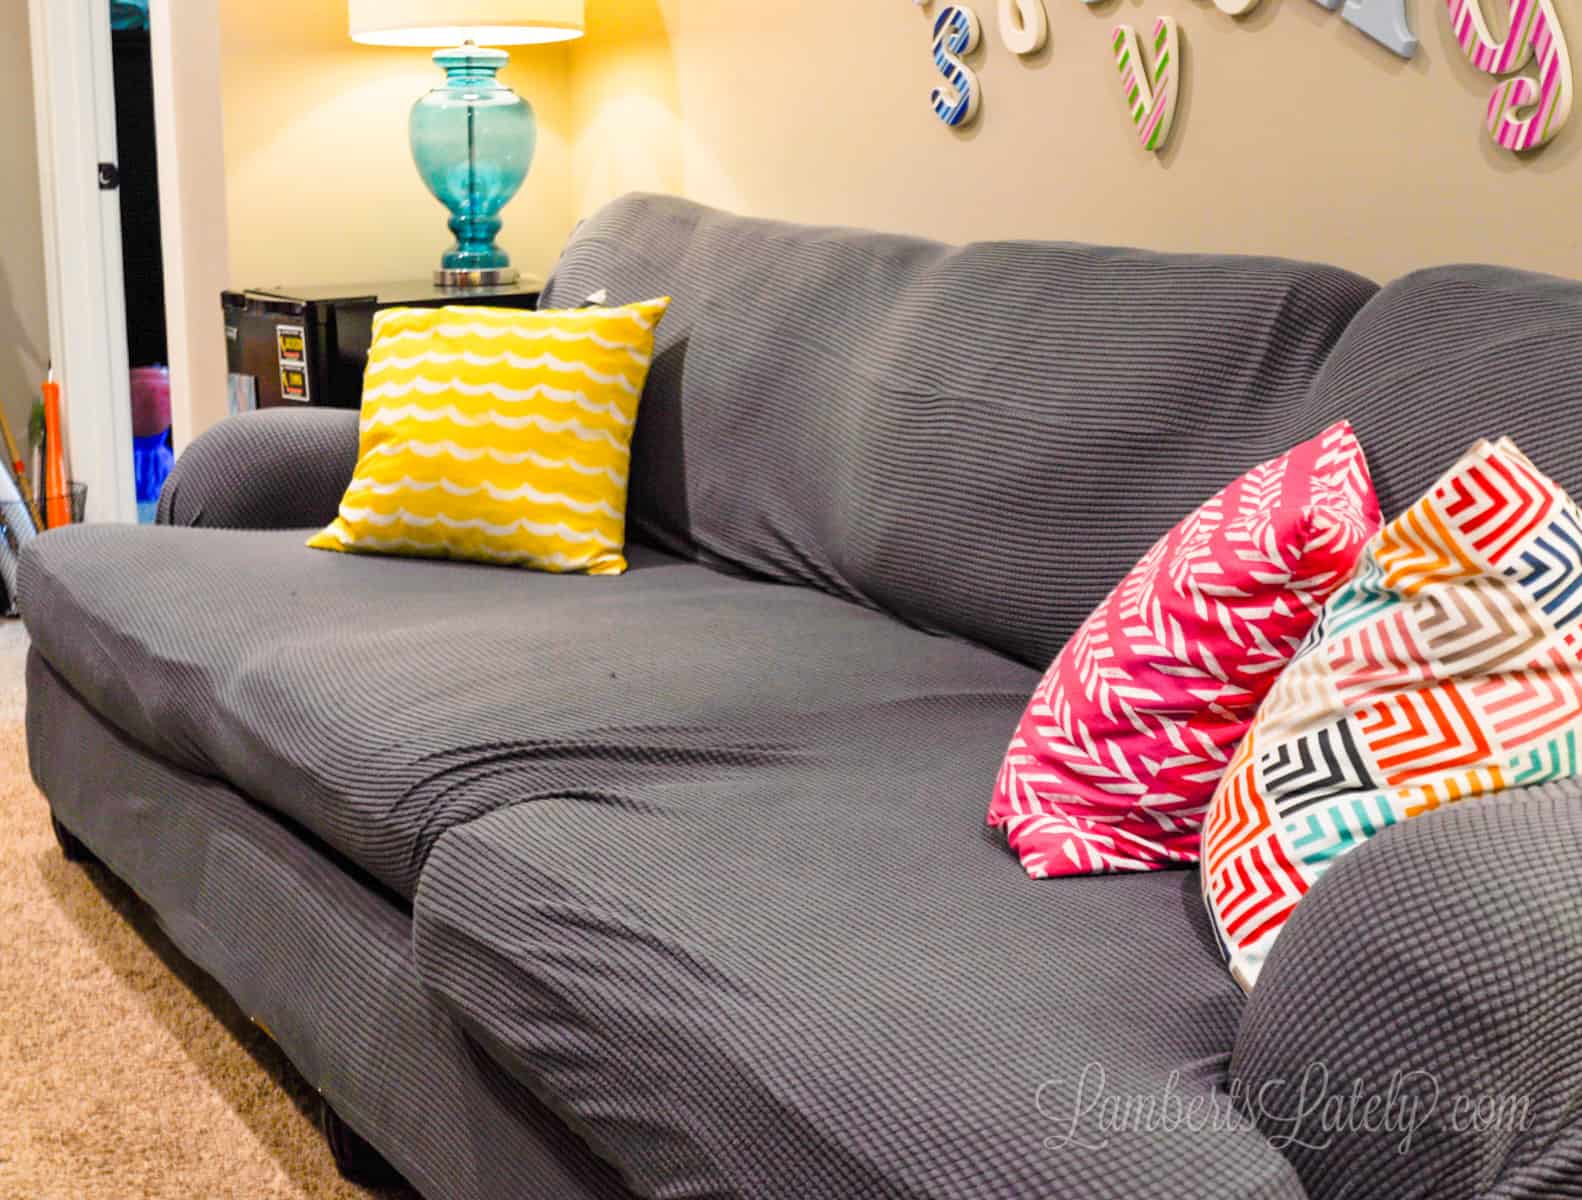
The couch area is right in front of the TV for when kids want to chill out, play video games, etc. They're younger and don't use this a whole lot yet, but I can see it being used when they're older. We just covered an old couch for this area.
Whether you choose a couch, a set of floor cushions, or even a foldable Nugget sofa for your playroom, I think it's important to have soft furnishings in this area. It really makes the area cozy and perfect for lounging. They're also a must for blanket fort-building! 😉
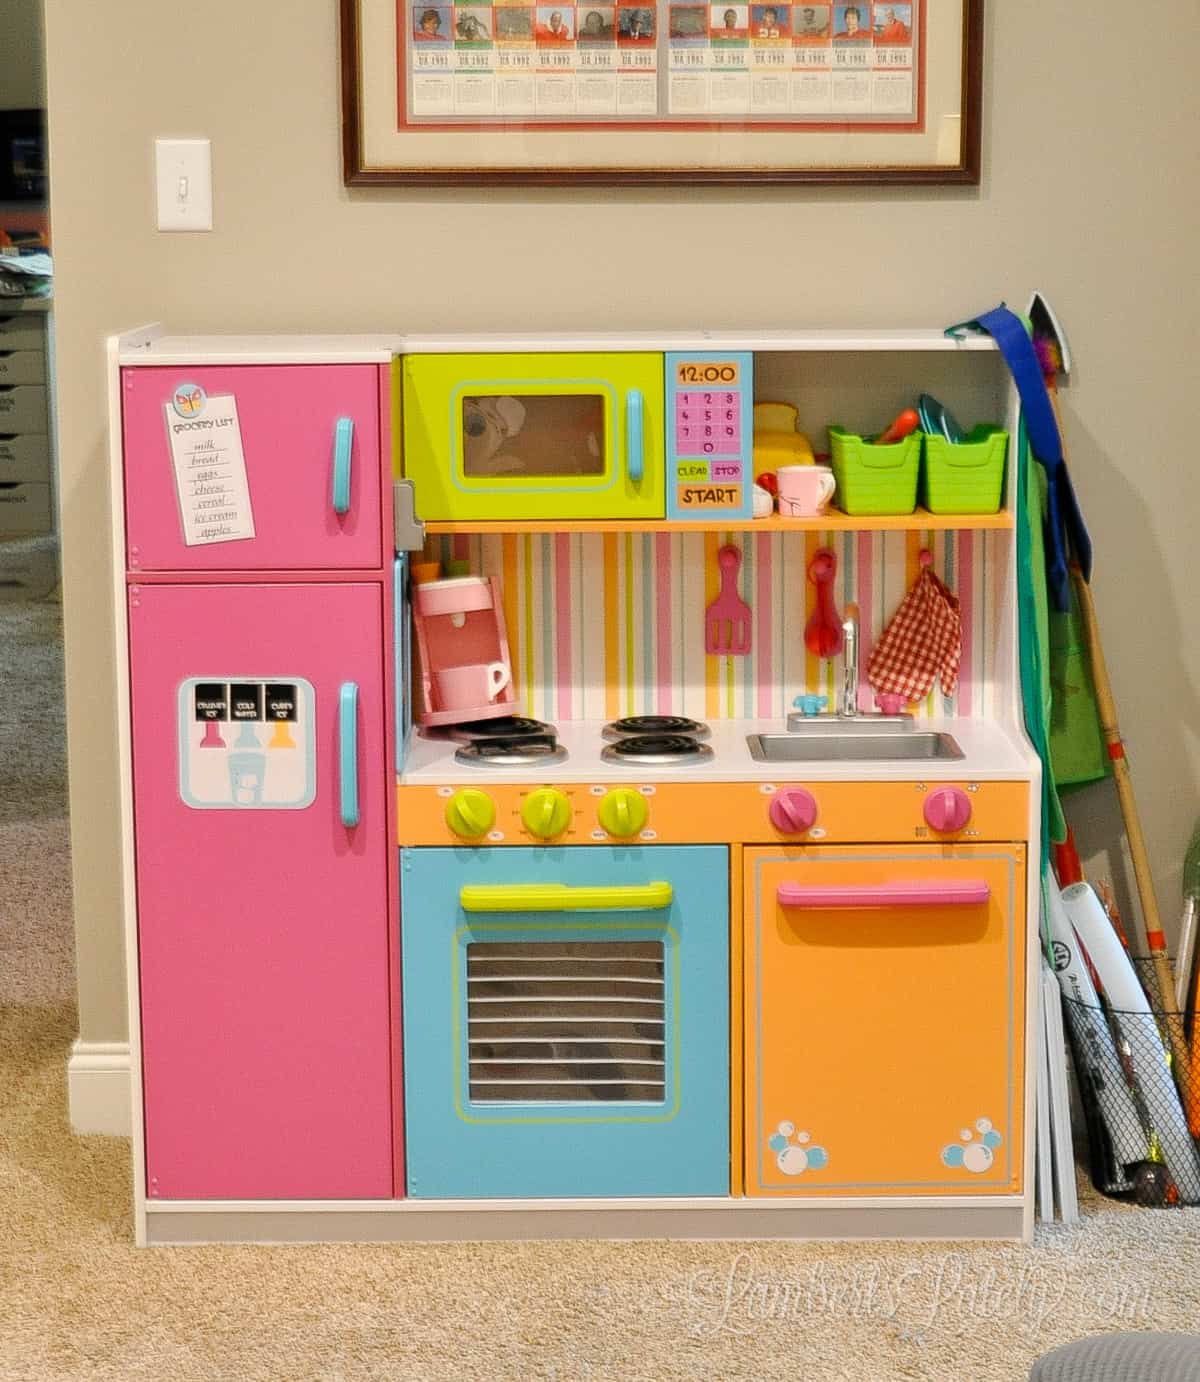
Finally, past the couch, my kids still love to play with the kitchen, so that's definitely something I wanted to keep in this space. I ensured the fabric bins on the built-ins with the food and utensils were close to this area for easy access.
Play up the coziness.
You have a small space...they have their advantages too! The coziness of the space is definitely one of the big plusses. Small playrooms are the perfect space to cozy up and watch a movie.
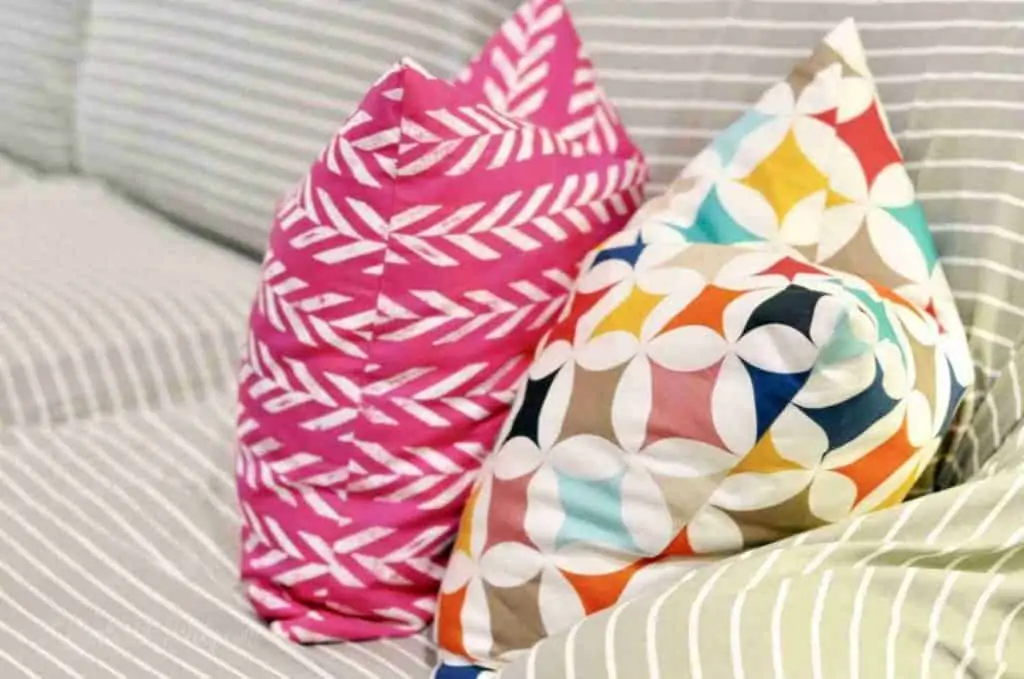
Pretty, colorful throw pillows on the couch (c/o Minted, no longer available) make a big design impact in the space.
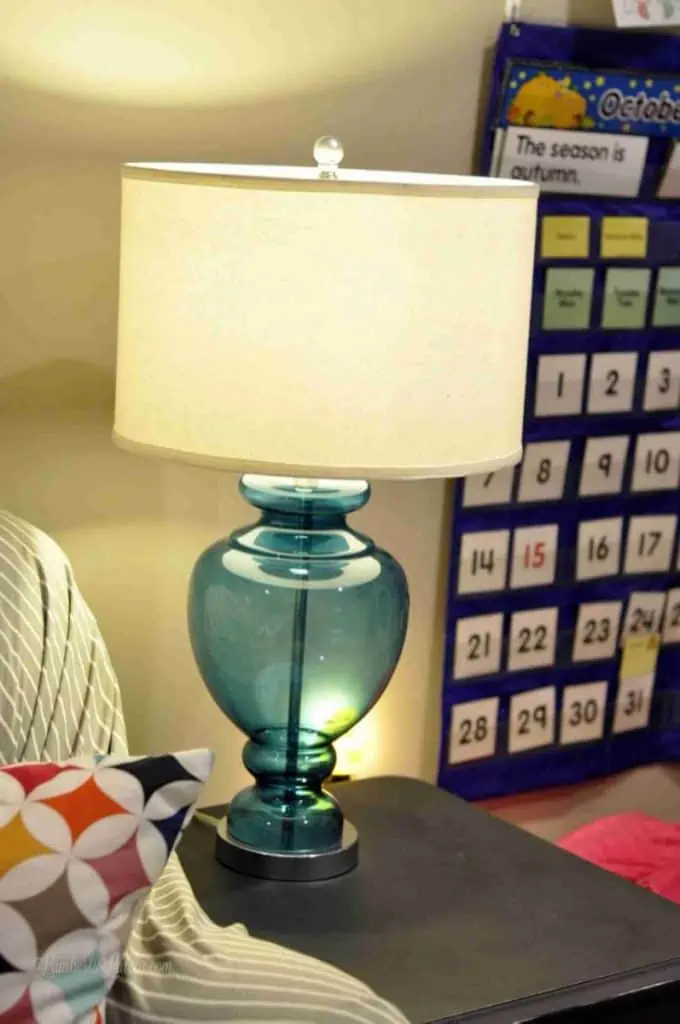
Because this space can also be on the dark side with no direct light, I like to keep these lamps on pretty much all the time. They definitely make the space feel homey and cozy.
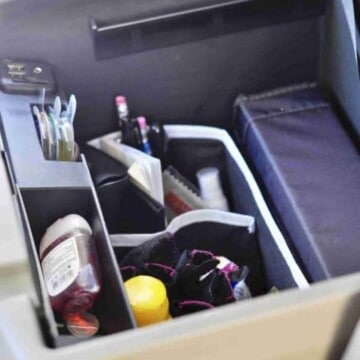
Utilize other (hidden) areas of your home for toys too.
While this technically isn't about playroom organization, this makes a big impact on how organized my playroom stays.
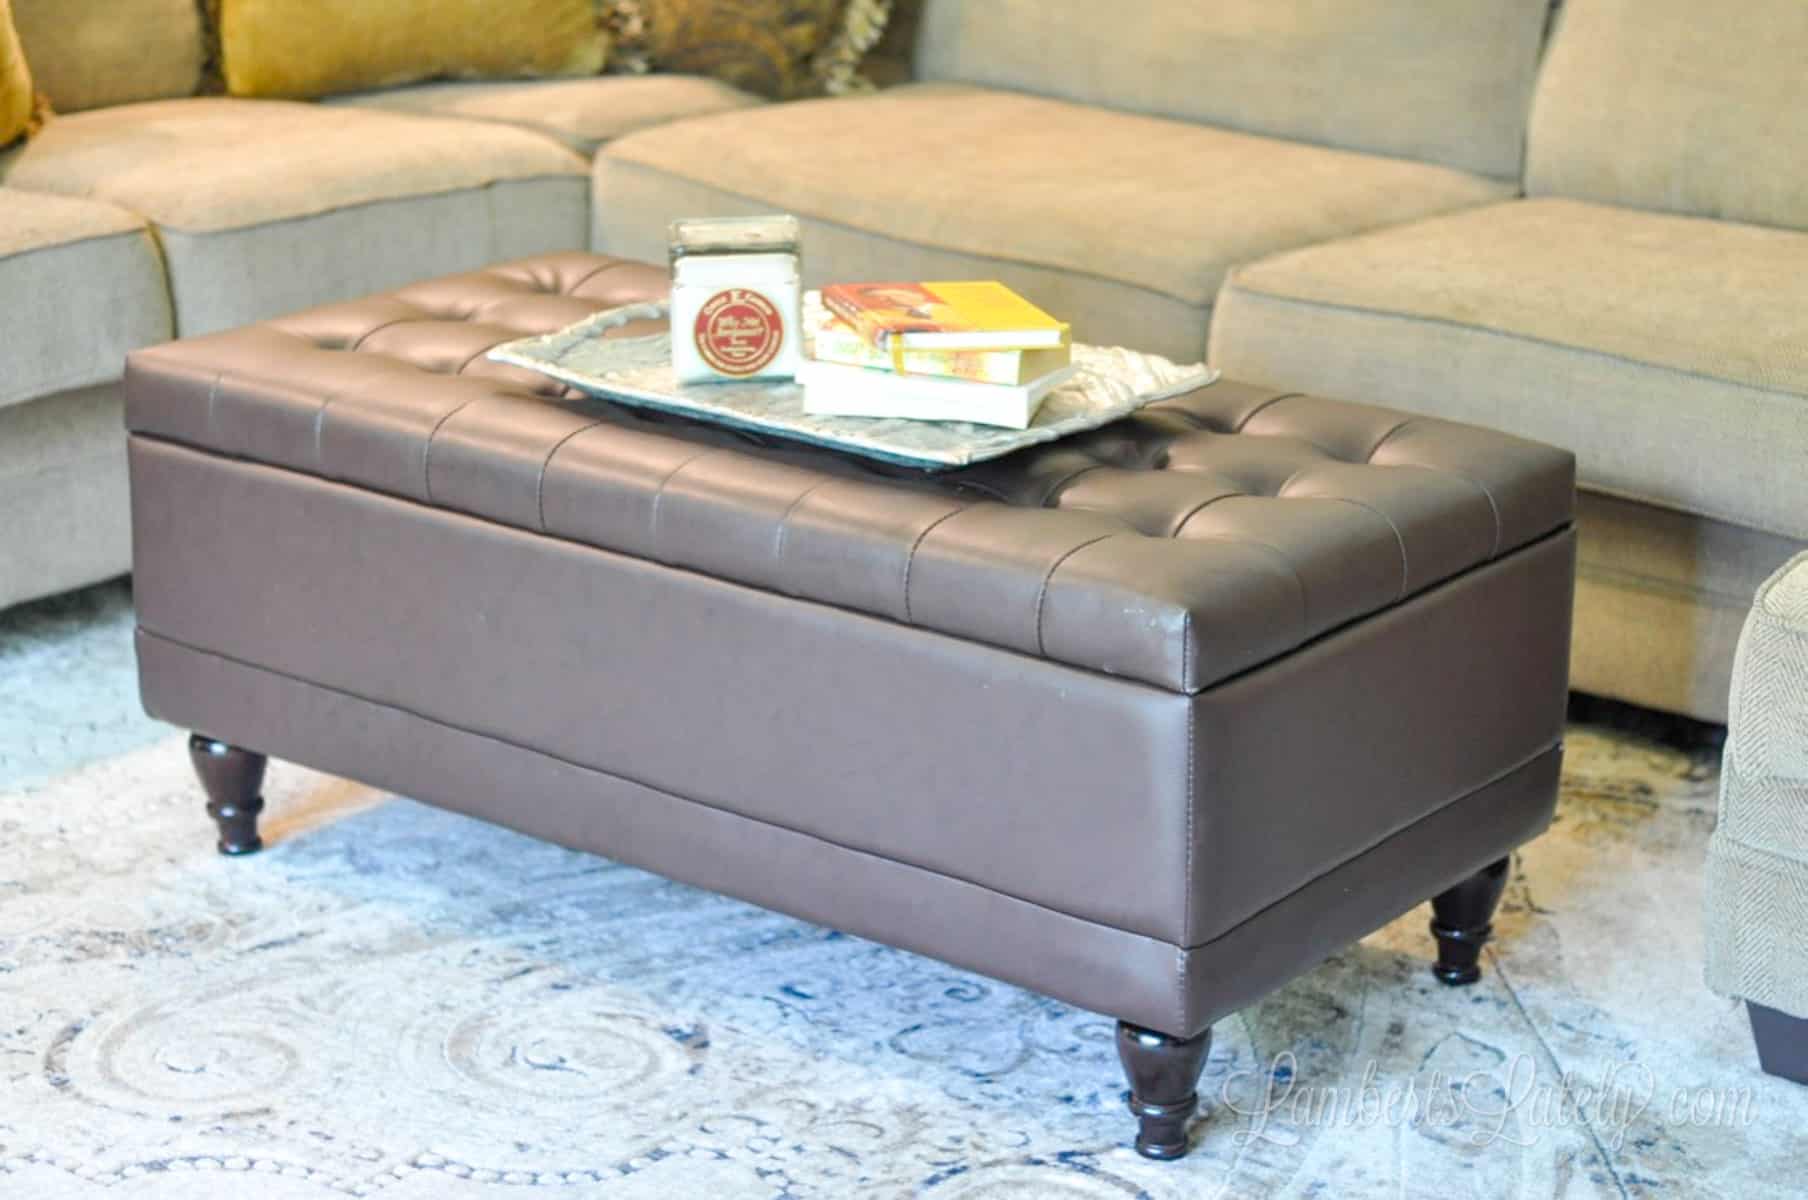
I like to use hidden toy storage throughout our home (like the ottoman pictured above [no longer available, similar here]). This keeps the toys out of sight but still allows the kids to have little play areas throughout our home. This also takes away from the congestion of the playroom.
There is no need to cram every kid item in the playroom - spread those toys out!
Hide function in your small playroom.
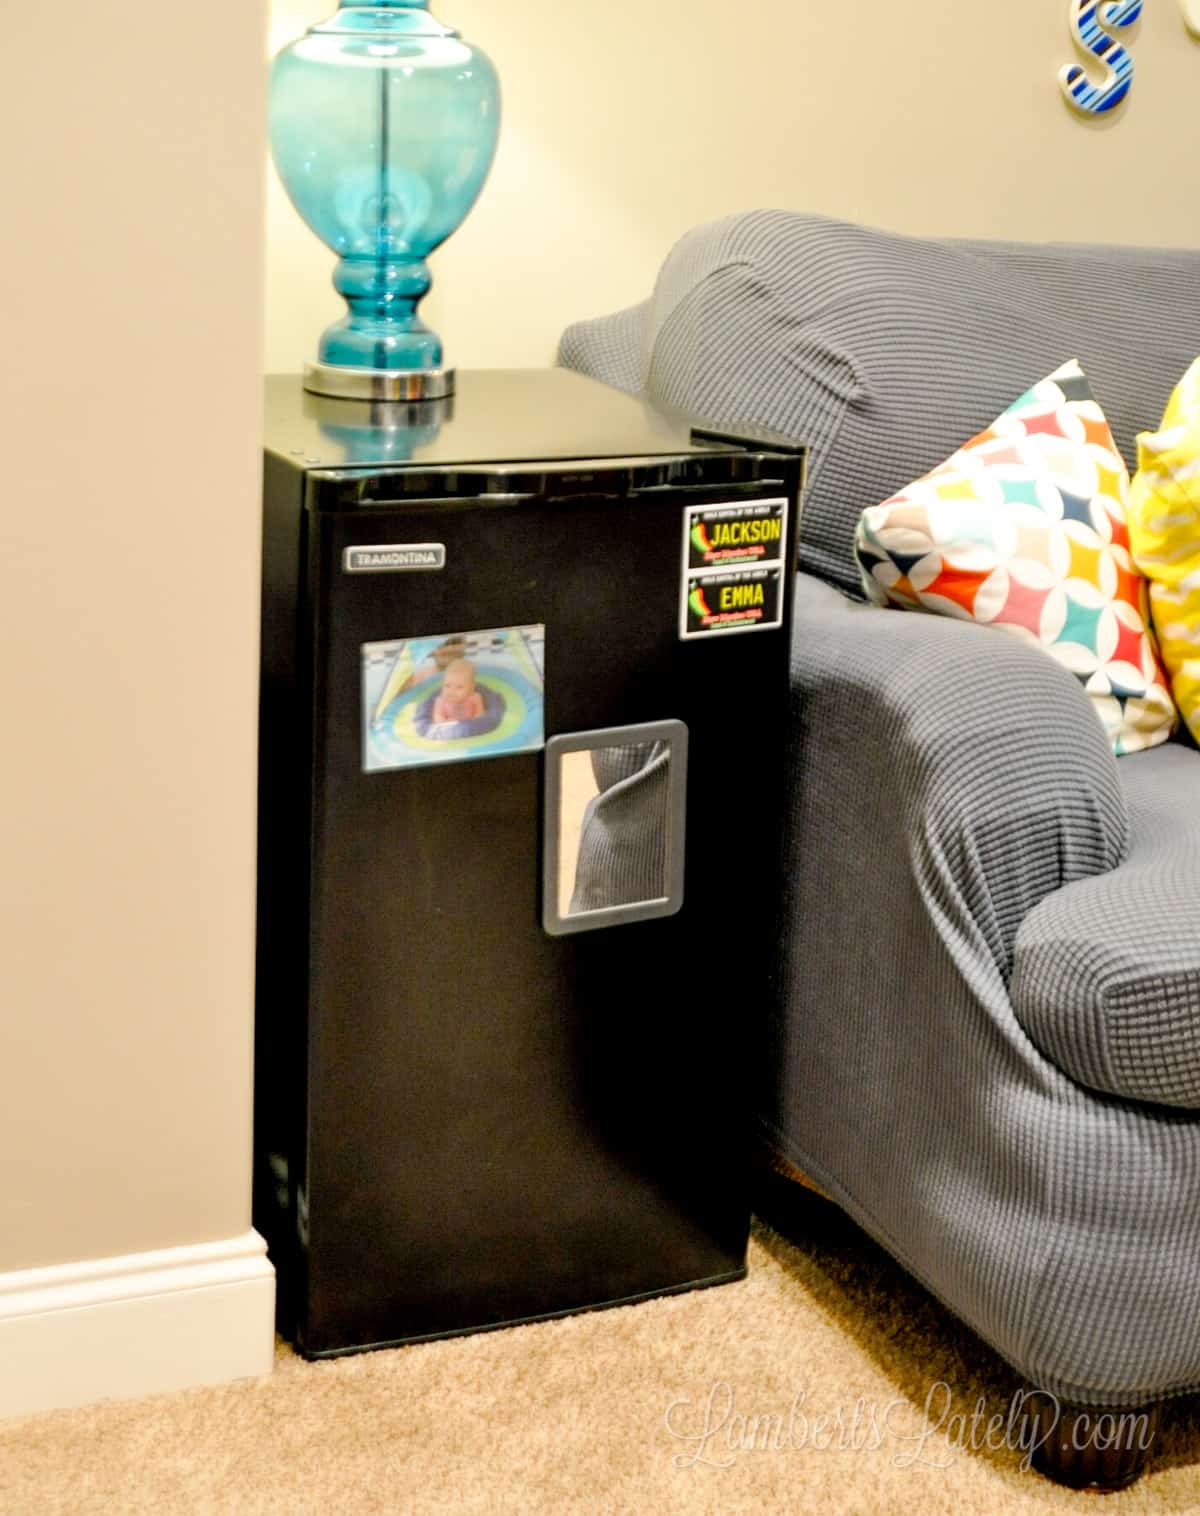
As my kids got older, we let them put a mini fridge in the playroom for easy access to drinks and snacks. Instead of finding a completely different area that takes up extra space, we just decided to take out one of our refinished end tables and use this in place. It works wonderfully!
Try to think of ways you can use functional items in more than one way. A desk used for homework could also be an art space. A couch could be a daybed or a fold-out bed. There are lots of different multi-functional pieces that help you save space and maximize usability.
Have catch-alls for playroom organization & storage.
I'm a big believer in having catch-all spaces throughout our home. These are simple bins and baskets that "catch" the random stuff before it has a chance to clutter up your space.
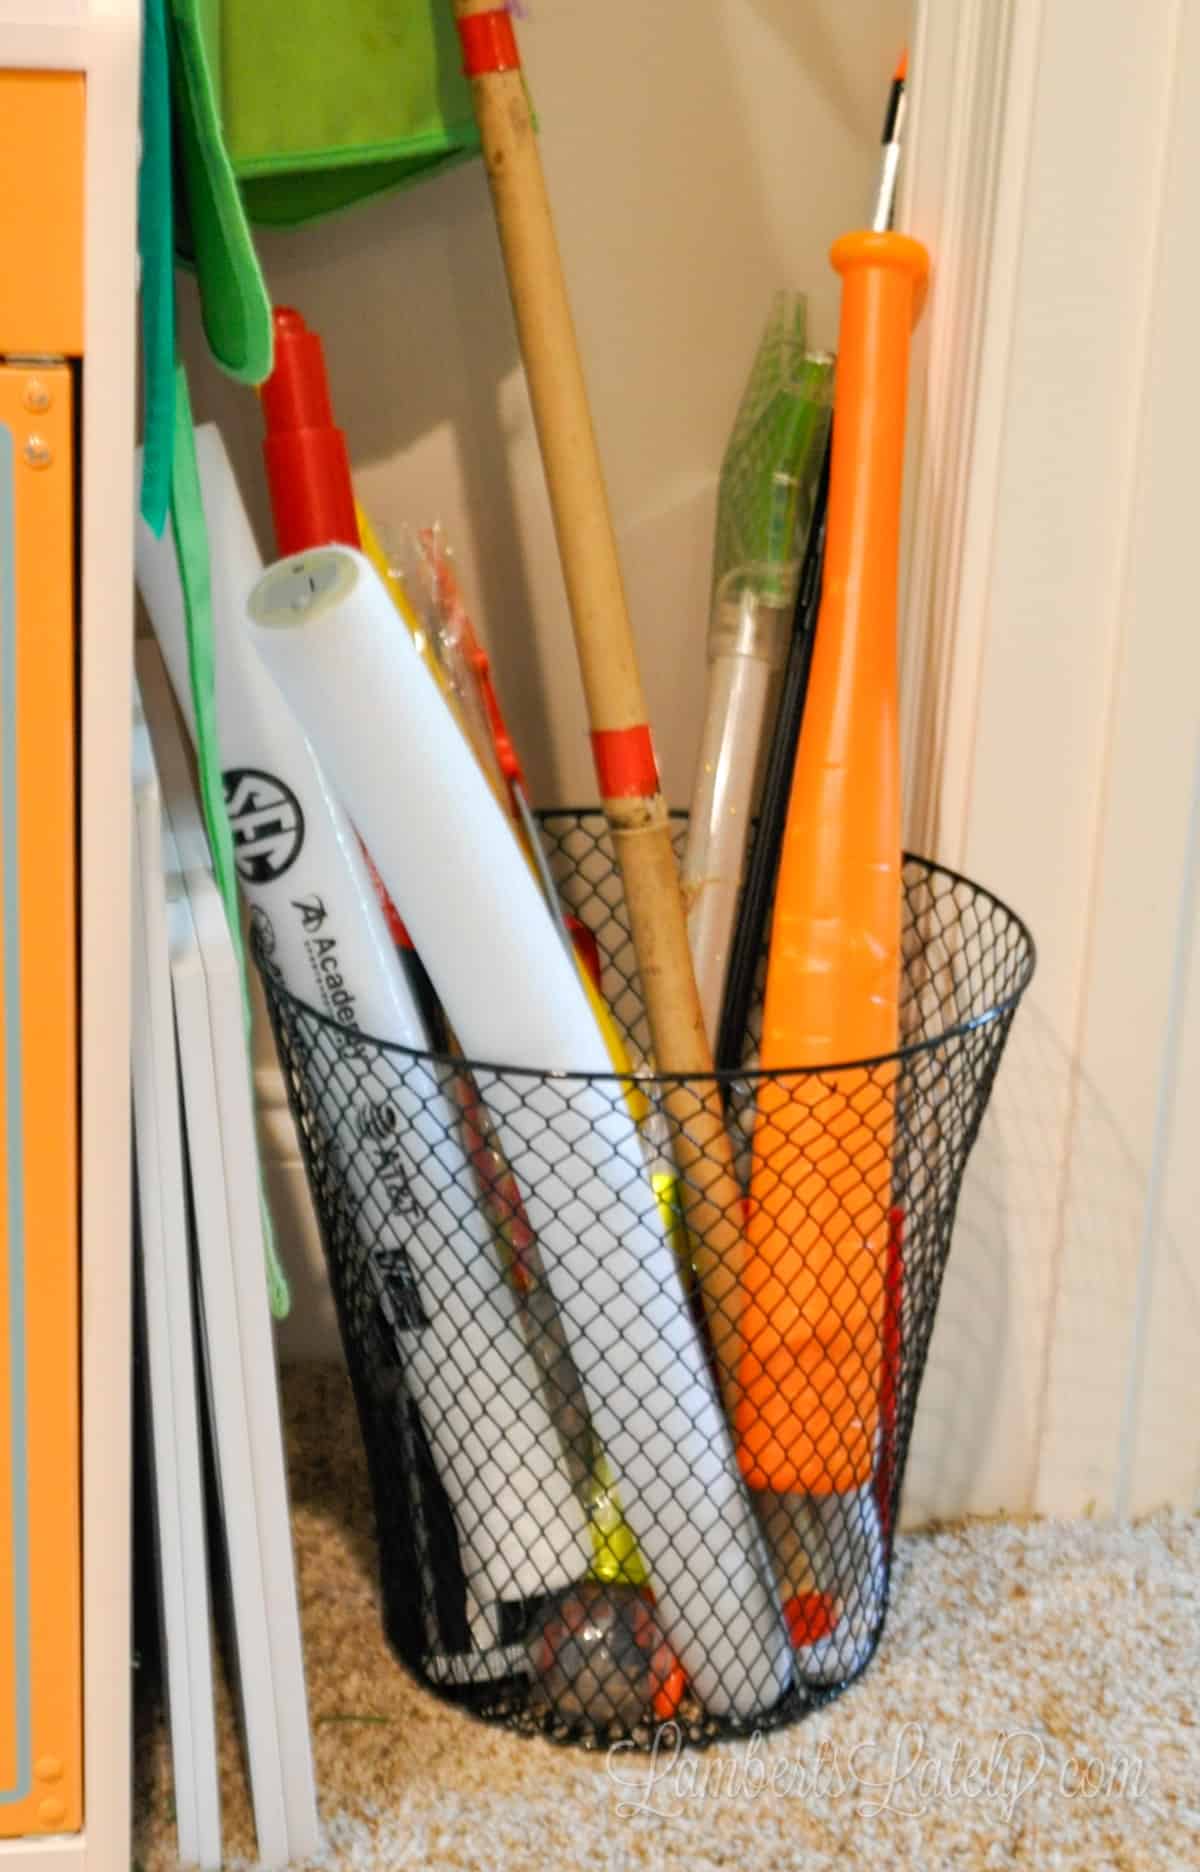
This little wire trash bin is an example. It's our catch-all for all of those awkward long toys - wands, swords, baseball bats, etc. It's super simple to throw these items in the bin, rather than letting them junk up a space.
If you notice a particular kind of item (doll accessories, art supplies, video game equipment) starting to clutter your area, start a catch-all for that kind of item to eliminate the clutter!
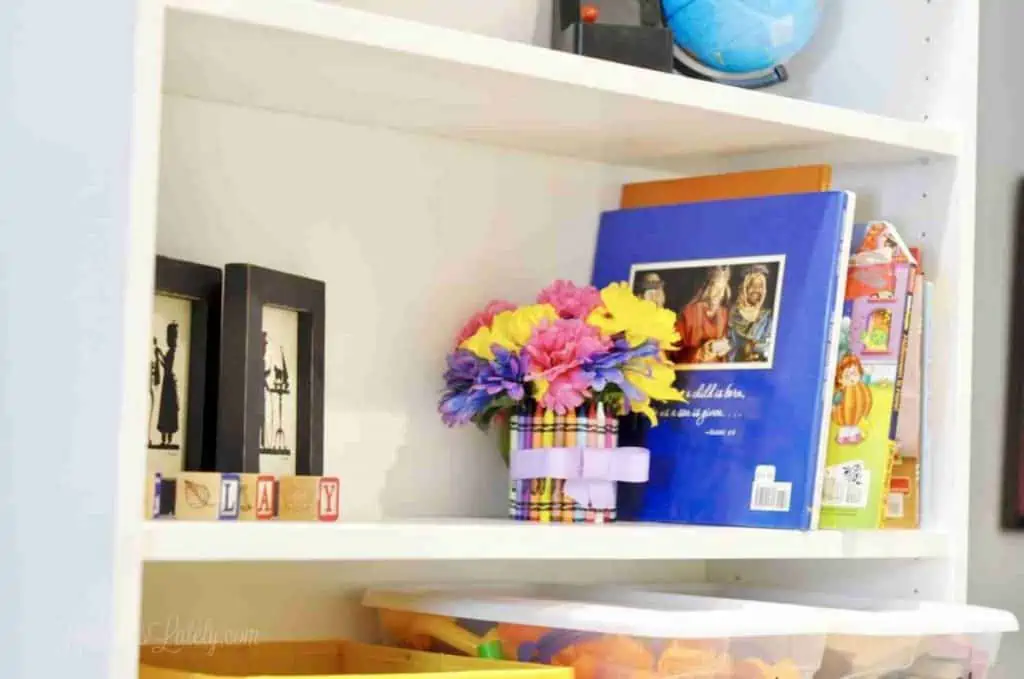
Don't forget the whimsy.
Don't get too caught up in simply organizing your playroom - make it fun too!
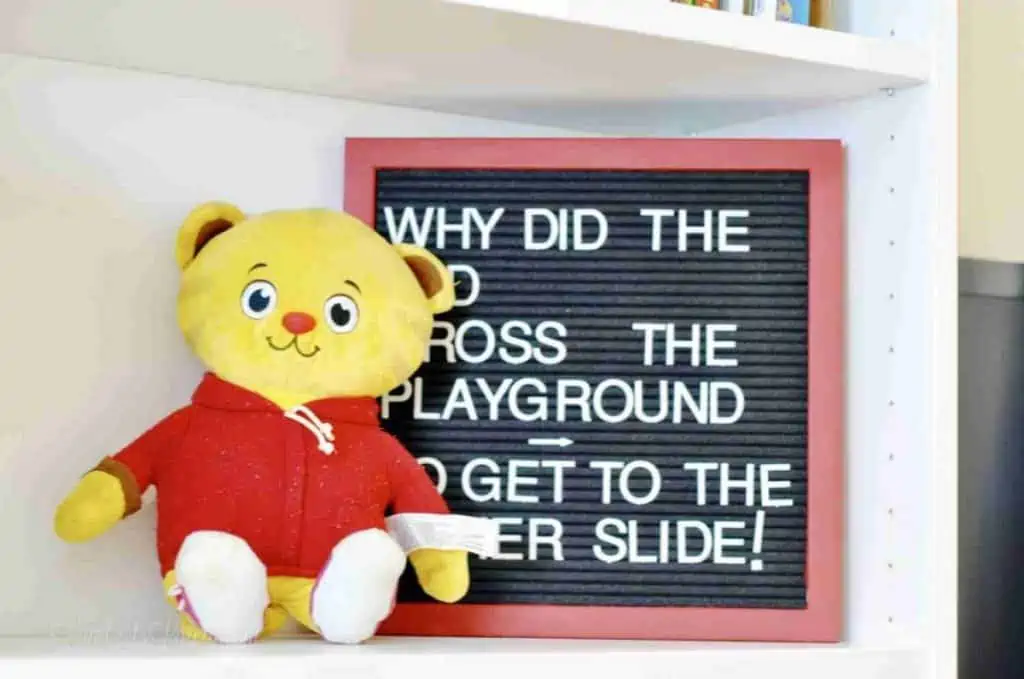
My daughter has had so much fun thinking of things to put on our letter board. It's a really fun piece of decor for kids.
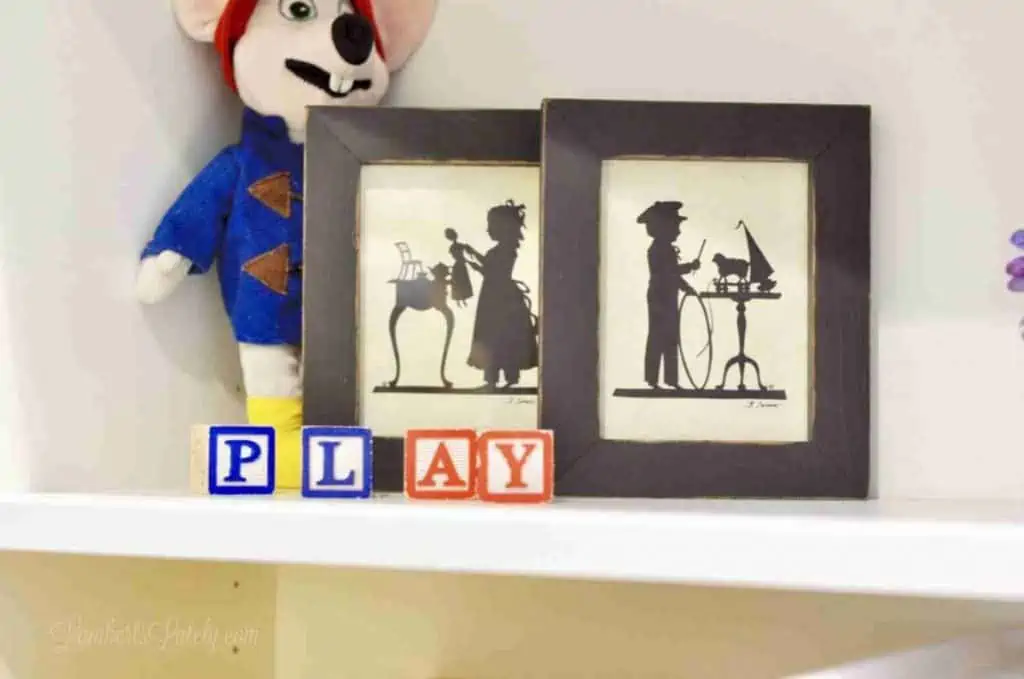
I found these little prints at an antique sale recently - aren't they sweet?
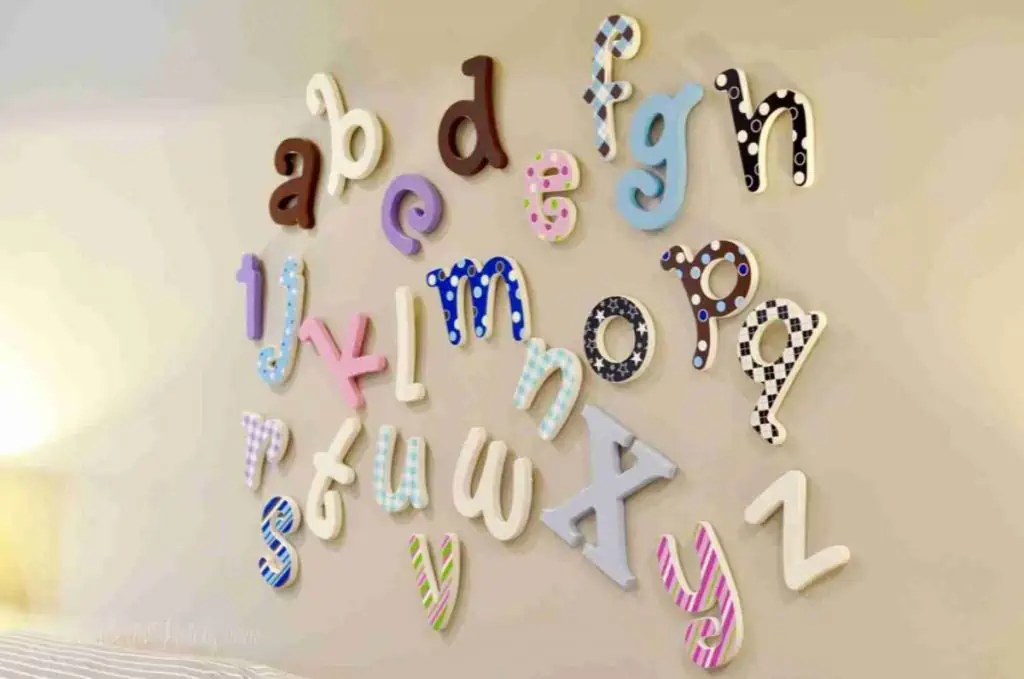
This alphabet letter wall was one of the first big projects I did in the house. I still love it!
Utilize portable storage.
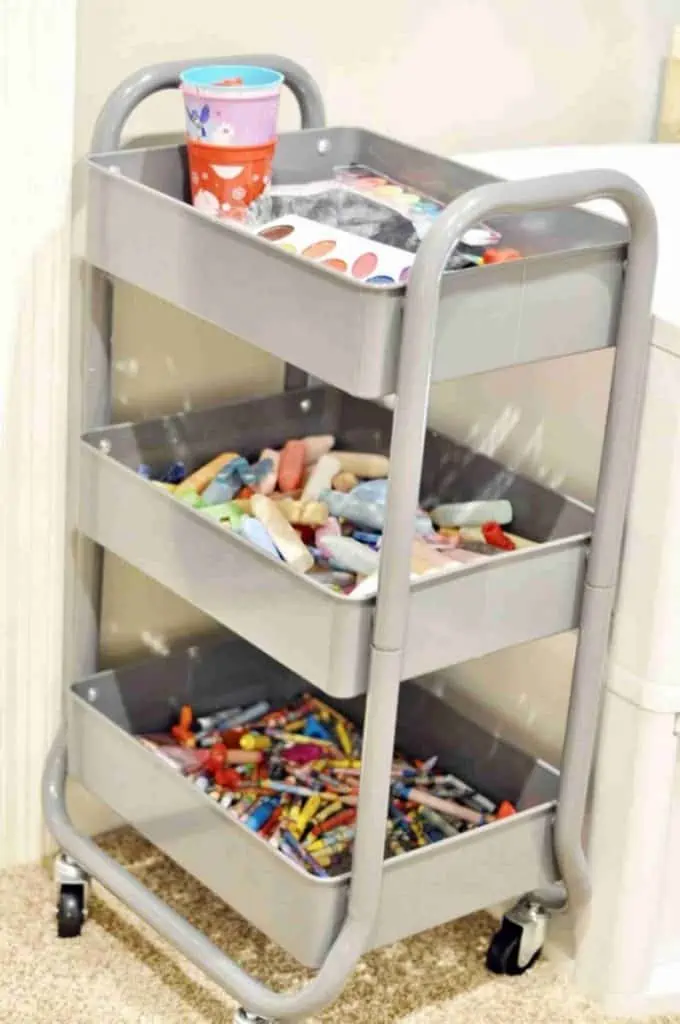
I love this rolling art cart for art supplies organization - another great use of vertical storage space. And it can go from room to room as needed for art projects.
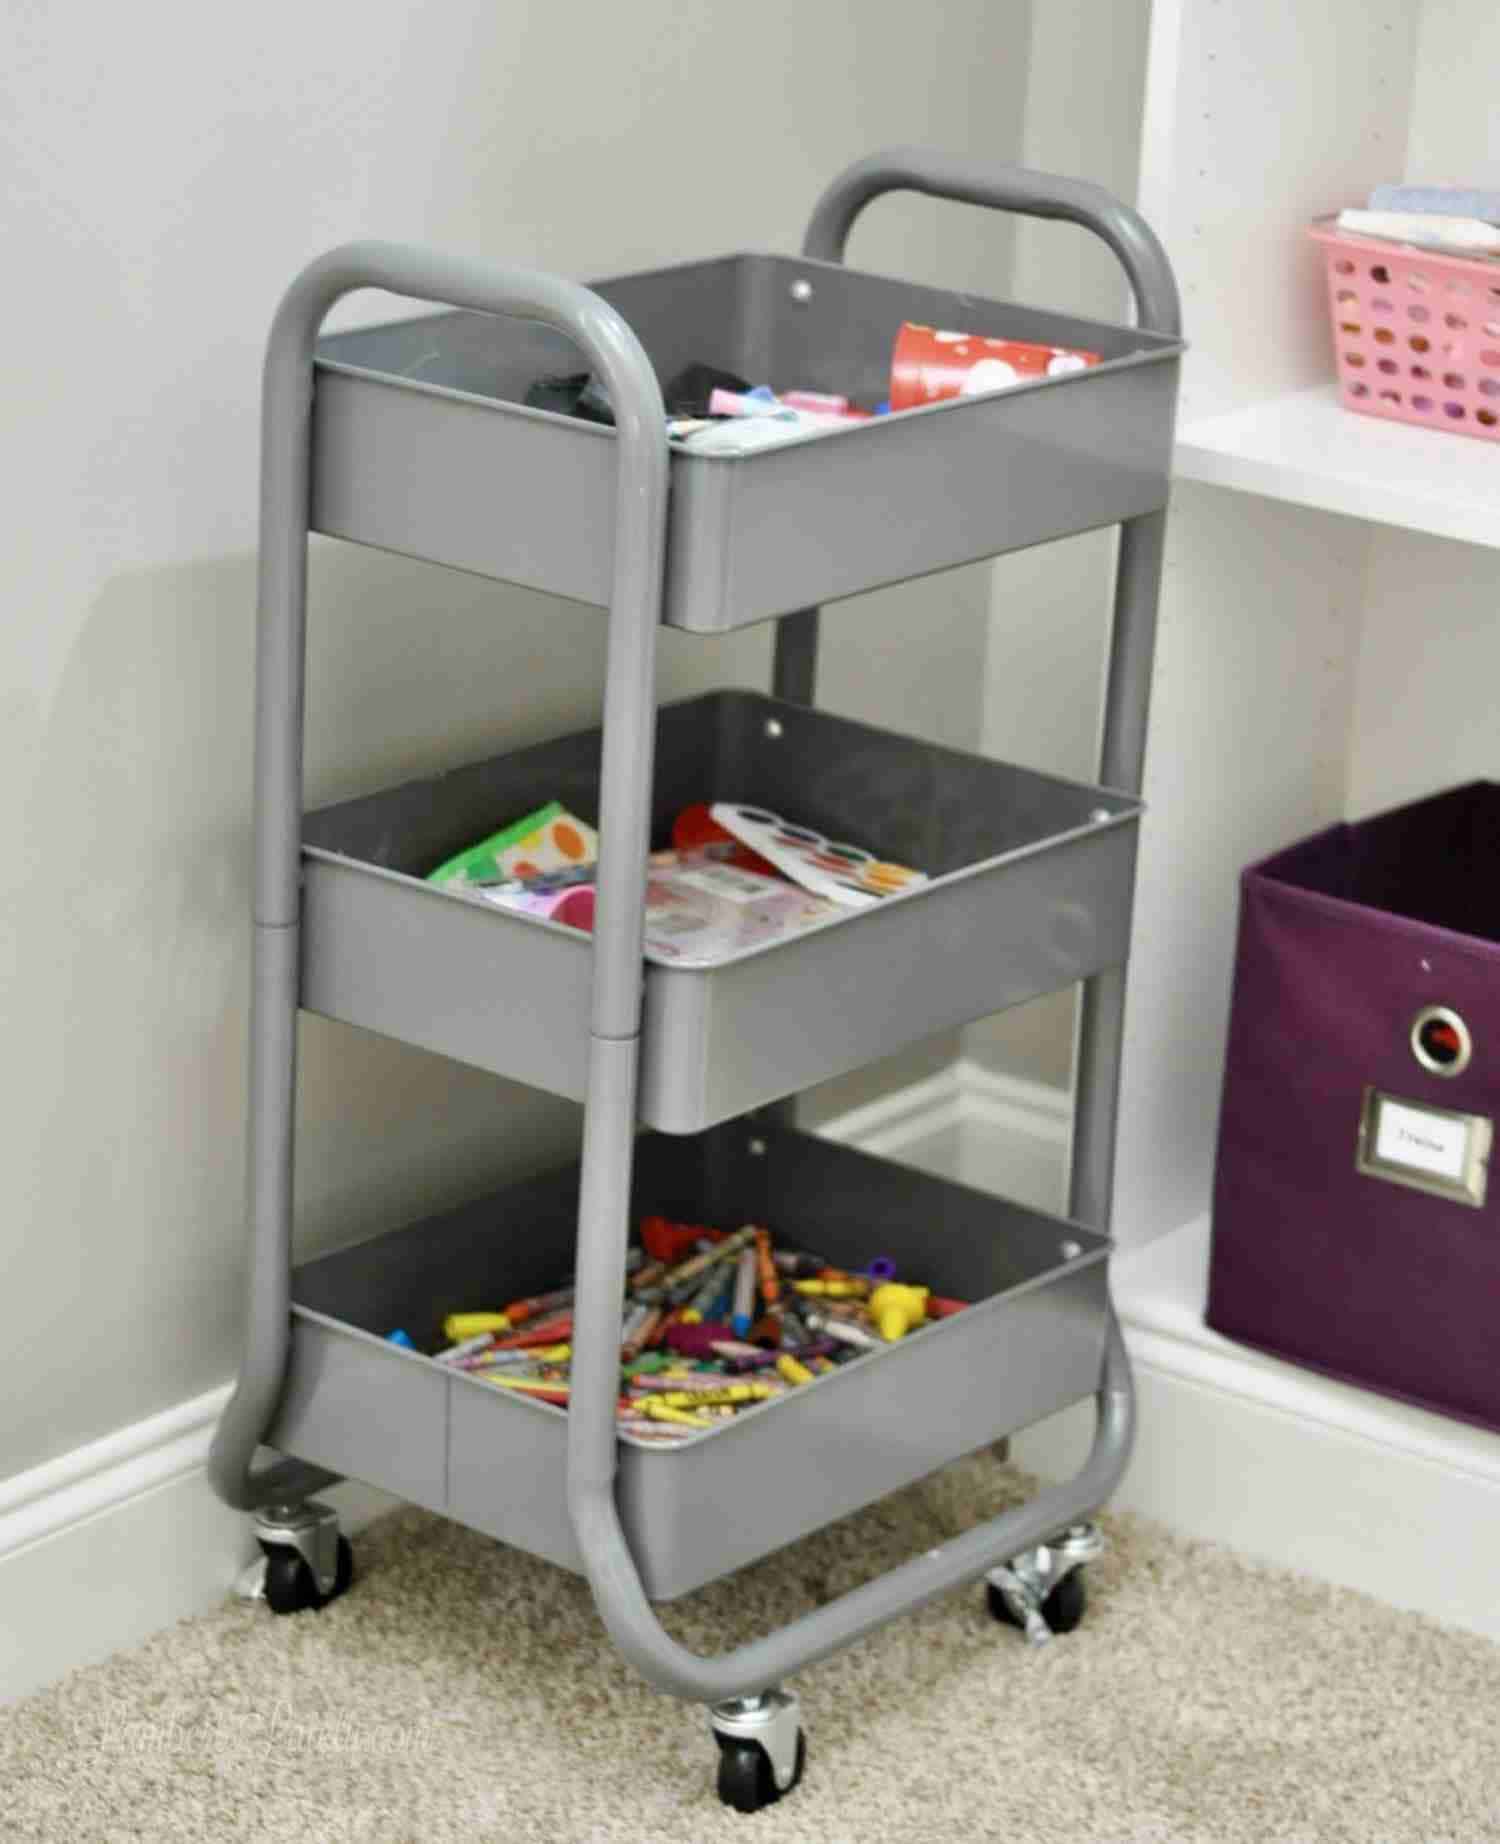
Here's a shot of it in our craft room as well. It's been used as many different things in our home over the years - so many different ways to organize with this one.
Install a multi-use homework area.
As we've grown into our house, we've also turned one of our bedrooms into an extended crafting room. We use it as a craft room, homework room, extra playroom, and office.

This art and homework area has been really useful for us. The kids can do any kind of project while we're at the opposite desk doing our thing. This was a life-saver when we were in Covid lockdown and had to work and do homeschool simultaneously!
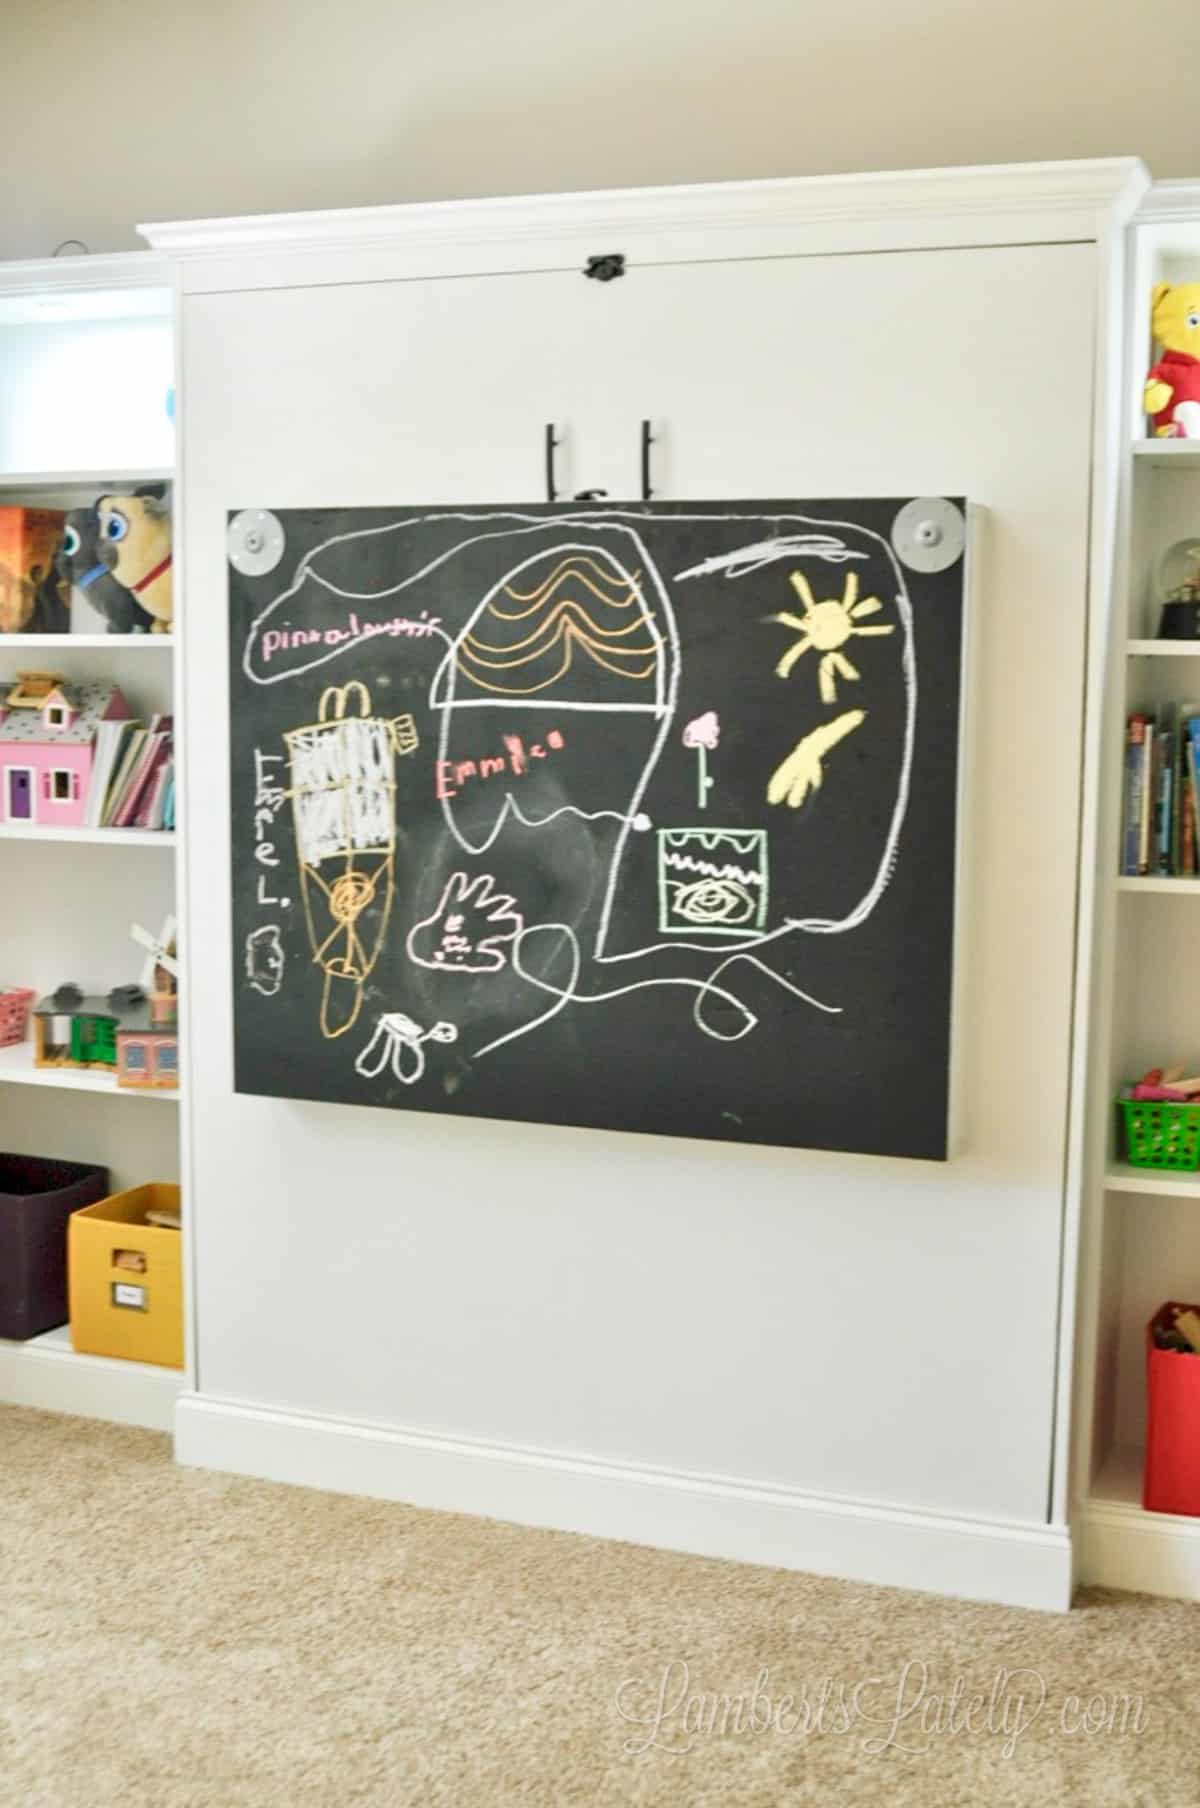
This is also a great example of vertical space. We can fold this desk up and use as a chalkboard, leaving the floor space below for play.
Find pieces that are multifunctional.
See that desk and chalkboard above? It's also a Murphy bed.
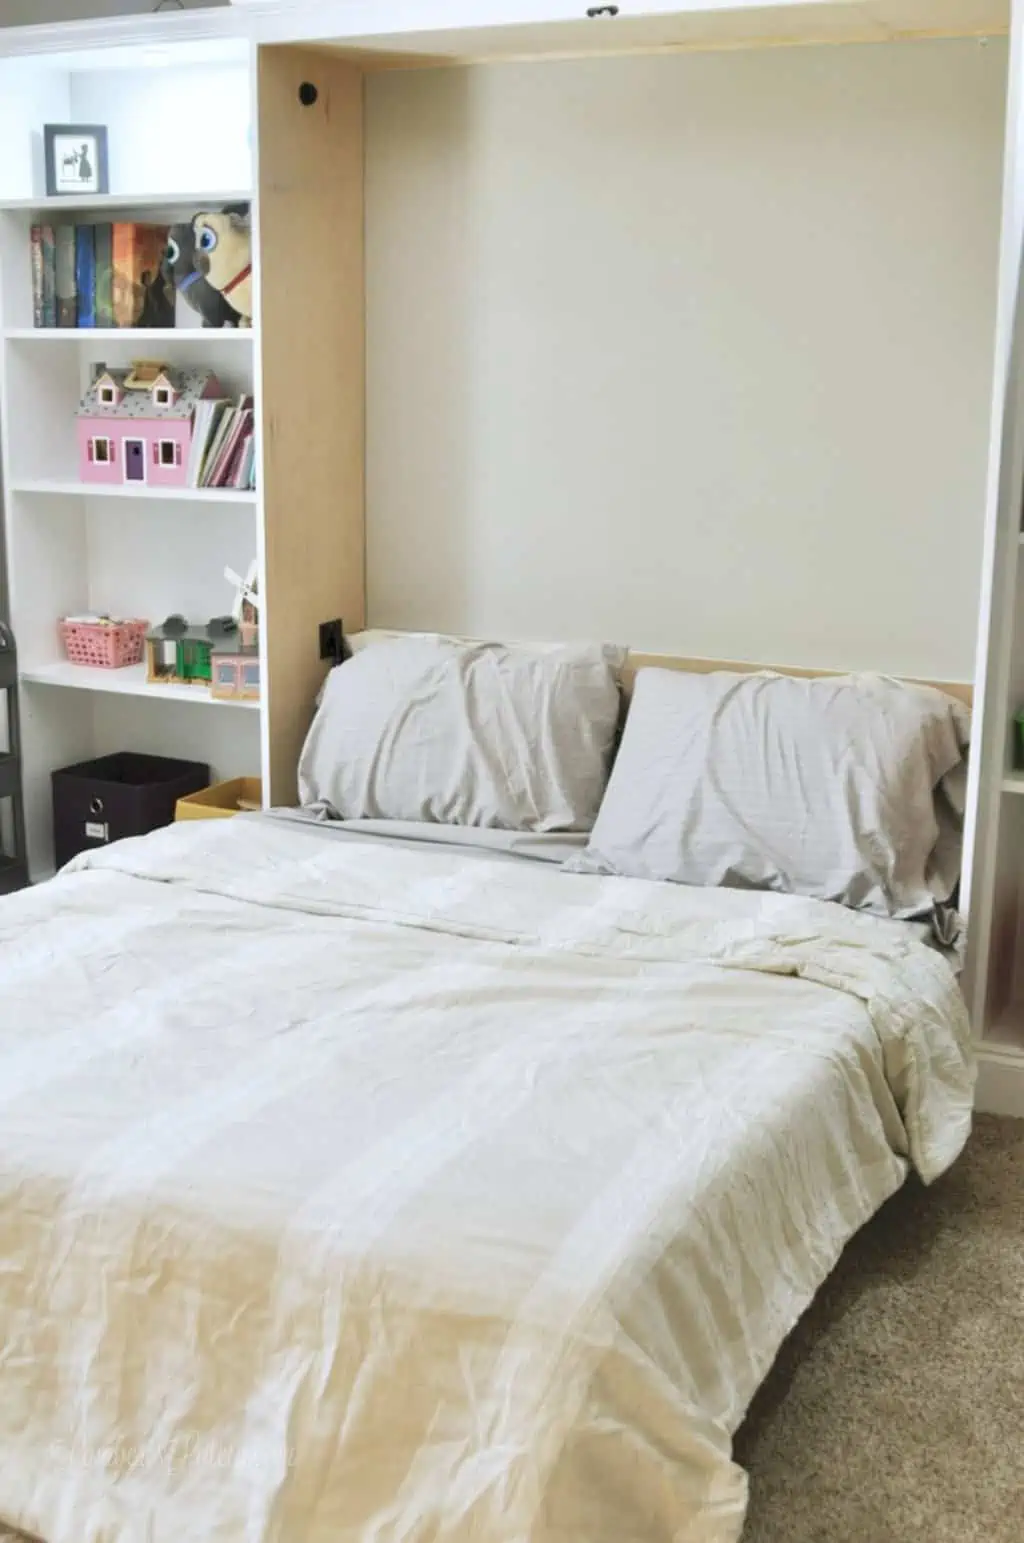
We don't have a ton of guests, so we didn't want to take up space with a bed that would rarely be used. When you're working with a limited amount of space, using it in as many ways as possible is key!
You can see how we built this murphy bed from scratch!

I hope you found a little bit of inspiration for your imaginative play space in today's post! I can't wait to see these small playroom ideas put to good use. Let me see those pretty playrooms - tag me on Instagram (@lambertslately) with your organized areas.