
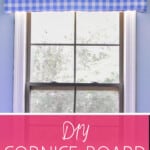
This tutorial on how to make a DIY cornice board is a no-sew project made with foam board. It's as easy as gluing and taping a few things in place!
Paid links used in this post. Read more about my link usage policies.
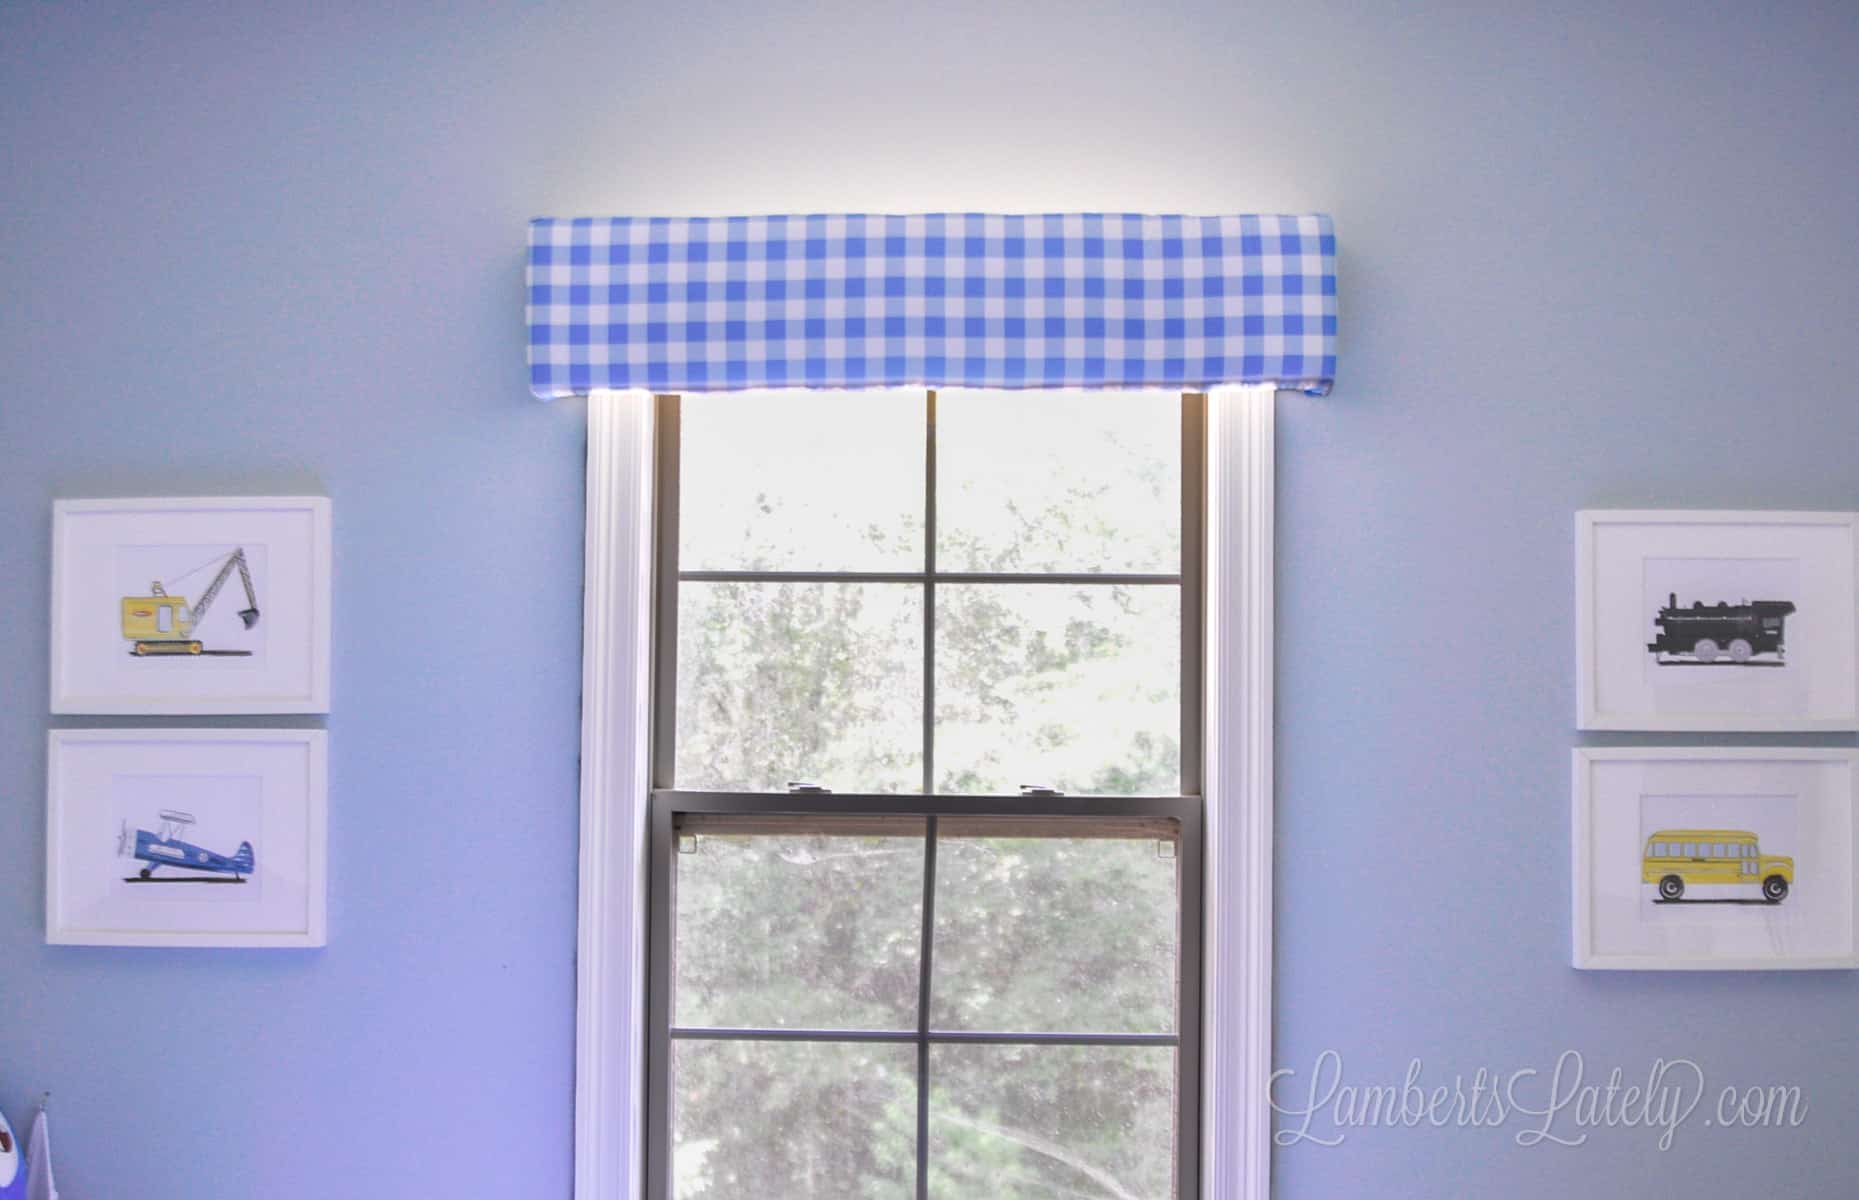
When my son moved into his big boy room, we let him pick the bedding he wanted. He went with a super cute train set that had a gingham bed skirt. The way his bed is made didn't allow for a bed skirt, but I didn't want that cute fabric to go to waste. Coincidentally, we didn't have any kind of window valance for his room.

So, I turned that bed skirt fabric into a super cute DIY cornice board! This is an easy DIY window treatment that doesn't require any kind of woodworking. If you can tape, you can do this.
Supplies Needed
To complete this project, you'll need...
- Insulation Foam Board (If you can find 1.5" thick like this one, this project would be even easier. My store didn't have it, so I went with .5" thick and just triple-layered it.) One 4x8' board is easily enough to make 2 cornice boards for standard-sized windows.
- E6000 Glue
- Sharpie and Sewing Ruler
- A good, sharp Utility Knife
- Duct Tape
- Staple Gun (if you don't have one, a stapler works)
- Quilt Batting
- Fabric (a yard of decorative for the front of the board; ½ yard of solid, covering material for the back)
- Hot Glue Gun
- Inexpensive Curtain Rod
Total Project Cost
This project should cost around $20 to complete. You more than likely have several of these items on hand already, making the project even less expensive!
Step 1: Measure the window for the valance.
Start with the basics: measuring.

You'll construct the frame of the cornice board out of three different pieces of foam board. Think of a rectangle without one of the long sides. The first (front) one should be 5" wider than the outside of your window. The window width includes any molding around the actual window frame.
Depending on your preference, all three pieces should be somewhere between 11-14" tall. I went 11" to fit my fabric, but it's almost a little small. I'd personally recommend closer to 14".
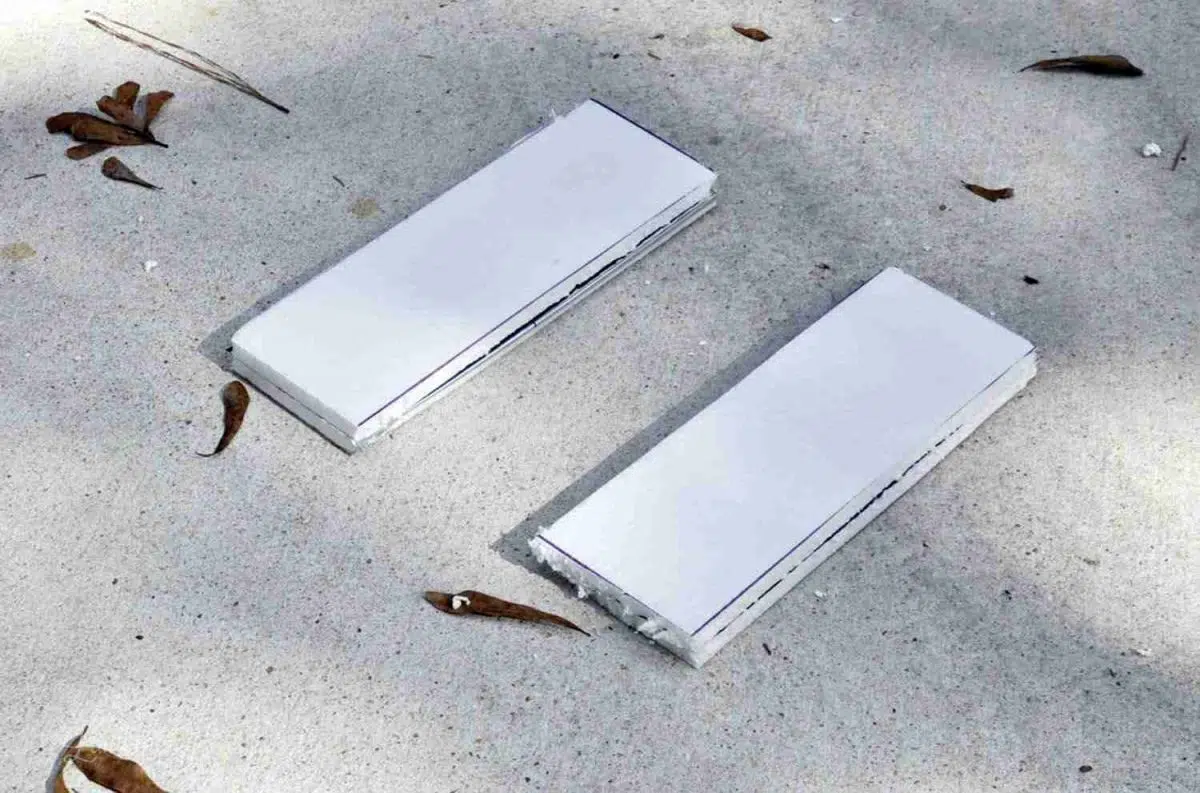
The two side pieces should be 5" wide by however tall your front piece is. My front piece was 11" tall, so my two side pieces were 5"x11".
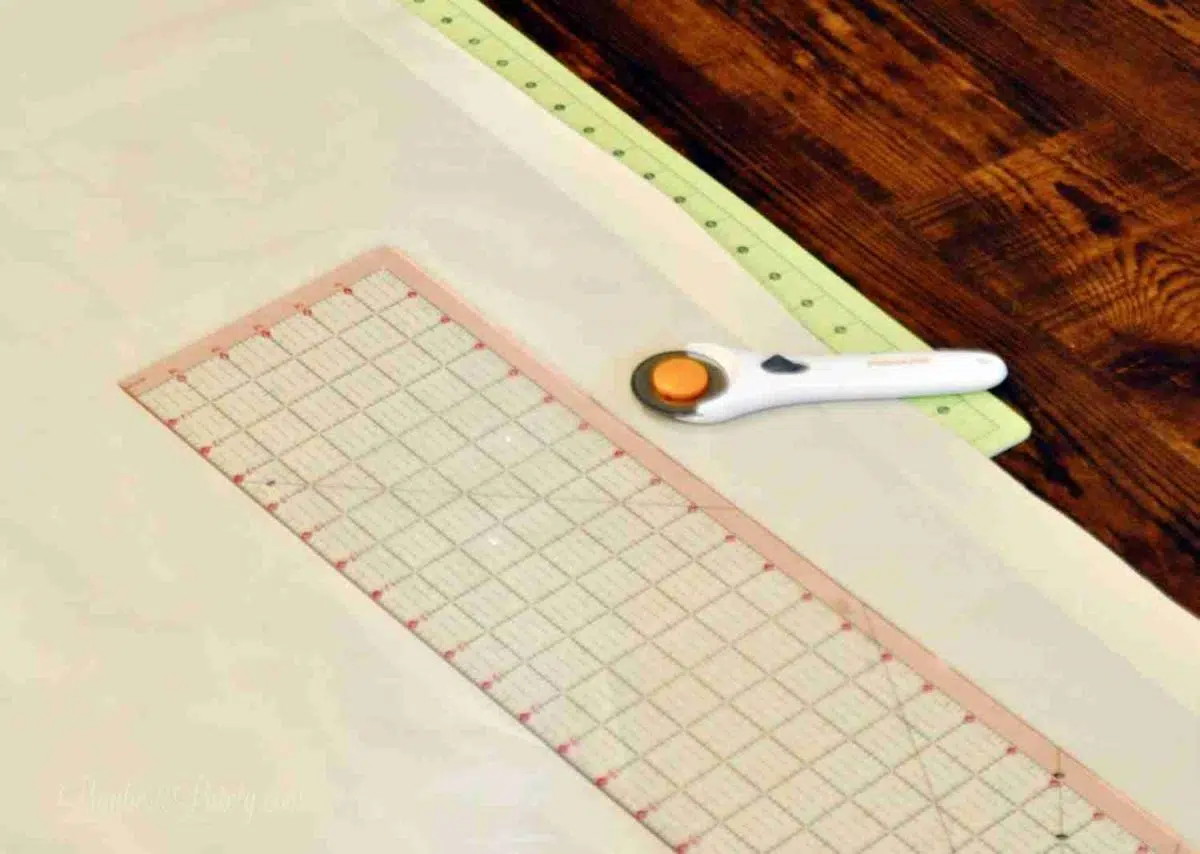
Step 2: Measure and cut the foam board.
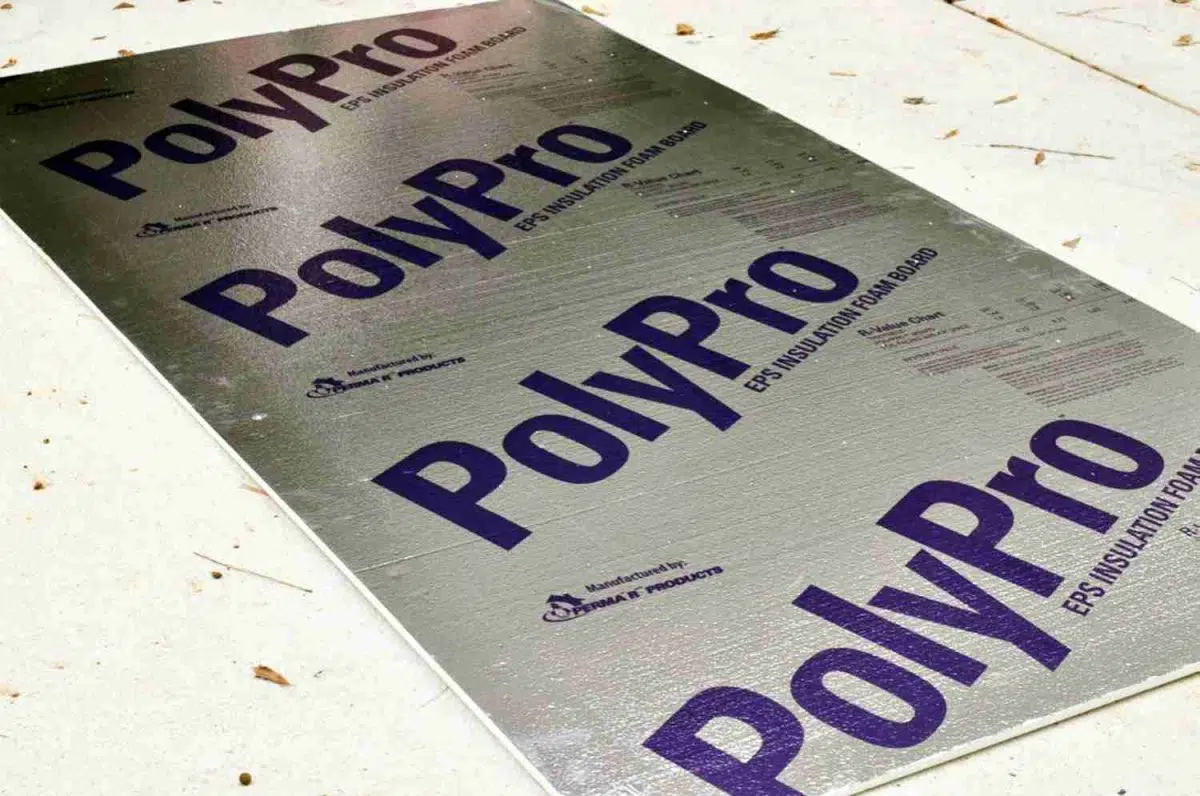
Start with a big sheet of foam insulation board, which can be found at most home improvement stores. These typically aren't super expensive, are significantly lighter than using wood for this project, and are much easier to cut & attach! And no, you can in no way tell that I used foam instead of wood or mdf.

Because I wasn't able to get my hands on the 1.5" thick board, I had to kind of build my pieces up. I cut three individual layers of each of my 3 main sides and glued them together like a sandwich with E6000 glue. Using my sewing ruler and a Sharpie to measure these out made sure my pieces were nice and square.
Of course, if you can get your hands on 1.5" thick foam board, this sandwich part isn't necessary!
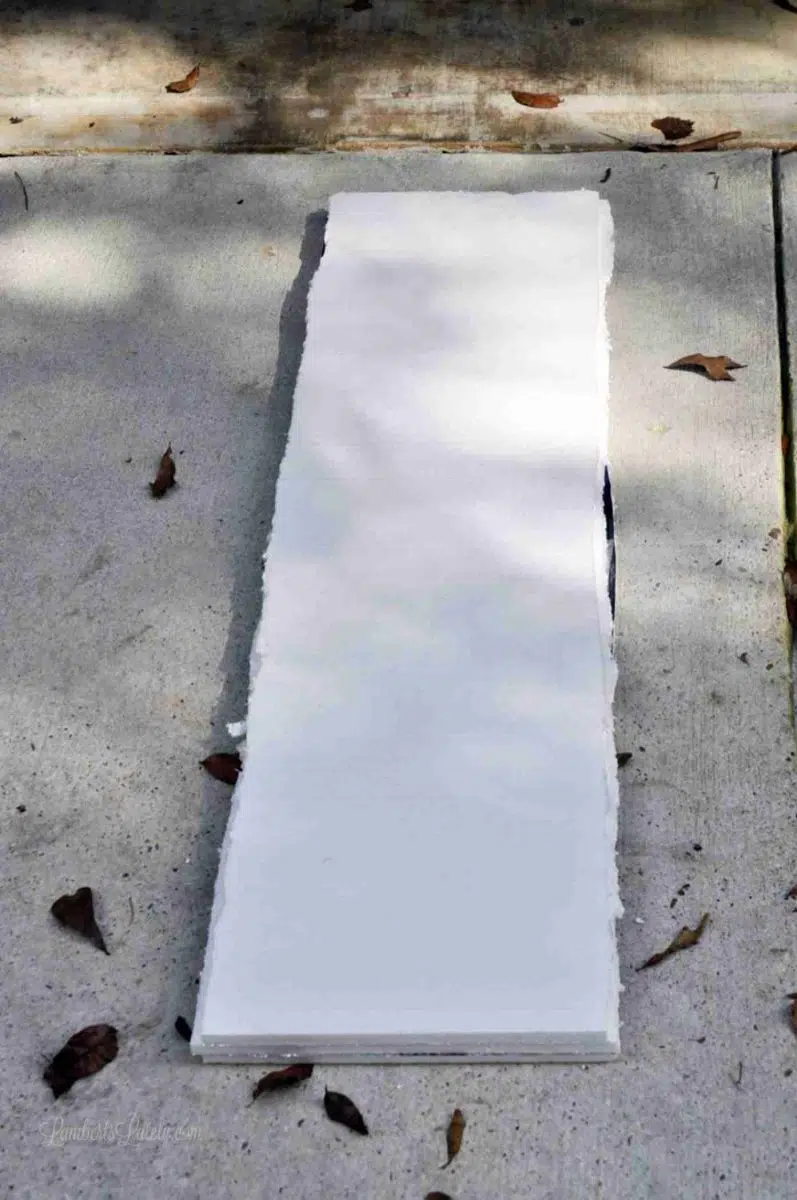
The pieces might look a little jagged when first cut, but it's ok. You can always go back and even them out after gluing. Let your sandwich dry, then...
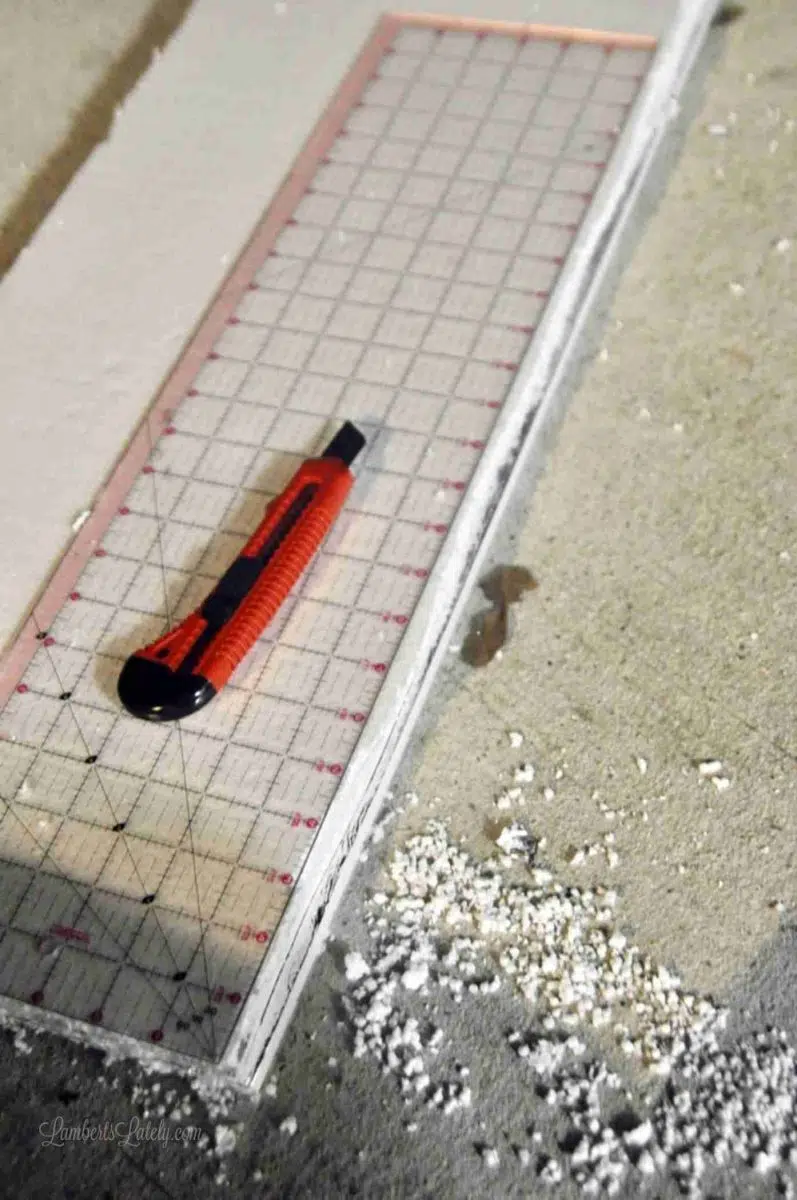
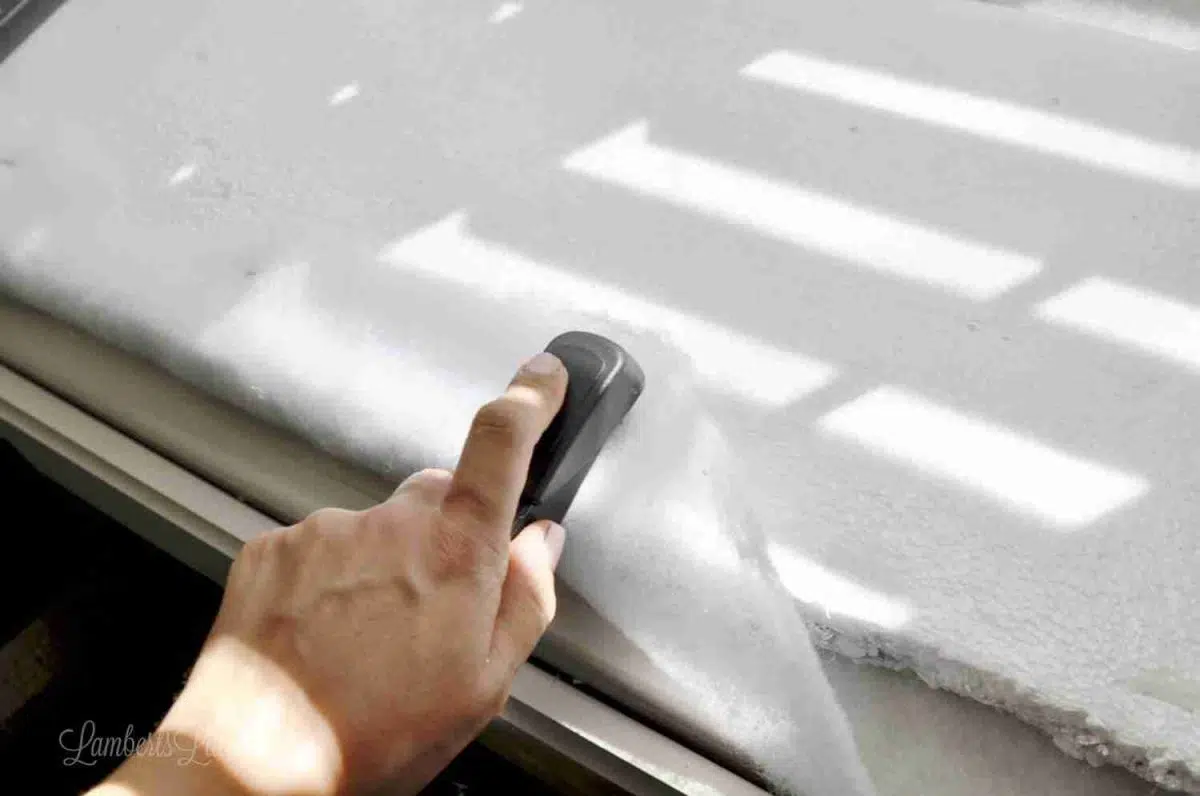
Using that square sewing ruler as a guide, go around and cut any jagged pieces off.
Cutting Tip
The whole cutting process makes a huge mess, so I'd do it outside if you can.
Love this kind of project? You'll want to check out my Fake Crown Molding and Craft Room Pegboard projects, too!
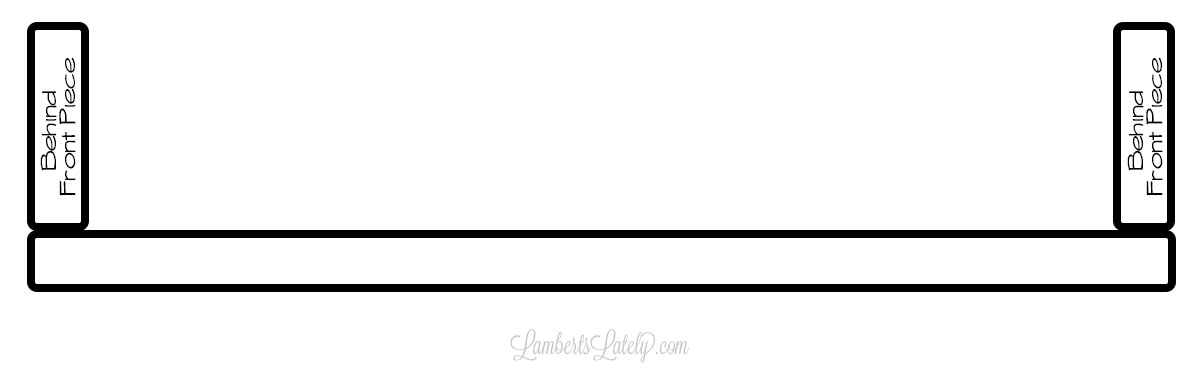
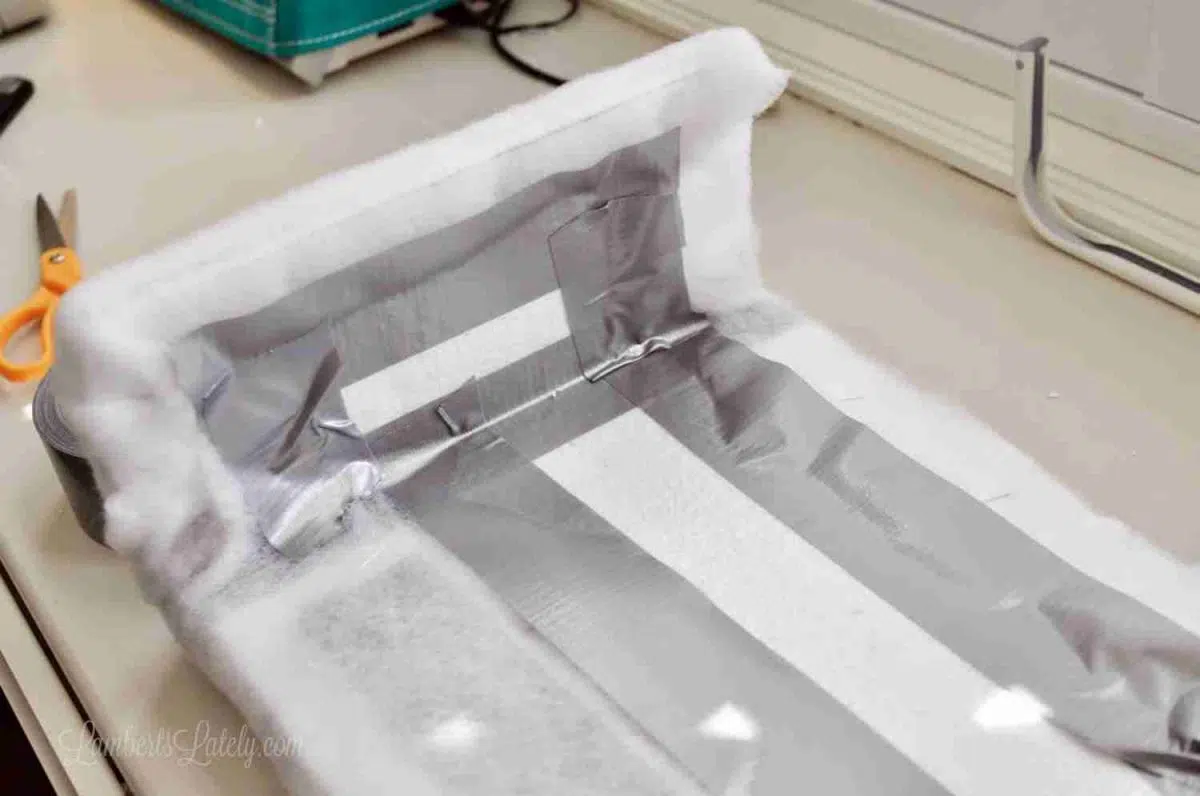
Step 3: Duct tape the frame.
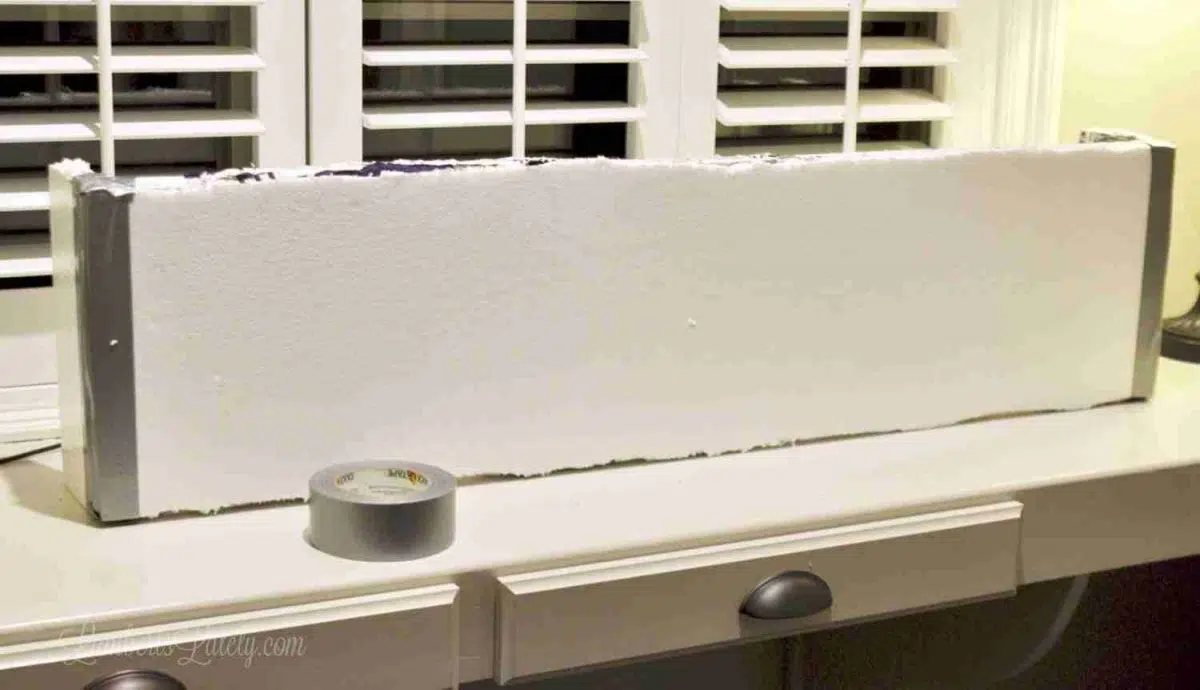
Next, simply duct tape your frame together. The side pieces should sit behind the front piece at 90-degree angles, as shown below.
Step 4: Cover with quilt batting.
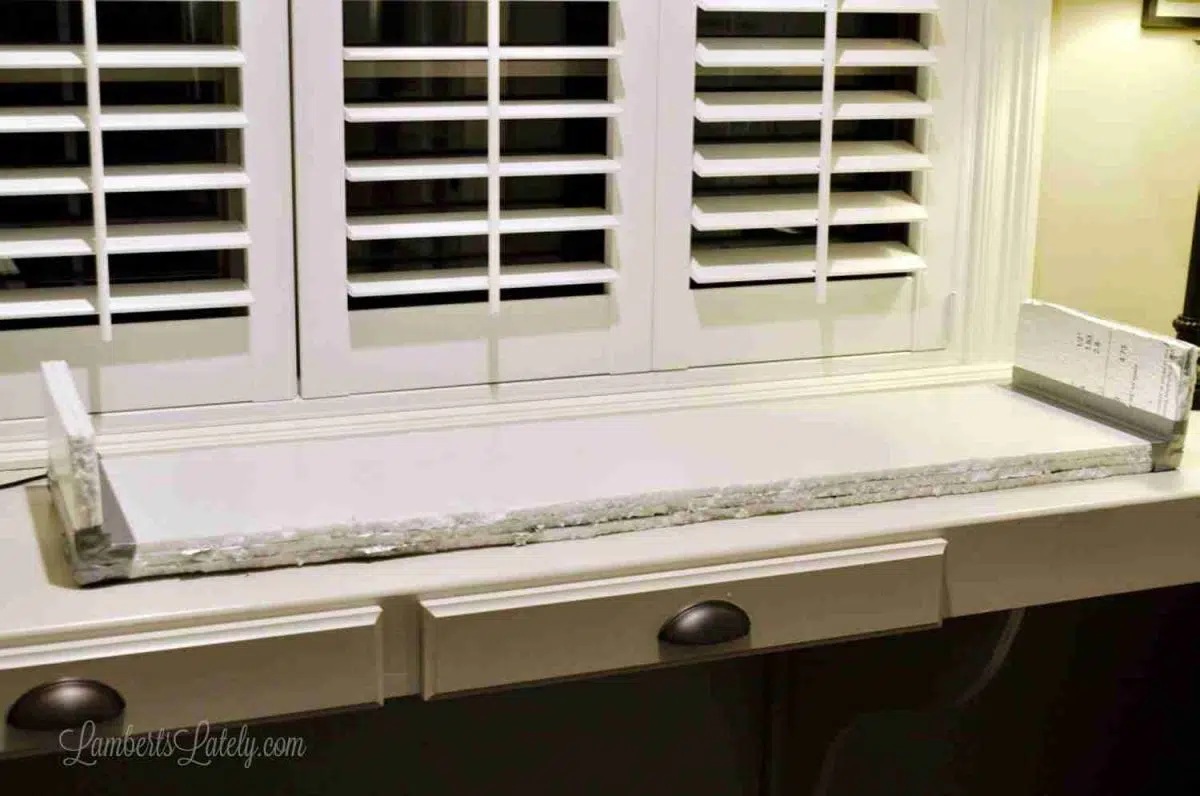
Now, attach the quilt batting. This batting is what gives the cornice board kind of a fluffy, pillowy look.
Your piece of quilt batting should be cut 16" wider than your front piece and 4" taller than your frame. For example, let's take my measurements; my front piece was 38"x11". I added 16 to 38 and 4 to 11, making my piece of quilt batting 54"x15".
Once cut, I roughly centered the batting on the frame and tacked it in place with a plain old stapler. (This would be much more secure with a staple gun, but I didn't have one at the time.)
After tacking with the staples, duct tape the quilt batting in place really well. This looks terrible right now, I know. We'll fix it before we're done.
Step 5: Cover the cornice board with fabric.
Now, let's add fabric. Your piece of fabric should be 1" wider (in both length and width) than the measurements you cut for the quilt batting. Looking back at my measurements, with my batting of 54"x15", my fabric cut should be 55"x16".
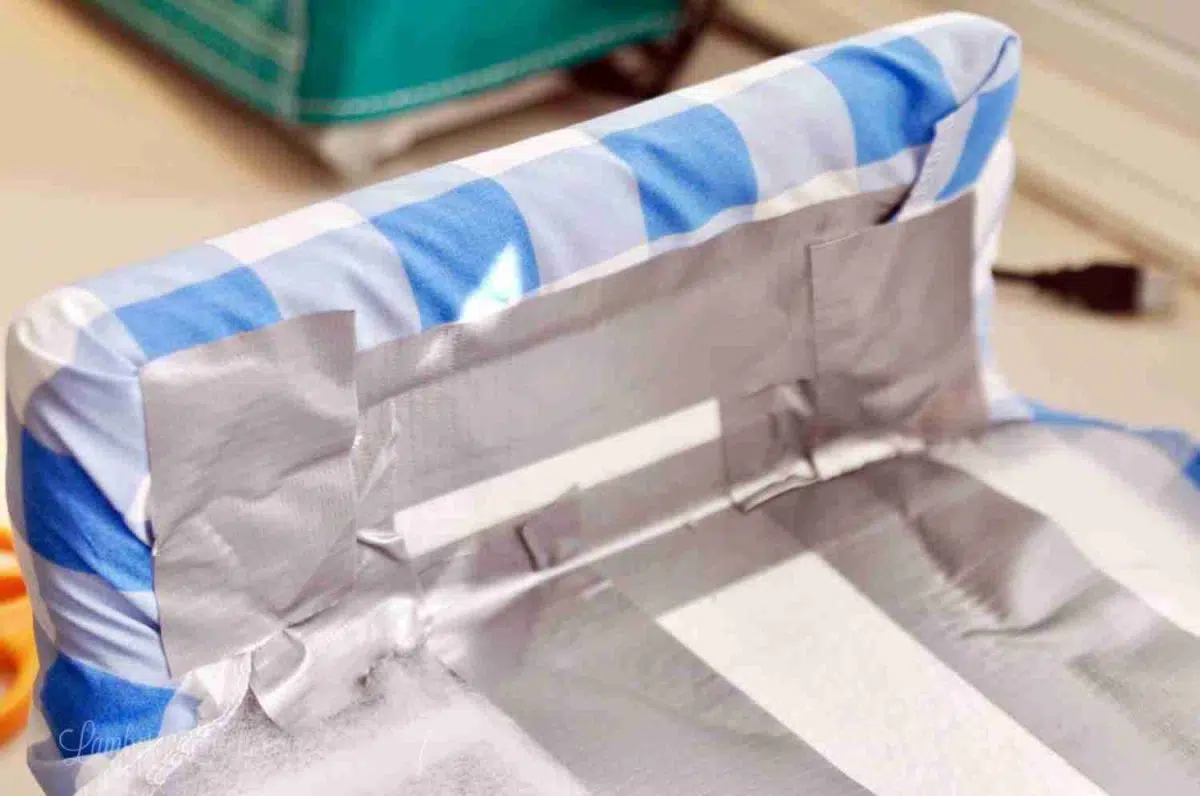
Start by wrapping the fabric behind one side piece, making sure your fabric is lined up correctly on the front and doesn't look over-stretched (but is tight). Duct tape the fabric in place.
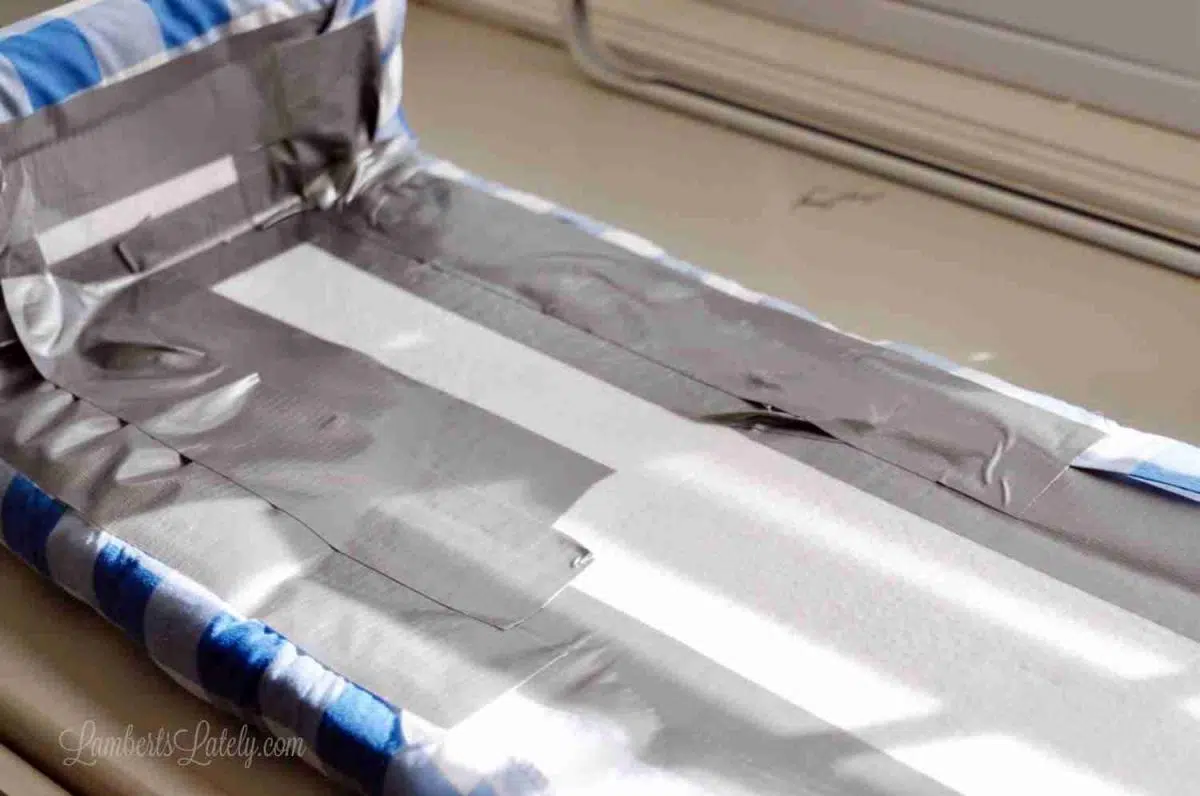
Then, slowly, work your way down to the other side of the board, stretching the fabric into place and taping. Spot-check yourself often to make sure the front looks ok before moving on.
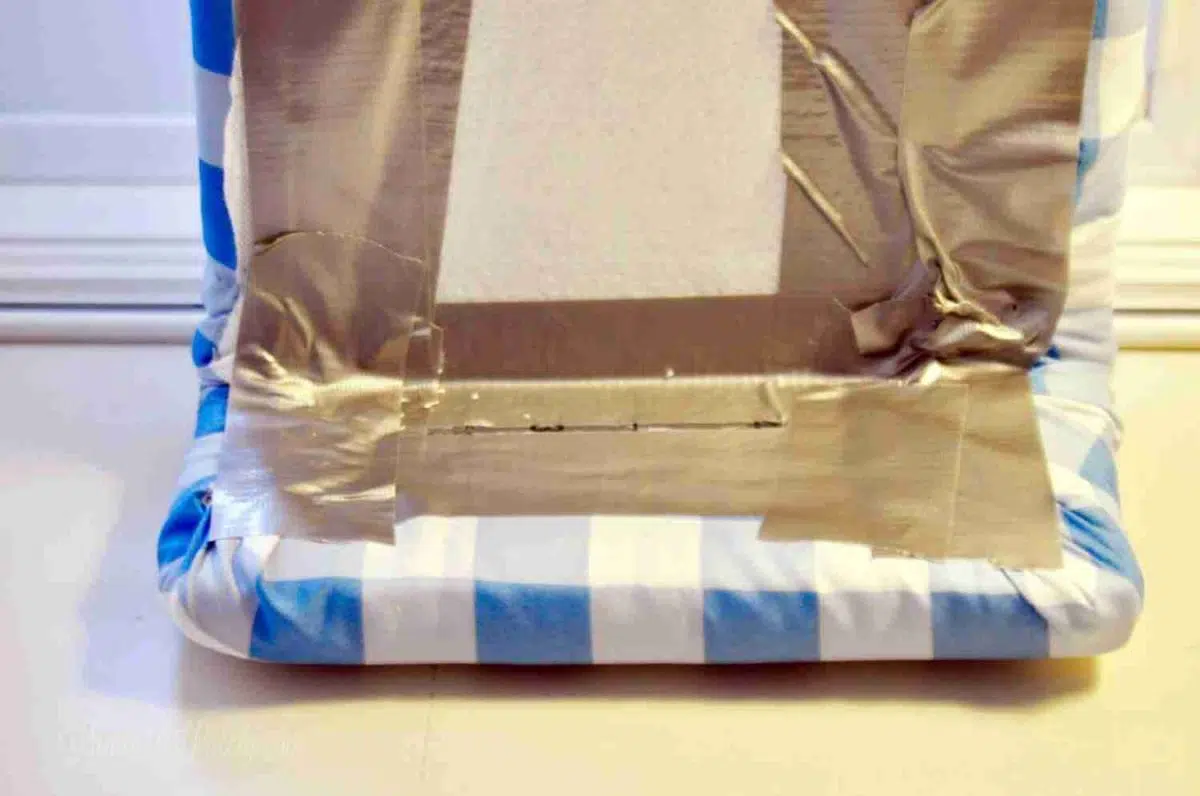
Finish it off by wrapping around the other side just like the first side, then tape. Make sure none of the duct tape is too close to the edge of the frame.
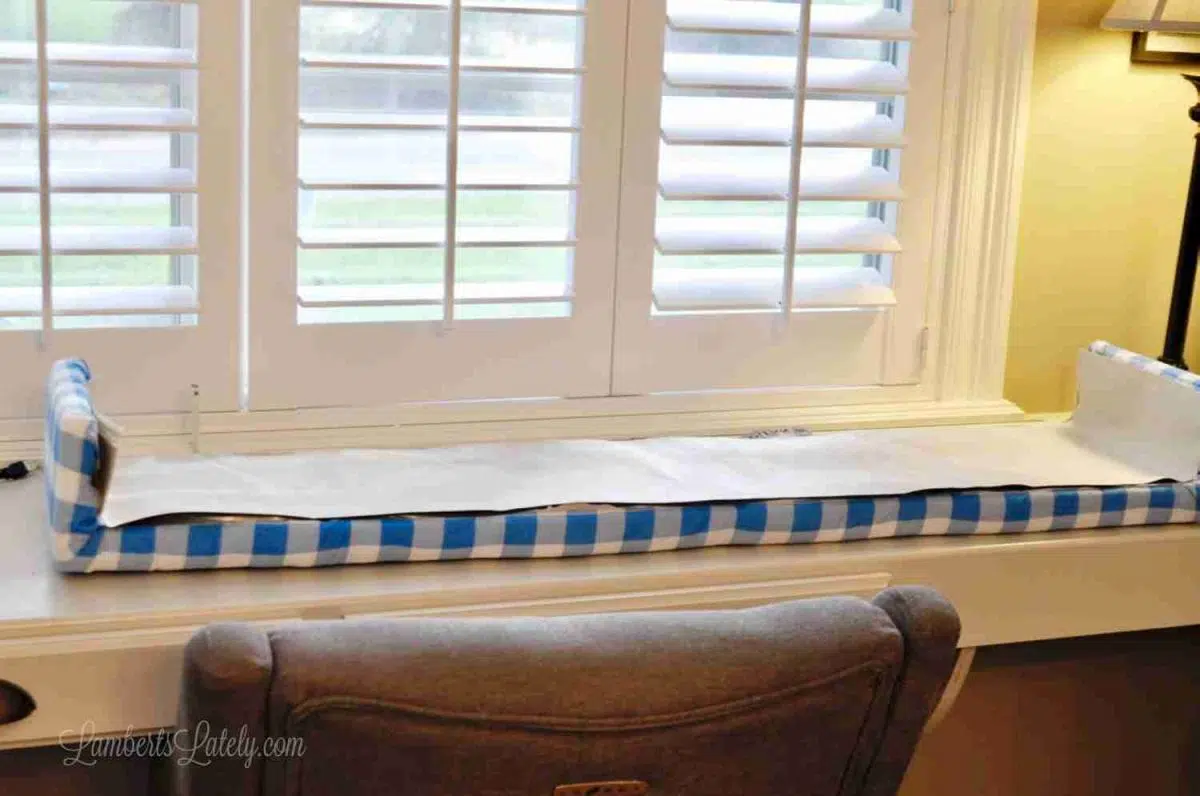
Step 6: Make the back cover.
Now, cut another piece of fabric to use as your back cover. Most likely, nobody will notice the back of the board, but I hated the thought of seeing duct tape sticking out of mine. I just glued a piece of fabric to cover all of the tape and it looks great!
Use a measuring tape to measure the inside of the back of your frame. You want to get the fabric measurement pretty close (maybe within ½") of the edge, but not over. I used some leftover outdoor fabric I had from our outdoor sectional project, and it worked wonderfully - no pulling or fraying at all!
Set the cut piece of fabric inside of your frame to make sure it's the right length, then simply hot glue the outside edges in place.
Step 7: Add the (inexpensive) curtain rod.
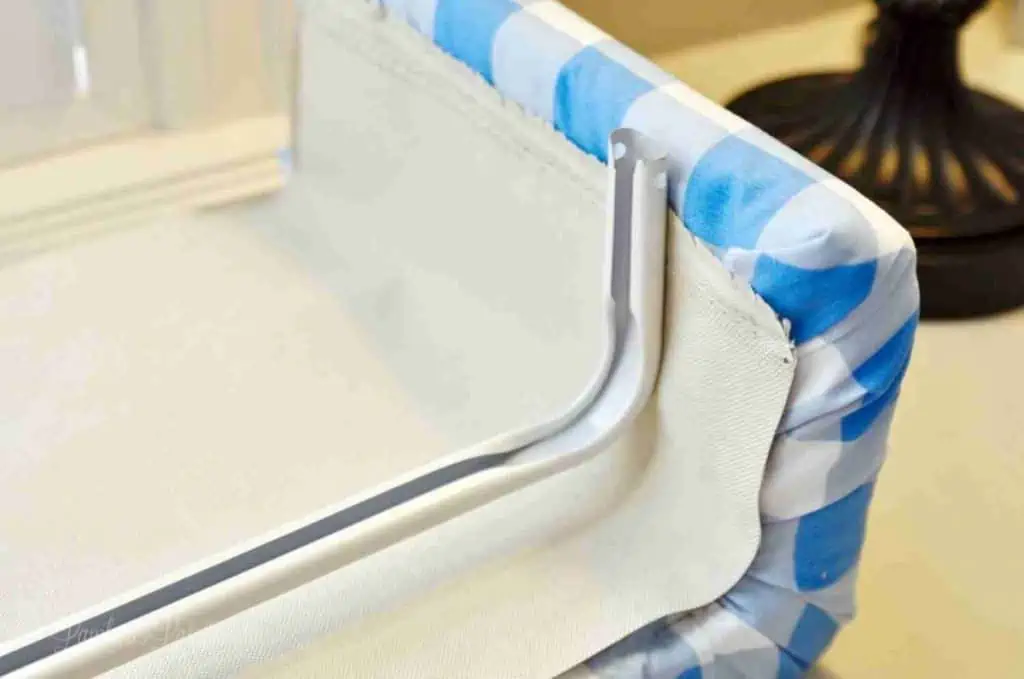
Finally, you'll need to add hardware to hang the cornice board. This cornice board is made of foam and shouldn't be heavy at all, so a cheap-o white curtain rod (this one was a couple of dollars) should work just fine.
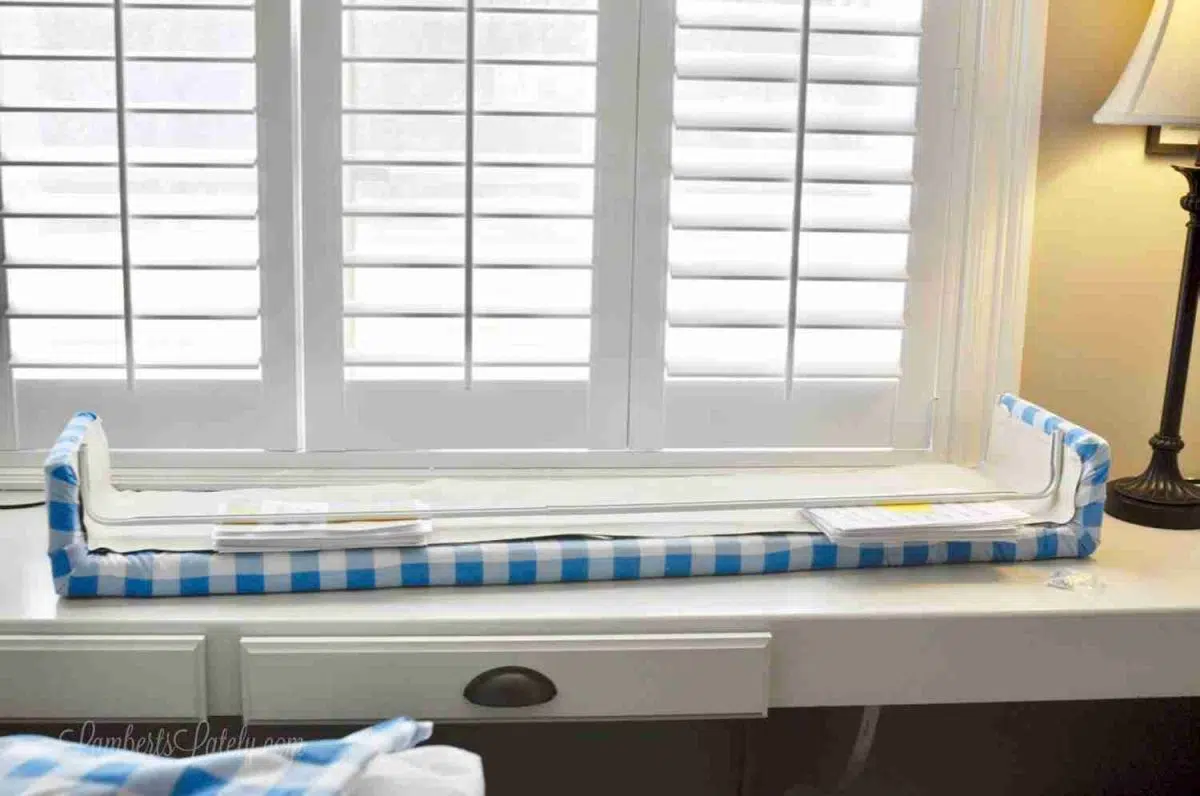
Position the curtain rod in place to where the ends (that will touch the wall) are flush with the end pieces of the cornice board that touch the wall. See the picture above. The curtain rod needs to be an inch or two below where the top of the cornice board will be. Then, just glue the ends of the curtain rod to the inside of the cornice board with E6000.
You might need to stack something underneath the curtain rod to hold it in place while the glue dries. (If you happen to have published a planner in the past few months and haven't thrown away the hundreds of proofing pages yet, those work pretty well. 😉)
Allow the glue to set overnight.
How to Hang Your DIY Cornice Board
The curtain rod you just glued in place will do all the work here! Mount the included screws in the wall above your window, just as you would do if you were hanging the curtain rod by itself. Then, attach the cornice box to the wall using the mounted screws.
Finished Result
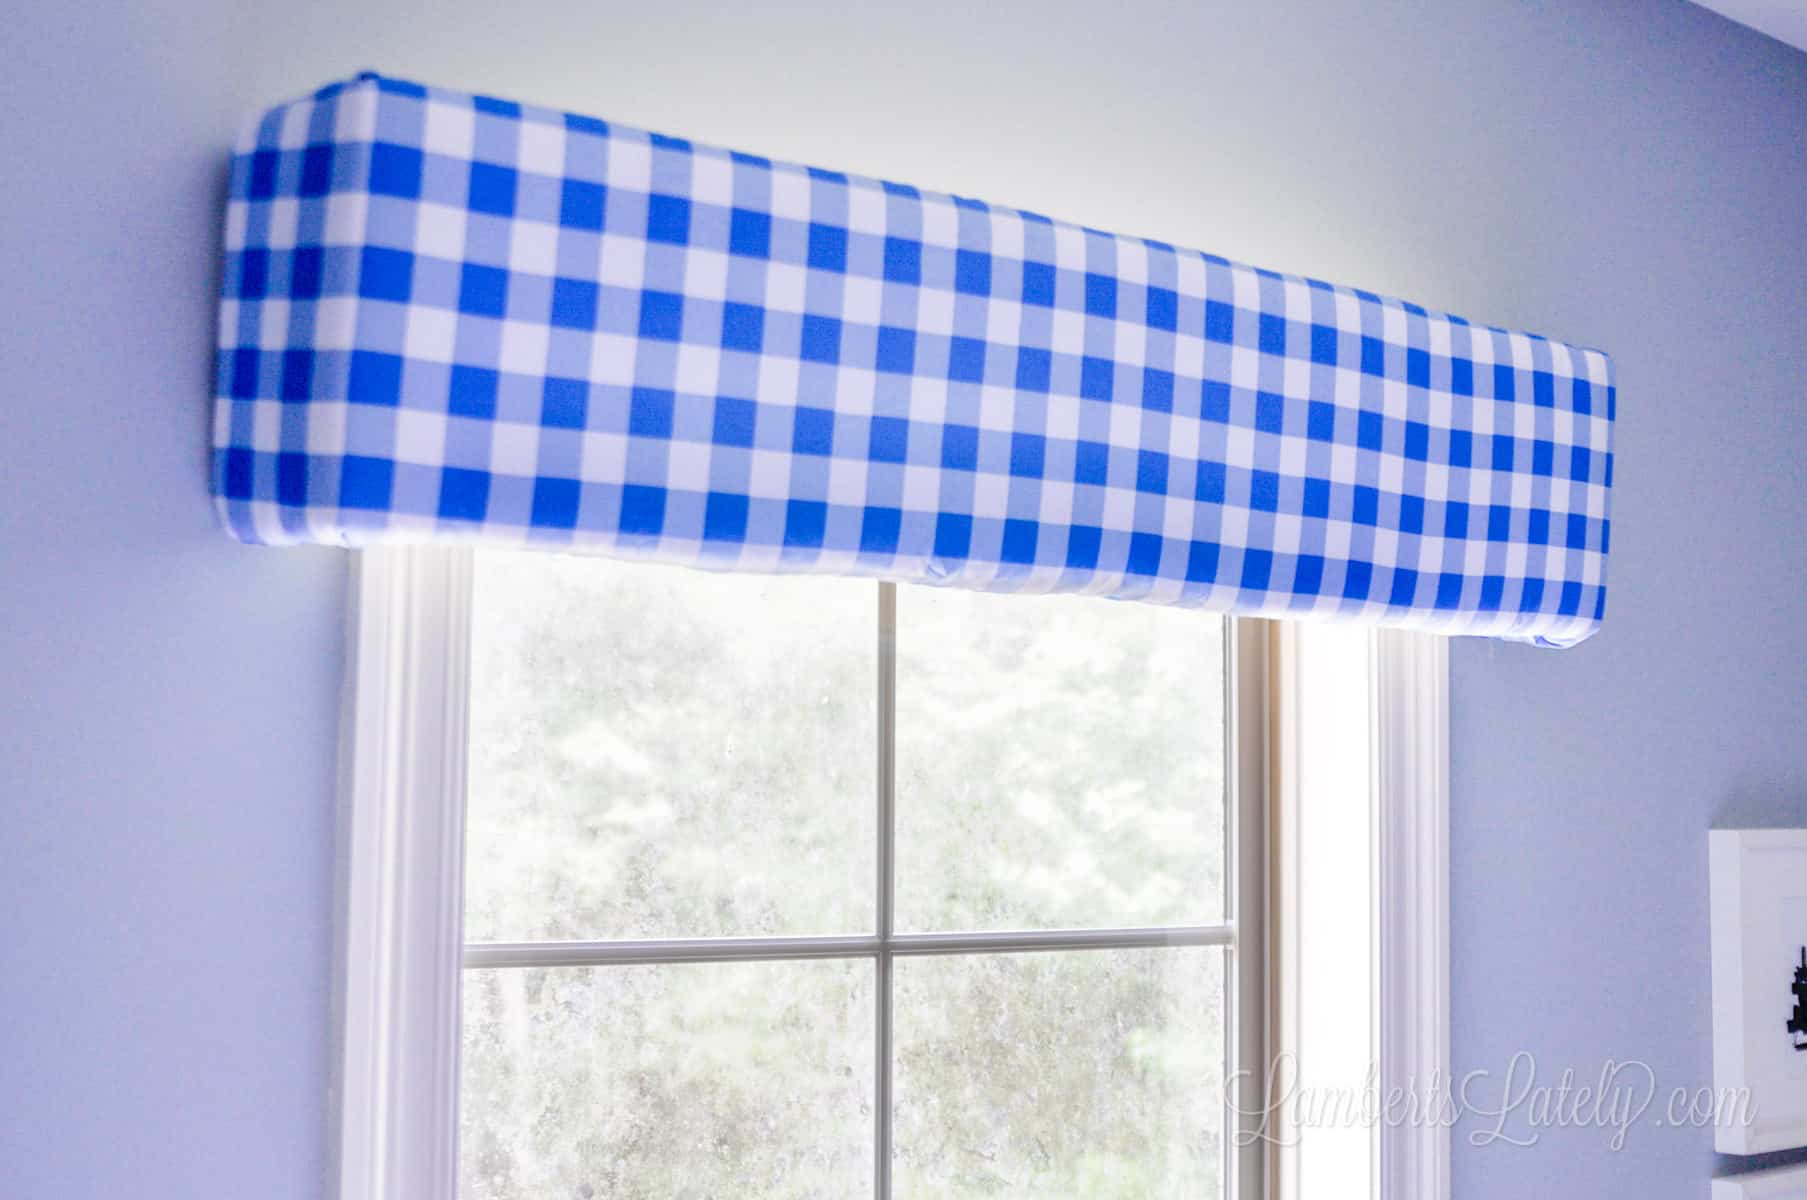
I'm telling you - it doesn't get much easier than this. You'd never know that this is held together with hot glue and duct tape. 😉 And believe it or not, it's durable. You're not going to touch a window valance box a whole lot, so it doesn't need to be super sturdy. This has now been in my son's room for 5 years and is going strong!
I think it's such a cute piece that's perfect for a child's room! The secrets that are holding it together can be between you and me. 😂
DIY Window Cornice Board FAQs
More DIY Projects

I'd love to see your finished cornice boards! Tag me on Instagram (@lambertslately) with your gorgeous creations. 📸
Brilliantly darling! My kind of project!!! Duct tape and glue......yay!!!!!
Hi Leslie, This turned out great! laura